
Greetings everyone!
I had that nasty stomach bug this weekend that seems to be going around. Ugh! The good news is that I finally managed to finish piecing, pressing, and trimming my pieces for part 1 of Bonnie Hunter’s Celtic Solstice mystery quilt! You can read about this mystery quilt in my earlier post here. Many people have already finished their quilts and you can see some beautiful finishes on Bonnie’s blog.
I’m making the smaller version of the quilt so I have 96 neutral (cream) units and 92 orange units:

Celtic Solstice Part 1 Units
For this quilt, I’m using leftover scraps from other projects plus random fat quarters and half-yard pieces in my stash. I used 7 different oranges, 5 different creams, and 7 different blues to make the units in part 1.
Once these units are finished, the next step is to trim off all the little left-over dog ears.
You end up with a pile of quilty fabric confetti!

Quilt Fabric Confetti
Now, you may be thinking that this fabric confetti isn’t too useful in future quilty projects, and I agree! However, if you have a cat quilt inspector, you can use this leftover material to make a cat-approved project.
Cat Approved Quilt Fabric Confetti Tutorial (aka a catnip toy)
- Cut two rectangles at 4 inches by 4.5 inches from denim, canvas, or other sturdy material.
- Cut a 6-inch piece of rick rack (for the tail).
- Pin the fabric pieces, wrong-sides together.
- Sew using a 1/4-inch seam allowance and make sure to leave a small opening along one edge.
- (Optional): Sew a zig-zag stitch around the outside edge for extra reinforcement. Remember to leave a small opening for stuffing.
- Stuff the quilt fabric confetti and dried catnip into the opening.
- Insert rickrack about 1-inch into the opening and pin close.
- Stitch opening closed with a 1/4-inch seam and optional zig-zag stitch. Be careful! This is a step where your quilt inspector will try to help.
- Clip any loose threads and present the quilt fabric confetti project (aka catnip toy) to your quilt inspector for approval!

Catnip Toy Materials

Stuff the Catnip Toy

Tiger “Helping” Me Finish the Catnip Toy
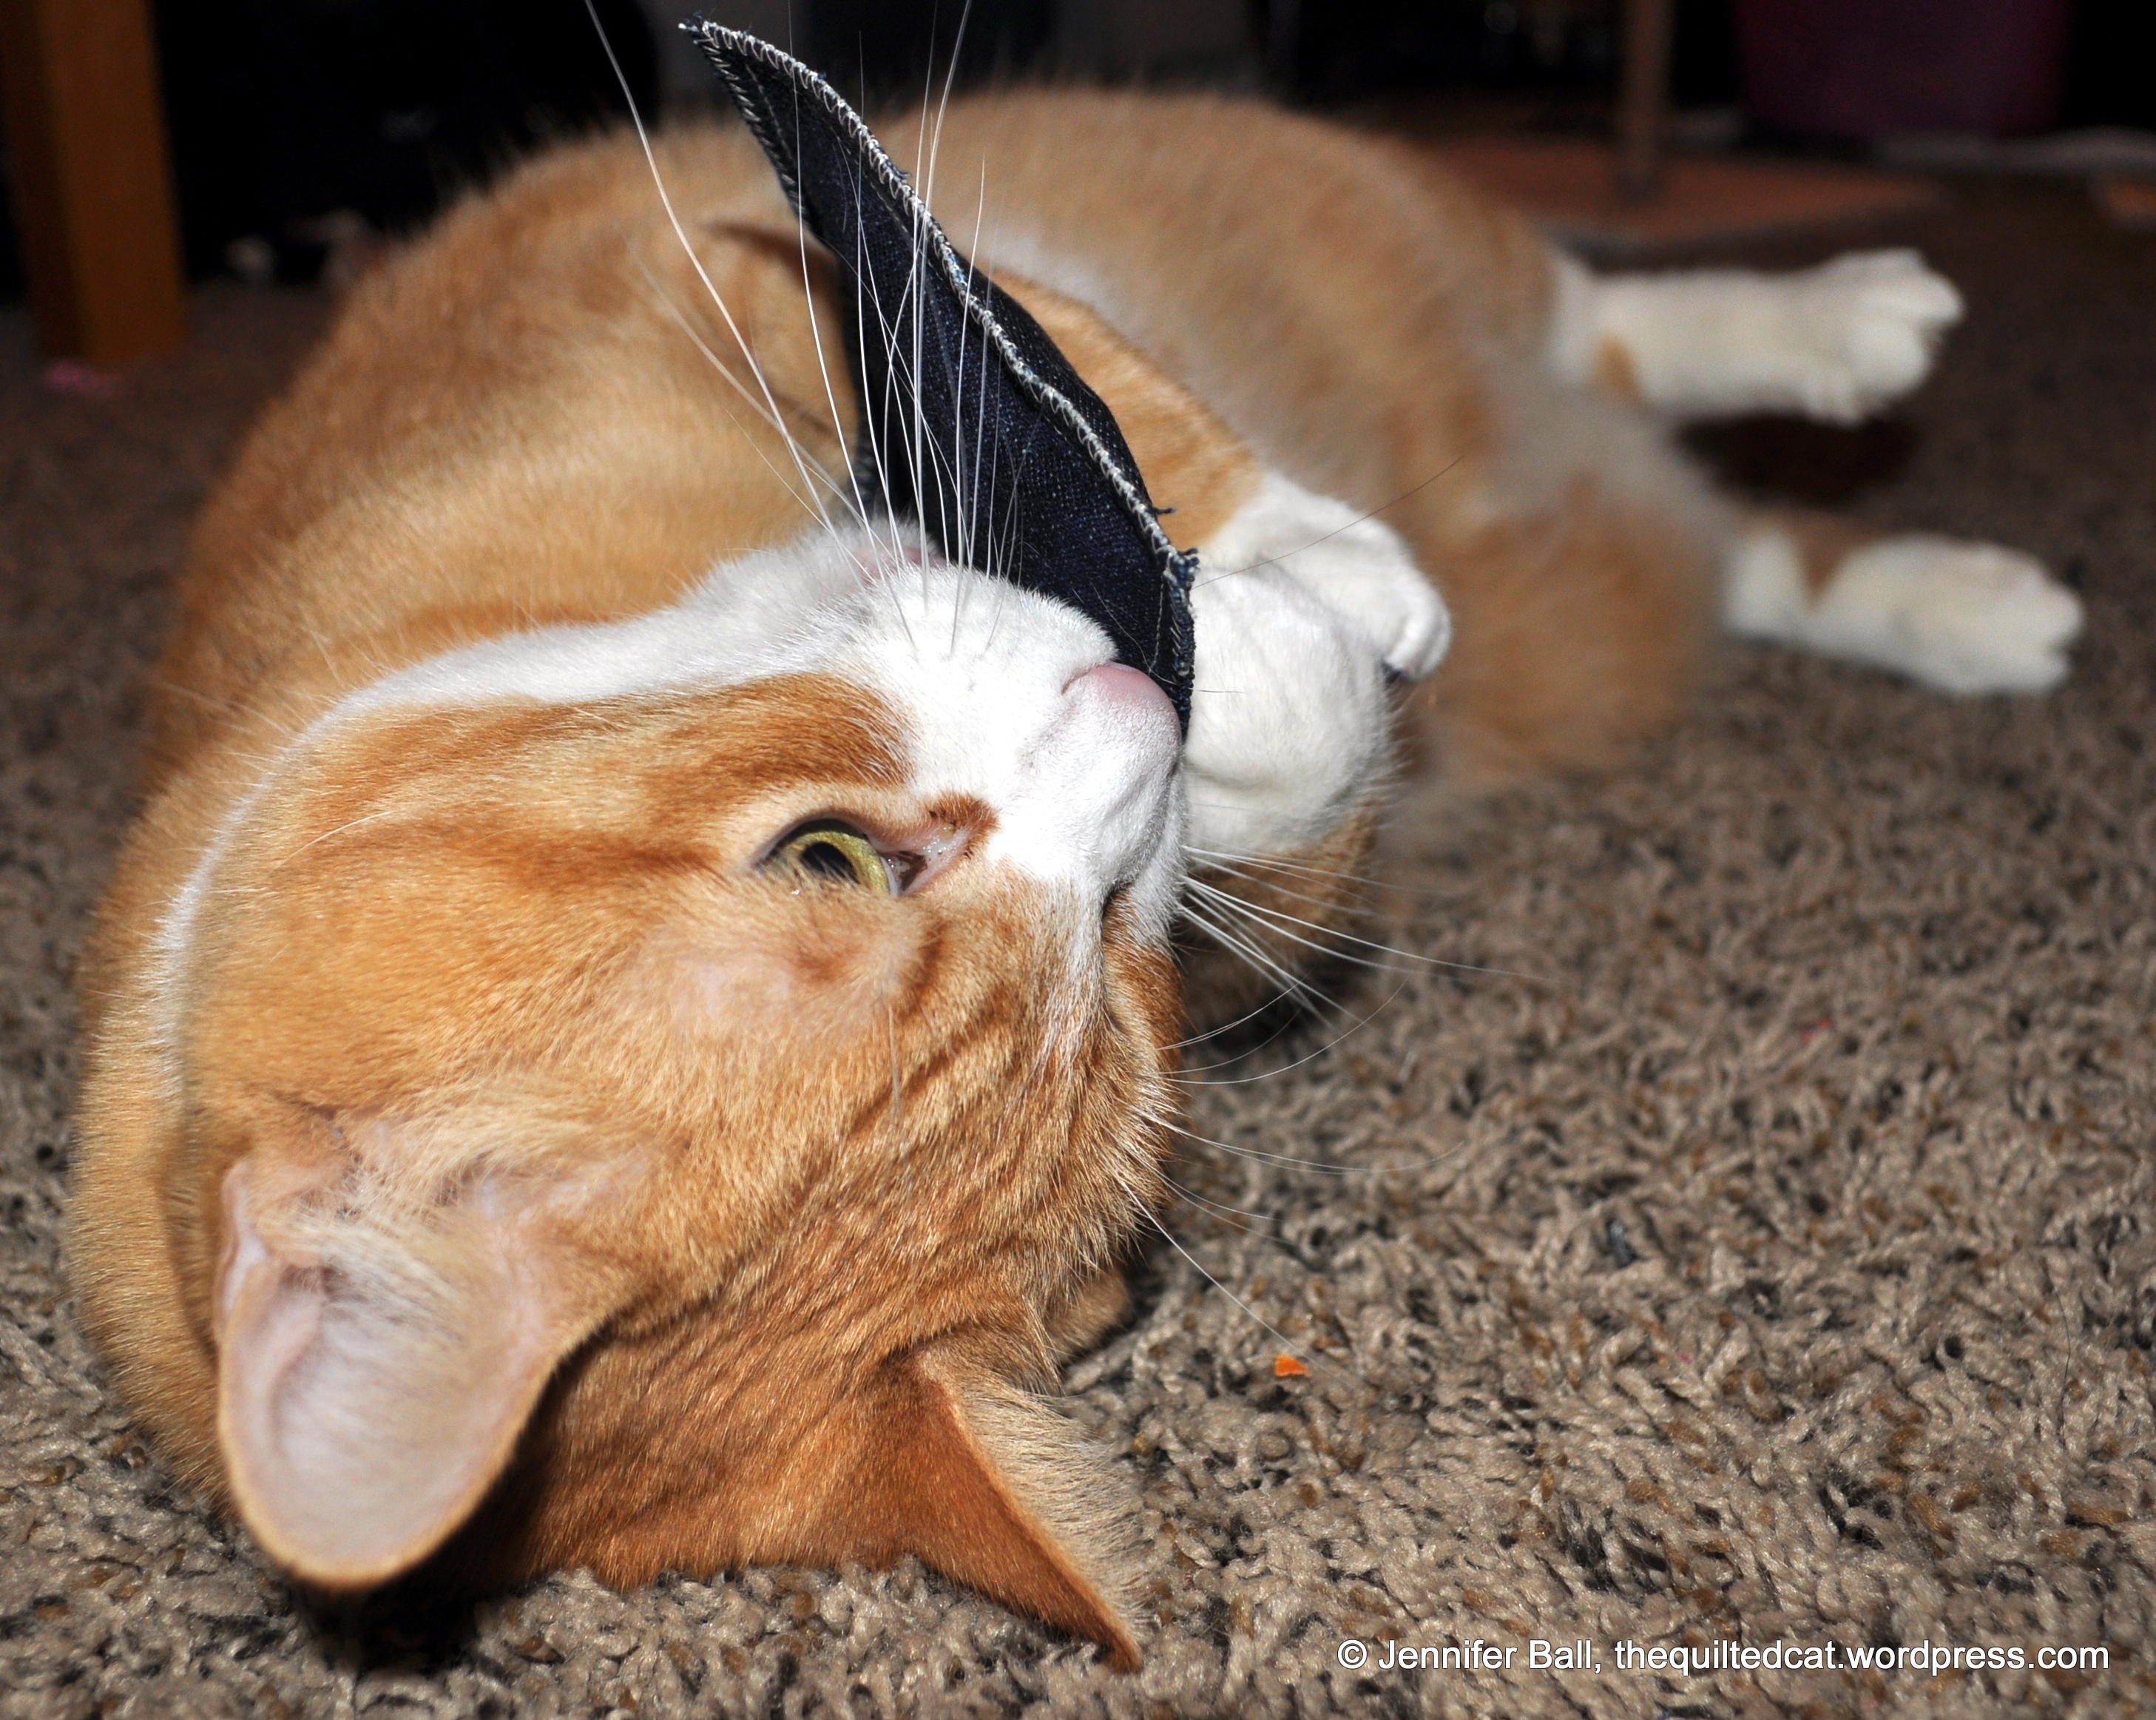
Tiger loves it!
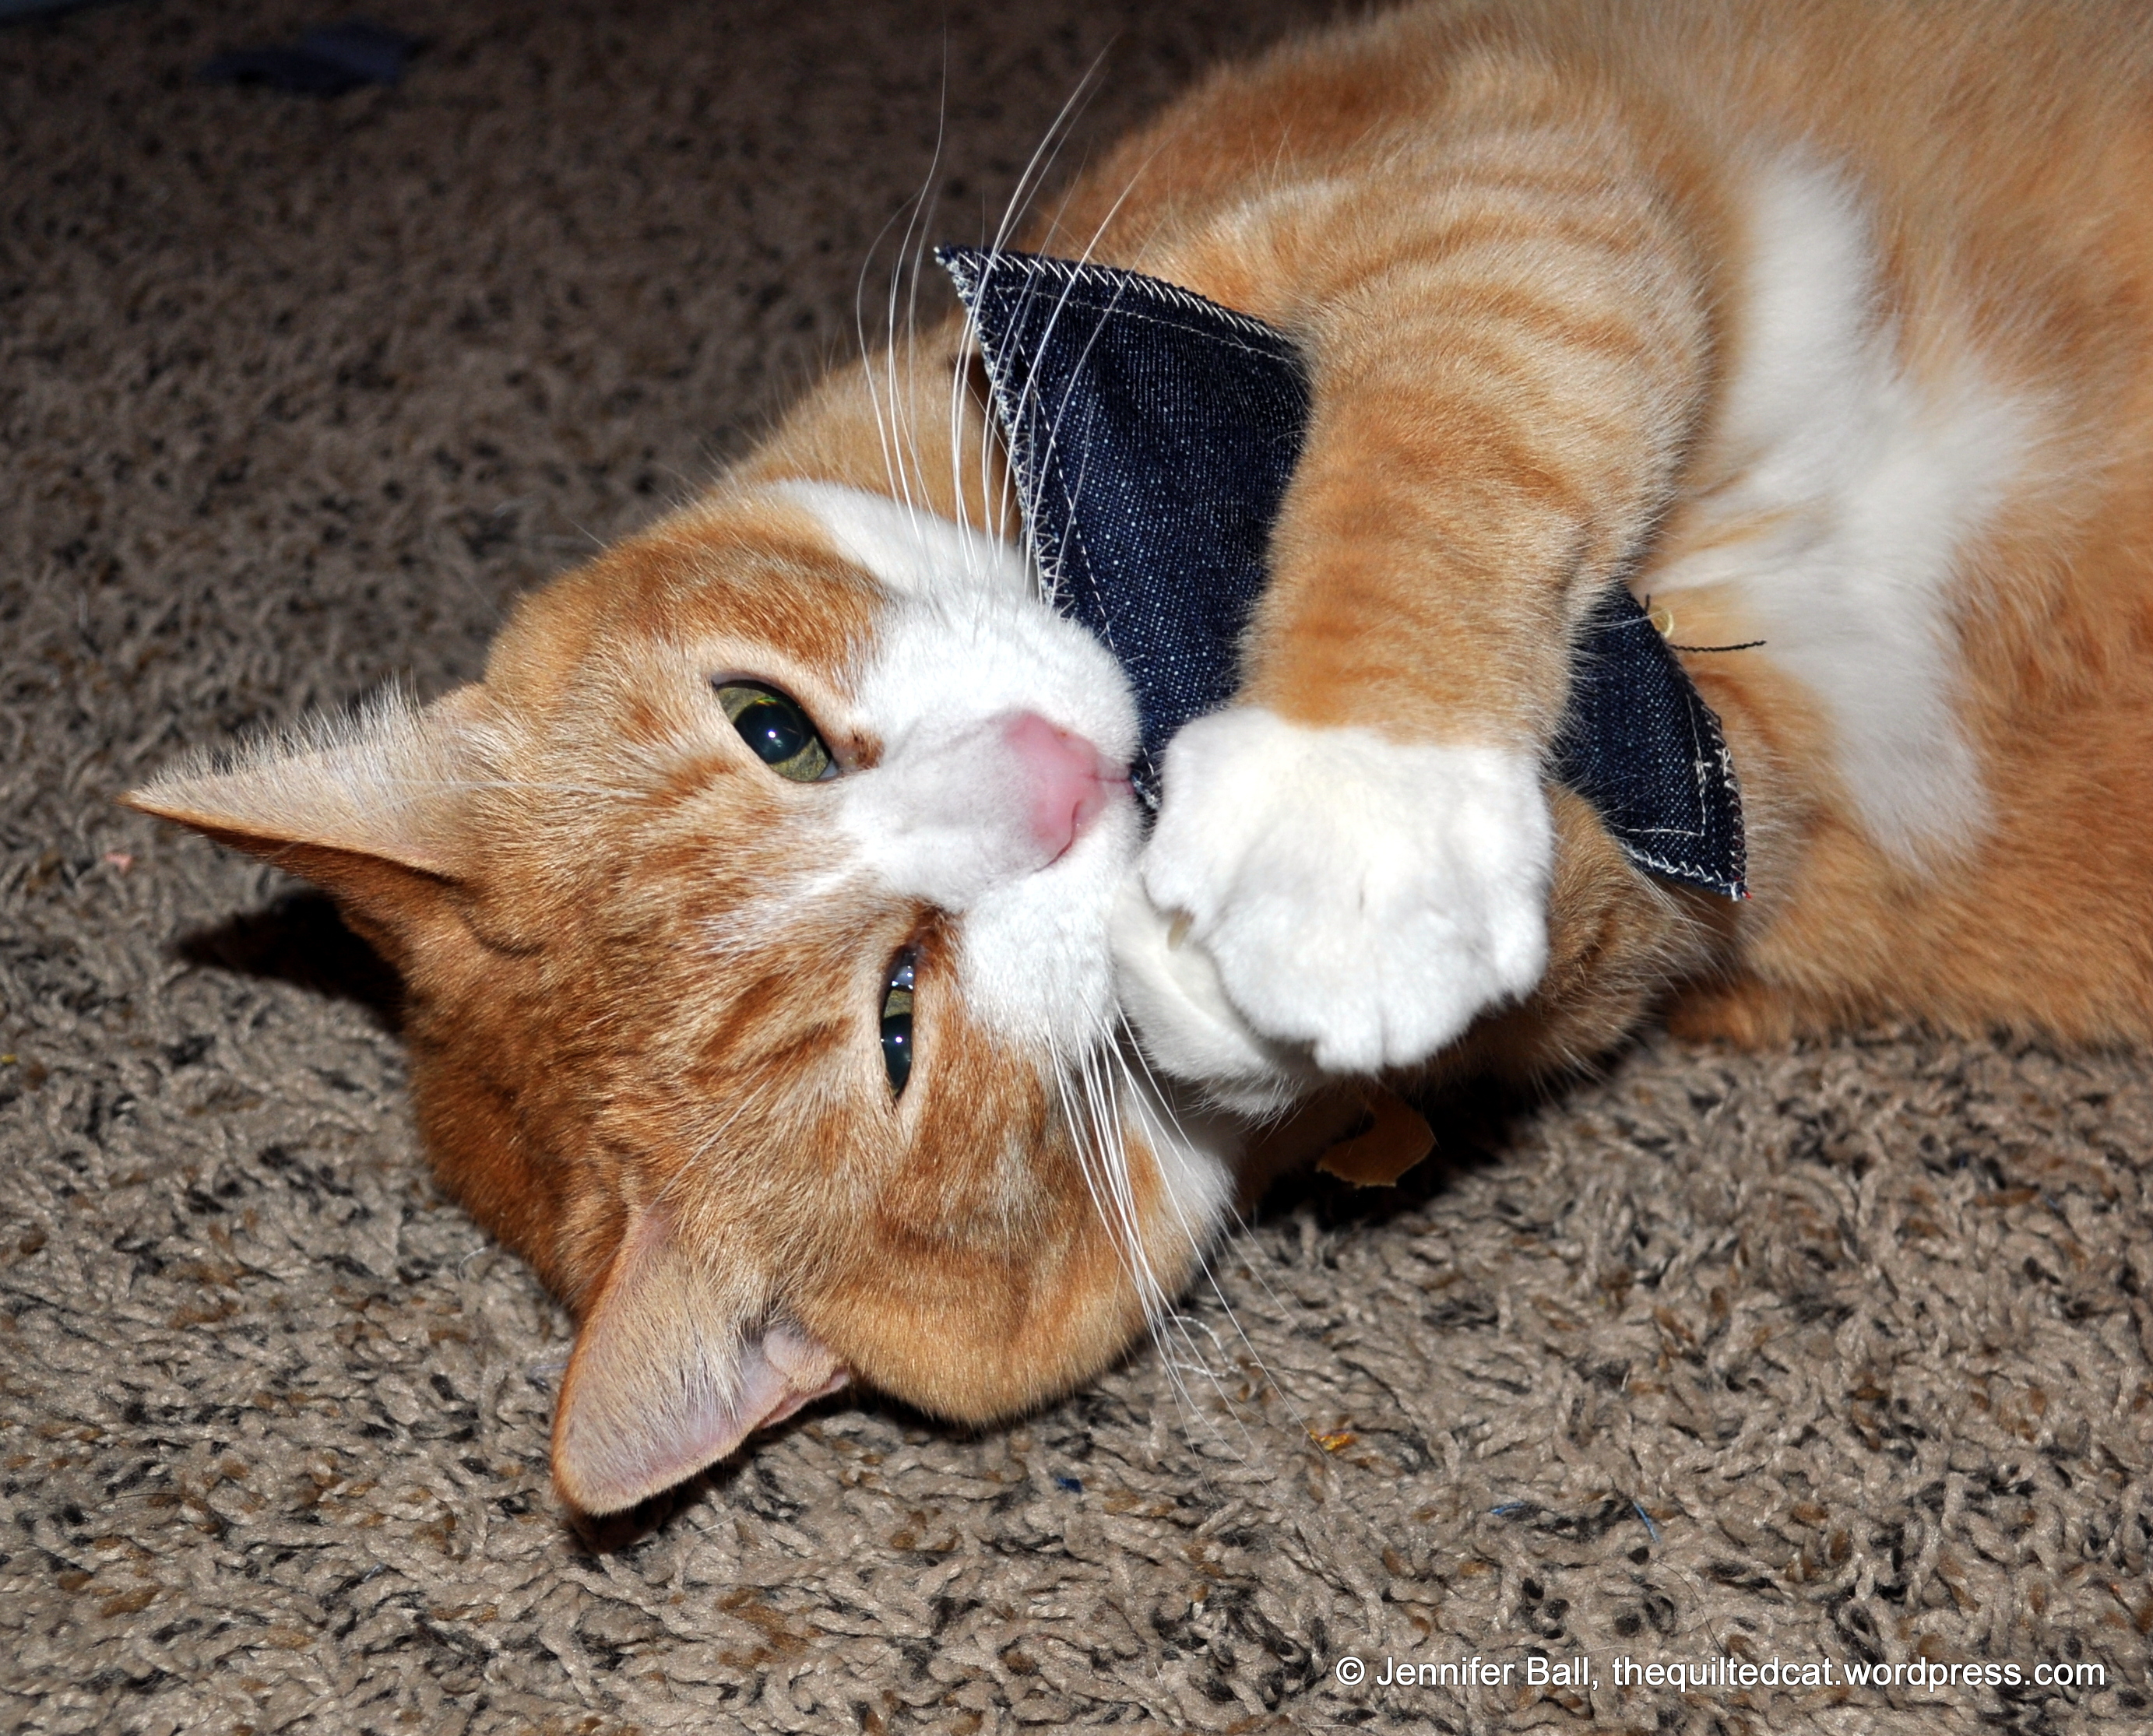
Catnip Toy is Approved!
I’ve made a few of these catnip toys for my quilt inspectors, and they are pretty sturdy. I have one cat that picks it up and carries it around like prey, meowing all the while. My orange cat loves to grab the tail in tight and then hold onto the body of the toy while rubbing his face all over it. He becomes very affectionate!
I hope you enjoy this little project and have a quilty week!
~Jennifer

Pingback: Celtic Solstice, Part 3! | the quilted cat
Pingback: Sewing Cabinet Find and Celtic Solstice, Part 2! | the quilted cat
Pingback: Star Light Star Bright QAL, Half Square Triangles | the quilted cat
Pingback: 72 Flying Geese and Snow! | the quilted cat
Love that rick rack tail!!