Each year, Cherrywood Hand Dyed Fabrics creates a special bundle of fabric for a themed quilt challenge. The rules are pretty simple: use only the fabrics in the special bundle to create a 20-inch by 20-inch art quilt in the designated theme.
This year, the theme was Storytime, evoking nostalgic feelings of reading your favorite childhood book. The bundle had 8 fabrics with an optional 4 fabrics add-on. You can still purchase the fabric bundles on the Cherrywood website, although the challenge is closed.
I received a wonderful email earlier this week letting me know that I was a challenge finalist and my quilt would become part of the traveling exhibit! There were 420 entries received, but only 225 quilts were selected as finalists. These 225 quilts were then split into 3 traveling exhibits, and my quilt is in the Fable exhibit.
These quilts will travel to various quilt shows, festivals, and events throughout 2026 and 2027 so keep an eye out for them!
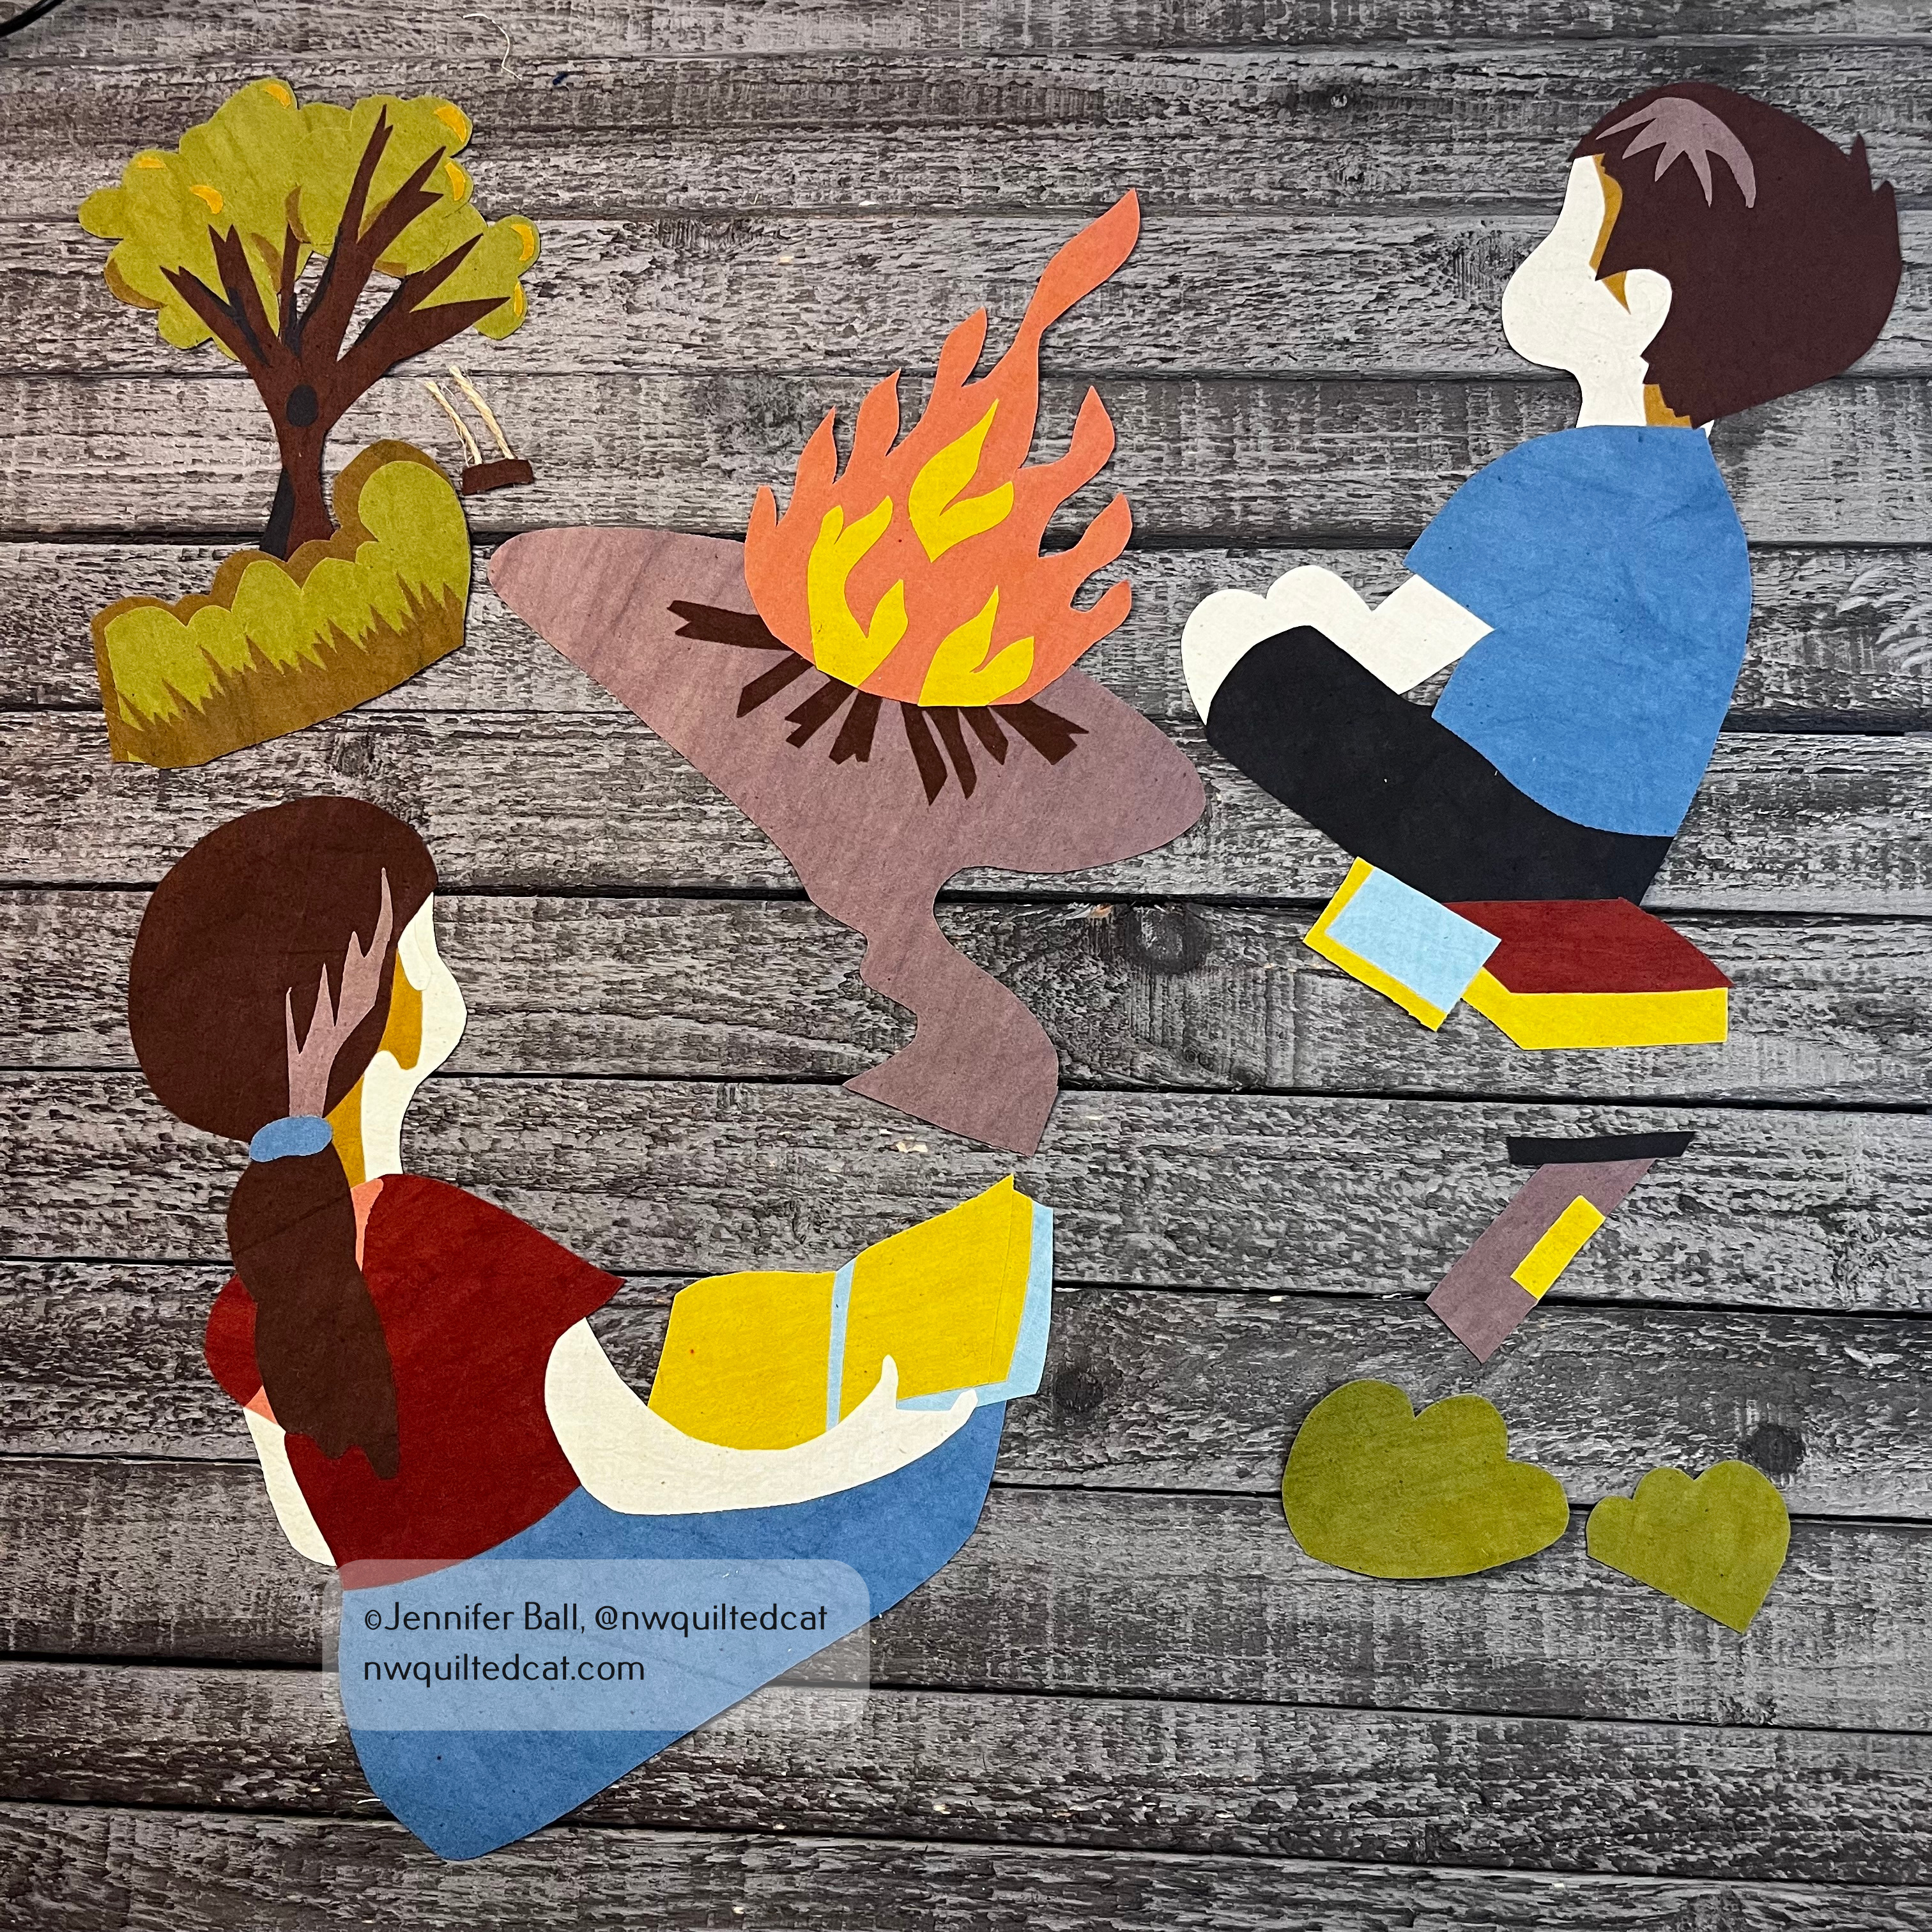
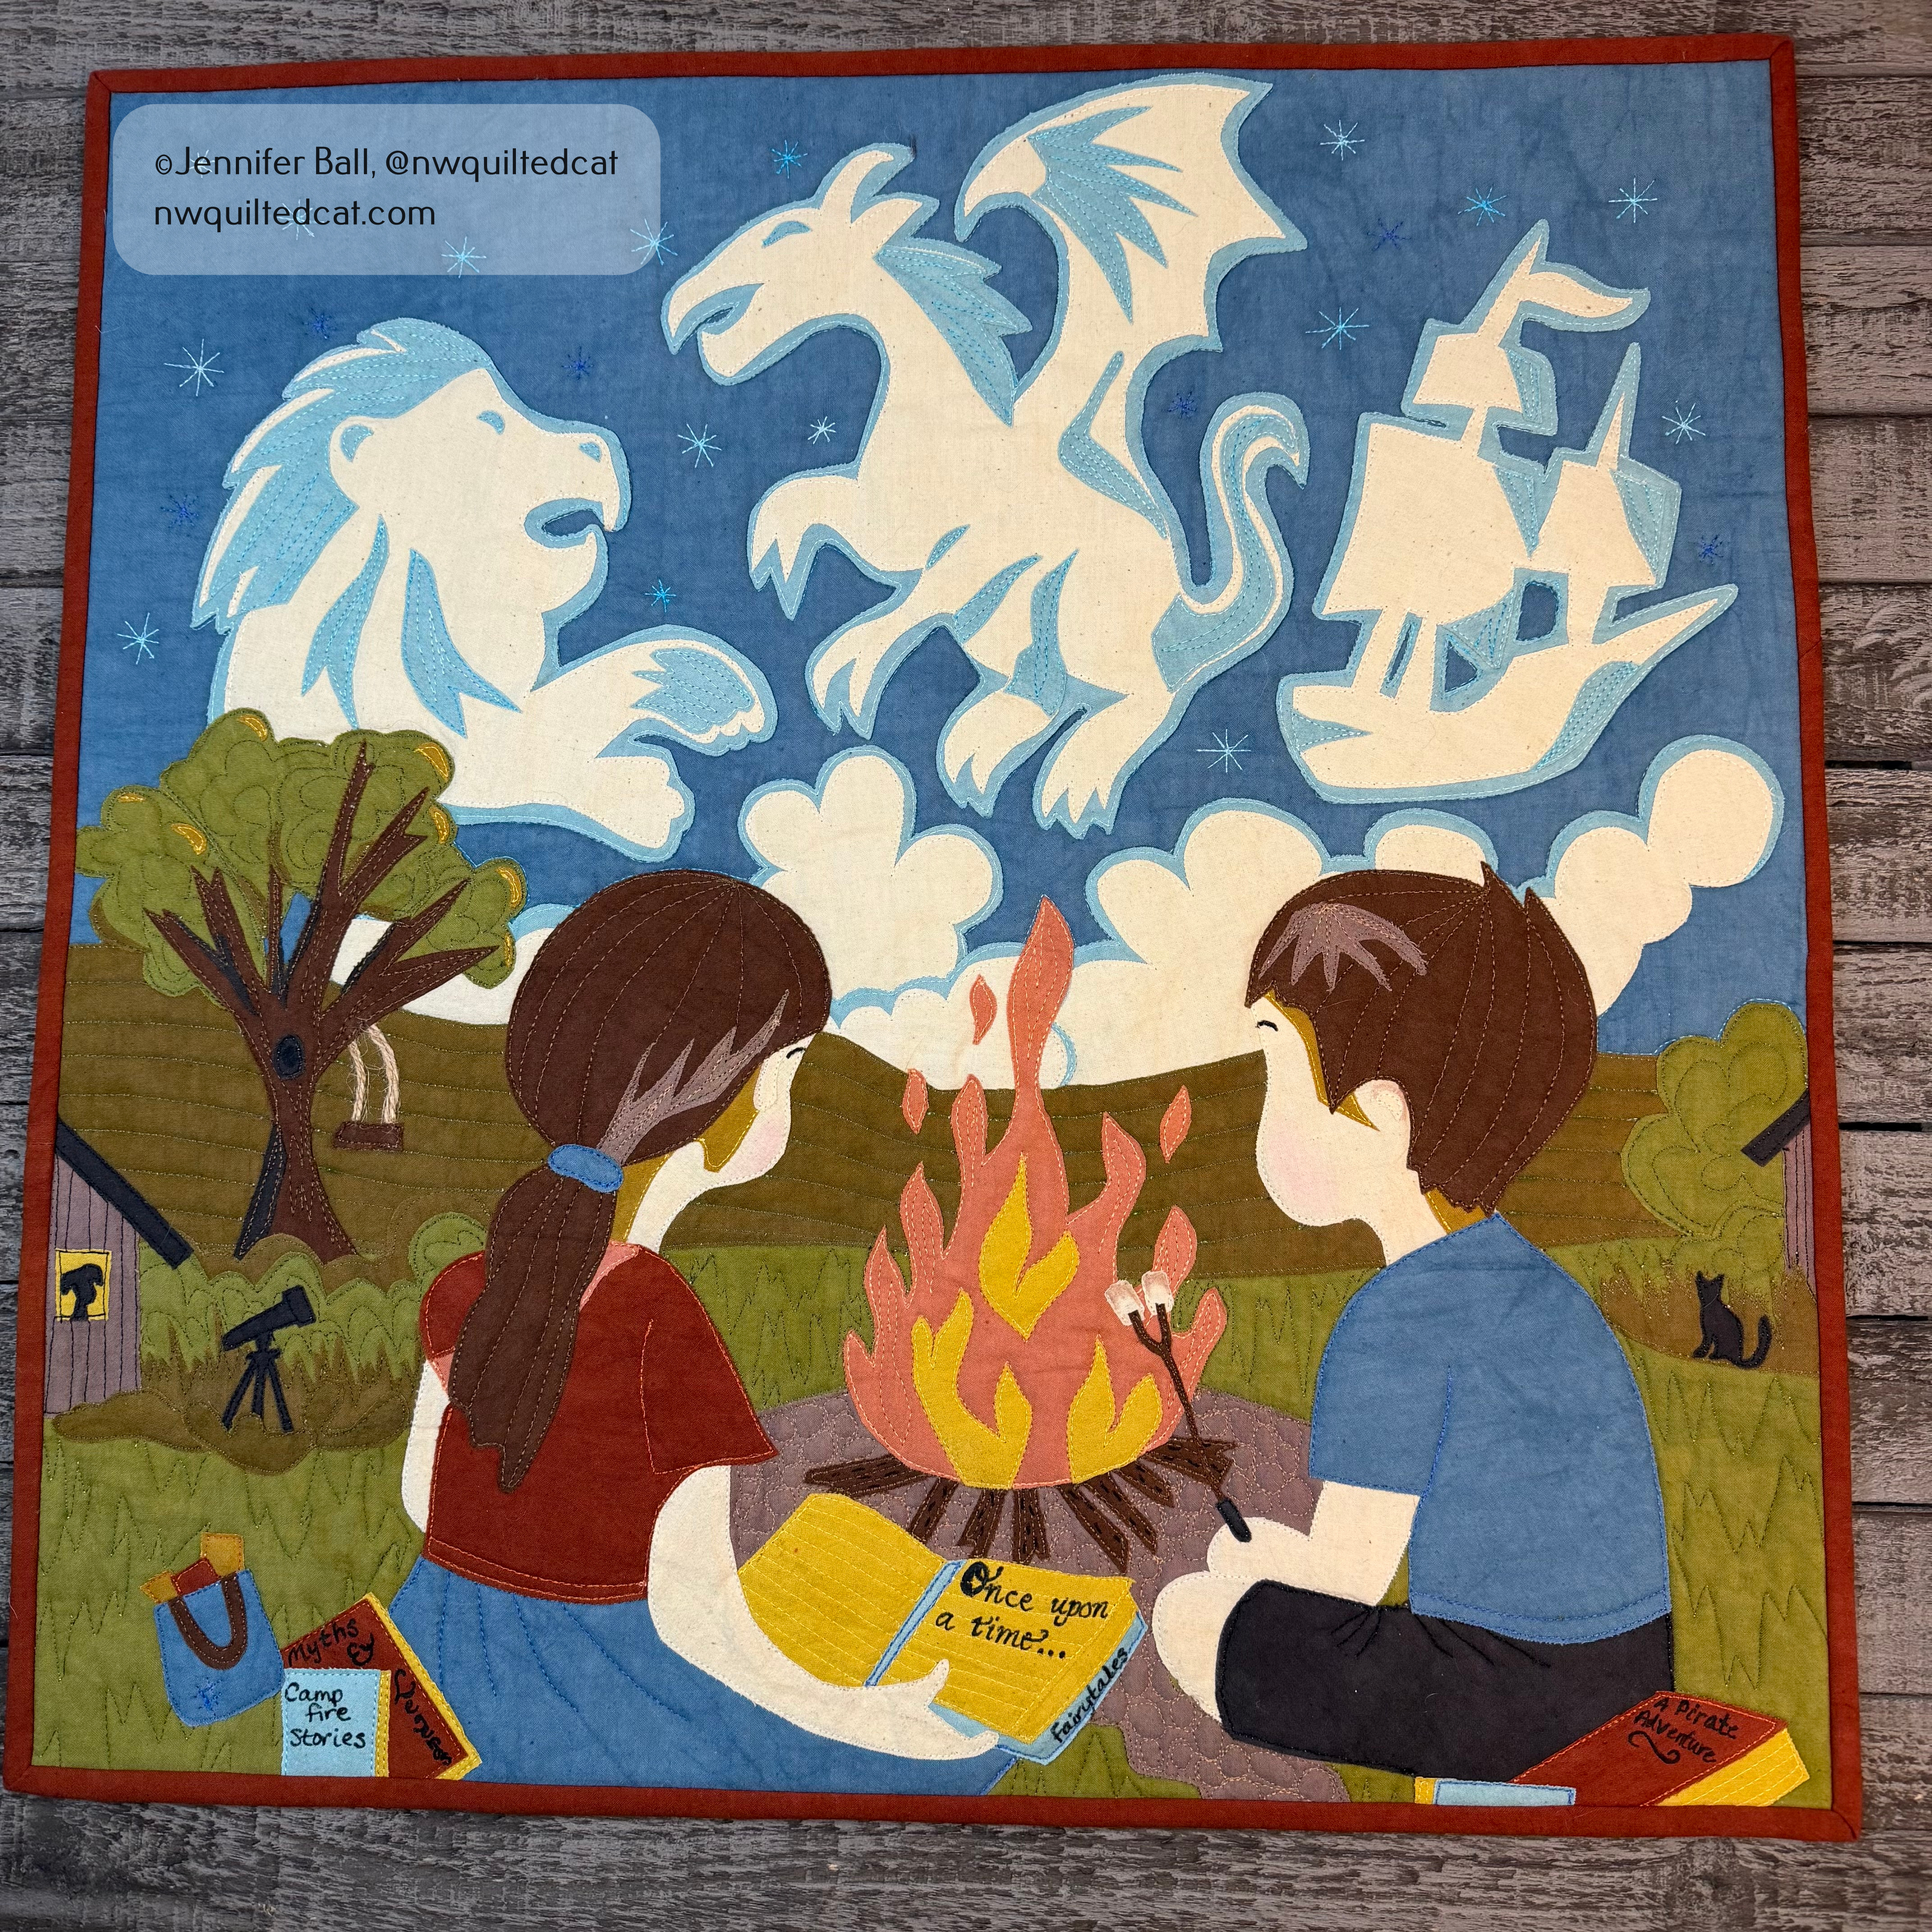
For my quilt, I wanted to do a theme honoring childhood stories combined with camping and campfire stories. Aha! That’s what I could name my quilt: Campfire Stories! I envisioned a scene with kids sitting near a campfire, reading stories, telling ghost stories, and dreaming up great adventures.
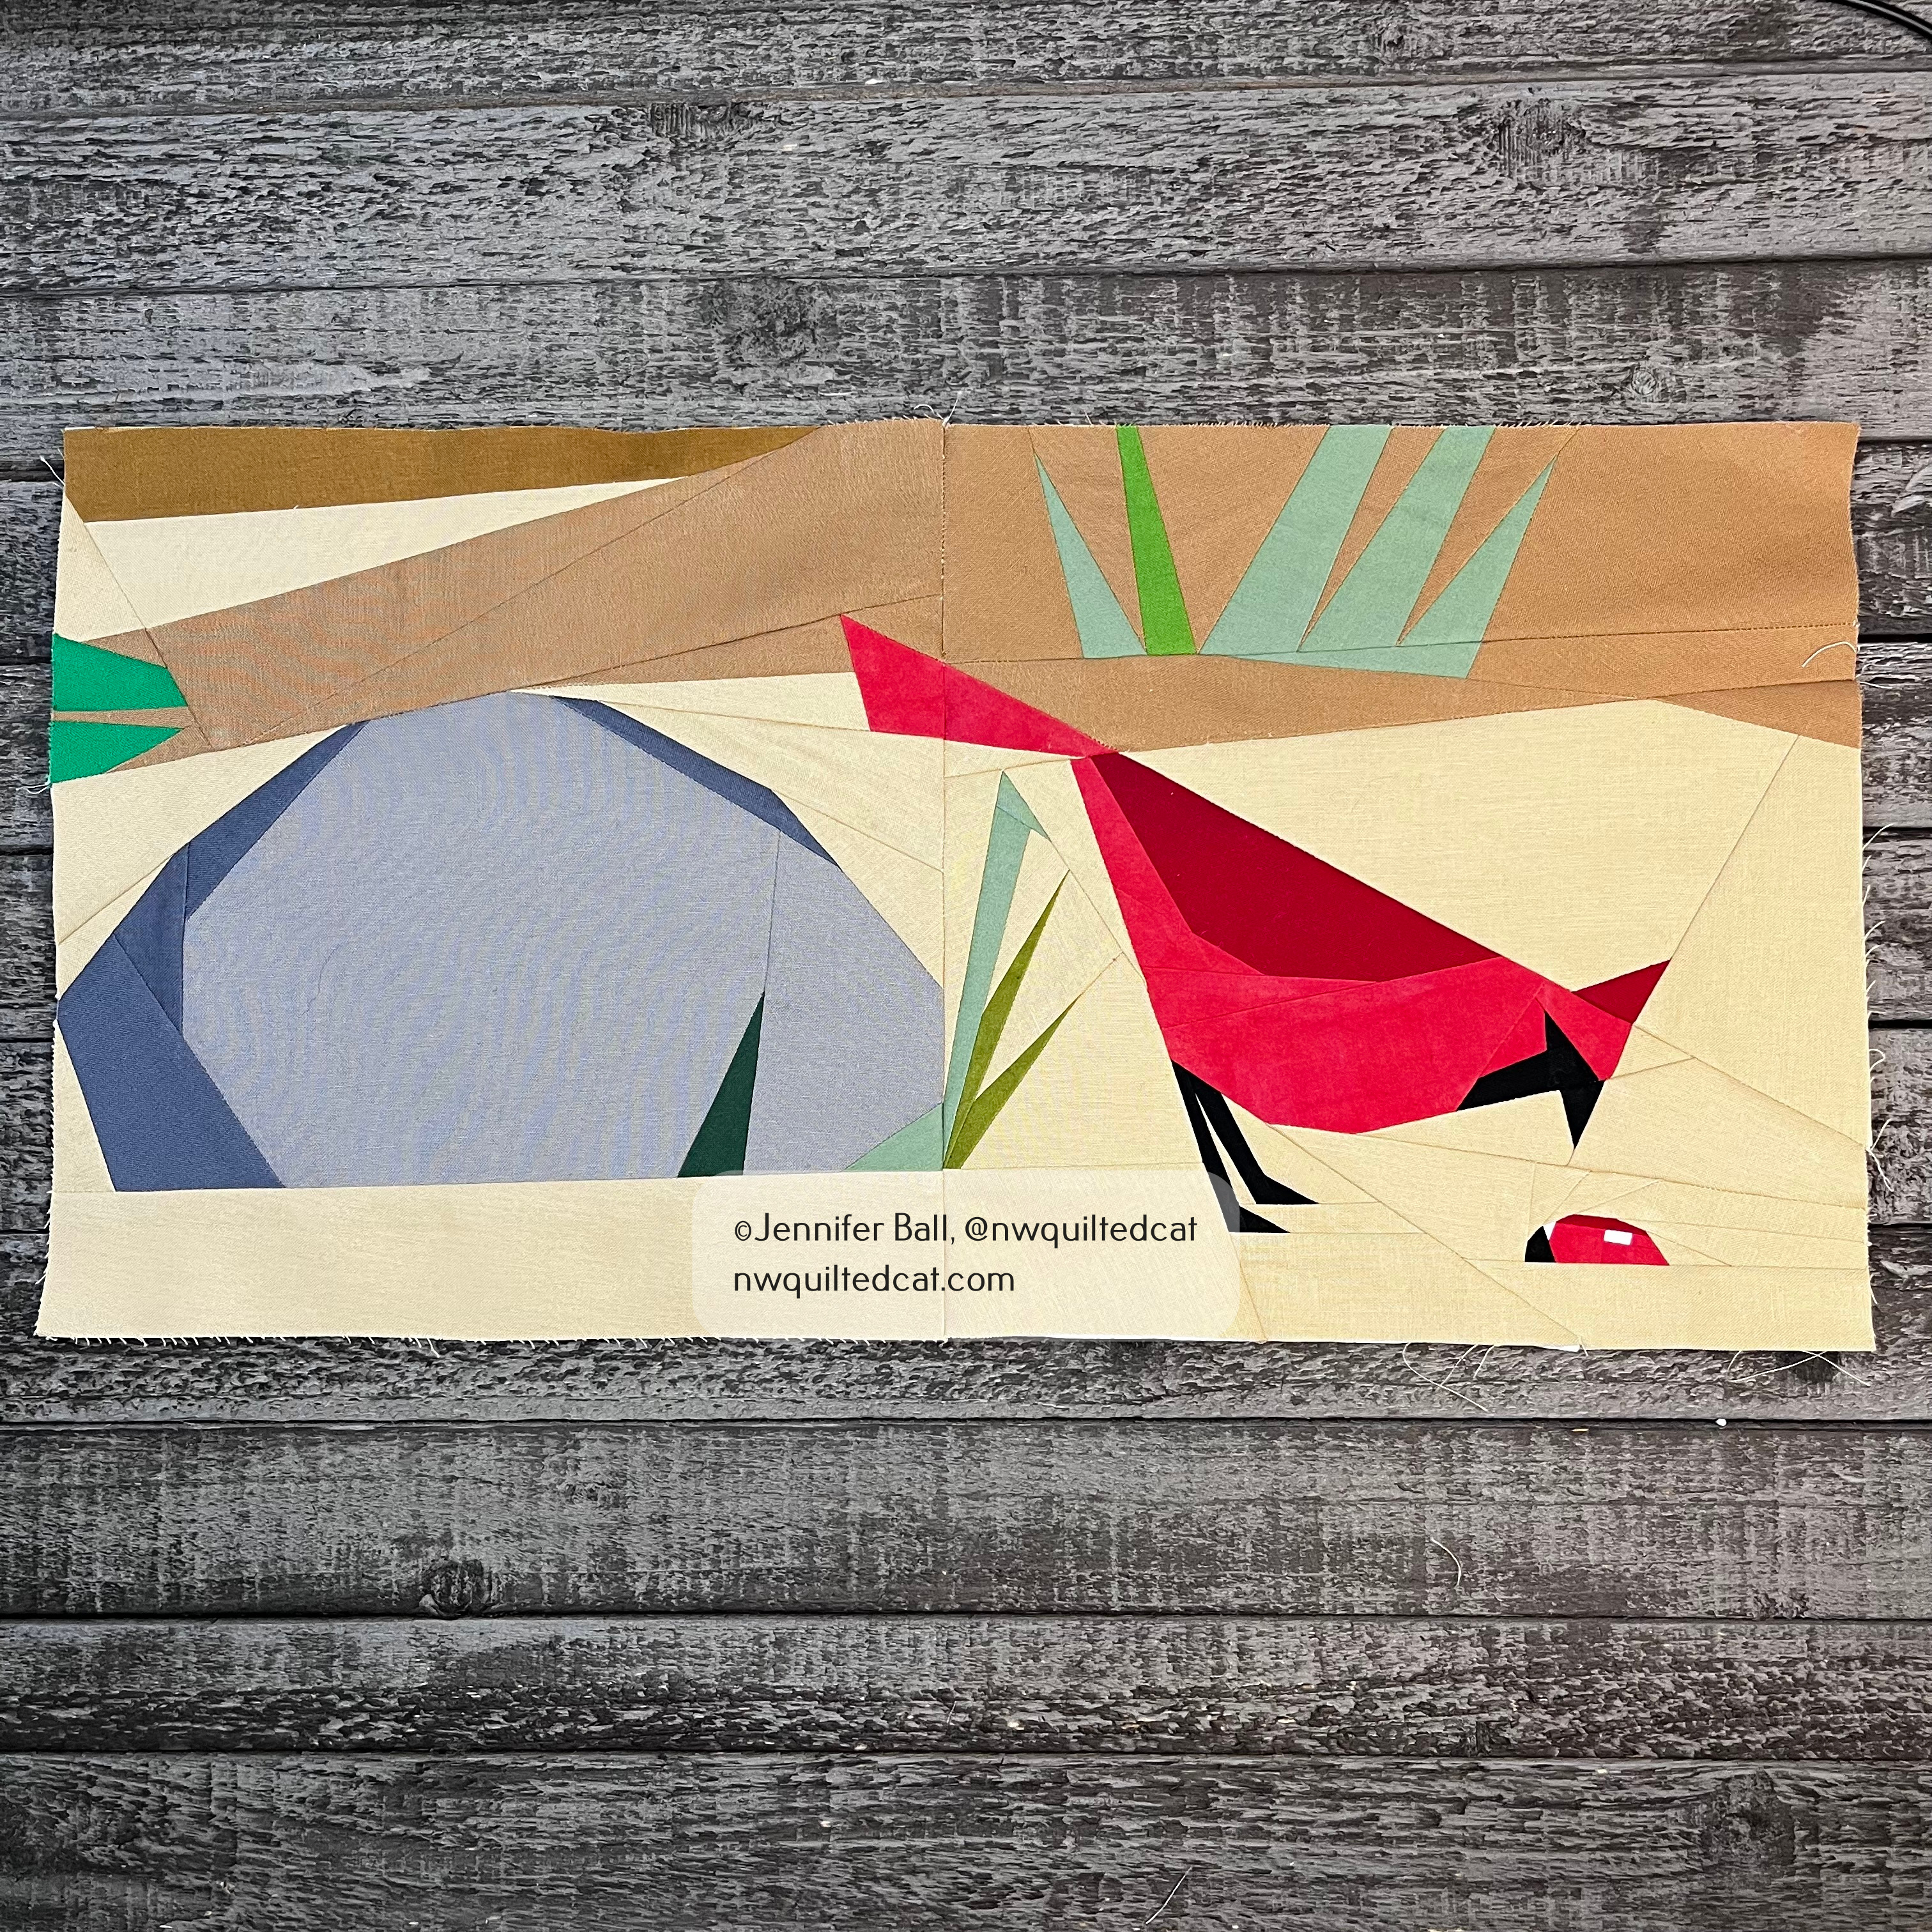
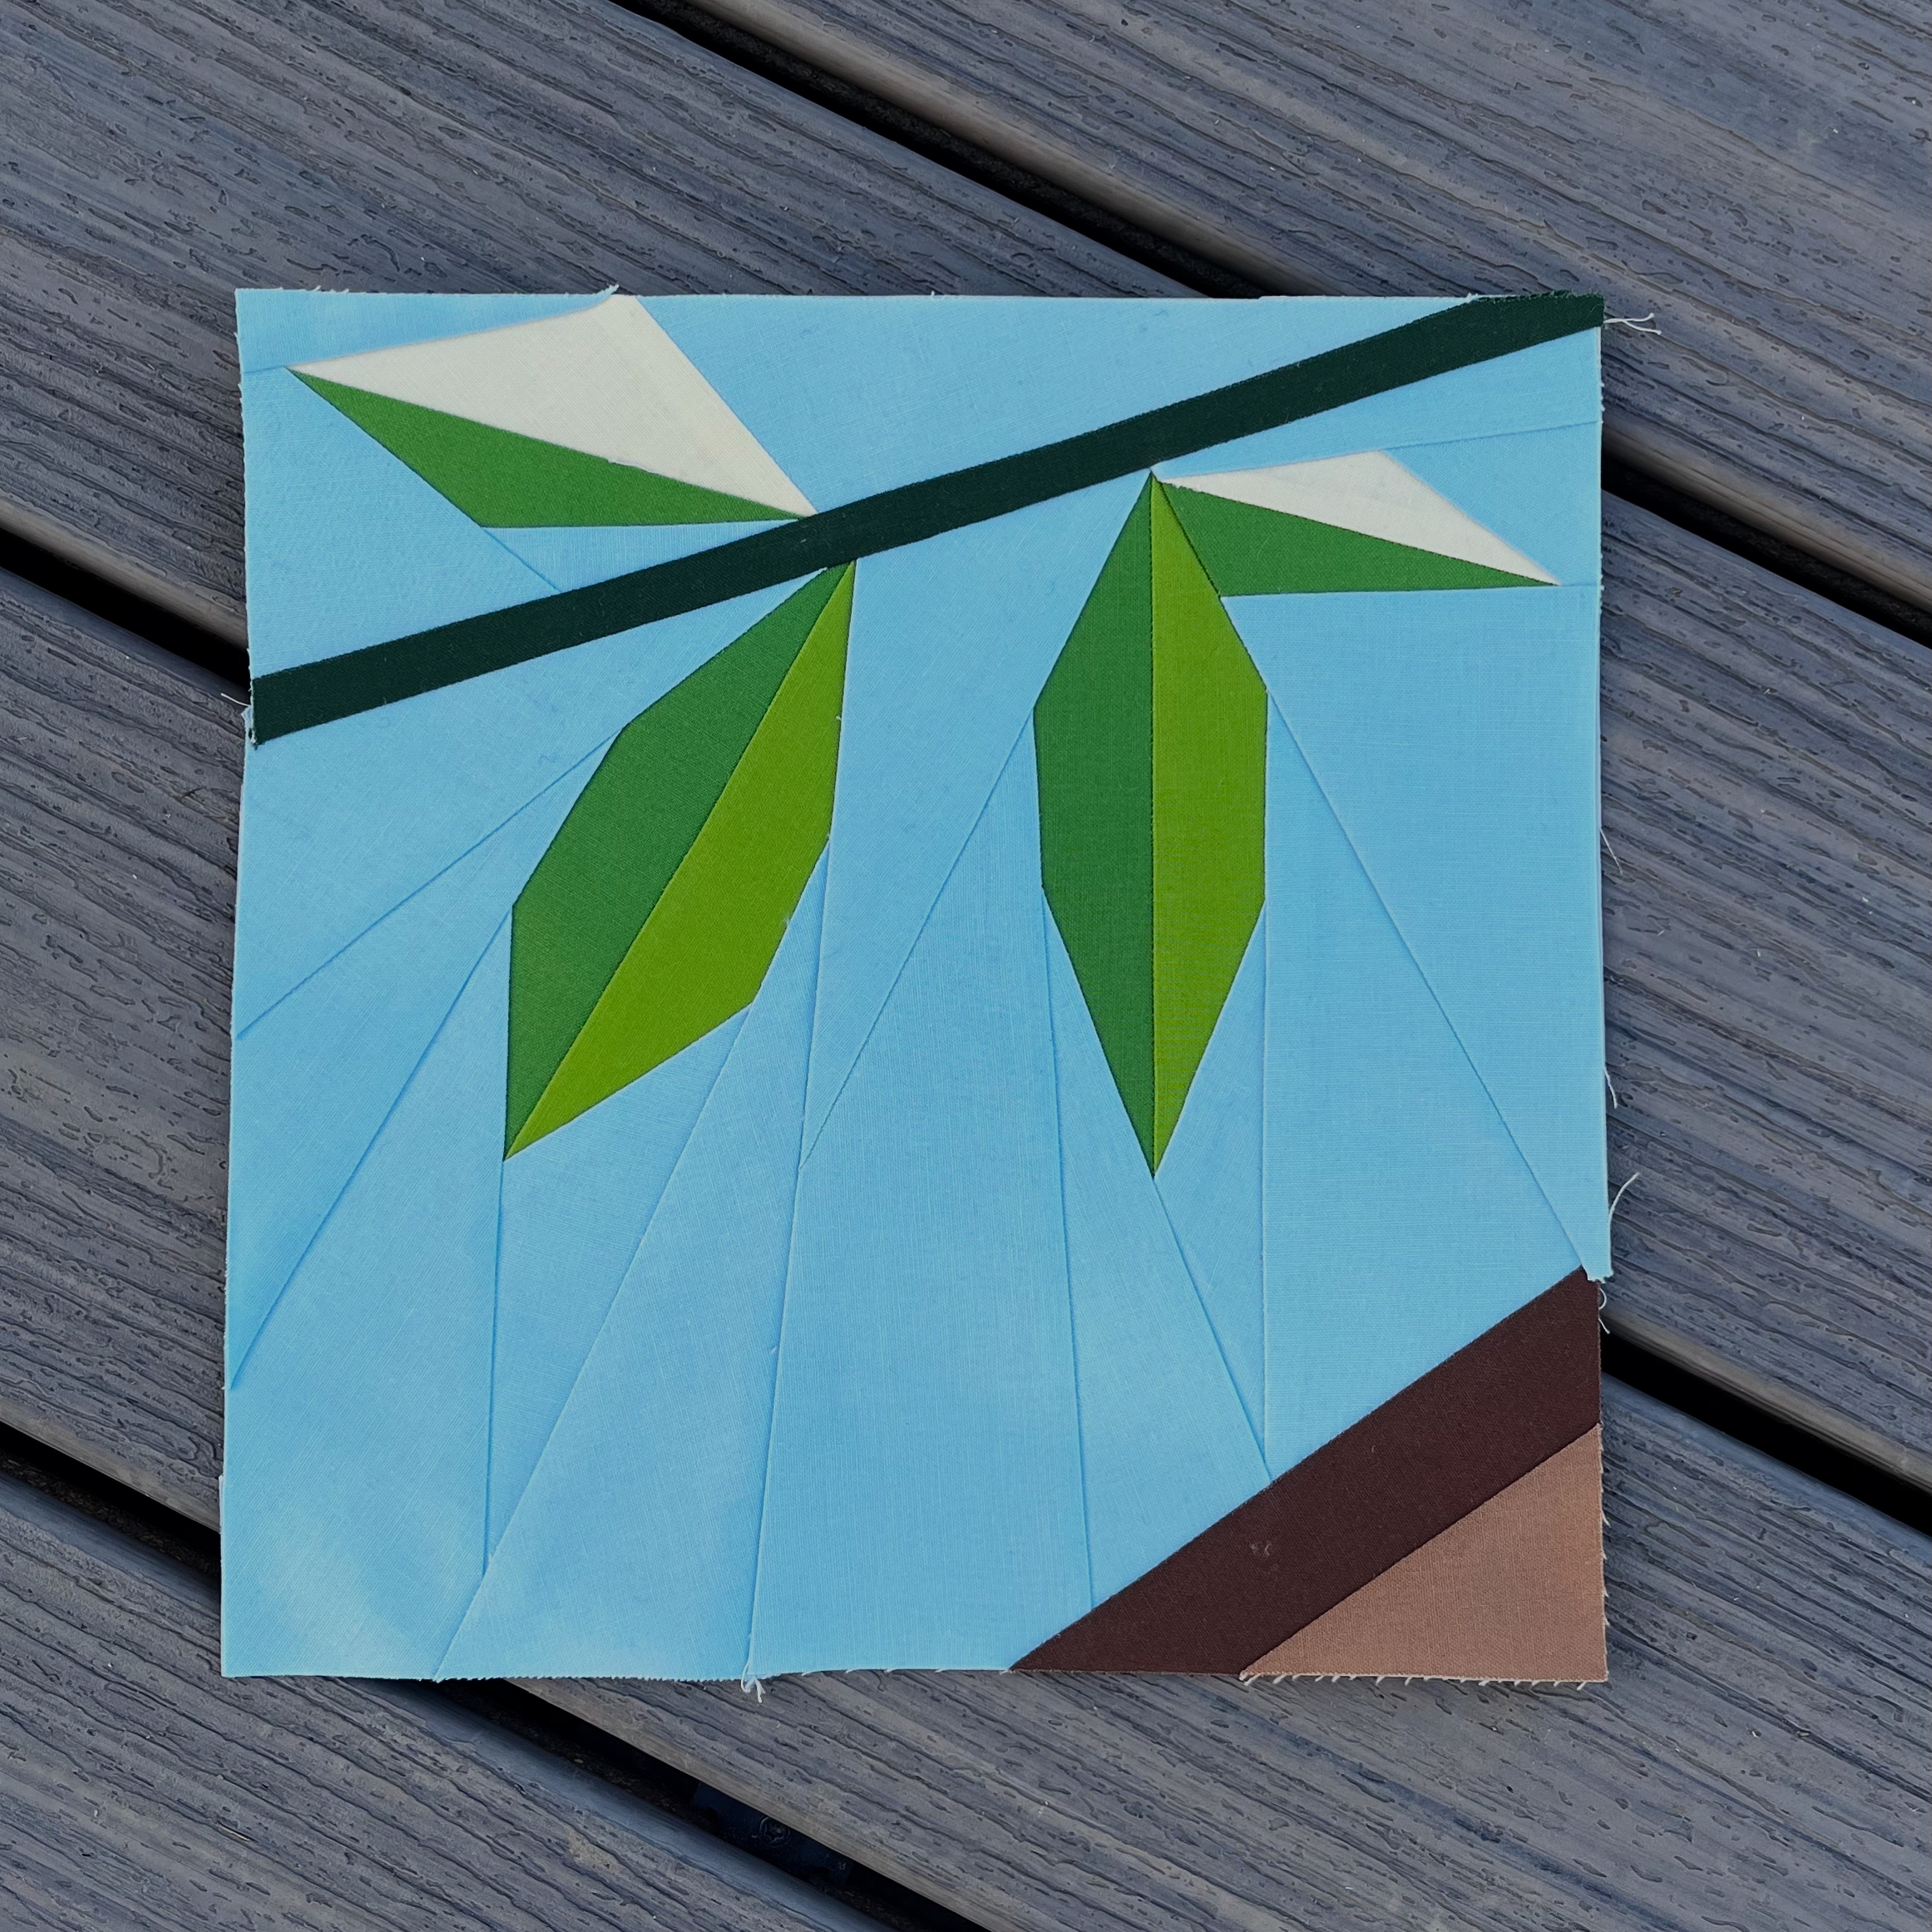
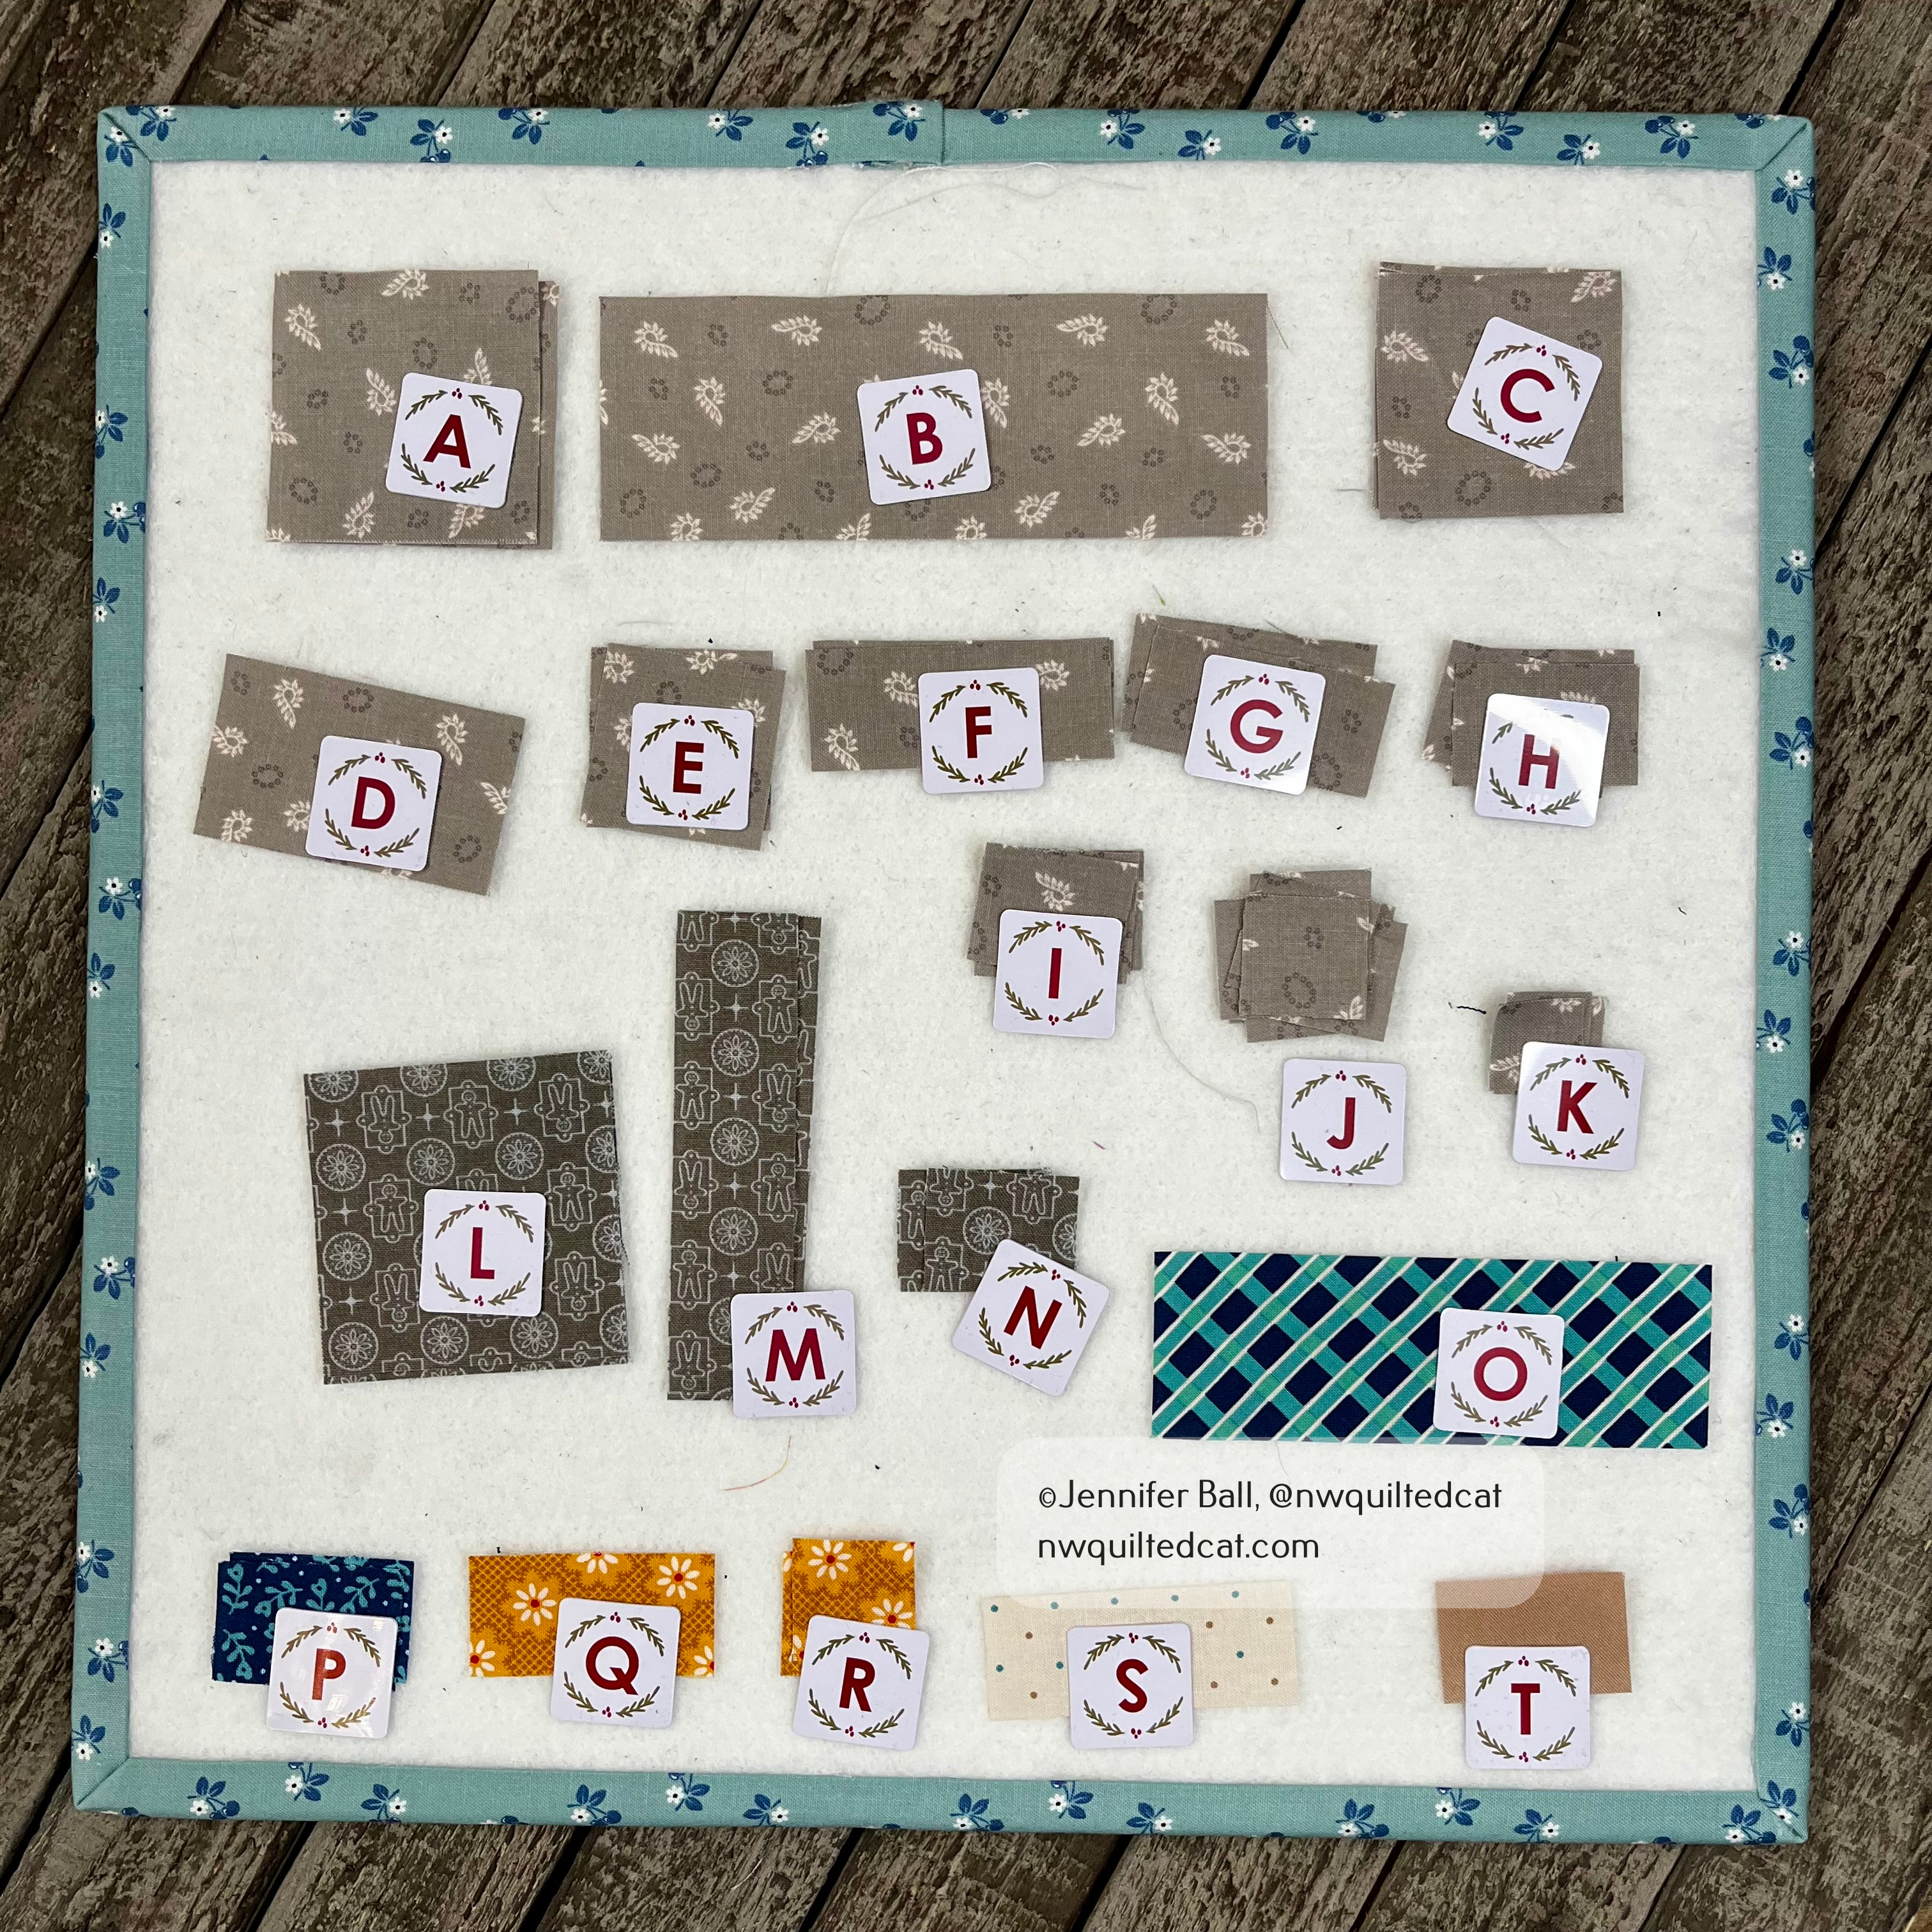
I drew the pattern with pencil and paper and started assembling the components:
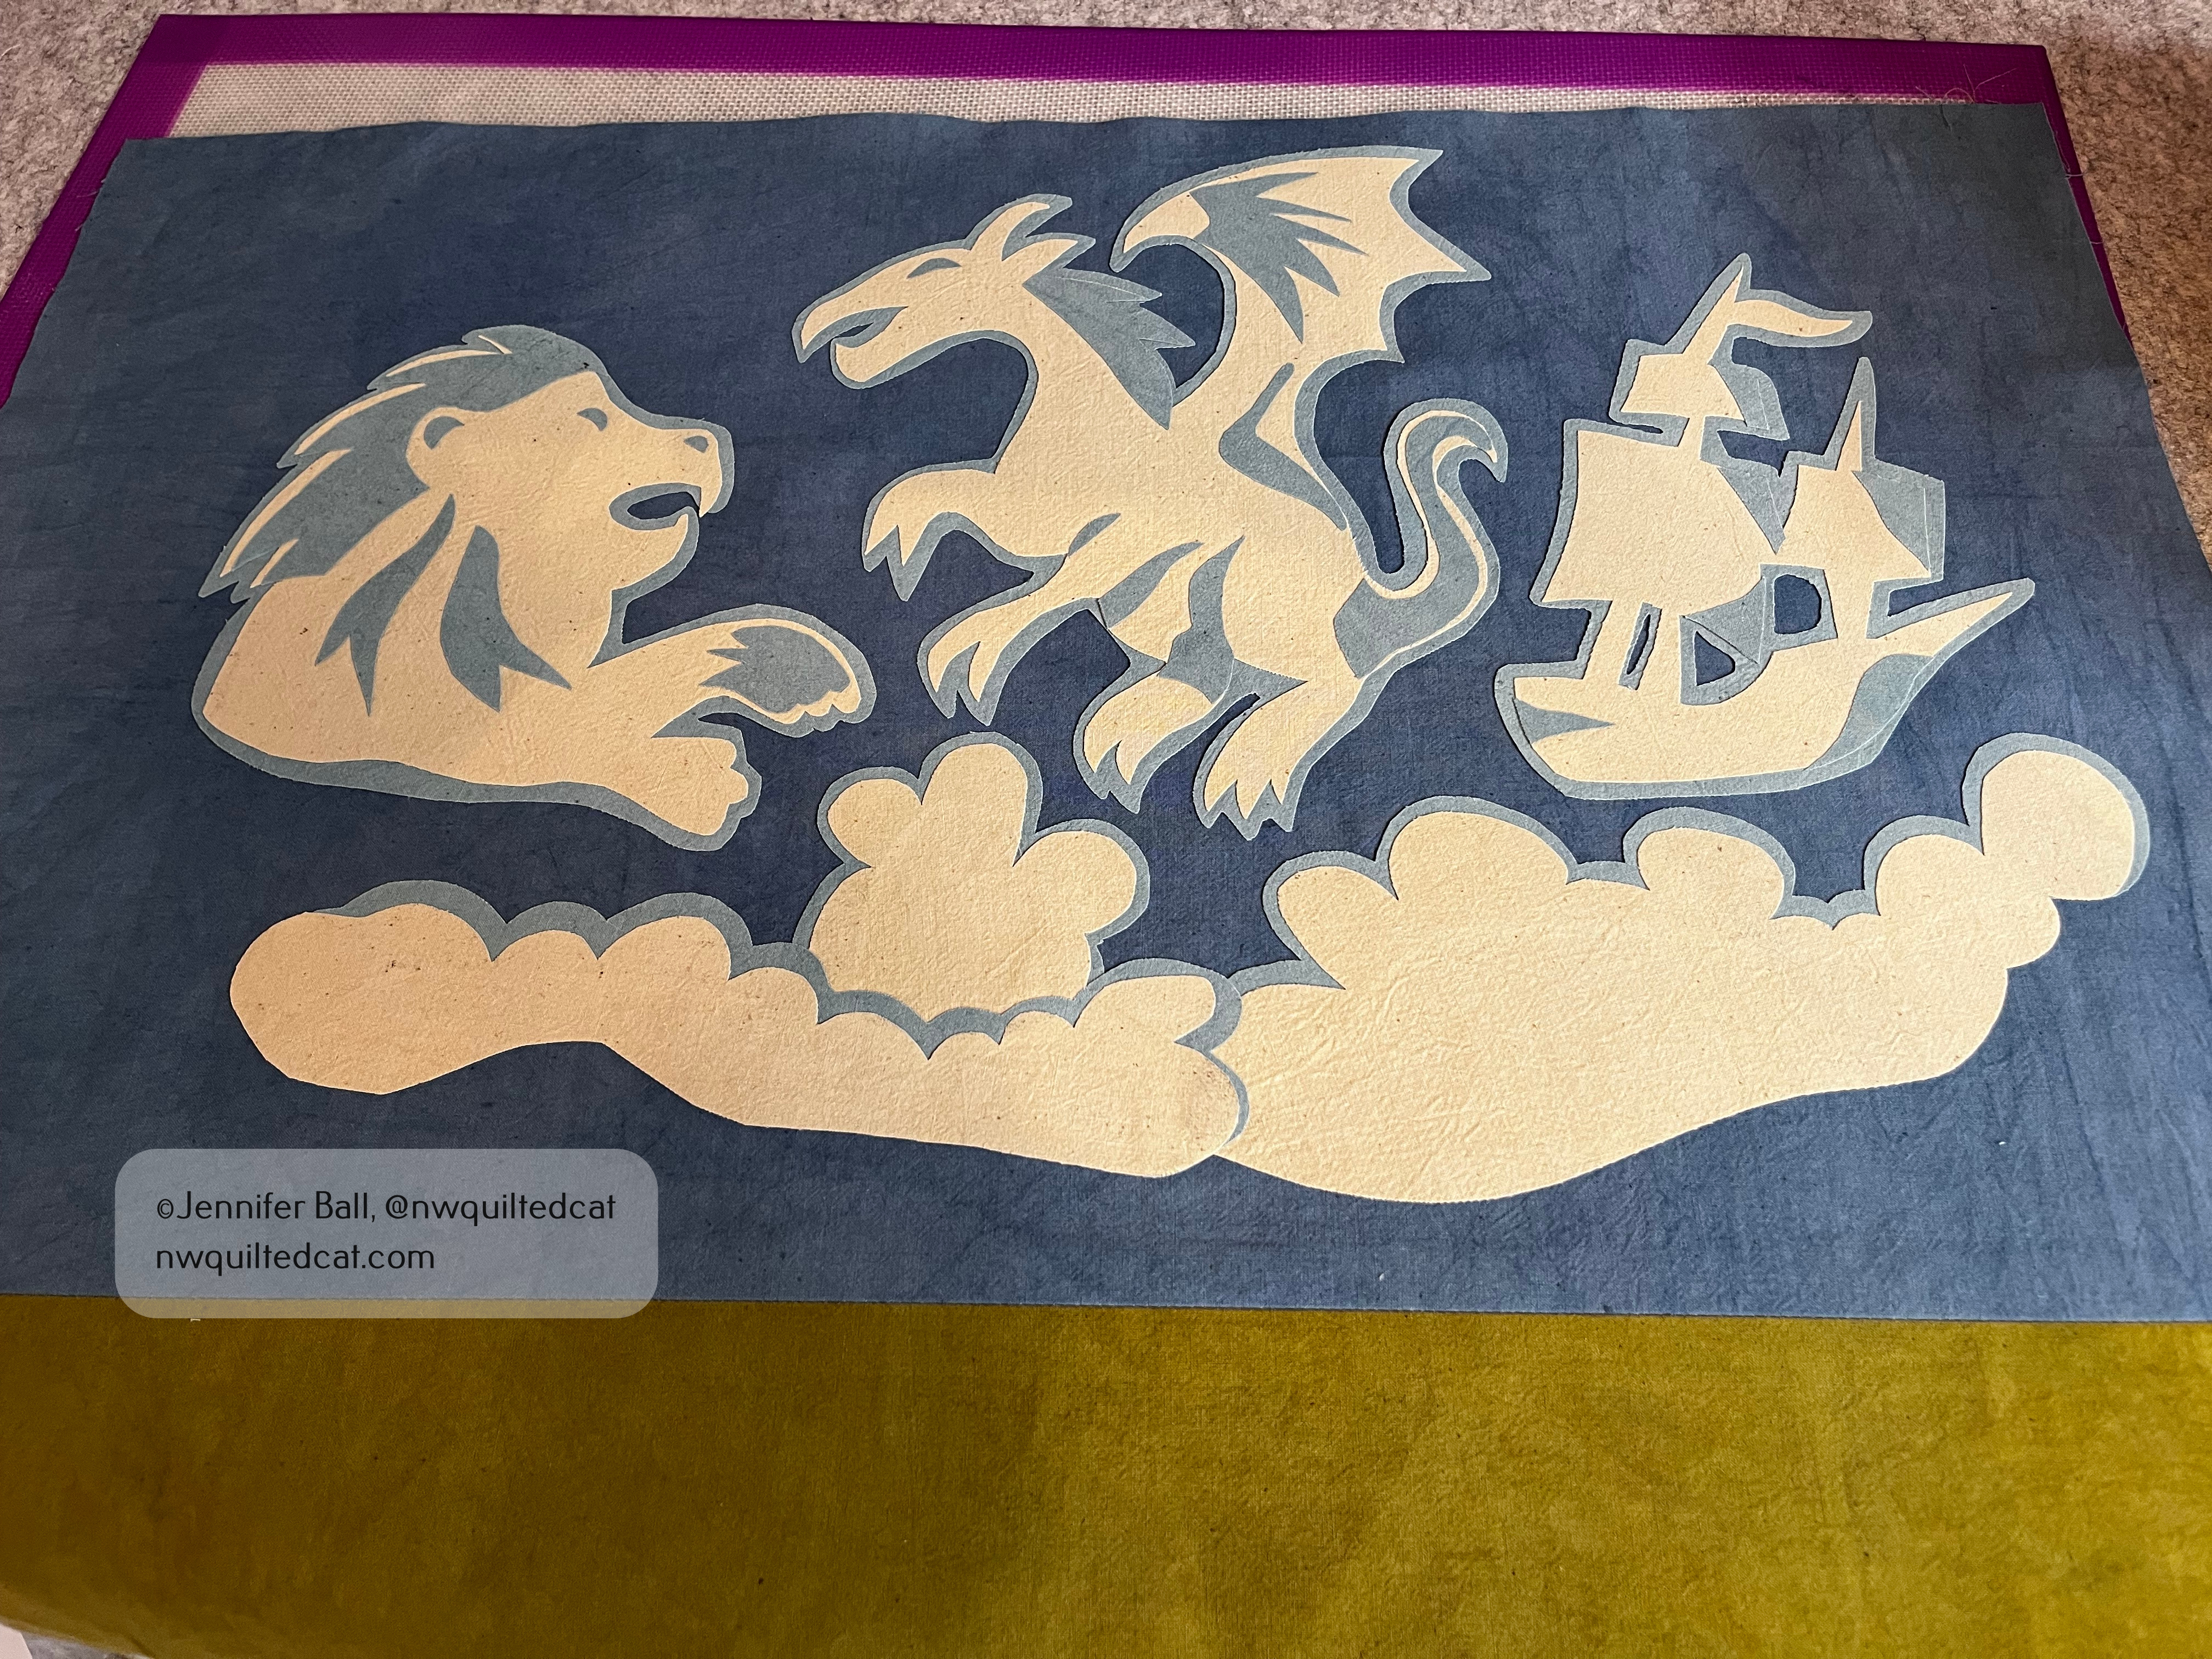
I worked on the background and foreground elements separately. Once I had the background and the fantastical cloud shapes, I quilted them down on my domestic Bernina sewing machine.
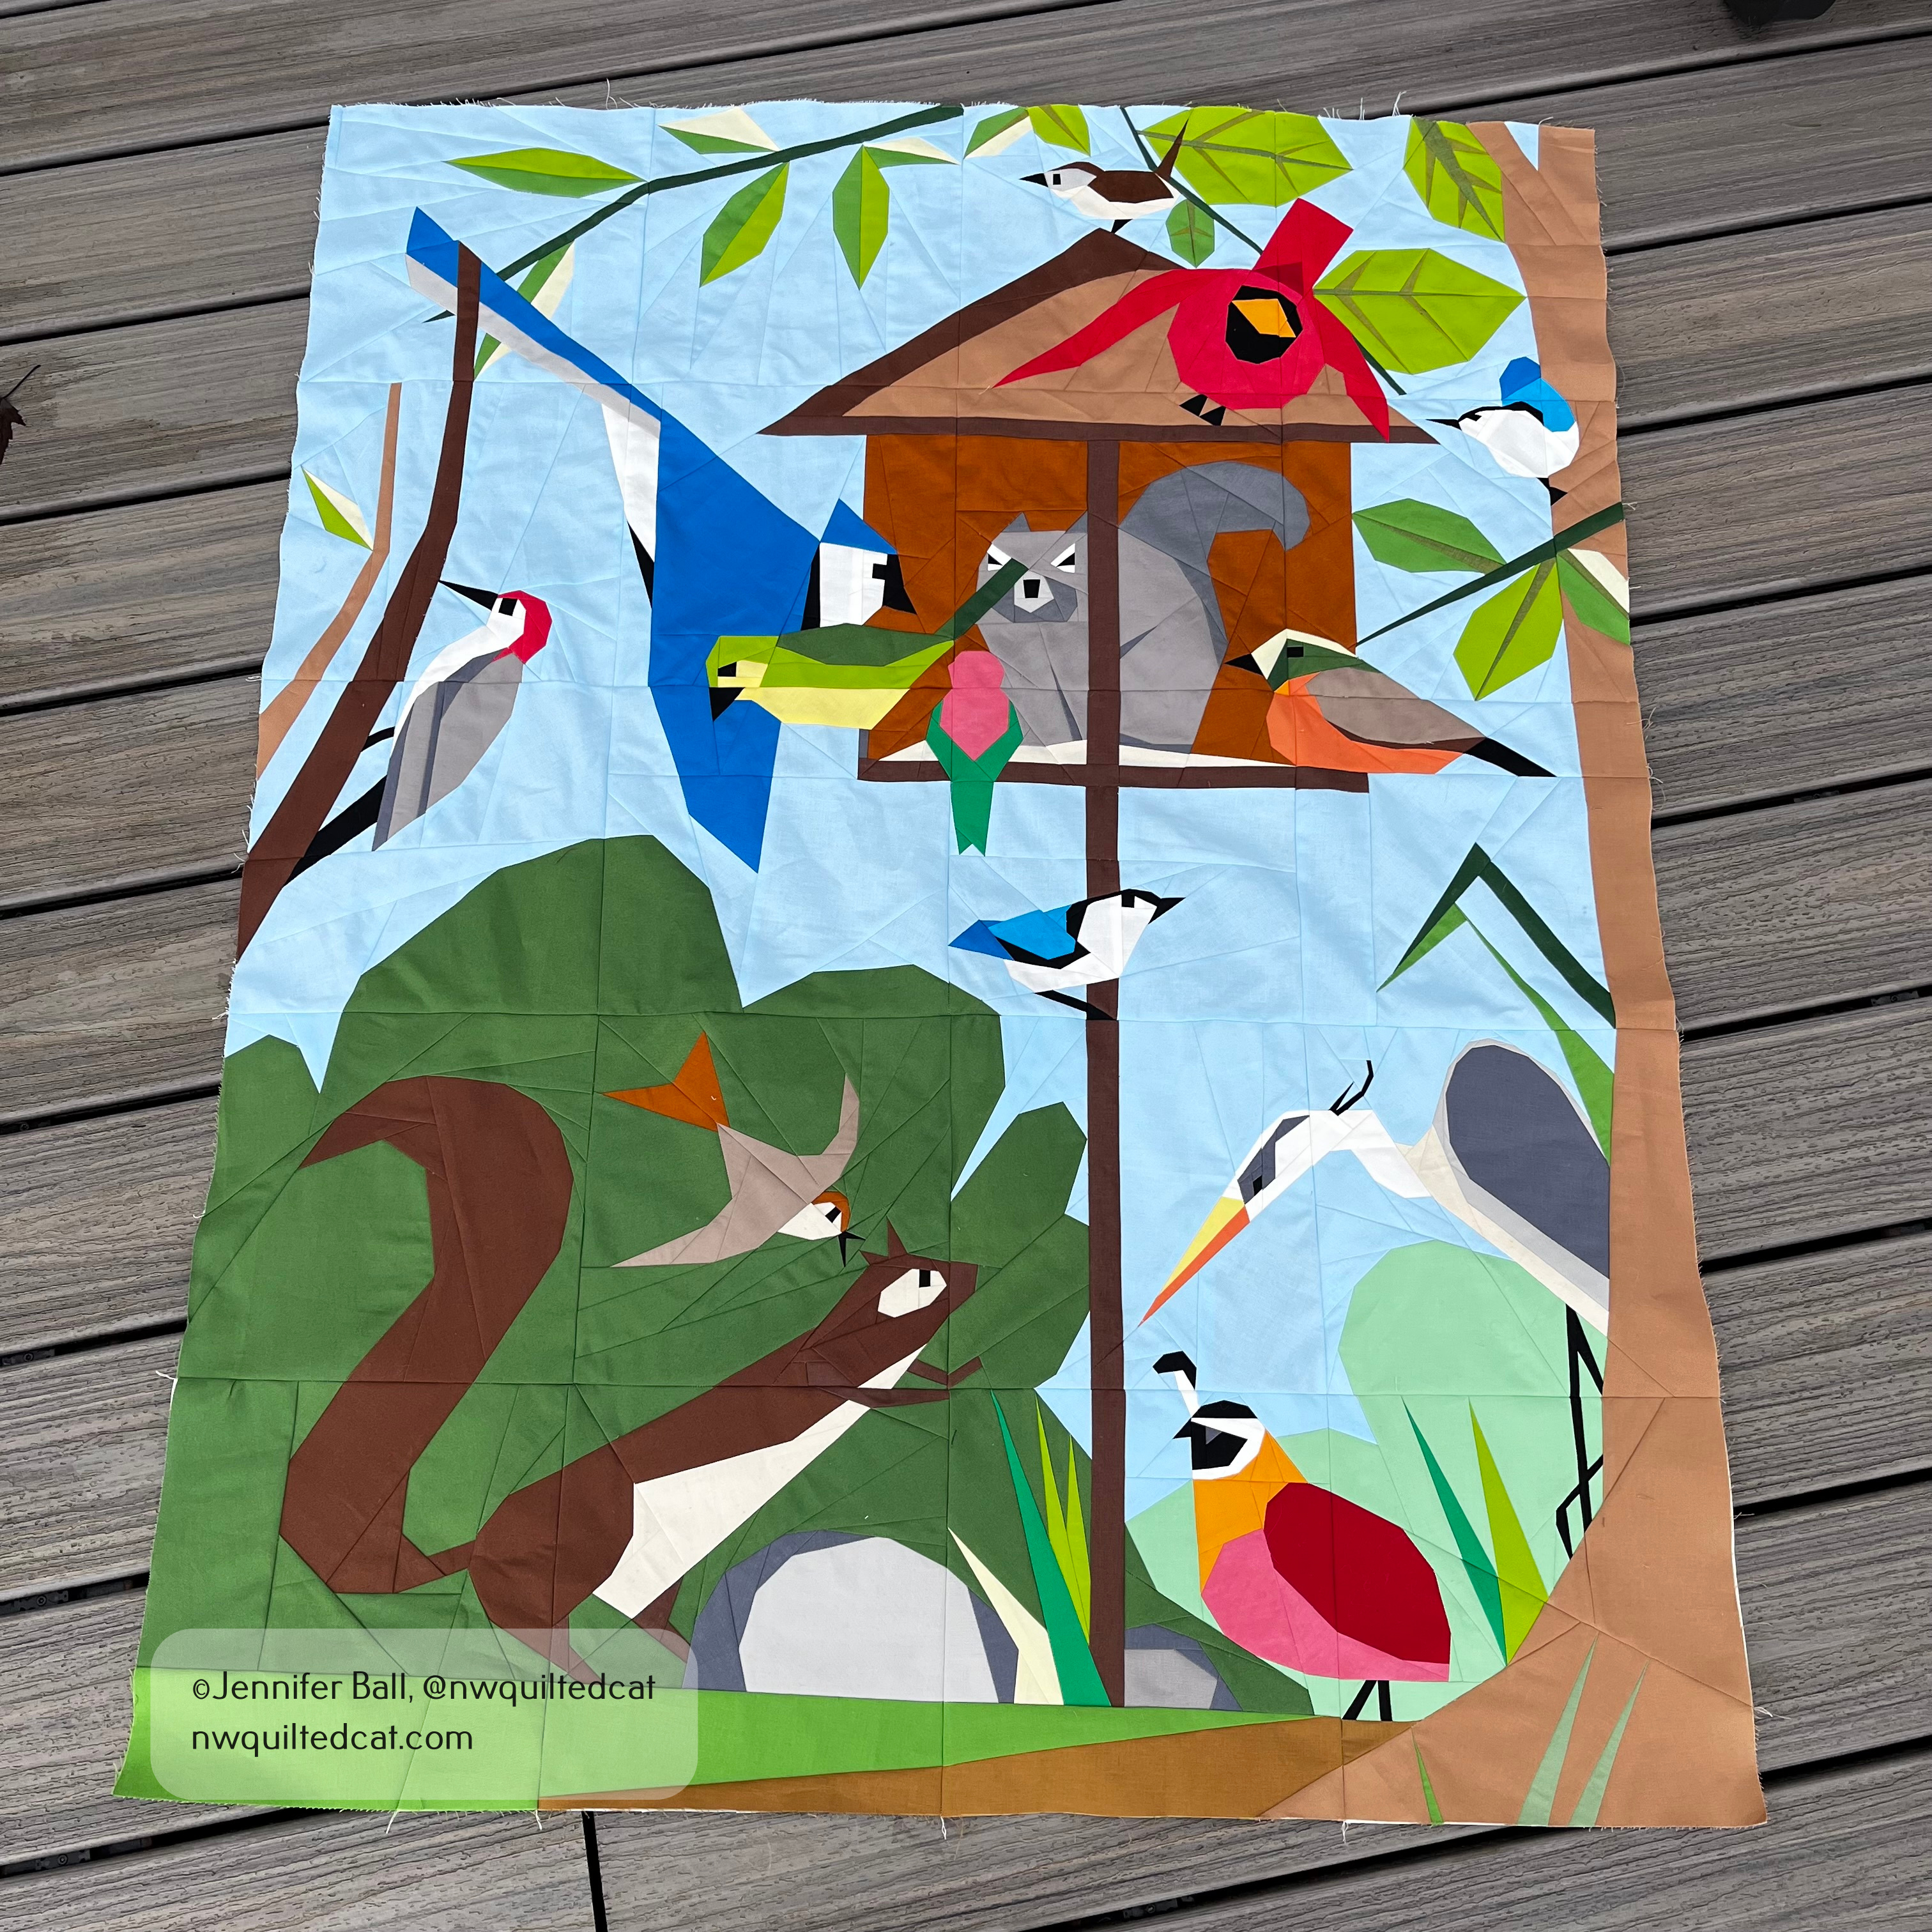
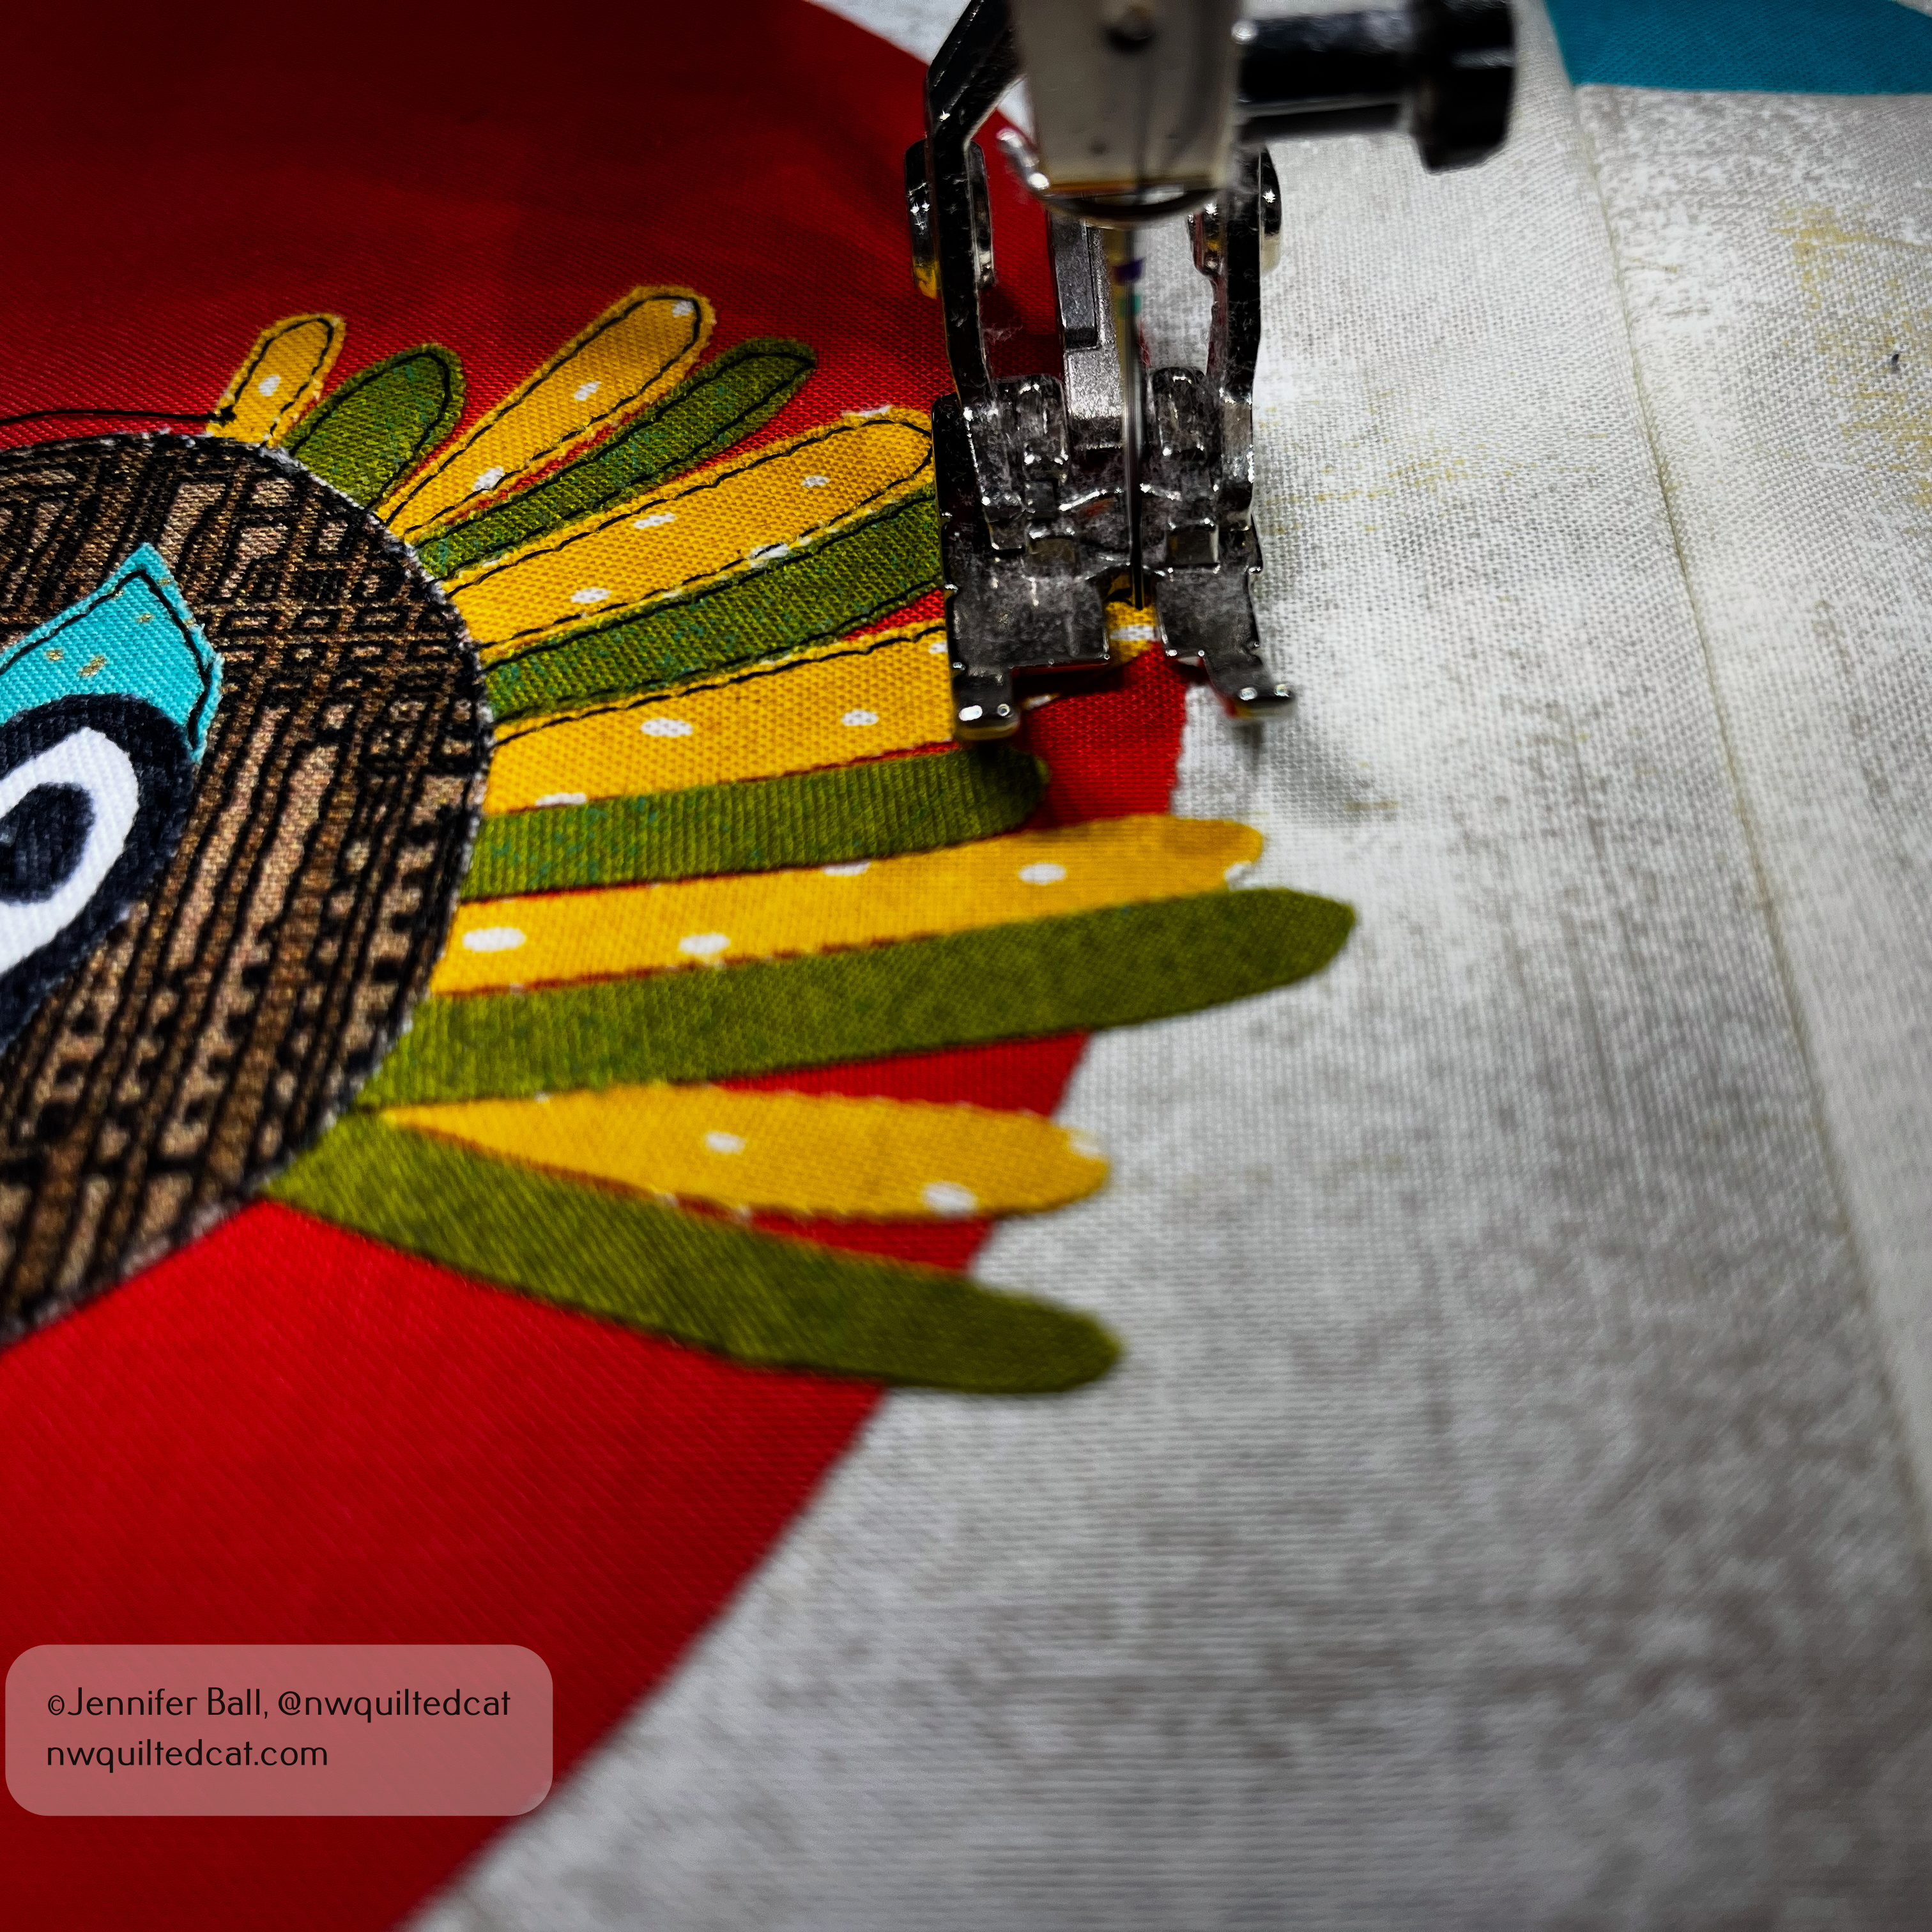
Next, I added the foreground shapes, quilted those down, and started to add details.
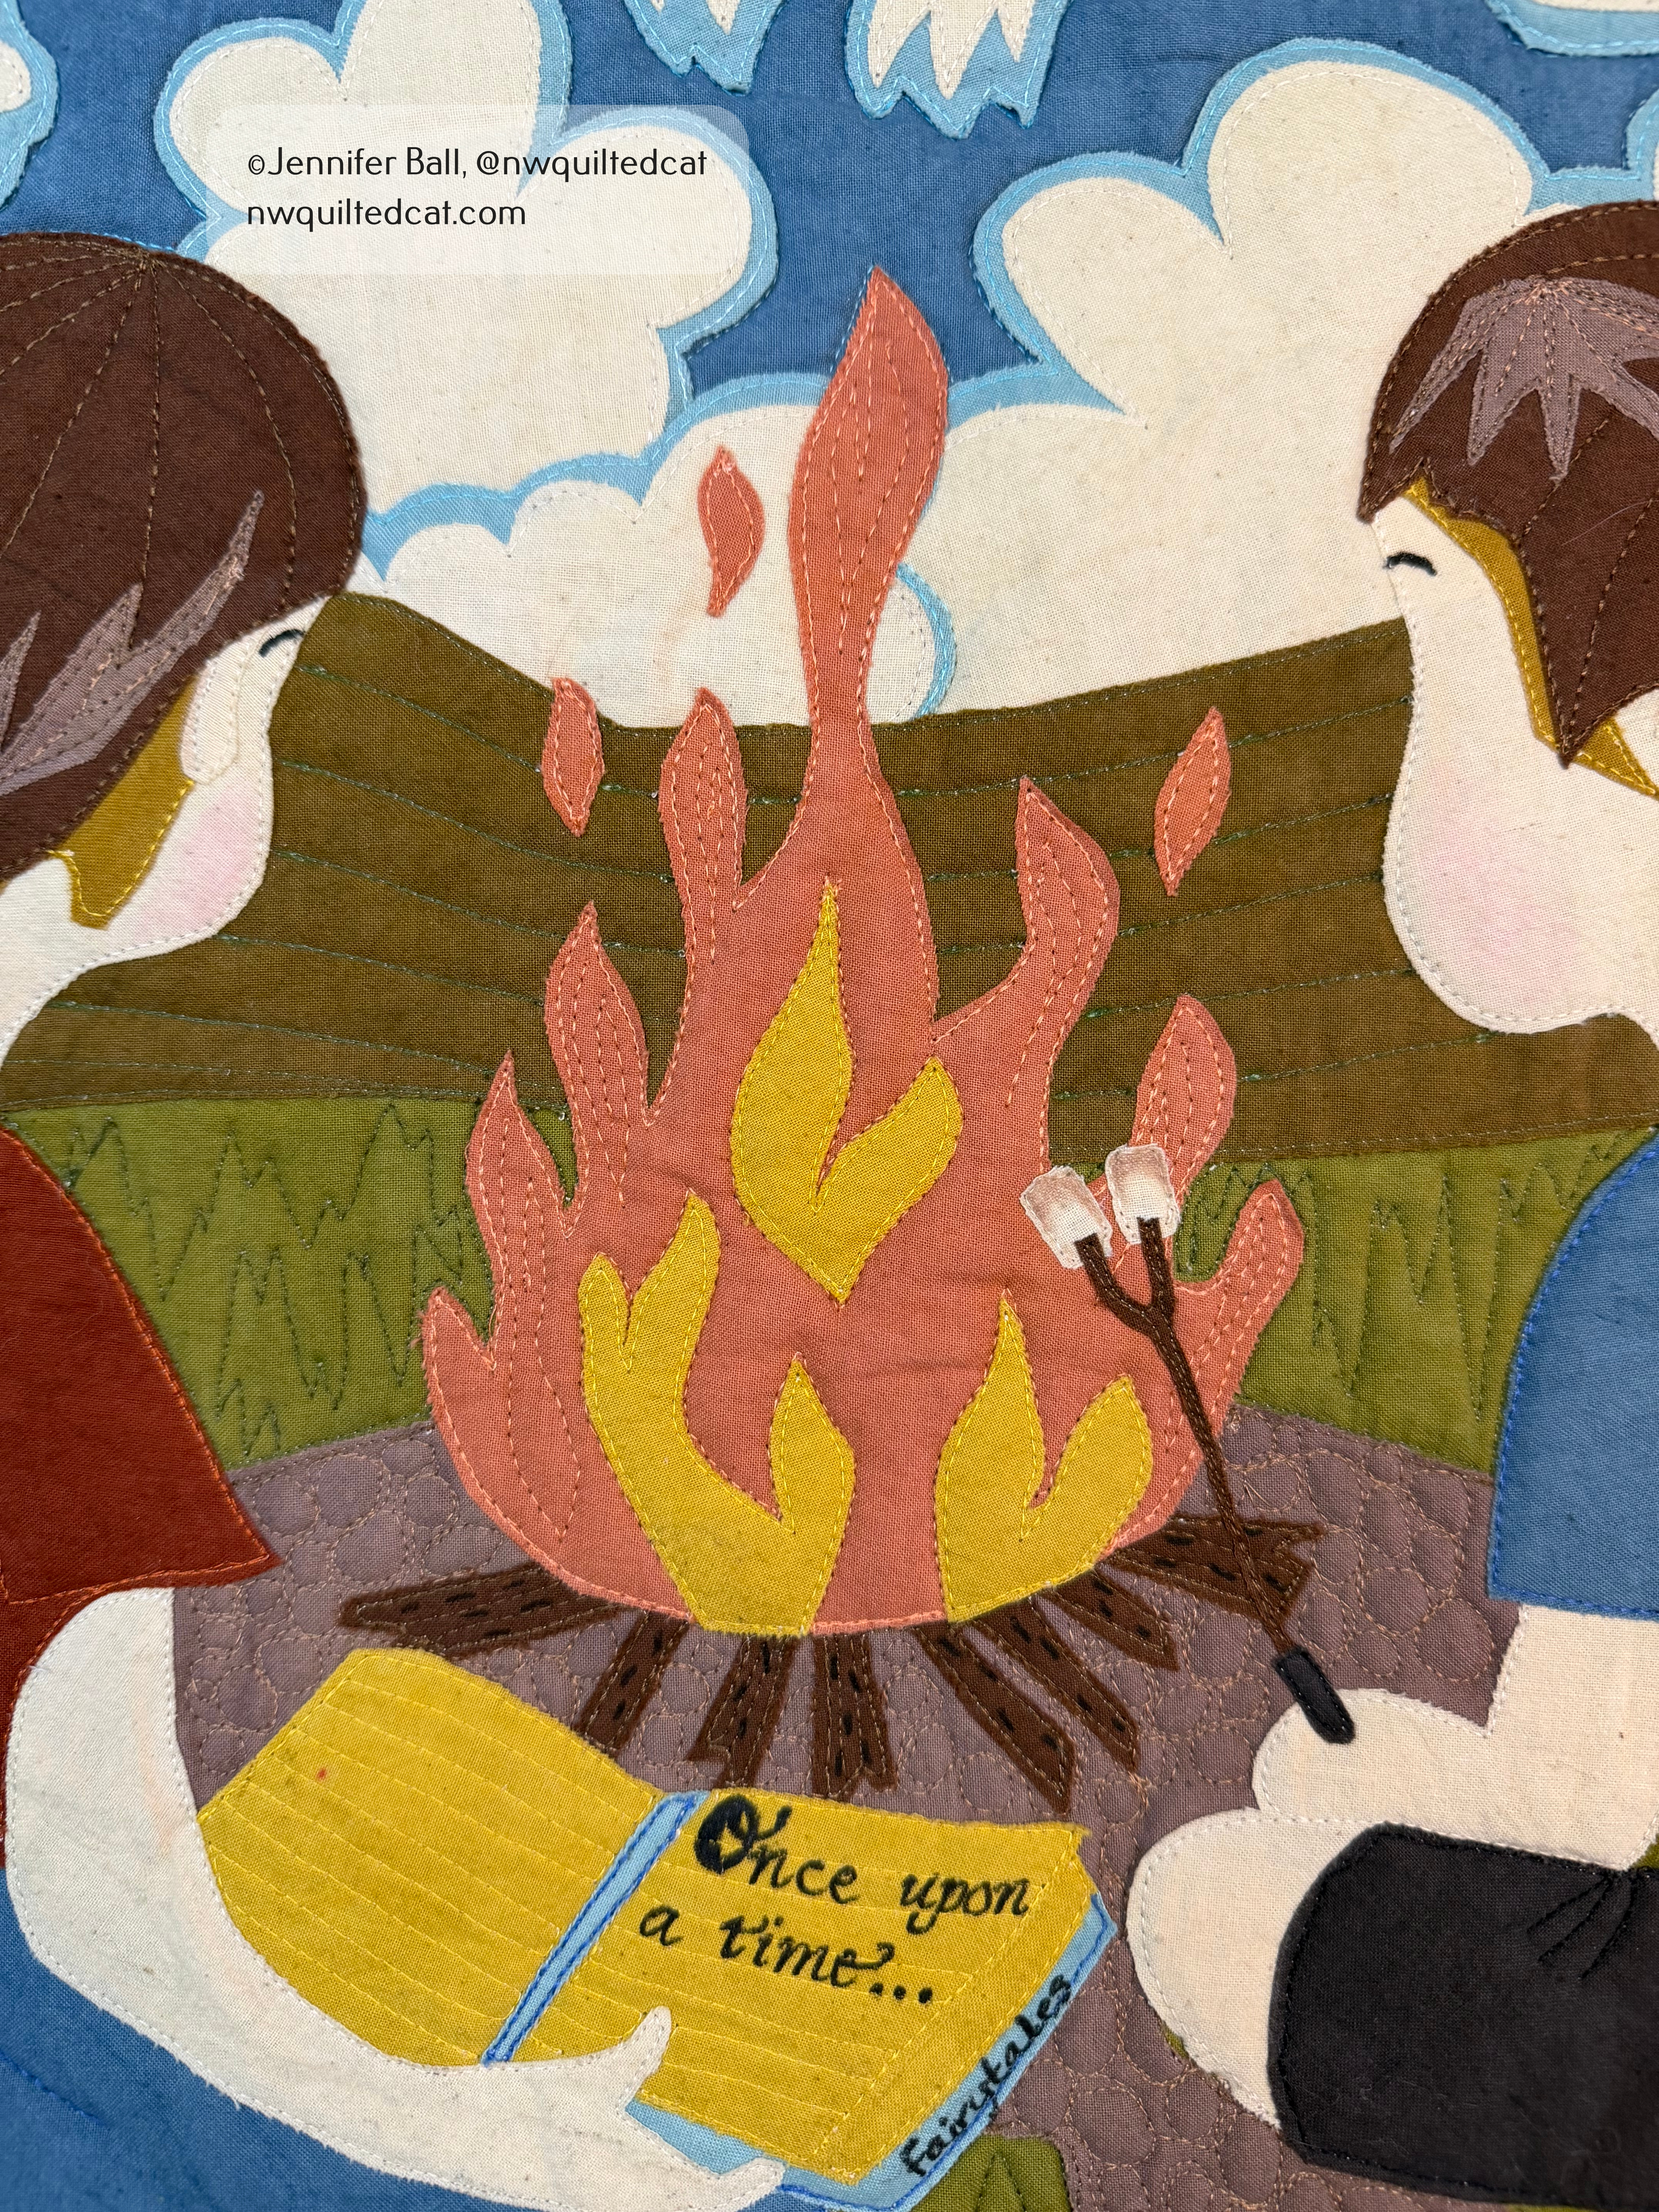
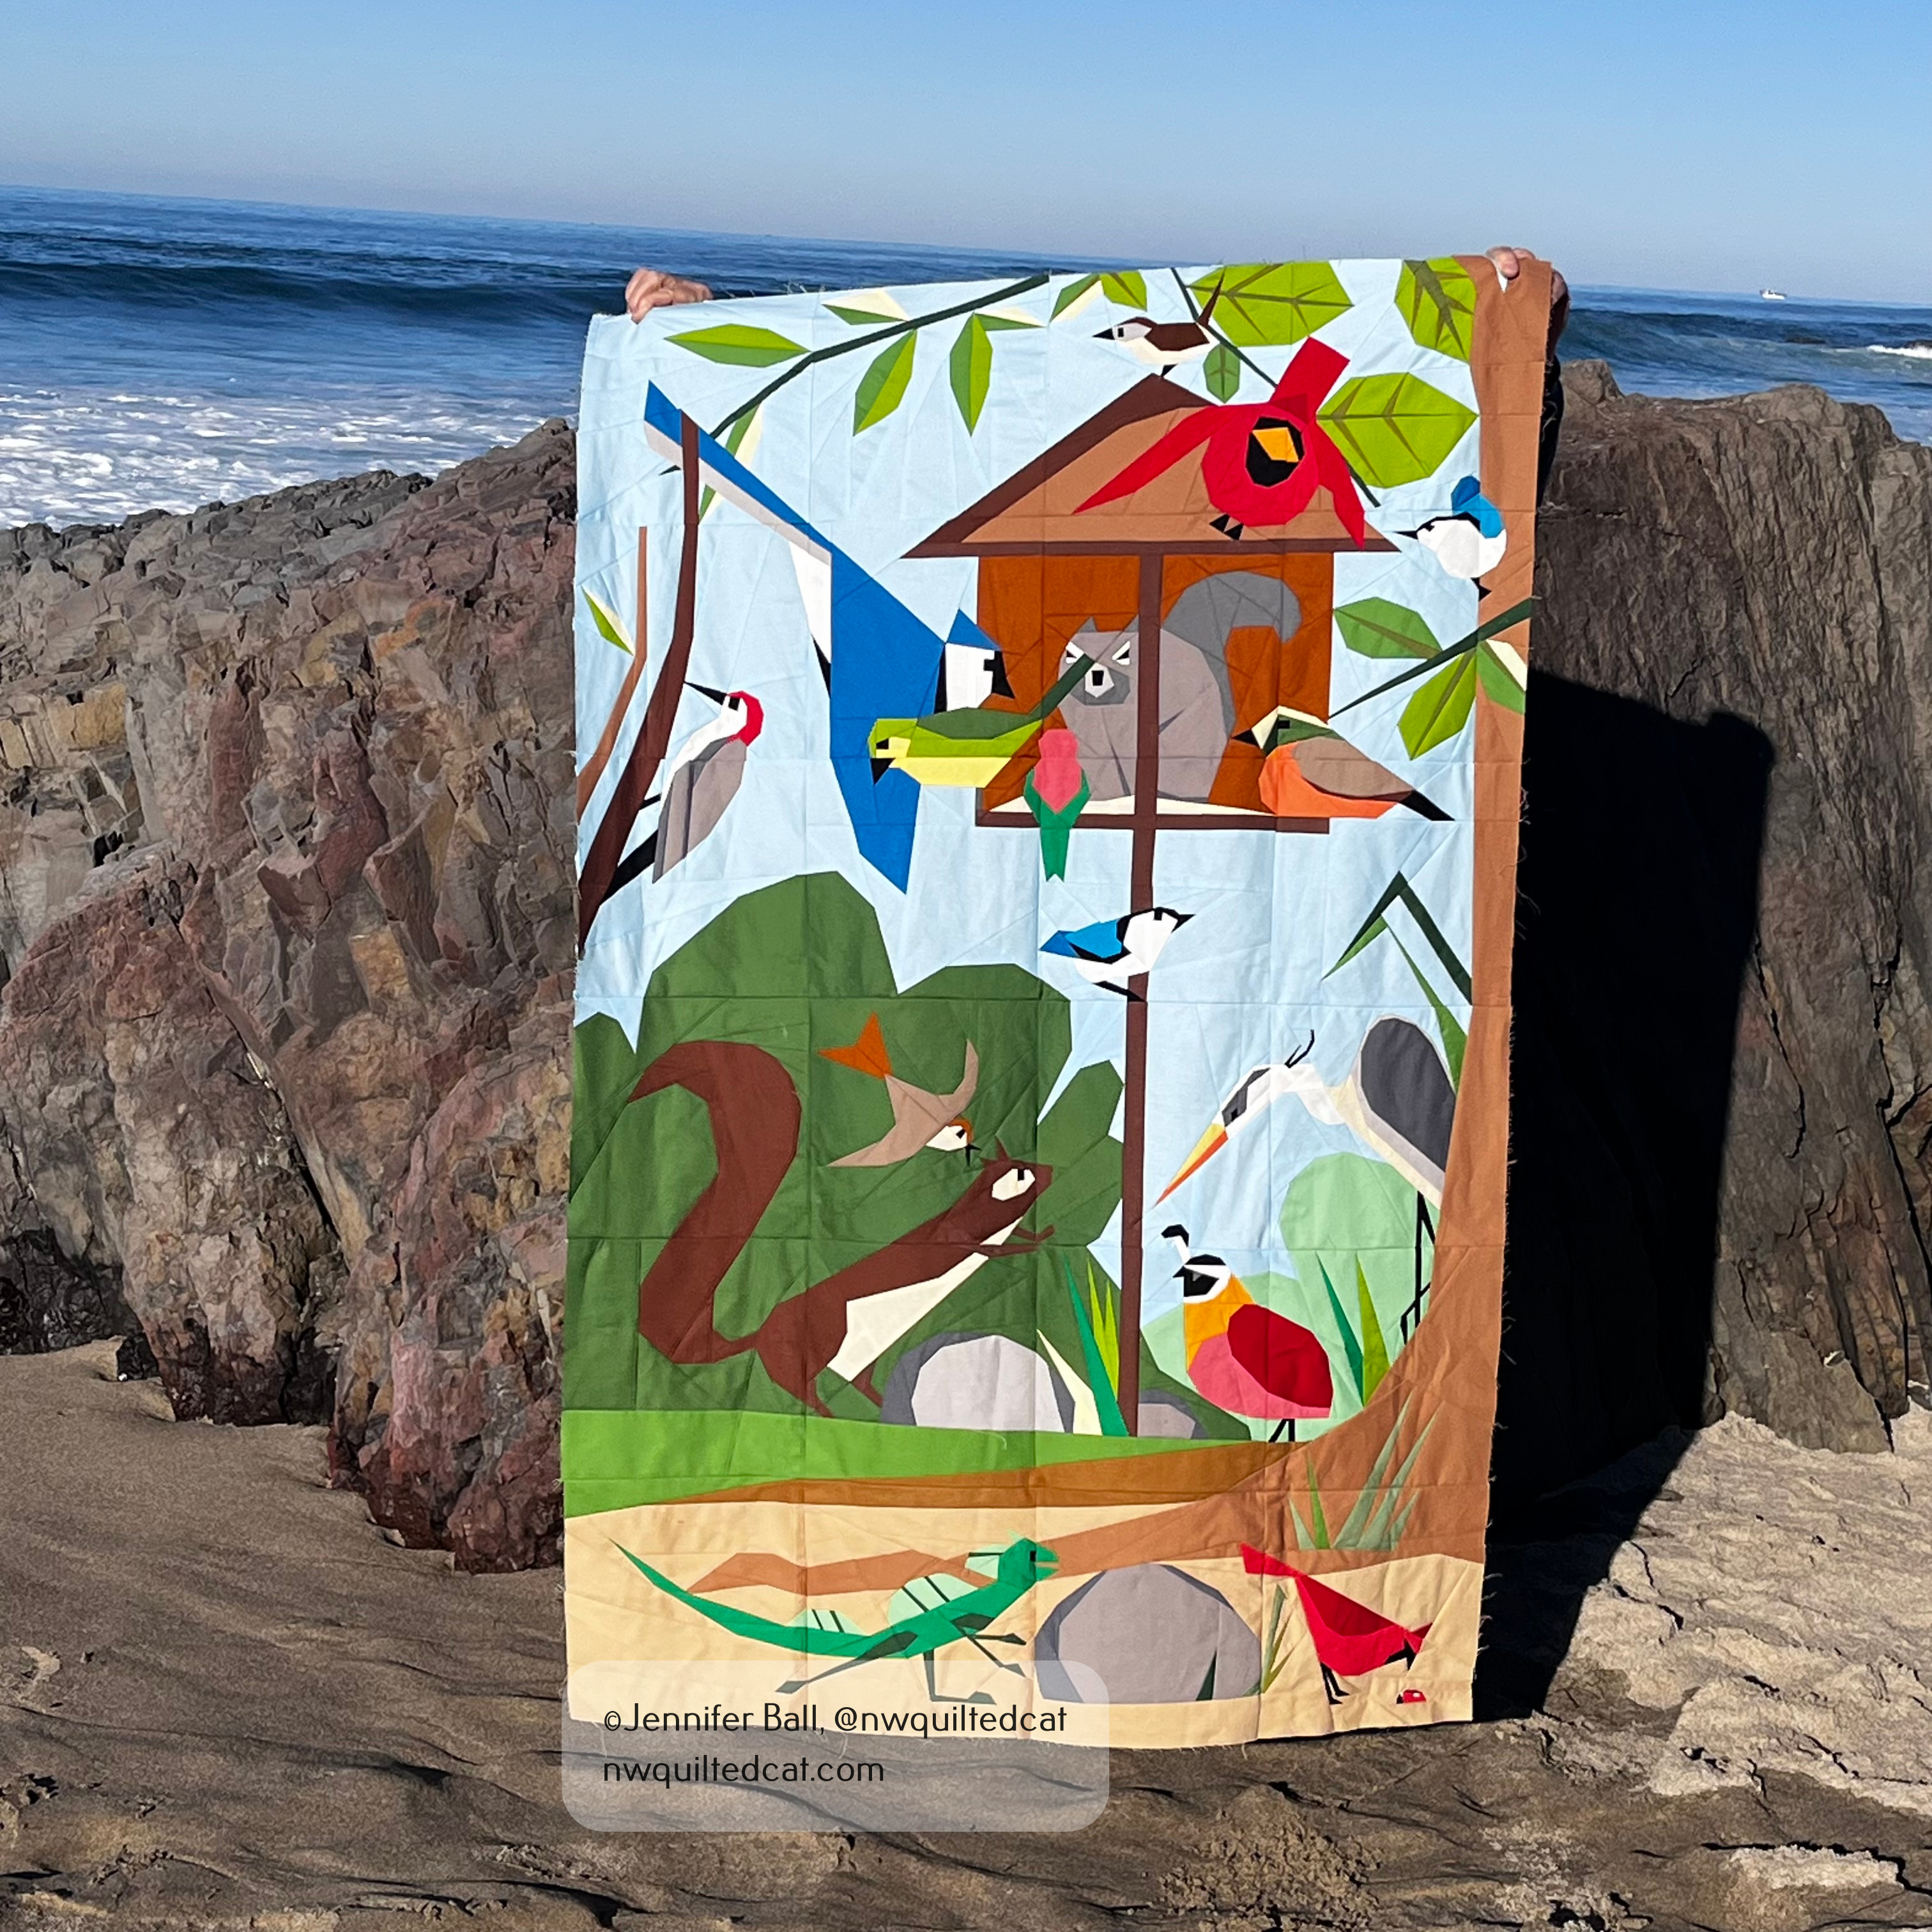
Can you find all the fun details in the quilt?
I really enjoyed this challenge, and I’m so grateful that my quilt was accepted as a finalist. I hope to see it in person at a quilt show sometime this year. In the meantime, get ready! Cherrywood Fabrics has announced the next challenge and the theme is Jane Goodall, with rich greens and warm neutrals.
Happy quilting!
-Jen