Scrappy Summer Sew Along + Update on Pepper

Hi everyone,

I posted about joining a scrappy summer sew along a few weeks ago here. This quilt uses your scrap bin to make a 9-patch blocks for a scrappy finish!

I used a bunch of yellows plus pinks/reds to make a “Raspberry Lemonade” scrappy quilt. I started sewing my 9-patch blocks as leaders/enders while working on other projects. Then, a bunch of crazy life stuff happened, and I had to stop sewing for a couple of weeks.

Here’s a look at some of my 9-patch blocks, with sunlight filtering in through a side window:

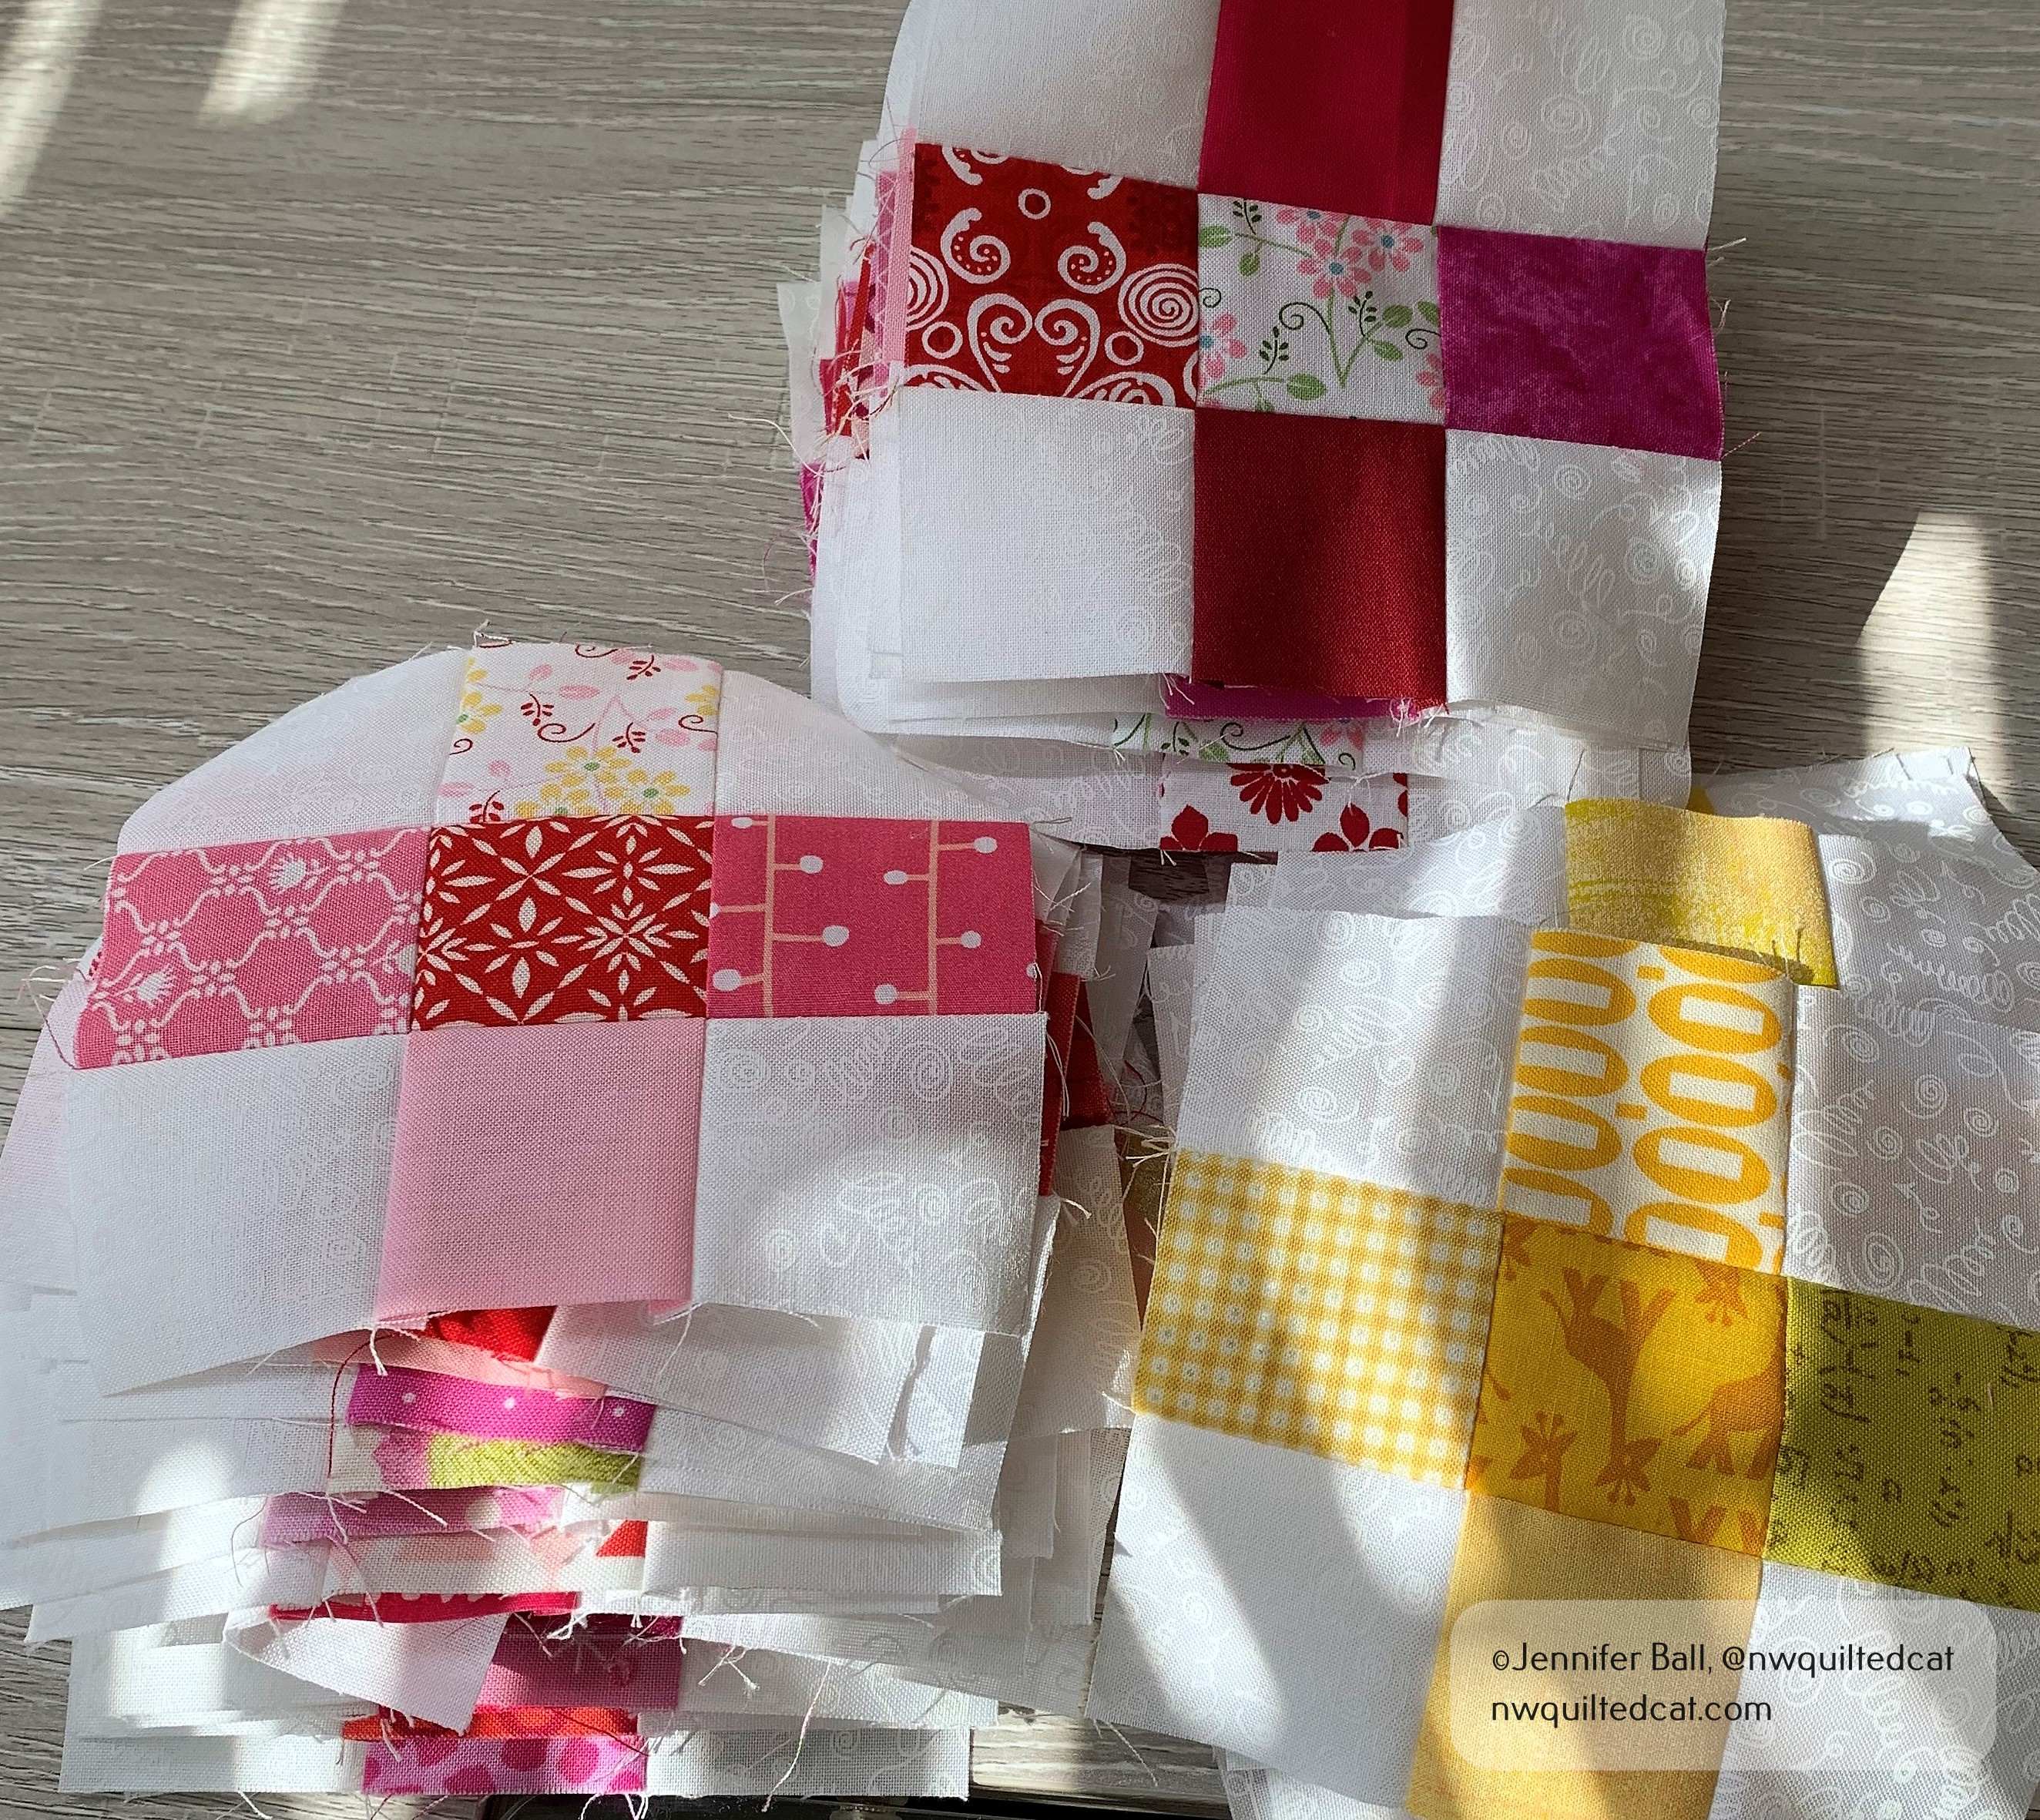
Scrappy 9-patch blocks

Sunday was the last day to post our finished top on Instagram as part of the sew along. I pulled out the 9-patch blocks that I had completed, and I had just enough for a baby sized quilt. My quilt inspector helped me to sort the blocks into rows and columns.
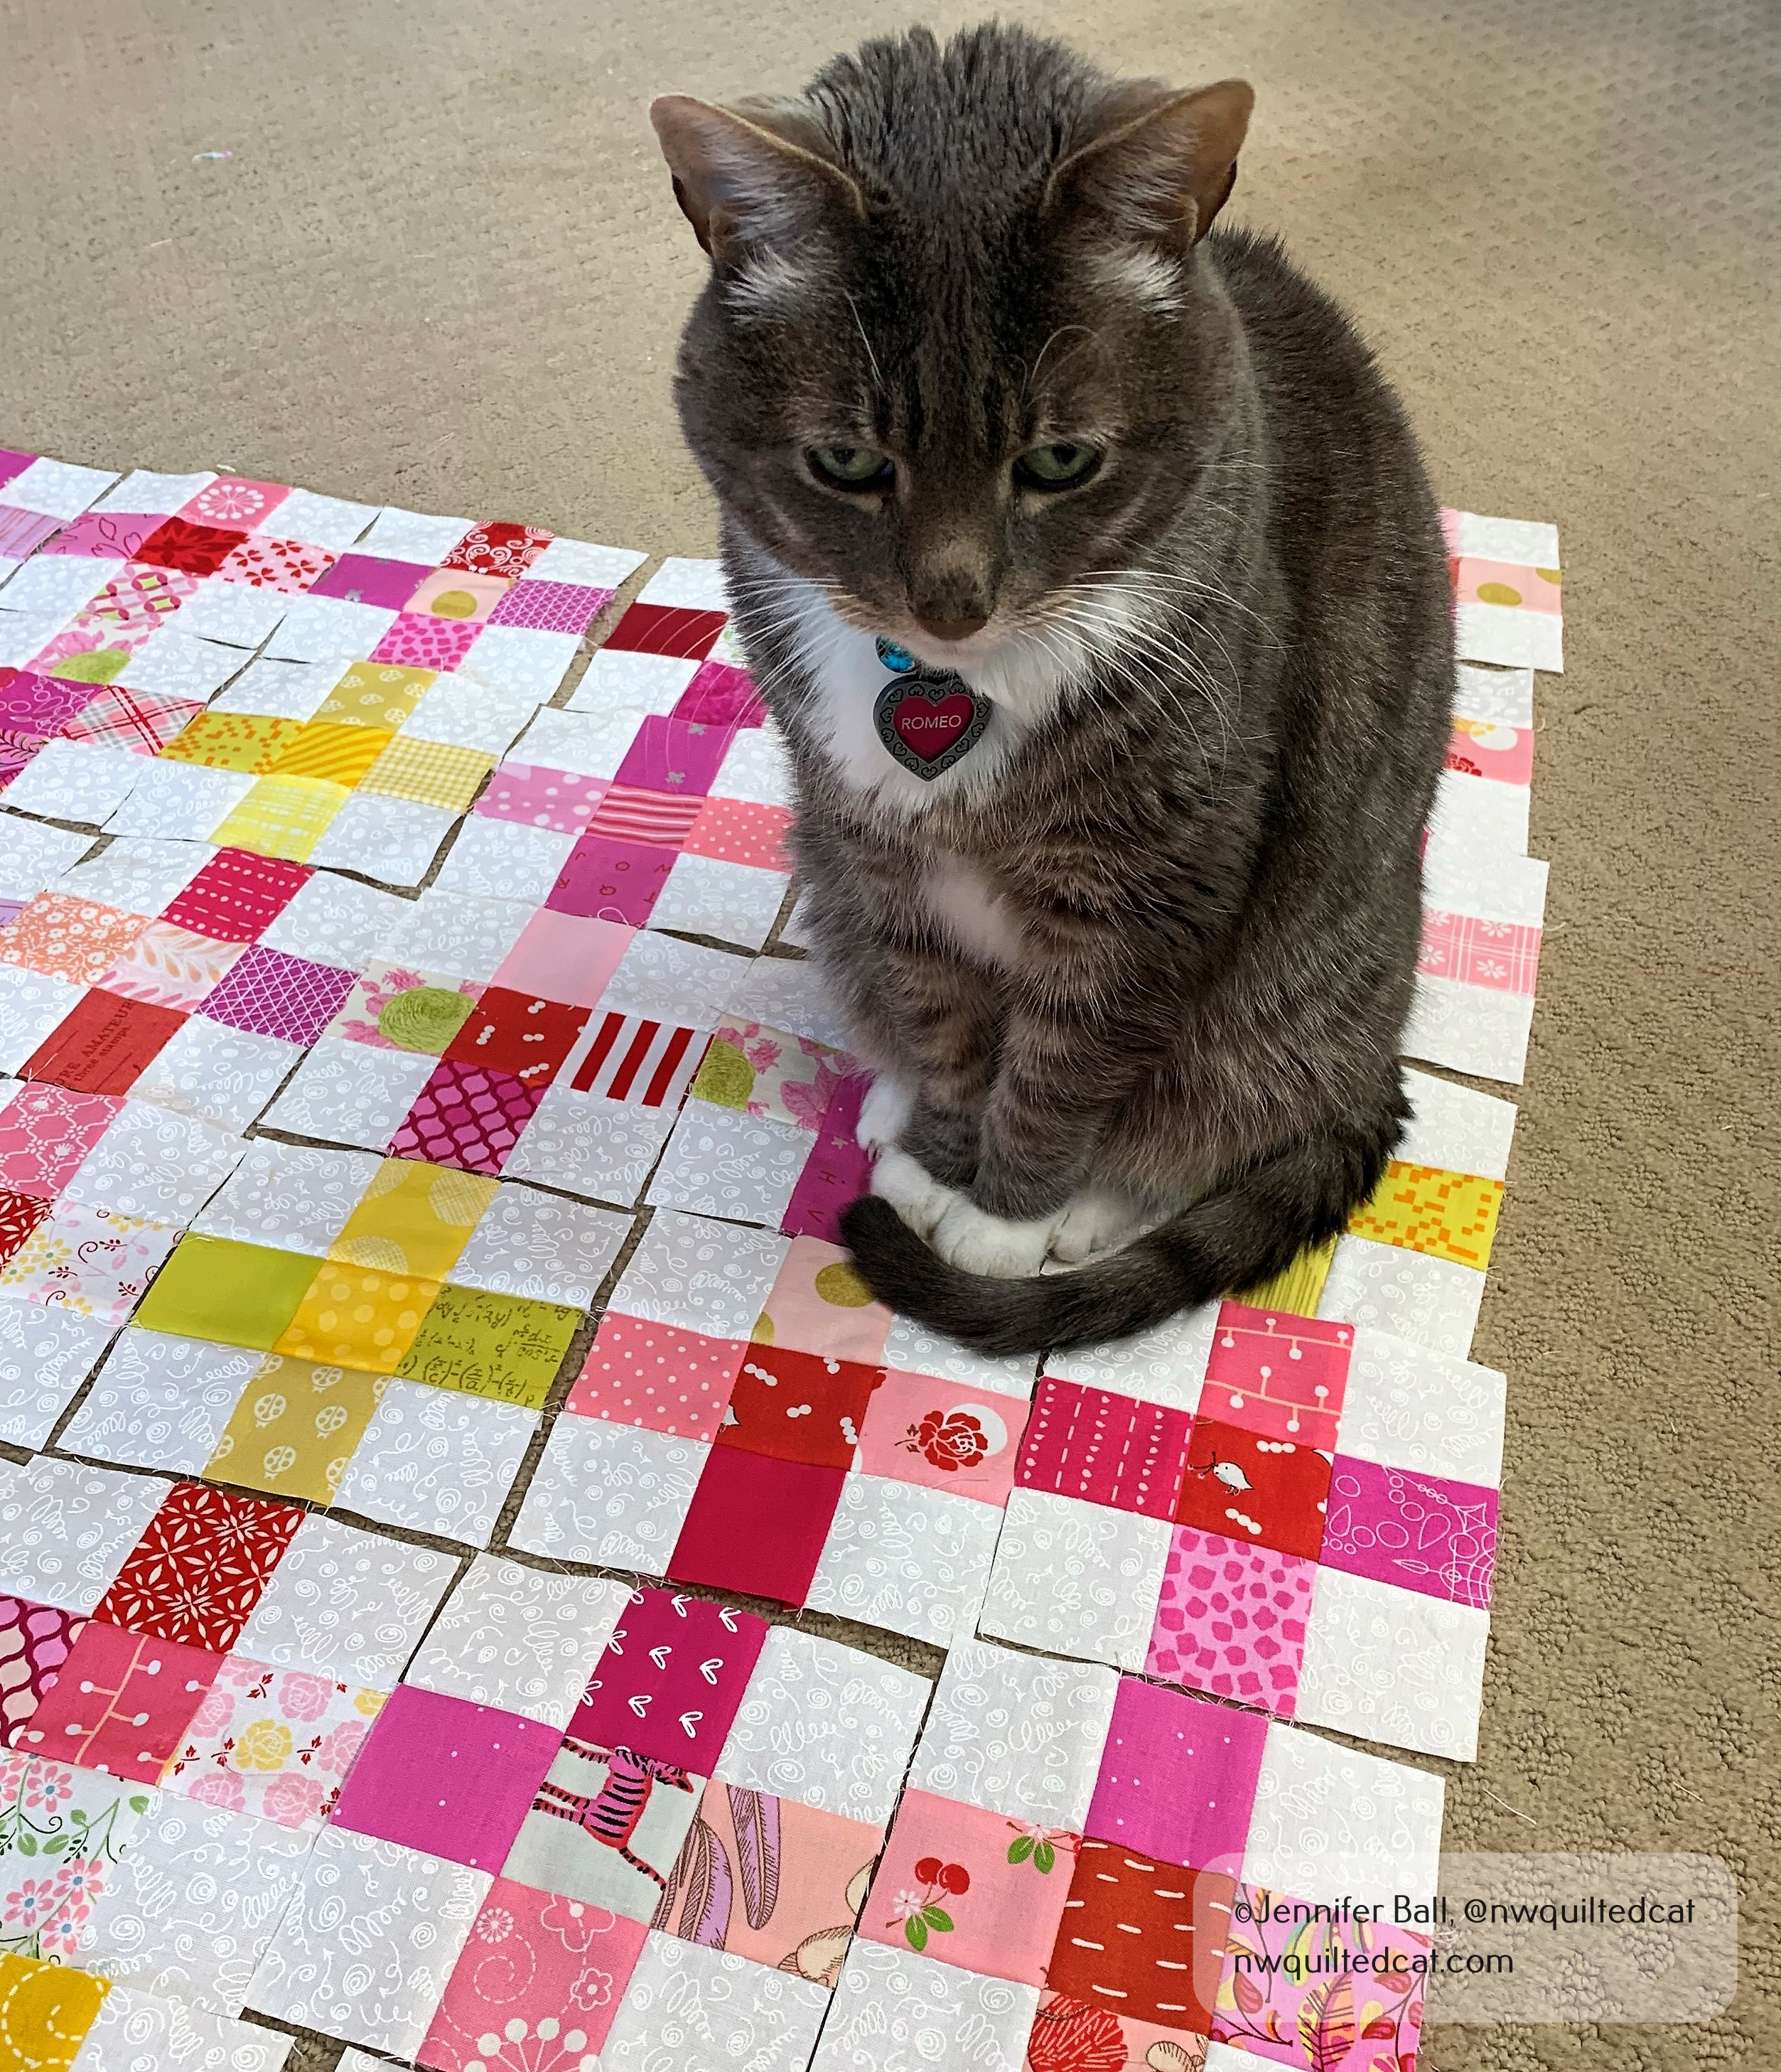
Romeo inspects the
9-patch blocks

I enjoyed sewing these little blocks together as a sort of meditative time for myself. We had beautiful weather here yesterday so I was able to get a picture of the quilt flimsy, fluttering in the breeze, on a nearby little bridge.

Scrappy Summer Sew Along Flimsy – Raspberry Lemonade!

I’m going to back this little quilt with some soft, cuddly Minky fabric and likely donate it.

You can find other participants and fun quilts from this sew along by searching on the hashtag #scrappysummersal2020 on Instagram.

One of the life events that happened recently is a major (and expensive) surgery for our girl, Pepper. She had the surgery one week ago today, and she is doing pretty well with her recovery. We’re hoping that she’ll be back to hiking with us later this winter or next spring. She needs a full 8-10 weeks for recovery plus multiple physical therapy sessions.

If you’d like to help, I started a GoFundMe to offset some of the cost of the surgery and physical therapy.

Here’s a look at Pepper post-op with her poor, furless leg and incision:

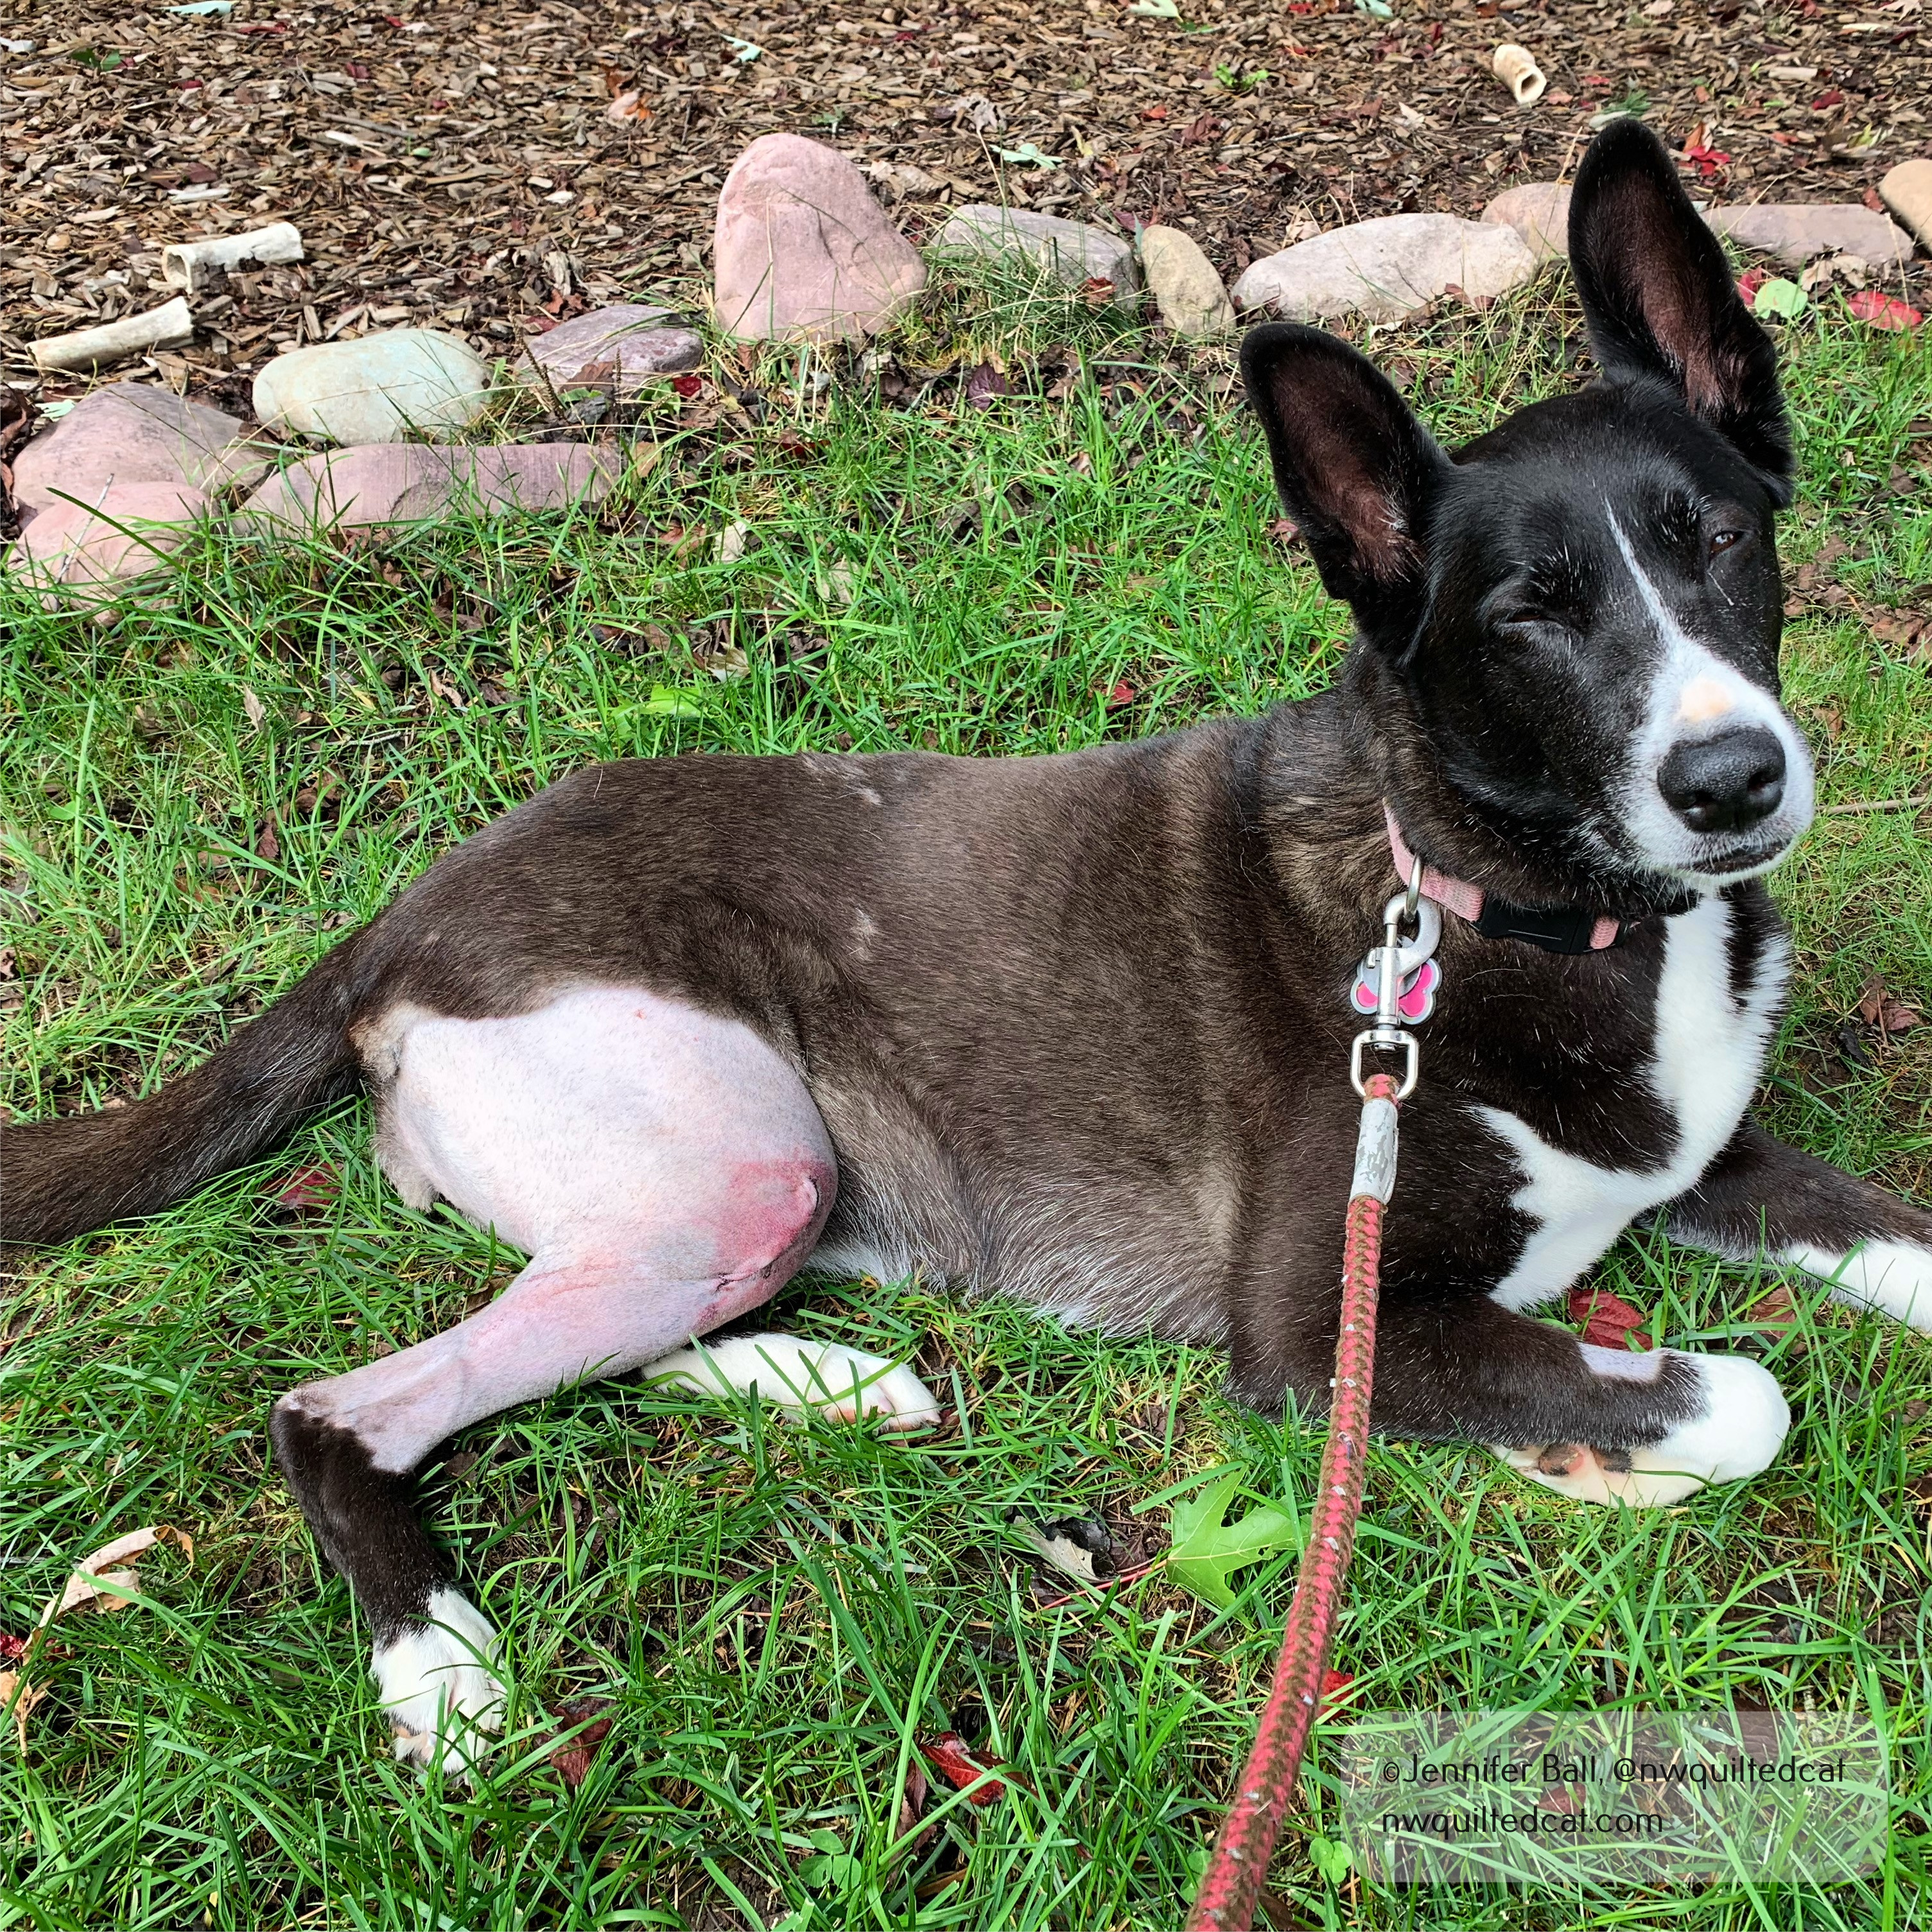
Pepper, resting after knee surgery

Each day, she is getting stronger! We just have to keep this very active dog from running or jumping for 8 weeks. Whew!

Happy quilting!

Jen

Sorting My Scrap Bin for a Sew Along

Hi everyone,

I have a very large shoe box, the kind that fits boots, behind my sewing area where I toss scraps from projects that are large enough to reuse. These scraps have been growing and growing until my box was overflowing.

Then, I noticed that @thehomebodycompany and @the.weekendquilter were hosting an Instagram scrap busting sew along called the “Scrappy Summer Sew Along” with the hashtag, #scrappysummersal2020. This sew along uses a free pattern, which contains some different sizing options for using the simple 9-patch block for the quilt.

I dumped out my scraps and started sorting into color groups.

Sorting scraps

Wow, that got tiring fast in my very warm sewing room so I took a little break. When I came back into the room, I found my cat, Romeo, decided to reorganize things a bit.

Romeo reorganizes the scraps

I convinced Romeo to let me continue sorting by color. As the piles grew, I started thinking about how I wanted my scrappy quilt to look. I decided to do a limited color palette by using just pinks/reds and yellow scraps for a raspberry lemonade theme. My background will be a white-on-white fabric from my stash.

I’m making the rectangular throw size quilt so I needed to cut hundreds of 2″ squares from my scraps and hundreds of 2″ squares from my background fabric.

For the background fabric, I used the XL Stripology Ruler by Creative Grids to first cut the 2″ strips, and then sub-cut the strips into 2″ squares. This ruler is a lifesaver! I cut out all my pieces quickly and accurately without any hand fatigue. I highly recommend investing in one of these rulers.

Here’s a look at some of my pretty 2″ squares, just waiting patiently to be sewn into 9-patch blocks.

Pretty 2″ squares

I’m using this project as a leader/ender for other projects that I have underway. I’ll show you some of my 9-patch blocks using these squares soon!

Happy quilting,

Jen


Blogger’s Quilt Festival – Scrappy!!

Happy Monday, everyone!

For Blogger’s Quilt Festival, I just knew that I had to enter my Celtic Solstice into the scrappy category! The quilt festival is hosted by Amy over at Amy’s Creative Side.

Celtic Solstice is a mystery quilt designed by the queen of scrappy quilts, Bonnie Hunter. I participated in this mystery quilt last year. Although the free pattern is no longer available, Bonnie will include Celtic Solstice in a future book.

Quilt stats:

  • Started November 2013 and finished summer 2014.
  • Fabrics include: 7 oranges, 5 creams, 7 blues, and 9 yellows. Most pieces were from my stash, but I did pick up a few fat quarters here and there to add to the project.
  • I did a meandering quilt design using a domestic machine. Whew!
  • This was my first all scrappy quilt, and I think it turned out wonderfully!

    Finished Celtic Solstice Quilt

    Finished Celtic Solstice Quilt

    Voting begins on November 1st so I can’t wait to check out all the beautiful quilts in the scrappy category and the other categories.

    Enjoy!
    ~Jennifer

    Celtic Solstice, Part 5

    Happy Monday, quilty friends!

    I finished up all the individual block units for my Celtic Solstice Mystery Quilt this past weekend by completing part 5, the split triangle units! This mystery quilt is designed by Bonnie Hunter and all the instructions for this quilt are available on her website until June 1, 2014. After that date, the instructions will be included in one of Bonnie’s future books.

    Here are my completed split triangle units (100 of them) for the small quilt. I also stitched together 1 sample of each block that will form the body of the quilt: the Birthday Girl block (originally from Quiltmaker Magazine’s 100 Blocks, volume 2) and the 54-40 or Fight block.

    Celtic Solstice, Part 5, Split Triangle Units

    Celtic Solstice, Part 5, Split Triangle Units

    For this quilt, I’ve used scraps and pieces from my stash. I’m hoping that I have enough of the same fabrics left for the borders. The only fabric that I will probably need to purchase for this quilt is the backing, although maybe I can hobble something together using scraps. We’ll see!

    I have about 1 month until I get to take 2 workshops with Bonnie! I really want to have the quilt top finished, at a minimum, so that I can take it to the workshop. This is my first large-size, all-scrappy quilt!!

    In between sewing these split triangle units, I’ve been working on cutting out my fabrics for the Aviatrix Medallion quilt-along, designed and hosted by Elizabeth Hartman of Oh Fransson. I will post my fabric selections for this project soon.

    Enjoy!
    ~Jennifer

    Celtic Solstice Part 1 + Cat Approved Quilt Fabric Confetti Tutorial

    Greetings everyone!

    I had that nasty stomach bug this weekend that seems to be going around. Ugh! The good news is that I finally managed to finish piecing, pressing, and trimming my pieces for part 1 of Bonnie Hunter’s Celtic Solstice mystery quilt! You can read about this mystery quilt in my earlier post here. Many people have already finished their quilts and you can see some beautiful finishes on Bonnie’s blog.

    I’m making the smaller version of the quilt so I have 96 neutral (cream) units and 92 orange units:

    Celtic Solstice Part 1 Units

    Celtic Solstice Part 1 Units

    For this quilt, I’m using leftover scraps from other projects plus random fat quarters and half-yard pieces in my stash. I used 7 different oranges, 5 different creams, and 7 different blues to make the units in part 1.

    Once these units are finished, the next step is to trim off all the little left-over dog ears.

    You end up with a pile of quilty fabric confetti!

    Quilt Fabric Confetti

    Quilt Fabric Confetti

    Now, you may be thinking that this fabric confetti isn’t too useful in future quilty projects, and I agree! However, if you have a cat quilt inspector, you can use this leftover material to make a cat-approved project.

    Cat Approved Quilt Fabric Confetti Tutorial (aka a catnip toy)

    • Cut two rectangles at 4 inches by 4.5 inches from denim, canvas, or other sturdy material.
    • Cut a 6-inch piece of rick rack (for the tail).
    • Catnip Toy Materials

      Catnip Toy Materials

    • Pin the fabric pieces, wrong-sides together.
    • Sew using a 1/4-inch seam allowance and make sure to leave a small opening along one edge.
    • (Optional): Sew a zig-zag stitch around the outside edge for extra reinforcement. Remember to leave a small opening for stuffing.
    • Stuff the quilt fabric confetti and dried catnip into the opening.
    • Insert rickrack about 1-inch into the opening and pin close.
    • Stuff the Catnip Toy

      Stuff the Catnip Toy

    • Stitch opening closed with a 1/4-inch seam and optional zig-zag stitch. Be careful! This is a step where your quilt inspector will try to help.
    • Tiger "Helping" Me Finish the Catnip Toy

      Tiger “Helping” Me Finish the Catnip Toy

    • Clip any loose threads and present the quilt fabric confetti project (aka catnip toy) to your quilt inspector for approval!
    • Tiger loves it!

      Tiger loves it!

      Catnip Toy is Approved!

      Catnip Toy is Approved!

      I’ve made a few of these catnip toys for my quilt inspectors, and they are pretty sturdy. I have one cat that picks it up and carries it around like prey, meowing all the while. My orange cat loves to grab the tail in tight and then hold onto the body of the toy while rubbing his face all over it. He becomes very affectionate!

      I hope you enjoy this little project and have a quilty week!
      ~Jennifer