
Hi everyone!
Recently, I came across a fun sew along on Instagram where the participants were making fabric baskets, also called tubs. I was intrigued by them, by I knew that I didn’t have time to complete one within the sew along timeframe. I purchased the pattern called “Tub Family” from RosieTaylorCrafts on Etsy, and set it aside for a couple of days.
Then, several weekends ago, I had a few hours to try my hand at making one. The pattern comes with 3 sizes of fabric baskets, and I opted to make the largest one. I have some of the beautiful Homemade fabric by Tula Pink, which I think is absolutely perfect to make all sorts of things for my sewing room.
The pattern walks you through the construction steps pretty well, but I have a few pointers if you decide to make one.
Once you have your main basket panel, liner, and foam all ready for quilting, I do recommend using the straight-line quilting as mentioned in the pattern. I tried doing an all over swirly type quilting on my test basket, but I had a much harder time attaching the bottom and getting the basket to sit properly. It’s just kinda floppy!
On my “real” basket, I did straight-line quilting using a beautiful Aurifil bright green thread with a seam guide on my Bernina. In the picture below, you can see my seam guide helped to give me perfect 1-inch quilting lines.

After quilting at 1-inch and .5-inch intervals, I had my finished main panel, ready for my quilt inspector. I used some fun Tula Pink ribbon along either side of the fussy cut sewing machine in the center of the panel. This pattern is so flexible that you could make baskets out of scraps, a single piece of fabric, or several large chunks like I did.

After trimming the main panel to the correct size, I started to attach the base to the body. This step is the hardest part of the whole pattern because the base really needs to be eased in using clips or pins.
I used Clover clips to secure my base rather than pins. No blood! If the base is still too large after easing it, you may need to trim it down slightly.
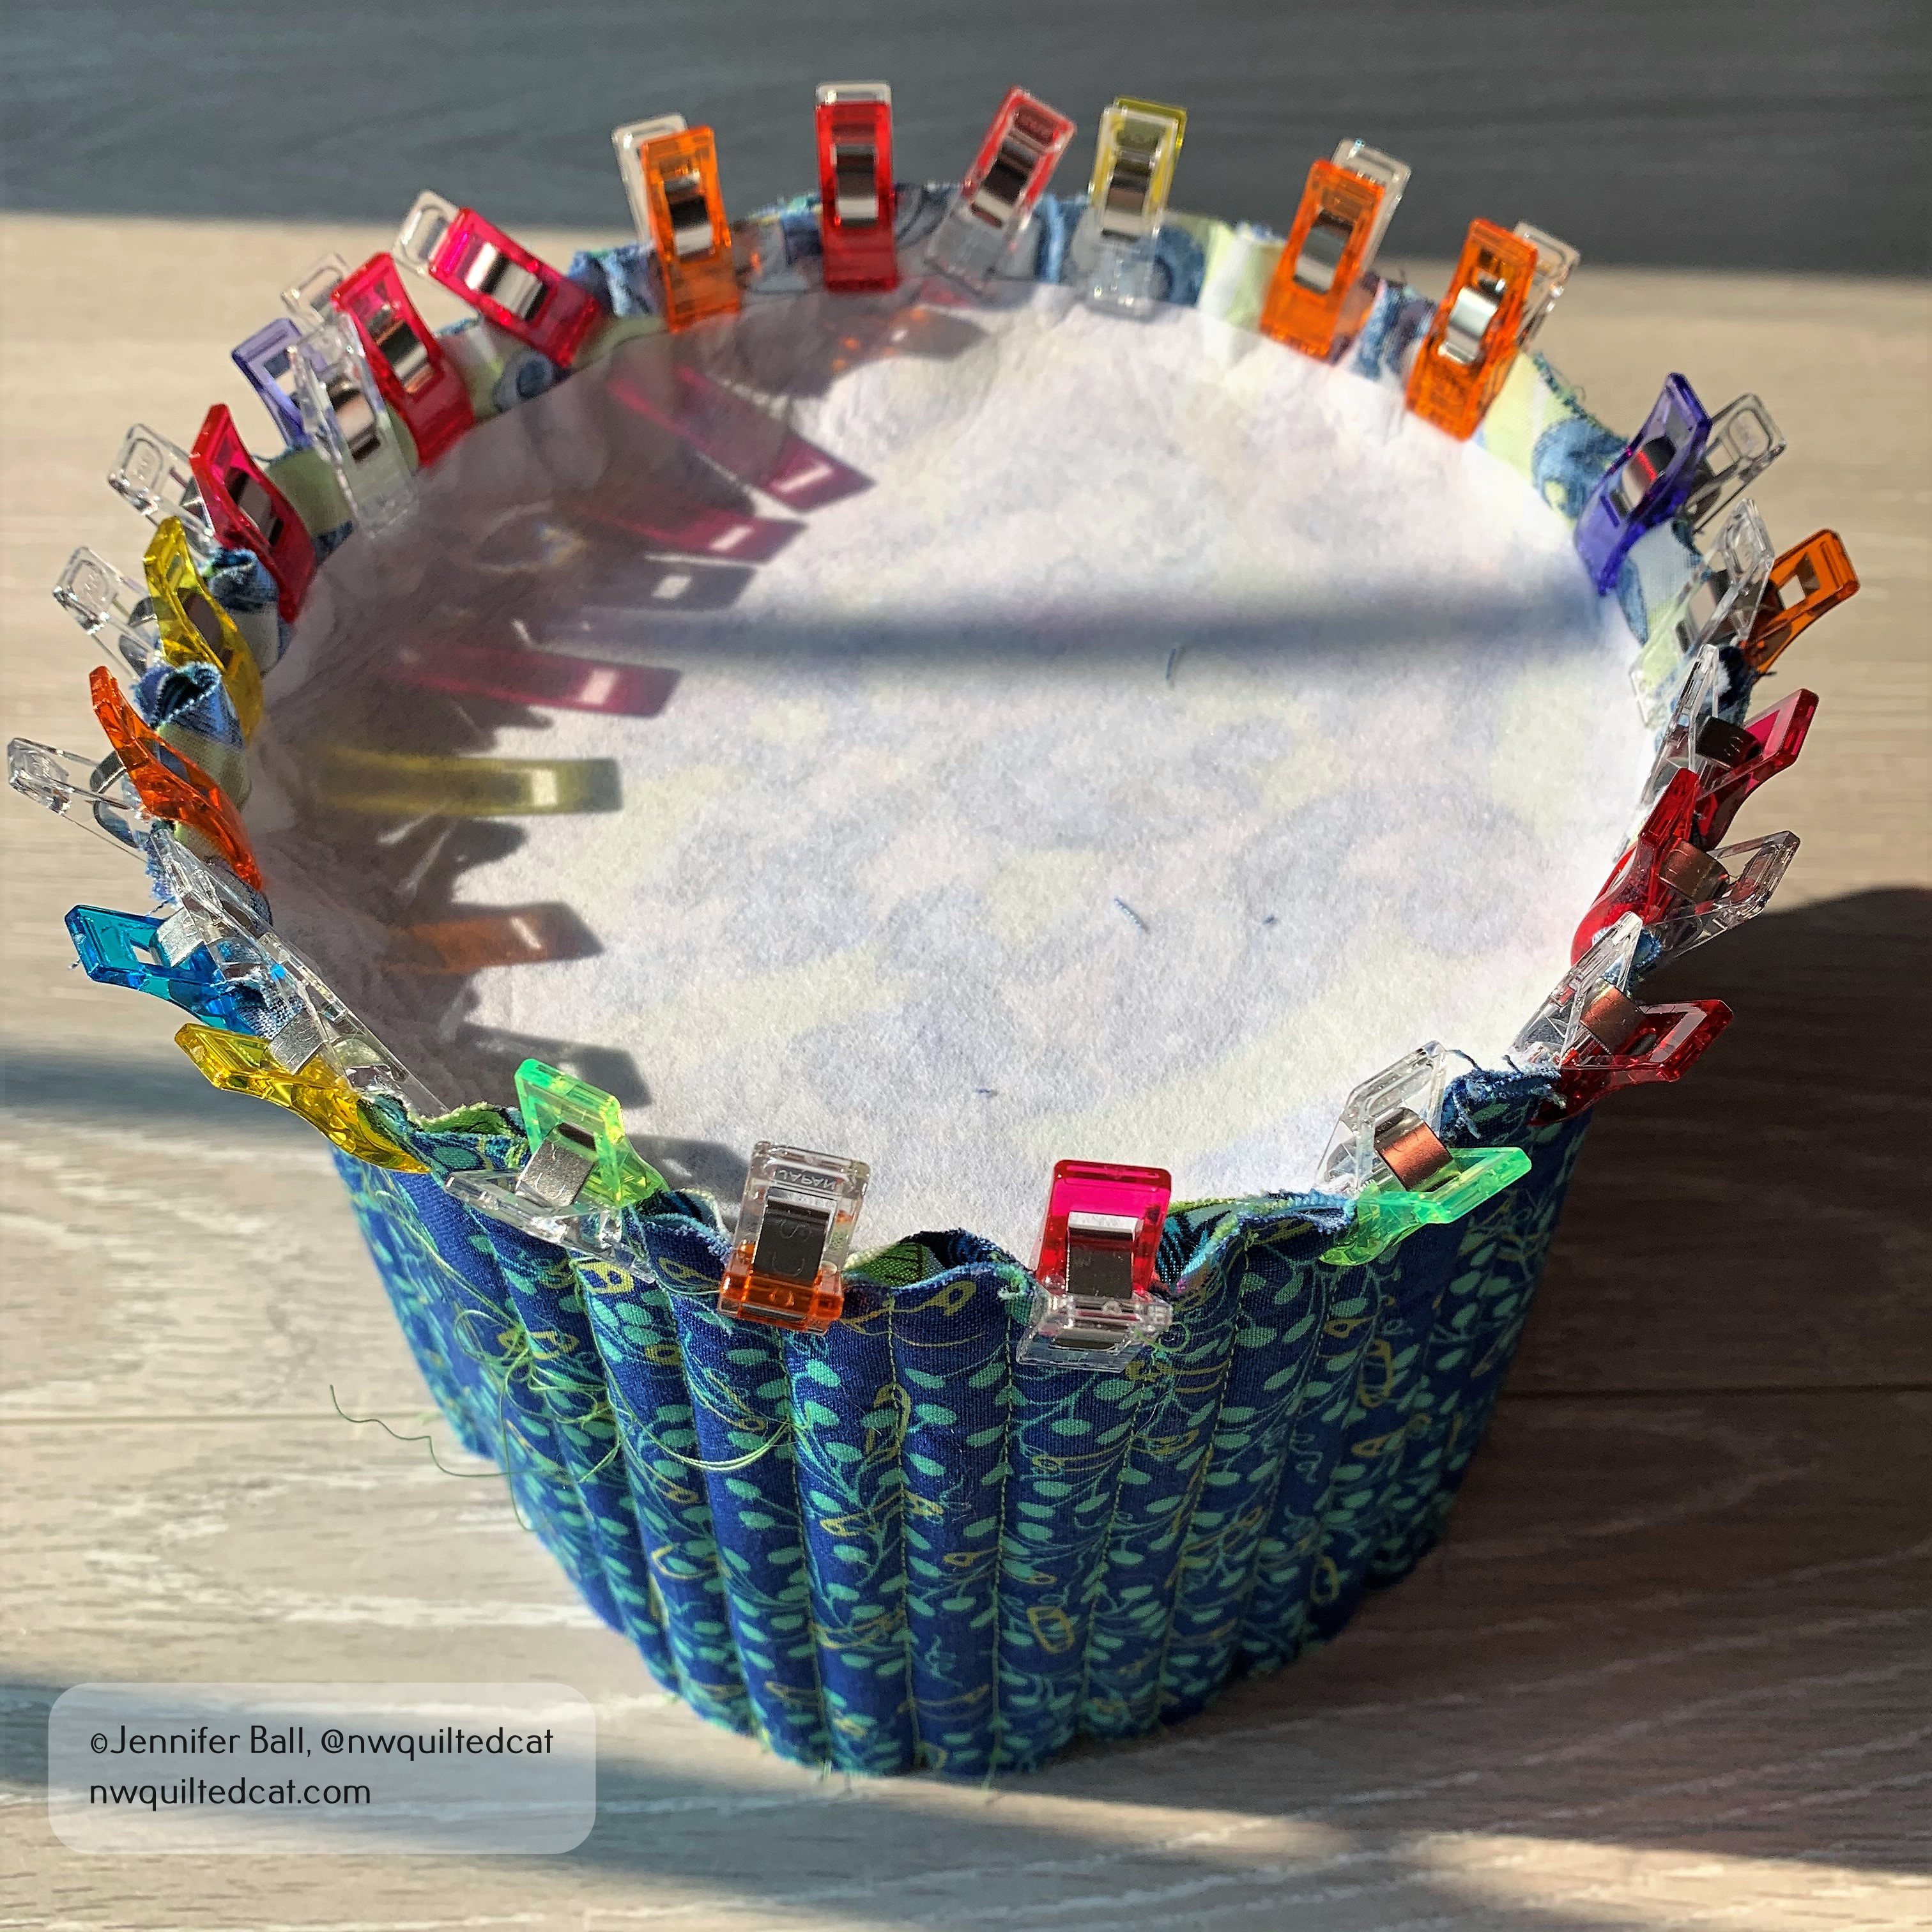
The pattern does have you hand stitch the base to the body before using your sewing machine to help with puckers. I highly recommend doing this step. You can remove the clips after hand basting, and then use your machine to slowly and carefully stitch the base to the body.
I did my binding a bit different from the pattern by pressing one side in 1/4-inch so that I’d have a nice finished edge to work with when sewing the second long edge to the inside of the basket.
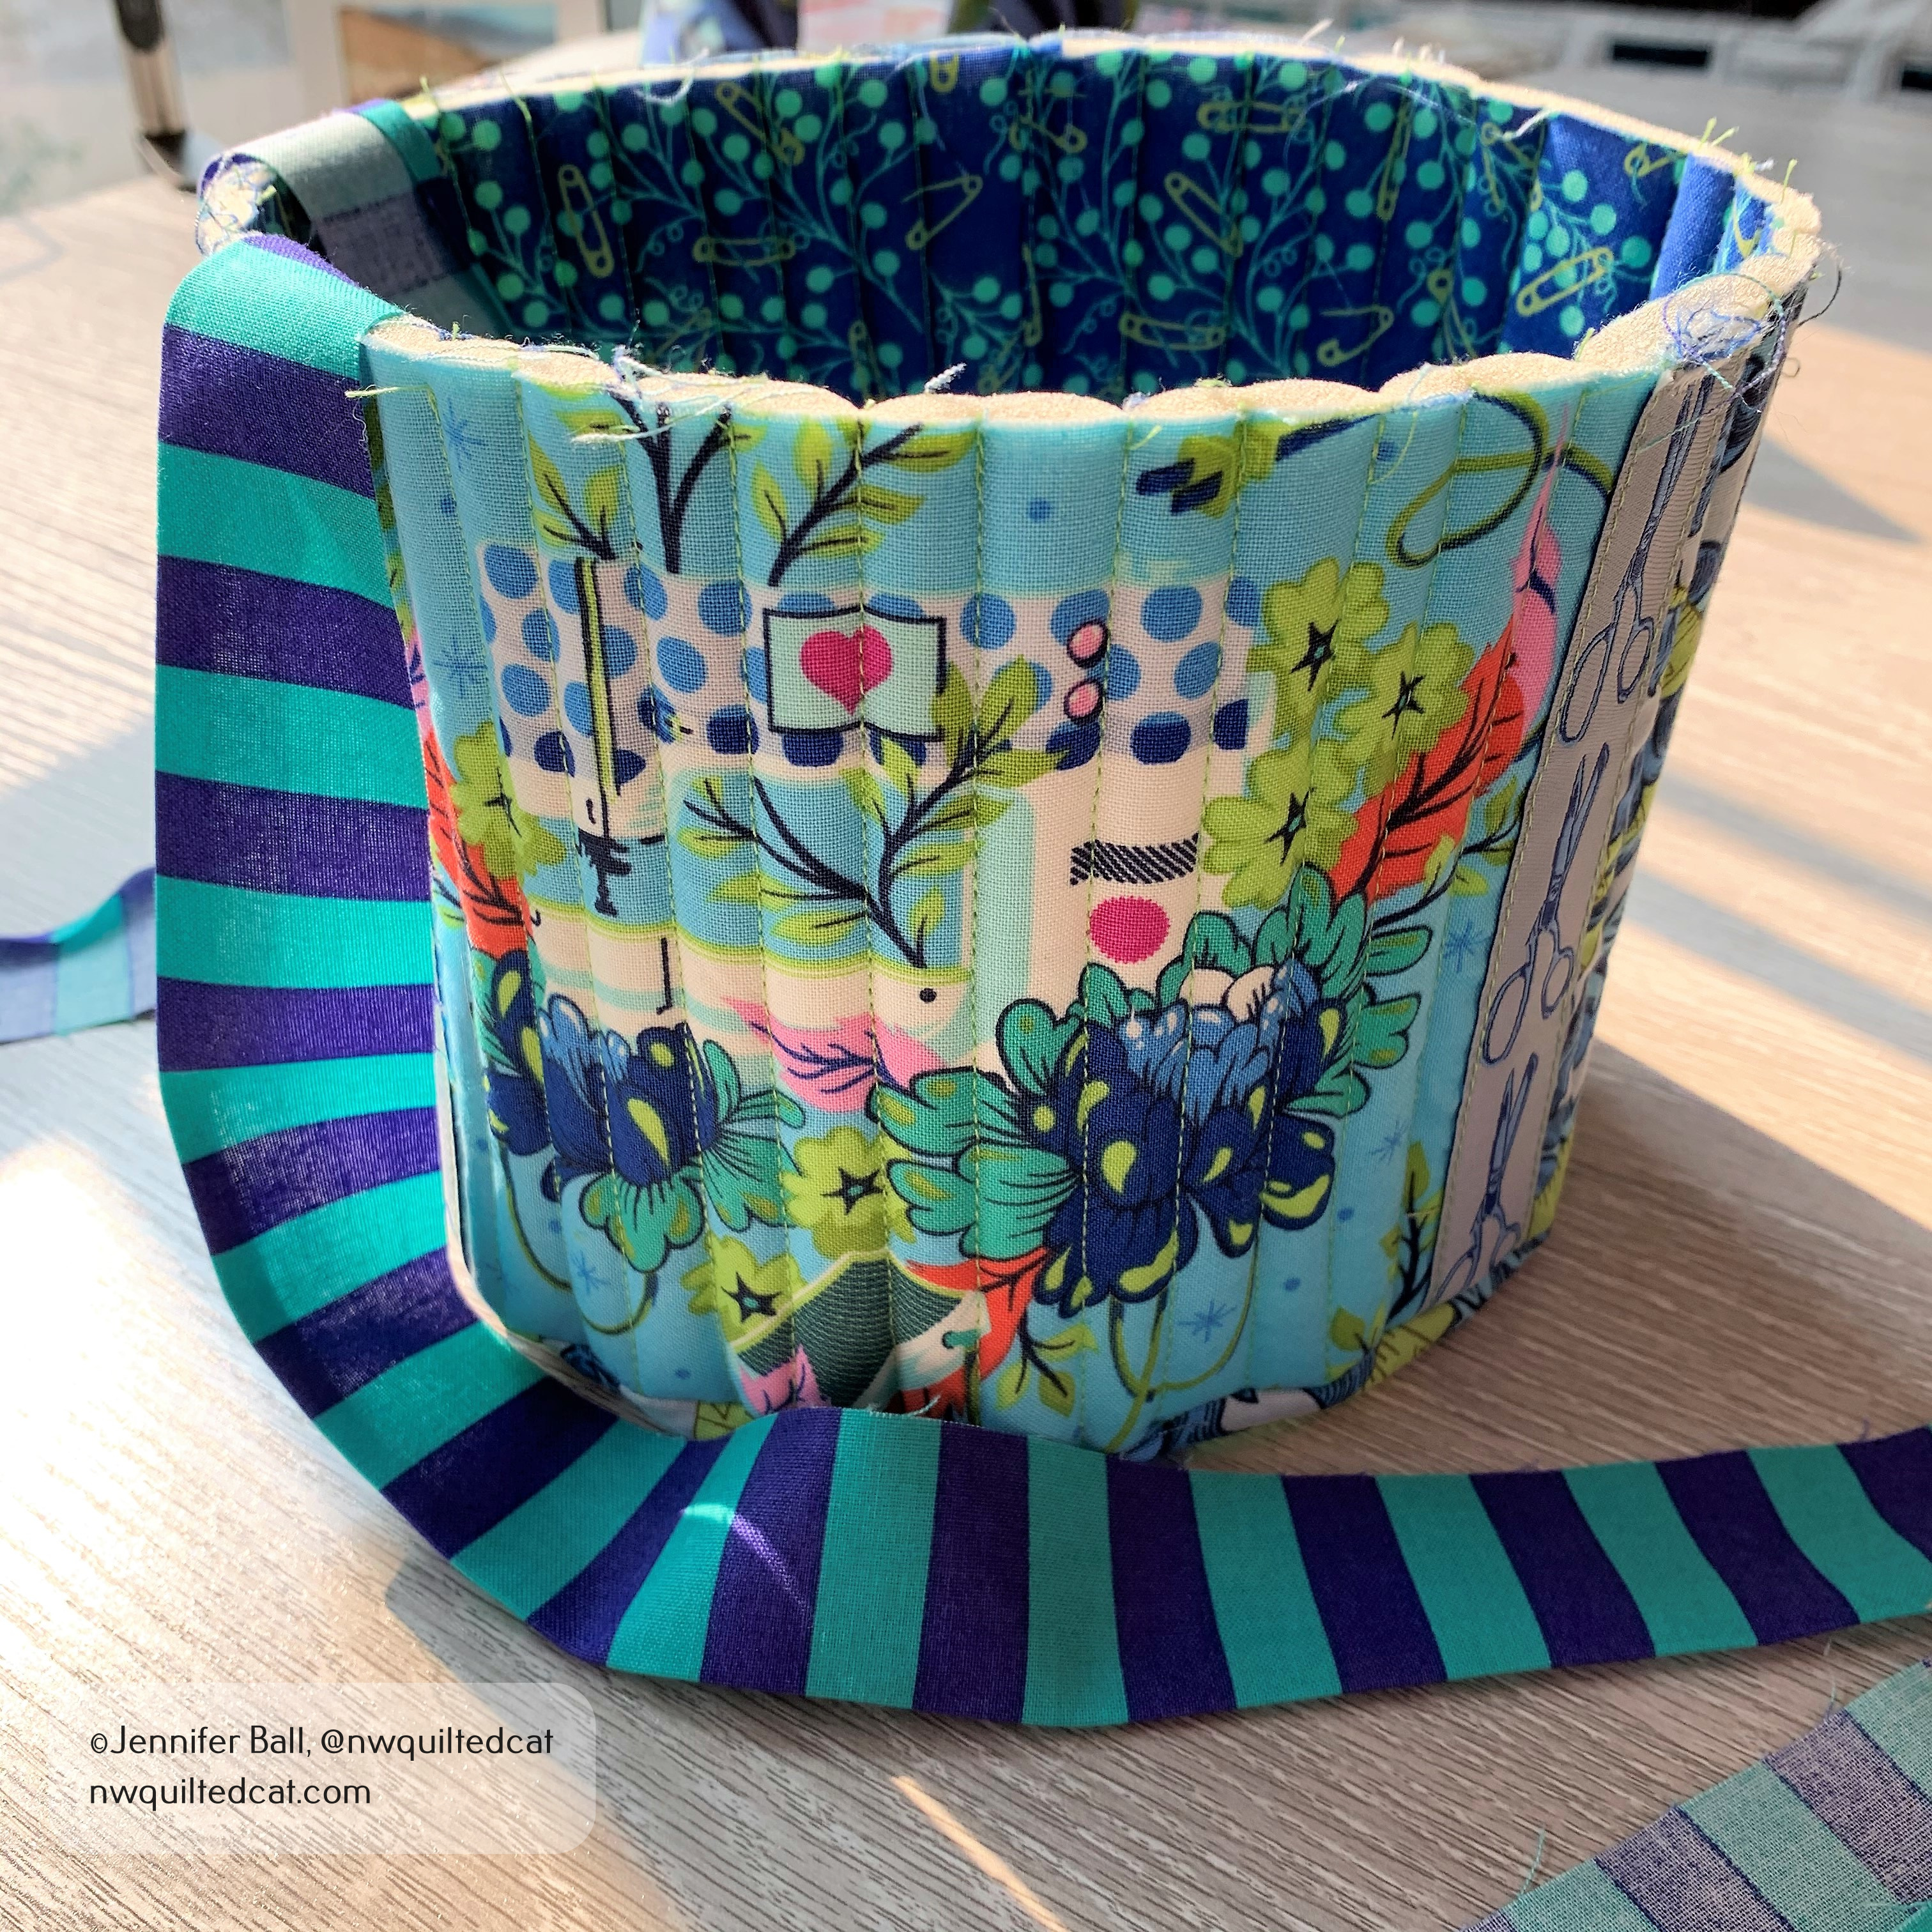
I did completely machine stitch my binding rather than hand sewing the inside, just for lack of time. I used the same color thread as the quilting, and I think it looks fine.
Here’s a look at my completed fabric basket, filled with some EPP supplies:

These baskets are addictive to make, and I want to try making the medium and small sized ones soon. Maybe Christmas themed ones as well!
There are many examples of completed baskets using the #tubfamily hashtag on Instagram.
Enjoy and happy sewing!
-Jen

Hi Jennifer, I love the fabrics wich you have used for your basket.
I have a question, so I hope you can help me: is there in the inside of your basket any seam allowance to see? I get the point of sewing the base to the panel inside out. But when you turn it back I assume there will be a seam to see?
Thank you for helping me
Pingback: Baskets in the Woods | NW Quilted Cat