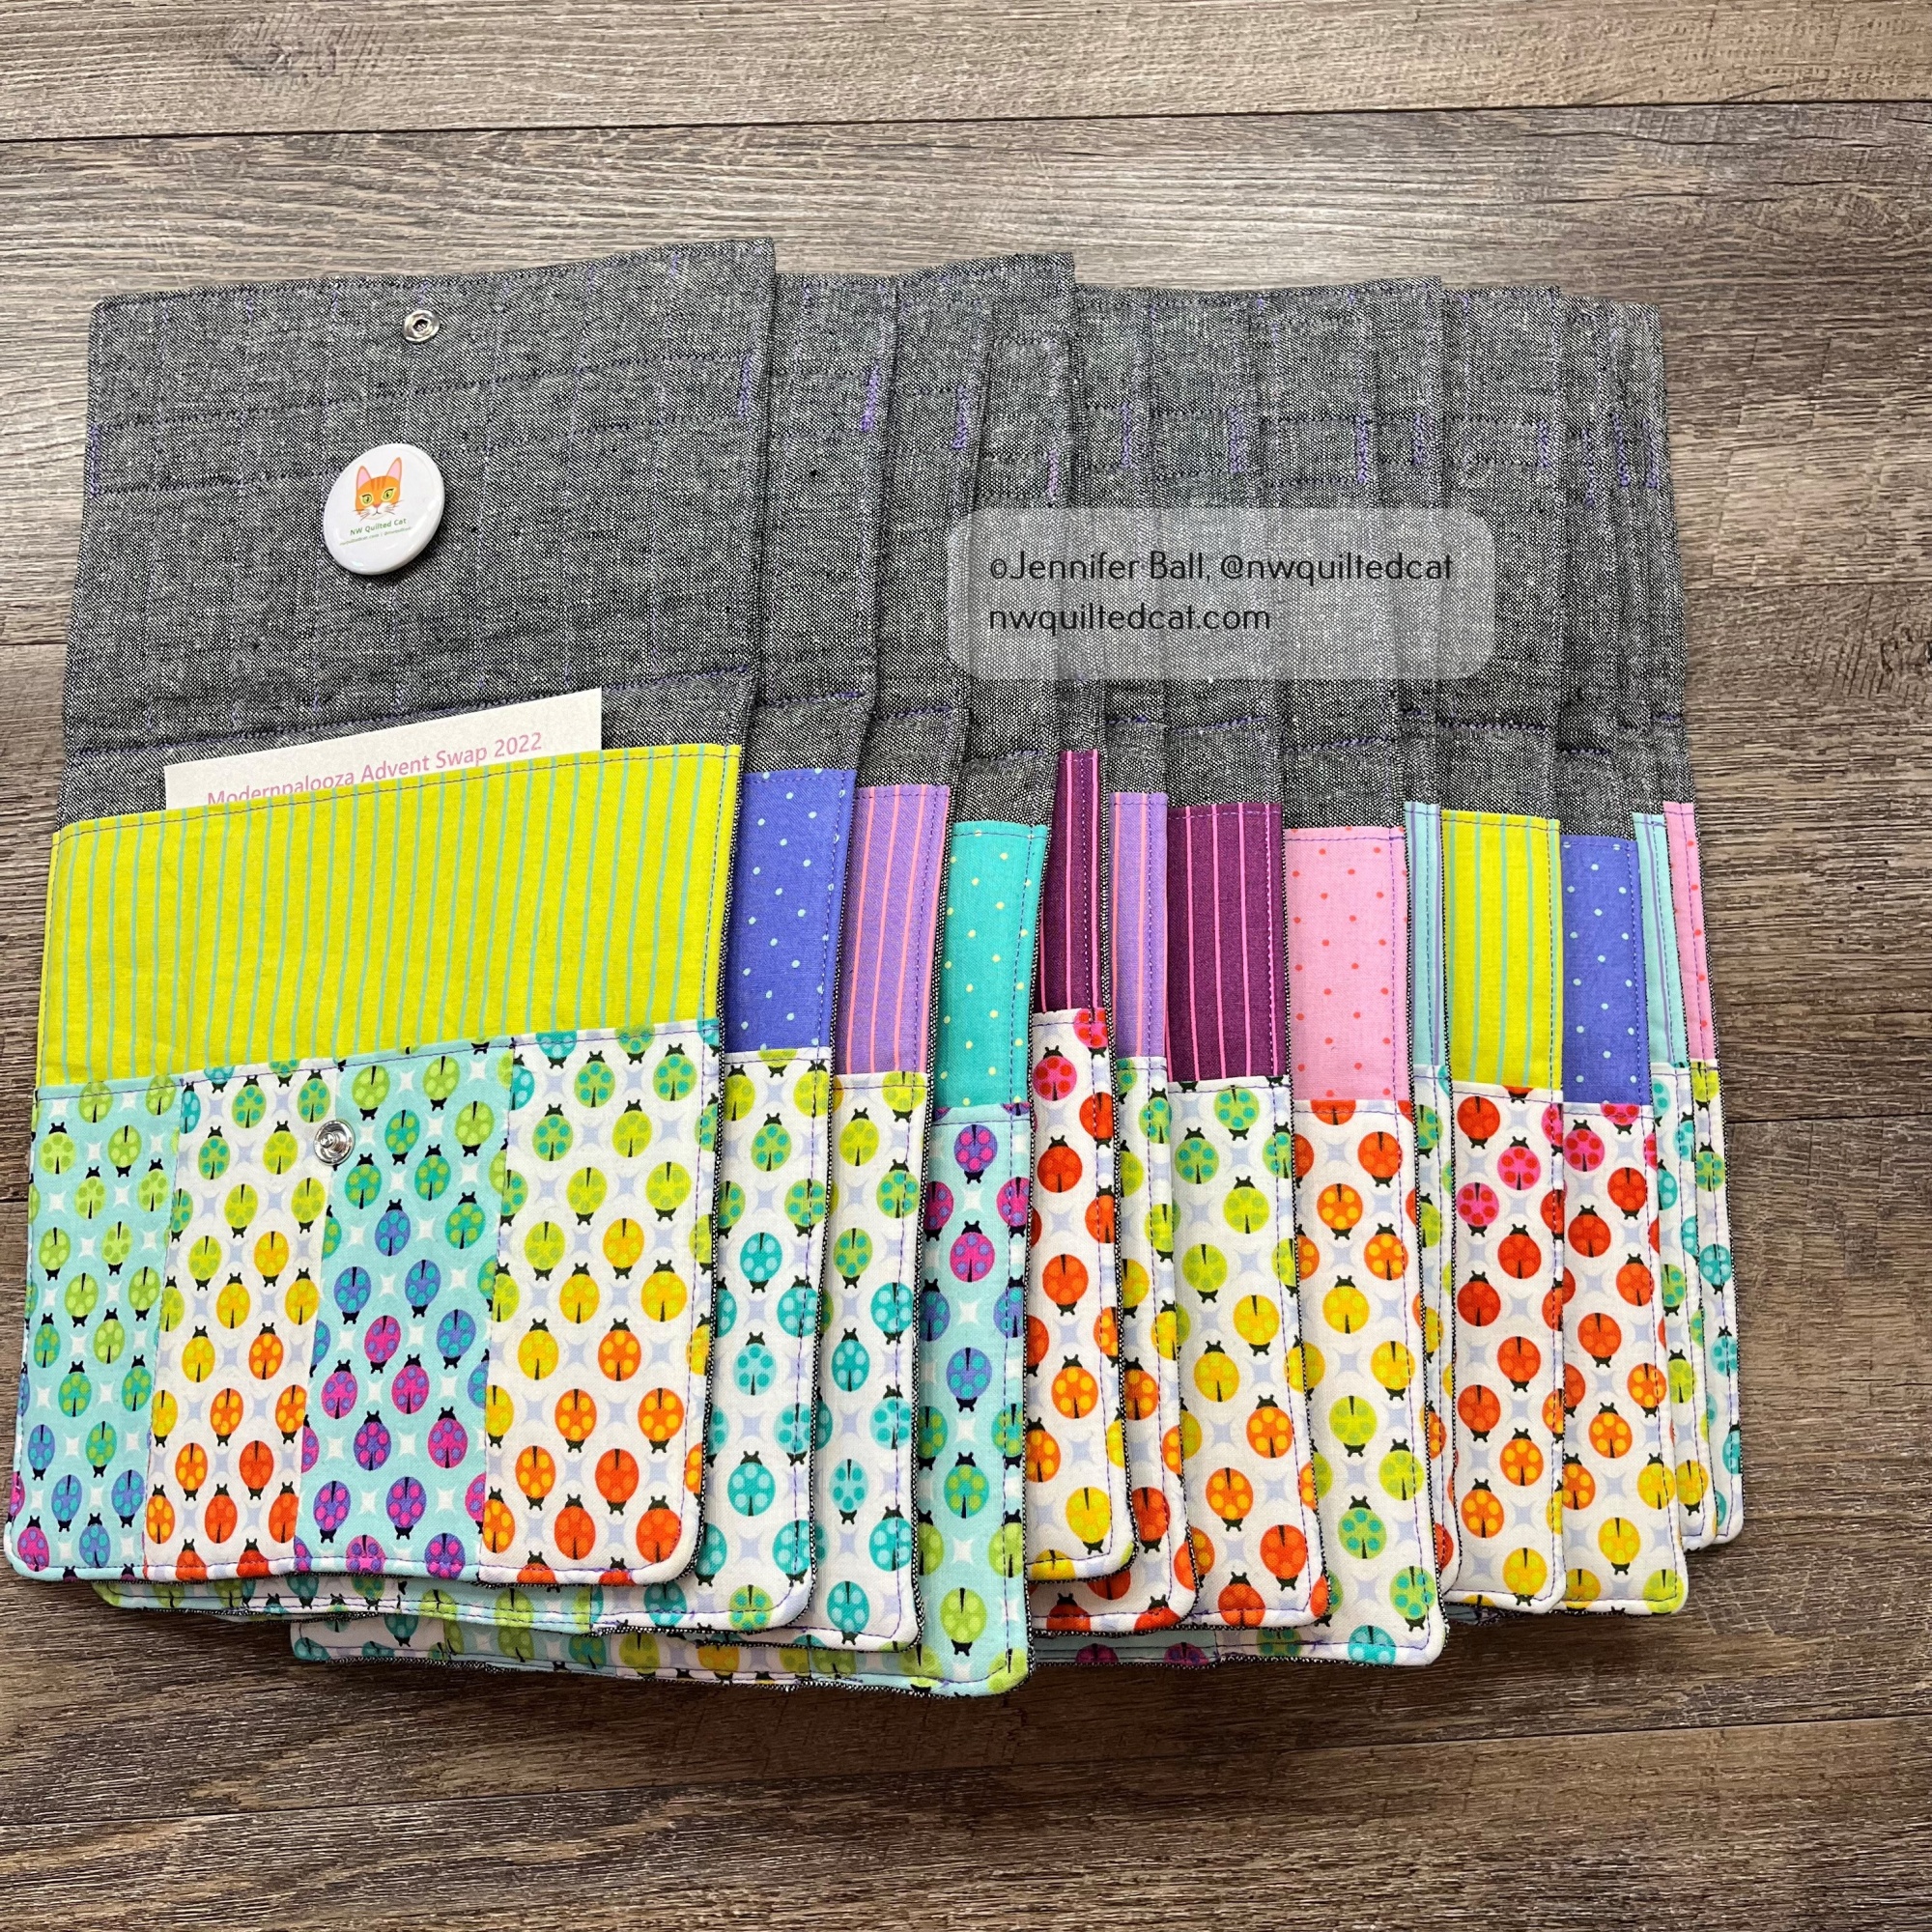
Mini Rotary Mat Holder Project

Happy 2023!

I recently participated in a holiday project swap on Instagram where participants made 13 items using modern fabric. In exchange, we received 12 items from other swappers and the extra items were auctioned off by the organizers.

I decided to make a mini rotary mat holder to use when going to quilt classes or retreats. I really liked the idea of having a little case to hold a small rotary mat and cutter for trimming up little foundation paper pieced blocks.

This project uses a free pattern from American Patchwork & Quilting.

My Supplies

My Custom Tula Pink Mini Rotary Mat Holders!

I altered the pattern slightly by piecing a Deja Vu Parisville cameo into the back of each mat. I really wanted something that could showcase this large scale print, and this little project worked great. I used the Essex Yarn Dyed linen for a little extra structure and stability, and to provide a nice contrast to the bright Tula Pink fabrics.

Here’s a look at the front and back of 2 mini rotary mat holders opened:
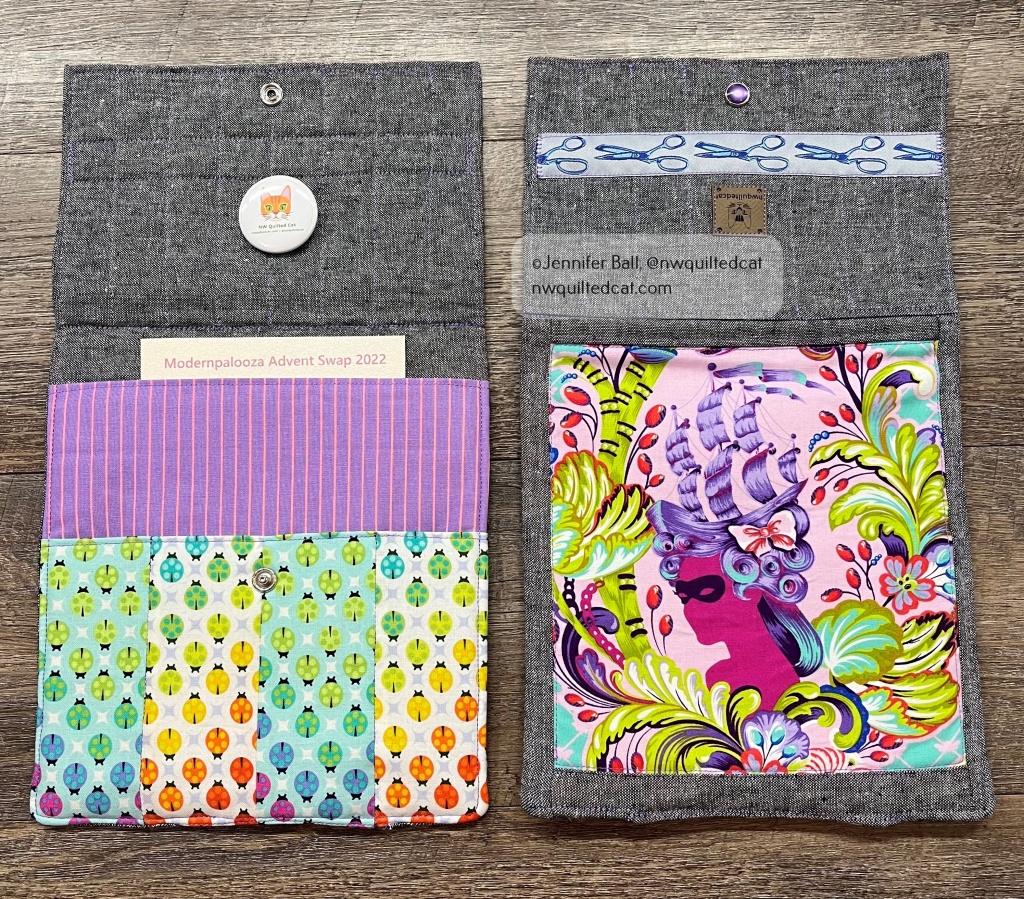
The large pocket holds a 6×8 inch rotary mat. The smaller pocket is divided into 4 sections to hold small tools such as a rotary cutter, scissors, pencils, and more. I added a ribbon to each exterior flap for a cute accent.

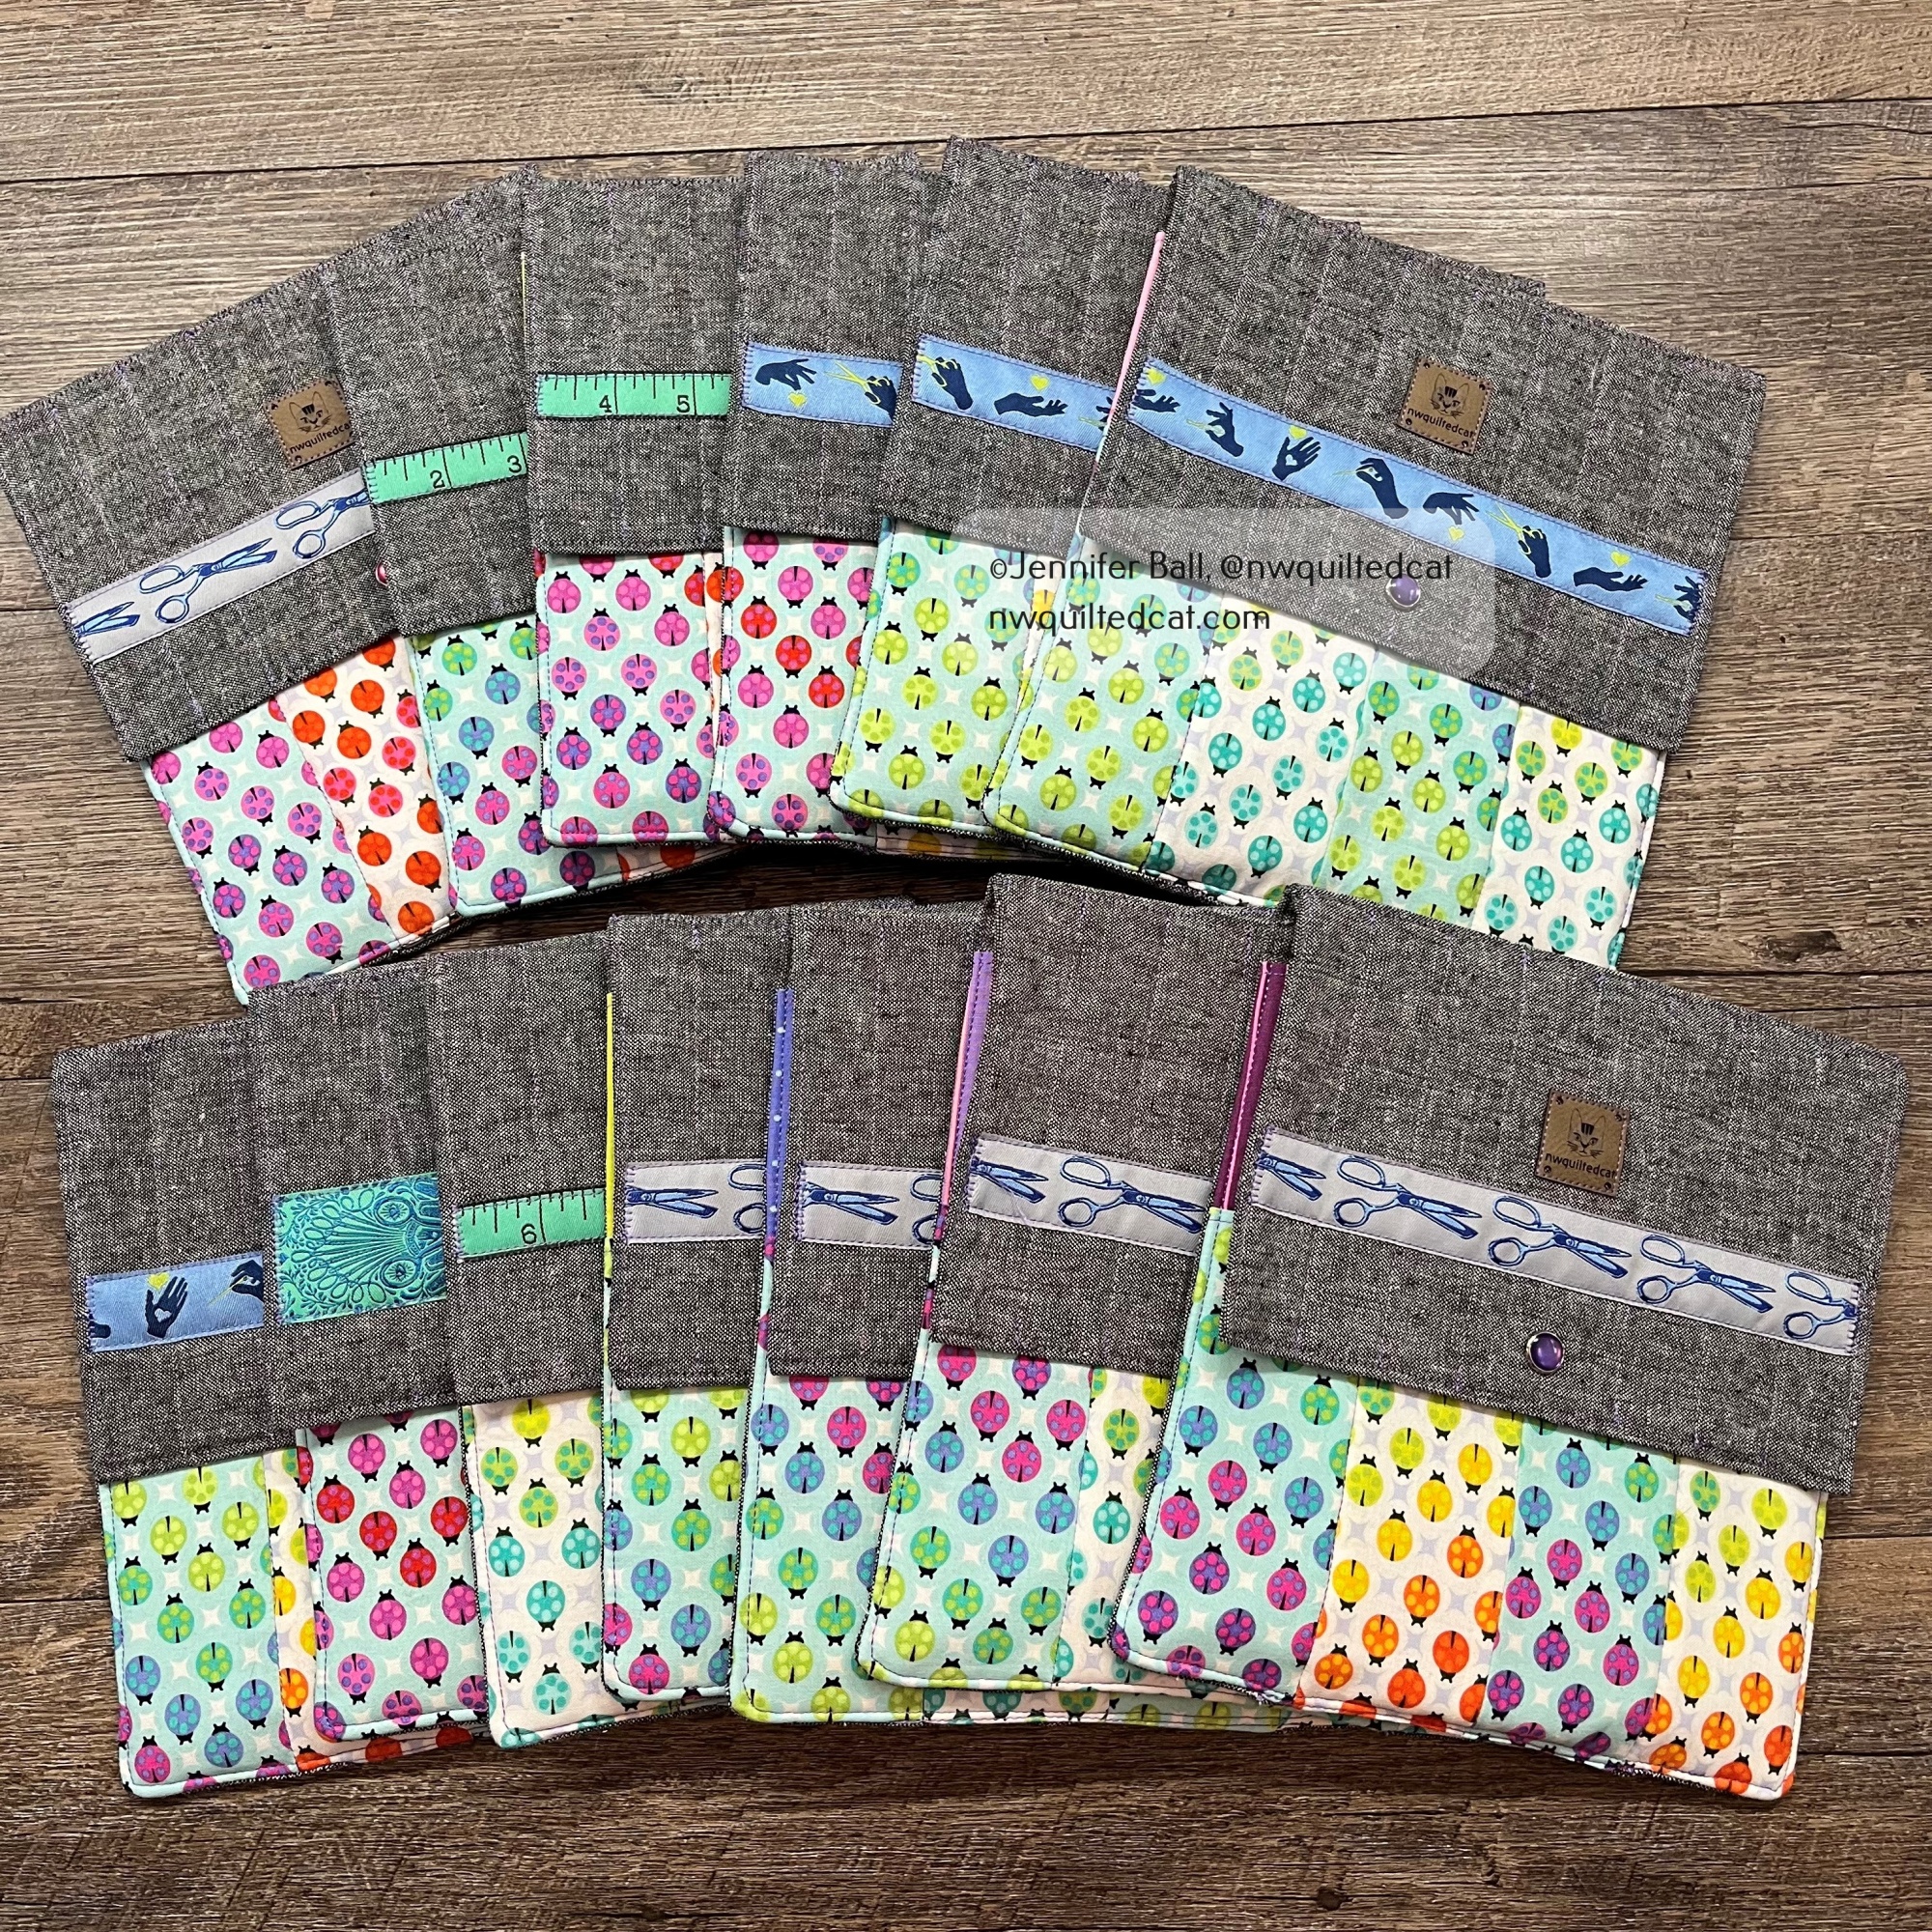
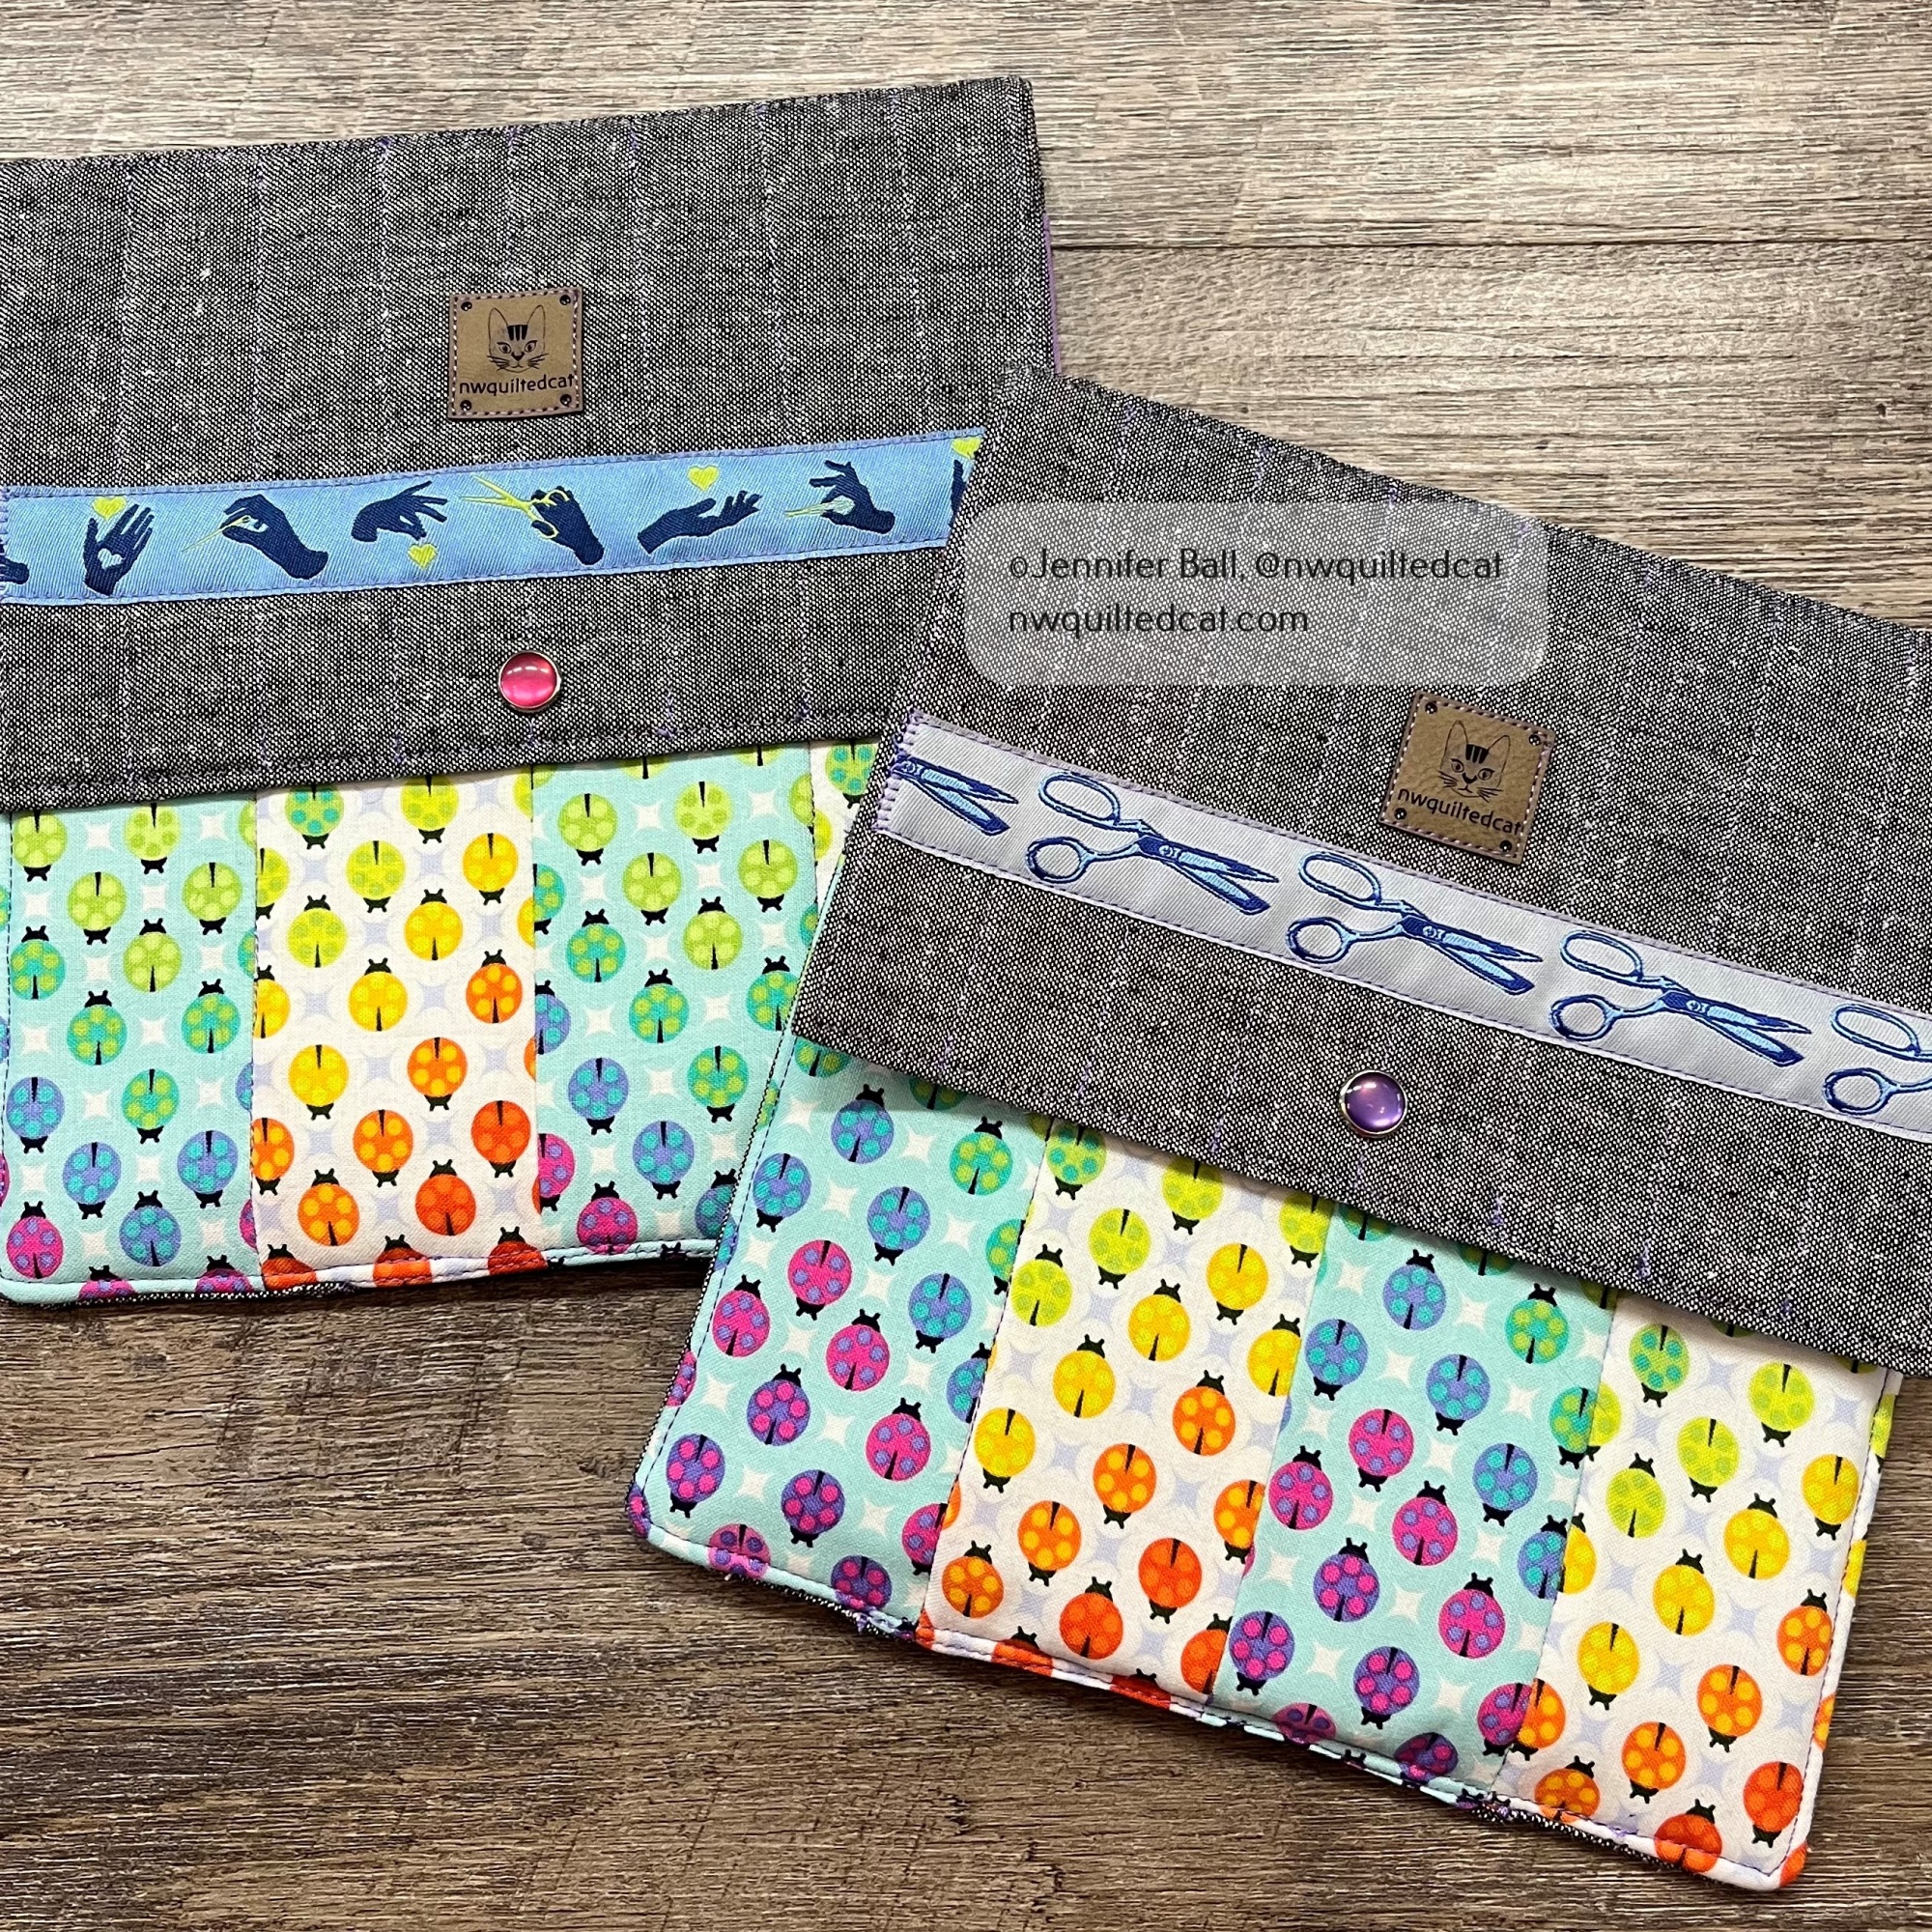
Each holder uses the same Painted Ladies fabric in alternating “glow” and “glimmer” colorways. The “glow” colorway is the white background and the “glimmer” colorway is the aqua background. I had a fat quarter stack of the Tiny Dots and Stripes prints so I used a different one for each rotary holder. I really love how colorway these little cases are all together!
Everyone in the swap wrapped their items so that participants could unwrap one item a day for the 12 days leading up to Christmas.

I wrapped my items in a polka-dot printed paper with a pink ribbon:
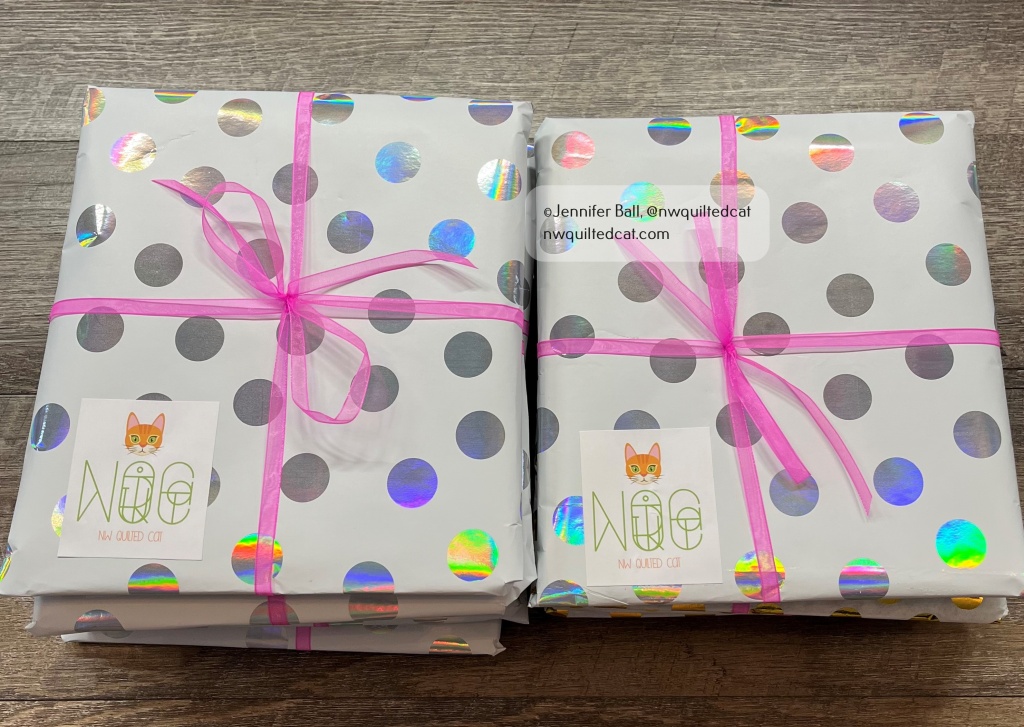
I really enjoyed participating in this swap, and I received some really fun items in return! This project comes together pretty easily if you want to make one for yourself or as a gift for a quilting buddy.

Happy quilting!

Jen

Making a Fabric Basket (or Tub)

Hi everyone!

Recently, I came across a fun sew along on Instagram where the participants were making fabric baskets, also called tubs. I was intrigued by them, by I knew that I didn’t have time to complete one within the sew along timeframe. I purchased the pattern called “Tub Family” from RosieTaylorCrafts on Etsy, and set it aside for a couple of days.

Then, several weekends ago, I had a few hours to try my hand at making one. The pattern comes with 3 sizes of fabric baskets, and I opted to make the largest one. I have some of the beautiful Homemade fabric by Tula Pink, which I think is absolutely perfect to make all sorts of things for my sewing room.

The pattern walks you through the construction steps pretty well, but I have a few pointers if you decide to make one.

Once you have your main basket panel, liner, and foam all ready for quilting, I do recommend using the straight-line quilting as mentioned in the pattern. I tried doing an all over swirly type quilting on my test basket, but I had a much harder time attaching the bottom and getting the basket to sit properly. It’s just kinda floppy!

On my “real” basket, I did straight-line quilting using a beautiful Aurifil bright green thread with a seam guide on my Bernina. In the picture below, you can see my seam guide helped to give me perfect 1-inch quilting lines.

After quilting at 1-inch and .5-inch intervals, I had my finished main panel, ready for my quilt inspector. I used some fun Tula Pink ribbon along either side of the fussy cut sewing machine in the center of the panel. This pattern is so flexible that you could make baskets out of scraps, a single piece of fabric, or several large chunks like I did.

My finished main body panel with quilt inspector

After trimming the main panel to the correct size, I started to attach the base to the body. This step is the hardest part of the whole pattern because the base really needs to be eased in using clips or pins.

I used Clover clips to secure my base rather than pins. No blood! If the base is still too large after easing it, you may need to trim it down slightly.

Using Clover clips to attach the base

The pattern does have you hand stitch the base to the body before using your sewing machine to help with puckers. I highly recommend doing this step. You can remove the clips after hand basting, and then use your machine to slowly and carefully stitch the base to the body.

I did my binding a bit different from the pattern by pressing one side in 1/4-inch so that I’d have a nice finished edge to work with when sewing the second long edge to the inside of the basket.

Getting the binding ready

I did completely machine stitch my binding rather than hand sewing the inside, just for lack of time. I used the same color thread as the quilting, and I think it looks fine.

Here’s a look at my completed fabric basket, filled with some EPP supplies:

My finished basket!

These baskets are addictive to make, and I want to try making the medium and small sized ones soon. Maybe Christmas themed ones as well!

There are many examples of completed baskets using the #tubfamily hashtag on Instagram.

Enjoy and happy sewing!

-Jen

Making a Tula Pink Themed Clock for My Sewing Room

Hi everyone,

Have you seen the HomeMade line of fabric by Tula Pink? I really love it, especially because my main piecing machine is a Bernina. I’m making all kinds of projects for my sewing room from this line of fabric.

I decided to make a clock using the Petal to the Metal print, which features a sewing machine and has 3 different colorways (a purple, a blue, and a mint green). I measured one repeat of the sewing machine print so I could pick out the right size for my clock base at my local craft store.

From the craft store, I purchased a round wooden clock base, clock face numbers, a clock mechanism with hands, and some paint.

On the clock mechanism, be sure to purchase one with a long enough shaft to fit your clock base. I initially purchased a mechanism that had a 3/8″ shaft, but I really needed a 3/4″ shaft to fit my base.

I spray painted my wooden base with 2 coats of a pretty teal paint, waiting for each coat to dry. I made a circular template from cardboard, and then used it to cut out my fabric. I adhered the fabric to the clock base using Mod Podge. Once it was completely dried, I used a clear coat spray to seal it.

Once the wooden base dried, I drilled a hole for the mechanism shaft and applied the clock numbers. The numbers have an adhesive back so you just press them onto the clock. I eyeballed the approximate location of each number.

Next, I inserted the clock shaft through the base and attached the hands. The clock mechanism runs on AA batteries, which you insert into the back of the mechanism. There is also a little hanger on the back of the mechanism so you can easily hang it on a wall.

I made 2 of these clocks so that I could give one to my sister. The top clock, in the picture below, is completely finished, and the bottom clock needs the numbers and mechanism.

Tula Pink themed clocks – one finished and one in progress

I really love how cute these little sewing machine clocks are when finished. They are a fun addition to add to any room, particularly your own sewing room!

Finished Tula Pink HomeMade “Sewing Machine” Clock

Enjoy!

~Jen

Tula Pink’s 100 Modern Quilt Blocks Project, Part 2

Hi everyone,

If you celebrate Easter, I hope that you had a great day yesterday even if it wasn’t your usual celebration with social distancing practices in place. We had beautiful weather and enjoyed being together and taking the dog for a long walk.

Last week, I blogged about one of my works-in-progress (WIP) started back in 2018.

Today, I’m going to show you my completed Tula Pink 100 modern quilt block finished quilt flimsy! If you haven’t heard of the term “flimsy” before, it is just the completed quilt top before quilting. I pieced the entire quilt using Aurifil 50 weight thread in white.

I added the white block frames to all 100 of my blocks, and then I added the sashing (Kona cotton in Lighthouse) to each row individually. I pieced together the top 5 rows separately from the bottom 5 rows, just so that I didn’t get confused and to help keep the weight of the quilt top less.

When I had the top 5 rows and the bottom 5 rows pieced, I was ready to join them together.

Here’s a look at the two last chunks of the quilt on the floor of my quilting room:

The top 5 rows and the bottom 5 rows, ready to be stitched together

This quilt flimsy is pretty large so I couldn’t get a good picture of it indoors. My husband and I each stood on a chair to hold up the quilt flimsy, and our teen son took the photo in the field behind our house.

Completed Tula Pink 100 Modern Quilt Blocks Quilt Top

It was a very windy afternoon and so we had to take multiple pictures and wait a bit for the breeze to subside. I do think the quilt looks pretty, fluttering in the wind!

Tula Pink’s 100 Modern Quilt Block Quilt Top, fluttering in the wind!

Of course, one of my quilt inspectors strolled by to supervise the photo session. My cat, Cow, is just off to the side of the quilt, rolling in the dirt. He is loving this sunny weather!

Cow, the quilt inspector, loves to roll in the field dirt!

Next, I need to decide how to do the quilting. I want the focus of the quilt to be the beautiful blocks so I’ll likely do just an all-over swirly pattern. I don’t want custom or heavy quilting to distract from the blocks.

I hope to get this quilting and bound by July.

Happy quilting!

~Jen

Add a Pipe Cleaner to Homemade Face Masks for COVID-19

Hi everyone,

I have made about 30 masks so far for my sister, a nurse practitioner, and her colleagues.

She asked if I could modify the mask to add a pipe cleaner along the top. Pipe cleaners are easy to bend into shape so that you can adjust the mask for a better fit.

I adjusted the Deaconess face mask pattern to allow for a pipe cleaner casing. I also slightly enlarged the pattern. This larger face mask will still fit smaller faces. If you are using elastic, just add a large safety pin to attach the elastic straps to each other around the back of the head. I’m running out of elastic so I made fabric ties instead, which allow you to adapt the mask to fit different sizes of faces easily.

I made a Star Trek themed face mask for my husband with the pipe cleaner casing  and fabric ties. It fits over his larger face with a full beard and mustache nicely.

Star Trek themed homemade mask with pipe cleaner

I put the Star Trek mask on my Tula Pink cat, pattern by Funky Friends Factory.

You can sort of see the shaping along the nose, provided by the pipe cleaner.

Star Trek themed homemade mask on Tula Pink cat!

If you’d like to make this homemade face mask modification, I put my instructions into a free Word document, Adding a Pipe Cleaner to a Homemade Face Mask. 

These instructions are free to use. Let me know if you found them helpful!

Stay safe!

~Jen