With Halloween just a couple weeks away, I thought my living room table needed a little festive decor! I decided to stitch up a quick and easy table runner using a charm pack.
Here’s a look at the completed runner:

Easy Charm Pack Halloween Table Runner
I’ve created a tutorial if you want to make one of these fun Halloween table runners for yourself. I made my table runner single-sided, but you could easily make it double-sided and extend its use into the Thanksgiving holiday by picking out a second autumn-themed charm pack.
Supplies Needed
1 charm pack or 27 5-inch squares (Boo Crew by Sweetwater for Moda is used in my runner)
1/2 yard backing fabric (or make a double-sided runner)
1/2 yard batting
1/4 yard binding, black
black thread
ruler, rotary cutter, mat, pins, and marking pencil
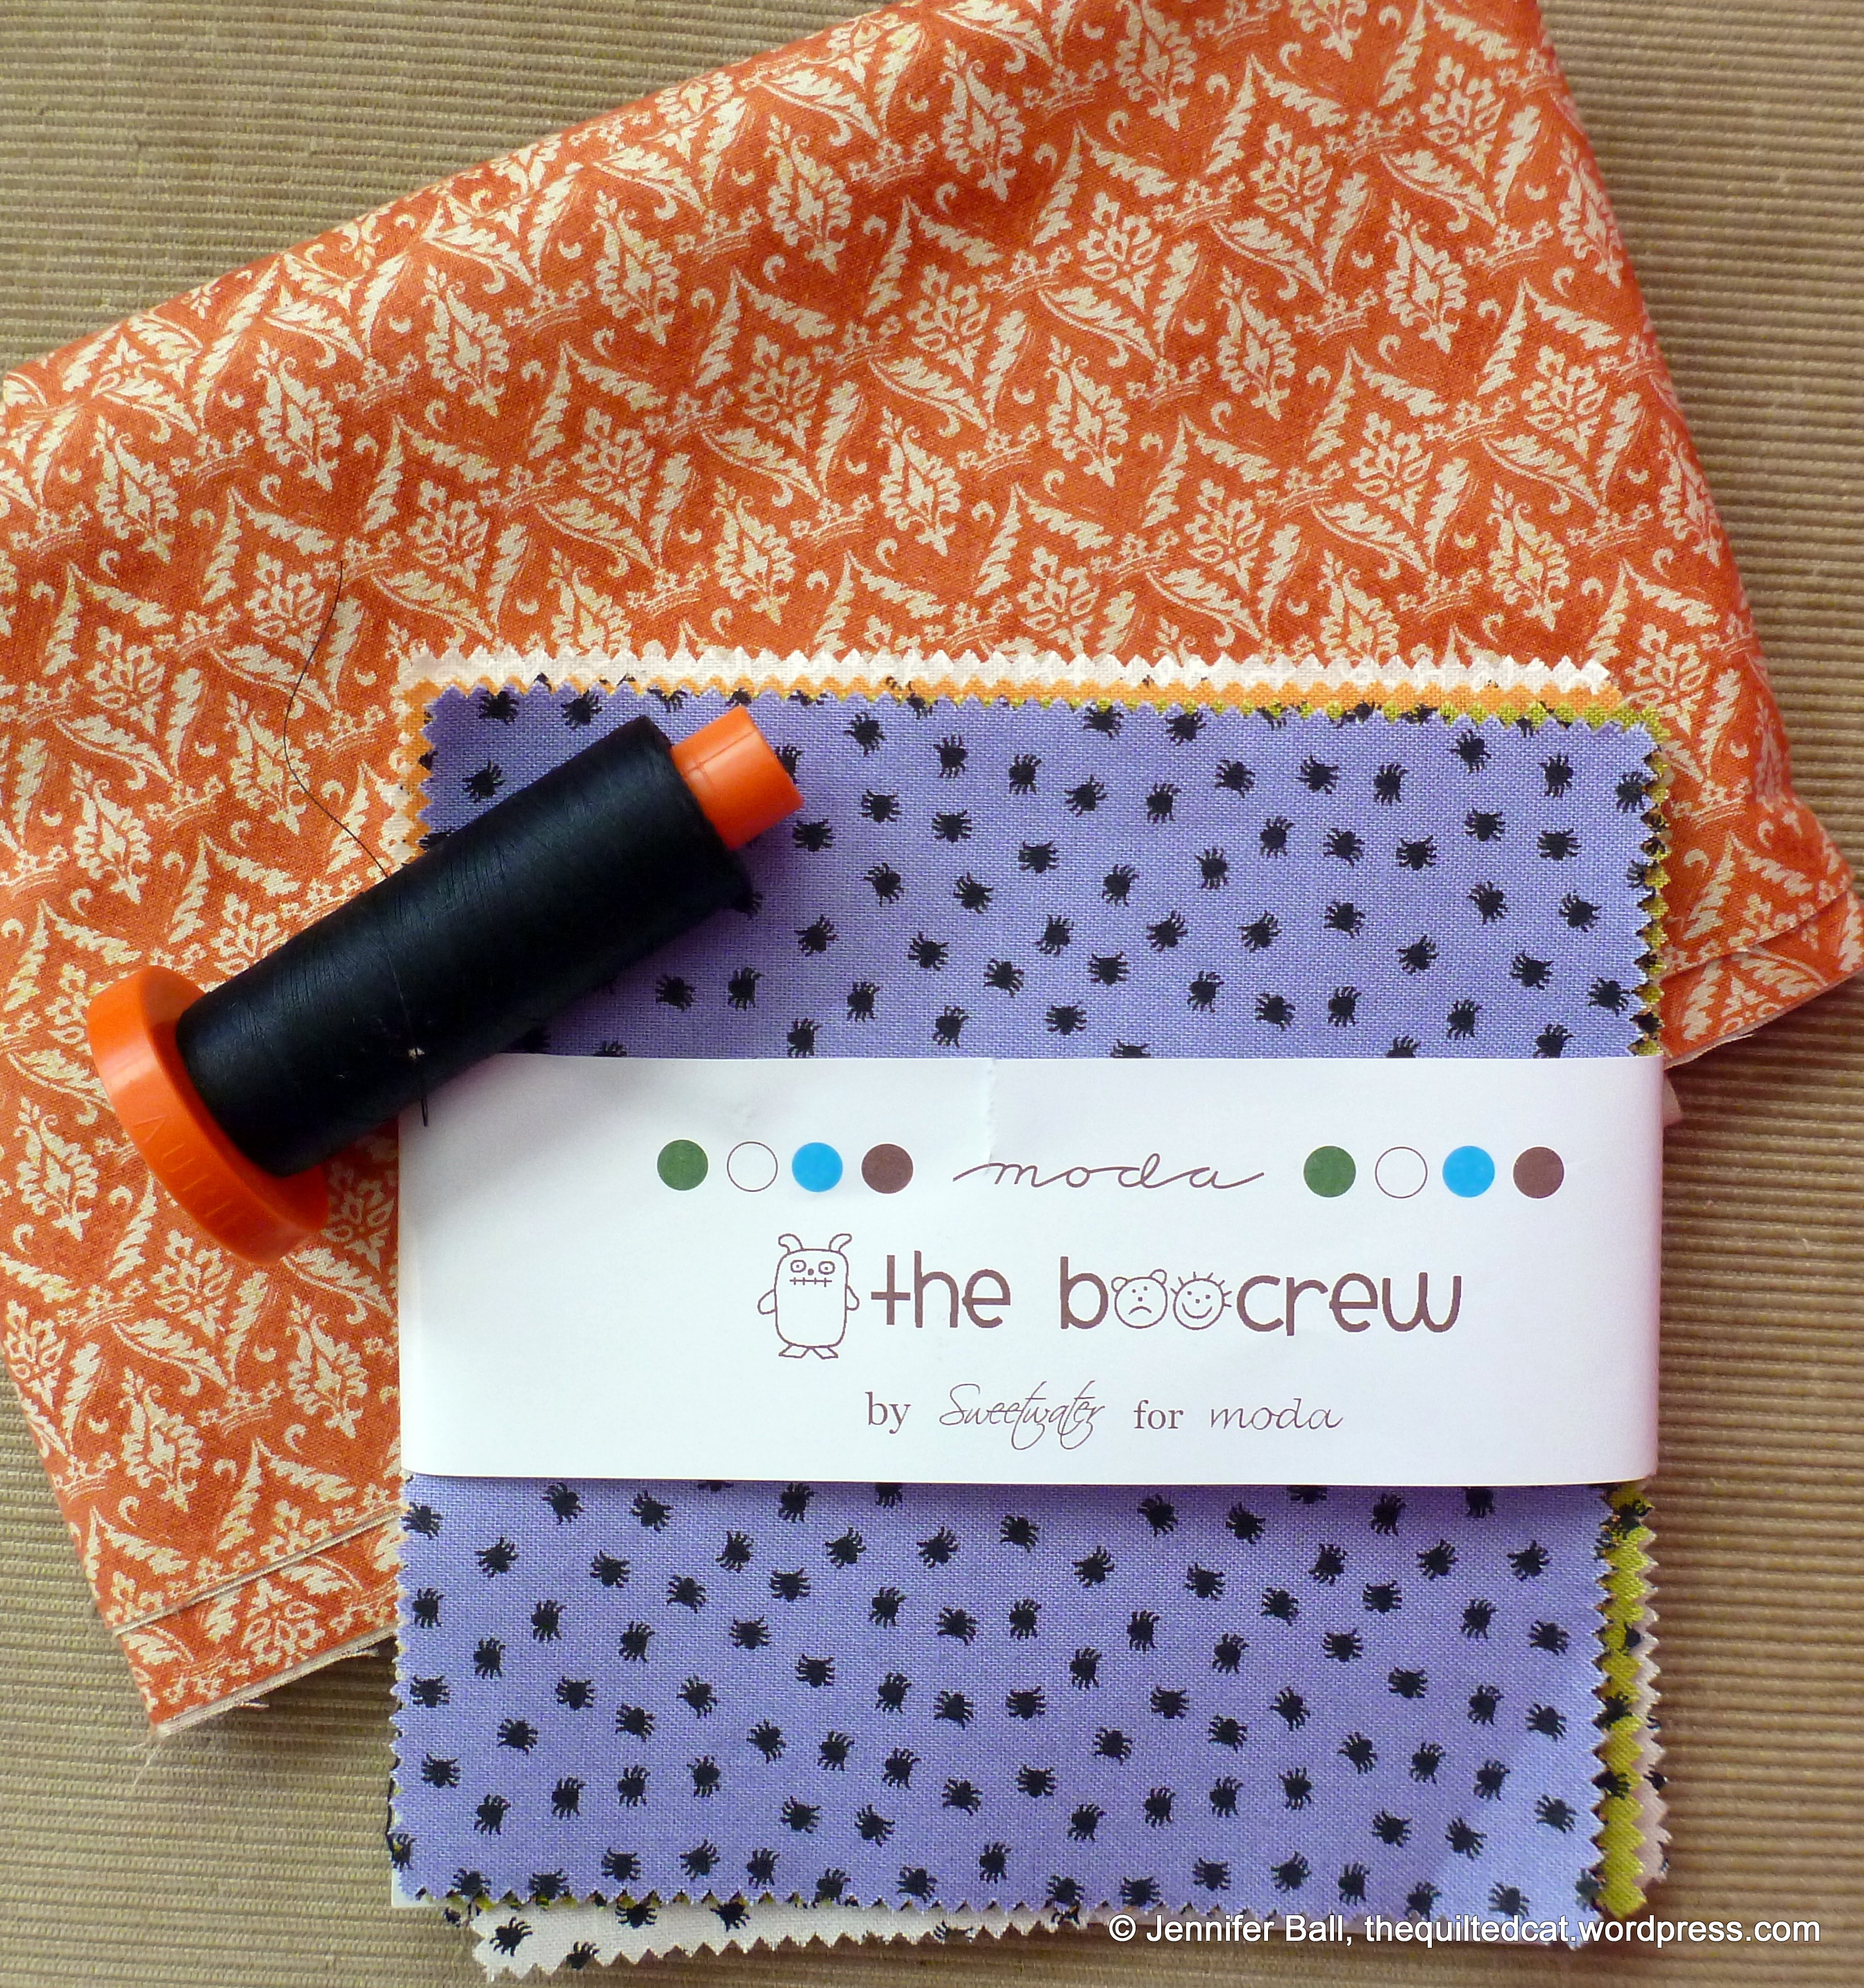
Halloween Charm Pack and Fabric!
Tutorial
Note: Use a 1/4-inch seam allowance.
1. Lay out your charm squares into 3 rows of 9 squares each. Move the charm squares around until you find a color arrangement that you like. Note: If you have a cat “assistant,” you may find your squares re-arranged! See figure 1.
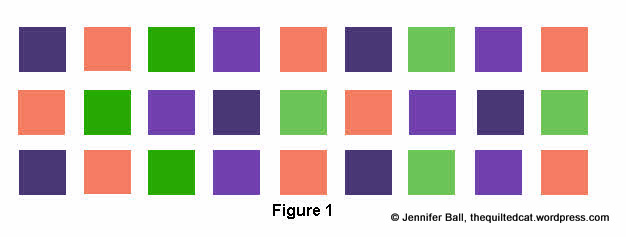
3 Rows with 9 Charm Squares Each
2.Sew 9 charm squares into a row. Press seams open. Repeat for the other rows.
3. Sew the first row to the second row, taking care to match seams. Press seams open.
4. Sew the third row to the completed unit from step 3, taking care to match seams. Press seams open.
5. Cut each right and left end square on both the top and bottom rows so that the squares become triangles. Tip: Use your ruler and marking pencil to draw a diagonal line before cutting the triangles. See figure 2.
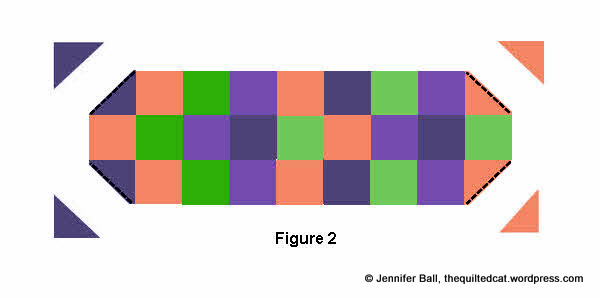
Cut End Squares into Triangles
6. Press the quilt top. The quilt top should resemble figure 3.
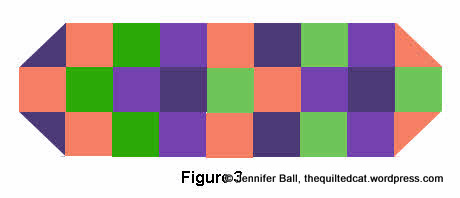
Halloween Runner Quilt Top
7. Prepare quilt top for quilting by layering backing, batting, and quilt top. Baste with pins.
8. Quilt as desired. I quilted my runner using my domestic sewing machine by using my 1/4-inch foot and sewing square shapes in each charm square.
9. Prepare binding. I like to use 2-1/4″ binding strips and then press them in half.
10. Sew on binding strips. Press. Hand-stitch binding to the backing.
11. Remember to add a quilt label!
12. Optional: Add embellishments such as hot-fix crystals or Halloween themed buttons.
I think this little table runner really adds a festive touch to my coffee table. I added a pumpkin shaped bowl and filled it with chocolate candies. Mysteriously, those little candies seem to disappear quickly in my house!

Halloween Runner Closeup
I hope you enjoy this tutorial! Let me know if you make one by leaving a comment or linking up to your blog. I’d love to see pictures.
With Halloween charm,
~Jennifer