Happy Friday, everyone!
Several weeks ago, Lorna over at Sew Fresh Quilts asked for some pattern testers to try out 2 new mini quilt patterns. I selected the “I Love 2 Quilt” pattern, and off I went into my scrap bin to find bits and pieces to use on this cute quilt.
I quilted mine on my Bernina Activa 145 using Aurifil 50 wt in Light Sand (#2000) with a combination of little flowers in the white border, an all-over stippling in the other white areas, and straight-line quilting on the colorful fabrics.
I added an extra outer border using this fabulous green tape measure fabric from the “She Who Sews” line by Quilting Treasures. I used the same green fabric for the binding. The background fabric is Kona Snow, and all the solid and patterned fabrics are from my stash.
My mini quilt finishes at about 34″ by 19″ with extra border.
Here’s a look at the completed project:

I Love 2 Quilt Completed Mini

Photography Assistant!
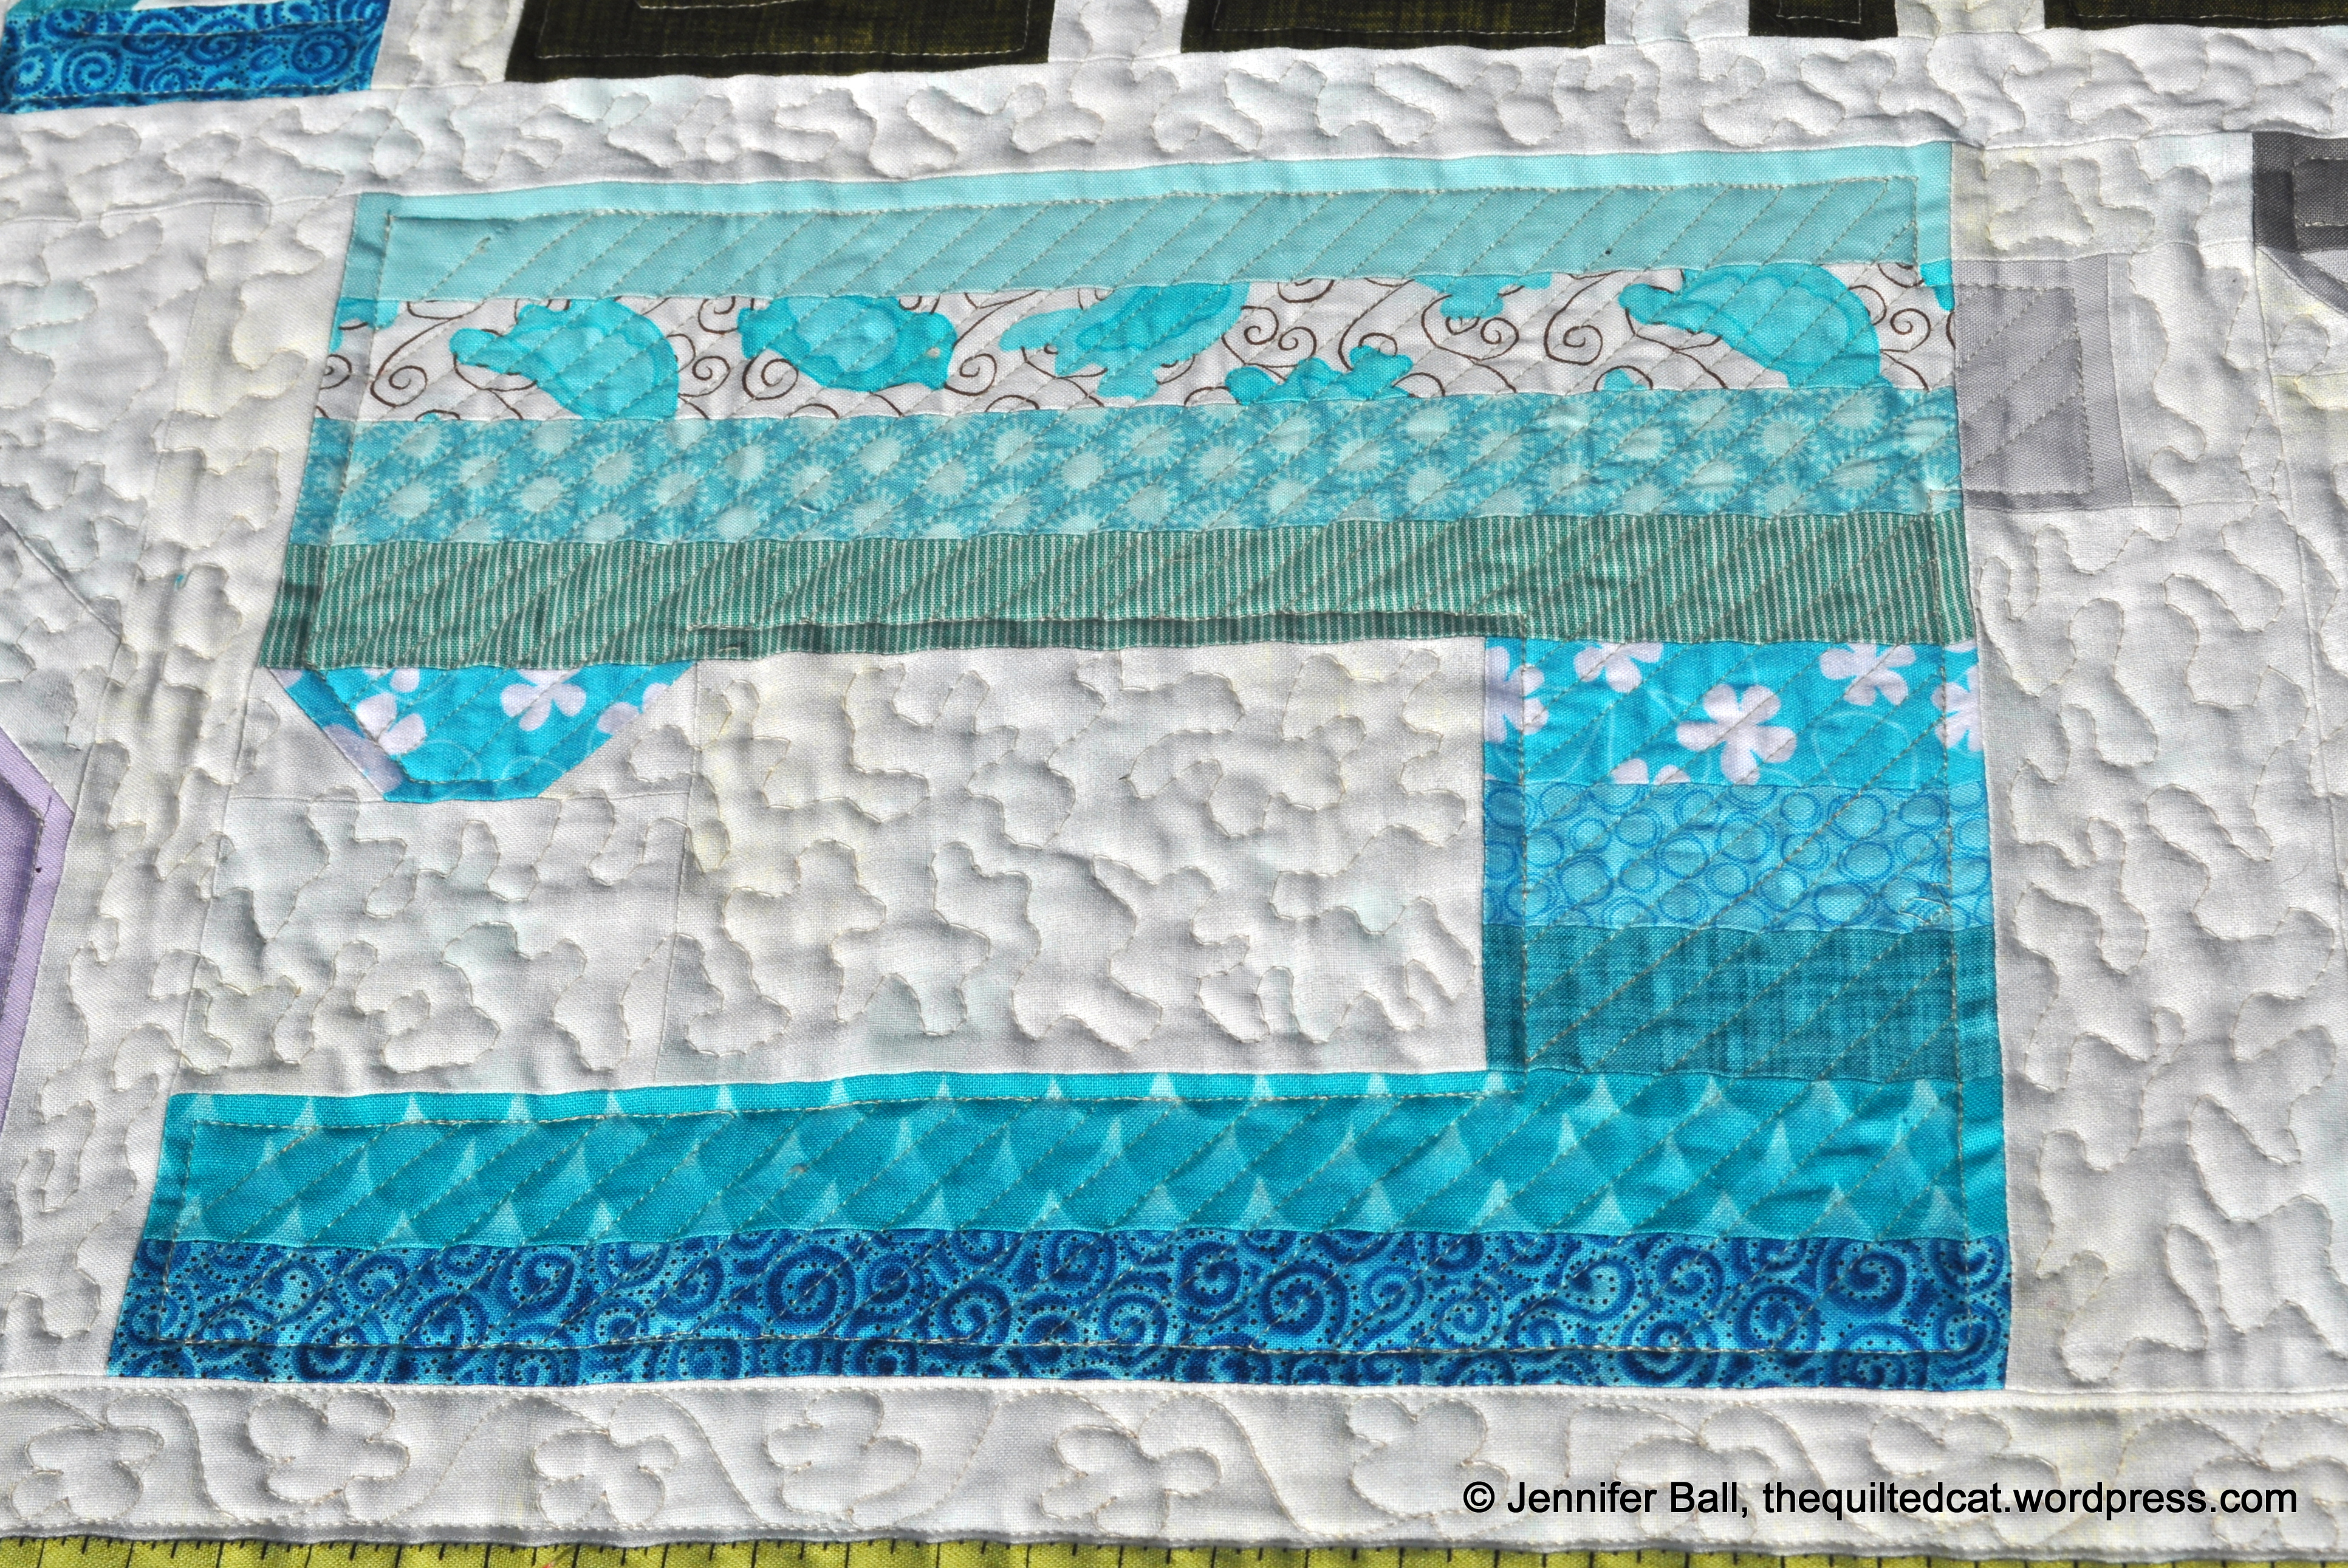
Close-up view of free motion quilting
For the back, I had another piece of fabric from the She Who Sews line that I think really works well with this quilt.
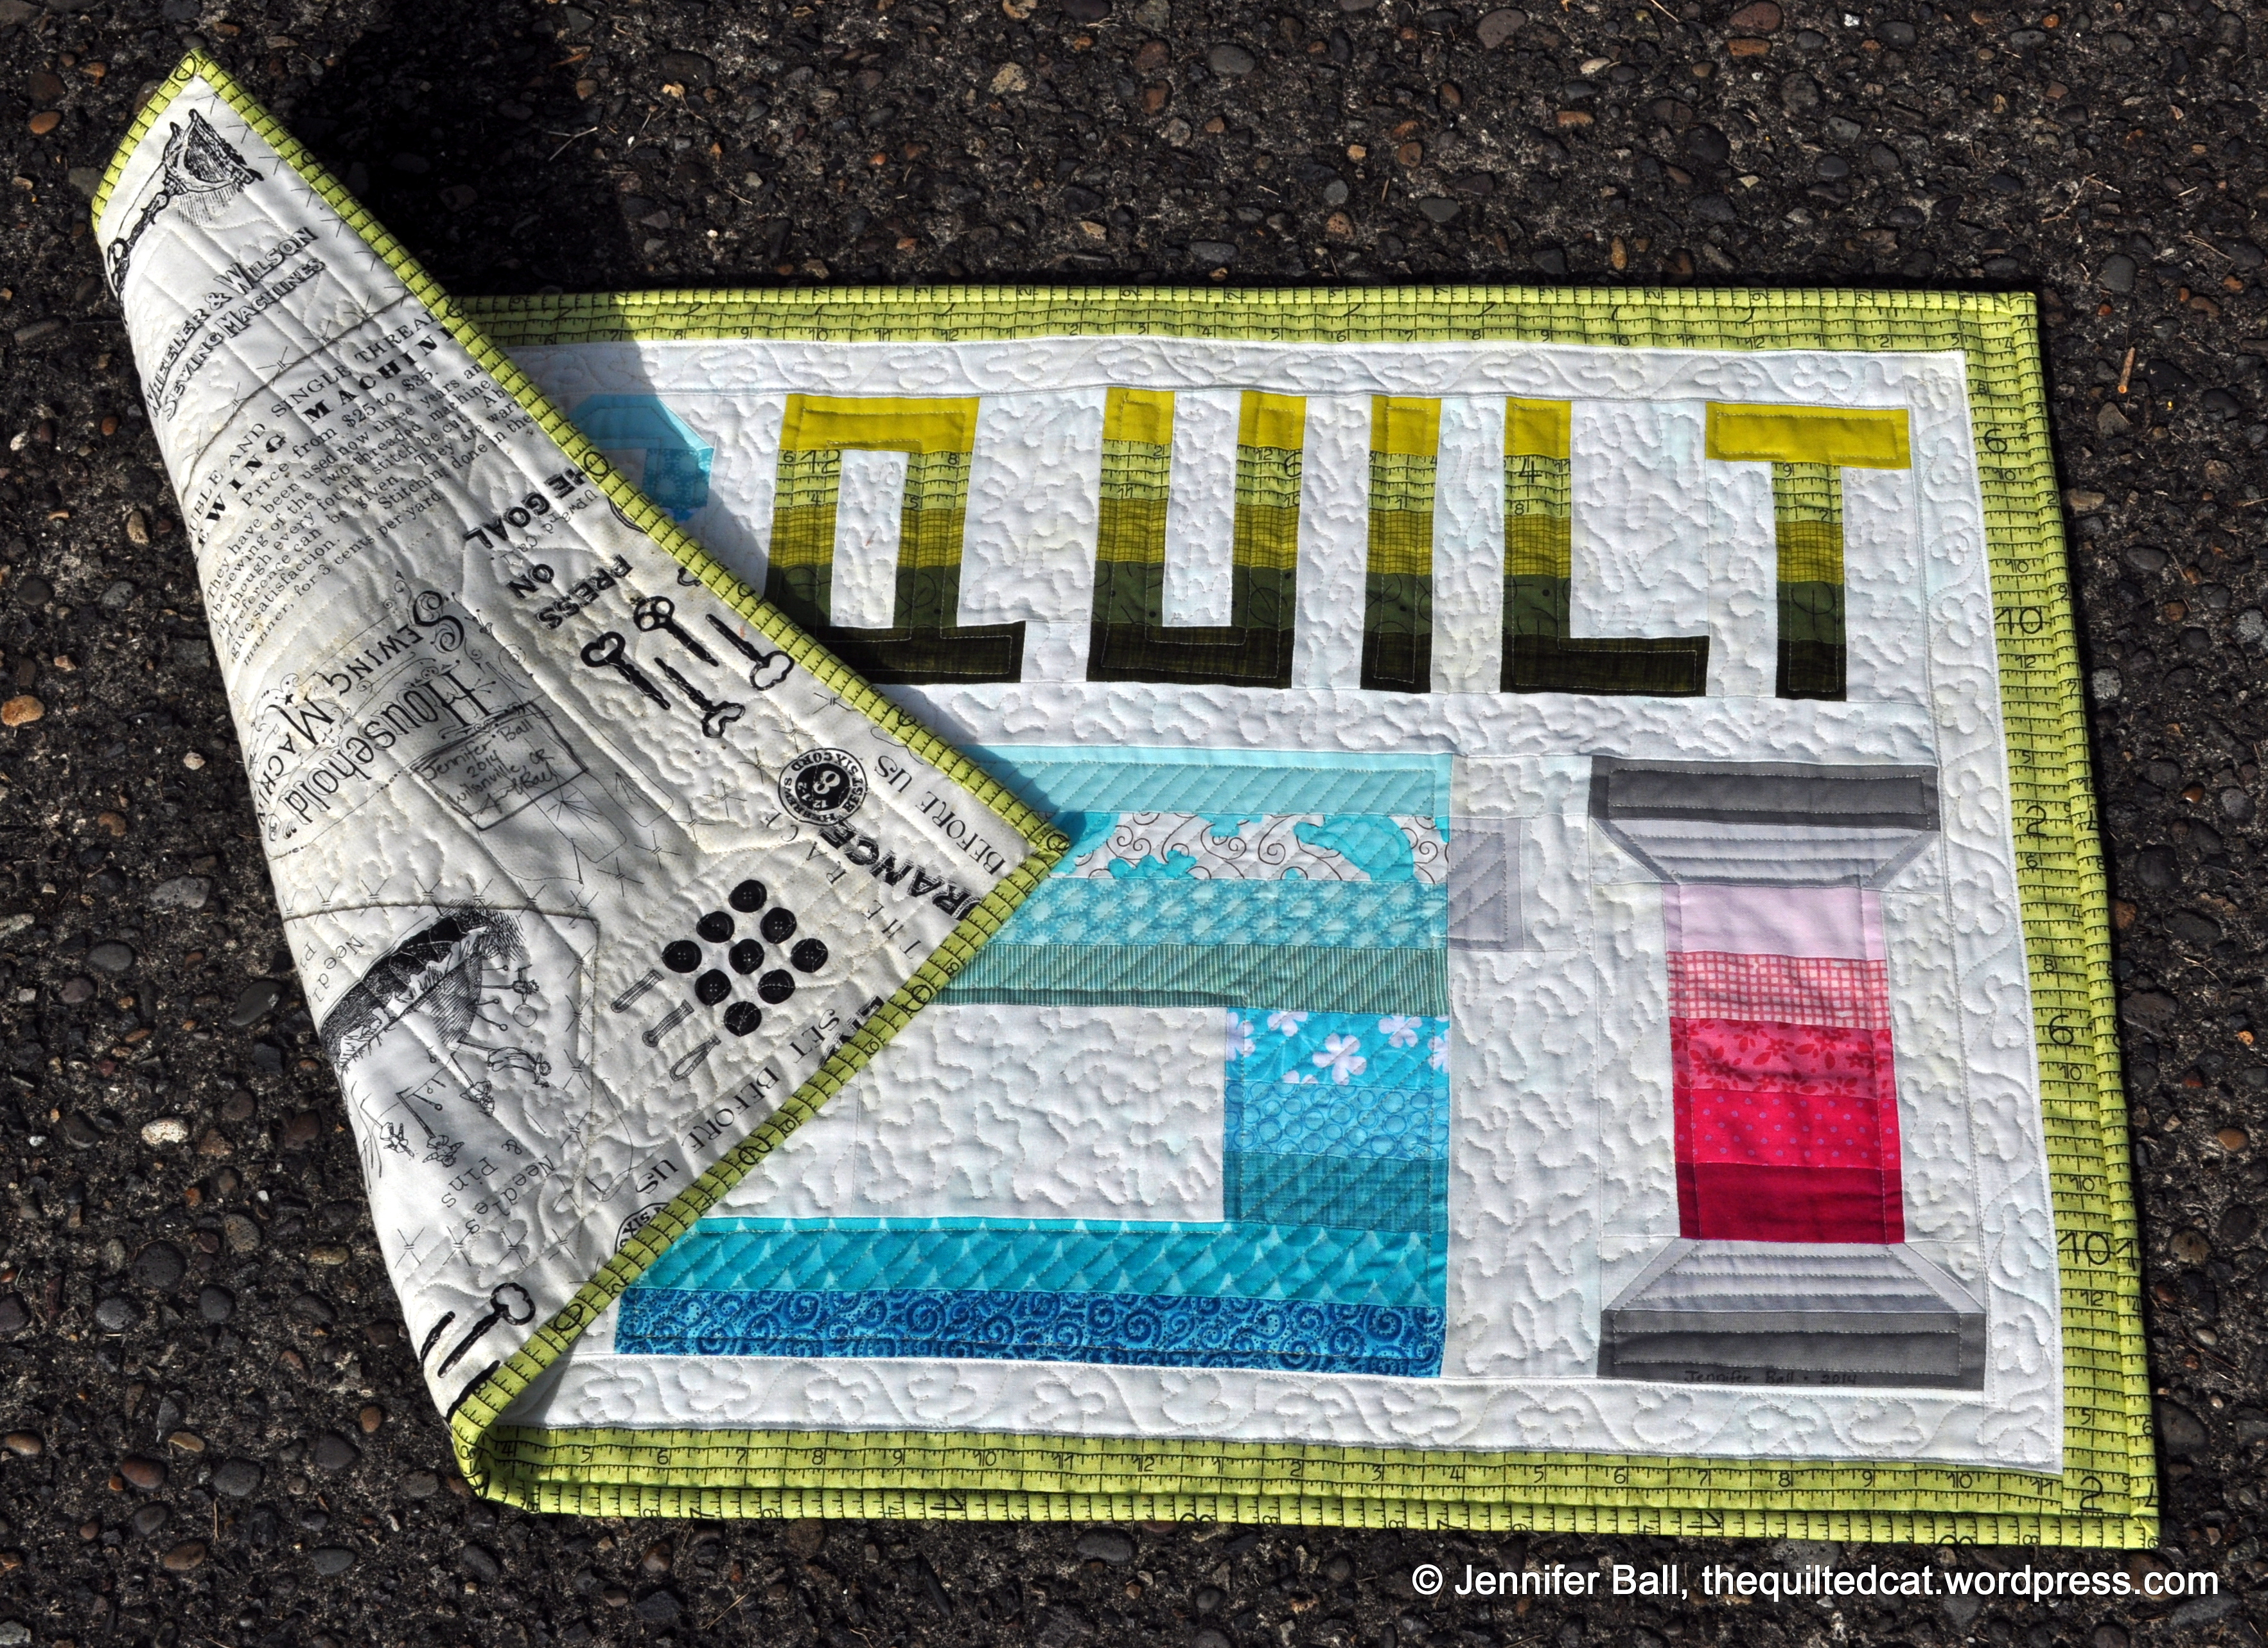
I Love 2 Quilt – With Backing Fabric Showing
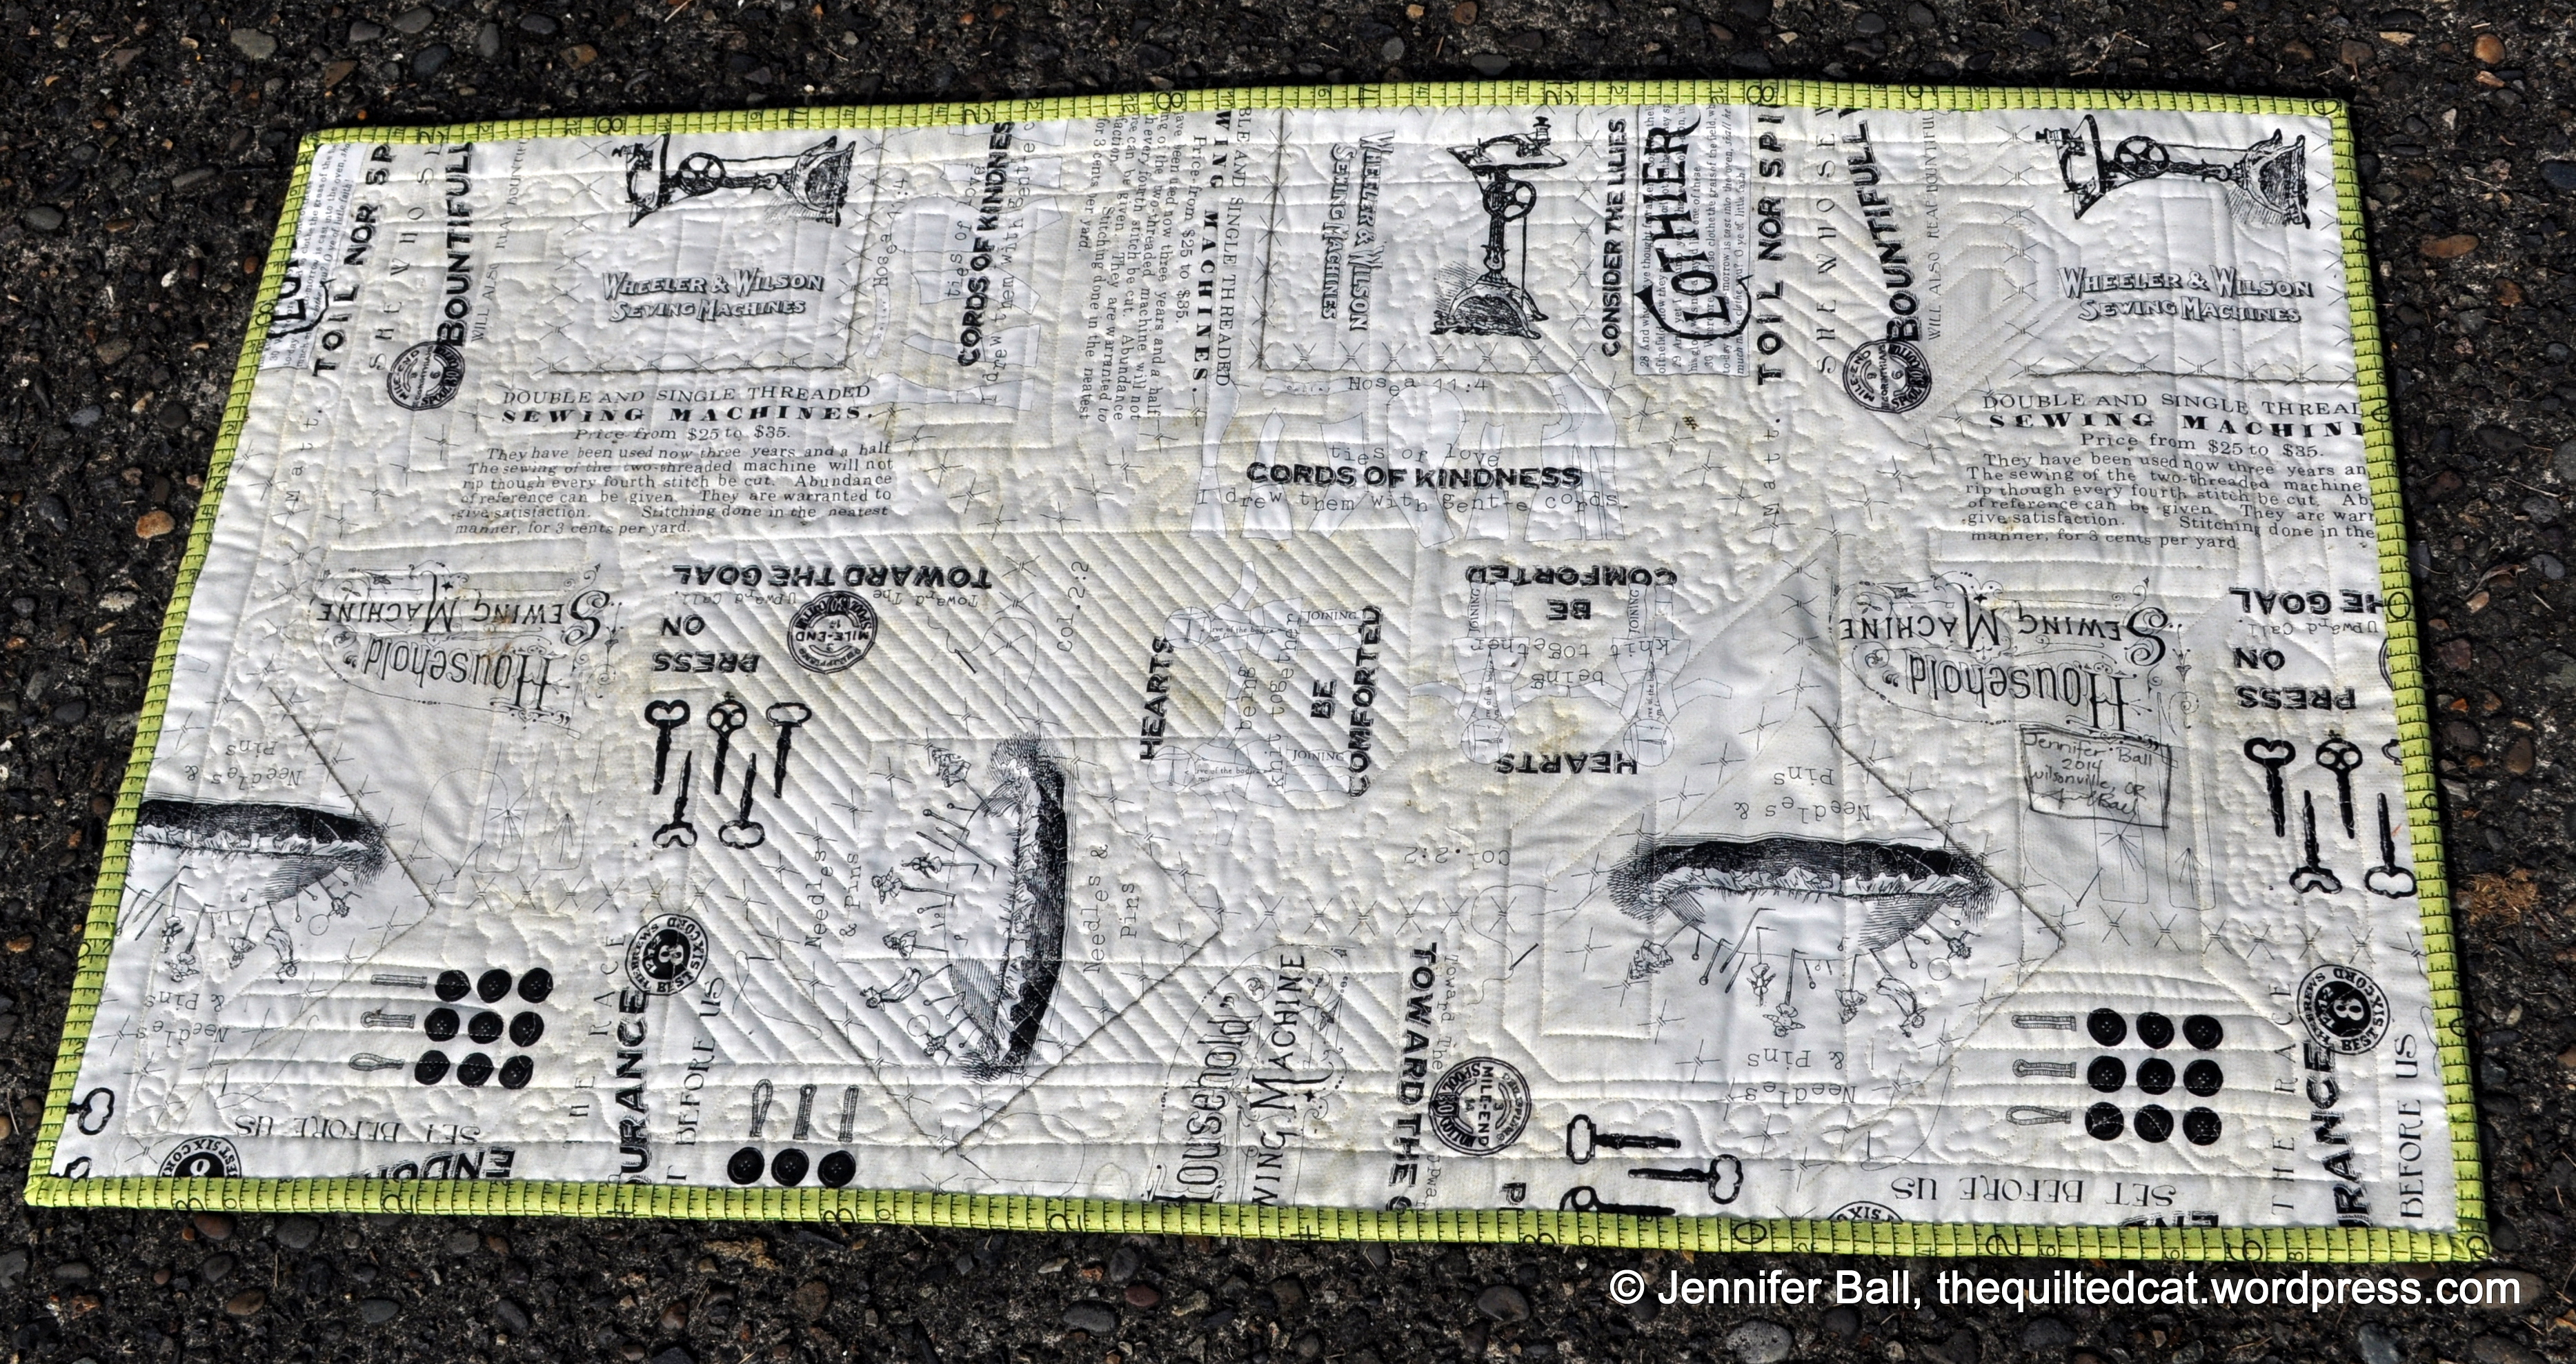
Back of I Love 2 Quilt Mini
I had fun making this mini quilt, and I’d like to thank Lorna for the opportunity to be a pattern tester. I’m going to keep this one and hang it up in my sewing room.
Check out all the other quilt tops and finished quilts over at the linky party at Sew Fresh Quilts.
Enjoy!
~Jennifer