Finished Bubblegum Kisses Mini Quilt

Hi everyone,

Each month, I love receiving the Sew Sampler box from the Fat Quarter Shop with exclusive patterns and notions. I’ve very behind on making the projects, but I finally completed a cheery and happy mini quilt recently called Bubblegum Kisses by Lori Holt.

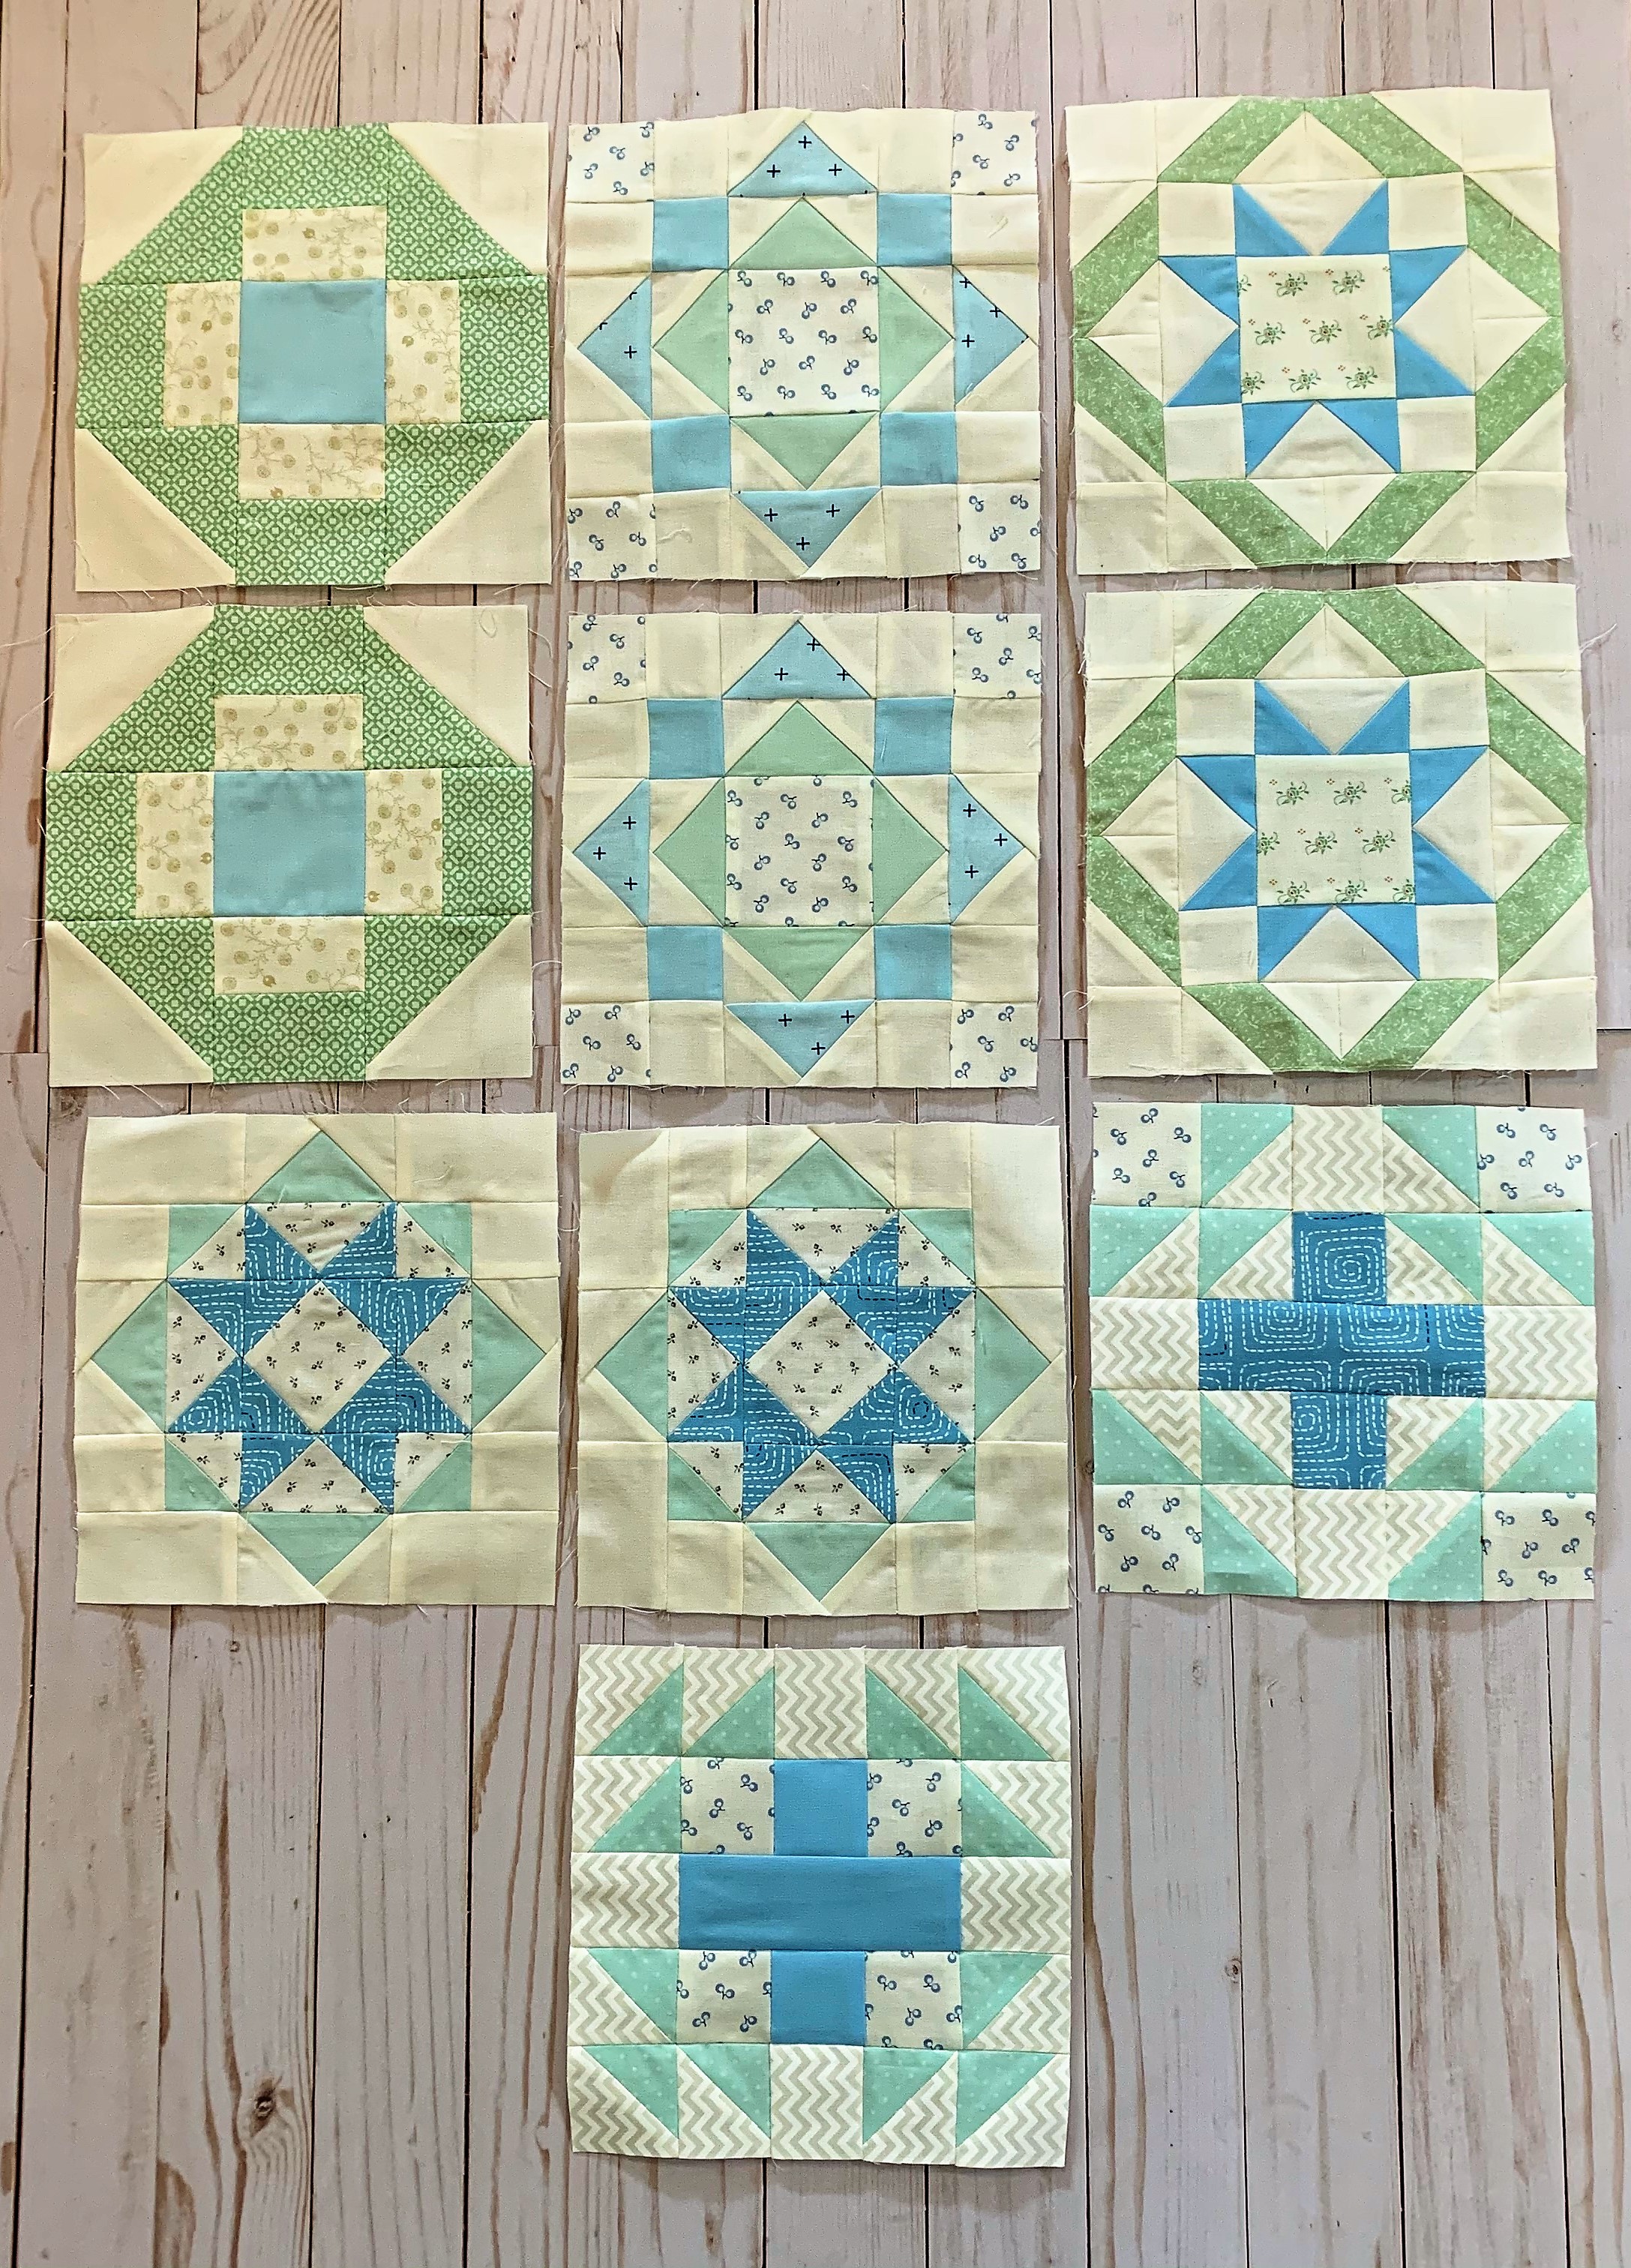
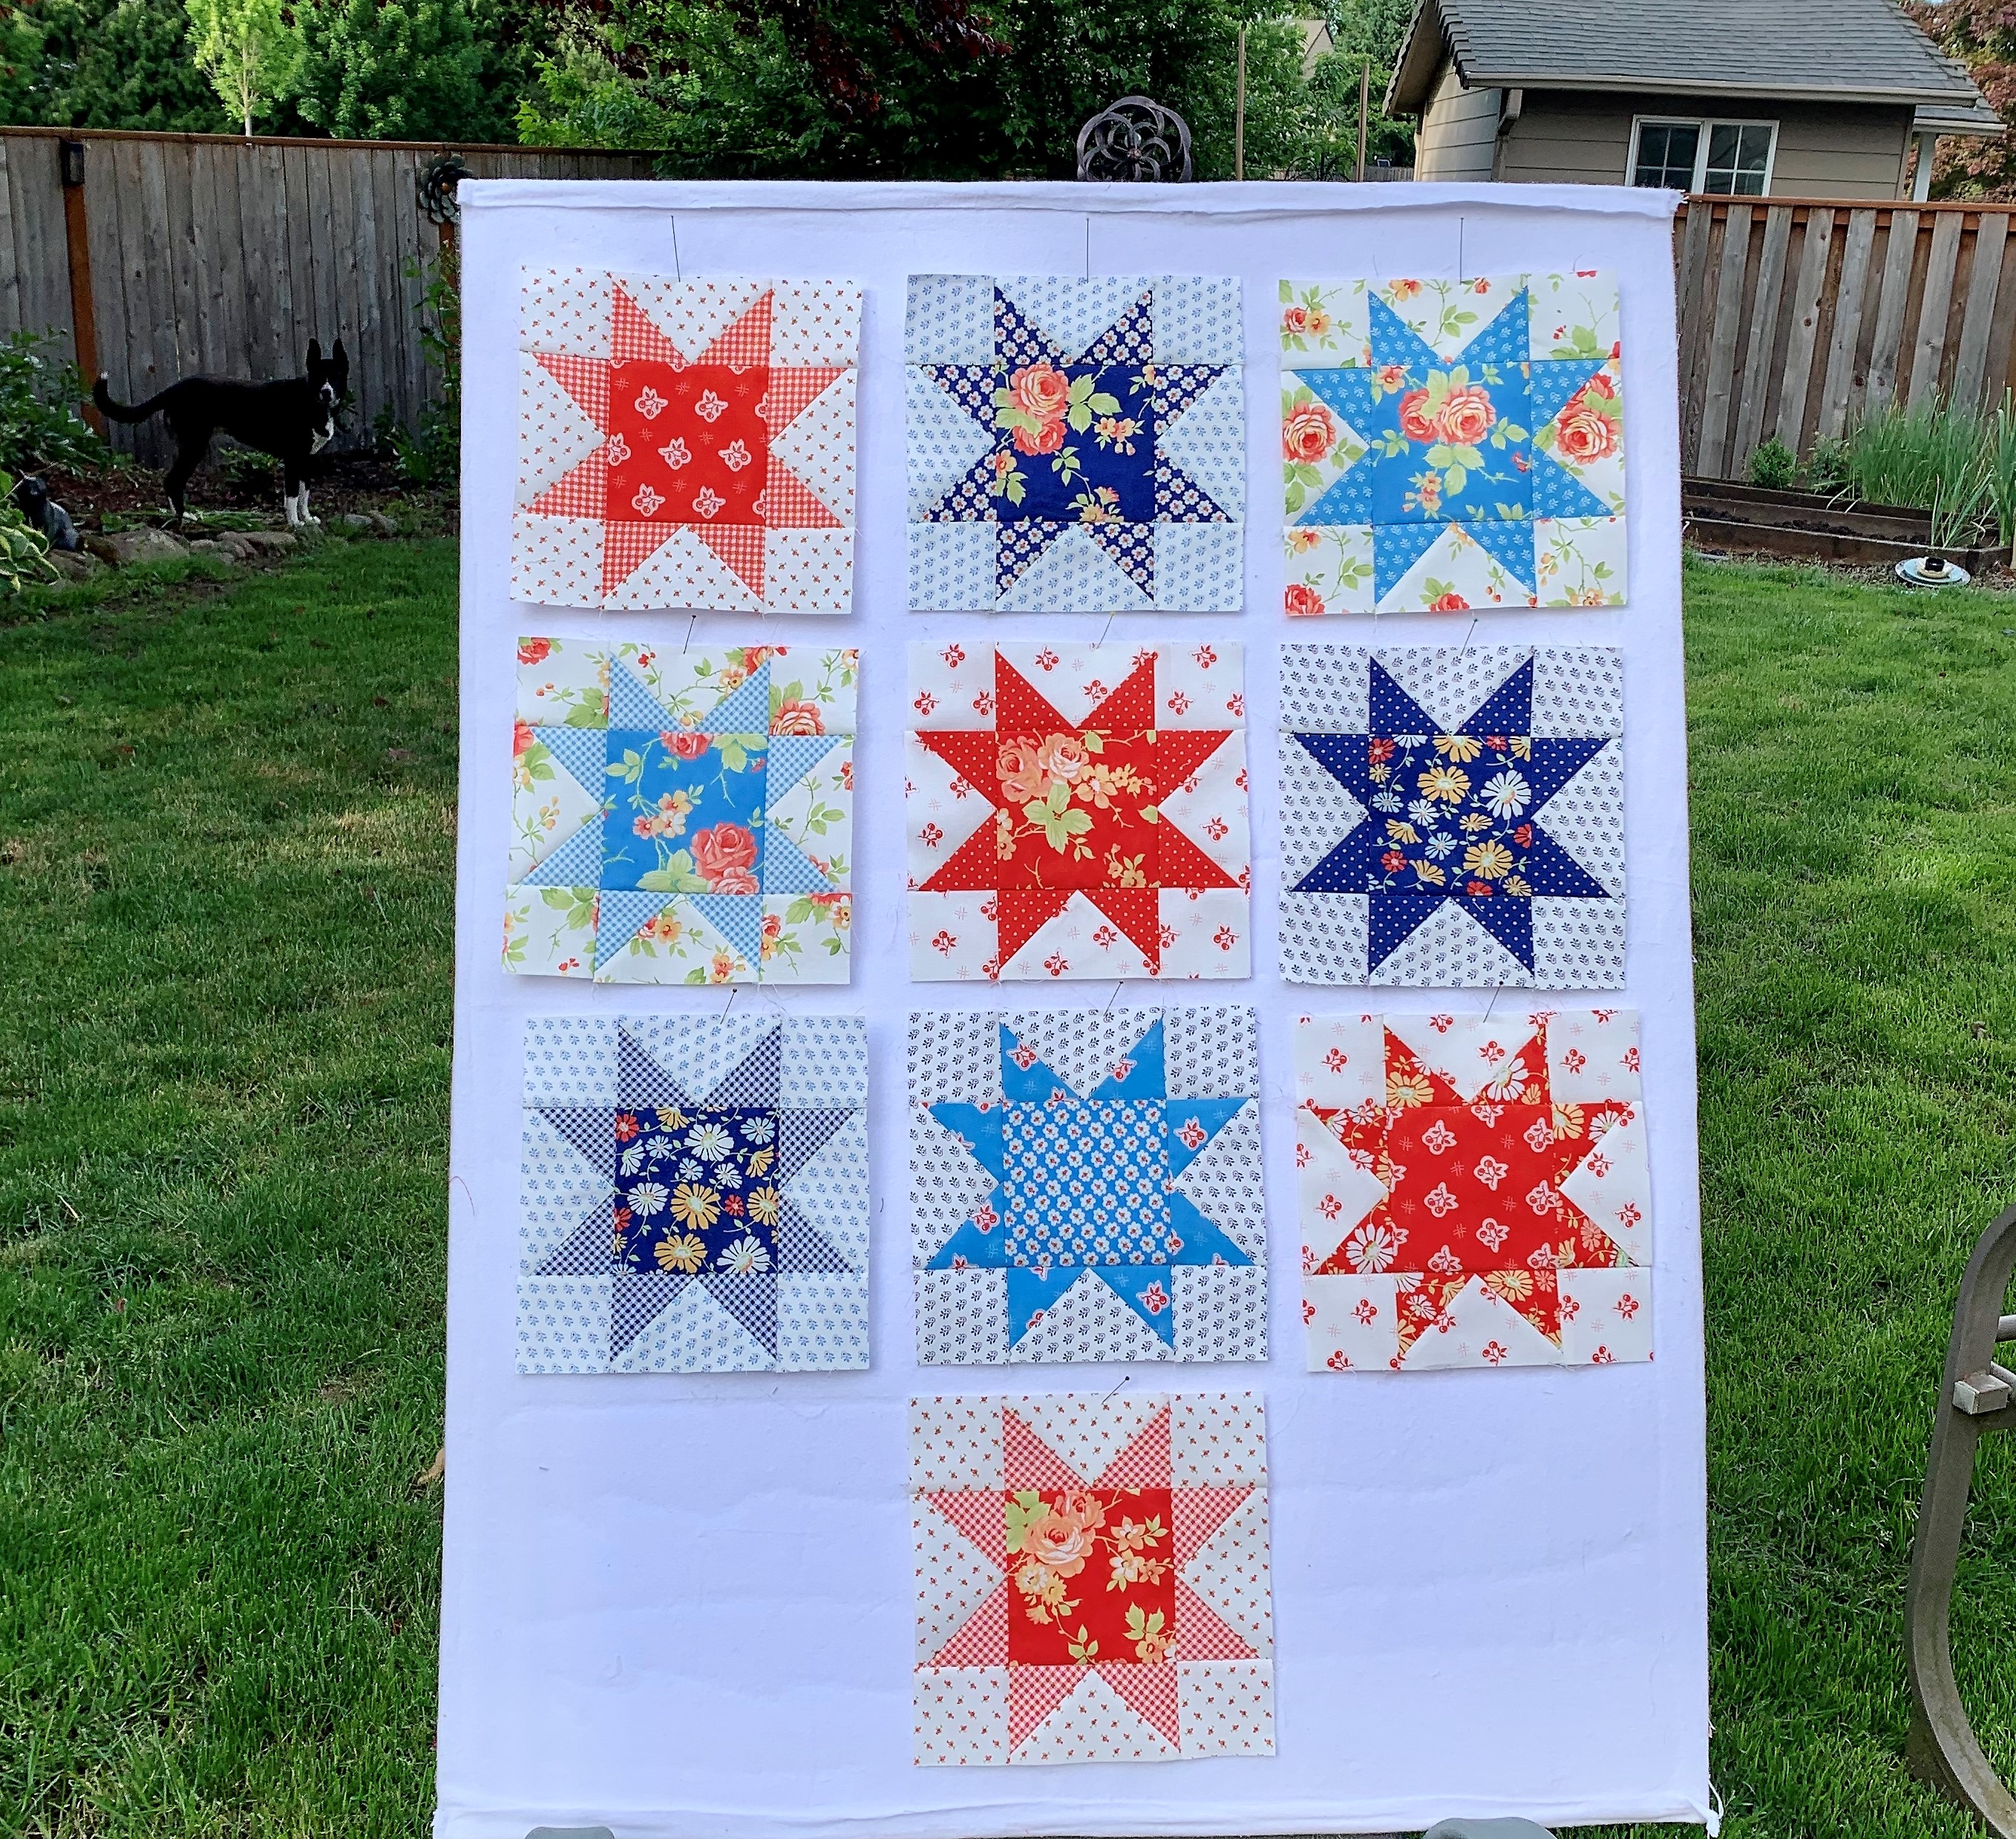
This quilt finishes at about 23 1/2″ x 27 1/2″ and uses charm squares plus some background fabric. I started this quilt at a retreat in December 2017, pieced the top, and then set it aside in my to-do quilting pile. Yikes!

I pulled it out last week and found a pretty blue gingham fabric in my stash for the backing.

Here’s my quilt inspector, checking it out before quilting:

Romeo inspects my quilt sandwich

For quilting, I decided to do 1″ piano keys around the border. I also stitched-in-the-ditch around each block. I did a little free-motion meandering in between the blocks. I used Glide thread in Linen for all of the quilting. It is a nice creamy color that blended into the background fabric nicely.

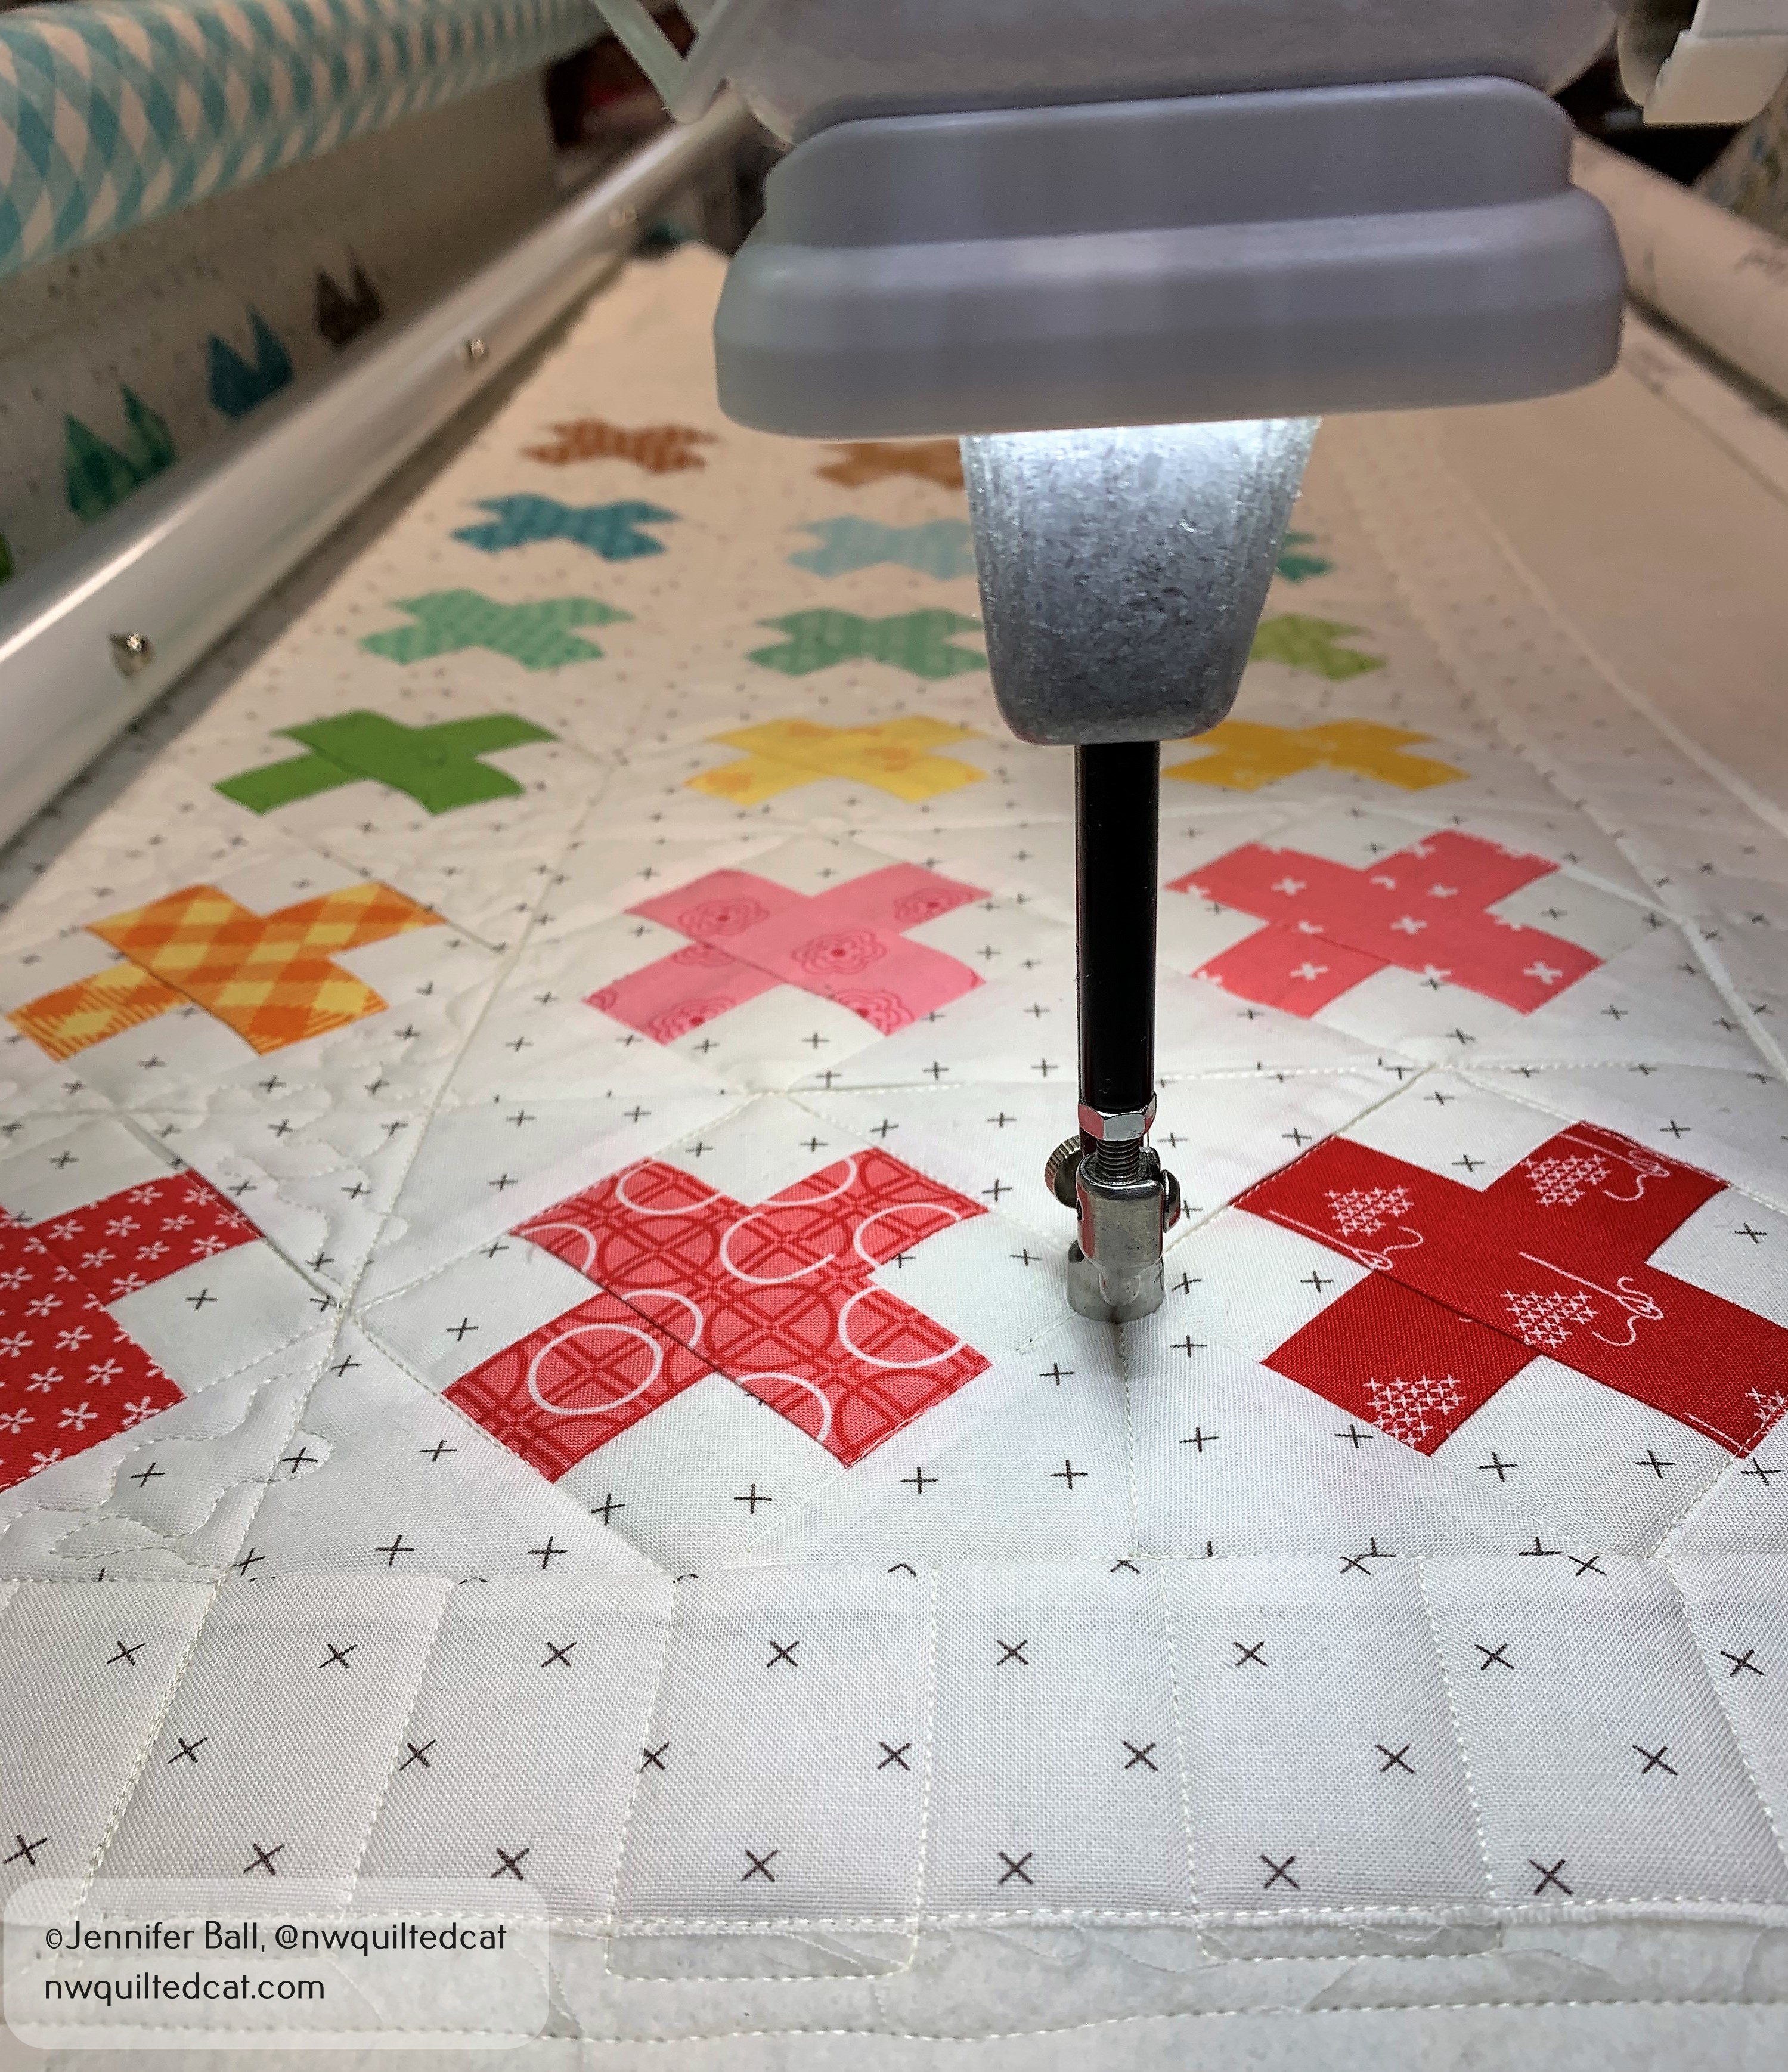
Quilting Bubblegum Kisses

The binding came with the Sew Sampler box, and I love the aqua color! I finished the quilting and binding pretty quickly. I knew that I wanted to take a picture of the quilt outside, and I had a perfect opportunity this past weekend.

We hiked about 9 miles along the Pacific Crest Trail, near Mt. Hood. The temperature was perfect for hiking, about 65 degrees. The clouds played peek-a-boo all day with the mountain, but we lucked out and got terrific views.

There are so many wildflowers in bloom right now along the trail from pink rhododendron to white avalanche lilies to tall bear grass.

Here’s a picture of the finished Bubblegum Kisses mini quilt with some delicate avalanche lilies:

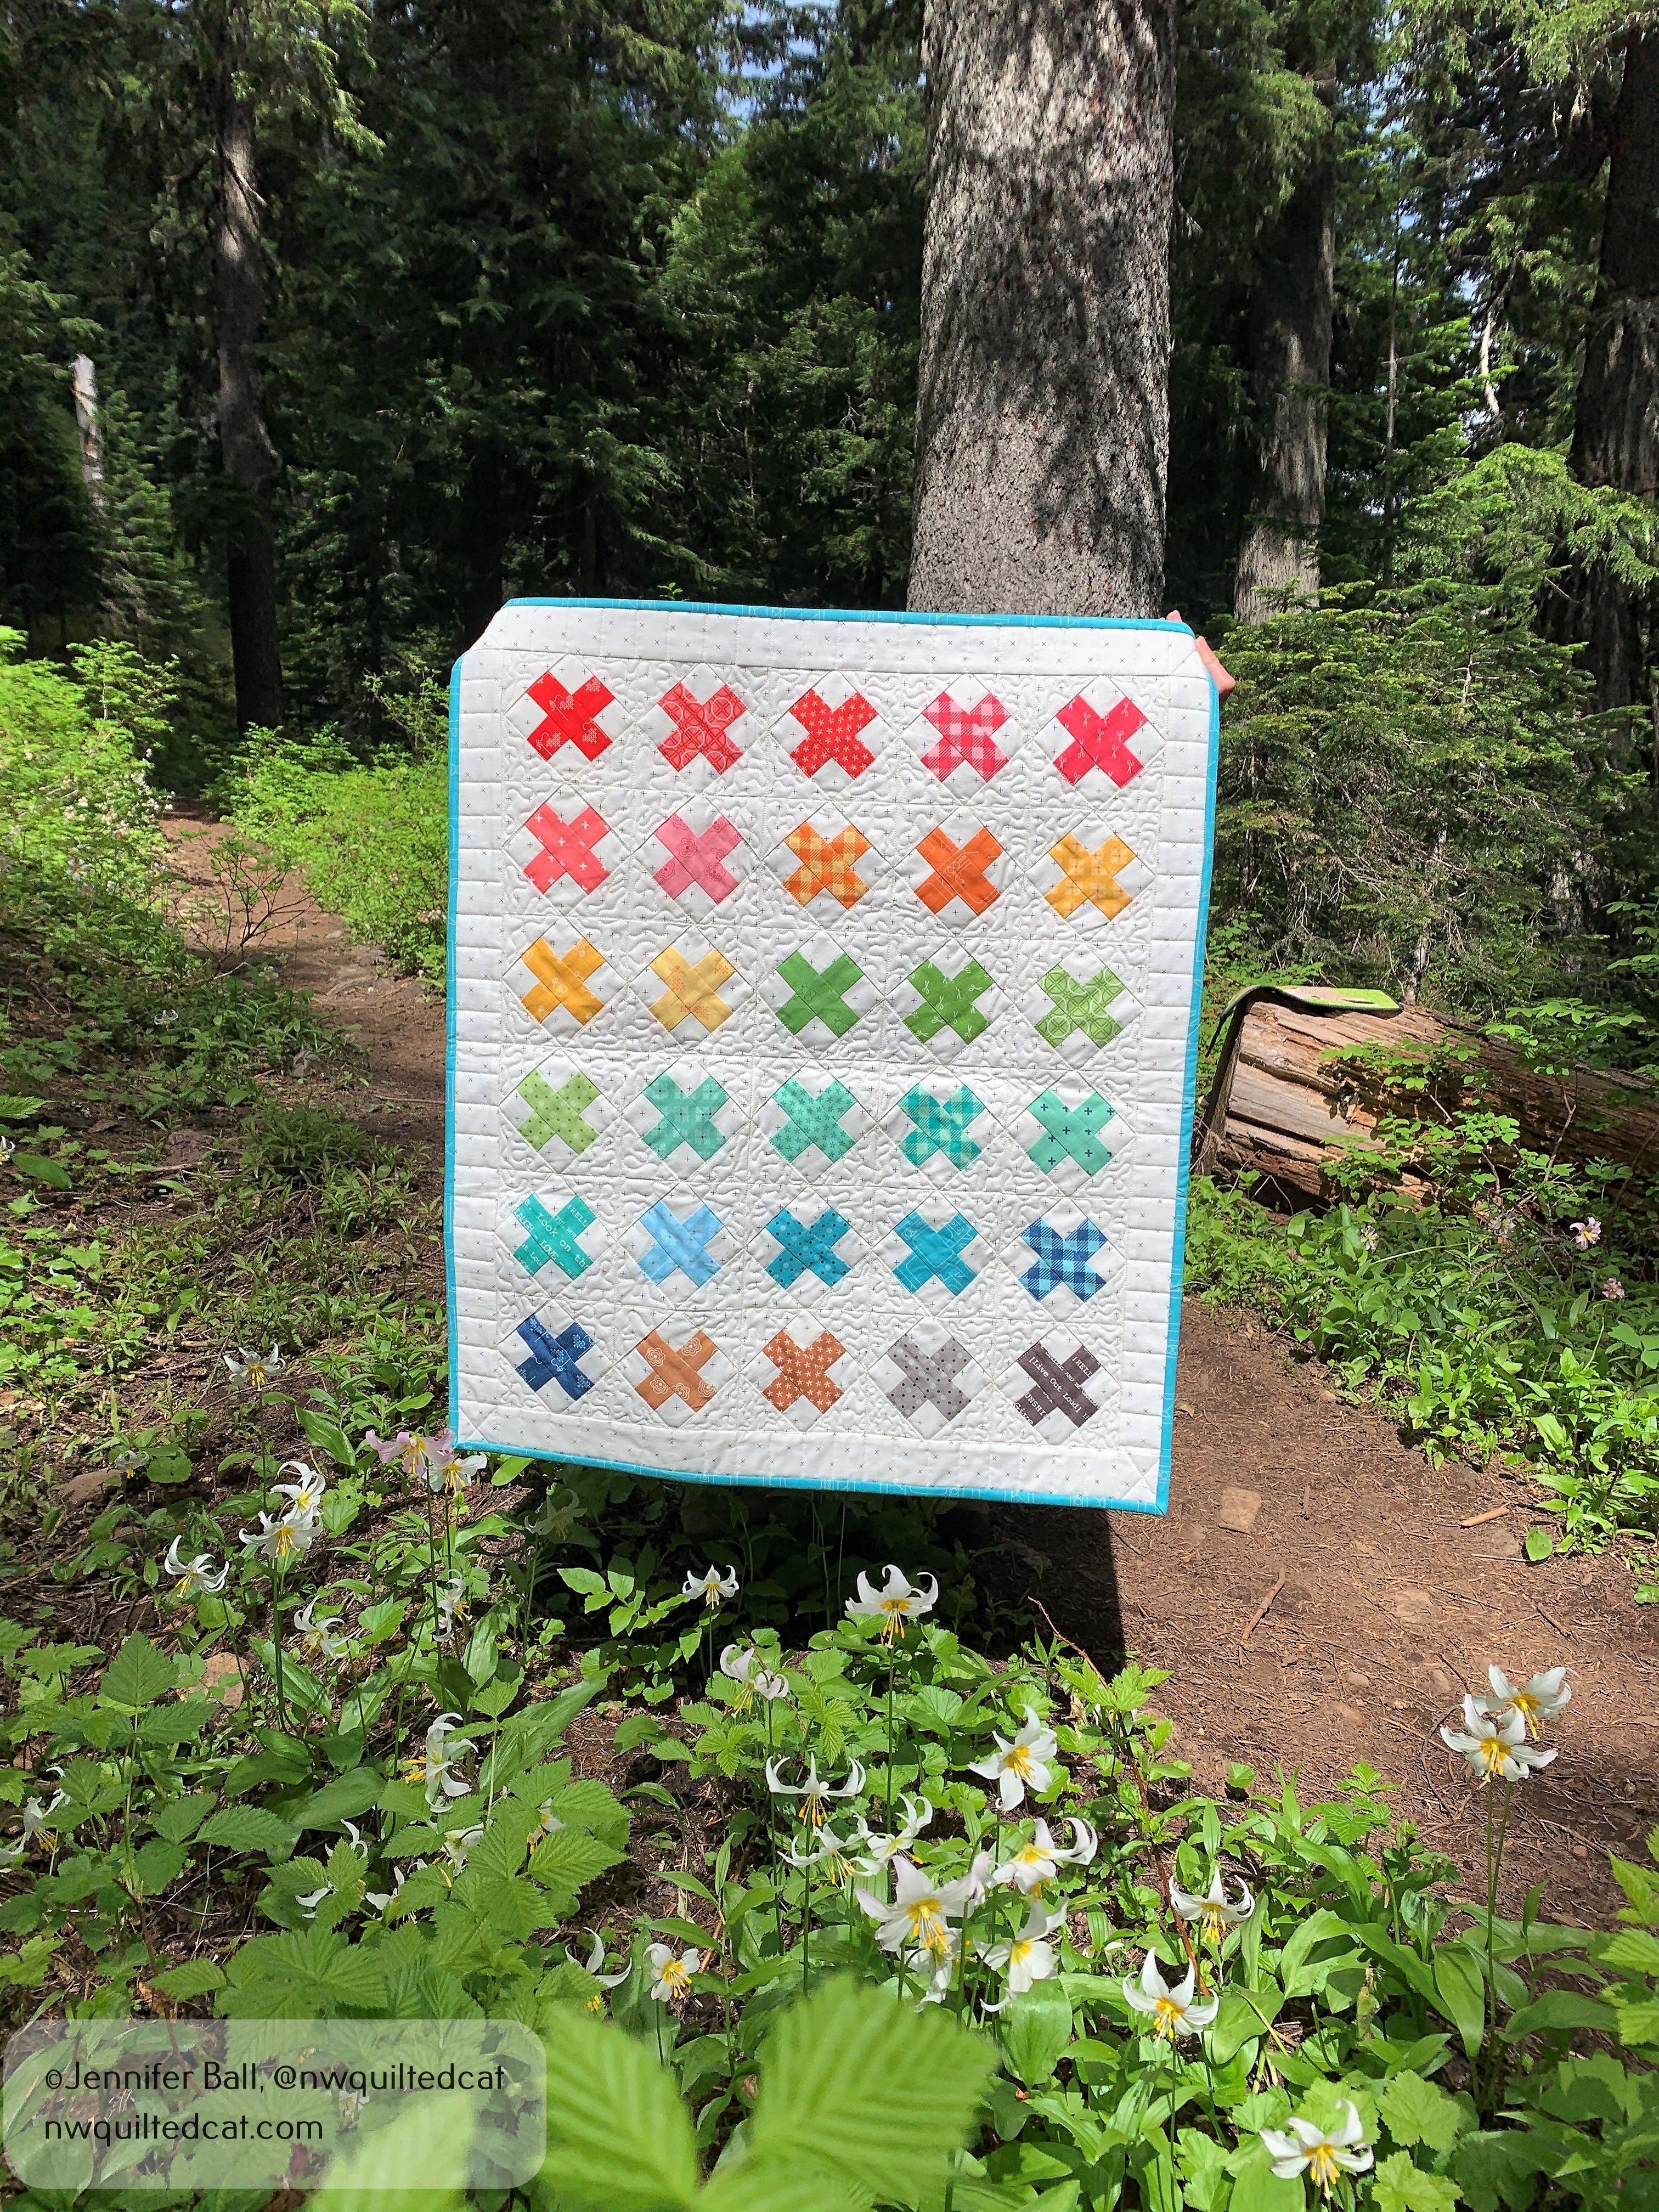
Bubblegum Kisses Quilt with Avalanche Lilies

These little wildflowers are just so pretty!

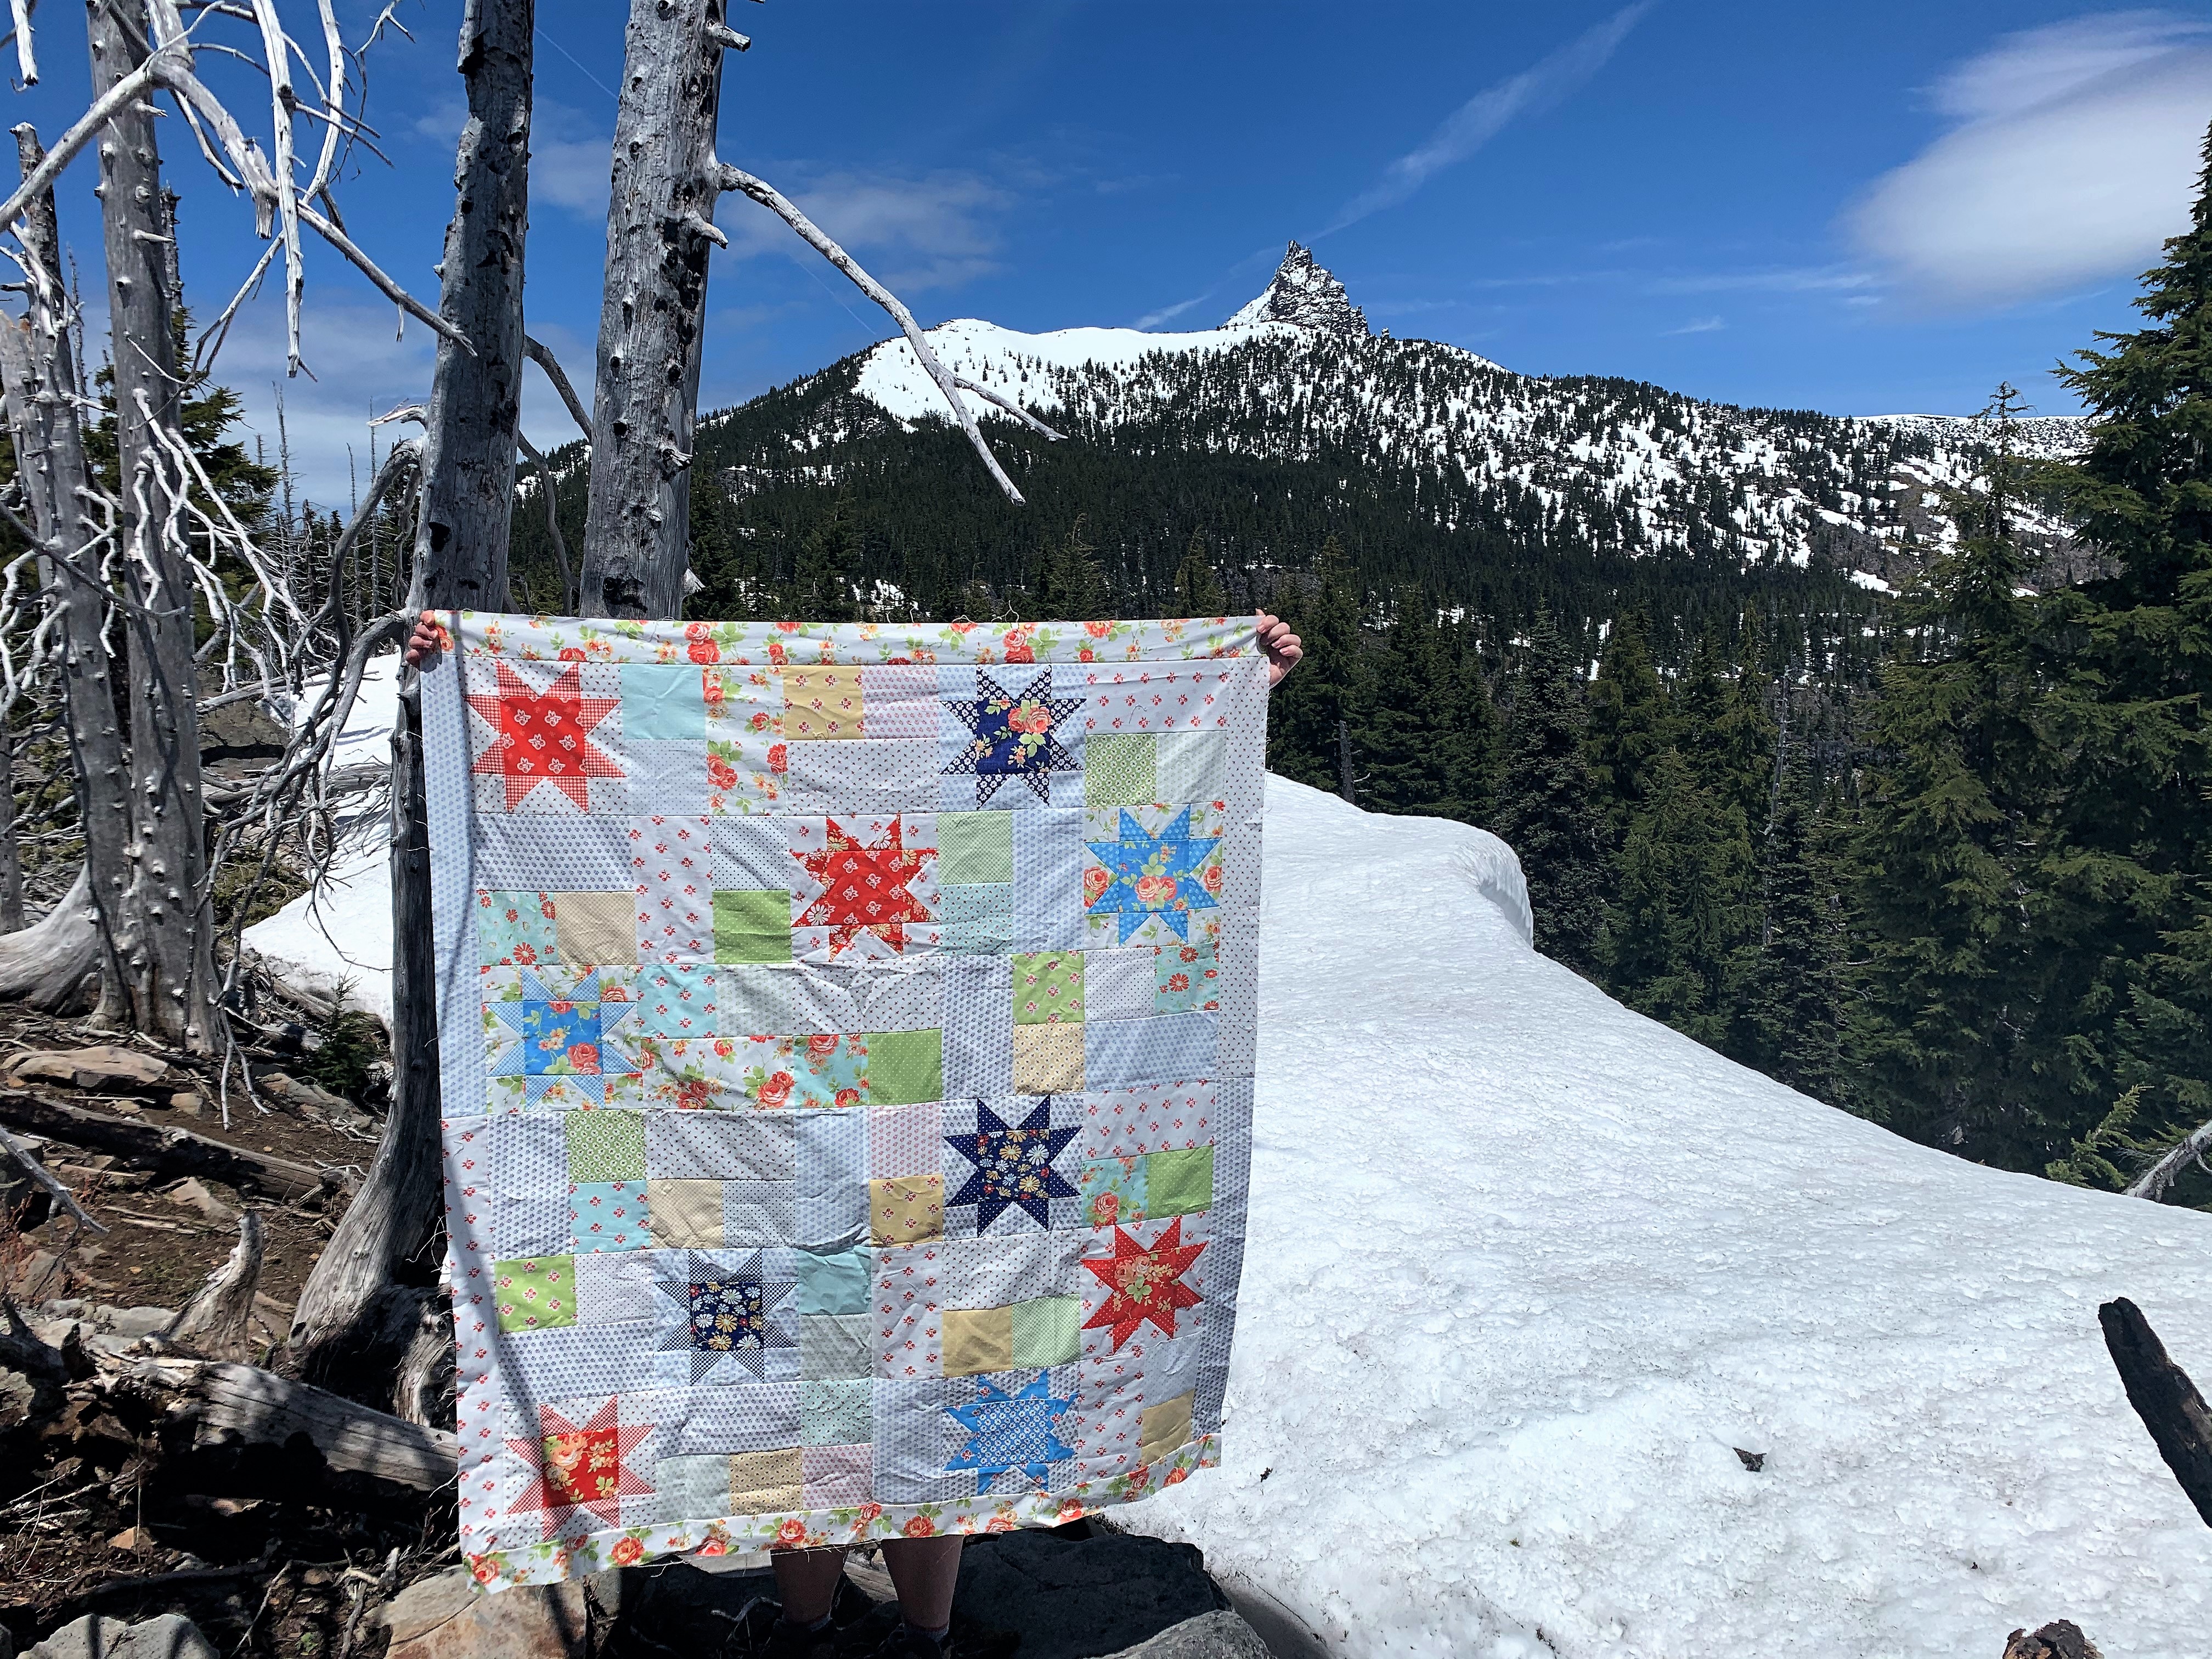
At our turn around point, we had an amazing view of Mt. Hood. I thought this was the perfect location for a quilt-in-the-wild photo!

Bubblegum Kisses Quilt Along the Pacific Crest Trail and Mt. Hood

What a beautiful location and great hike!

I recommended getting on the Sew Sampler wait list if you’re interested in these fun monthly project boxes! Spots do open up regularly. Now to get more projects finished!

Happy quilting!

~Jen

Making a Migraine Relief Headband: A Free Tutorial

Image

Hi everyone,

I’ve experienced migraine headaches my entire life. I’ve tried all sorts of remedies, and I do have prescription medicine to help manage the pain.

I’ve told my husband many times that I wished there was some type of headache wrap that I could wear because I tend to use my hands to press against my forehead for some relief. My hands get tired after a few minutes, ugh!

So, why not make something myself? Although this migraine relief headband won’t cure your achy head, it might help relieve the pain.

Supplies

  • Basic sewing supplies
  • Knit or other stretchy fabric
  • A sewing machine needle suitable for sewing on knit fabric
  • Fabric scissors
  • Measuring tape

Migraine Relief Headband Tutorial

  • Use the measuring tape to measure your head, centering the tape in the middle of your forehead.
  • Subtract 2-inches from the measurement to get your headband length.
  • Cut a piece of fabric to your headband length by 5-inches wide. For example, my head measured at 20-inches. I use a piece of knit fabric that is 18-inches long by 5-inches wide.
  • Fold the fabric in half, right sides together, and hold together with clips or pins.

Fold headband in half, right sides together

  • Sew the long edge using a 1/4-inch seam. Be sure to back stitch at both ends. I like to use a stiletto to help feed the fabric through the machine.
  • Fold one short edge over, wrong sides together.
  • Sew the short edge with a 1/4-inch seam. You only need to fold this seam once.

Fold one short side, wrong sides together

  • Turn the headband inside out. The right side of the fabric should now be on the outside.
  • Insert the raw short edge into the sewn short edge, about 1/4-inch. Use clips to hold the ends together.
  • Sew the two short edges together along the earlier stitching line, and remember to back stitch. You can use the headband now or go to the next step.

Tuck in the raw edge

  • Fold the stitched short seam in half, right sides together.
  • Stitch using a 1/4-inch seam. I like this final step because it gives the headband a nice finish.

Back of headband, short seam folded in half and sewn

Your headband is now finished and ready to wear! It should fit tightly against your forehead so that the compression offers a little relief.

A Completed Headband!

If you do not have allergies to fragrances, you can add a drop or two of your favorite essential oil to the headband.

I’m making a few of these headbands using different knit prints because they can also be used for exercise or hiking headbands. My bangs continue to grow longer and longer during COVID-19, and I’ve decided to let my hair grow out a bit before visiting my hairdresser. These headbands will come in handy during this awkward hair phase!

Happy sewing and I hope these headbands help with your migraine pain.

Best,

Jen

Making a Tula Pink Themed Clock for My Sewing Room

Hi everyone,

Have you seen the HomeMade line of fabric by Tula Pink? I really love it, especially because my main piecing machine is a Bernina. I’m making all kinds of projects for my sewing room from this line of fabric.

I decided to make a clock using the Petal to the Metal print, which features a sewing machine and has 3 different colorways (a purple, a blue, and a mint green). I measured one repeat of the sewing machine print so I could pick out the right size for my clock base at my local craft store.

From the craft store, I purchased a round wooden clock base, clock face numbers, a clock mechanism with hands, and some paint.

On the clock mechanism, be sure to purchase one with a long enough shaft to fit your clock base. I initially purchased a mechanism that had a 3/8″ shaft, but I really needed a 3/4″ shaft to fit my base.

I spray painted my wooden base with 2 coats of a pretty teal paint, waiting for each coat to dry. I made a circular template from cardboard, and then used it to cut out my fabric. I adhered the fabric to the clock base using Mod Podge. Once it was completely dried, I used a clear coat spray to seal it.

Once the wooden base dried, I drilled a hole for the mechanism shaft and applied the clock numbers. The numbers have an adhesive back so you just press them onto the clock. I eyeballed the approximate location of each number.

Next, I inserted the clock shaft through the base and attached the hands. The clock mechanism runs on AA batteries, which you insert into the back of the mechanism. There is also a little hanger on the back of the mechanism so you can easily hang it on a wall.

I made 2 of these clocks so that I could give one to my sister. The top clock, in the picture below, is completely finished, and the bottom clock needs the numbers and mechanism.

Tula Pink themed clocks – one finished and one in progress

I really love how cute these little sewing machine clocks are when finished. They are a fun addition to add to any room, particularly your own sewing room!

Finished Tula Pink HomeMade “Sewing Machine” Clock

Enjoy!

~Jen

Limited Edition Liberty Box from FQS

Hi all,

If you are a subscriber or just a fan of the Sew Sampler boxes from the Fat Quarter Shop, they are offering a 2020 limited edition Liberty Box for advanced reservation for $4.99.

The box will be red, white, and blue themed, and will contain 5 items that you can only get in this box.

I really love patriotic themed quilts, but I don’t have many for myself so I jumped at the chance to reserve one of these boxes. The box ships in late June, when you’ll be billed the remaining $23.99 plus shipping.

You can reserve a Liberty Box at the Fat Quarter Shop now until they are all gone. If you order via my link, I get a small commission (about 30 cents), which helps me to offset the cost of this blog.


Let me know if you ordered a box! Can’t wait to see the project.

Happy quilting,

Jennifer

Summer Swatch Service Card from The Confident Stitch

Hi everyone,

Ahhh, June. While it may be a bit rainy currently where I live, summer weather is finally in the forecast for next. Summer is my favorite season, and the bright, saturated colors of the warmest days of the year tend to influence my fabric selection choices.

If you haven’t heard about the Swatch Service from The Confident Stitch, then you are in for a delicious summer treat! When you subscribe, you will receive a quarterly swatch card in the mail, featuring quilting cottons or garment fabrics, depending on your selection. I do receive a small commission if you sign up for the Swatch Service via my link. I use it to help pay the expenses of running this blog.

Each Swatch Service card contains 8 small pieces of fabric that you can touch! I really love being able to see the colors in person and feeling the hand of the fabric before purchasing. Under each fabric swatch, you will find pricing information.

You also get a unique discount code for purchasing the fabrics featured on the card.

Here’s a look at the Summer 2020 Swatch Service card!

Summer 2020 Swatch Service

Summer 2020 Swatch Service, Outside of Card

Summer 2020 Swatch Service, Inside of Card

I’m also pleased to announce that The Confident Stitch is donating 10% of revenue during the month of June to the NAACP Legal Defense Fund (naacpldf.org).

Did you sign up for the Swatch Service? Leave me a comment!

Happy quilting!

~Jen

Sea Glass BOM by Fig Tree, Block 5

Hi everyone,

We’ve been having an unusually rainy start to June here in the Pacific Northwest. I’m definitely looking forward to some sunshine soon!

Over the weekend, I worked on my Sea Glass BOM by Fig Tree & Co. The block this month features a cross shape in the middle, to acknowledge this strange year dealing with COVID-19. The participants in the BOM will always remember that we worked on this quilt during a pandemic.

The block is called “Ocean Cross,” and we could choose from 2 different layout options. I decided to make one block using each layout. Due to the rain, I had to take these pictures indoors so the blocks do appear a bit brighter in person.

Sea Glass BOM, block 5, Ocean Cross

Here are all of my blocks together. So pretty!

Sea Glass BOM, blocks from months 1 to 5

We have also been working on large flying geese for the BOM, which will likely form a border. Each month, we cut out extra pieces for the geese and sew a few together when instructed.

I really love this color palette!

Happy quilting,

~Jen

Finished Catalina Stars Quilt

Hi everyone,

I’m happy to share my completed Catalina Stars quilt with you. In my last post, I talked about receiving this project in my first Little Box of Figs subscription, and I showed my quilt flimsy.

I decided to keep the quilting simple on this project. I free-motion quilted a flower and swirly pattern using Glide thread in white.

Finished quilting the Catalina Stars quilt

I auditioned several choices for binding, but I kept coming back to a red striped fabric. I wanted to accent the reds in the quilt, and this binding helped to pull it all together. Yes, I do wind up my completed binding strips onto an Aurifil thread spool. I add the binding spool to my extra spool holder on my machine, and it slowly unwinds as I stitch.

Because I’m going to use this quilt as a lap quilt and a picnic quilt, I decided to complete my entire binding by machine. This not only saves time, but it holds up better with repeated machine washings.

Here is my finished Catalina Stars quilt next to a rose hedge in my yard. My trusty quilt inspector, Cow, came over right away to give it a thorough test. We had lunch together on the quilt in the sunshine!

I really love how quick and easy this quilt is to make! You can purchase a copy of this pattern from the Fat Quarter Shop. I’m thinking about making another version of it to give to a friend who is expecting a baby boy this summer.

Happy quilting!

~Jen

Little Box of Figs, Catalina Stars Quilt Project

Happy Monday, everyone!

Last fall, I subscribed for the first time to a quarterly fabric subscription box called “Little Box of Figs” created by Fig Tree & Co. The subscriptions open up each fall, and they are limited so if you don’t sign up quickly, then it fills up. I first noticed this subscription on Instagram when some quilters had posted pictures of a cute fall pumpkin mini quilt, and I thought I’d try it out!

I received my first quarterly box a few weeks ago, appropriately themed for one season ahead so participants have time to finish the project.

Here’s what my box looked like:

We received a very cute tote bag, a mini cutting mat, notepad, folding scissors, supplies to make a key fob, plus the fabric and pattern for a quilt called Catalina Stars. The fabric and charm packs were packaged in the adorable green box.

The quilt is a nice lap size, approximately 44.5 inches by 52.5 inches. I decided to get started on it right away so that I could use it for a picnic quilt this summer. The pattern goes together very quickly, with the 10 star blocks taking the most time. I pieced the entire quilt using Aurifil 50 weight thread.

Here’s a look at my completed star blocks with dog running around in the background:

Star blocks

The fabric line, Catalina, is light, cheery, and summery! The remaining blocks are comprised of 2 squares and 1 rectangle so you can chain piece them together.

I took my quilt flimsy with us out on a recent family hike, along a section of the Pacific Crest Trail. We did run into snow about an hour into our hike, but we were able to pick out the trail here and there until we made it to a stunning view of Three Fingered Jack. We had a picnic lunch here, and my hubby took a picture of me holding the quilt top. It was quite windy!!

Catalina Stars quilt flimsy along the Pacific Crest Trail, with Three Fingered Jack in the background

I love both hiking and quilting so I try to take pics of quilts “in the wild” whenever I can! In total, we hiked about 5-6 miles that day, but the snow made it a little slow going. However, the scenery and fresh air was just incredible, and we had the trail mostly to ourselves.

In my next post, I’ll show you how I quilted and bound my Catalina Stars quilt.

Happy quilting!

~Jen