The Beginning of a Stargazing Quilt!

One of the things that I really enjoy doing is stargazing, especially while traveling. I love to go on road trips to some dark sky parks around the west each summer with my husband and teen. We usually just have a blanket, some snacks, and maybe a pair of binoculars.

During a recent quilt retreat, I started working on blocks for a stargazing quilt. The pattern is called Nocturnal Sky by Natalie Crabtree for Gingiber. The quilt has a modern feel with curved pieces representing the moon and clouds.

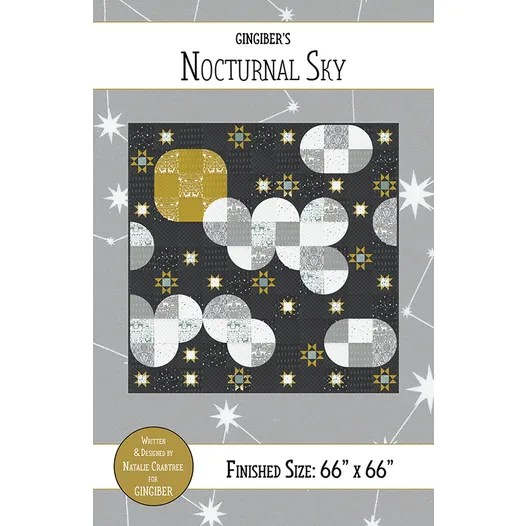
There are two types of traditionally pieced blocks for the stars, and the composition of these blocks in the quilt remind me of looking at twinkling stars at night.

I finished all of my “A” star blocks, and I’ve started working on my “B” star blocks . Some nights after work, I can only manage to sew part of a block and other nights, I can sew two or three blocks. I’m taking this quilt nice and slow, while working on other projects.

Here’s a look at my “A” star blocks all pieced. The inner squares are light green.

My “A” Star Blocks

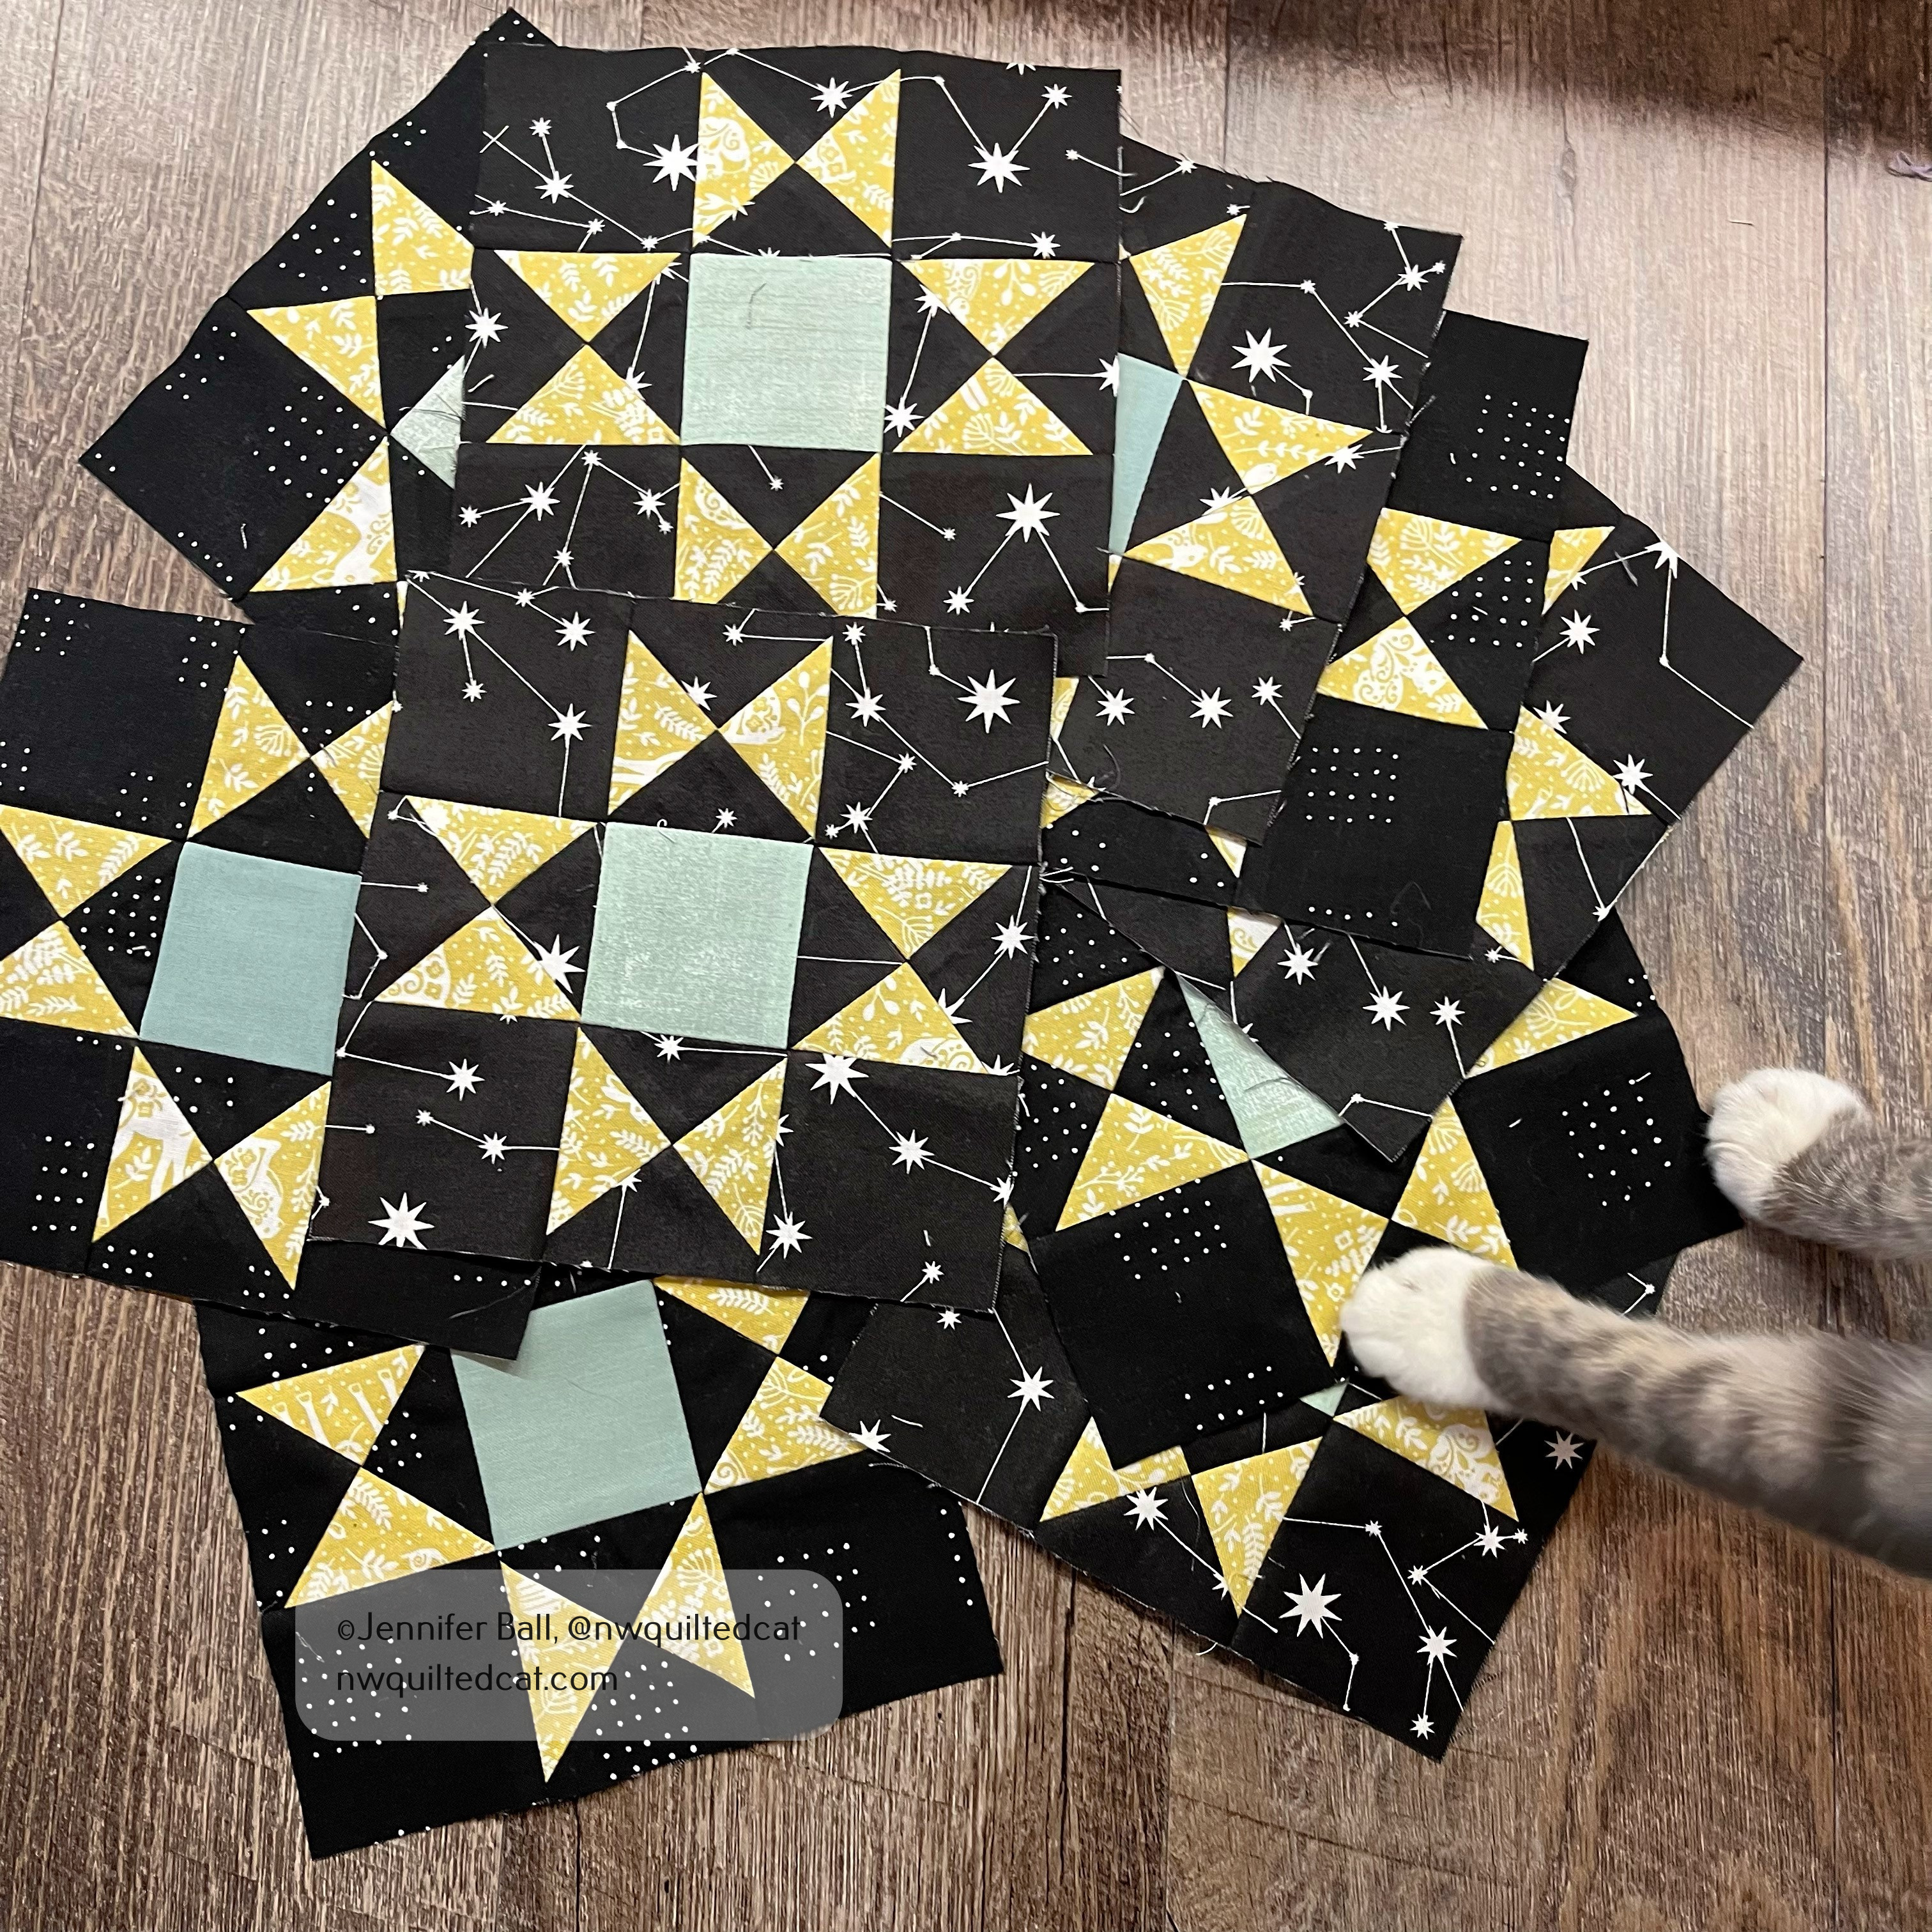
Do you see my little helper? He couldn’t help inspecting these star blocks as soon as I tried to photograph them.

I’m thinking about backing this quilt in a cozy flannel so that it can be a traveling quilt when we go on a road trip or go stargazing.

Happy quilting!

-Jen

Thread Catcher Baskets!

I needed a fun and useable container to place all those little threads and small fabric clippings that seem to pile up while sewing. Fortunately, I happened to come across a swap for a quilt-as-you-go thread catcher on Instagram recently with a fun group of quilters called @modernpalooza.

For this swap, each person created a thread catcher using a free pattern by The Sewing Chick. The swap organizers matched us up with a secret partner, and sent us some hints as to their fabric likes and dislikes.

I decided to pull some Libs Elliott fabrics from my stash as my modern, bright fabrics to use for the patchwork scraps. I changed up the pattern slightly by deciding to add a black and white border to the top and lower edges of my colorful patchwork strip. I then added a smaller width of a dotted gray fabric for contrast.

I also didn’t have duck canvas on hand as called for in the pattern. Instead, I fused some Pellon Shape Flex to my lining fabric before adding the quilt-as-you-go fabric pieces.

For the binding, I used the same black and white fabric to echo the borders. I took my little completed thread catcher basket on a hike to central Oregon, and I think it looks great resting on this old juniper tree.

Thread catcher basket that I made for my partner

We were also asked to send a favorite treat or snack along with the bucket. I sent some Moonstruck chocolate made by an Oregon company along with some fabric and other little goodies. I didn’t think to take a picture of the complete package before I mailed it.

In return, I received a wonderful thread catcher basket from my partner!

Thread catcher basket that I received

My partner made me this super cute basket using Tula Pink’s Daydreamer fabric! Isn’t it bright and cheerful? She also very thoughtfully included some super rare out-of-print Tula Pink fabrics that I do not own. I’m very excited to use them in a future project just for me.

What I really loved about this little thread catcher basket swap is that the project was pretty small and not too time consuming. Sometimes, swaps can be overwhelming for people because they try to make something too complicated or underestimate how long it might take to make a larger item like a mini quilt. I do enjoy swaps because it gives me a chance to try new projects, learn new skills, and make new friends!

Happy sewing!

-Jen

Cats in Space Cuteness Overload!

It’s no secret that I’m a cat lover! I’m currently owned by three cats, including one special foster kitty named Gracie. The three cats take turns playing musical laps, rotating on my lap so that each one gets some special petting and snuggle time. When I saw a new pattern by Elizabeth Hartmann called Cats in Space, I just knew that I had to make it as soon as possible.

I had a short quilt retreat recently with my sister and two of our quilting friends. I tossed this pattern into my bag along with some fabrics to make one cat block. Usually, I like to precut pieces for a quilt retreat, but I didn’t have time with this project.

I started by cutting out each section according to the pattern, and I labeled the sections with these amazing little plastic squares called Alphabitties. I take each label and clip it to the fabric piece using a Wonder Clip. These Alphabitties labels are game changers for patterns with tons of little pieces that can be easily confused with one another.

I did notice a possible pattern error related to the diagrams. If you look at the picture on the pattern cover, the space pack on the cat’s back is higher than in some of the pictures inside of the pattern. The pattern pieces (V, GG, and HH) are sized so that your space pack comes out shorter than the pattern cover photo. I adjusted these few pieces so that my kitty’s space pack is the higher version.

Here’s a close-up view of the space kitty:

Isn’t the background fabric fun? It has little fireflies, shooting stars, and constellations. It’s called Night Sky by Dear Stella. The other fabrics are from my stash. I used some Alison Glass pink fabrics for the space suit details, some sparkly Essex linen for the helmet, and Kona cotton solids for the kitty.

Once I had created my kitty block, I wasn’t sure if I wanted to keep it as-is or go ahead and add the three stars surrounding the kitty. I’m pretty sure that I’m going to turn this block into a mini quilt so I thought that the three stars would just up the cuteness factor.

Here’s a look at my finished block:

Swoon! This block is so adorable. The kitty looks like she’s coming in for a hug with her favorite human. I love it so much!

I’m still leaning towards keeping this space kitty as a mini quilt to hang in my sewing room. If I decided to make the small size quilt, I’d need three more space kitty blocks.

What do you think? A mini quilt or enlarge it?

Happy quilting!

Jen