Painted Quilt Blocks

I usually talk about sewing quilt blocks on my blog, but I recently did a project where I painted quilt blocks. Painted? Yes! Much like painted barn blocks are used to embellish buildings, you can embellish furniture with painted blocks.

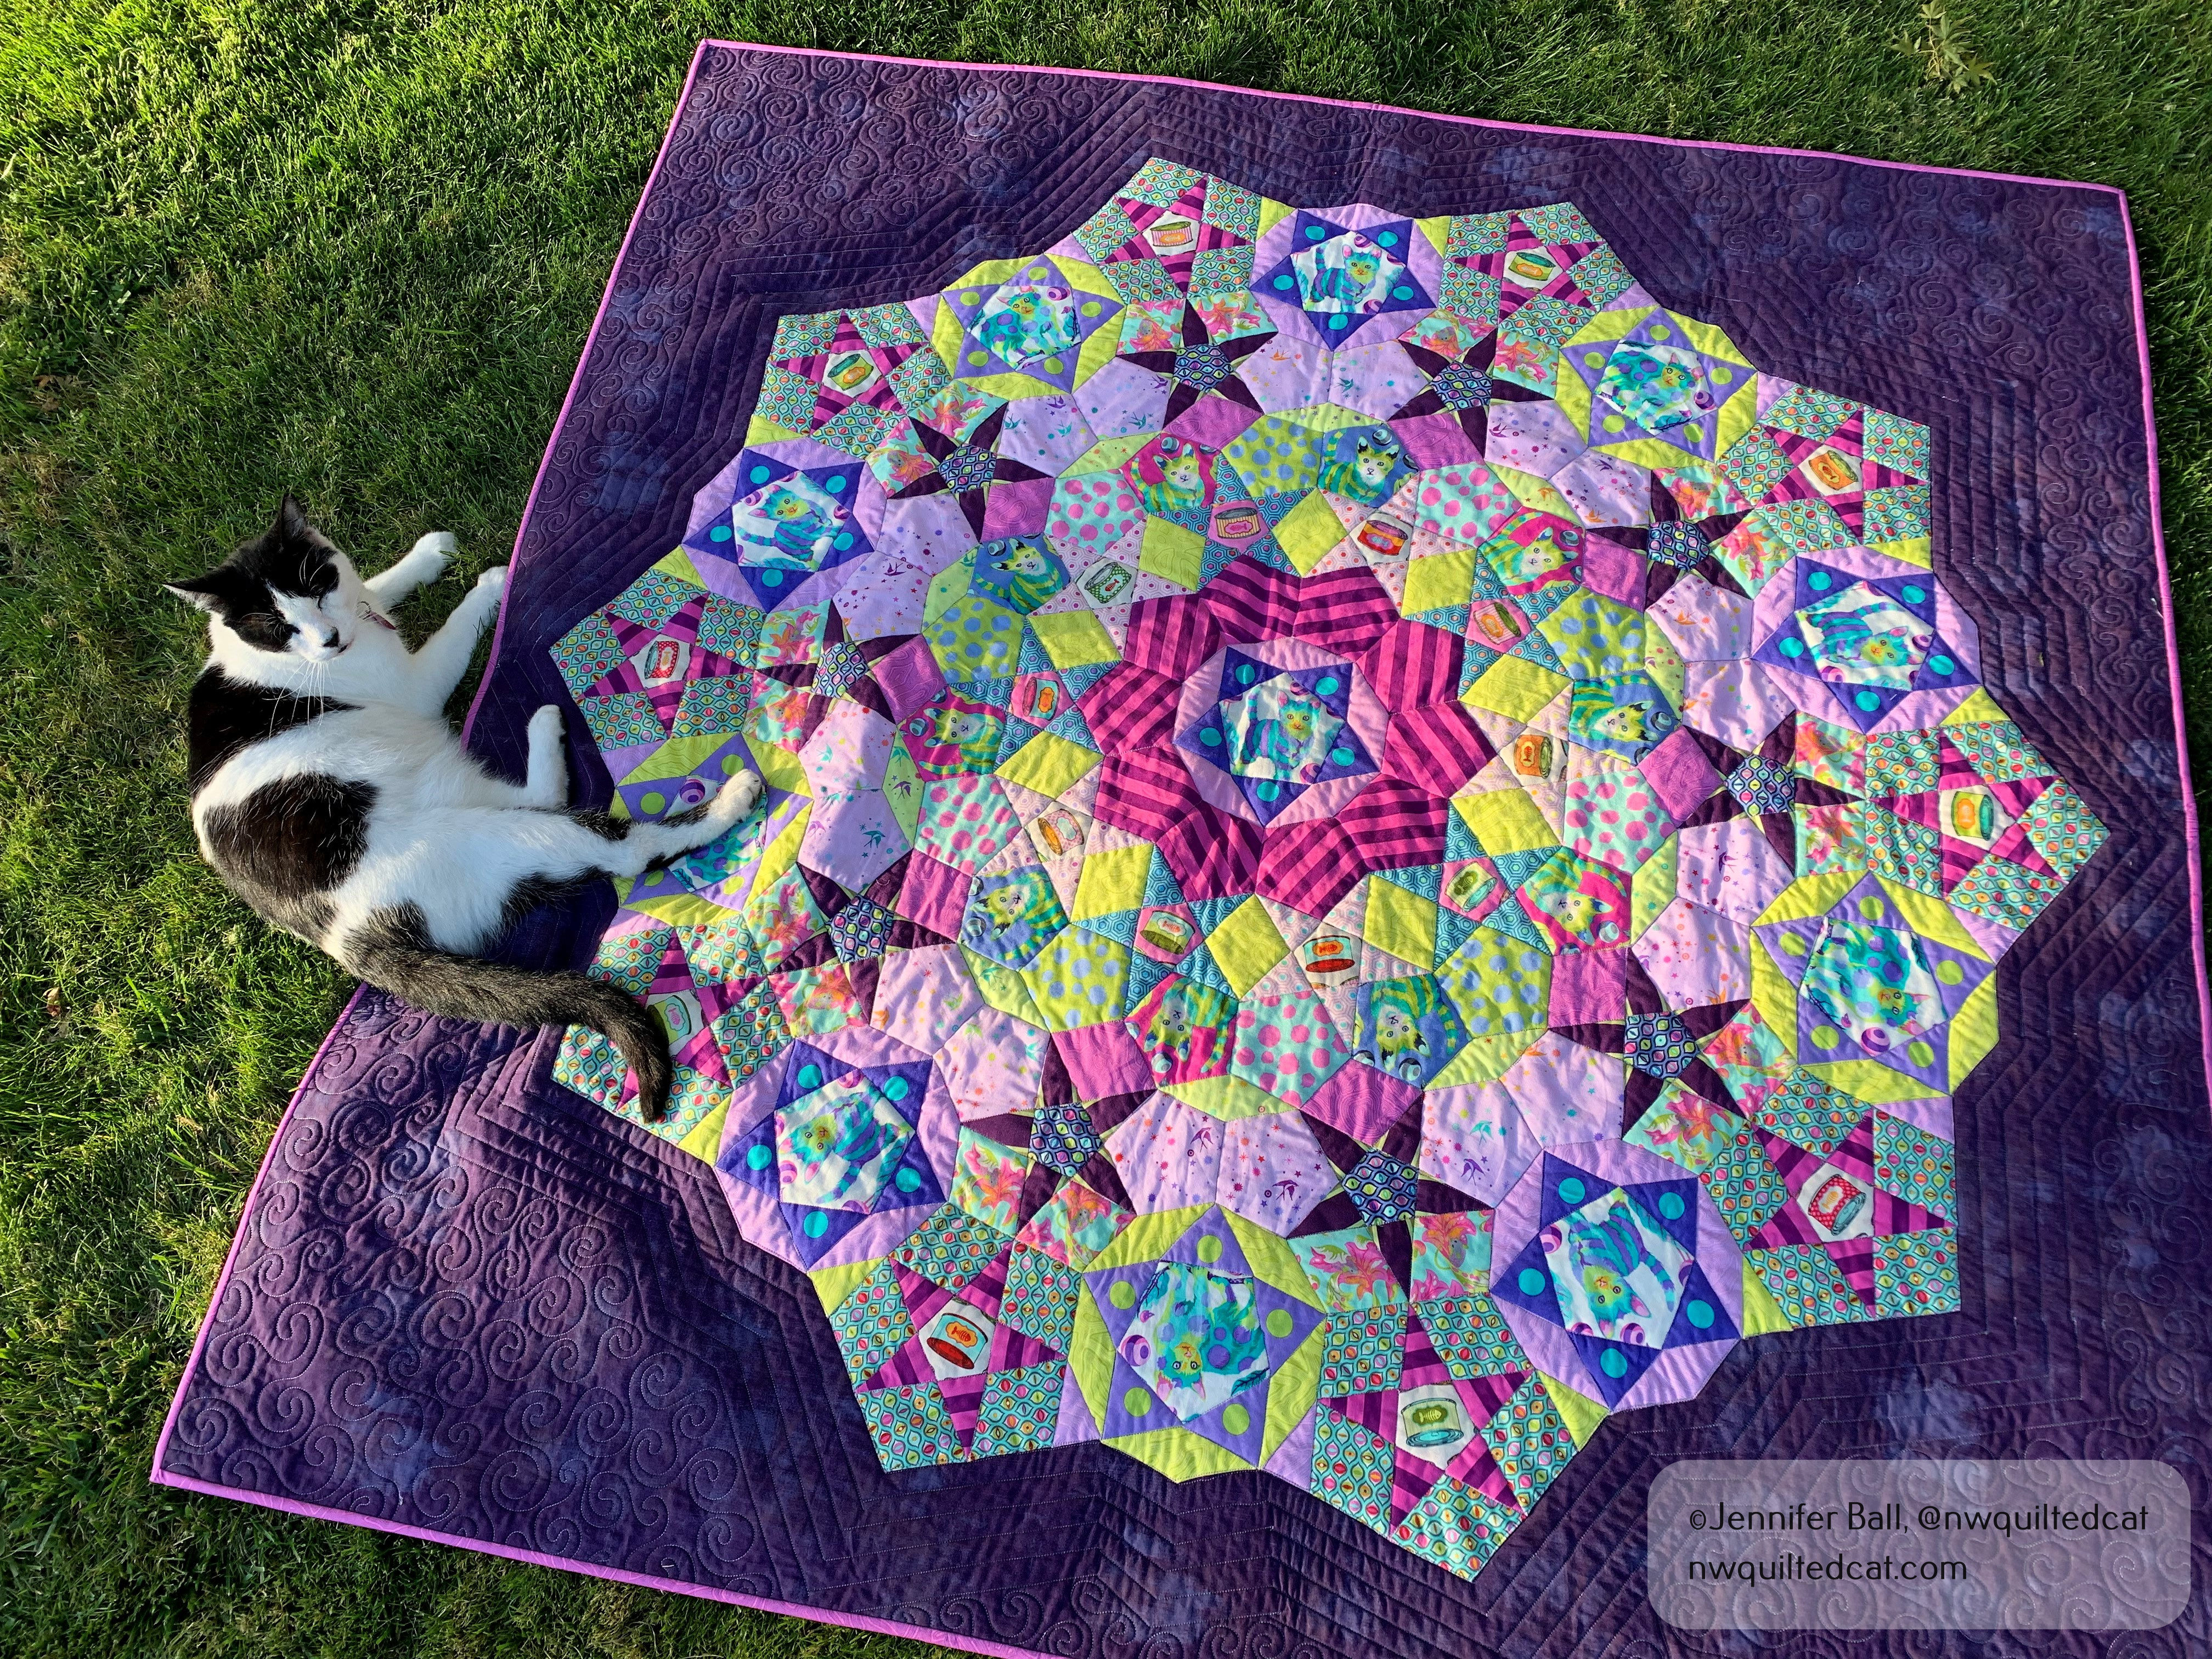
In August, I got my son a different computer desk and so his old desk needed a new purpose. It is about 10 years old and was banged up quite a bit from years of kid, and then teenage, use. I cleaned up the desk, tightened up the screws, and repainted it glossy white. Pepper kindly guarded my work area from squirrel invaders!

Desk freshly painted white while Pepper watches in the background

I decided to paint 2 classic quilt block shapes on the left-hand side of the desk top: the churn dash block and the 9-patch block.

I used FrogTape to mask off the far left side of the table and the initial parts of the churn dash blocks. I used regular craft acrylic paints. Here’s what the first part of the churn dash blocks looked like after they were dried and I removed the tape:

The beginning of painted churn dash blocks with Gracie helpfully supervising

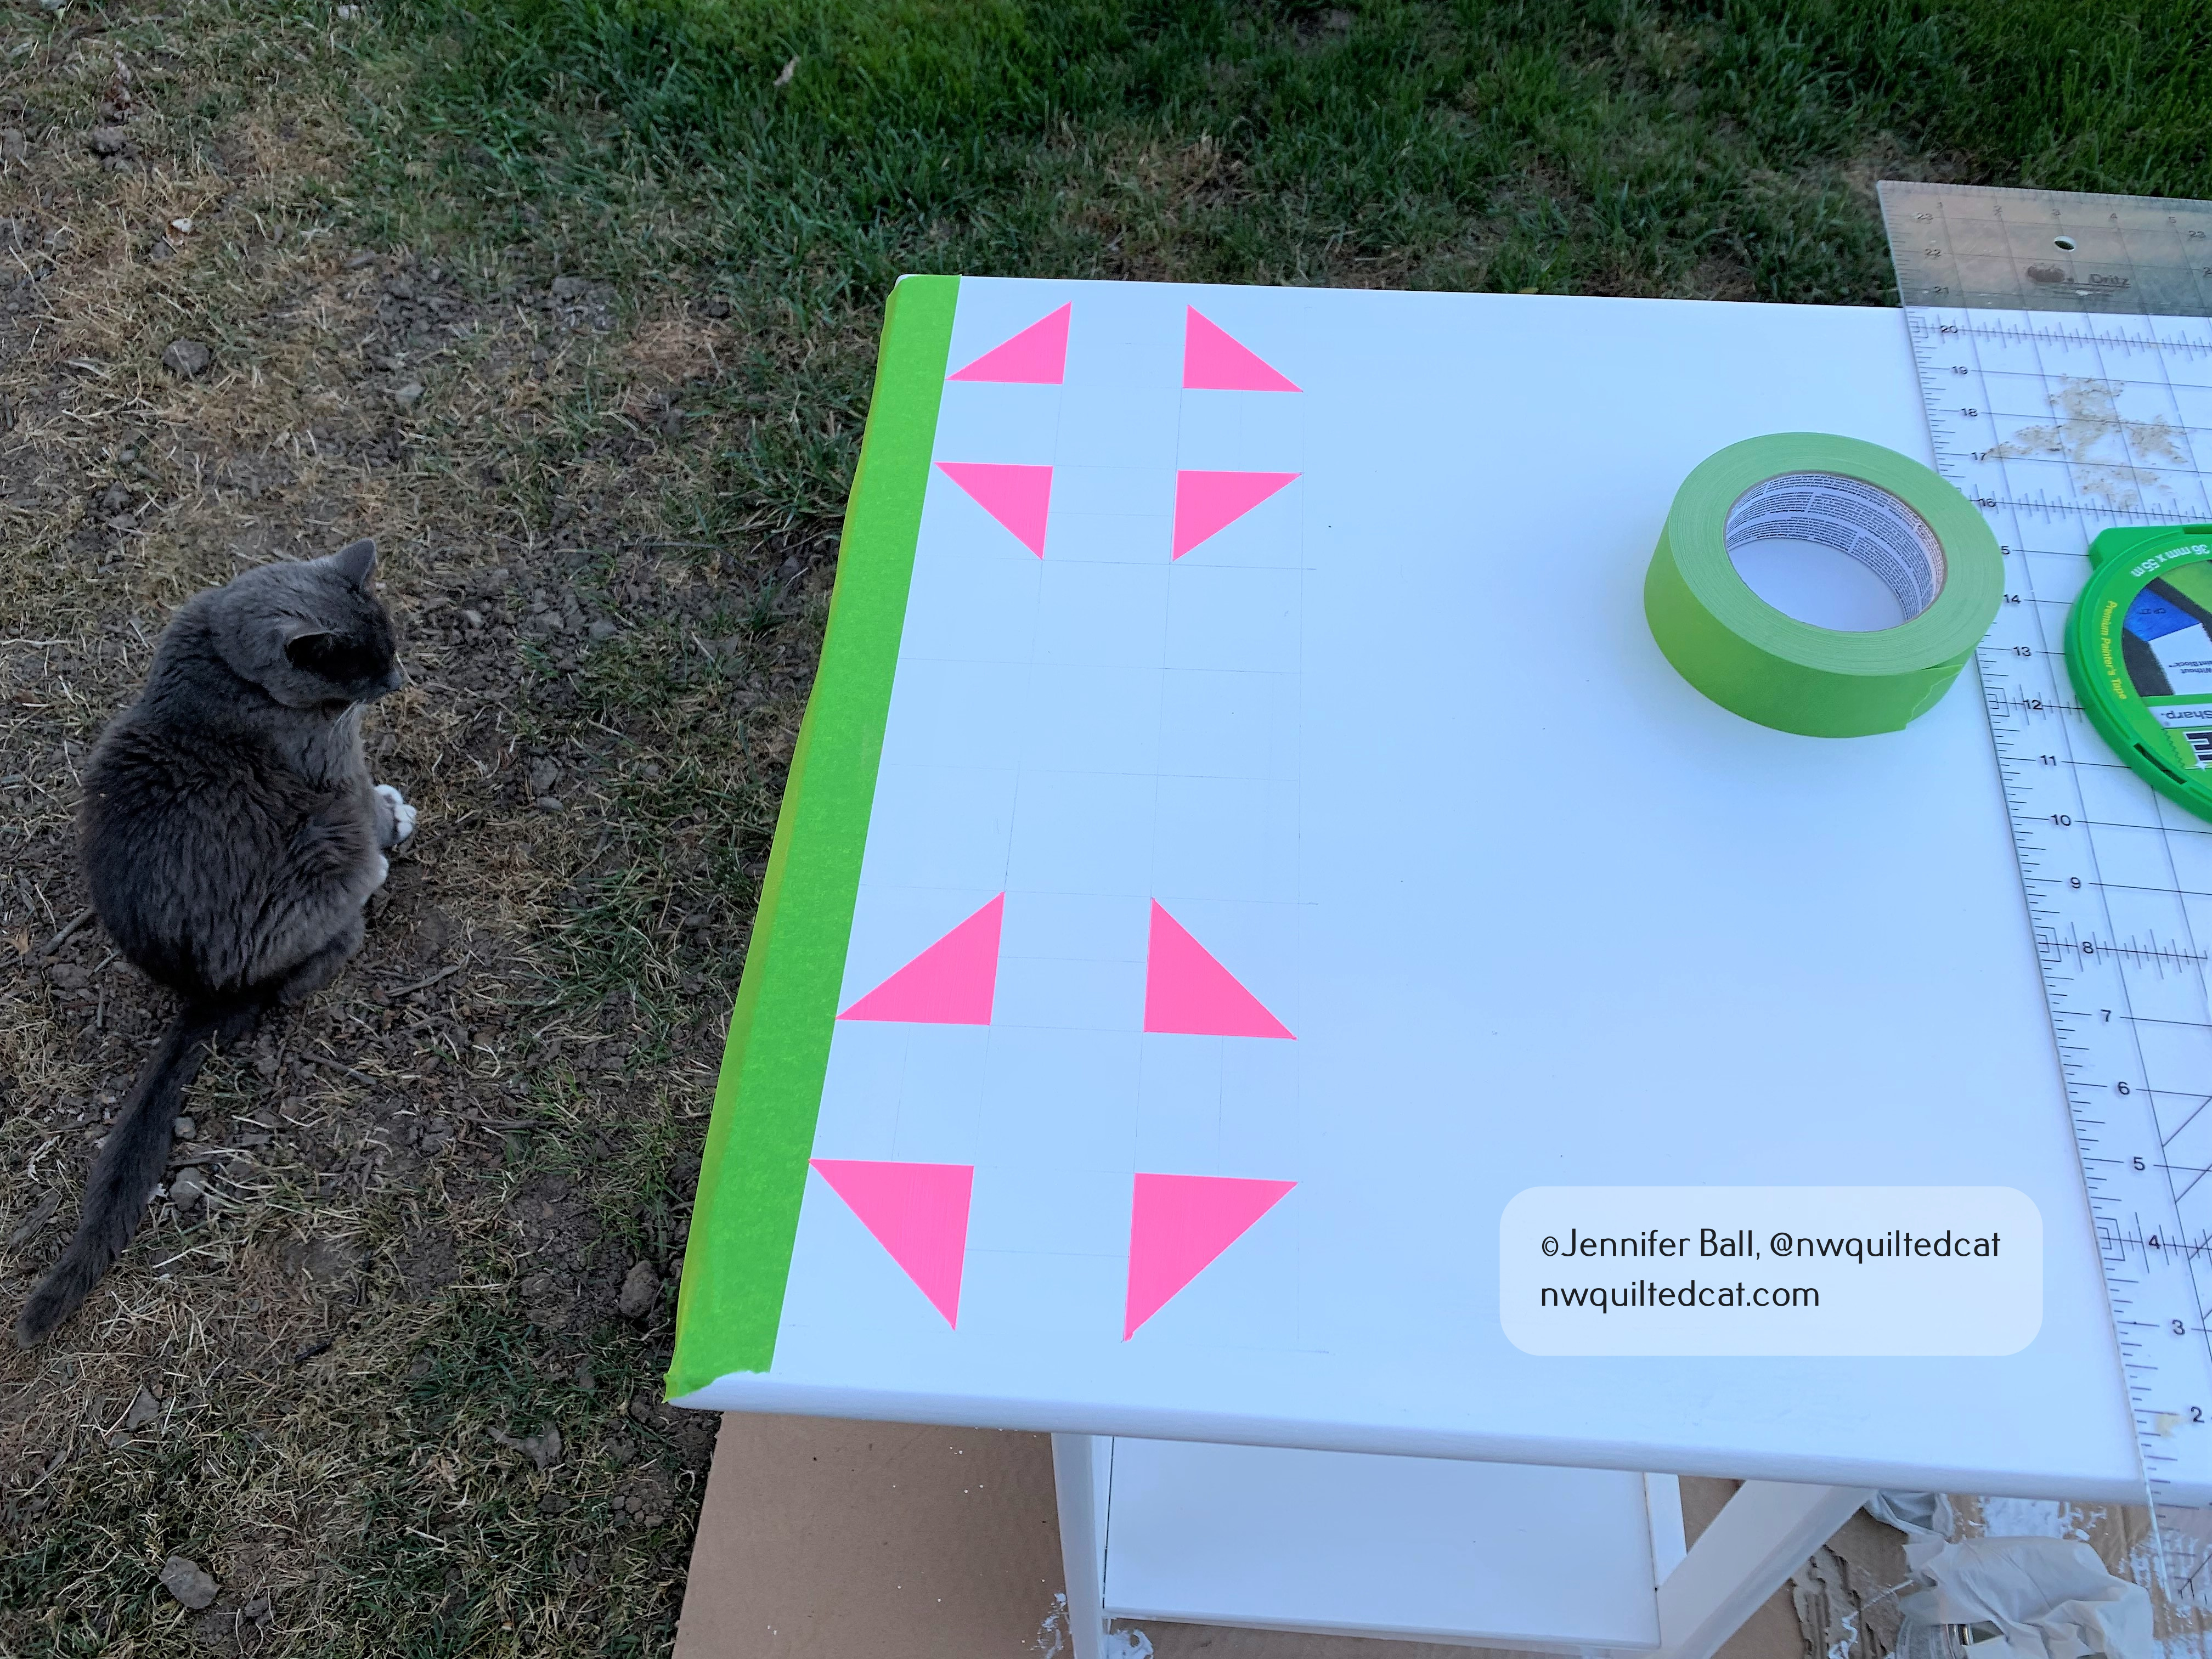
For each section of the painted quilt blocks, I carefully used the tape to mask off sections where I didn’t want the back. I completed the churn dash blocks first before working on the 9-patch block. I applied 2-3 coats of each color so this process took about a week with drying time.

FrogTape works really well to keep the painted edges sharp

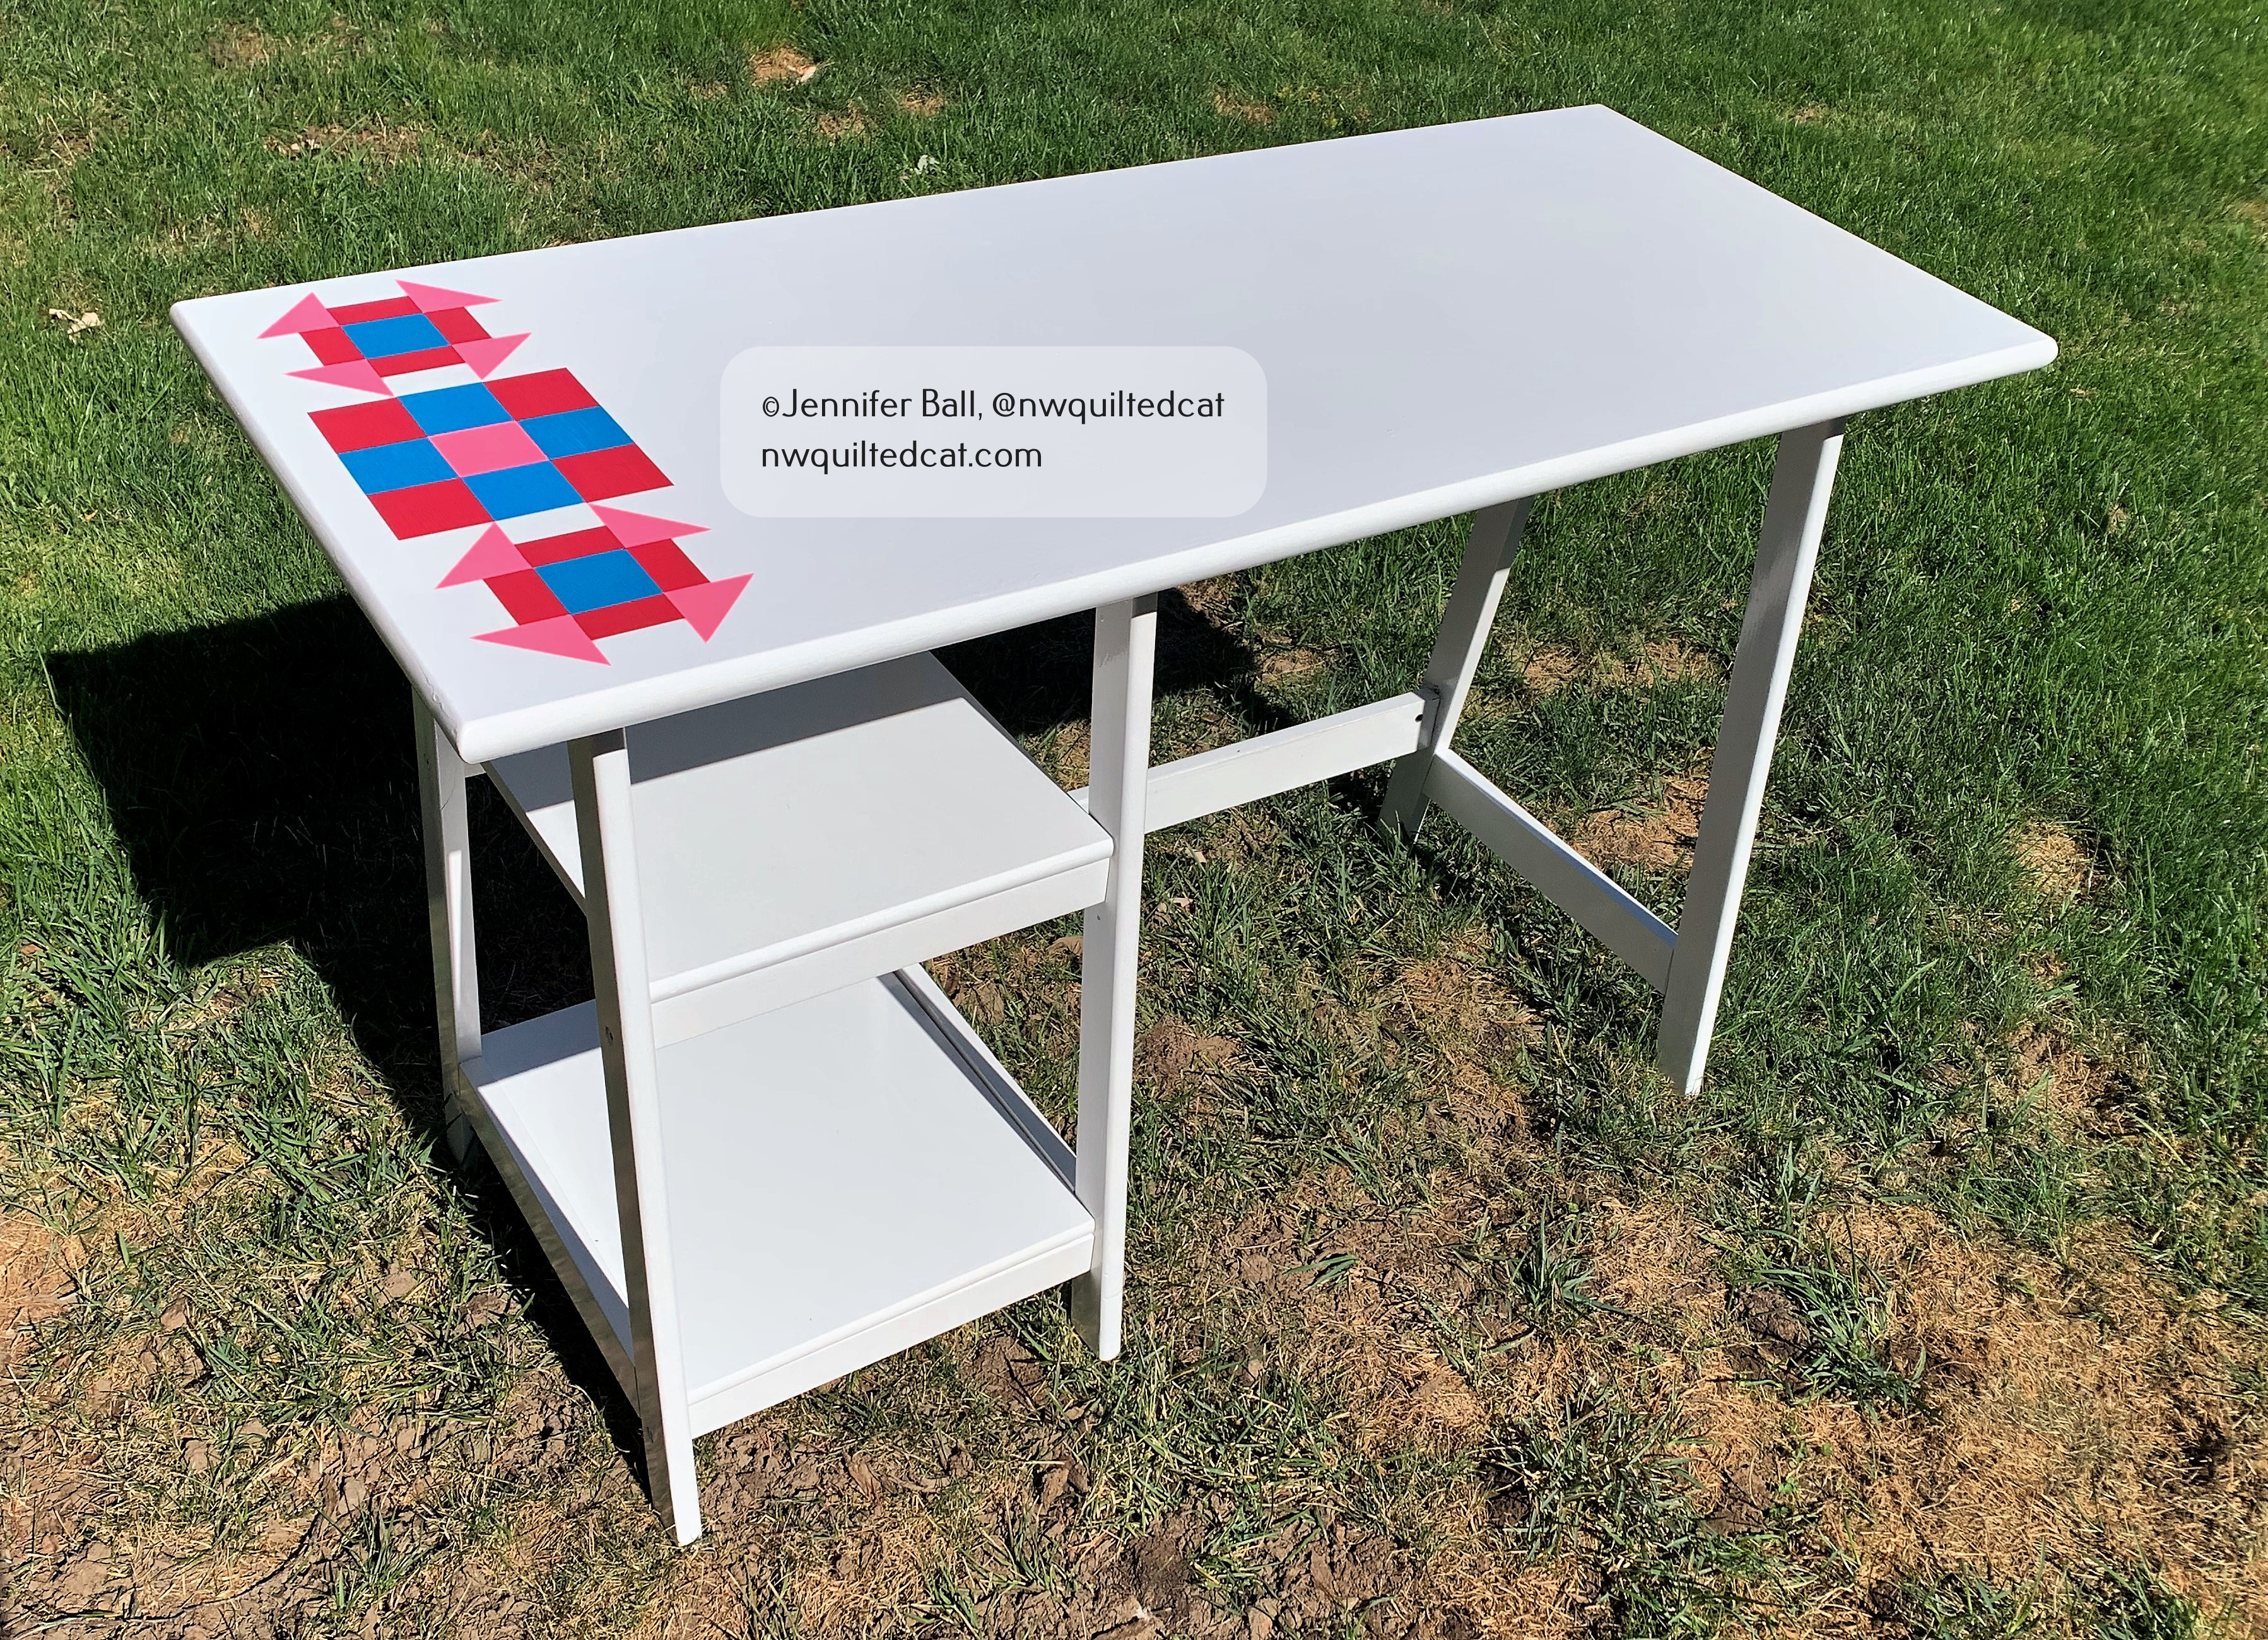
Once I finished painting my blocks, I let the paint dry overnight. I used a glossy crystal clear spray paint to finish the project and to protect the painted blocks.

Here’s a look at the freshly painted desk:

My newly painted quick blocks with dry September grass, lol

With some help from my teen, we transported this newly painted table into my sewing room. I thought my little Singer Featherweight would look cute on it!

My newly painted quick block desk with a Singer Featherweight

I now have a fun table with brightly painted quilt blocks that I can use for years to come!

Happy quilting!

-Jen

Grinning Cat O’ Lantern Quilt

Have you heard about the Spooky Box from Fat Quarter Shop? Each year, they release a Halloween themed mystery box, filled with quilting goodies including a project with fabric and notions! You can still buy the 2021 box at Fat Quarter Shop with this link.

For last year’s 2020 Spooky Box, the quilt project was a fun Cat O’ Lantern mini quilt. I pieced this quilt last October, but then set it aside in my to-quilt pile. I was inspired to pull it out and quilt it recently as I was decorating my yard for Halloween.

I made a few modifications from the original pattern. I swapped the black and purple fabrics so that I could have black cat popping up from behind the pumpkin. I also changed the shape of the cat’s eyes and nose from squares into diamonds and a triangle. I knew that I’d quilt in more face details such as whiskers and the famous cat grin.

I did all free-motion and hand guided ruler work using Glide thread in Apricot Blush for most of the quilt and Glide thread in Black on the cat.

Here’s a look at a little spider that I added to each of the black triangles at the top and bottom portions of the quilt:

A little quilted spider

In the orange triangles, I quilted little ghost shapes. I did some basic fills in the background portion, and a swirly pumpkin fill in the purple behind the cat.

For the cat face, I added some eyebrows, whiskers, pupils, and grin. I later enhanced the pupils with an outline of black thread.

I gave the cat a little dimension by quilting some swirls on the forehead, checks, paws, and tail. For the pumpkin, I kept it simple with straight-line quilting to keep the emphasis on the sweet cat!

We went to pick pumpkins last weekend, and my son held the quilt up while I snapped a quick picture in between other pumpkin hunters. I love a striped binding so I used this black/gray/white striped fabric in my stash that I think really frames this little Cat O’ Lantern quilt perfectly.

Happy Halloween from the cat at the pumpkin patch!

~Jen

A Completed Tula Nova Quilt!

I started working on hand piecing my Tula Nova quilt during summer of 2020 and just finished the binding in October 2021. I’m going to call my quilt “Tabby Nova” because I used a great deal of Tabby Road fabric by Tula Pink (now out-of-print).

This quilt is entirely hand pieced using a method called English Paper Piecing or EPP for short. In EPP, you use paper templates and baste them to fabric, using either thread basting or glue basting. I use the glue basting method because it is much faster. I used Aurifil 50 weight threads for the piecing, in colors to match the fabrics.

Once the pieces are sewn together and stable, you remove the paper backings. The advantage to EPP over machine sewing is that this method is portable so you can take your sewing with you. I often stitch while waiting for my son at sports or other appointments. I even stitched the initial center block while camping last August.

I decided to quilt my Tabby Nova using a combination of ruler work and some free-motion swirls. I used straight lines to echo the pieced shape out into the background 5 times. Then, I quilted swirls in the remaining spaces. I used a Rainbow thread called “Lilac Bouquet” by Superior Threads, which is variegated and beautifully accents the colorful fabric.

My backing is another out-of-print wide back fabric by Tula Pink called Free Fall with large dots and birds. I had this small piece in my stash for a few years, and I thought it went pretty well with the quilt top. The backing fabric is a purple Moda grunge, and I used Tula’s True Colors in Tourmaline Mineral for the binding with a small color burst of Citrine Mineral on the lower right-hand side.

Are you ready to see this quilted explosion of color?? Here are a few pictures that I took this weekend, with the help of some very special quilting inspectors and assistants.

My “Tabby Nova” with the fall leaves and my husband’s feet!
“Tabby Nova” on a play structure at a local park
“Tabby Nova” back
“Tabby Nova” getting a quality cat scan from Cow in the dappled sunlight
“Tabby Nova” getting a second inspection by our neighbor’s cat. Do you see him?

I really enjoyed making this Tula Nova quilt. It is my first completed quilt using EPP. I have since started a second quilt called La Passacaglia using Tula Pink fabrics. This one is going to be huge and take more than a year to complete.

Enjoy and happy quilting,

Jen