
Happy Monday!
This weekend, I found time to work on my project for the Star Light Star Bright QAL hosted and designed by Melissa. There is still time to join the fun so pop on over to her blog to check out all the details!
Our assignment this week was to create our half square triangles. I’m making the 9-block baby size quilt so I had quite a few HST’s to sew and trim!
The sewing part went pretty fast as I chain-stitched each grouping. The important part of this step was to keep our groupings separate so we don’t confuse the half square triangles between groups. I labeled each group with a sticky note and only sewed one group at a time.
Next, we trimmed our little HST’s! This part makes me happy to sew all those perfectly square little blocks, but I definitely get a sore left forearm. I cut with my right hand, but seem to hold onto my squaring ruler pretty tightly with my left hand so that the fabric doesn’t wiggle. This seems to lead to soreness the next day when I do lots of trimming.
Here’s a look at my little mountain of trimmed edges:

HST Trimmings
I’ll use these trimmings to make more cat nip presents for my quilt inspectors.
Here’s a look at all my half square triangles, neatly trimmed. I have group 1 spread out on my cutting table next to groups 2 through 9.
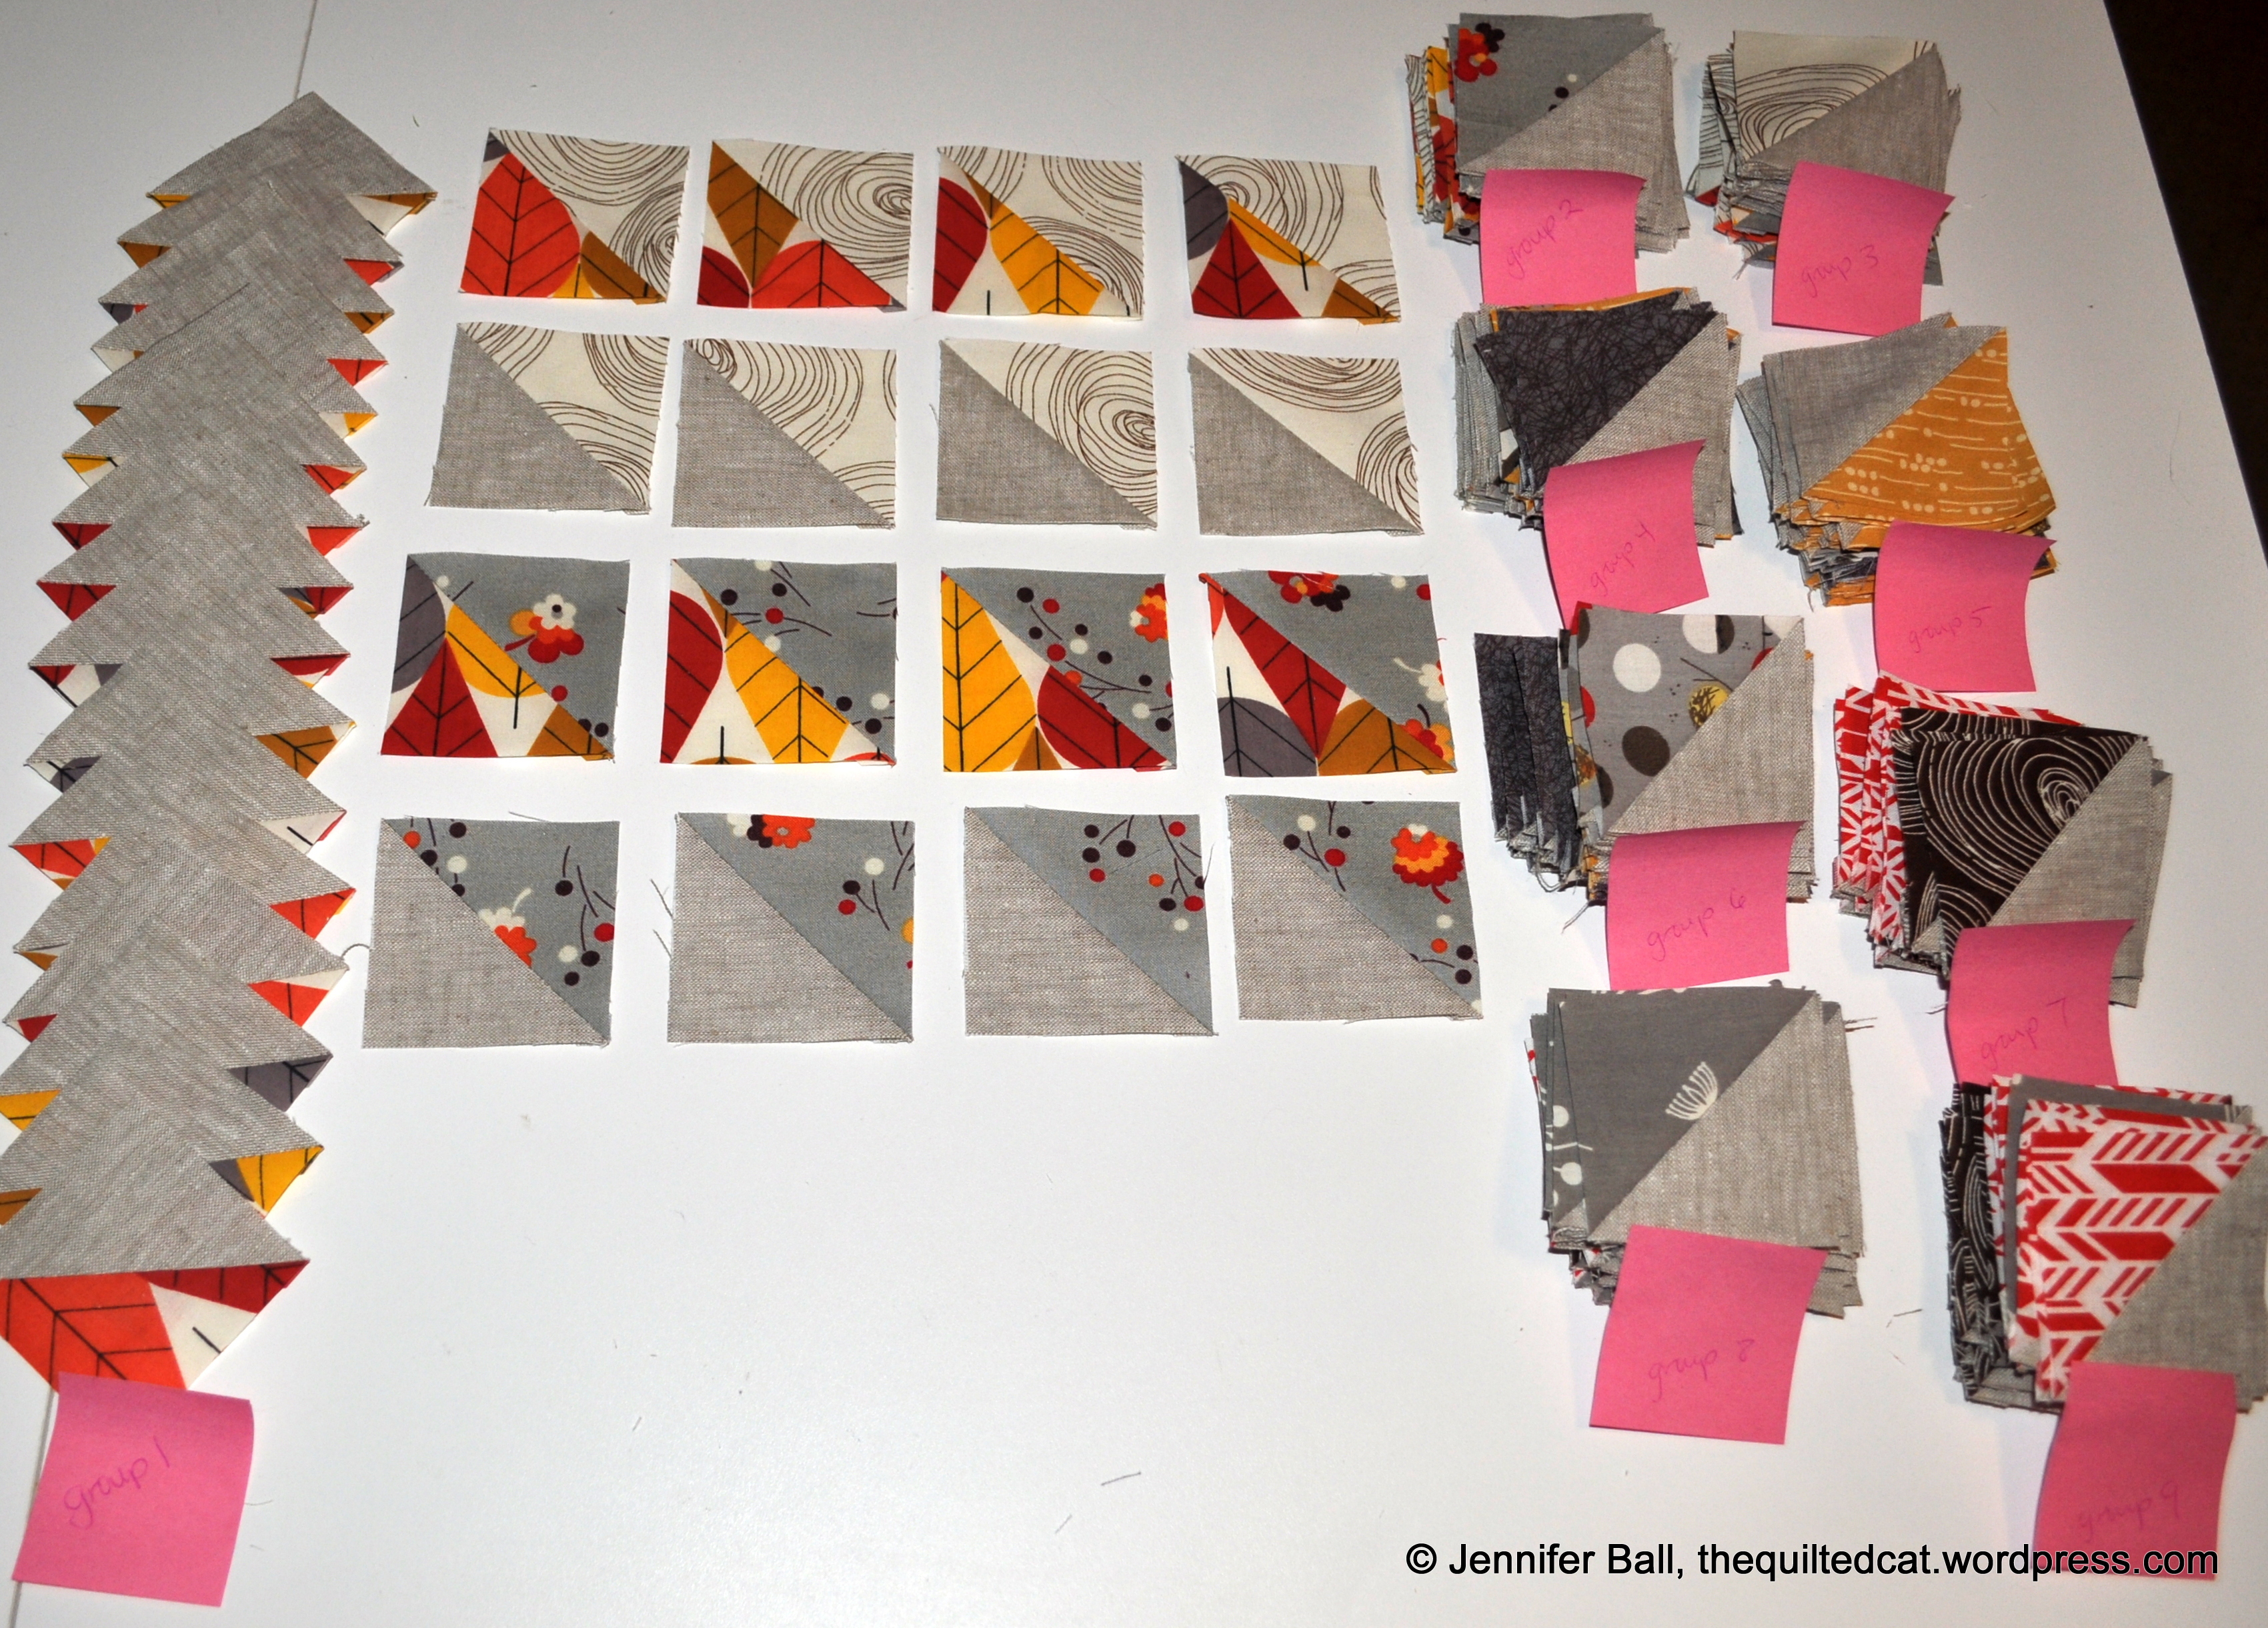
Half Square Triangles for Star Light Star Bright QAL
And here’s a look at all my HST’s and flying geese bundled up together in a little tray:
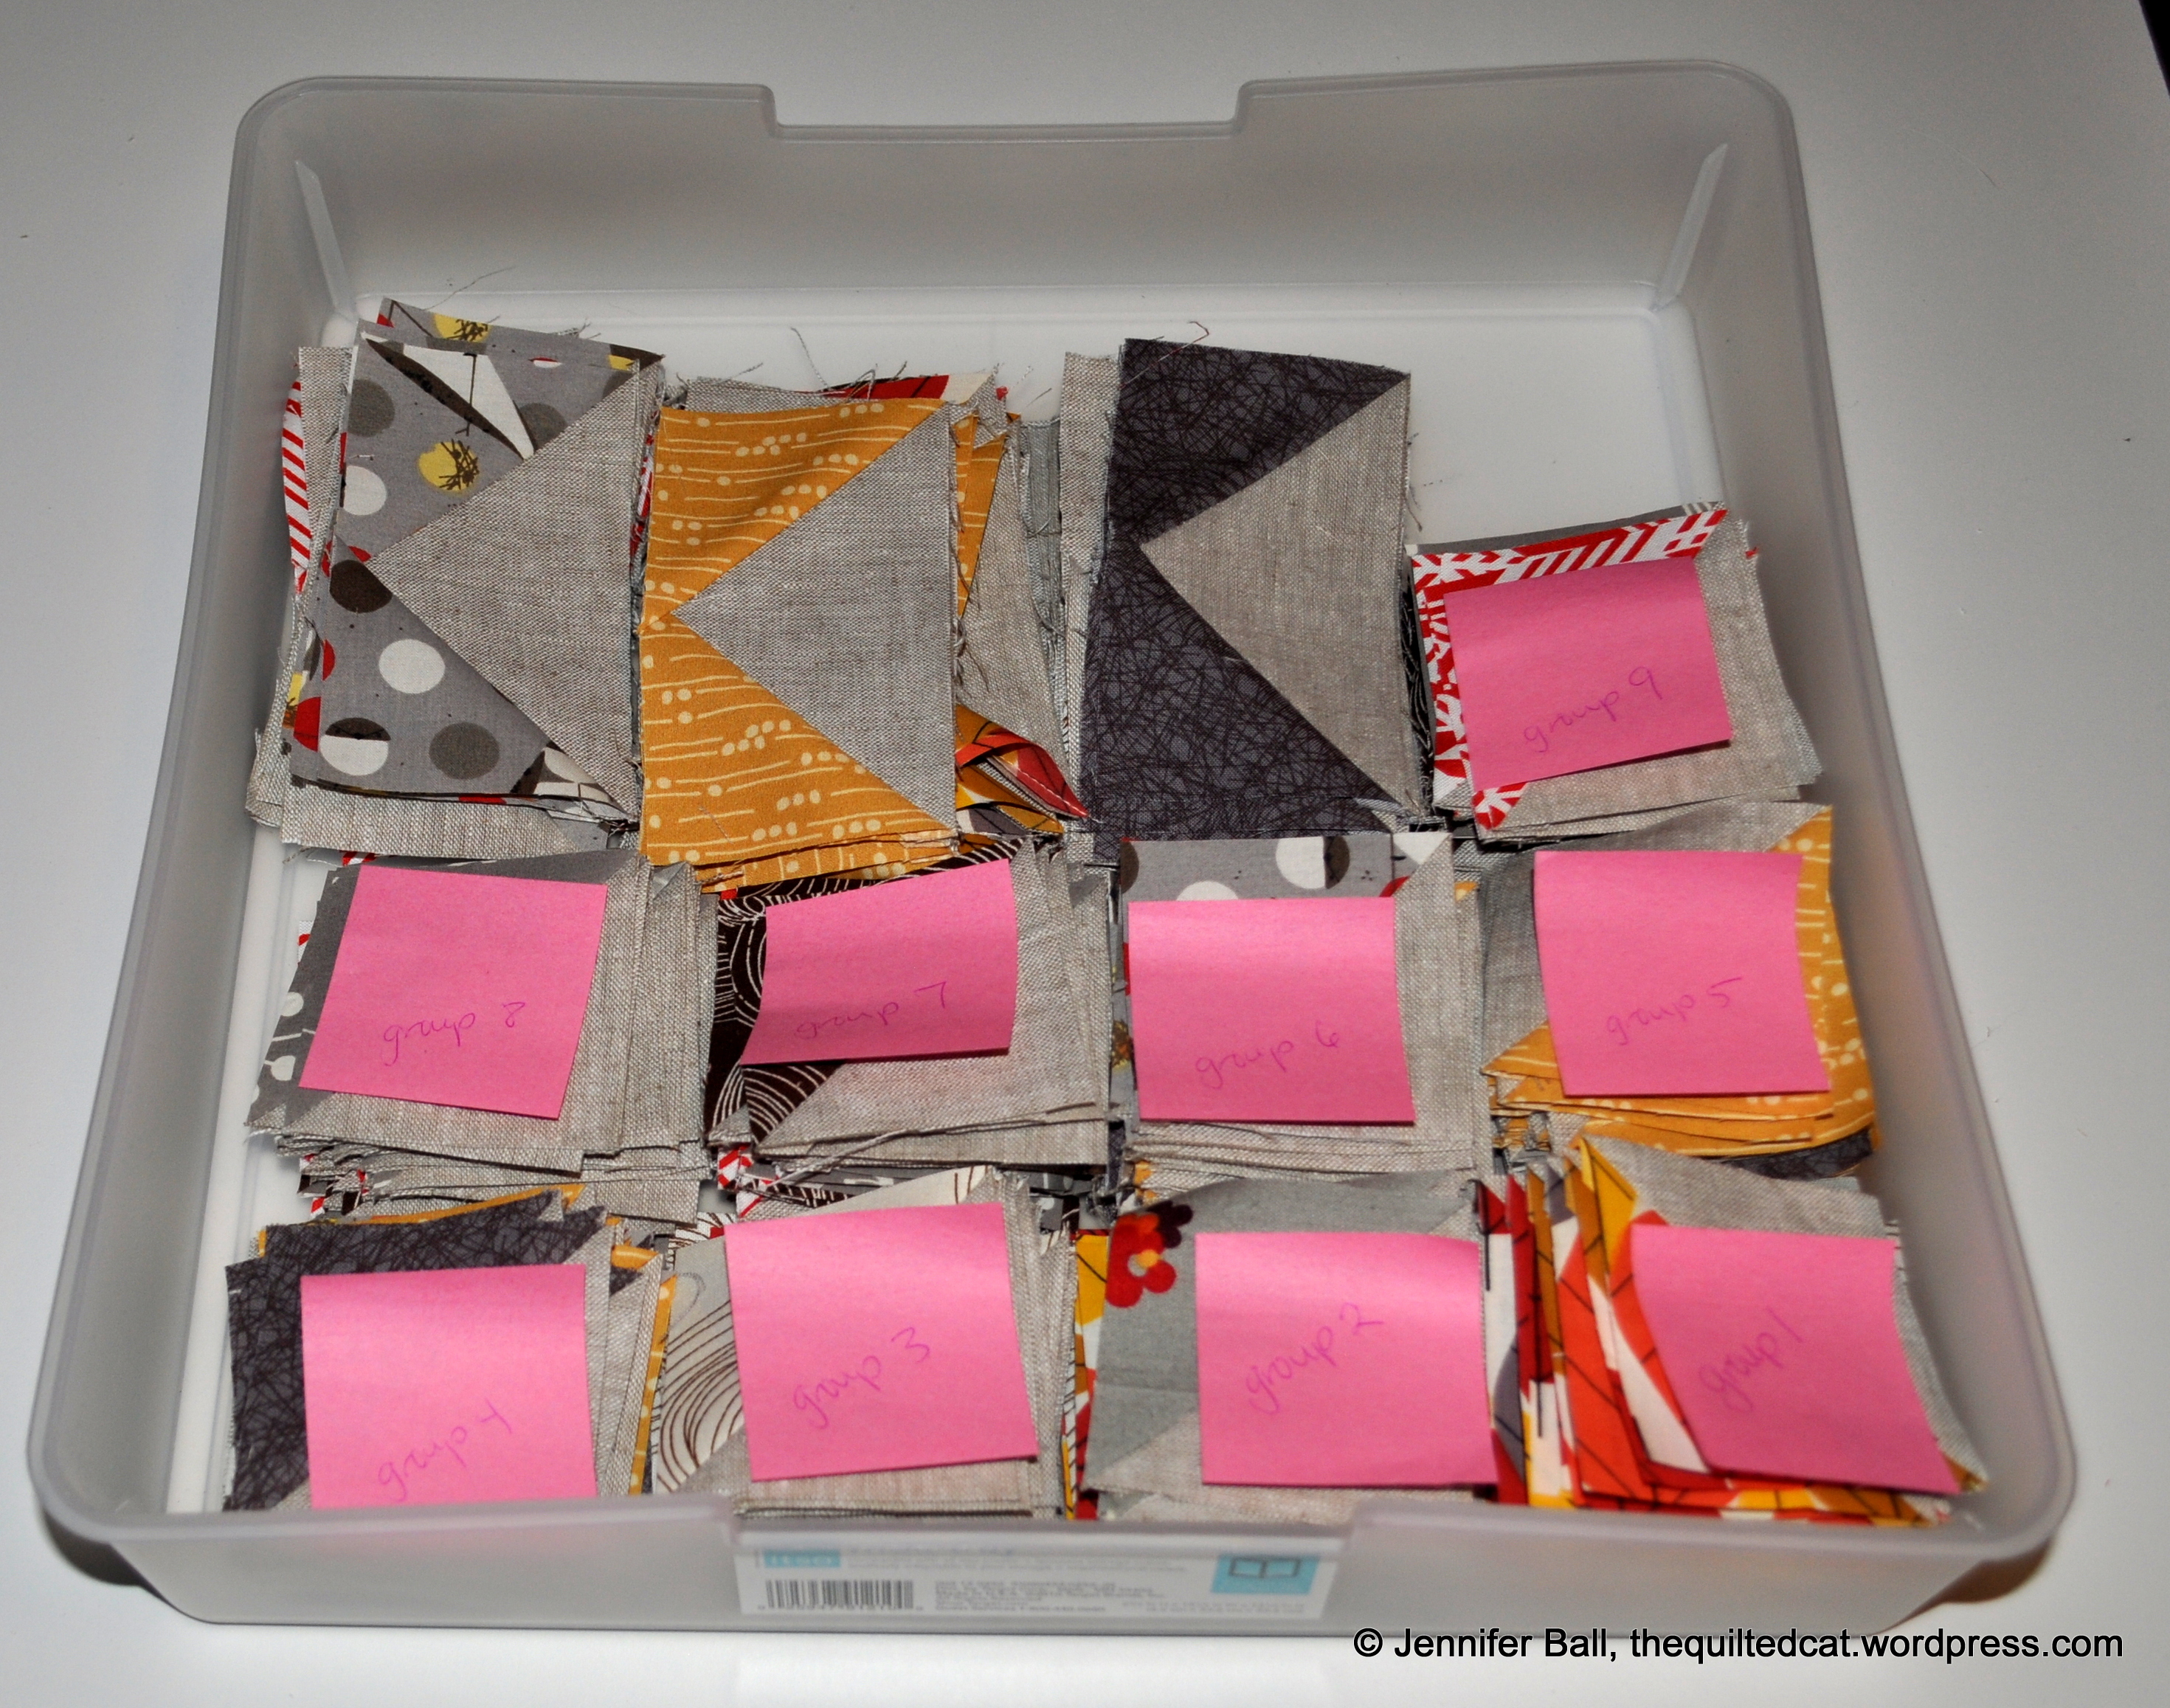
Organizing Tray for Star Light Star Bright QAL
Stay tuned for next week’s post where I will show you my block centers for this QAL.
I also had the opportunity to attend a Downton Abbey tea party hosted by Andover Fabrics on Saturday. I even won a prize – eek! I’ll upload my photos from this wonderful event to an upcoming post so stay tuned!
Enjoy!
~Jennifer


