Happy Thursday, quilty friends!
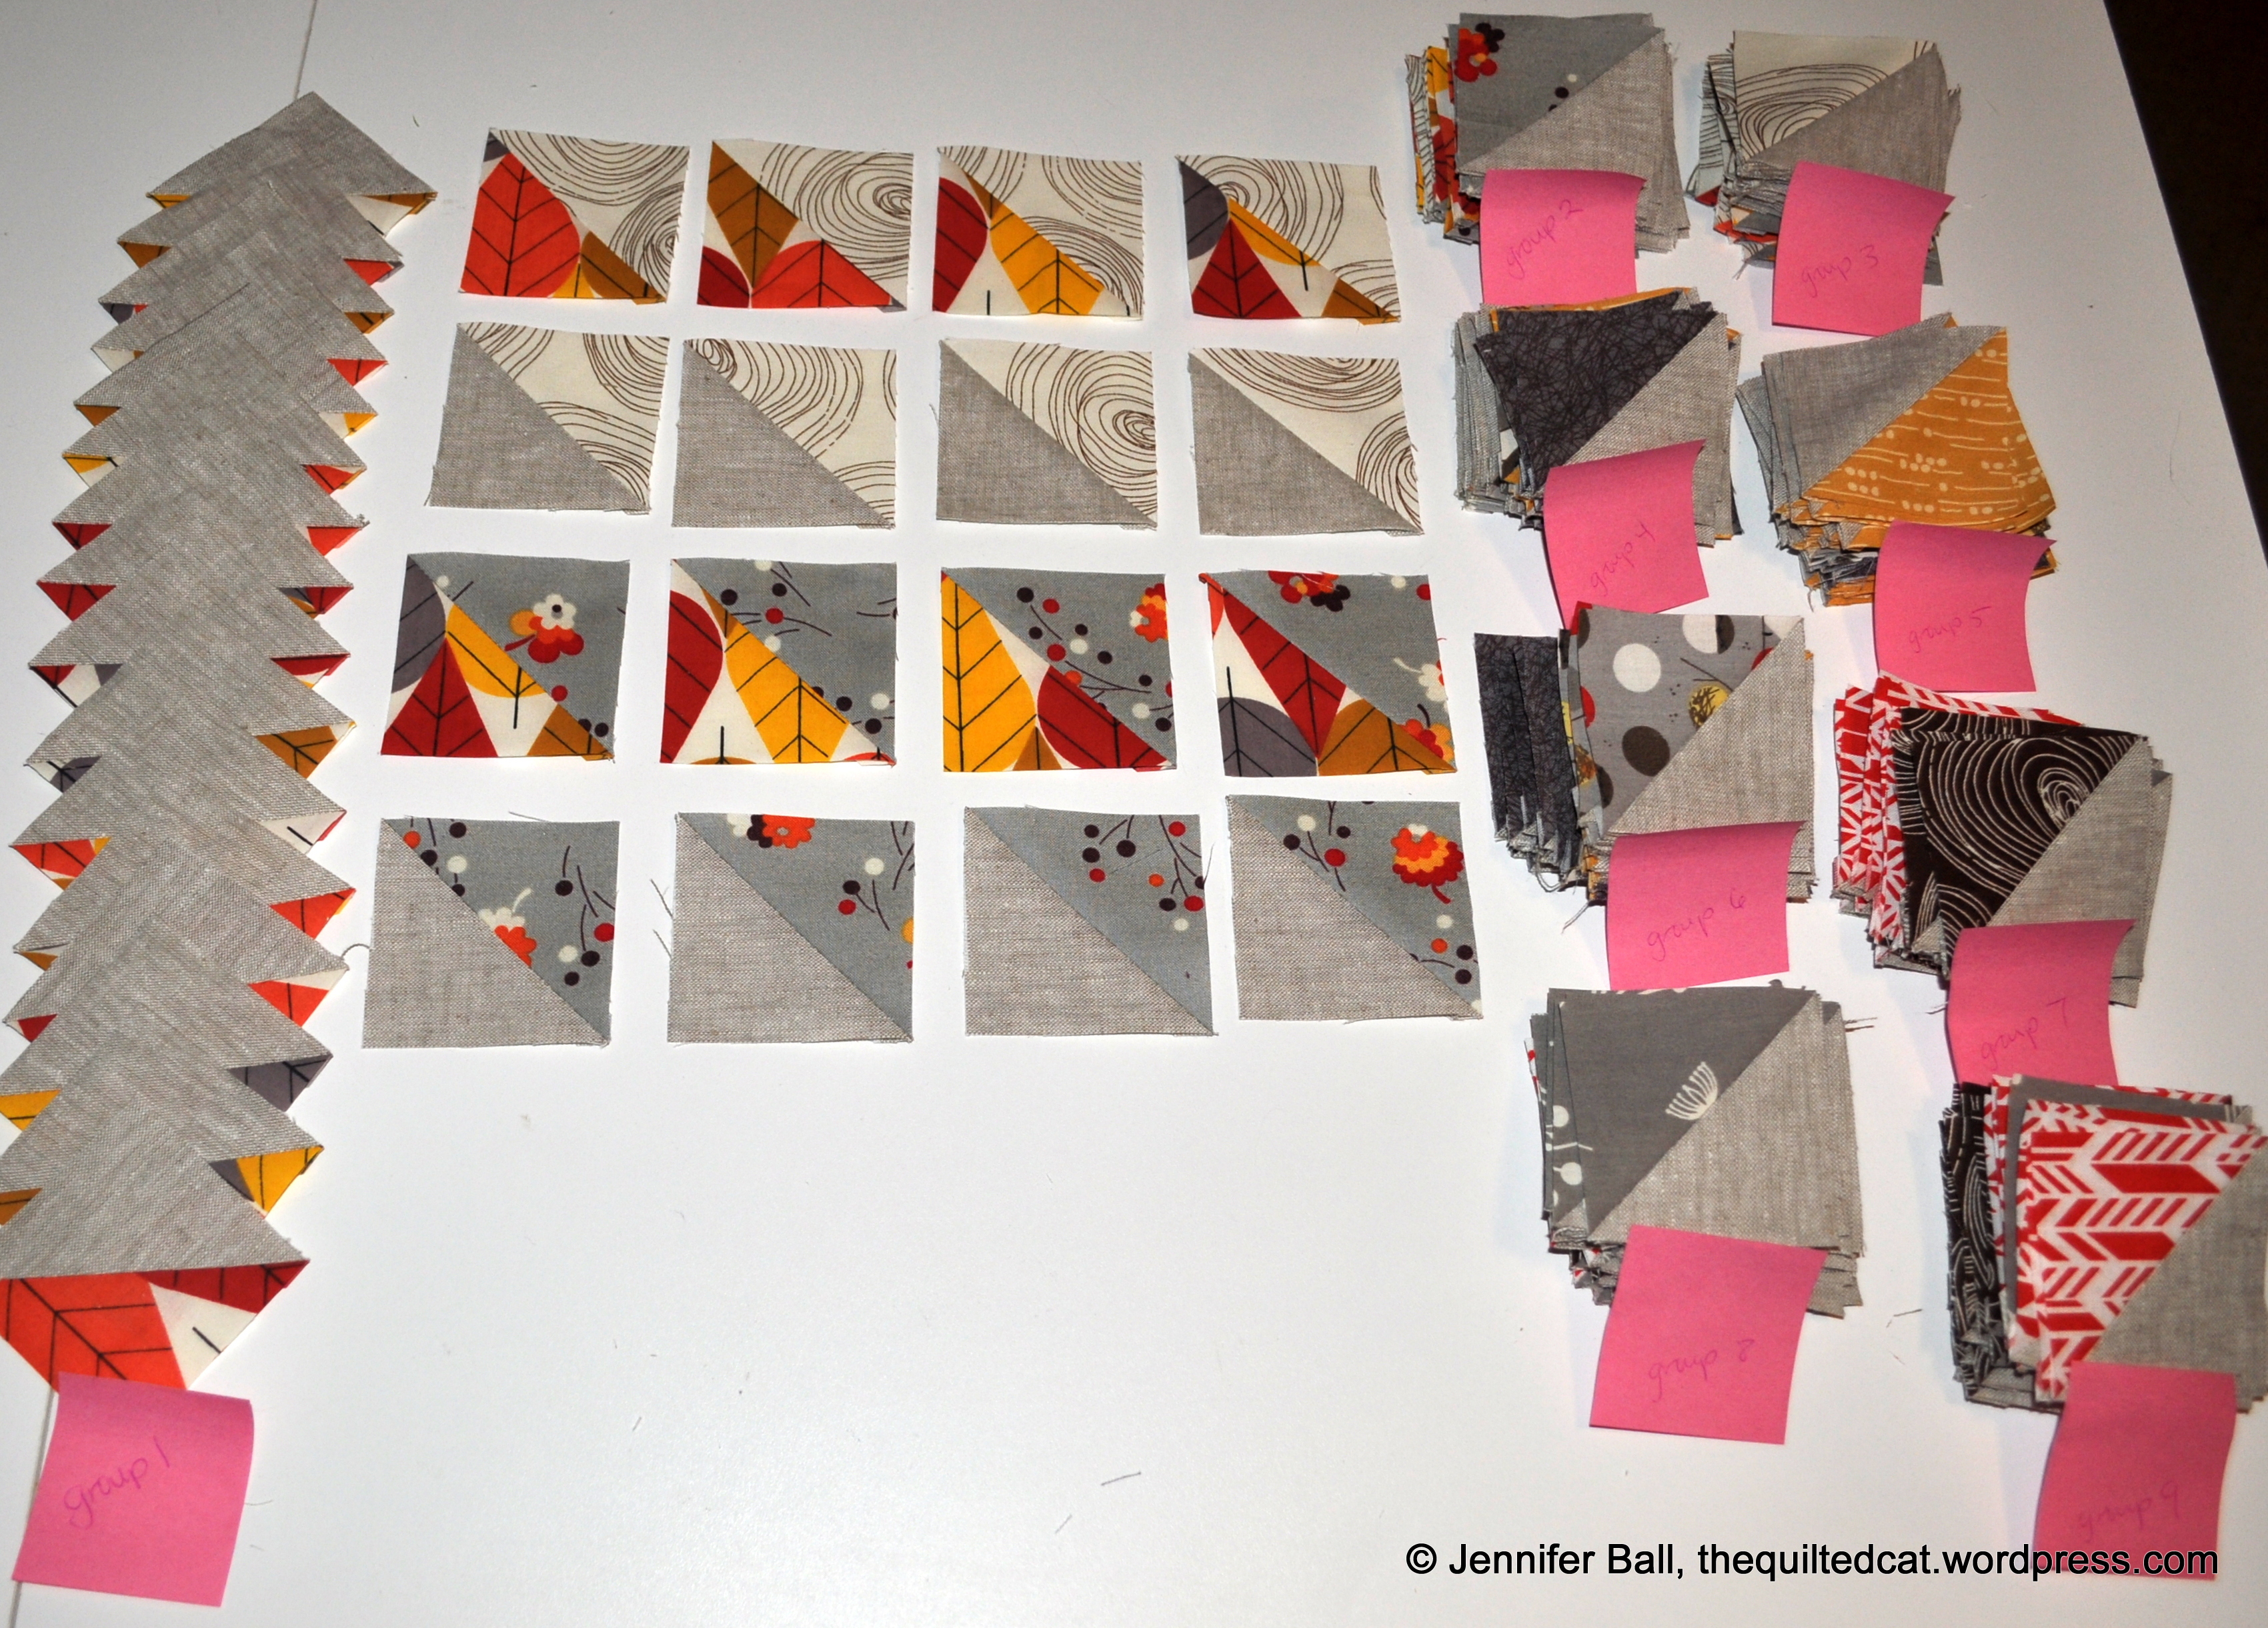
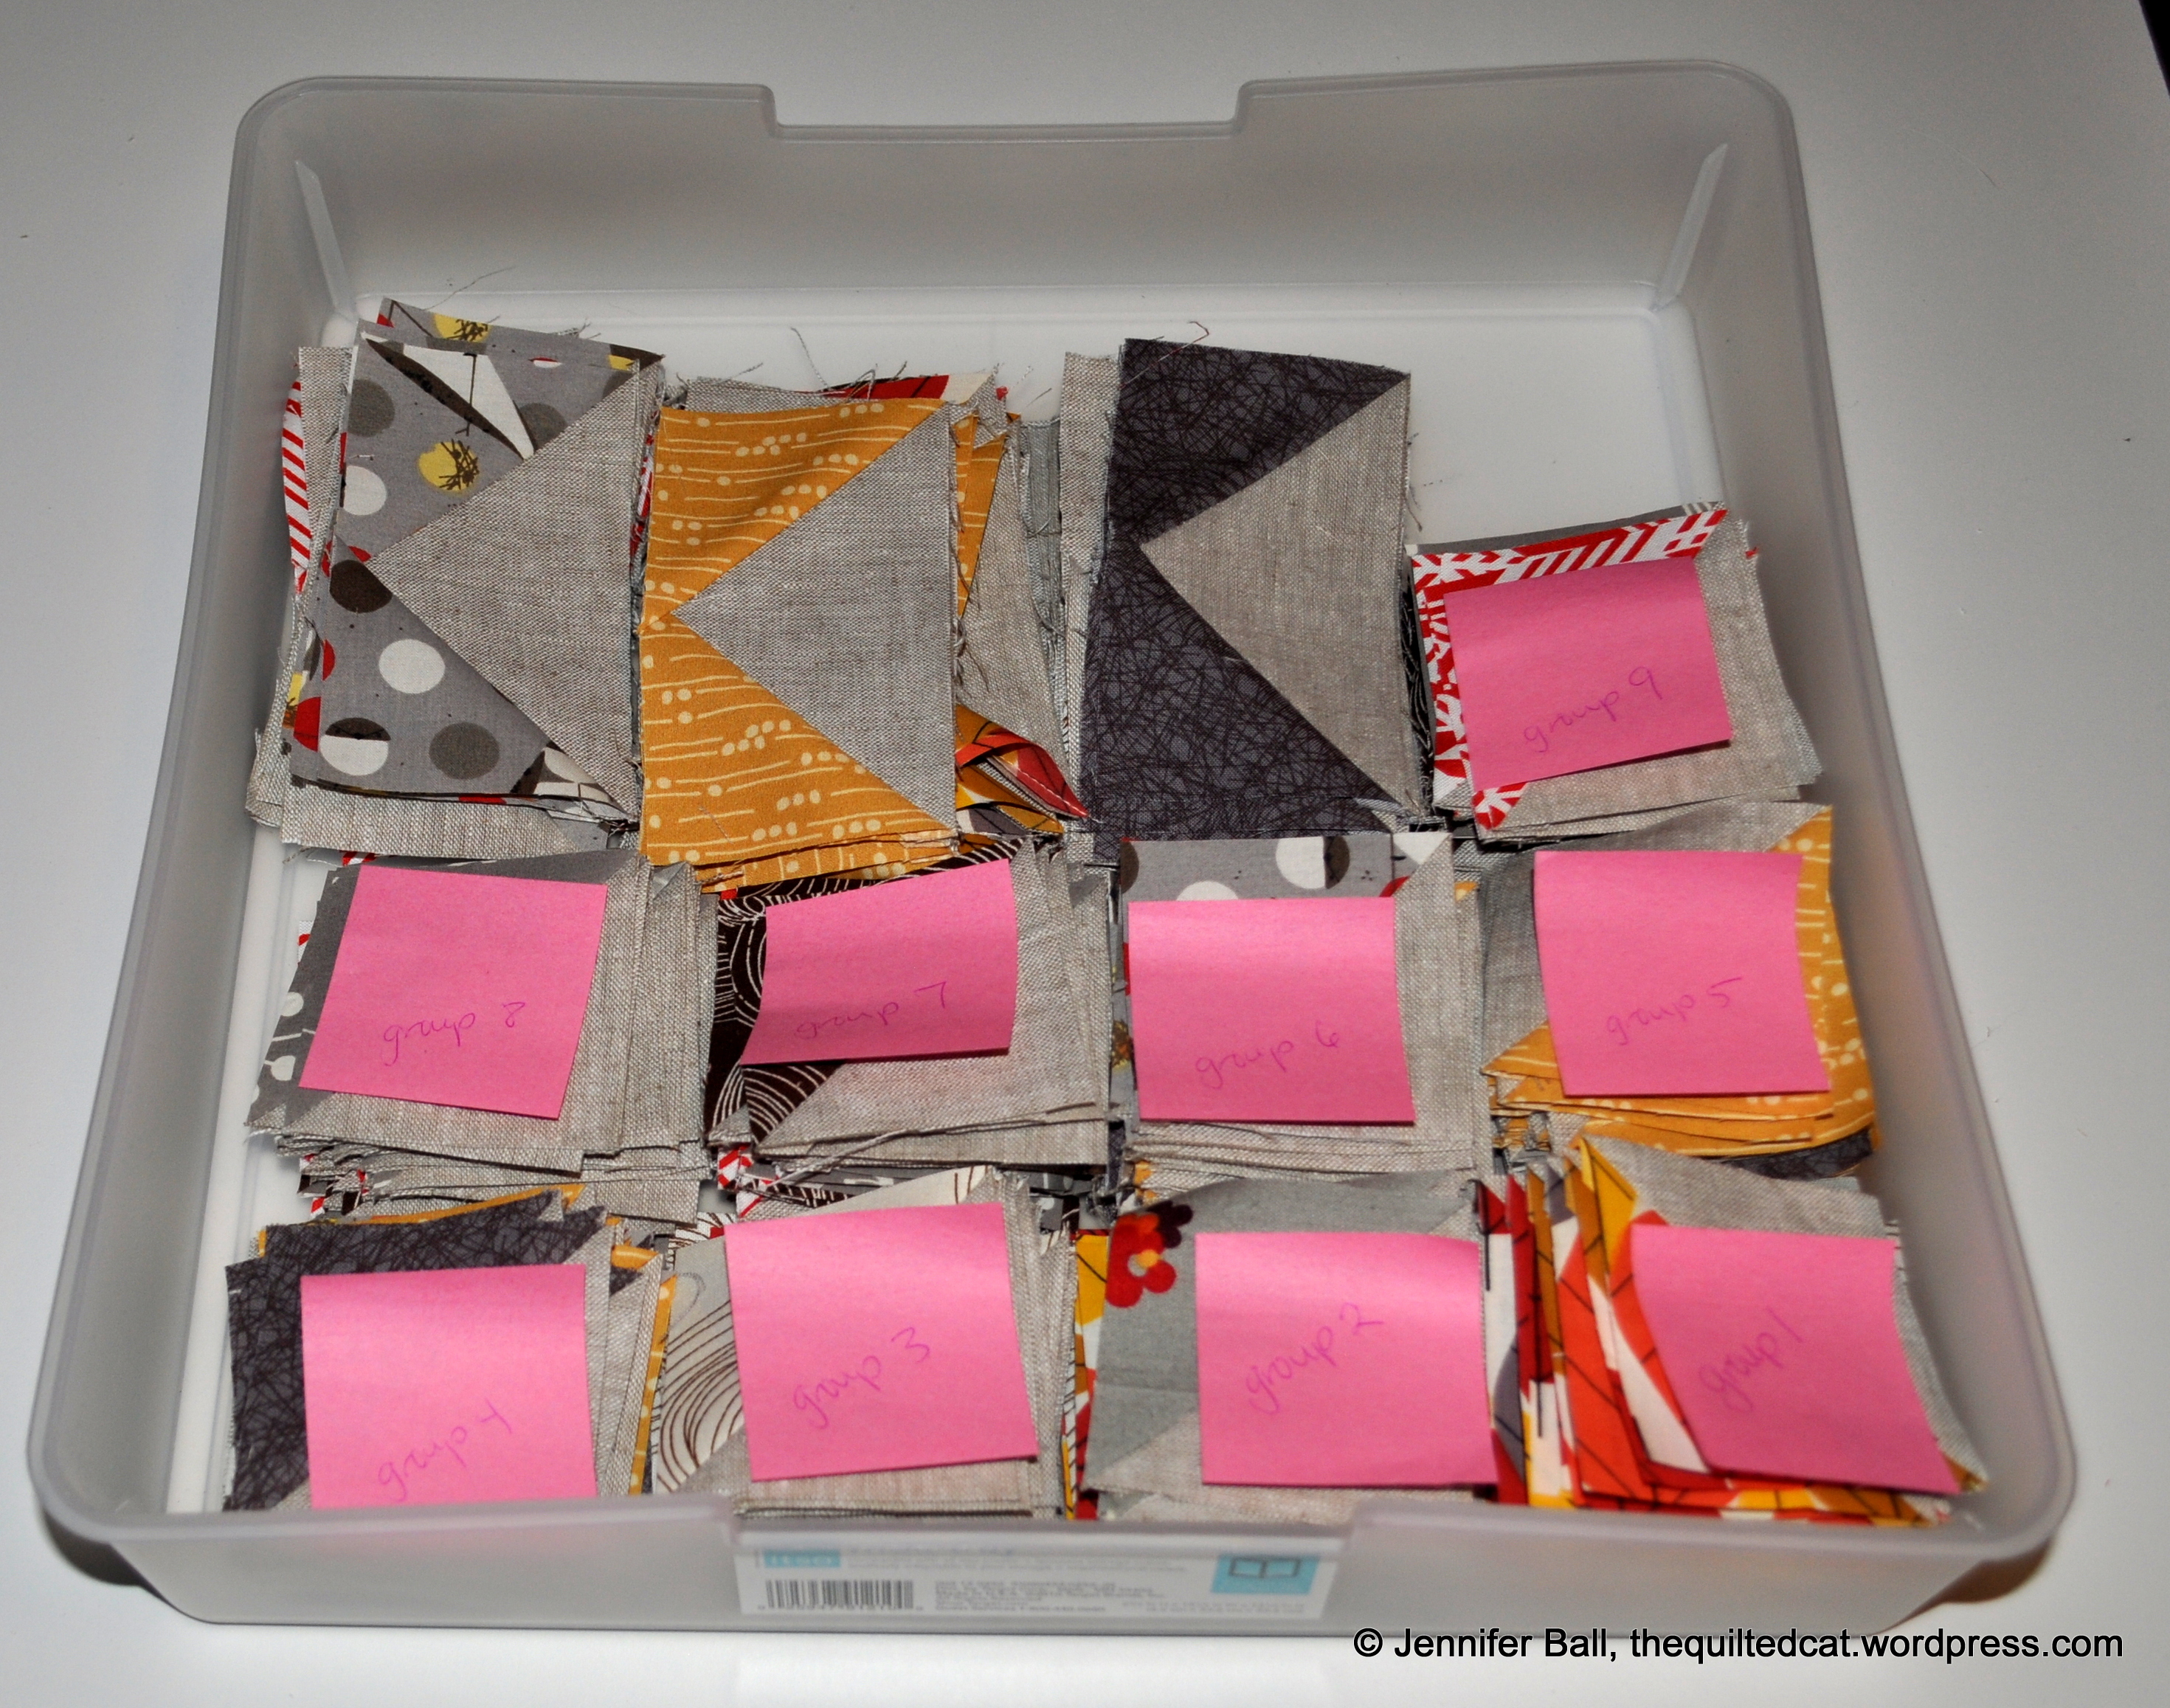
Back in January, I joined a quilt-along called Star Light Star Bright designed and hosted by Melissa over at Happy Quilting. For the most part, I kept up with the project and then set it aside once the quilt flimsy was completed. You can read about my fabric selections using some of the Charley Harper fabrics in this post.
Recently, I decided to finish this project by quilting it and binding it in time for a very special birthday surprise gift! The recipient is my sister, and I’ve kept it under wraps until now since she reads my blog. Now that I’ve given her the quilt, I will show the finish!
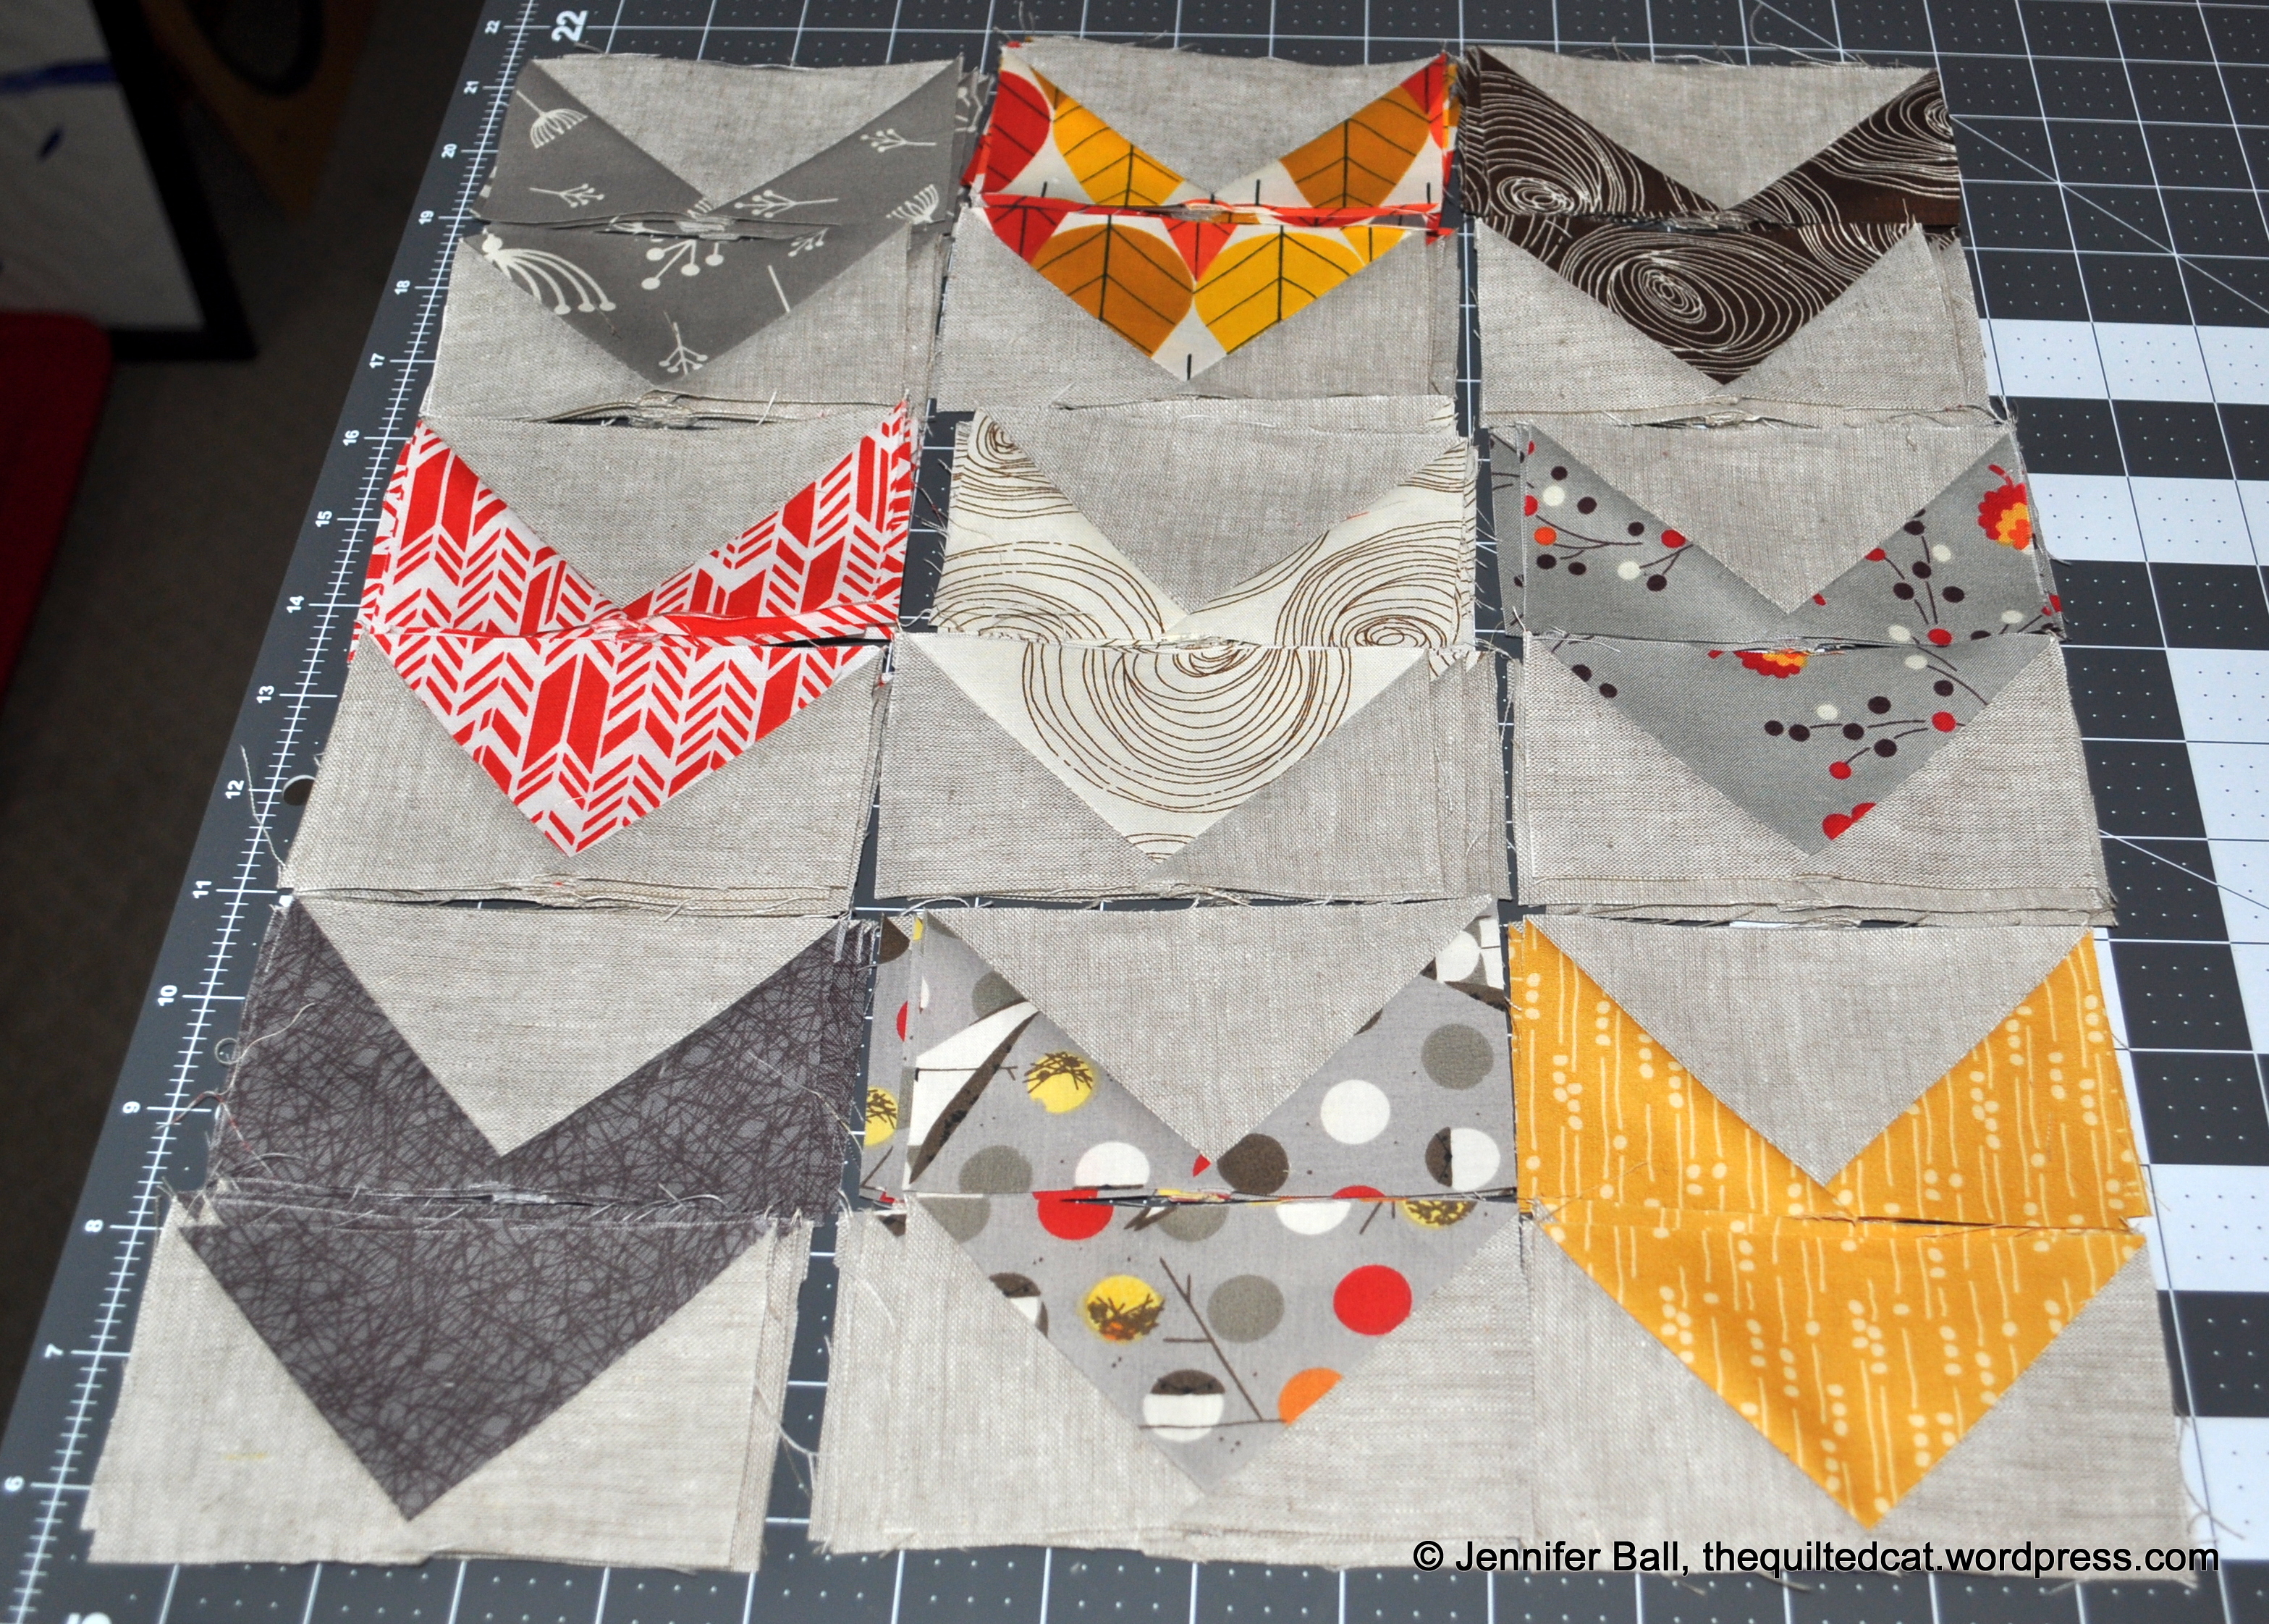
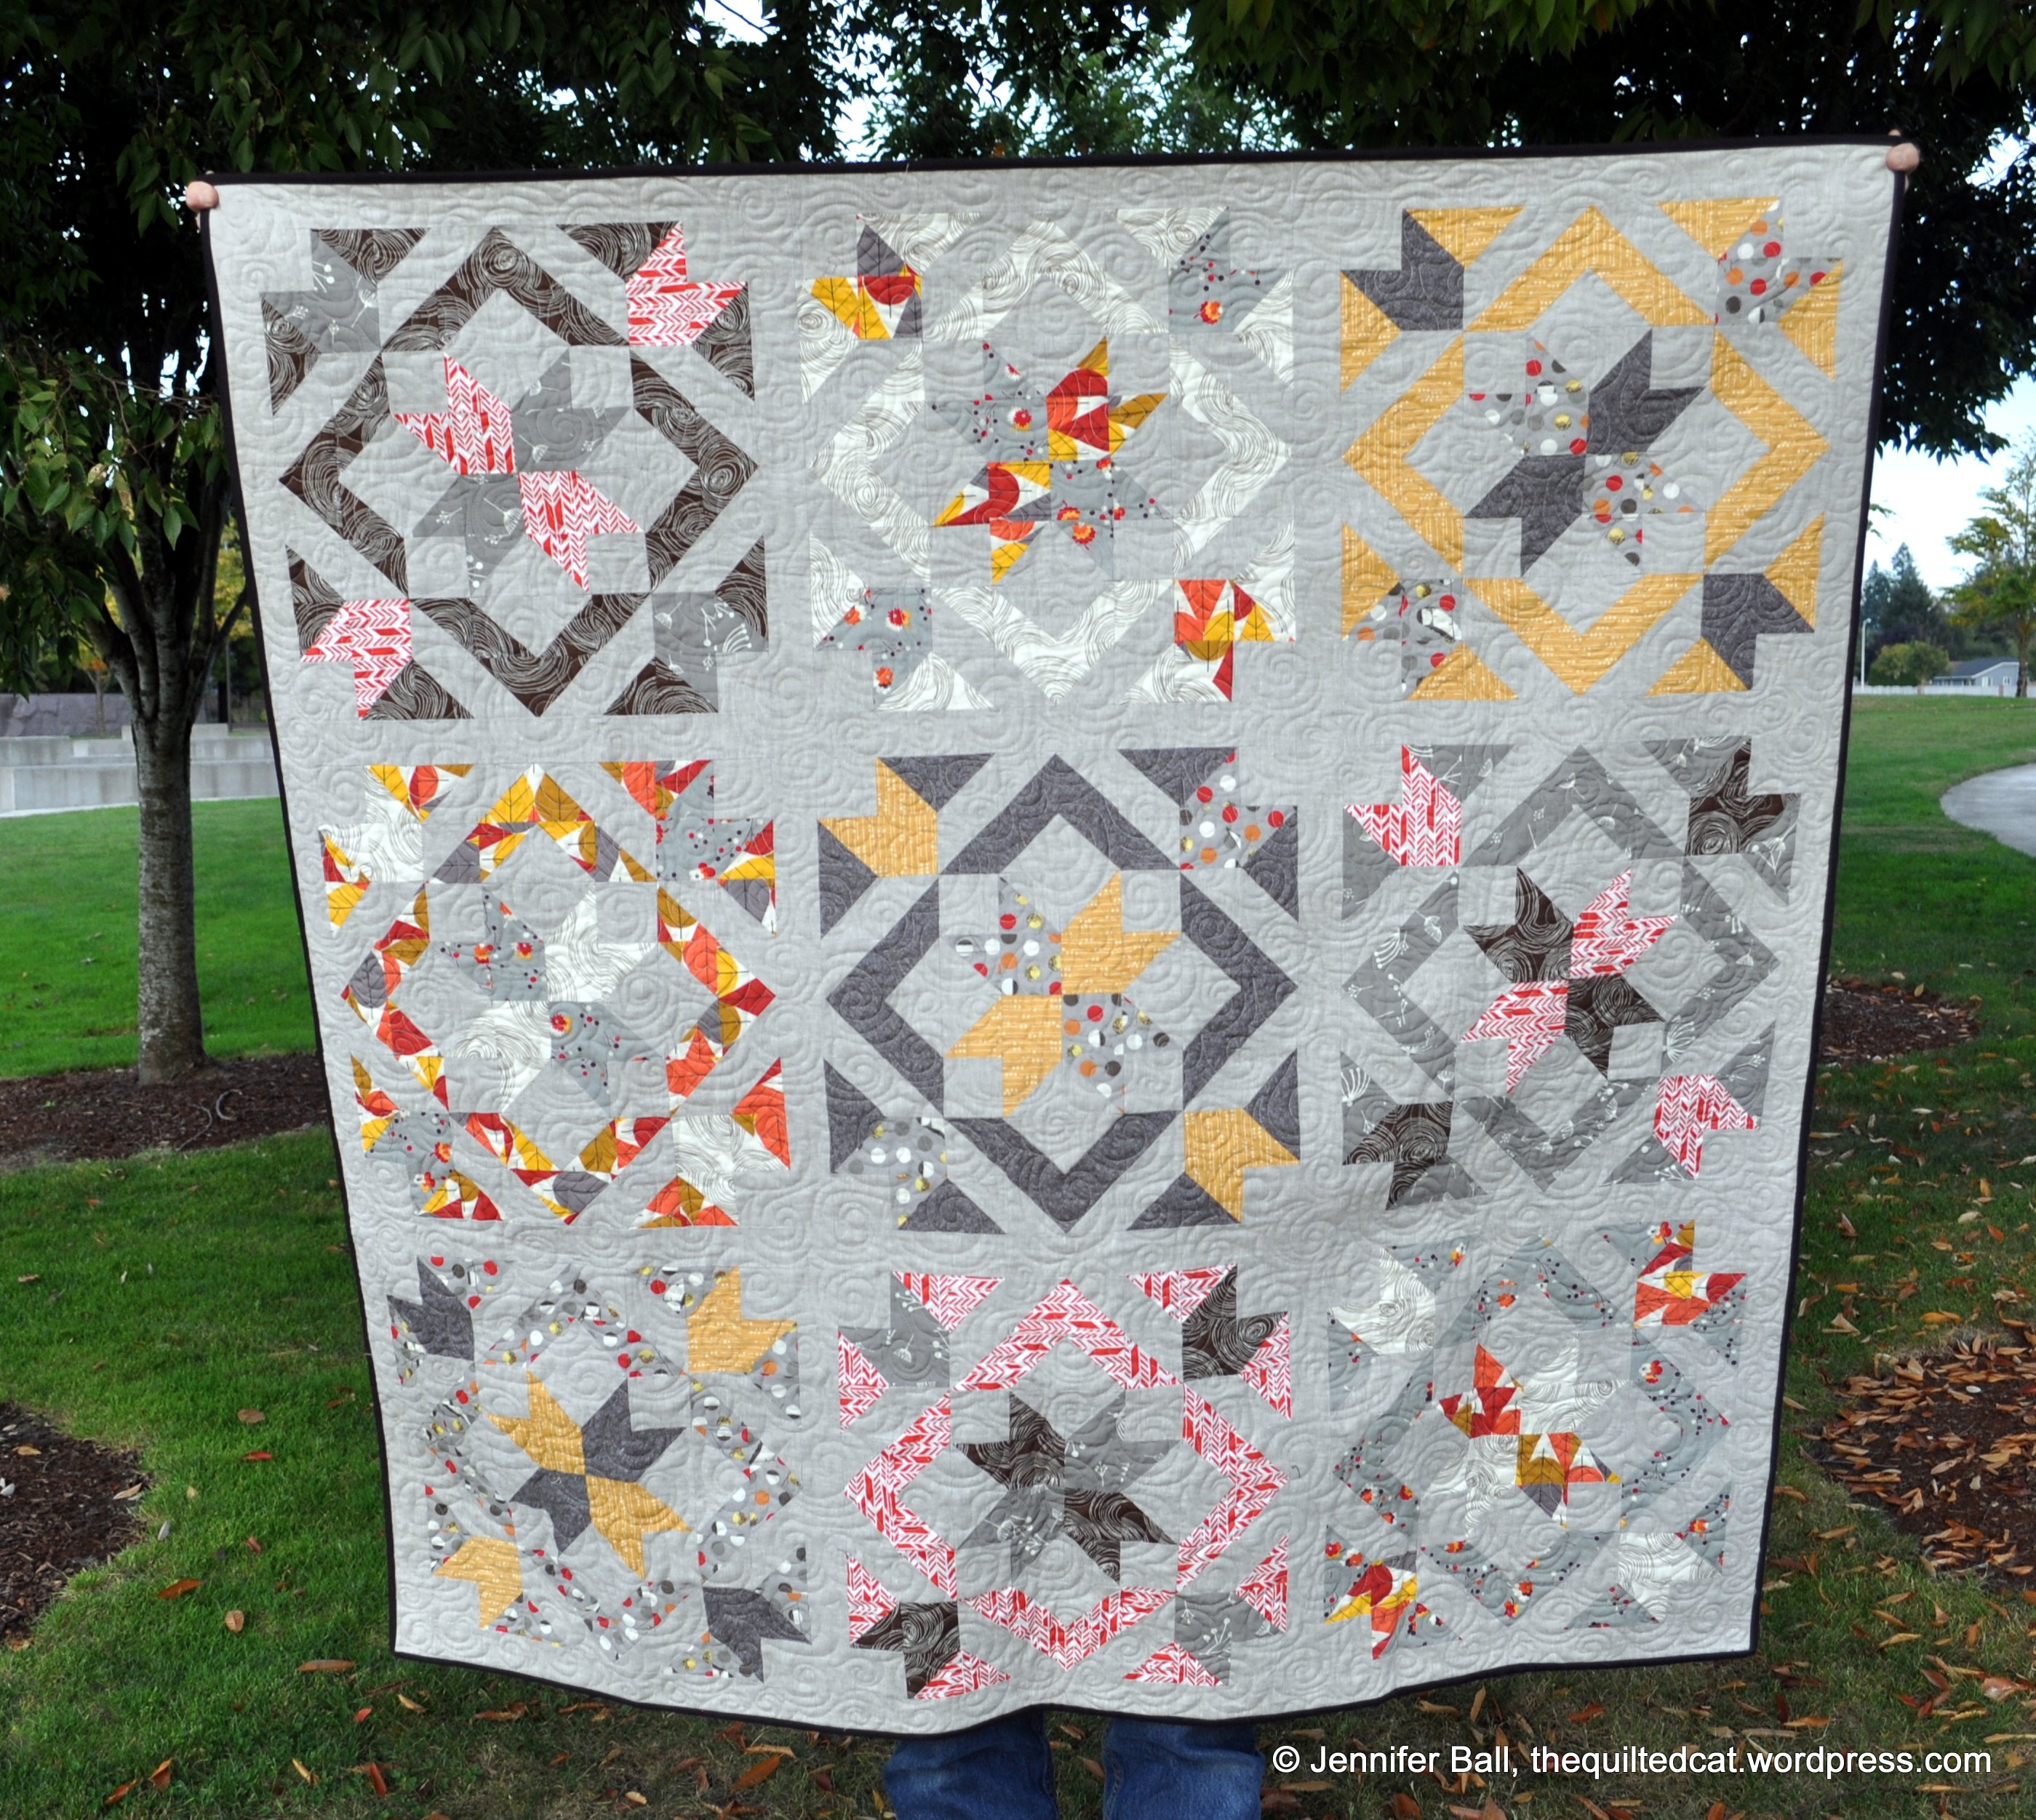
For the quilting, I did random free-motion swirls from edge-to-edge. The backing fabric is from Moda’s Forest Friends designed by Ingrid Slyder. I used some of the Fox Fun Pebble Grey (#23142-11) and alternated it with the Birch Trees Pebble (#23143-11).
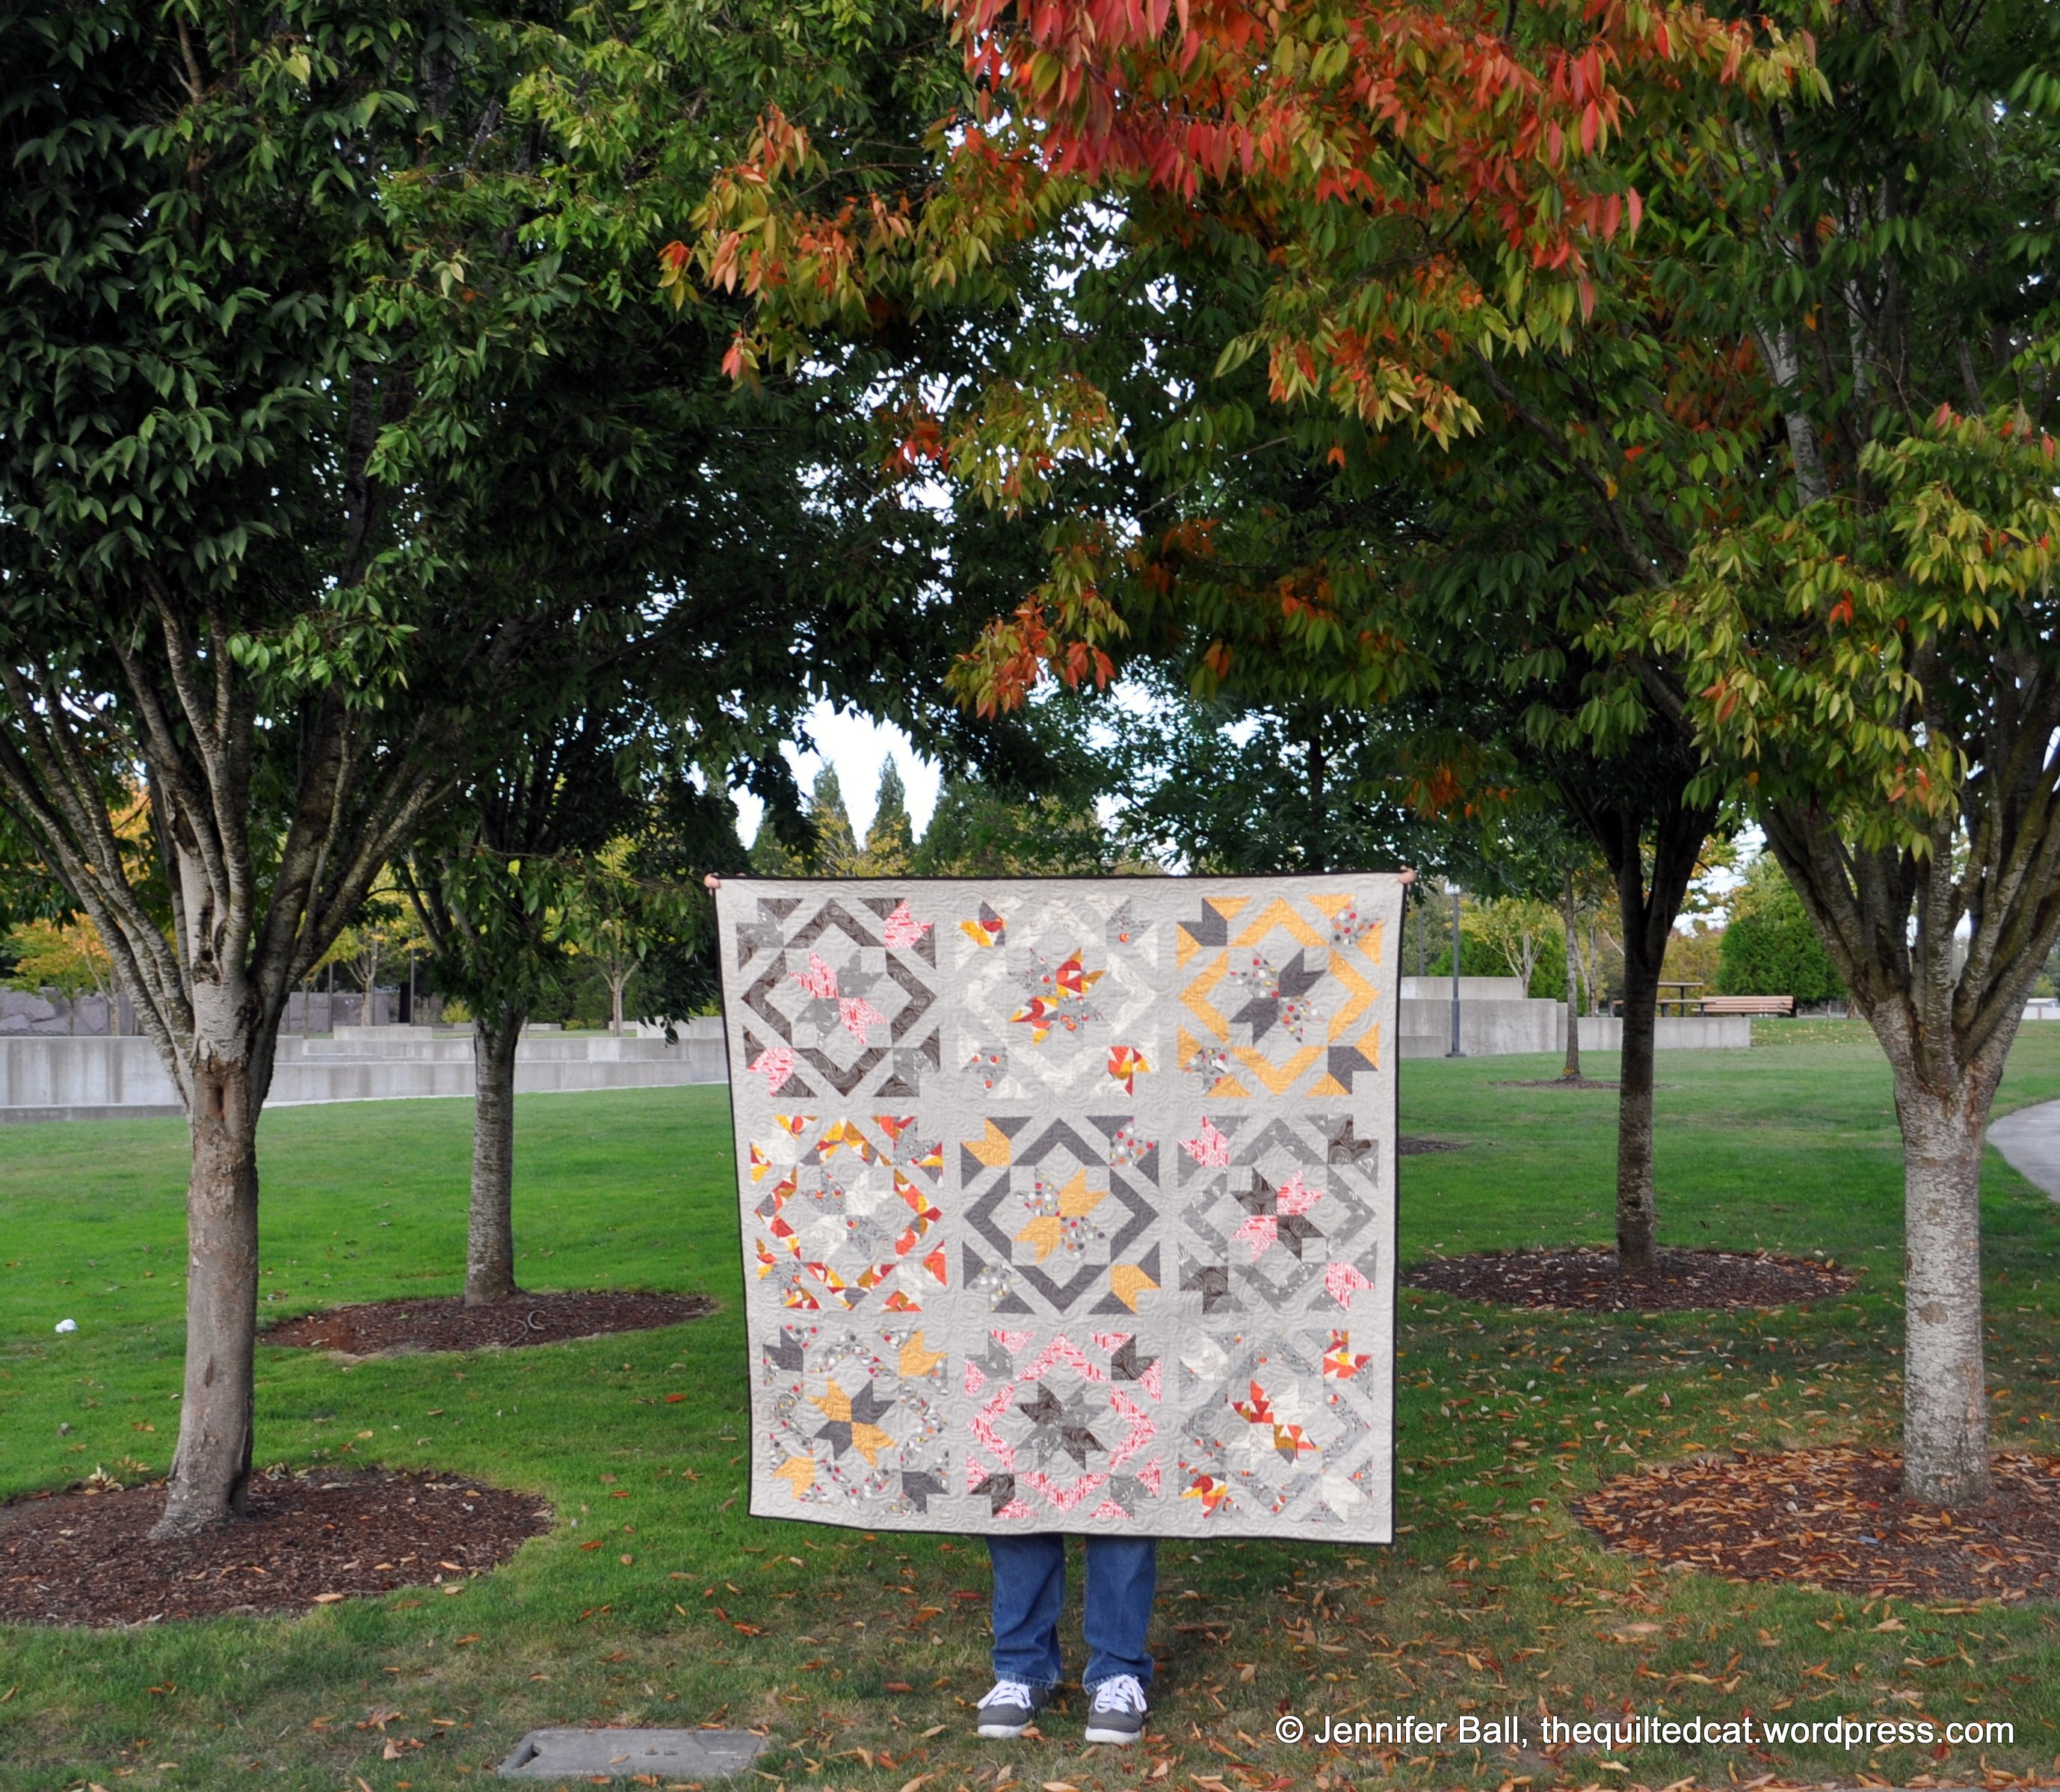
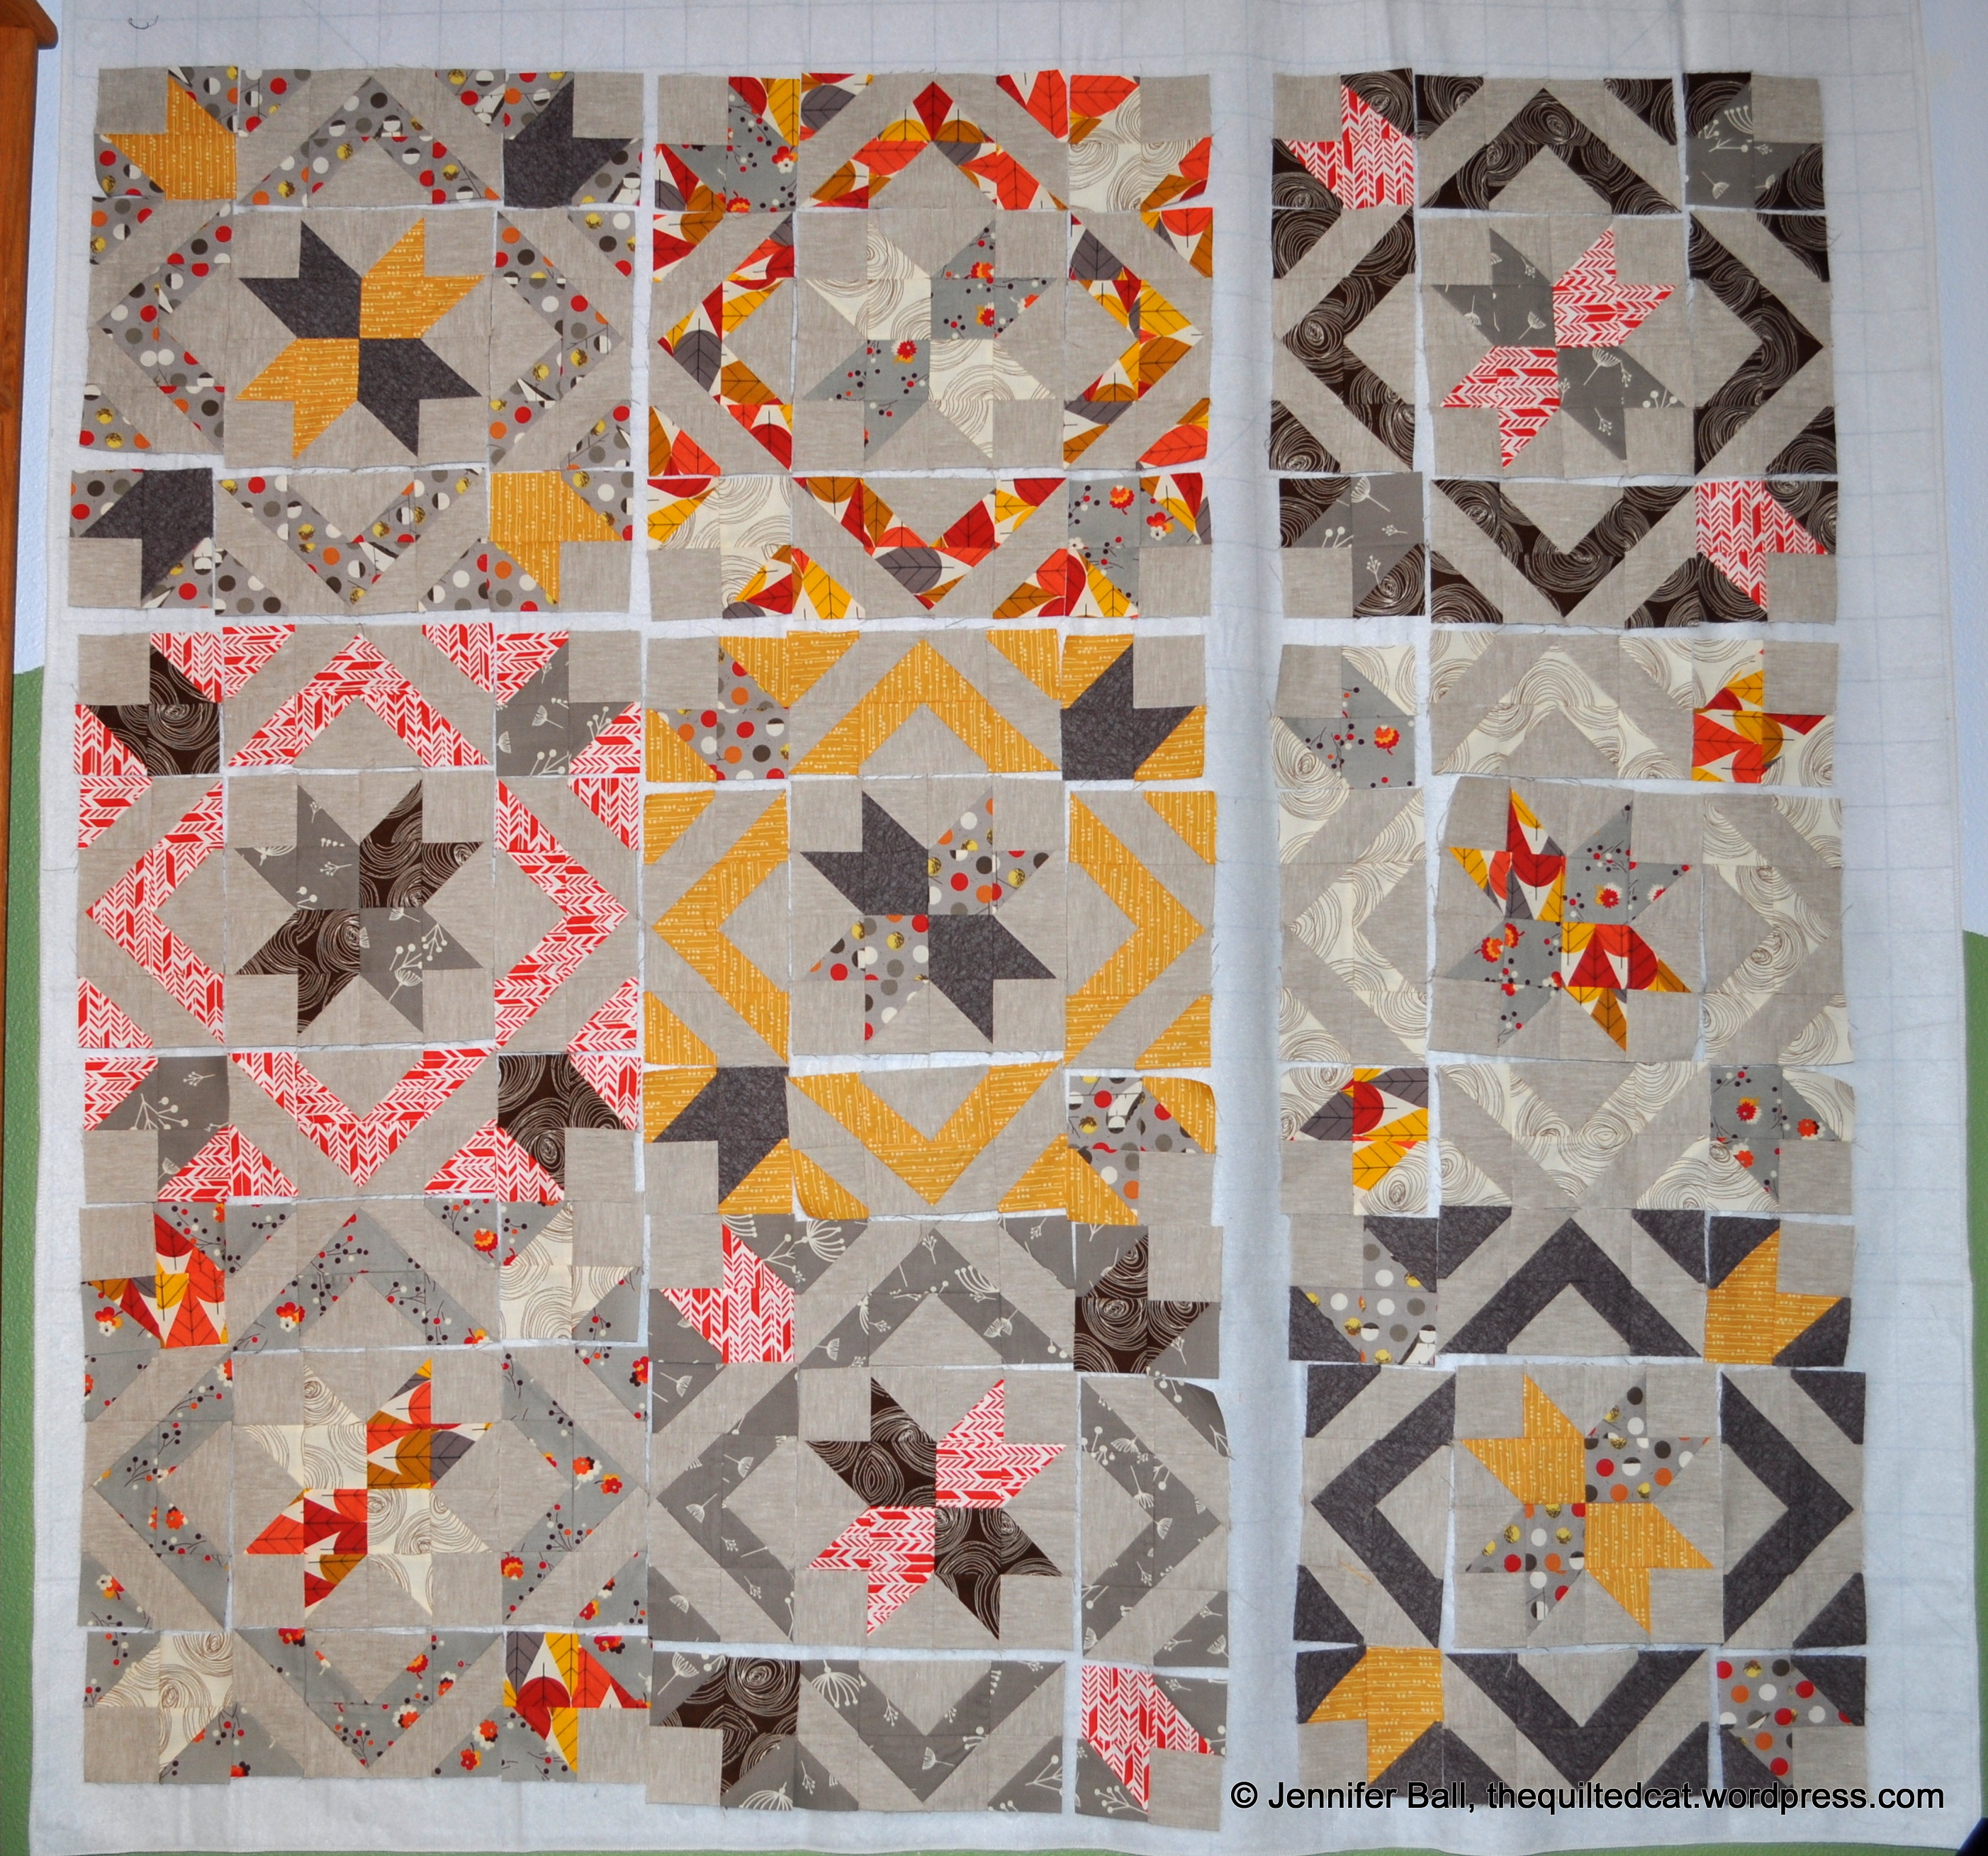
Star Light Star Bright Quilt and the Fall Leaves
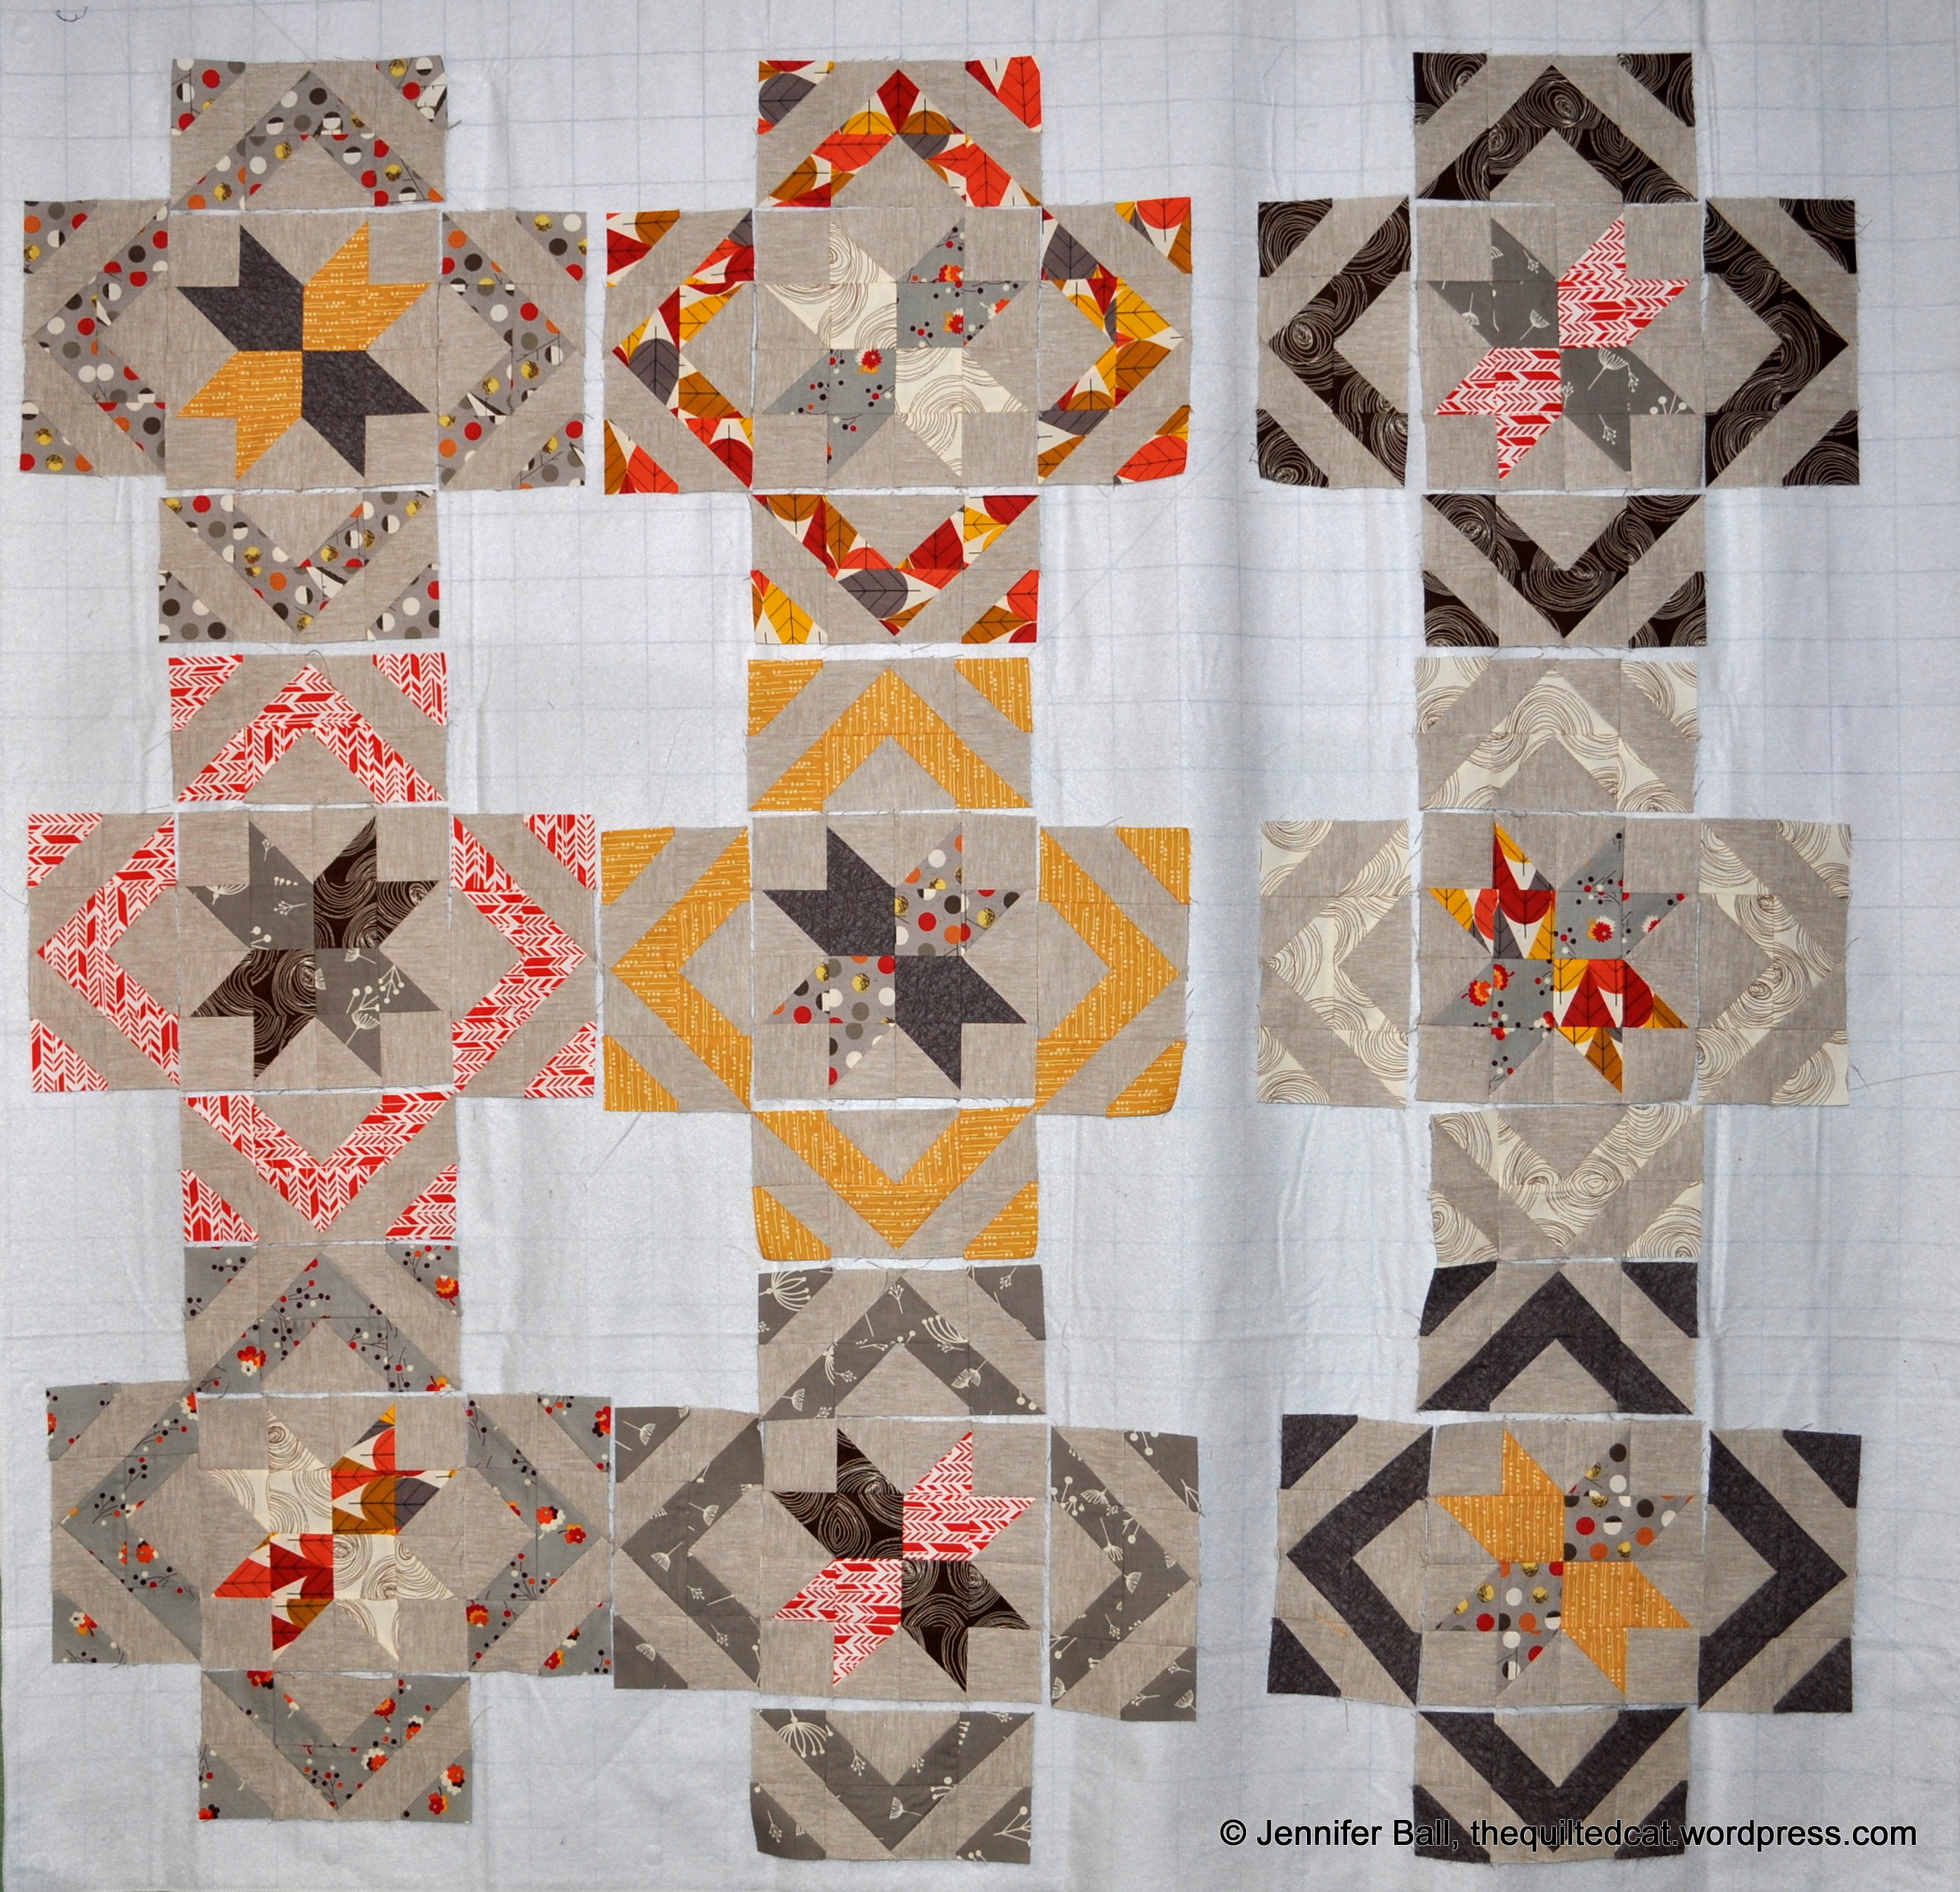
Star Light Star Bright Close Up

Star Light Star Bright Backing

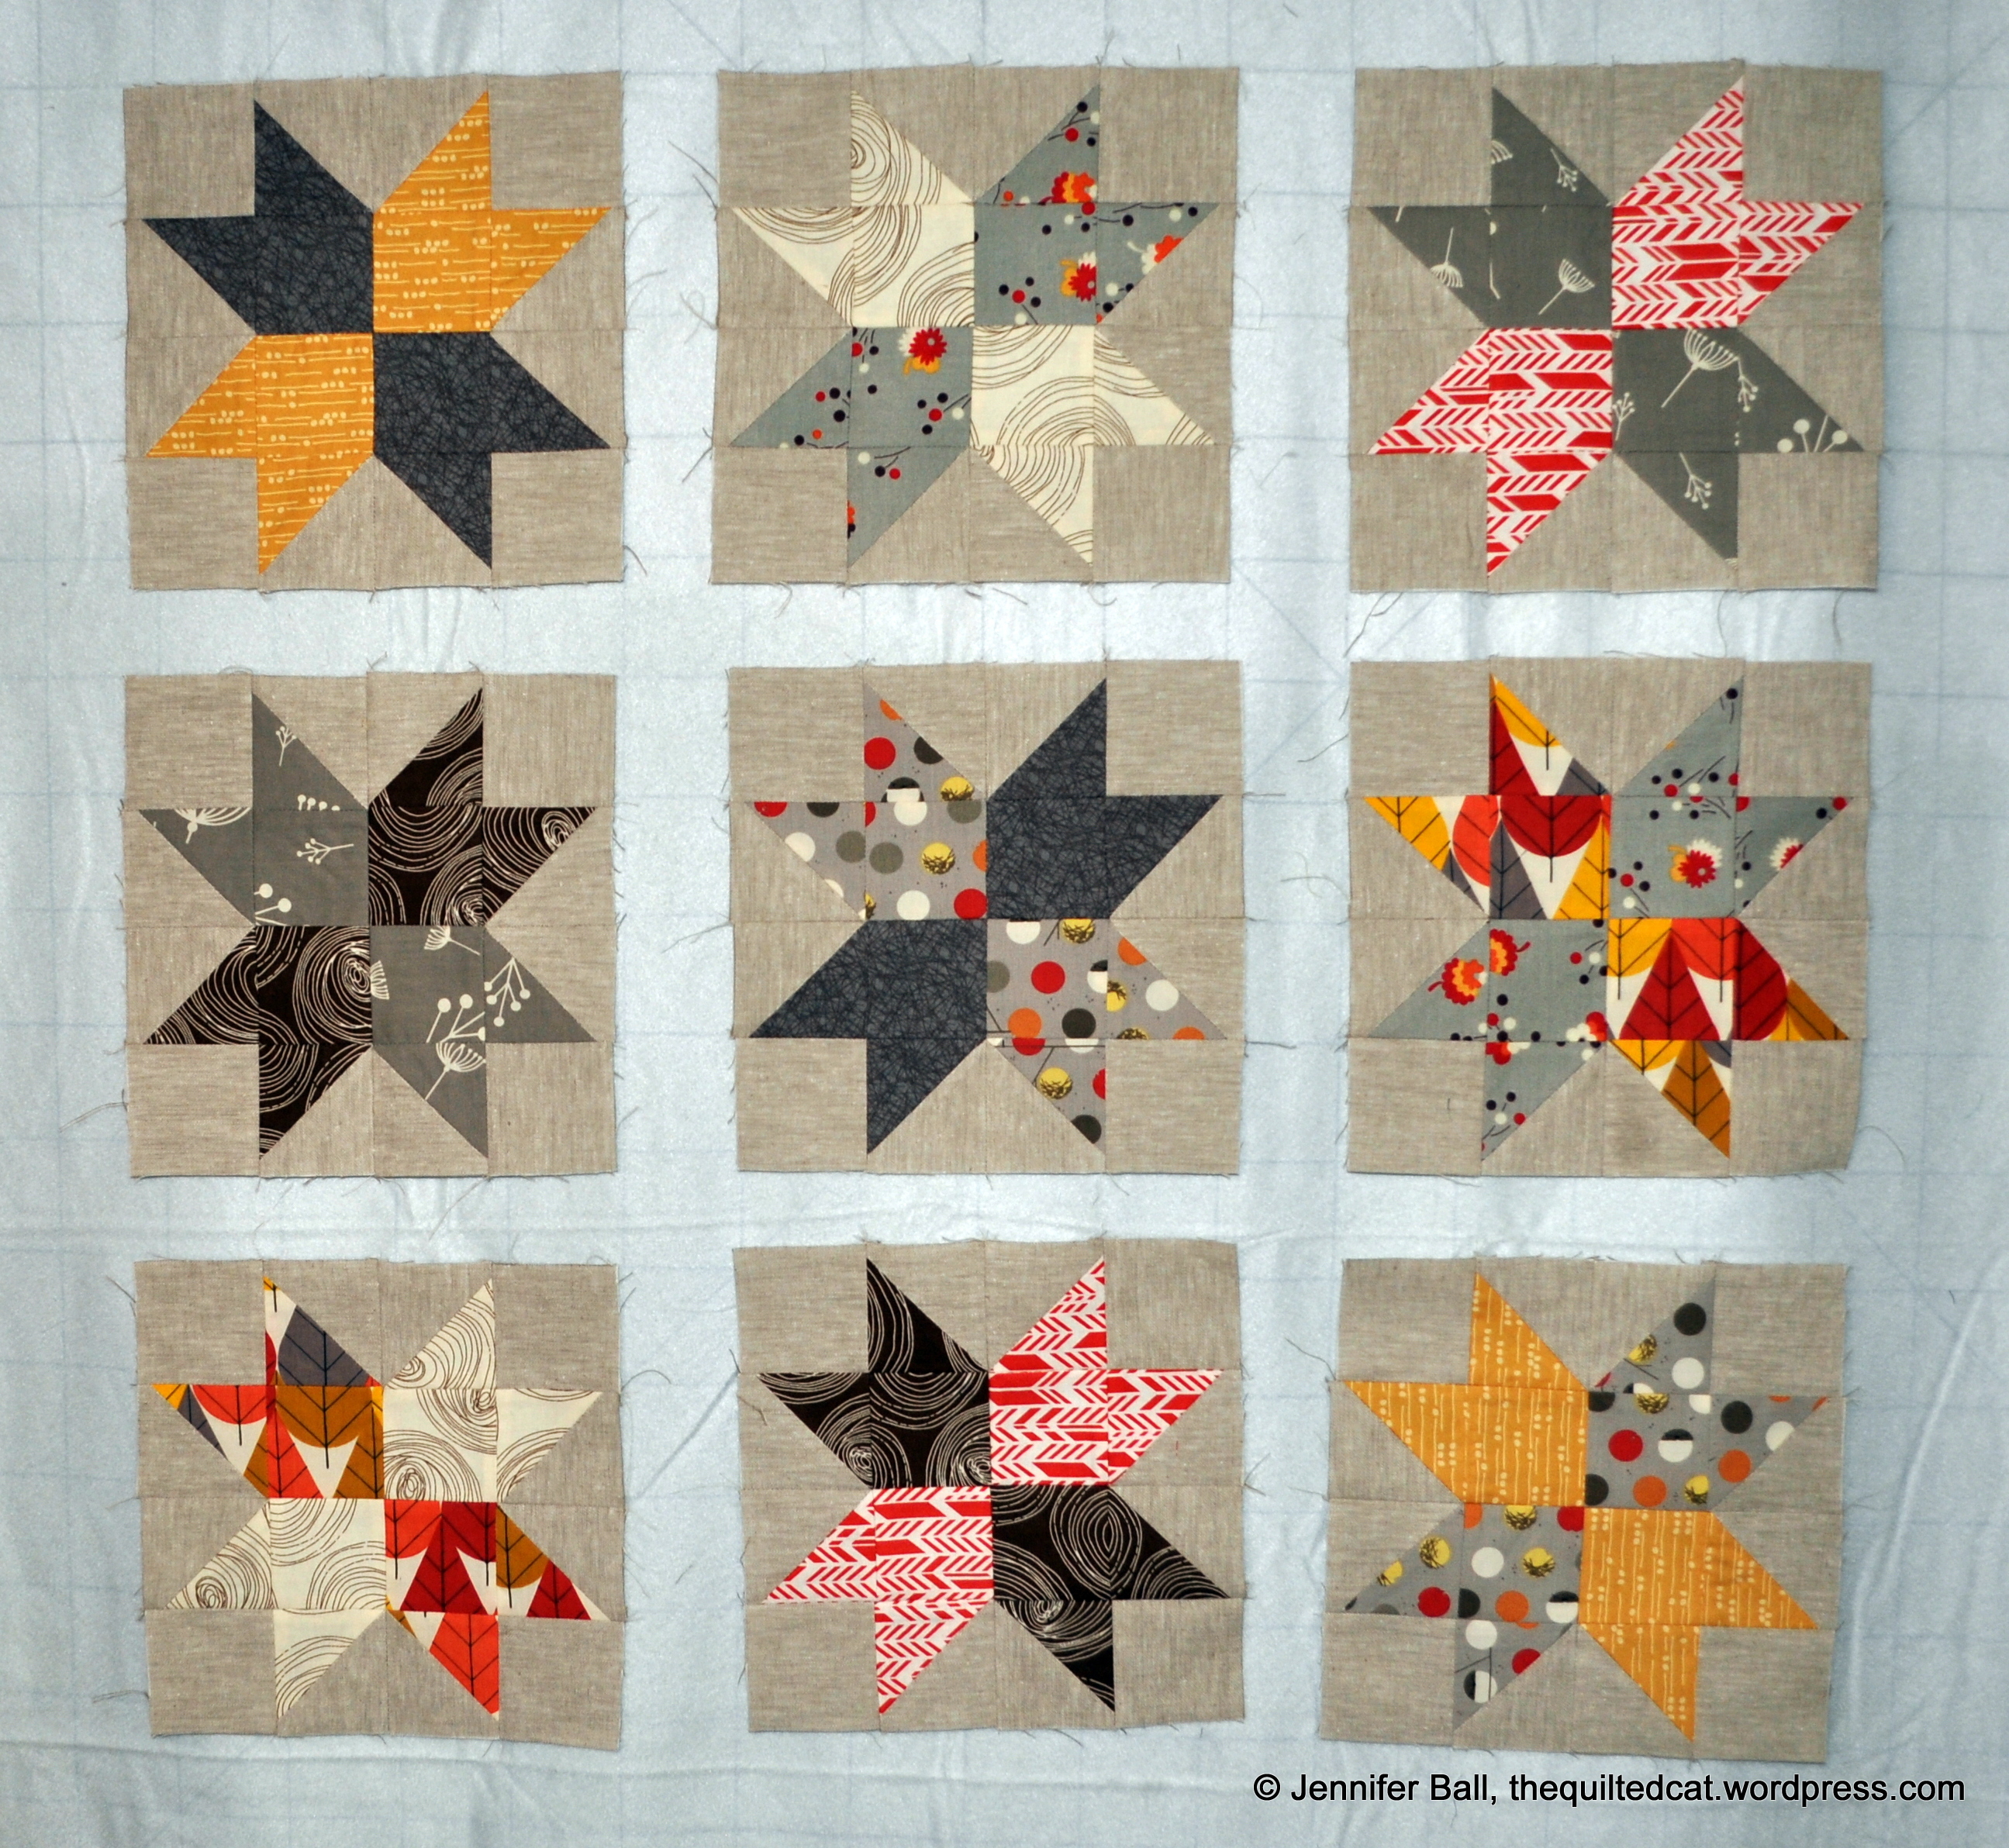
Another View of the Star Light Star Bright Quilt
I think the fabric colors and patterns will look wonderful in my sister’s log cabin style home. I hope to take some pictures of it there soon to share.
I’m very happy to have another project crossed off the to-do list. Now, on to the next one!
Enjoy!
~Jennifer