Cow Cat, Another Quilted Portrait

Happy Wednesday everyone!

Over the Thanksgiving holiday, my family traveled to visit with my sister, brother-in-law, and nephew. We had such a great family time and enjoyed yummy homemade apple and huckleberry pies!

In August, my sister and I worked on making quilted fabric portraits of two of my cats – Tiger and Cow. I finished the Tiger Quilted Cat portrait (and mascot of my blog!) earlier and you can read about it here.

My sister finished up the quilted Cow cat and gave it to me over Thanksgiving. There was just one teensy, weensy detail that I added – Cow’s whiskers. He’s a cat who is very proud of his long, white whiskers so I just used plain white thread and a basic straight stitch to add them to the portrait.

Here is the inspiration photo that I took of Cow this past March:

Cow cat

Cow cat

Here is the finished quilted Cow cat wall-hanging:
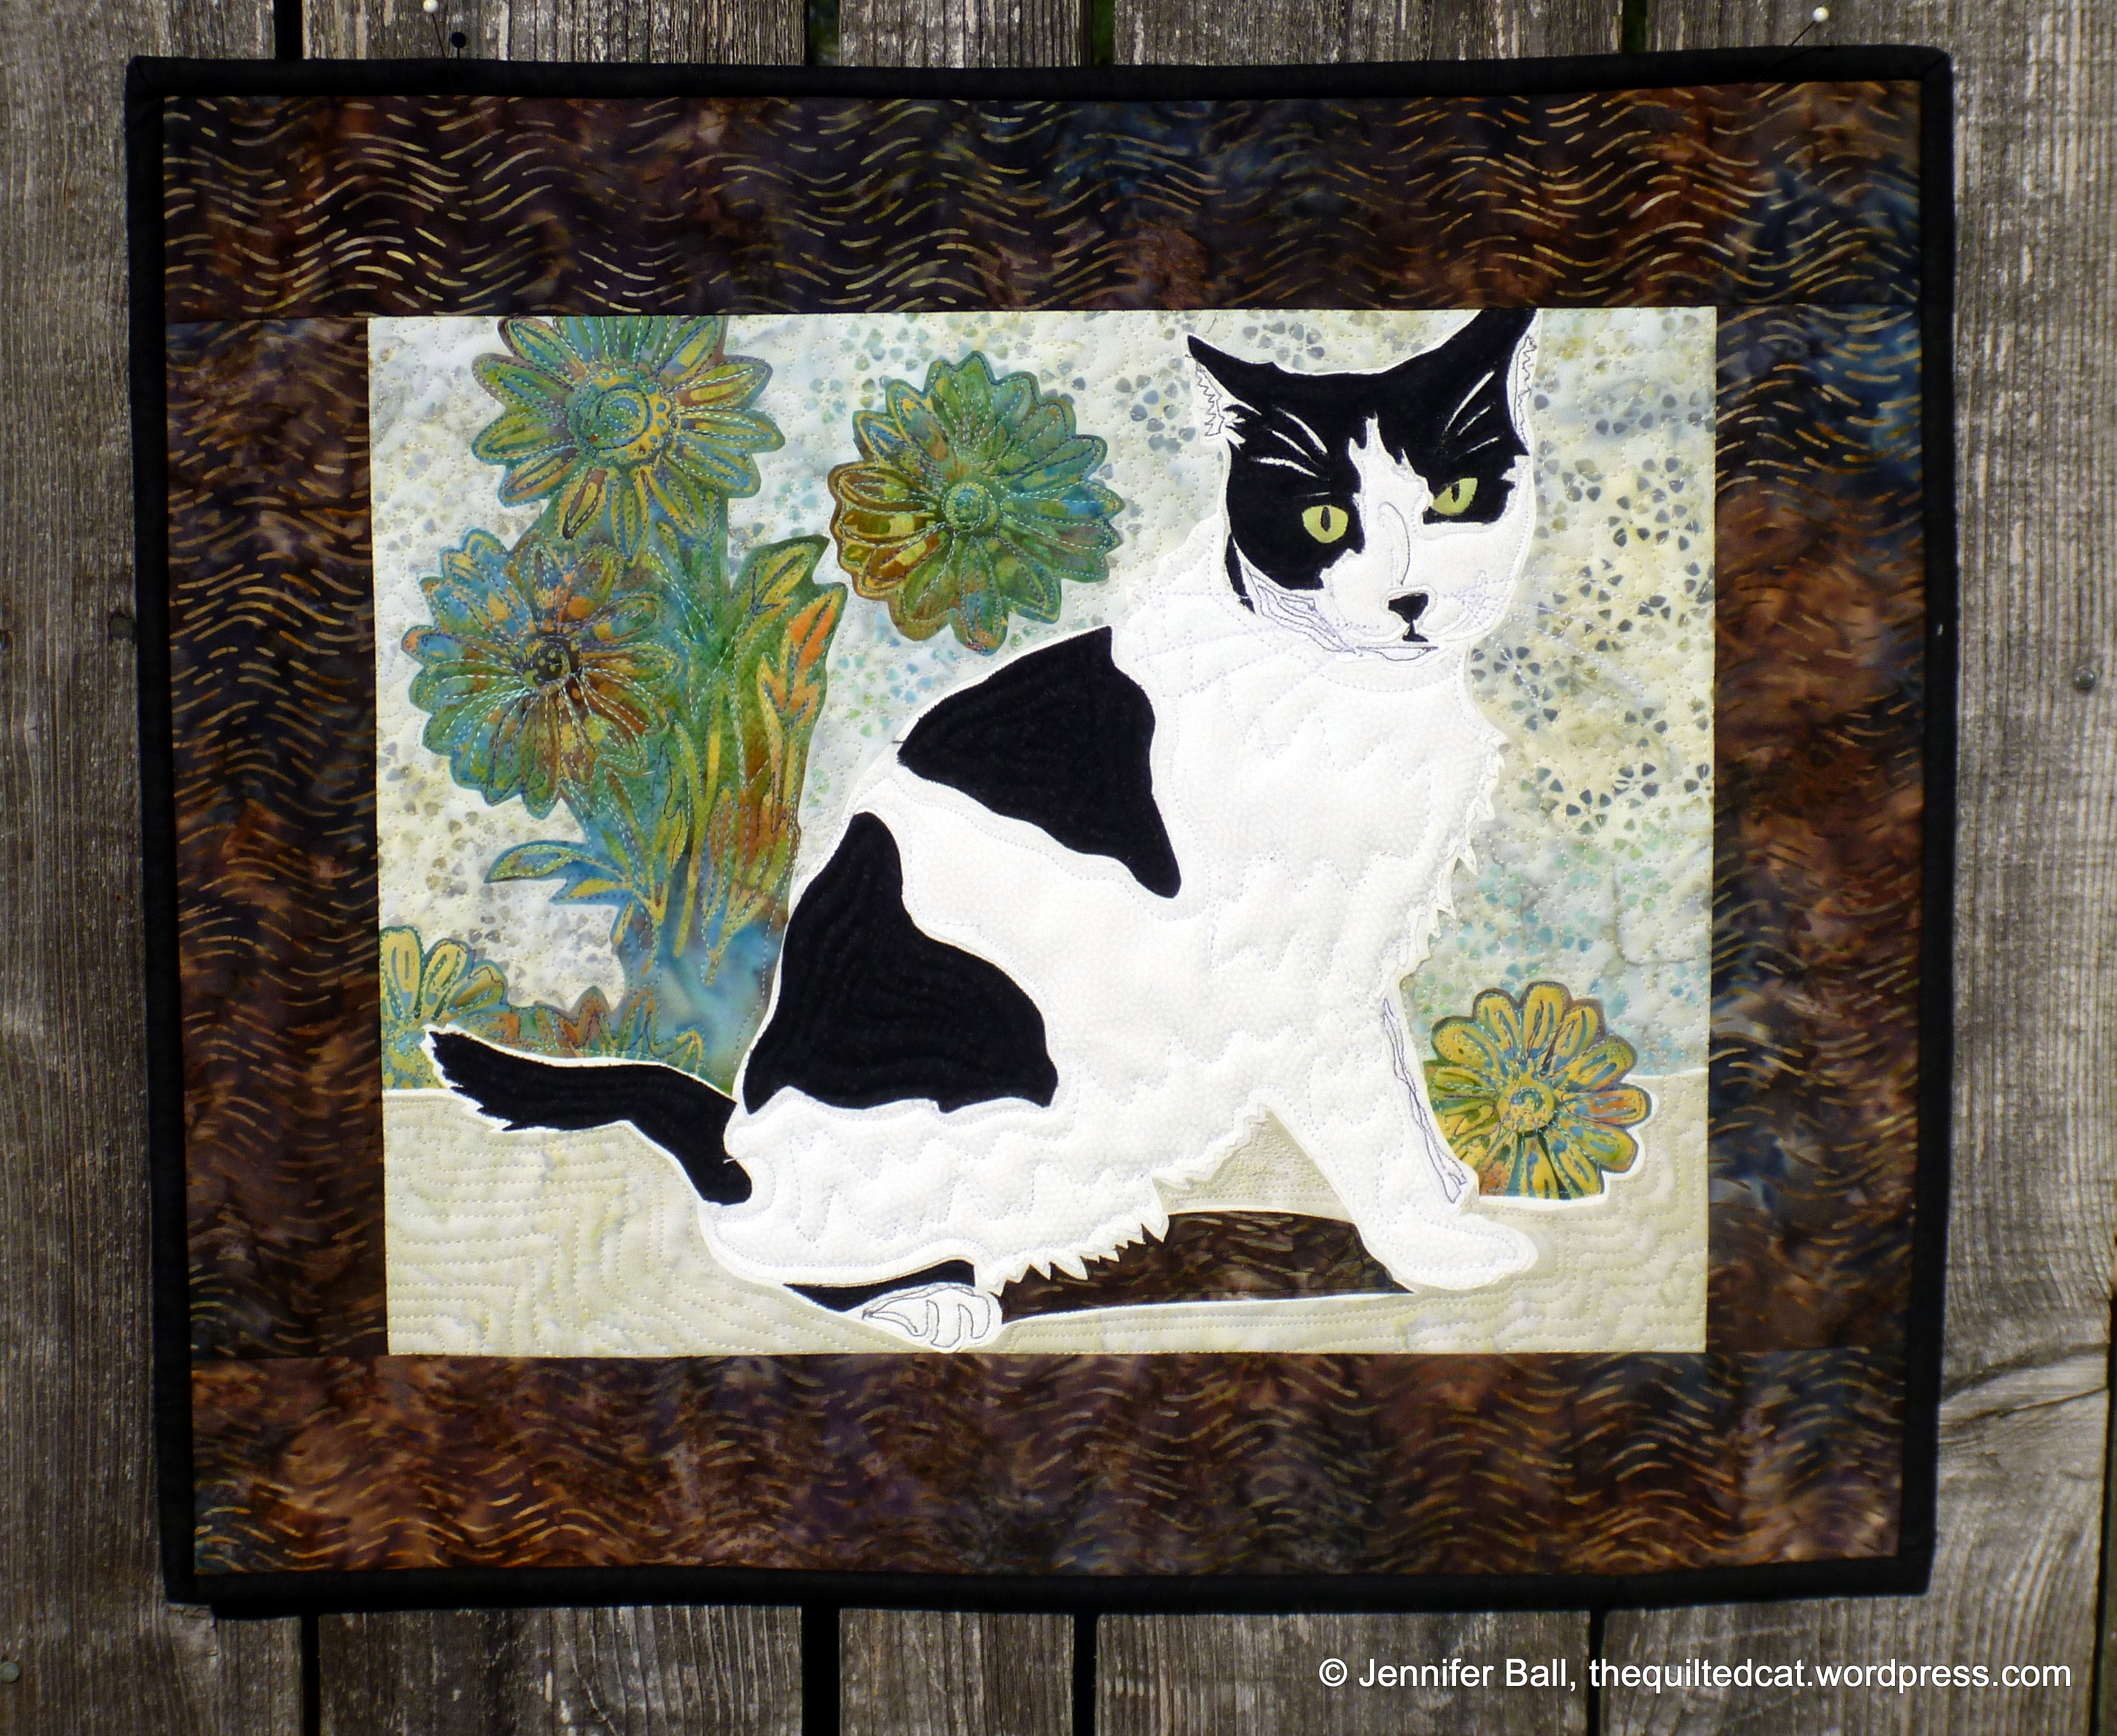
Quilted Cow Cat

Quilted Cow Cat

And a close-up of his face:

Cow Cat Face Close-Up

Cow Cat Face Close-Up

Isn’t he a handsome fellow? He usually “helps” me take outdoor photos of my quilty projects. Today, I think he was off enjoying the sunshine before the next rain (or snow) shower appears.

Thanks to my sister for this beautiful project. I have the perfect place to hang it!

Hope you enjoy the second quilted cat!
~Jennifer

Tiger, a Fabric Portrait of the Quilted Cat

The name of my blog, the Quilted Cat, comes from my love of quilting and from my chief fabric and quilt inspector, Tiger. He is my orange and white cat buddy who always gives the final paws up or paws down on projects. I thought it was time that I made a fabric portrait of Tiger by using one of my pictures of him and making my own appliqued pattern from it.

I started with a close-up photo of Tiger that really captures his focus and intensity during the quilt inspection process. I then created the appliqued portion of the quilt using Sue Olsen’s technique called “design to free-motion line.” This is a fun technique where you build your fabric image on a muslin foundation and then free-motion quilt using your regular domestic sewing machine.

Once I completed the applique portion, I decided to add an inner border of black to frame the design. Then, I added the batik dark blue as the outside border. To punch up the border and to draw the eye in towards the cat figure, I paper-pieced some corners using the same fabrics that I used in the cat. I used the 3-inch fan block from Carol Doak’s book, 50 Little Paper-Pieced Blocks.

Here is a look at the completed quilt:

Tiger, the Quilted Cat

Tiger, the Quilted Cat

Here are some close-ups of the free-motion quilting and the paper-pieced corner blocks:

Here’s my favorite picture of this quilt with Tiger inspecting it. I think he approves!

Tiger inspects his quilt

Tiger inspects his quilt

I’m really happy with how this project turned out. The technique allows you to be very creative with fabric choices and stitching so give it a try!

Happy quilting!
~Jennifer