I have a wonderful dog companion named Pepper. She is a great family dog, and she loves to go hiking and camping with us. She is 31% German Shepherd, and loves to patrol and keep a careful eye on anyone walking down the sidewalk. Her favorite thing in the world is to go for walks, followed by chasing squirrels. She does not have a keen interest in being a quilt inspector, unlike her cat brother, ha, ha!
Last year, I had the wonderful opportunity to take a 3-day class at the Stitchin Post in Sisters, Oregon with the amazing June Jaeger. The class focused on creating pet portraits out of fabric and fusible web. I decided that I really need a pet portrait quilt of my best girl!
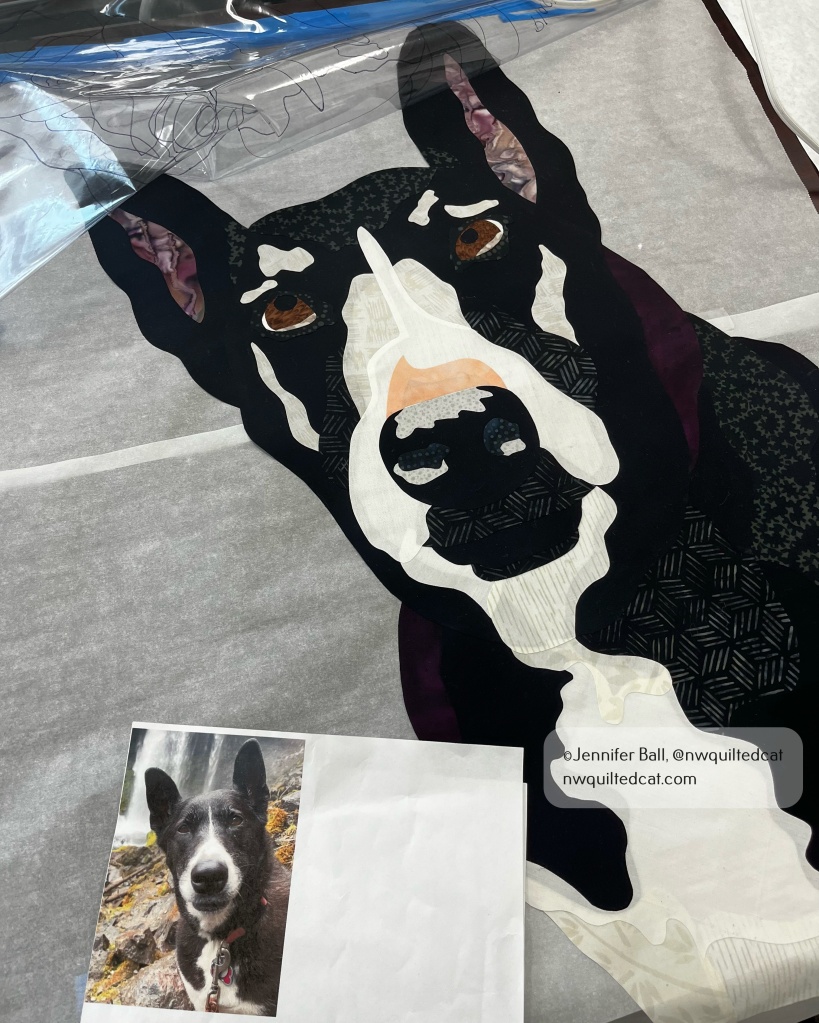
I had this wonderful photograph of Pepper that I snapped during one of our hikes to a waterfall. I was taking a picture of the waterfall when Pepper leaned her head over to see what I was doing while I snapped the pic. I then dubbed it: Pepper’s Selfie! It just captures her cute, inquisitive face so perfectly.
In the class, we prepared our patterns using our photos. We enlarged these photos and traced them in reverse so that the final quilt would be facing in the correct orientation. The colored pencils are matched with fabric swatches to create a code.

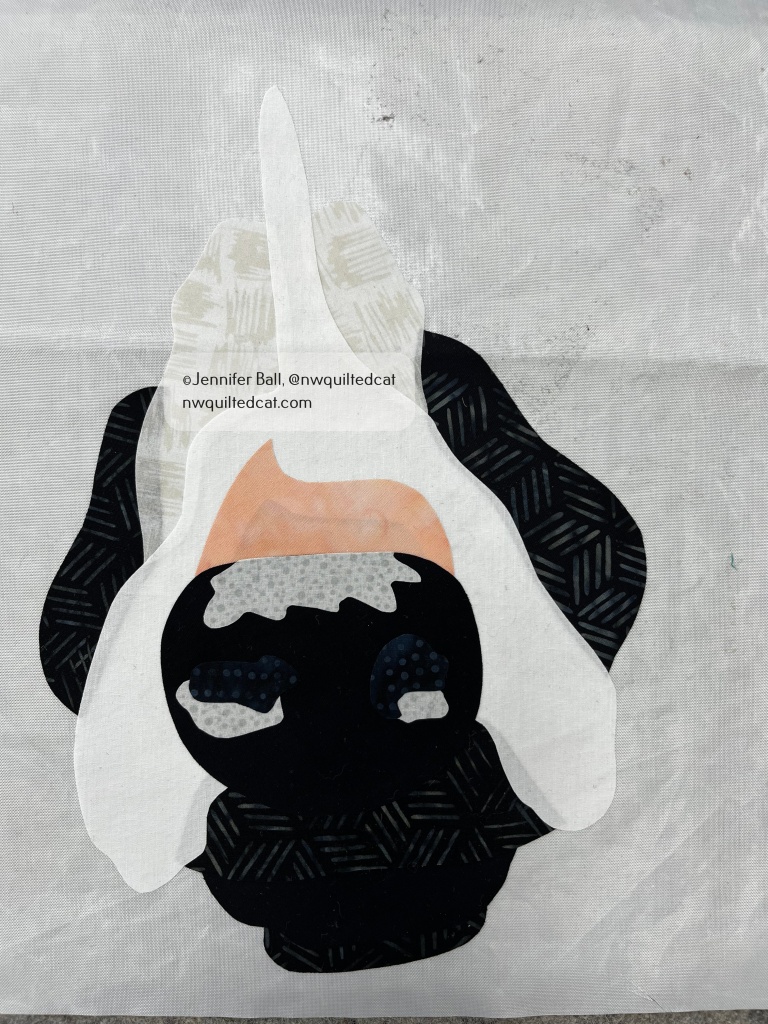
Once we had prepared our patterns and made our fabric swatch codes, we could then start creating our pet portraits. I started with Pepper’s nose. This is a layering technique to give the perspective of the nose being closest to the viewer while the cheeks are farther away. You could almost envision that fabric nose sniffing you!

The fabric layering process continued throughout the class. My pet portrait featured a close-up of Pepper’s face so I didn’t have details such as paws and tails to add. Due to this cropped photo of Pepper, I was able to get my fabric collage completed in the 3-day class. If I had used a full body photograph of her, I probably would have needed a couple of more days at home to finish the portrait. I only used batik fabrics in this quilt because it doesn’t fray like regular quilting cotton fabrics.

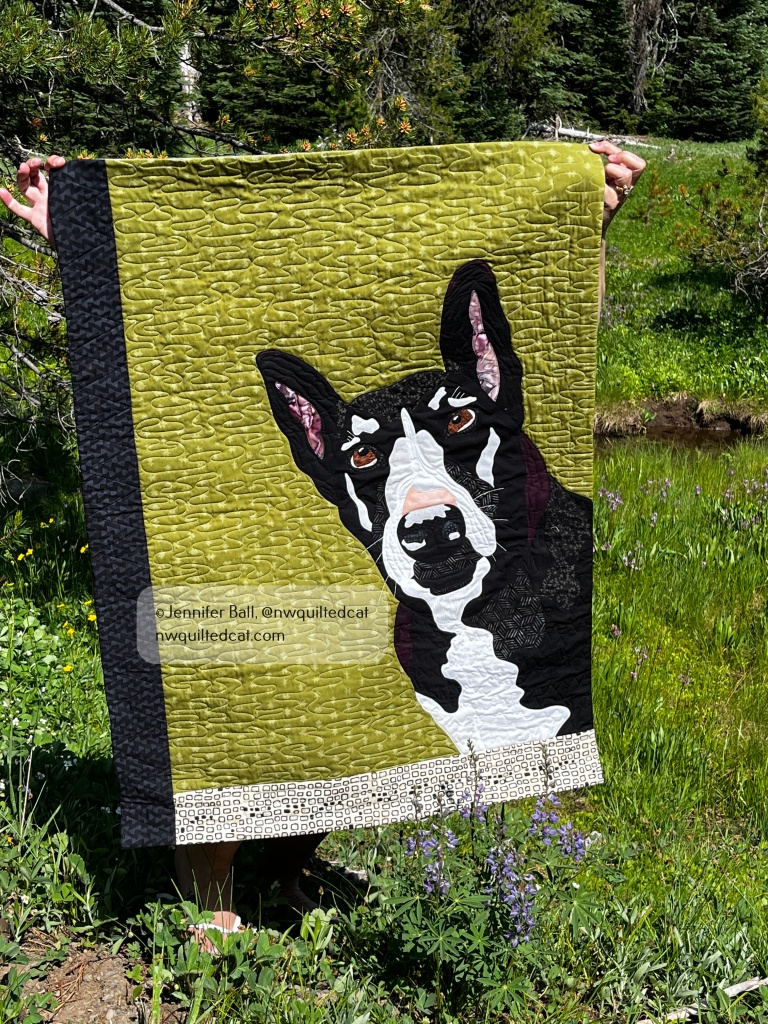
After class, I carefully took my pet portrait home and thought about how to finish it. I added a black border to the long side opposite of Pepper for balance, and a fun cream batik for the bottom border.
I secured the edges of all the appliqued pieces using my regular Bernina and color matched the thread to the fabrics. I stitched in details such as whiskers and added sparkles to her eyes. Once I had finished, I then quilted the background on my HQ Avante using Glide thread in Celery.

I really enjoyed making this quilt, and I definitely want to take this class again. There are so many invaluable techniques that June teaches in this class, and I highly recommend it!
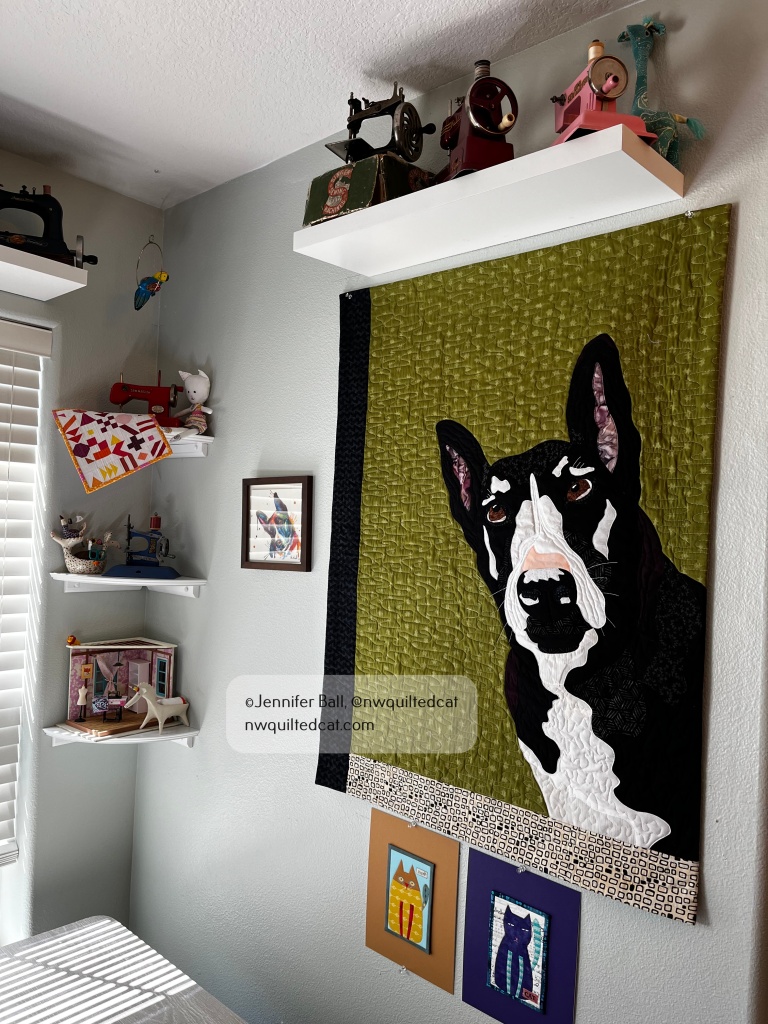
Here’s a look at where Pepper’s Selfie quilt hangs in my sewing room. When I sit down to sew, my good girl looks down upon me. Aww, how sweet!

Happy quilting!
-Jen
