A Little Spring Birdie Quilt

For Christmas gifts this year, I focused on giving handmade items such as holiday soaps or quilted wall-hangings.

I wanted to make a fun bird themed wall-hanging for my sister in bright, cheerful colors. Why? Because she lives in snow country, and I thought that a little taste of early spring would be a welcome addition to her craft room.

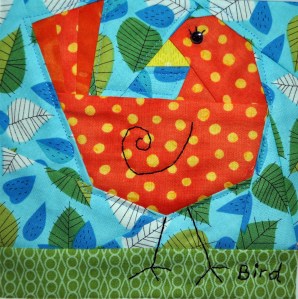
I found a cute little paper-pieced birdie pattern by bcheri on Etsy. I made (1) 6-inch birdie block, but the seller does give you instructions for reducing or enlarging the block.

Once I had finished the bird block, I added an inner white (Kona cotton) border and then an outer border from a green leaf print. I added some hand embroidery details on the wing, the legs, the eyelashes, and added the word “Bird” to the lower right corner of the “grass” area.

I did simple quilting on my Bernina and then added a small black button for the eye. I used solid black (Kona cotton) for the binding.

Here’s a look at the finished Birdie wall-hanging:

Bird Wall-Hanging

Bird Wall-Hanging

Here’s a close-up look at the bird block:
Bird Block Close-Up

Bird Block Close-Up

I found some great decorative wire hangers for little quilts online at Pumpkinvine Corner. I highly recommend this retailer because they shipped the hangers fast and adjusted the shipping costs after the sale to reflect the actual shipping cost! I will definitely order more hangers from this store for future projects.

I hope you enjoyed your holiday!

Happy crafting,
~Jennifer~

Holiday Cold Process Soap Batch #2 – Gingerbread Men!!

For my second batch of holiday soaps, I decided to use a fun gingerbread man mold. I started with a single batch of soap using a gingerbread fragrance – absolutely delicious! My house smells so good while these soaps are sitting on the rack to cure.

I went ahead and made a second batch using goat milk and a light honey and green tea fragrance. I did make a batch of these earlier and talked about them here, but needed a few more to fill out some baskets.

Gingerbread Holiday Soaps

Gingerbread Holiday Soaps

For the final touch, I added some sparkly ribbon to dress up the gingerbread men!

I think these soaps will add the perfect accent to my holiday soap baskets.

Enjoy!
~Jennifer~

Holiday Cold Process Soap Batch #1

I enjoy making cold process soap because it is a very creative process (much like quilting). I can control the additives including the fragrances and colorings. For the holiday, I’ve created a few batches of different soaps to give as gifts.

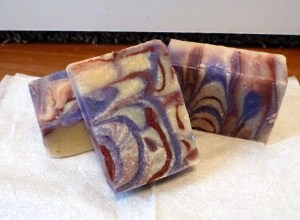
For this first batch, I used 2 different colors to swirl the tops. I used an ultramarine oxide for the purple color and some clay for the red color. I think the swirls are very pretty!

Plumeria Soap

Plumeria Soap

For the fragrance, I decided to go with one of my mom’s favorite ones – plumeria! It has a light, sweet scent that is not too overpowering and reminds you of gentle Hawaiian breezes.

Each batch of soap takes an hour or so to “cook” but then requires about 1 month to cure. The curing process really hardens the soap so that it will last much longer in the shower or bath.

Stay tuned for the second soap batch!

Happy soaping!
~Jennifer~

Shooting Star Block

I picked up some fun blue and white snowflake fabric by Maywood Studio for my stash a few months ago. I didn’t have a particular project in mind, but I really liked how these fabrics looked together:

Blue & White Snowflake Fabrics by Maywood Studio

Blue & White Snowflake Fabrics by Maywood Studio

This past week, I had some time in the evenings to put this fabric to good use by creating a Shooting Star block. This block is available for free, but only to members of Carol Doak’s online group here.

I decided to make 4-inch individual blocks. The complete block uses 4 of these smaller blocks so it finishes at 8 inches by 8 inches. A pretty good size to use in a quilt or other project!

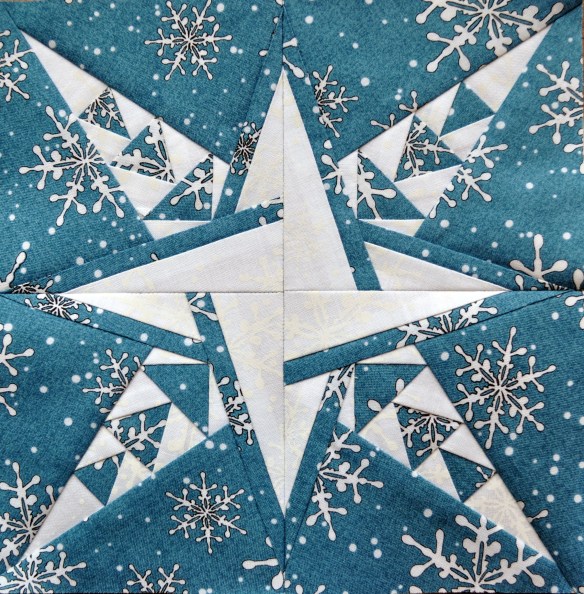
Here’s a look at my completed block:

Completed Shooting Star Block

Completed Shooting Star Block

Isn’t it a gorgeous block for winter? I’m thinking of making some more of these blocks for a winter-themed quilt that I can display past the Christmas season.

Of course, one of my little quilting kitties just couldn’t resist getting his paws onto this block. Perhaps I should make a snowflake theme bed for him?

Quilting Cat with Shooting Star

Quilting Cat with Shooting Star

What projects would you make with this fun block?

Happy paper piecing!
~Jennifer~

Primitive Santa Quilted Christmas Gift

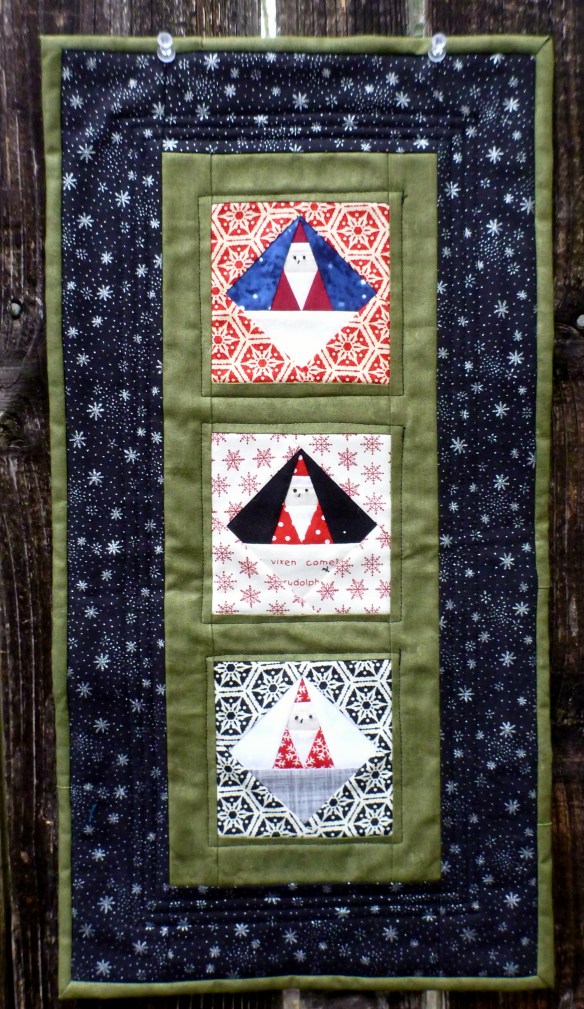
Continuing on my Santa and mini-quilt kick, I’ve created another simple project using Carol Doak’s pattern. The Santa block is a small, 3-inch paper-pieced pattern that you can obtain if you join her online Yahoo group.

I really like this little pattern because it comes together very quickly and you can use scraps from your stash. I made this particular project as a Christmas gift for my mom. She has one Christmas tree that she decorates each year just using Santa ornaments! (Mom, if you’re reading this, just act surprised when you open this gift!).

I started out with 5 little Santas, but decided to use just 3 of them.

Here are the 3 little Santas up-close:

Primitive Santa 1

Primitive Santa 1

Santa 1 has a dark blue background with a white snowflake print in the foreground. The dark blue sky has little white dots for snowflakes.


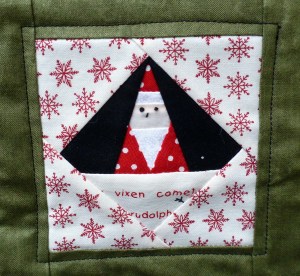
Primitive Santa 2

Primitive Santa 2

Santa 2 has a black background with a printed word foreground featuring names of Santa’s reindeer. The black sky also has white snowflake dots, but I didn’t fussy cut it well enough to display them!


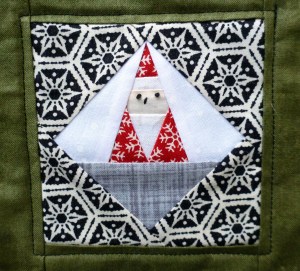
Primitive Santa 3

Primitive Santa 3

Santa 3 has a white-on-white background with a grey foreground. The white background has white snowflake dots, but my camera didn’t pick them up very well.


All the Santas have embroidered eyes and noses using black DMC embroidery floss.

I then added a 1.5 inch inner green border around all 3 Santas. The outside border is black with silver snowflakes and measures approximately 2.5 inches. The binding is the same green fabric as the inner border. I used my regular sewing machine to stitch around each Santa block in the green border and to stitch around the 3 blocks in the outer border.

Completed 3 Primitive Santas

Completed 3 Primitive Santas

The backing fabric is also a black snowflake print but features white snowflakes rather than the sparkly, silver ones. I need to save the sparkly fabric for other Christmas projects!

Since I don’t have an embroidery machine, I wasn’t sure what to do for a quilt label. Normally, I make labels at my mom’s house, but that would give away the surprise! Instead, I used another one of Carol’s little 3-inch blocks, a snowman, to make the label. Check at my earlier post here on the snowmen.

I hand-embroidered my wording onto the snowman block and then added a border using the backing fabric. I then stitched it down to the backing.

Here’s the whole back:

Primitive Santa Backing

Primitive Santa Backing

Here’s a close-up of the snowman label:

Snowman Label

Snowman Label

Happy Paper Piecing!
~Jennifer~

Adding Santa to the Mantel

About 6 or 7 years ago, I purchased an adorable little Christmas pattern called Straddling Santa by The Wooden Bear. In my excitement, I also purchased some great fabrics to go with the pattern. Then, I got home and the pattern and fabric went into my to-do pile. Sound familiar?

I did finally make this little wall hanging about 3 years ago and have used it to decorate my fireplace mantel each year. It adds just the right touch of “Santa” to the space, along side our stockings.

The finished project is about 19.5 inches by 23.5 inches and you can easily make it with scraps from your stash. The largest piece of fabric needed is 3/4 yard for the backing.

Here’s a look at Straddling Santa:

Straddling Santa Wall Quilt

Straddling Santa Wall Quilt

I used 2 little black buttons for the eyes and 1 red button along his coat. I used my Bernina to do some basic free-motion quilting in the cream background blocks and in the red border.

I have one more fun little Christmas mini quilt that I started several years ago to finish. All I need to do is the quilting and binding! It’s always a great feeling to finish up these projects.

Enjoy!
~Jennifer~

Kilauea Kreations Quilt Shop on the Big Island

Over the Thanksgiving holiday week, I traveled to the Big Island of Hawai’i with my family. I had planned to visit a few quilt and fabric stores, but only had time to visit a couple of them.

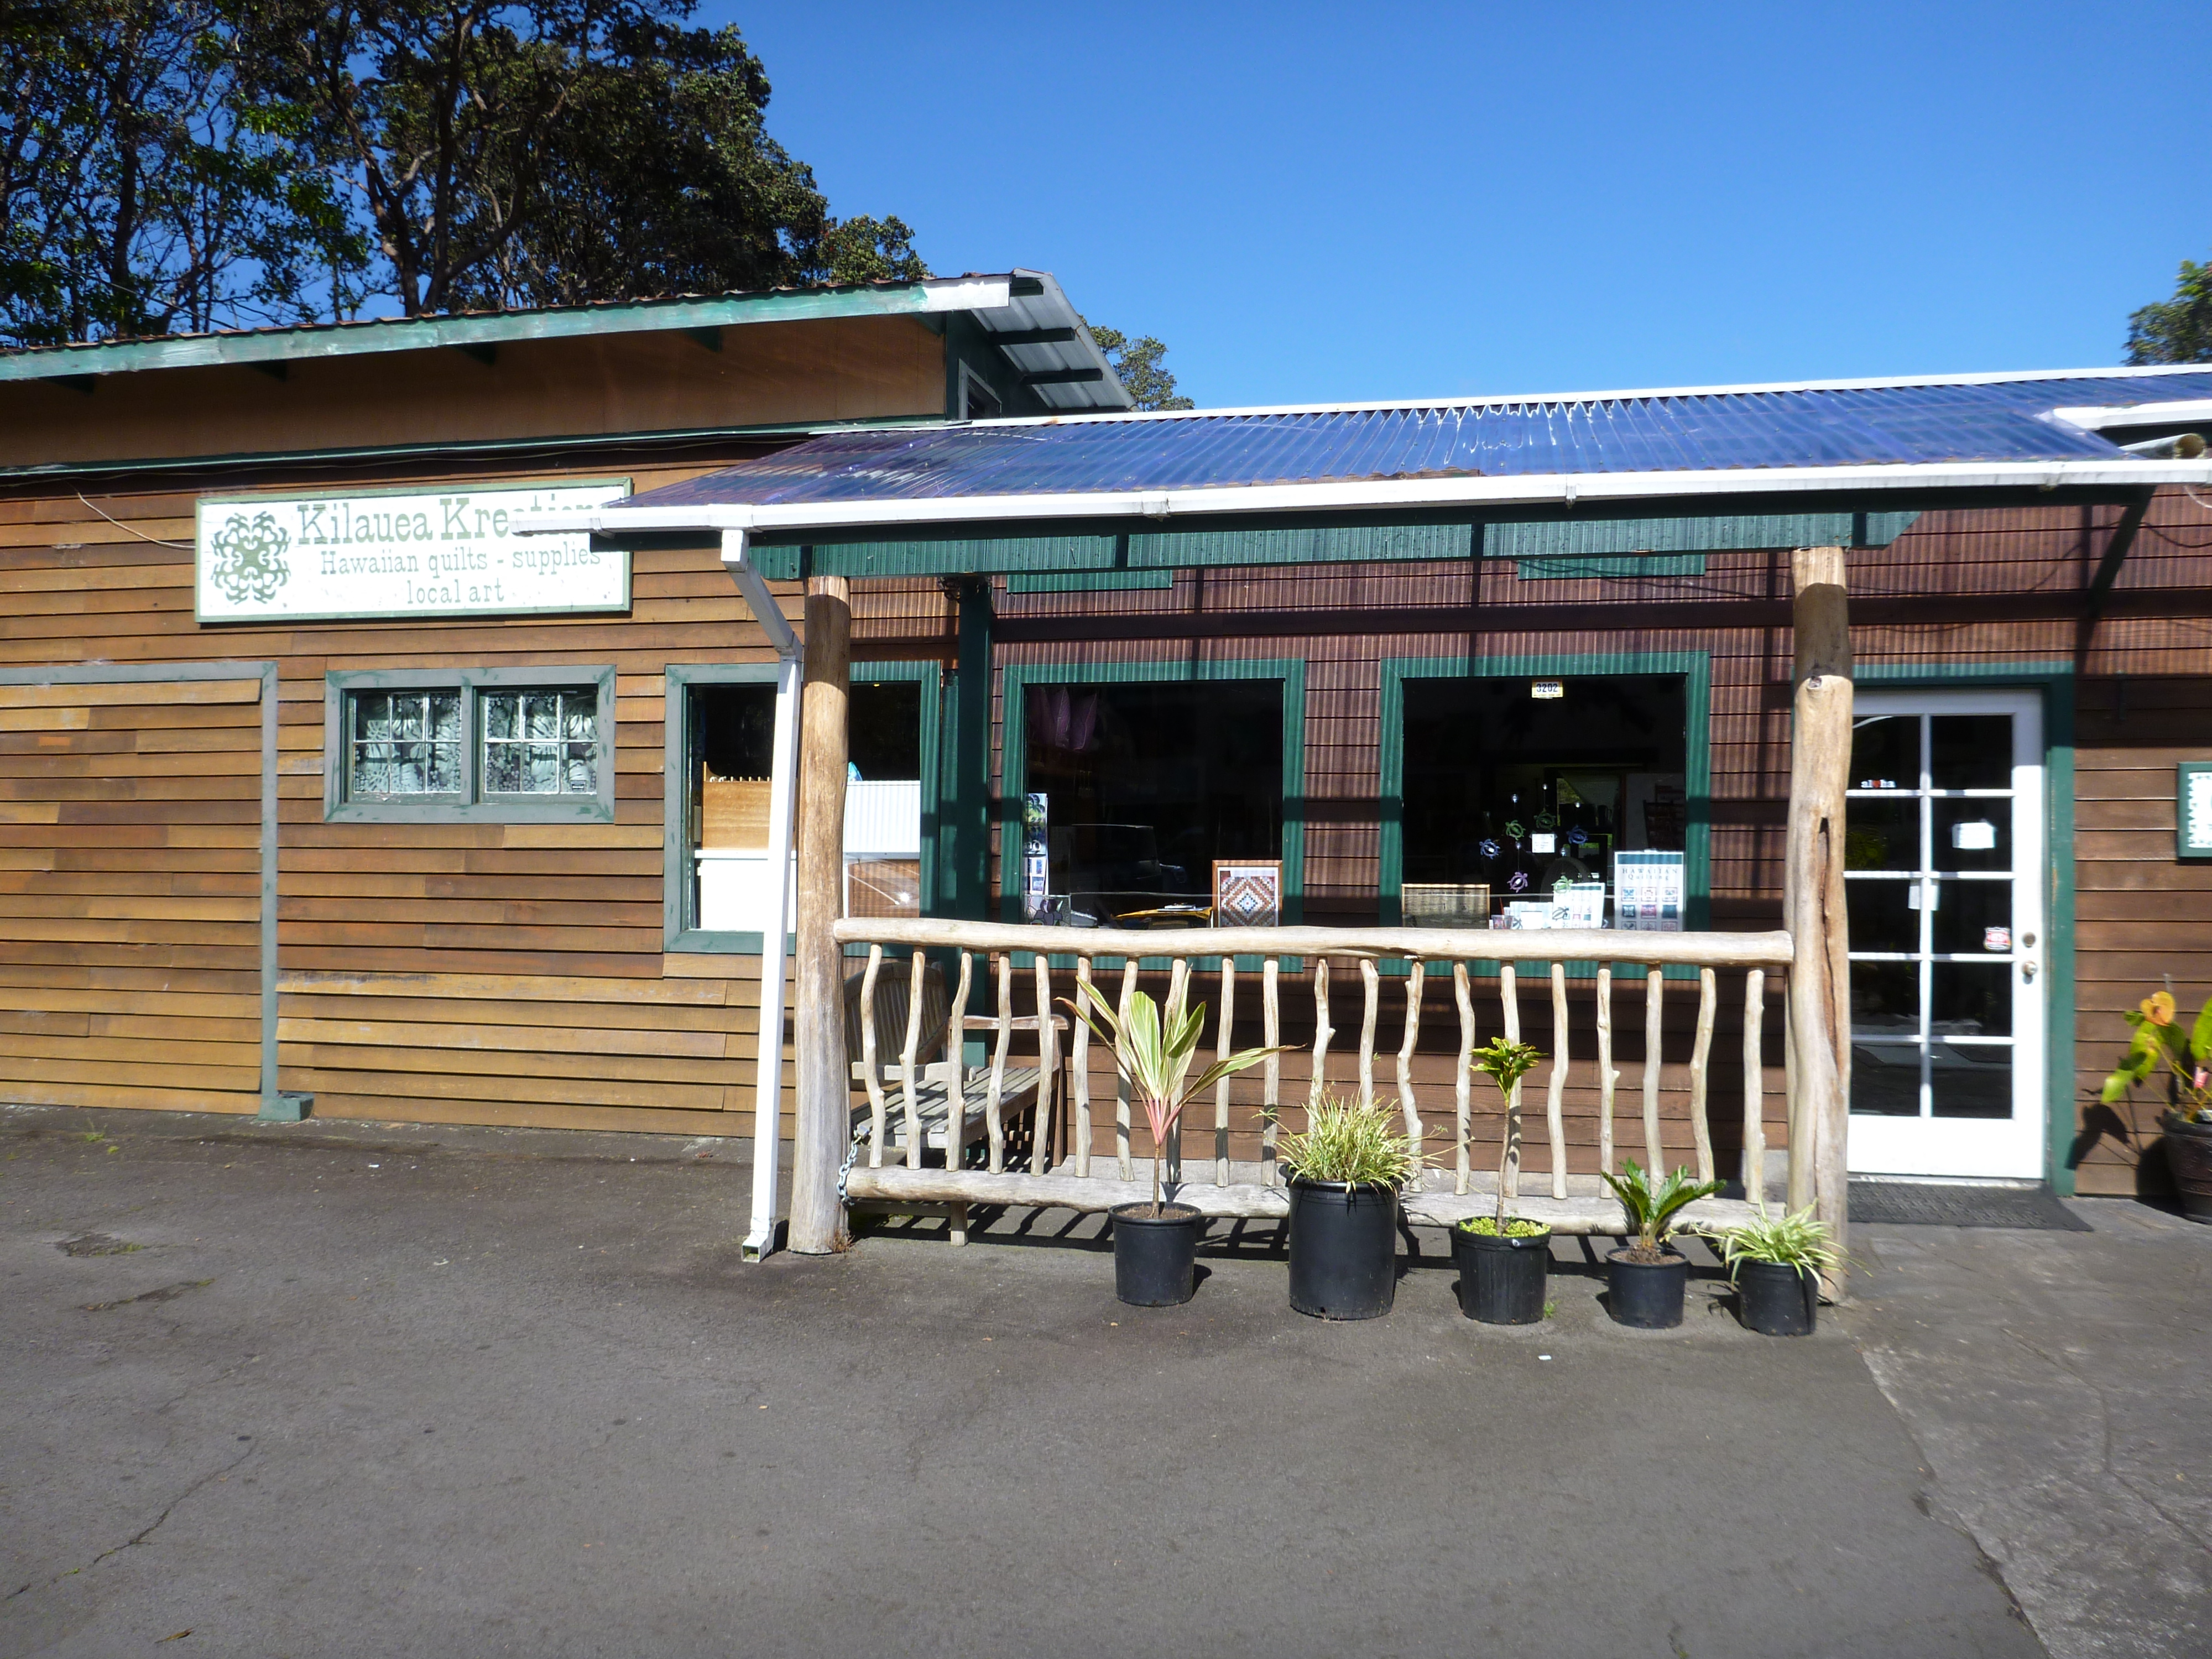
One quilt store that I visited is Kilauea Kreations in Volcano Village, very near to the Hawai’i Volcanoes National Park.

This little quilt store is tucked away and can be easy to miss in the little town. In addition to quilts, there are a number of other hand-crafted items that you can buy here. However, my main goal was fabric!

Kilauea Kreations Quilt Shop

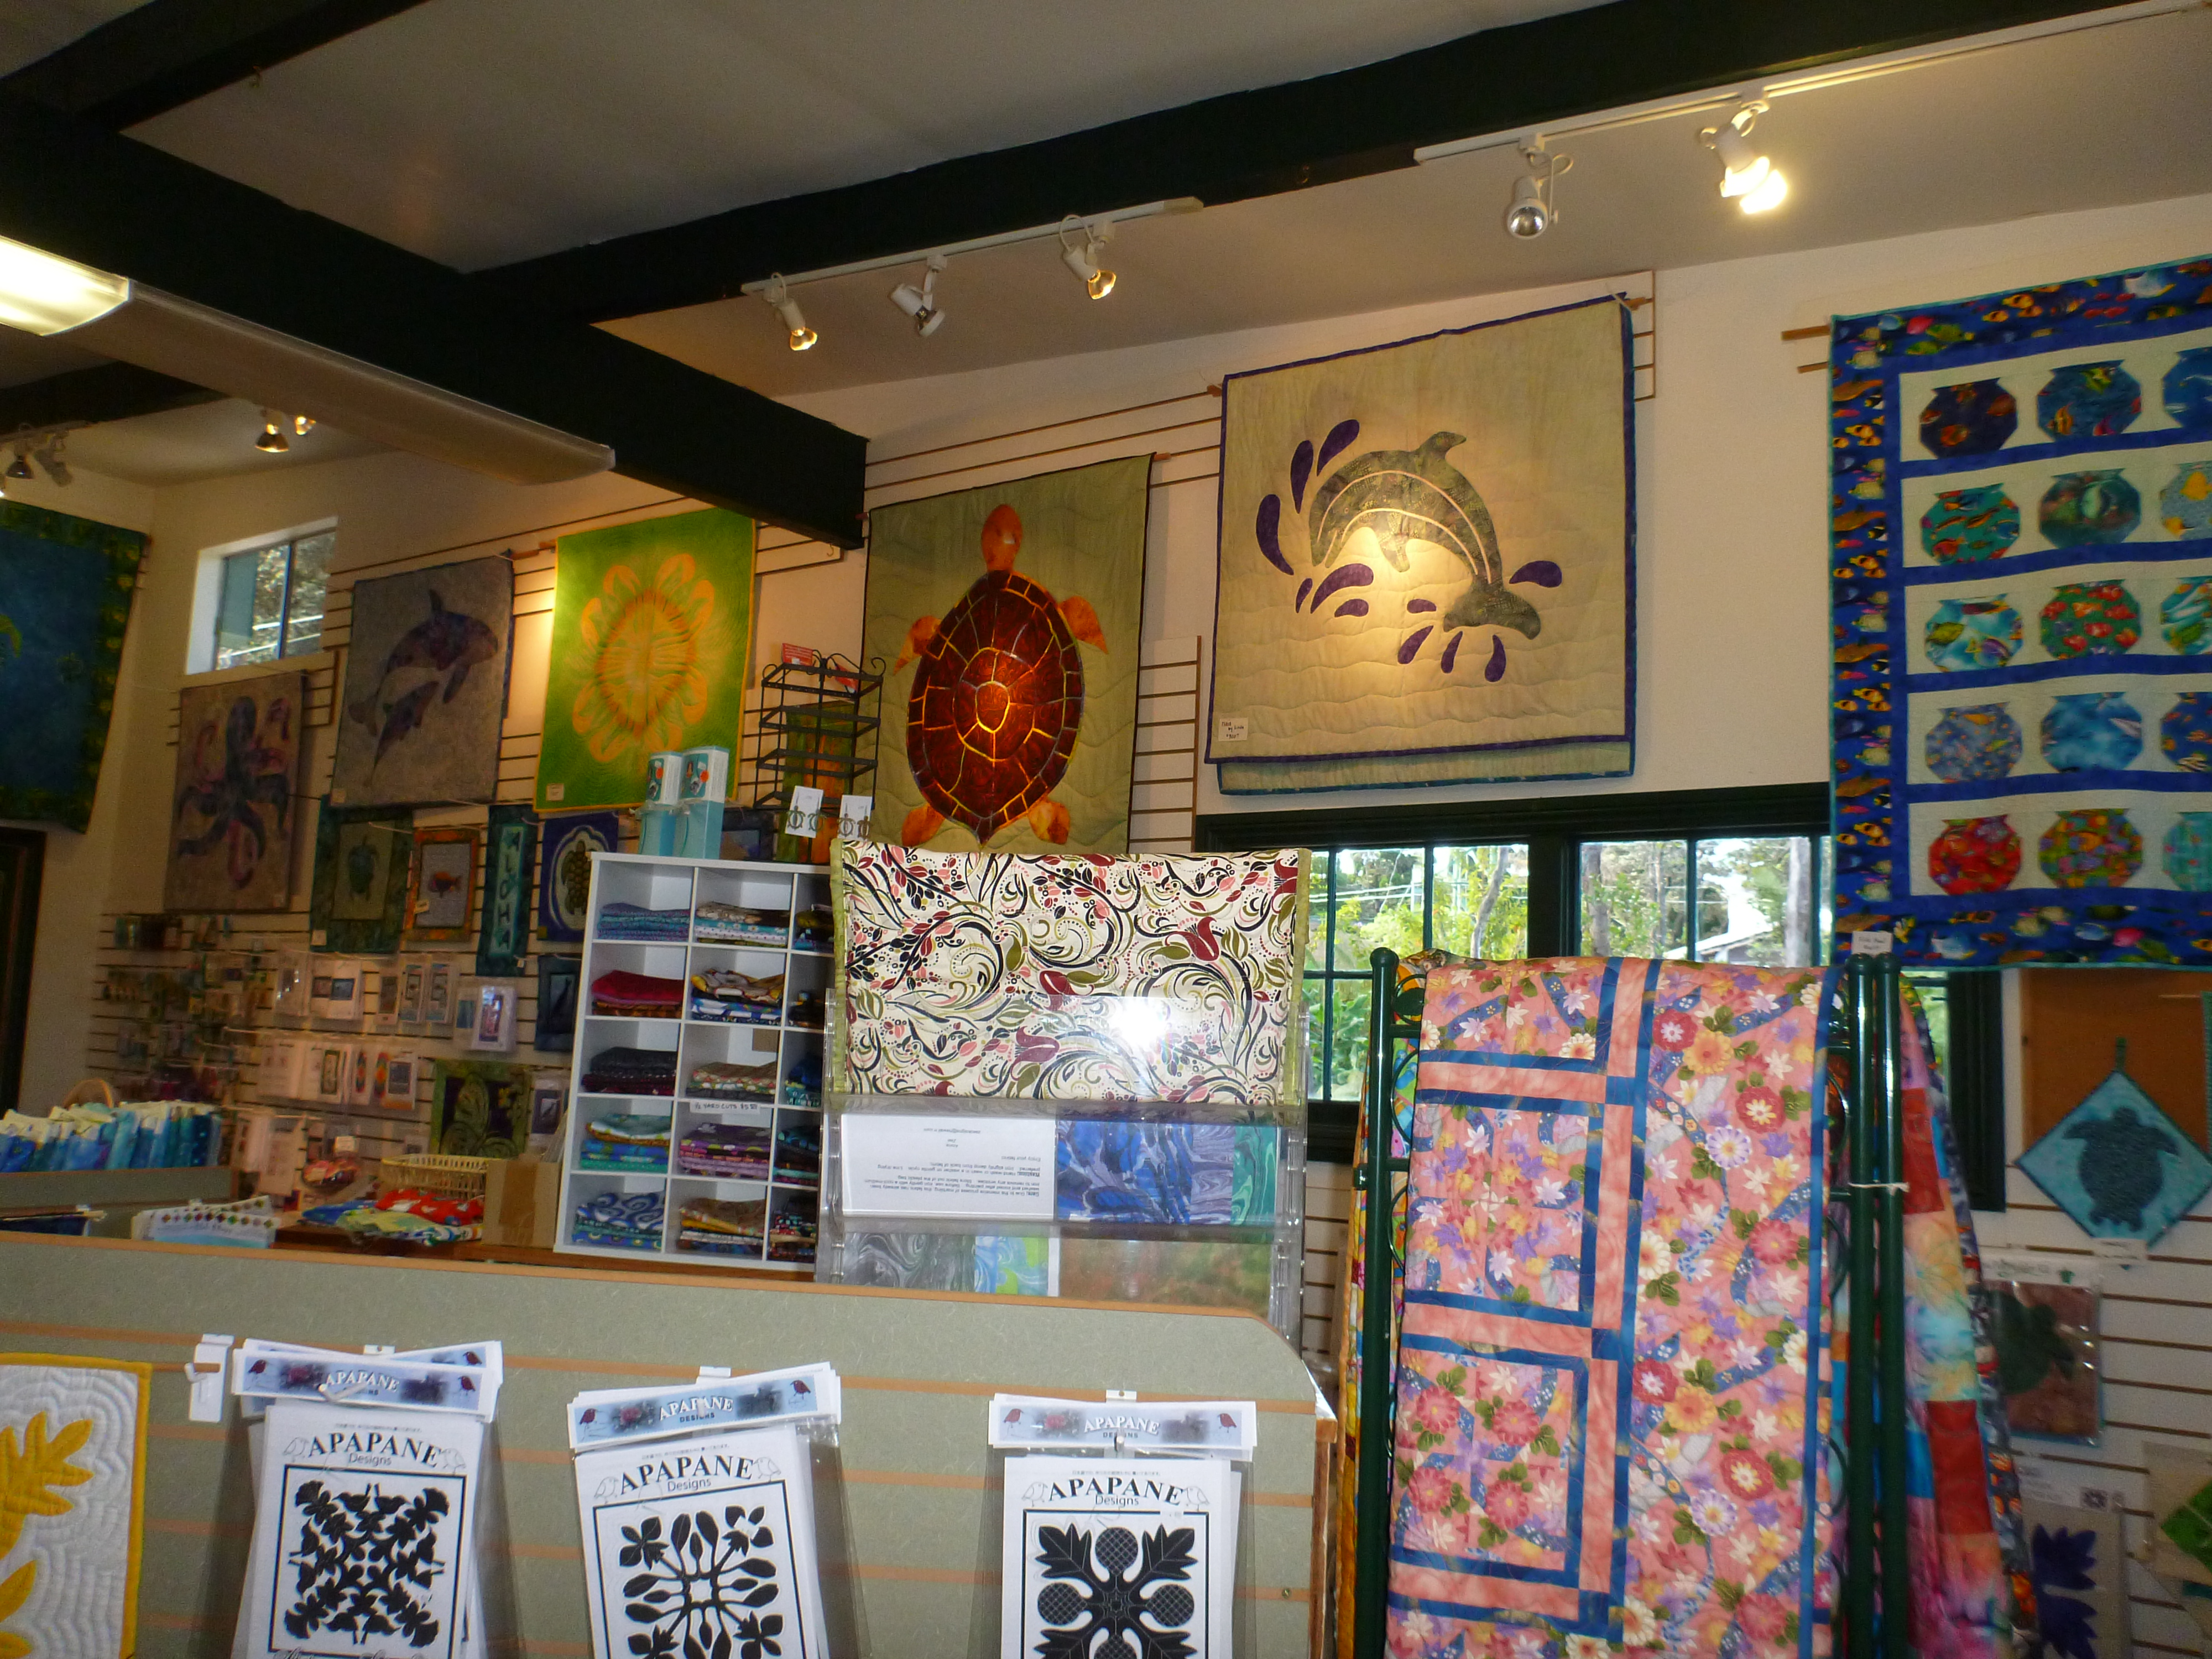
Inside the store, I found a nice selection of batik fabrics. I had a hard time narrowing my fabric choices down to just a few. I picked up 2 fabrics at 1-yard each and 4 different fat quarters. I definitely wanted more but hubby and son were waiting for me!

The store also had a selection of Hawaiian themed quilt patterns and blocks as well as finished quilted projects. I picked up a Turtle Walk pattern for myself since I enjoyed seeing the green sea turtles (honu) on the beach earlier in the week. It’s a small wall-hanging, about 12 inches by 24 inches finished. I’ll write another post when I finish it (hopefully soon).

Inside Kilauea Kreations

The lady at the cutting counter/check-out area was so friendly and helpful! I definitely recommend stopping by this quilt shop if you are visiting the Big Island.

Of course, what trip to Volcano Village would be complete without a look at the main attraction – the Kilauea Caldera! Here’s a great shot that we took at the Jaggar Museum on our last evening. We used a wide-angle lens and a long exposure to capture both the glow from the lava lake as well as a few early evening stars!

Kilauea Caldera during Early Evening

Hope you had a Happy Thanksgiving!
~ Jennifer ~

Snowmen and Santas, Part II

In this earlier post, I started working on a fun little mini quilt using 3-inch paper pieced blocks designed by Carol Doak.

I assembled the project and put the finishing touches on it this week.

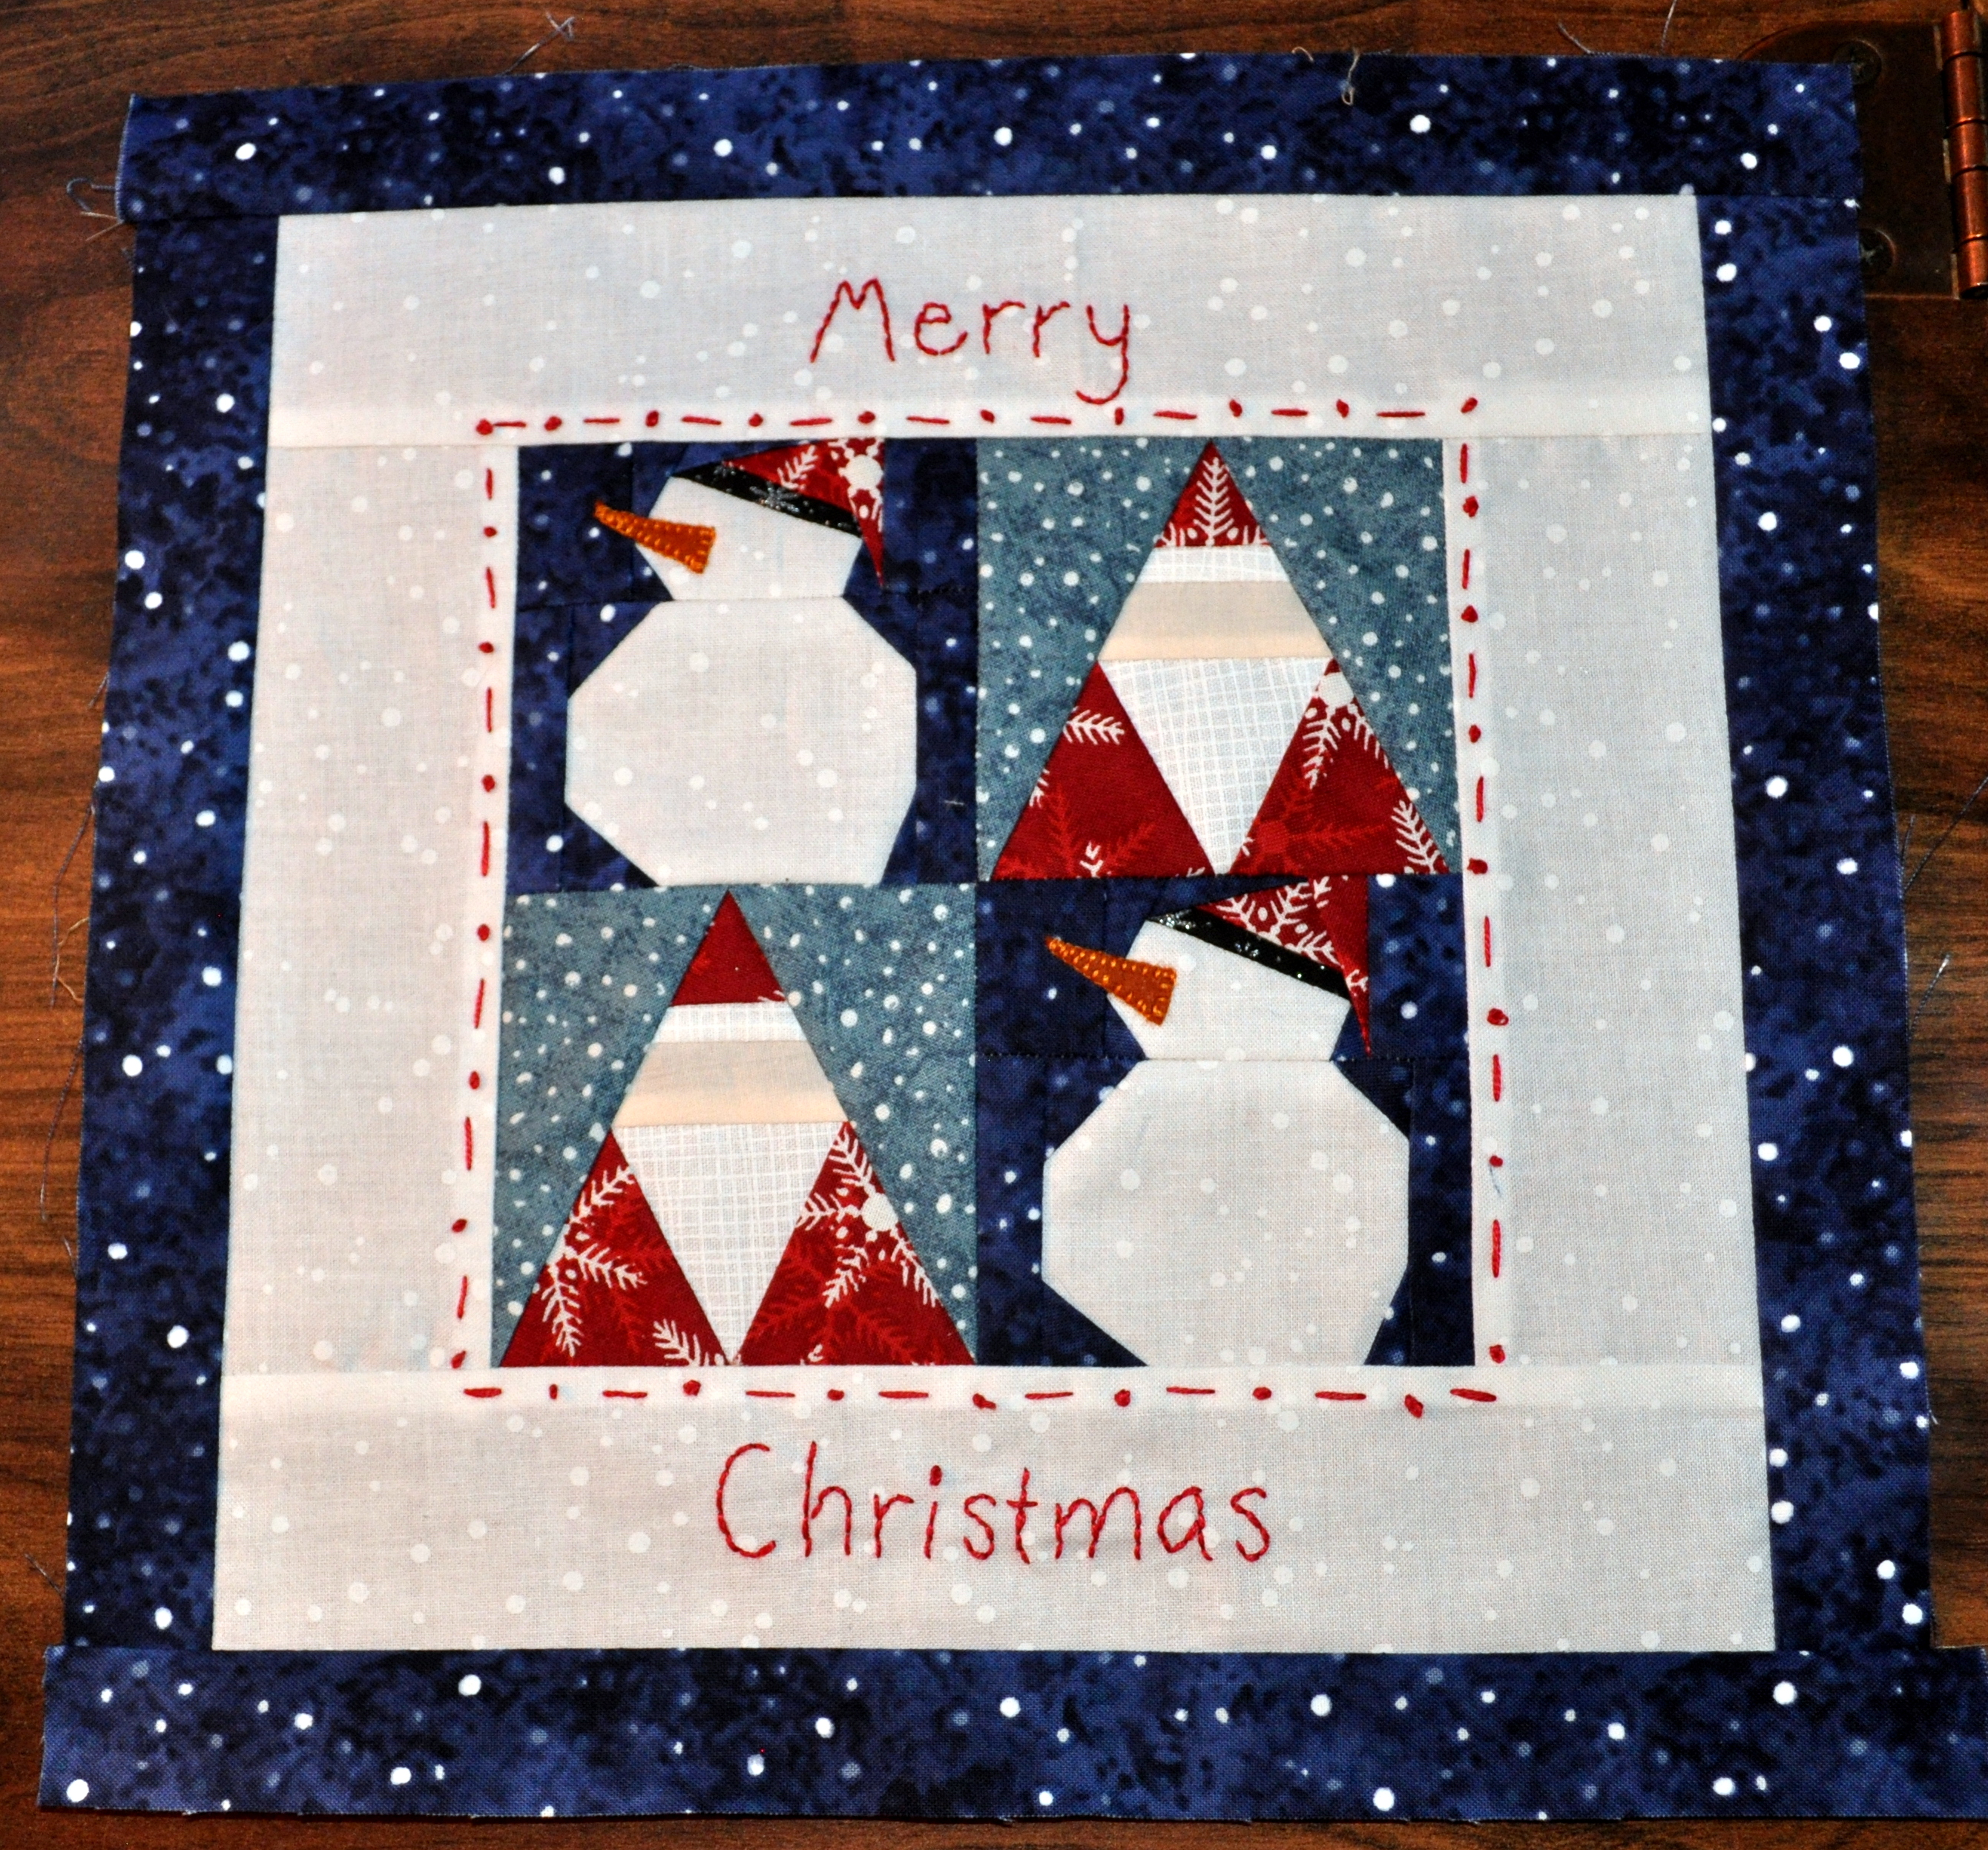
First, I used 2 of the snowmen blocks and 2 of the Santa blocks and alternated them to make a little square.

Alternating Snowmen and Santa Blocks

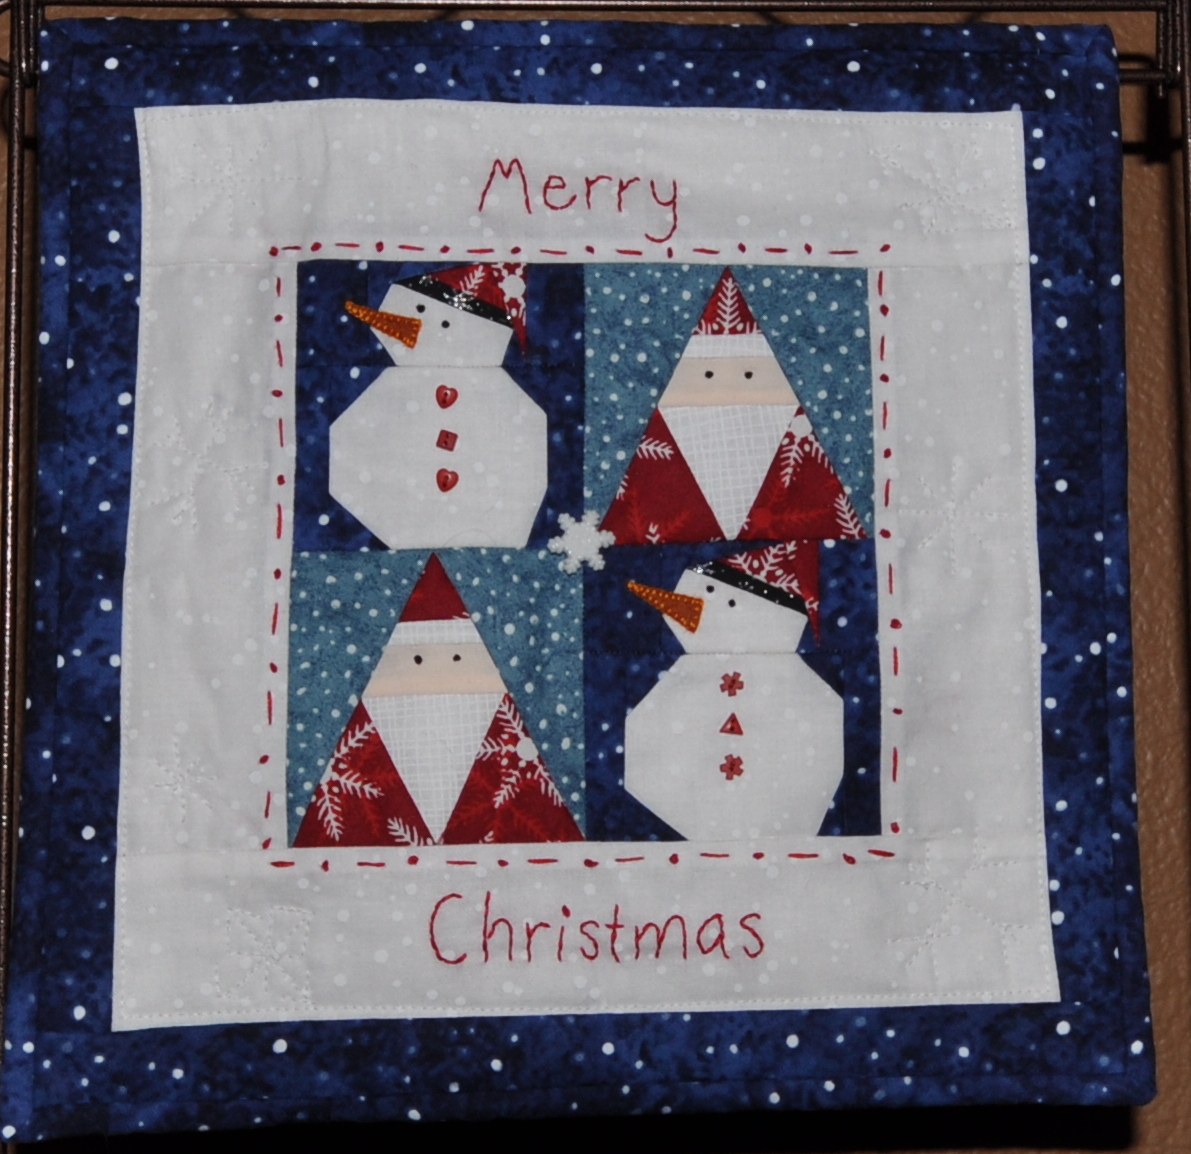
Next, I decided to add a larger white print border to the blocks so that it resembled a window frame. The project needed a little more pizzazz, so I hand-embroidered french knots and dashes around the blocks and then added the words “Merry” and “Christmas.” A small darker blue outer border completed the look:

Snowman and Santa Mini Quilt

I used my regular Bernina to do some light quilting – mostly a few free-hand snowflakes around the inner white border. I used brown embroidery floss to make french knots for eyes on both the snowmen and the Santas. I used mini red buttons on each snowman and a larger white snowflake button in the middle.

To finish it off, I used the same dark blue print for the binding and stitched it down.

The mini quilt is about 11 inches by 11 inches finished and fits perfectly into a little table top stand:

Completed Snowmen and Santa Mini Quilt

I’m pretty happy with the end result, but I think I’ll add little embroidered noses to the Santa blocks to separate the face from the beard a bit more.

Here’s a closeup of the finished project:

Snowmen and Santas Close-Up

I hope you enjoyed following this quick and easy holiday project!

Happy paper piecing!
~Jennifer

November Mystery BOM

I finished the November mystery block-of-the-month for Carol Doak’s Yahoo group. You can read about my earlier BOMs here.

This month’s block came together pretty well for me, and I really like the star pattern in the middle of the block.

During my lunch break, there were a few small rays of sunshine poking through, so I decided to take a picture of the block outside.

Here’s a closeup:

November Mystery BOM

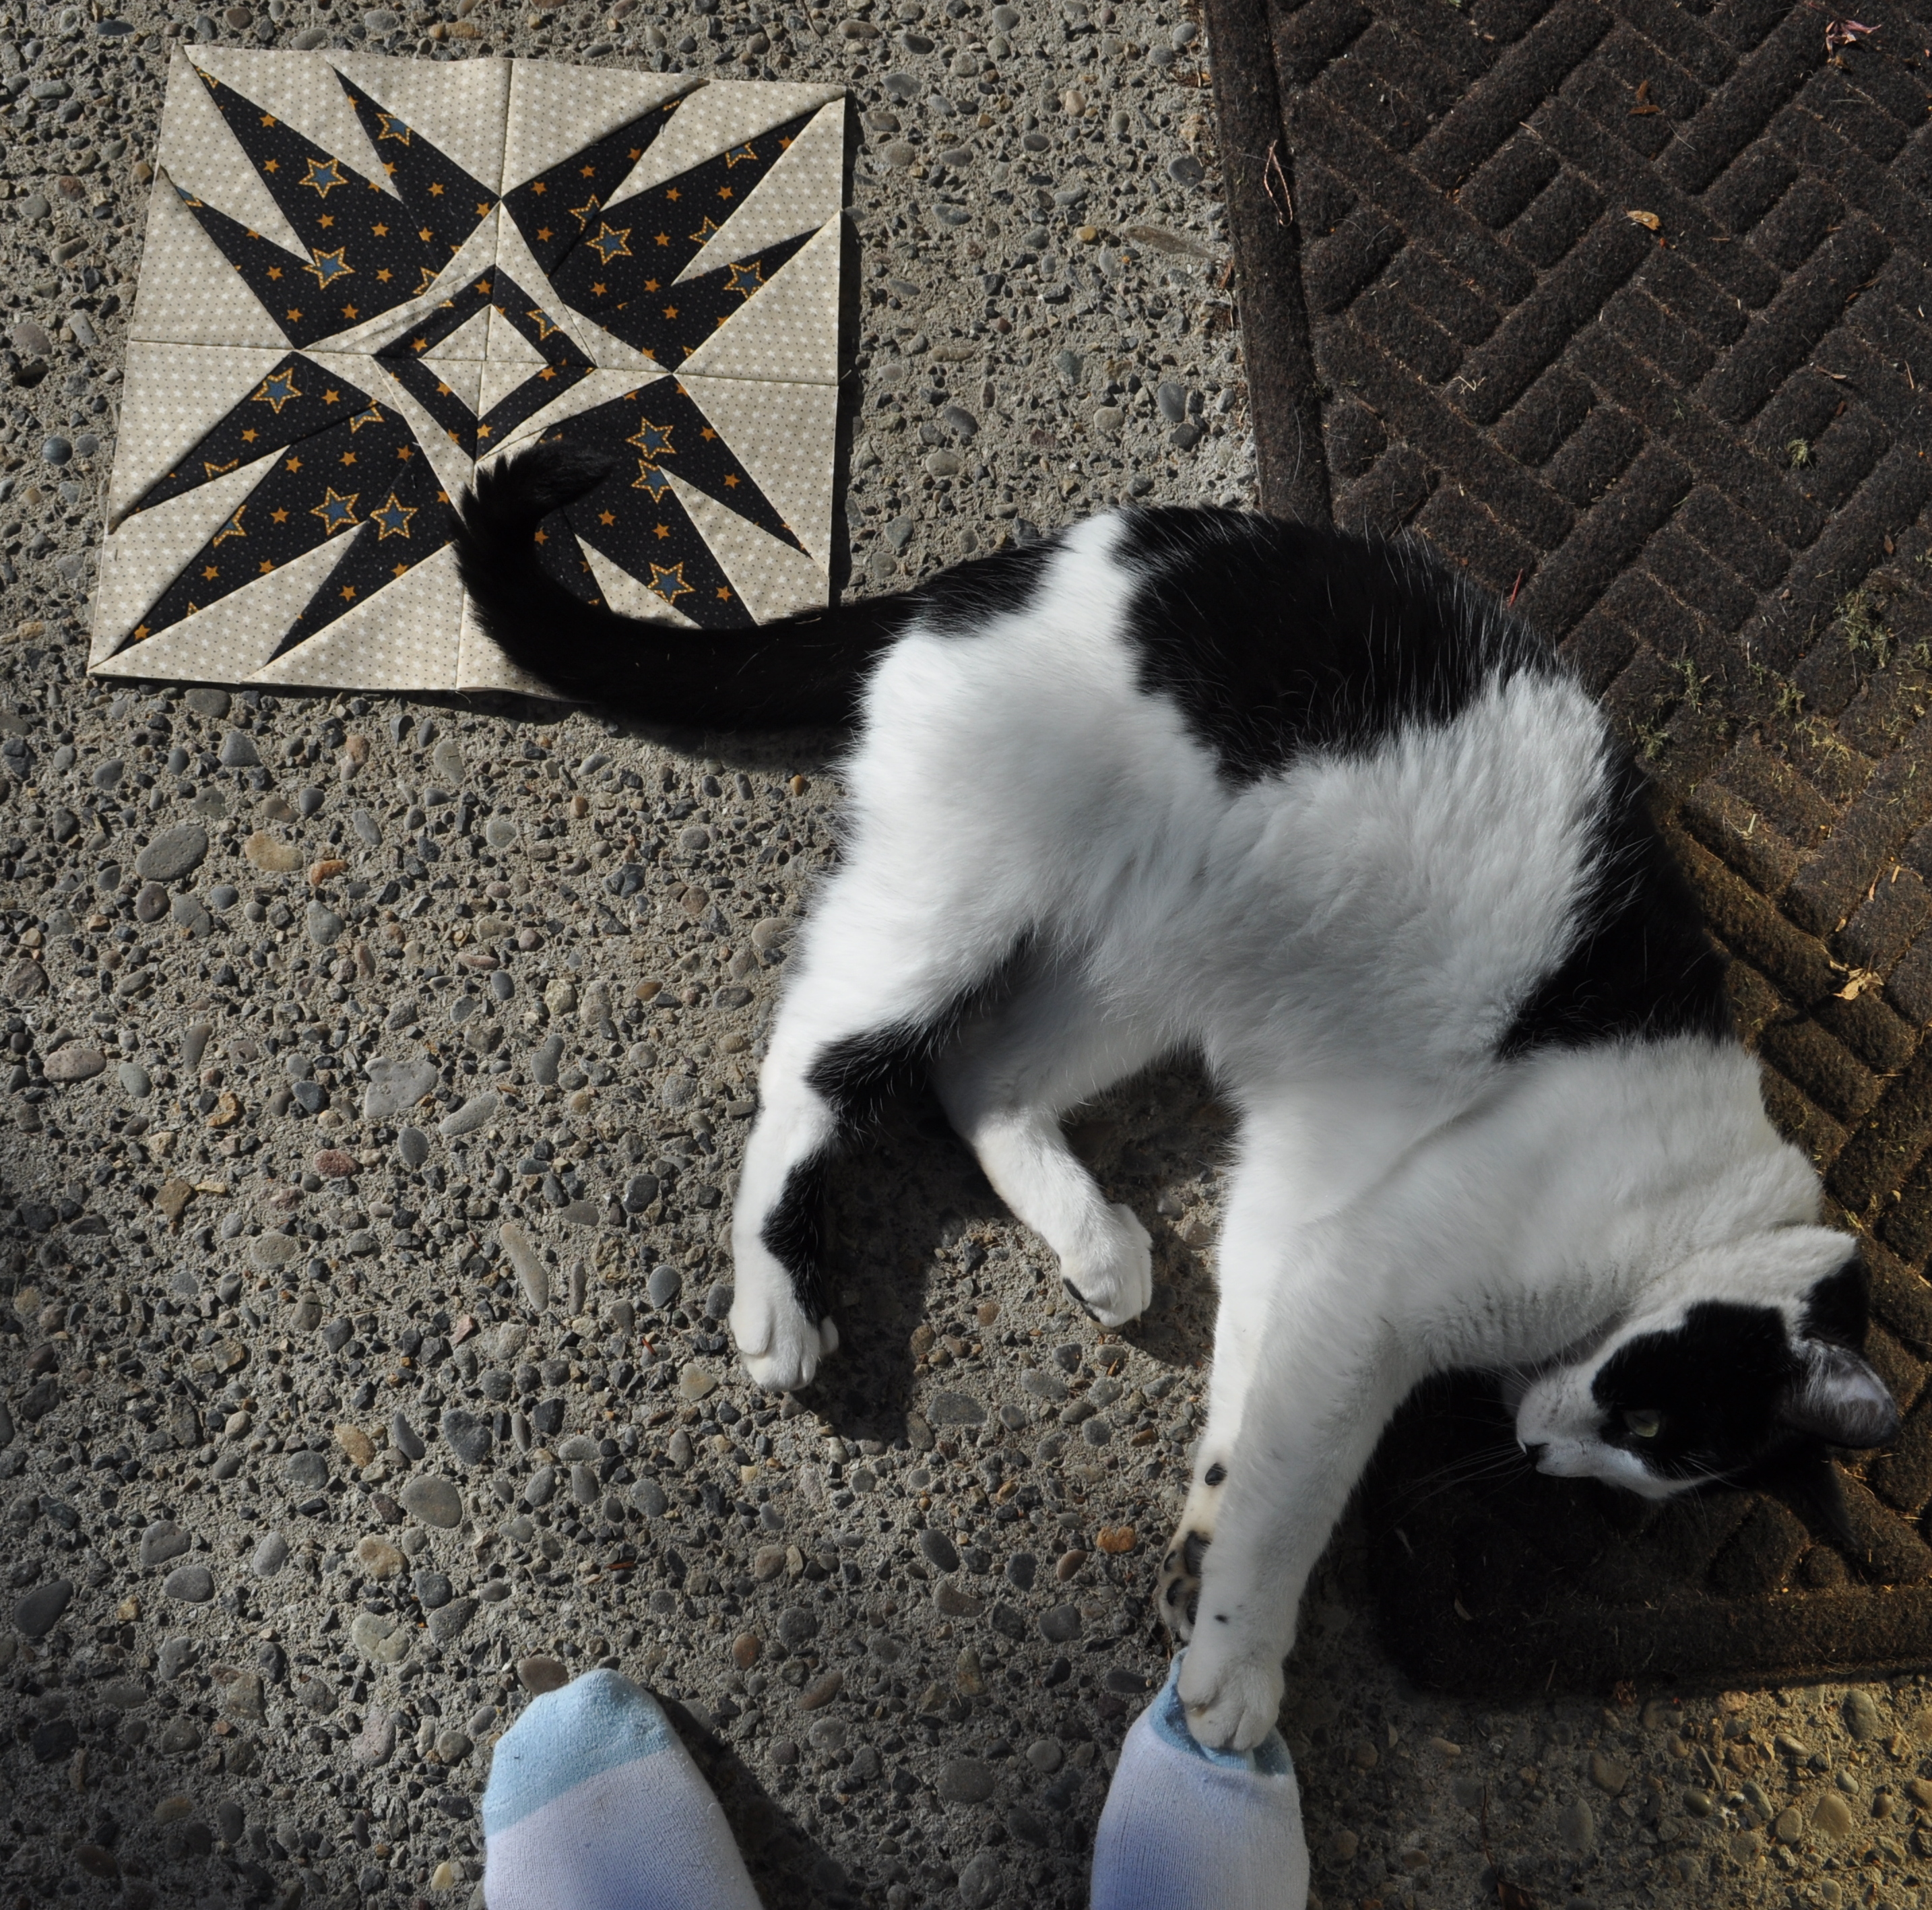
As I was placing the block for a photo, my Cow cat decided to help!

Here he is enjoying the sun:

Cow Cat Helps with November BOM

He then decided that my toes needed to be attacked!!

Cow Cat Grabs My Foot!

I will say that my cat quilting supervisors certainly keep me on my toes!

Enjoy!
~Jennifer

Mini Santa Blocks for Exchange

I’m participating in a mini block exchange for the holidays. I’ve come down to the wire as the blocks are due to the swap hostess next week! I managed to carve out a little bit of time after work this week to make 4 mini Santa blocks. These are different Santas than shown in my earlier post here.

Carol Doak designed these as well and just posted them as Christmas Ornament blocks for her Yahoo group.

Here are the 4 blocks together:

Mini Santa Blocks

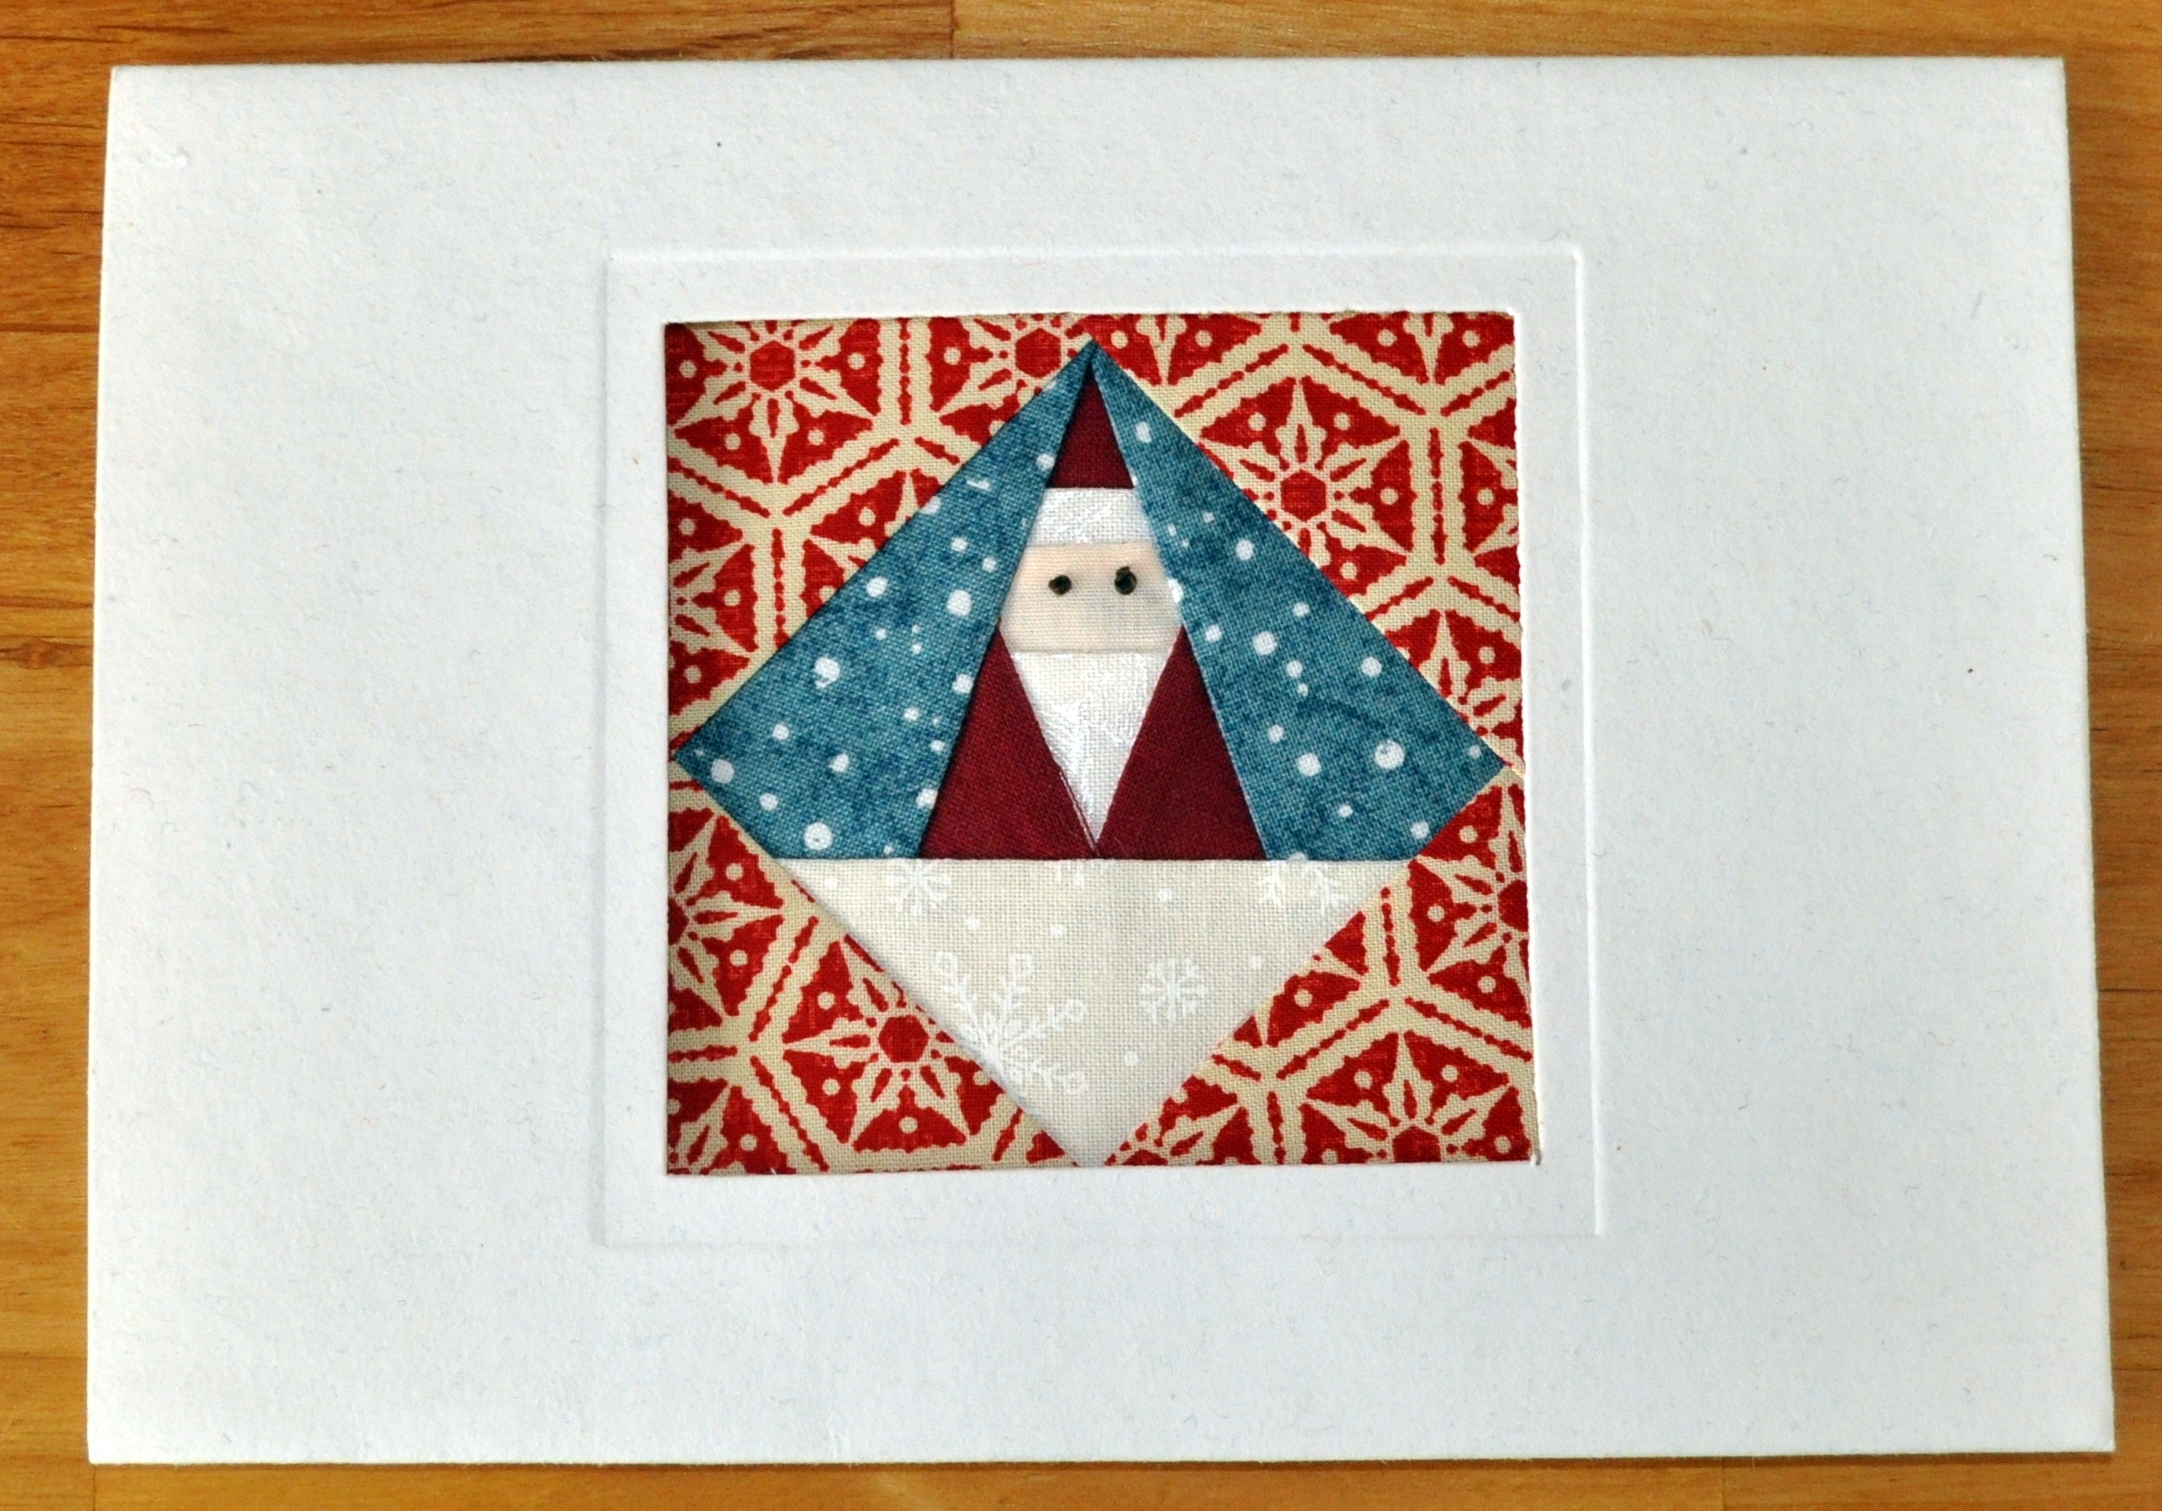
These blocks actually have a 1/2 inch seam allowance so the can easily be used in these keepsake frame cards:

Santa Card

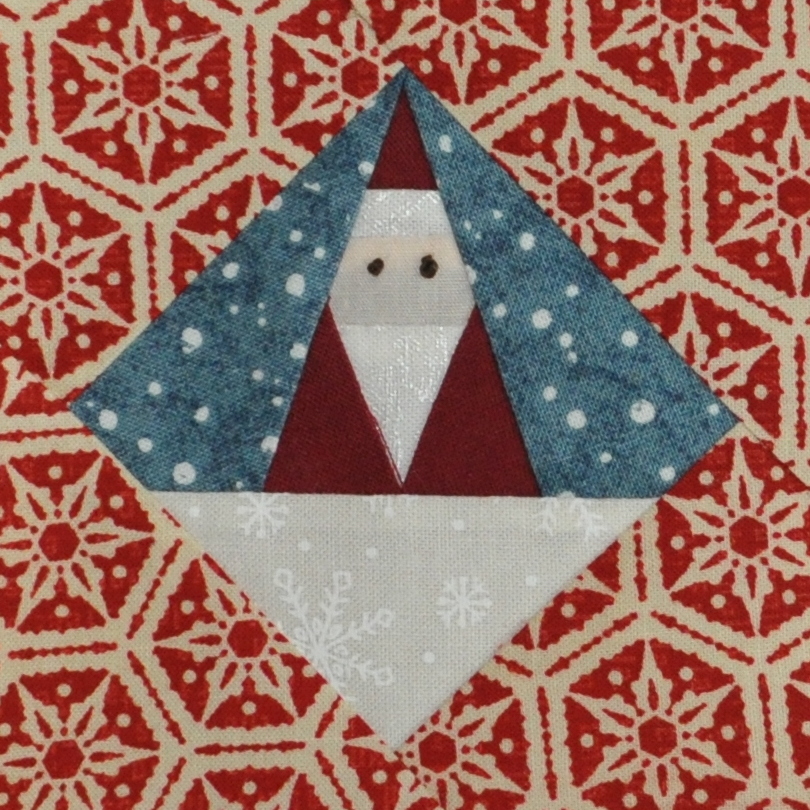
The Santa faces looked a little blank so I added small brown eyes using embroidery thread. I’ll leave any other embellishments up to the individual receivers. But, wouldn’t the Santa look cute with a miniature white pom-pom at the top of the hat?

Mini Santa Closeup

Since these blocks are pretty quick to come together, I’m sure that I’ll sew a few more before Christmas.

I think they would make adorable holiday gift tags as well.

Happy piecing!
~Jennifer