
Recently, my son’s high school band received permission to begin in person outdoor rehearsals. They are limited to 10 students per rehearsal time, and they need to have a bell cover and wear a mask.
I decided to make bell covers for all the trumpets in his group so that they wouldn’t have to wait for an online order, which could take weeks. There are 7 trumpets in his cohort group, and each bell cover takes about 10 minutes to make.

7 trumpet bell covers!
Supplies Needed
- Stretchy material (polyester/spandex blend). I purchased some athletic apparel fabric from my local fabric store in blue, which matches one of the school’s colors.
- 3/8″ elastic
- Safety pin
- Thread to match
- Paper and pencil for template
- Sewing machine and basic sewing supplies

Instructions
- Trace the trumpet bell onto a piece of paper.
- Enlarge the bell shape by about 1.25 inches to create your pattern. I used a school compass for this step or you could eyeball it. I found that a 1″ enlargement was a bit too small to fit over the bell comfortably. If you use cotton fabric instead of the poly/spandex blend, you’ll likely want to cut it 1.5 inches larger.
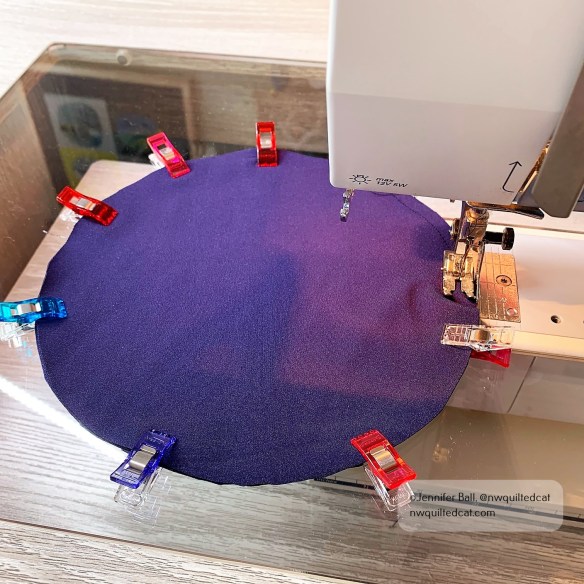
- Cut (2) circles from the fabric.
- Place the circles right sides together (RST), pin or clip together, and stitch using a 1/4″ seam allowance. Be sure to leave a small area open for turning right sides out and backstitch at the start and end of your stitching.
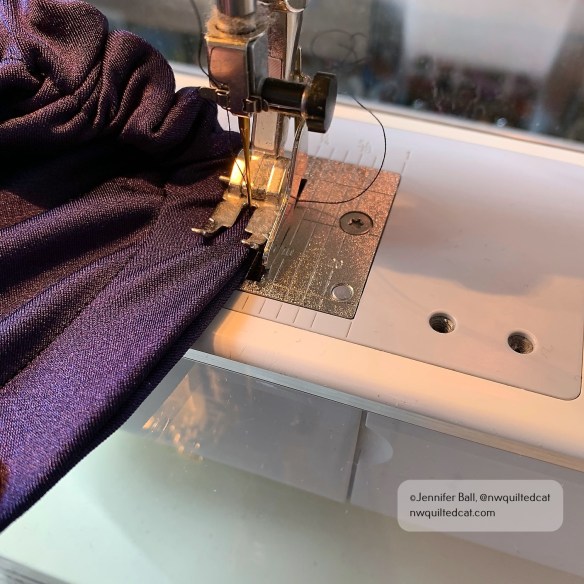
Sew a 1/4″ seam, leaving an opening for turning

Opening in the bell cover before turning
- Turn right sides out.
- Stitch another seam about 5/8″ from the edge of the circle to create the casing for the elastic. Stitch around the entire circle and backstitch. You do not need an opening for this second seam.
- Cut a piece of elastic about 11.25 inches long.
- Place a safety pin on one of the short edges of the elastic to help you insert the elastic into the casing. Be sure to hang onto the other end so that it doesn’t get sucked into the casing.

Inserting the elastic into the casing
- Overlap both ends of the elastic about 1/2″ and sew together securely. I removed the pin before stitching.

Overlap the elastic about 1/2-inch and sew
- Sew the opening closed.
Sew the opening
- Ease the elastic around the casing so that it is more or less evenly dispersed.
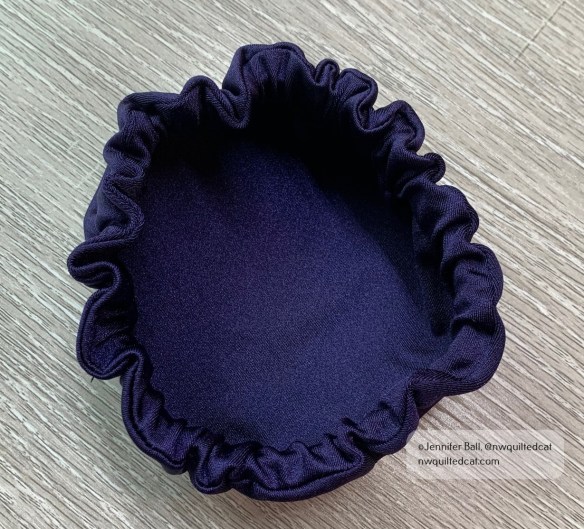
Inside of trumpet bell cover
- Place the bell cover on your trumpet and play!

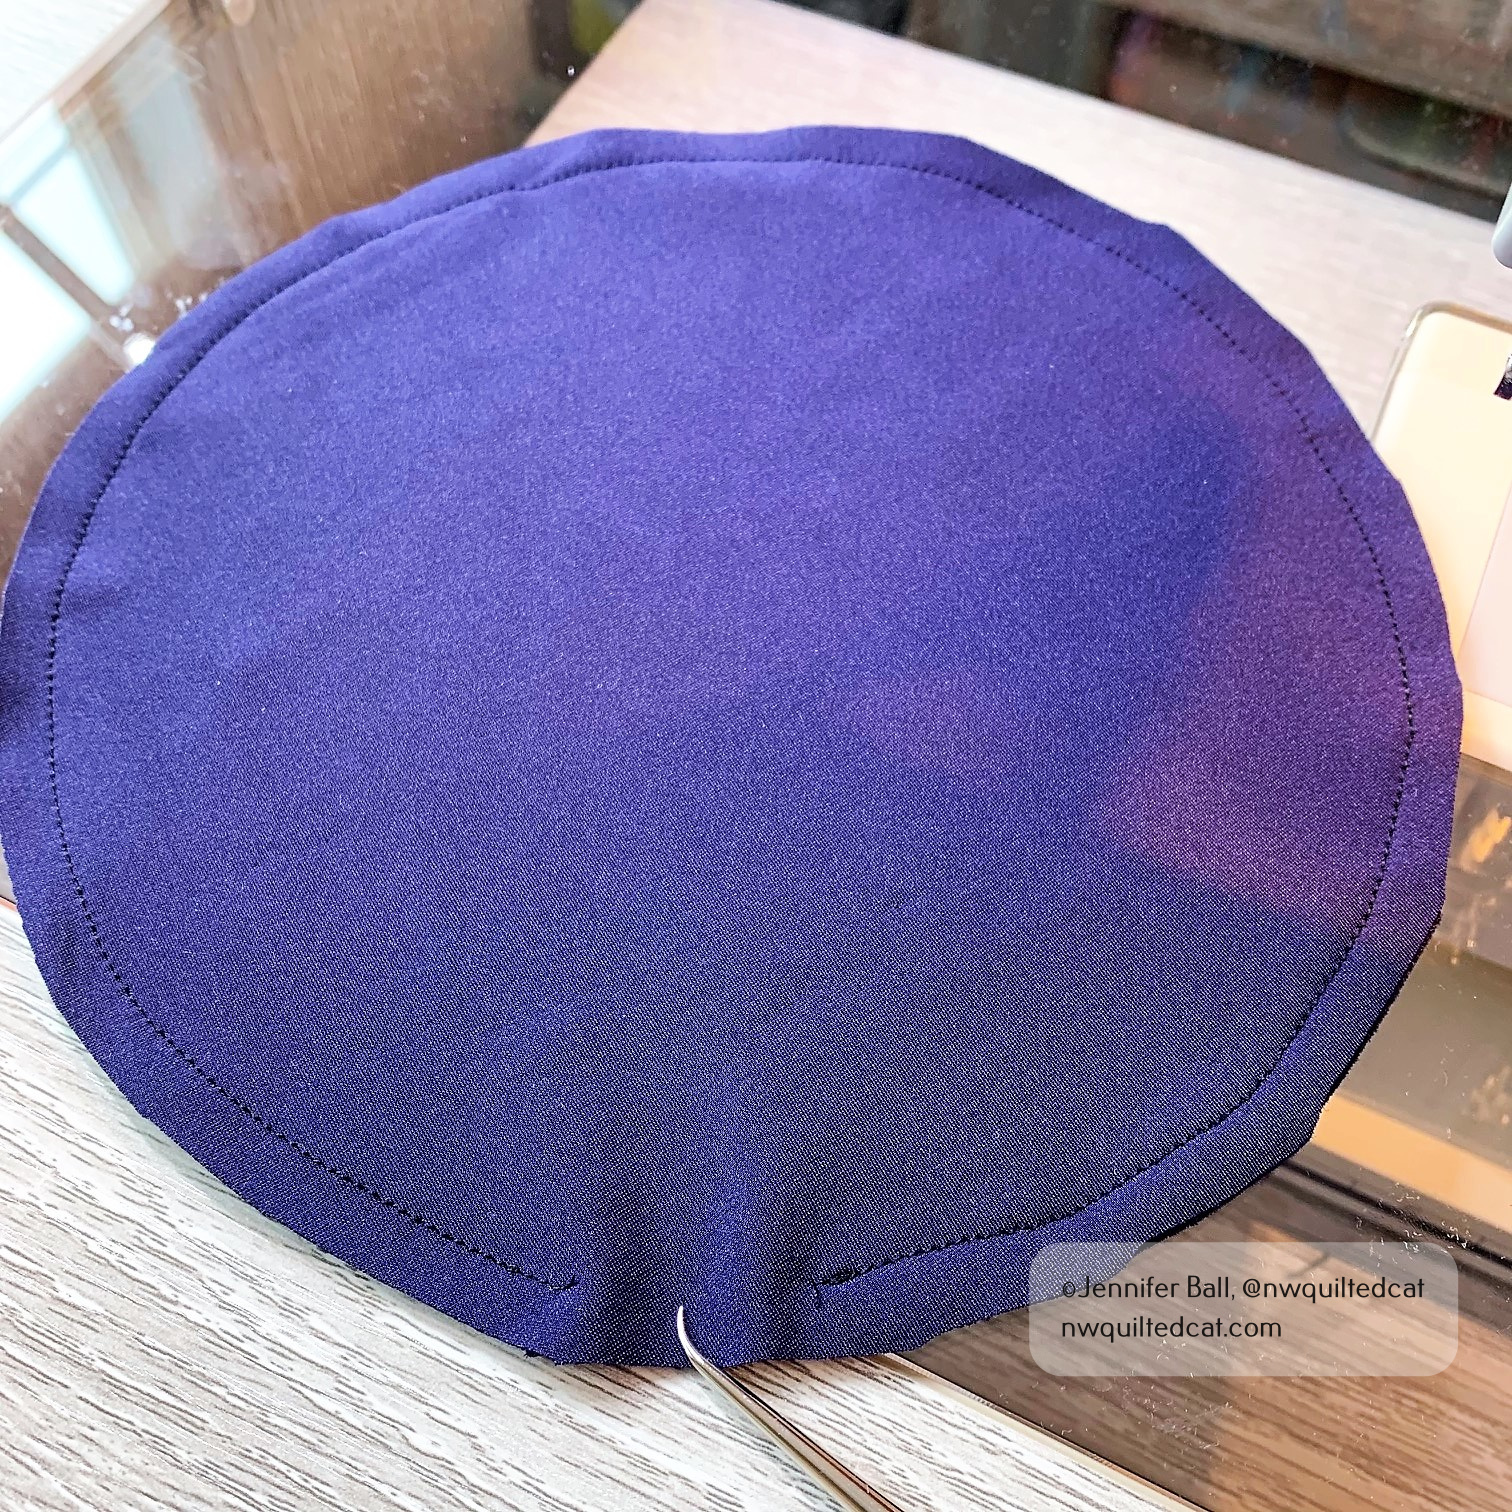


Trumpet standing with bell cover

Trumpet bell cover
My quilt inspector supervised me very closely during this process. Maybe he thought I was making him a shower cap? Ha, ha!

Is it a cat shower cap?
I hope to make my son a reusable face mask with a little slot or flap for the trumpet mouth piece next. Until then, the band members have to cut a little slot into disposable face masks in order to play. They are also social distancing during practice.
It’s a strange new world in so many unexpected ways!
Take care and happy sewing!
Jen
