Country Lanes Block Swap

I’ve signed up to participate in another quilt block swap with my sister’s guild. For this latest swap, we have to make 6 blocks using primary colors and a specific block called “Country Lanes.”

I’m really enjoying making swap blocks because they often use color combinations or patterns that I haven’t tried. I looked through my stash for primary colors that would really pop together.

I used batiks, but found out that I only had enough of the original yellow color for 4 blocks. For the last 2 blocks, I used a substitute yellow that I actually like better than the first one! Since the blocks are going to 6 different people, the difference in yellow fabric should be fine.

Here’s a stack of blocks:

Country Lanes - All Stacked Up!

Country Lanes – All Stacked Up!

Do the colors pop for you? I like the bright snap of these colors together.

Here’s another look at all 6 blocks together. In this picture, the 2 right-side blocks are the ones using the different yellow:

Country Lanes - 6 Swap Blocks

Country Lanes – 6 Swap Blocks

And, finally, what quilt block can be considered ready until it has received an official cat inspection:

Country Lanes Gets a "Paws Up" Rating

Country Lanes Gets a “Paws Up” Rating

My next step is to package up these swap blocks and mail them to my sister. I can’t wait to see what blocks I’ll get in return!

Happy quilting!
~Jennifer

Wonky Bird Blocks

I posted earlier about participating in a block swap hosted by my sister’s guild. I made an applique test block originally, but I was just not very happy with it.

The block exchange has three basic requirements: there must be a bird on the block, the block must use primary colors, and it must be 12.5 by 12.5 inches.

I decided to change my block from applique to a free piecing technique inspired by Sarah on her blog, house of krom. In this technique, you don’t follow a specific pattern. Instead, you start with a block idea and just “wing” it!

The result is that each block with have its own unique characteristics. In my case, each bird block has slightly different shaped birds. The beak on one may be shorter than the beak on another bird. Or perhaps the bird legs will be taller or wider than the other birds. This is a fun technique that is a great scrap buster and will encourage you to experiment!

Here’s a closeup of one bird. I added 2 buttons for the eye (which can be easily removed before quilting).

Free Pieced Wonky Bird

Free Pieced Wonky Bird

I made 6 bird blocks in total:

Happy Wonky Birds!

Happy Wonky Birds!

I really hope that the swap participants enjoy these wonky birds, and I’m definitely going to use the free piecing technique again.

Happy quilting!
~Jennifer

Central Oregon Quilt Shop Hop Weekend

This weekend, I went shop hopping in central Oregon with my mom. It’s a gorgeous drive from the Willamette Valley over to central Oregon taking approximately 3 hours depending on photo stops! We had beautiful weather with clear blue skies and temperatures in the upper 70s.

I love seeing the Cascade mountain range still in wintery snow coats against the blue sky. By summertime, much of the snow has melted so the vistas, while stunning, do not have the same pizzazz as they do in the winter and spring.

Just outside of Sisters, Oregon, you’ll find this stunning scene of the Three Sister and Brokentop:

Three Sisters and Brokentop

Three Sisters and Brokentop

Home of the famous Sisters Outdoor Quilt Show and the Stitchin’ Post, this quaint town was our first of eight quilt store stops. We picked up our passports, a pattern, and a fat 1/8th. Each store in the shop hop contributed 1 piece of pattern that will create a mystery quilt. In addition, each store provided a free fat 1/8th which you could use to make a special shop hop quilt designed by Jean Wells of the Stitchin’ Post.

This is the shop hop quilt using fat 1/8ths plus additional batiks: (sorry for the blurriness!)

Shop Hop Quilt

Shop Hop Quilt

In total, we visited these 8 shops totaling about 450 miles from home:
The Stitchin’ Post in Sisters, Quiltworks in Bend, BJ’s Quilt Basket in Bend, Sew Many Quilts in Bend, Homestead Quilts in La Pine, Material Girls in Redmond, Quilter’s Attic in Terrebonne, and The Quilt Shack in Prineville.

Here’s a little slideshow featuring some of the stores, quilts, and scenery from the shop hop:

This slideshow requires JavaScript.

It was a fun quilt shop hop, and I hope you enjoyed this little taste of central Oregon.

Three-Fingered Jack

Three-Fingered Jack


Enjoy!
~Jennifer

New BOM – Toes in the Sand!

I had the great pleasure of taking a class from Julie Herman of Jaybird Quilts at the Block Party hosted by Quiltmaker here in Portland recently. In the class, one of the ladies mentioned Julie’s new BOM. I was intrigued!

I decided to sign up for this BOM through the Fat Quarter Shop. I think the BOM program is now full, but you can buy the full pattern set and pick up your own fabrics to make this great quilt.

Each month, the participants receive the materials to make 2 blocks. April is the first month so we also received the Toes in the Sand pattern book. This book is well laid out and easy to read so the blocks come together quickly and easily.

This BOM also uses Julie’s Hex N More ruler which is a very versatile tool for creating shapes in all kinds of sizes – hexagons, triangles, half-hexies, and jewels. Really, the possibilities are limitless!

I made my two “Baker Beach” blocks last night in about an hour while the hubs cooked a wonderful dinner. I had the opportunity this afternoon to take a photo in the Oregon sunshine with my dedicated cat helper and one of my official inspectors for all things quilt related.

My Cow cat has decided to rename this quilt — “Cat Toes in the Grass” BOM!

Toes in the Sand BOM - Block One

Toes in the Sand BOM – Block One

Hope you enjoy these fun triangle blocks, and I’ll post my progress each month.

Enjoy!
~Jennifer

A Quilt Mystery Revealed!

For those of you who have been following my blog, you may remember that I’ve been participating in Carol Doak’s 2012/2013 mystery block-of-the-month program on her Yahoo group. My last post on the BOM showed my March block. You can still join the group to receive all the instructions and paper pieced patterns for this fun mystery!

In late March, Carol revealed the mystery solution! I’ve been working on assembling my quilt top for several weeks and even found a quick break in the rain today to snap an outdoor pic of the completed top. Once I’ve finished the quilting, I’ll post the finished project.

Here’s a pic of the completed mystery top (excuse the weeds growing in the flower beds!):

Mystery BOM Completed Top - Outside

Mystery BOM Completed Top – Outside

I used just 2 fabrics for the quilt top. The darker fabric is navy blue with large lighter blue stars and small gold stars. The tan fabric continues the star theme with small printed white stars and miniature blue dots. Unfortunately, I do not know the name of the blue star fabric, but the tan fabric is #1472722 – American Banner Rose by Minick & Simpson for Moda.

Here’s another look:

Mystery BOM Top - Inside

Mystery BOM Top – Inside

I really love how the quilt top turned out with the dark blue stars and the tan background. It has a patriotic/Americana feel to it and both my husband and son really like it!

This weekend, I hope to get over to my mom’s house to quilt a few of my quilt tops.

Until next time, happy quilting!
~Jennifer

Black and White Swap Blocks Received

I participated in a group swap where each participant made black & white or black/white & zinger 12-inch quilt blocks and then sent them to the swap hostess. All the blocks were designed by Carol Doak.

Yesterday, I received my blocks in the mail! I am so happy with each block that I received and feel that each one is special since another quilter made them with caring and great attention to detail.

Here are the blocks:

Black and White by Mary D

Black and White by Mary D

Black, White, and Yellow Zinger by Dorothy H

Black, White, and Yellow Zinger by Dorothy H

Black/White/Pink Zinger by Erica W

Black/White/Pink Zinger by Erica W

The top block is from Mary D in Oregon, the middle block is from Dorothy H F in Massachusetts, and the bottom block is from Erica W. Thanks also to our wonderful block hostess – Cathy from Texas!

Here are the blocks lined up together:

Swapped Blocks Together

Swapped Blocks Together

I am going to use these 3 blocks and add in some of my own black/white and black/white/zinger blocks to make a fun wallhanging! I had such a great experience with this swap, and I hope you enjoy looking at the photos.

Happy quilting!
~Jennifer

Create Custom Quilt Labels with Spoonflower

One of the great things that happens at quilt conferences, classes or events is learning about new techniques from other quilters. Several weekends ago when I attended Quiltmaker’s Block Party, I learned a new way to create custom quilt labels from Julie Herman of Jaybird Quilts.

In the past, I’ve either made an embroidered quilt label, printed one at home using fabric paper, or hand written one using a fabric marker. I would then hand sew the label to the quilt after completing quilting and binding. That is, if I remembered the label at all!! The problem with this method is that hand sewn labels are not very secure. The stitching could eventually become weakened and the label may fall off (or the label could even be removed at some point). Another issue that I had with home printed labels is that I could never be sure that the printed images would be archival.

Spoonflower to the rescue! What is Spoonflower? It’s an online store where you can create your own custom fabric or purchase custom fabric designs from other people. The beauty of this service is that you can create a simple quilt label as your custom fabric design and upload it to Spoonflower. Your design is then printed on the fabric of your choice and shipped to you.

I created a simple quilt label that is approximately 4 inches by 6 inches using a graphic program on my computer. I used PaintShop Pro, but you can use any graphic program. At the top, I used my initials as well as my name and location. I left the middle of the label blank so I could use a fabric marker to write in the quilt name, date, or any other important details about individual projects. At the bottom, I listed my blog address as well as my blog’s avatar for easy identification. I then drew a grey line for seam allowance around the label.

I got 60 labels printed onto 1 yard of basic white combed cotton for $15.75 plus $3.00 shipping. I got a 10% discount for using my own design.

Here’s a look at the whole yard:

Spoonflower - 1 yd - quilt labels

Spoonflower – 1 yd – quilt labels

And here’s a look at 1 label with quilt details added:

Spoonflower Label

Spoonflower Label

My goal with these labels is to piece them directly into quilt backs and quilt through them. The stitching will secure the label permanently to the quilt.

I hope this post inspires you to label your own quilts and maybe try your hand at creating custom labels.

Enjoy!
~Jennifer

Boxed In Class at Quiltmaker’s Block Party

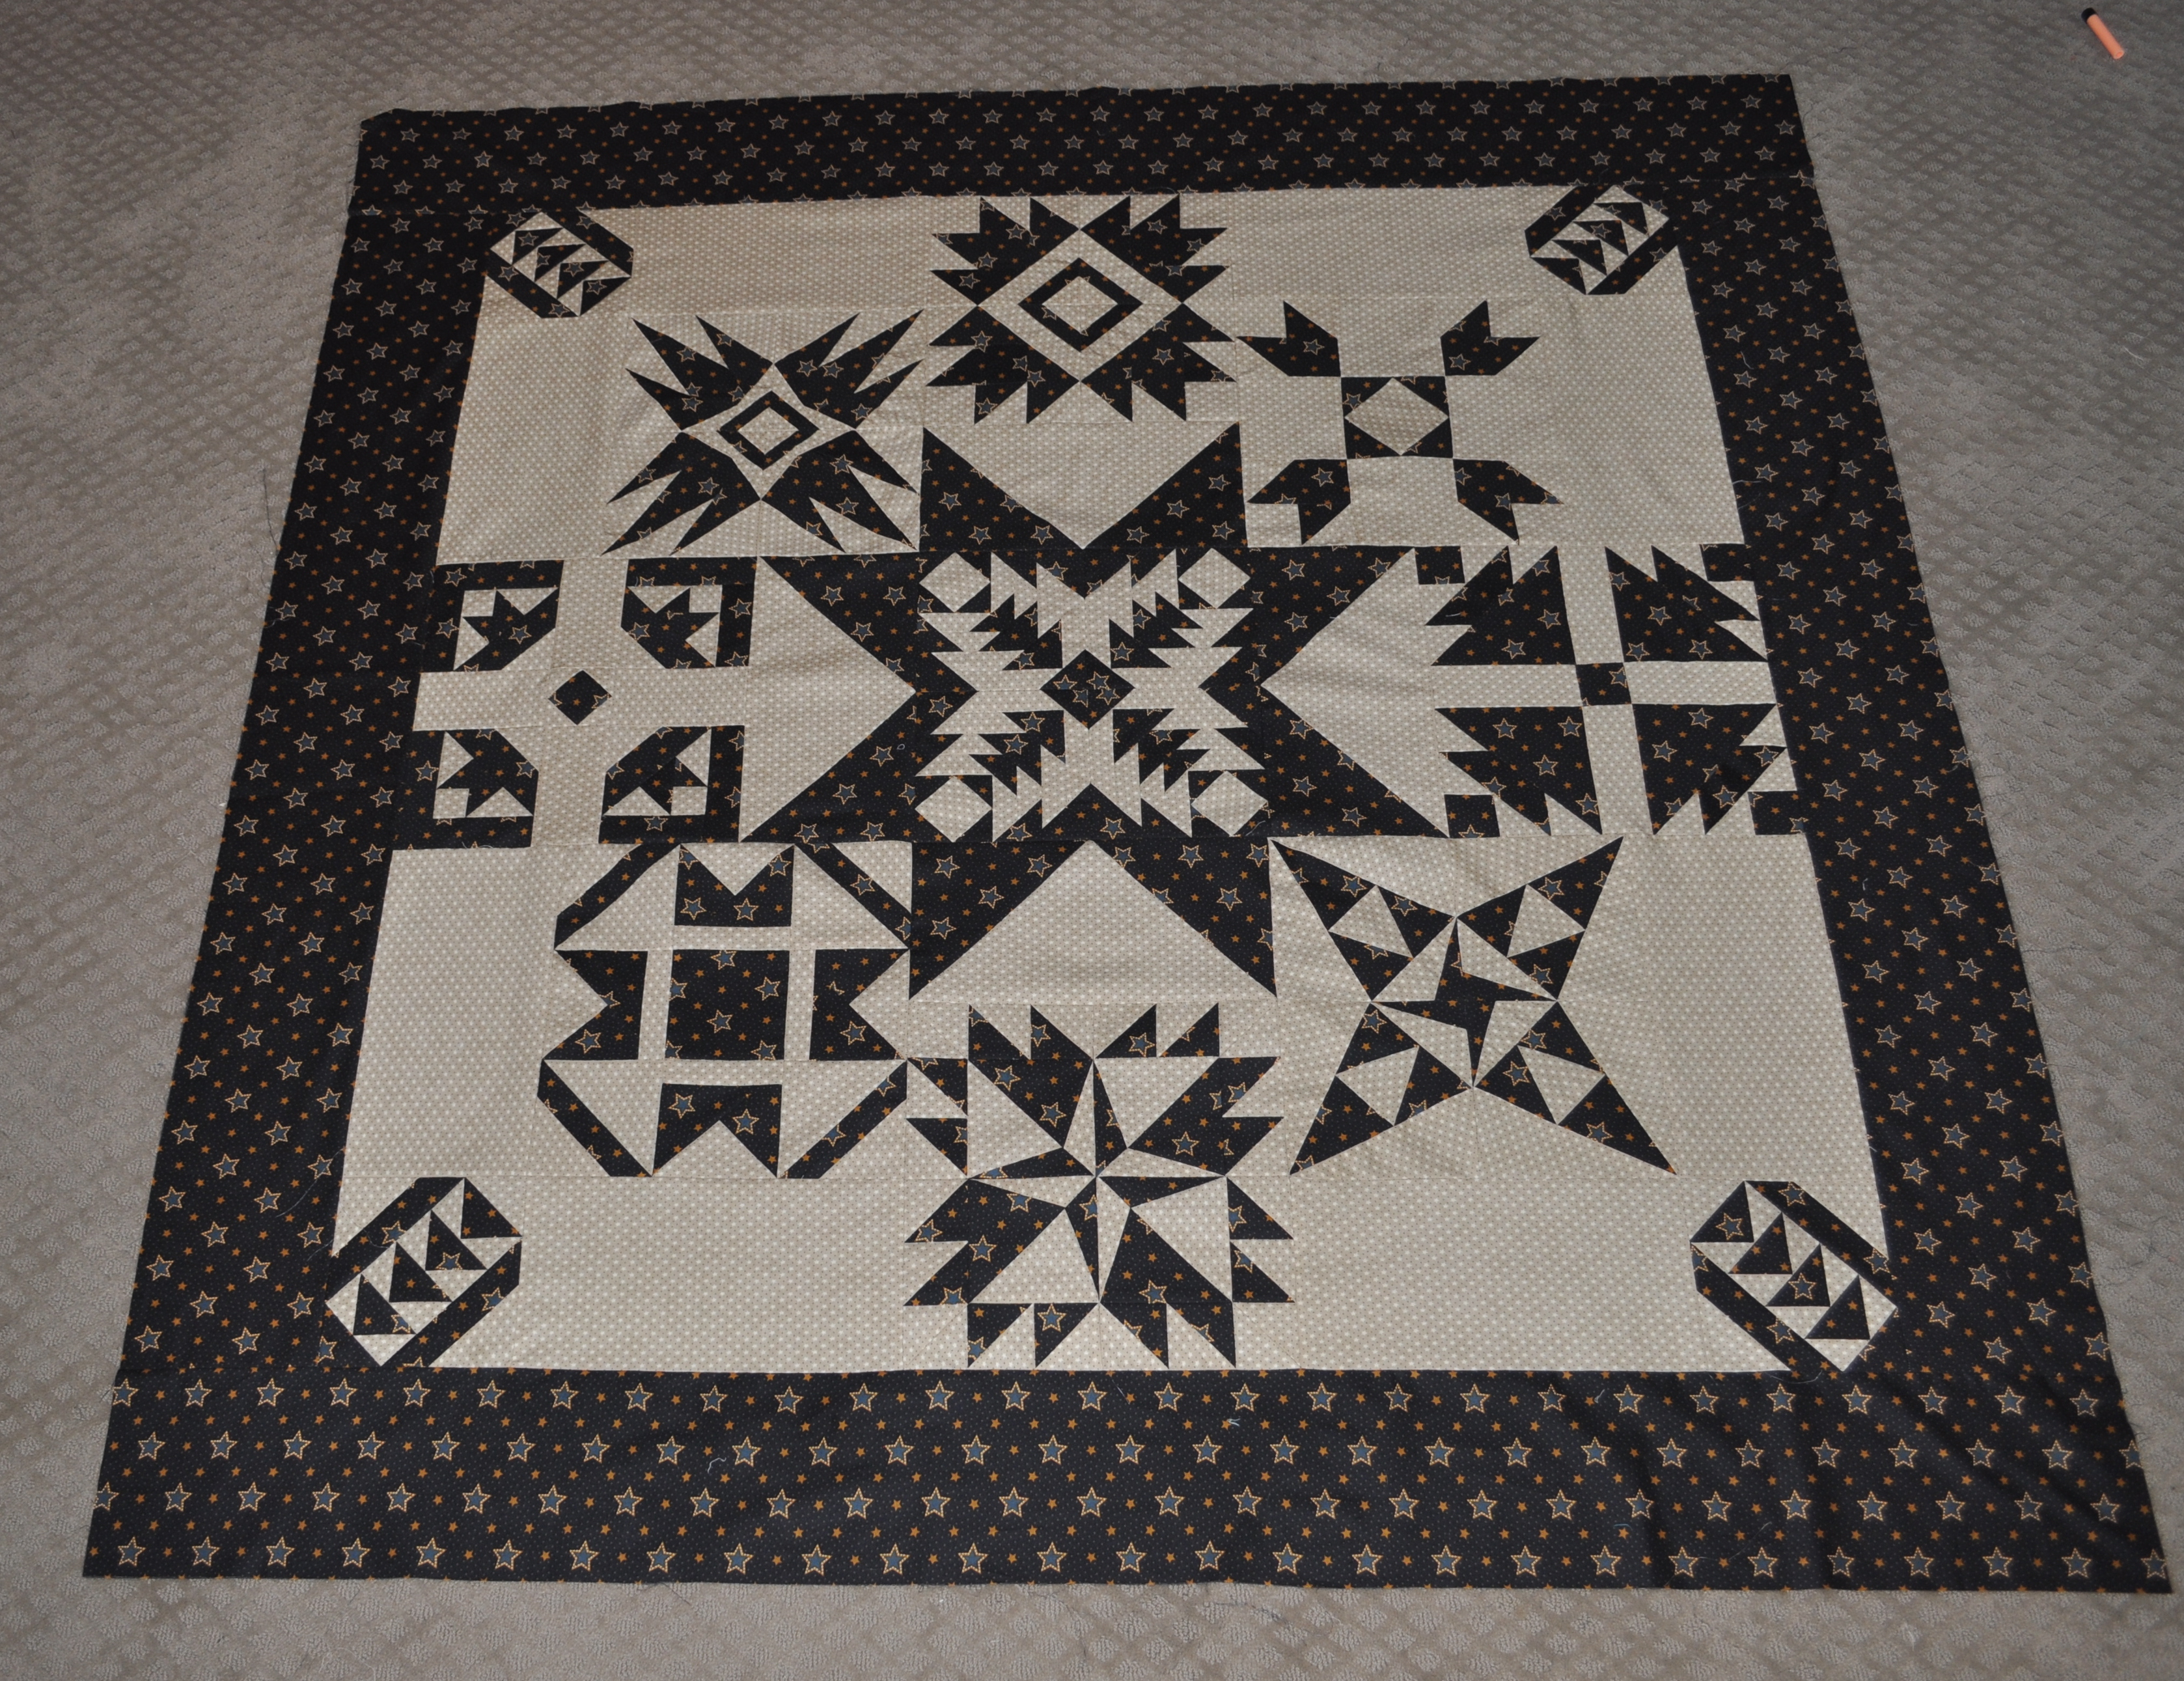
In an earlier post, I showed the quilt that I won by finding the lucky golden ticket at Quiltmaker’s Block Party in Portland last weekend. With this post, I want to talk about the class that I took and show a photo of the fabulous goodie bag that all the attendees received.

I signed up for a class with Julie Herman of Jaybird Quilts called Boxed In. You can find this pattern in her book entitled Skip The Borders: Easy Patterns for Modern Quilts. In addition to Boxed In, you’ll find patterns for another 14 quilts so it is a great book to add to your quilt book library.

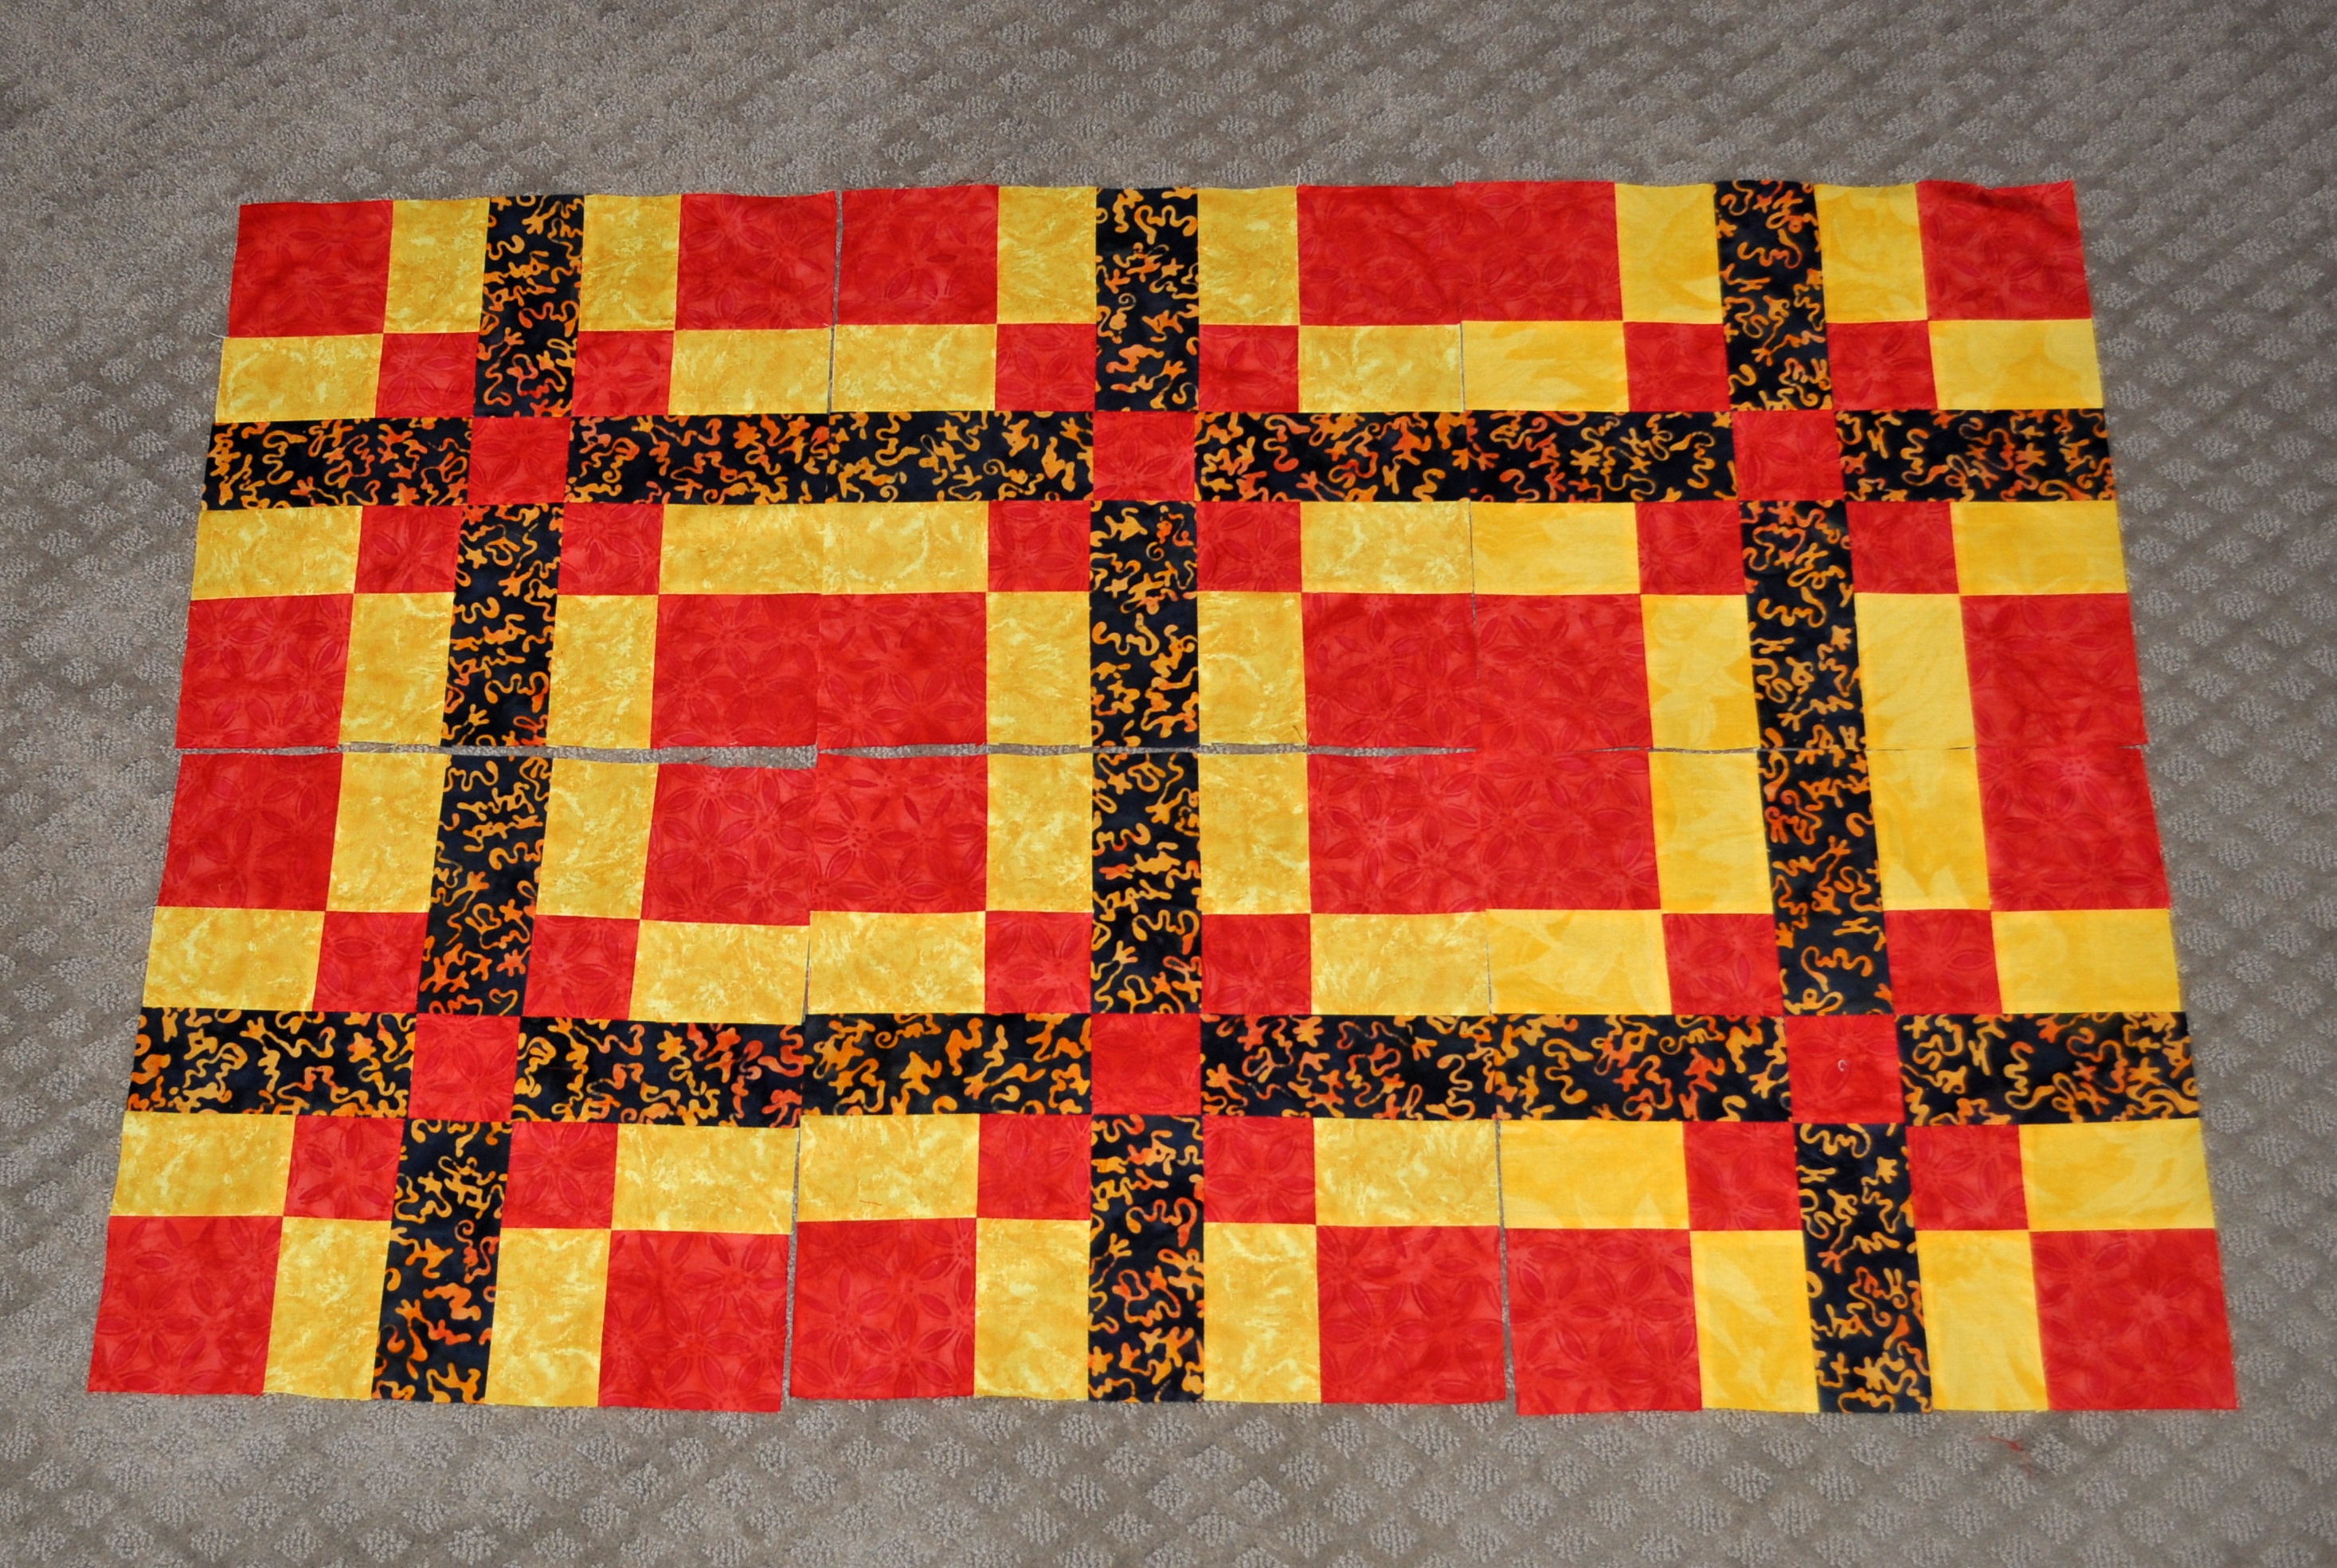
Julie’s patterns are fresh, fun, and appealing to sew. Boxed In is the perfect pattern to use with one of those pretty jellyrolls that you find in local quilt stores (2.5 inch pre-cut strips rolled together). I went with a bright, spring-like fabric line called Ticklish (Me and My Sister Designs for Moda). In the class, I had enough time to finish about 4 blocks. I need to make another 9 full blocks, 4 partial blocks, and 4 corner blocks. The pattern comes together pretty quickly so I hope to be able to finish my quilt soon!

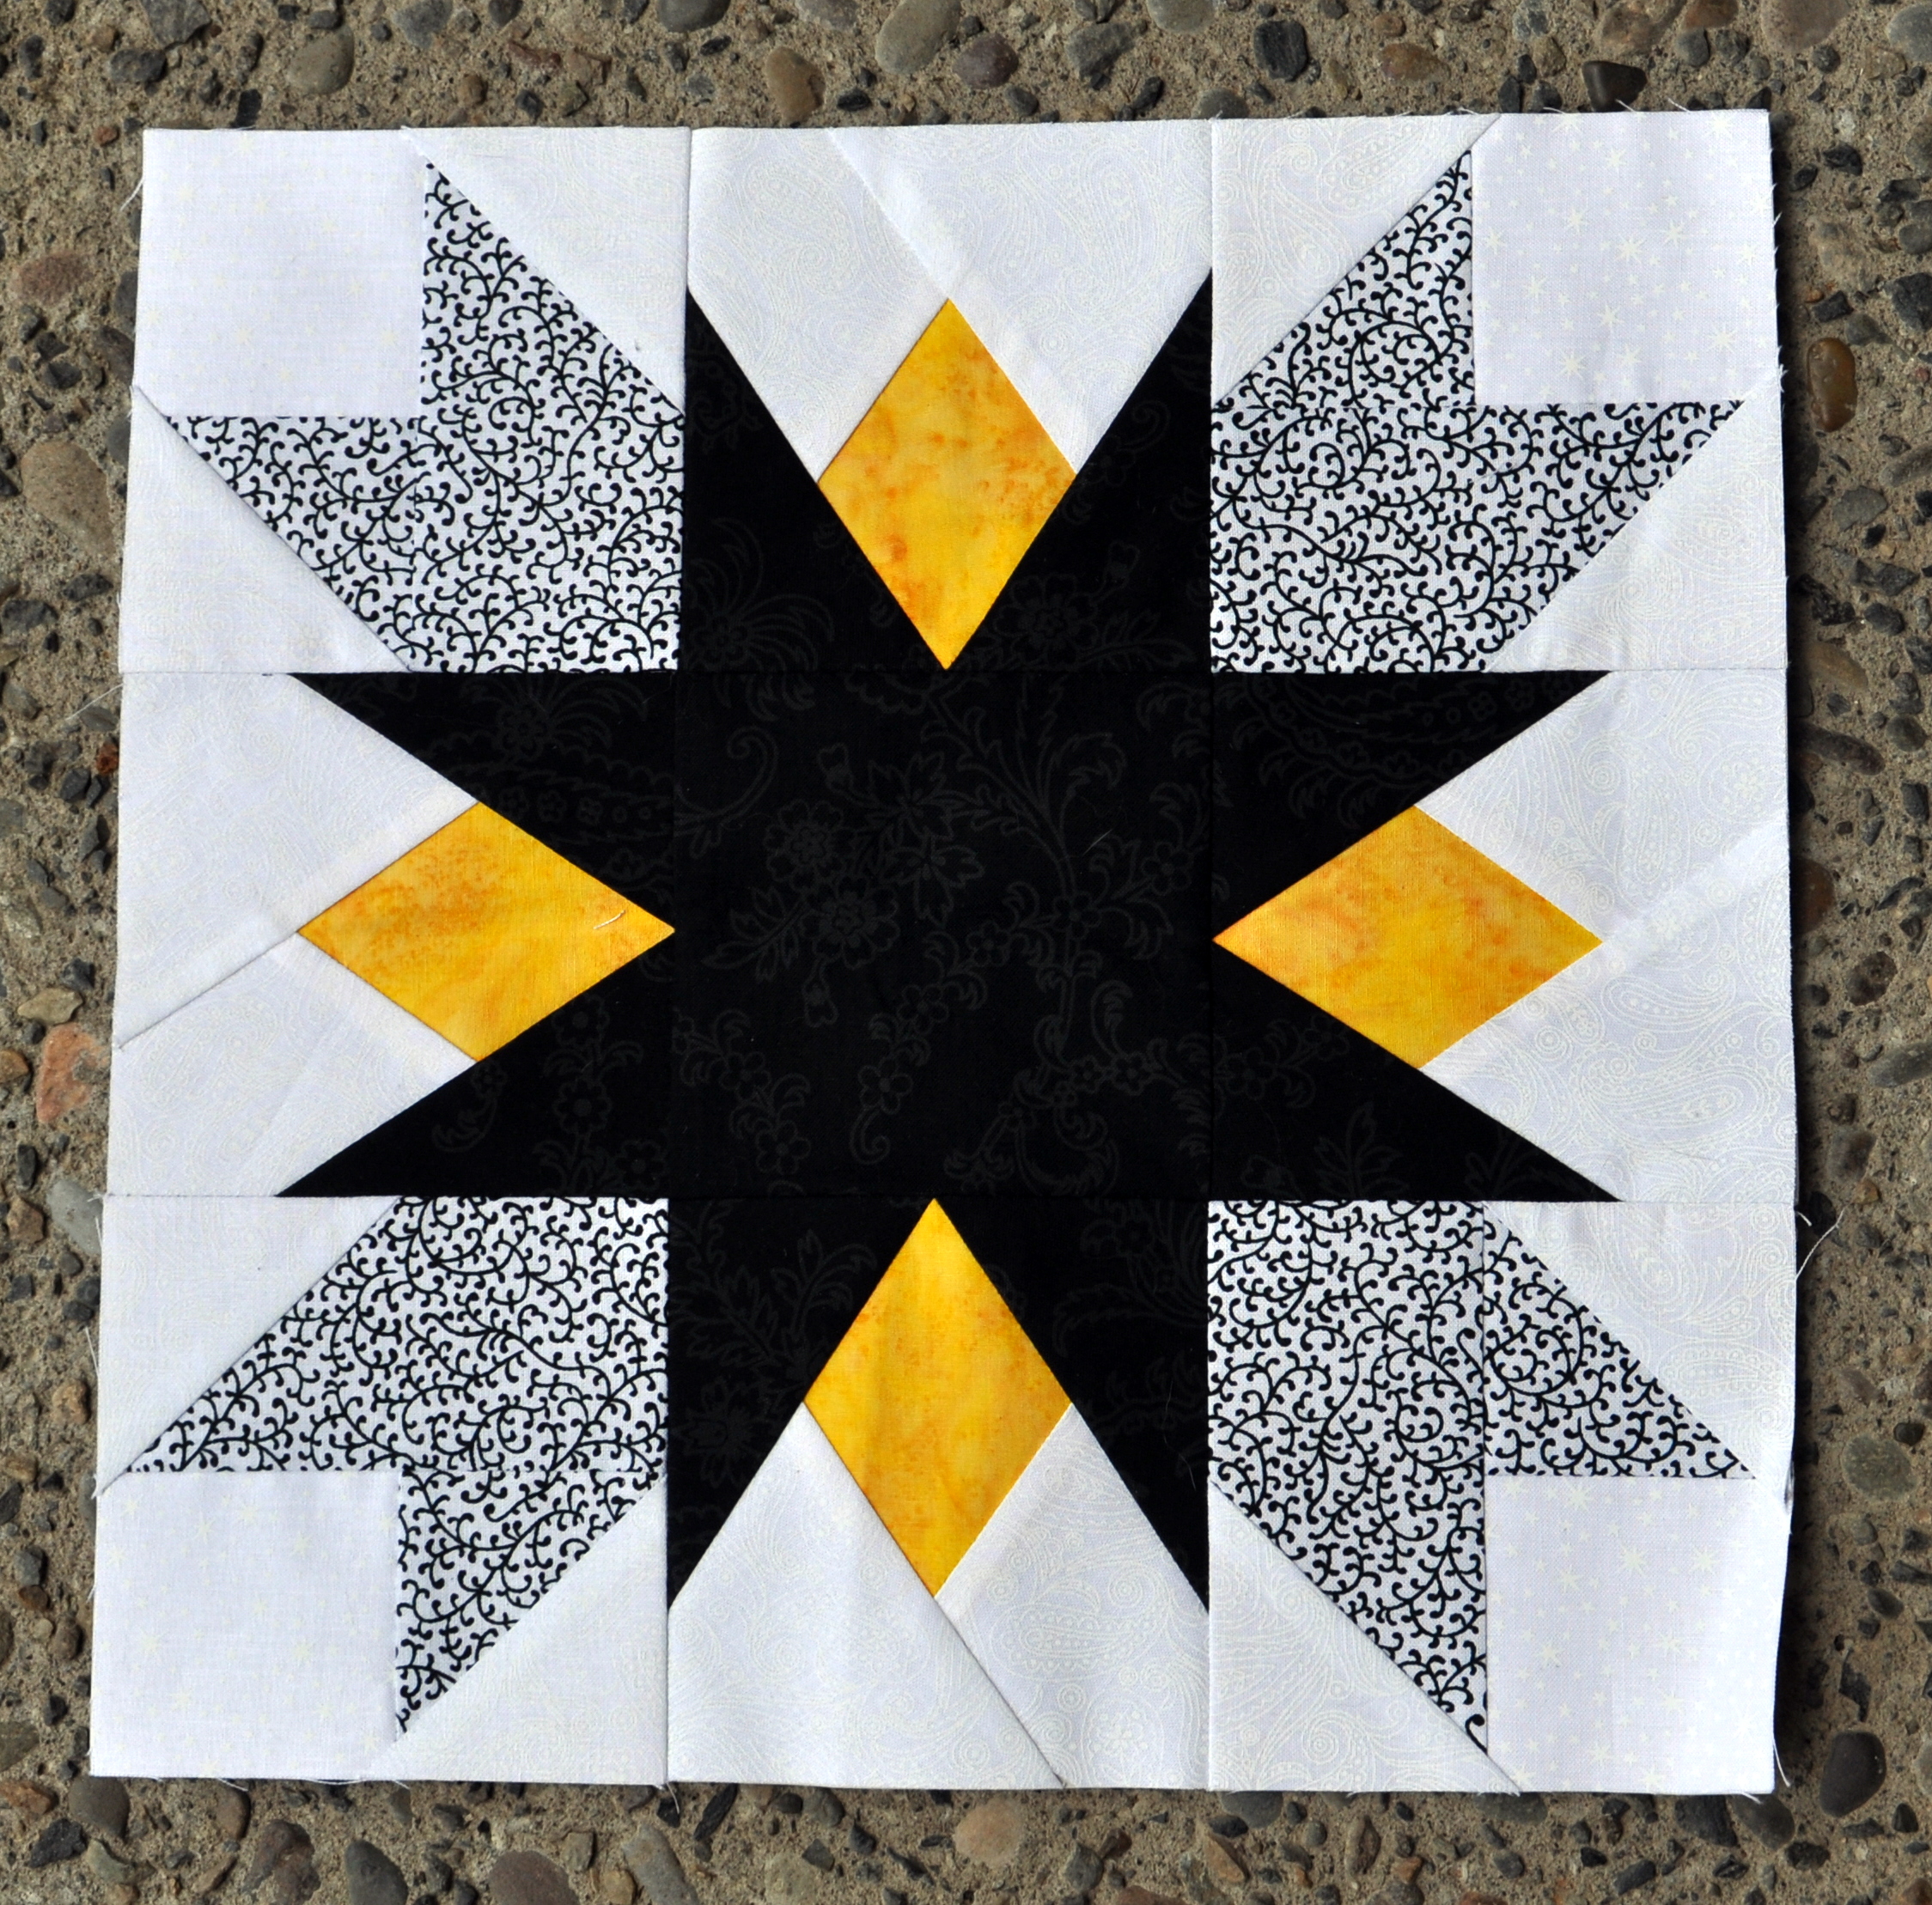
Here’s a look at my four completed blocks:

Boxed In Blocks

Boxed In Blocks

In the class, Julie helped students ‘audition’ fabric choices for the sashing strips. Originally, I was going to use white and purple, but we decided that the black fabric made the Ticklish 2.5-inch squares really pop! I can’t wait to see the finished result.

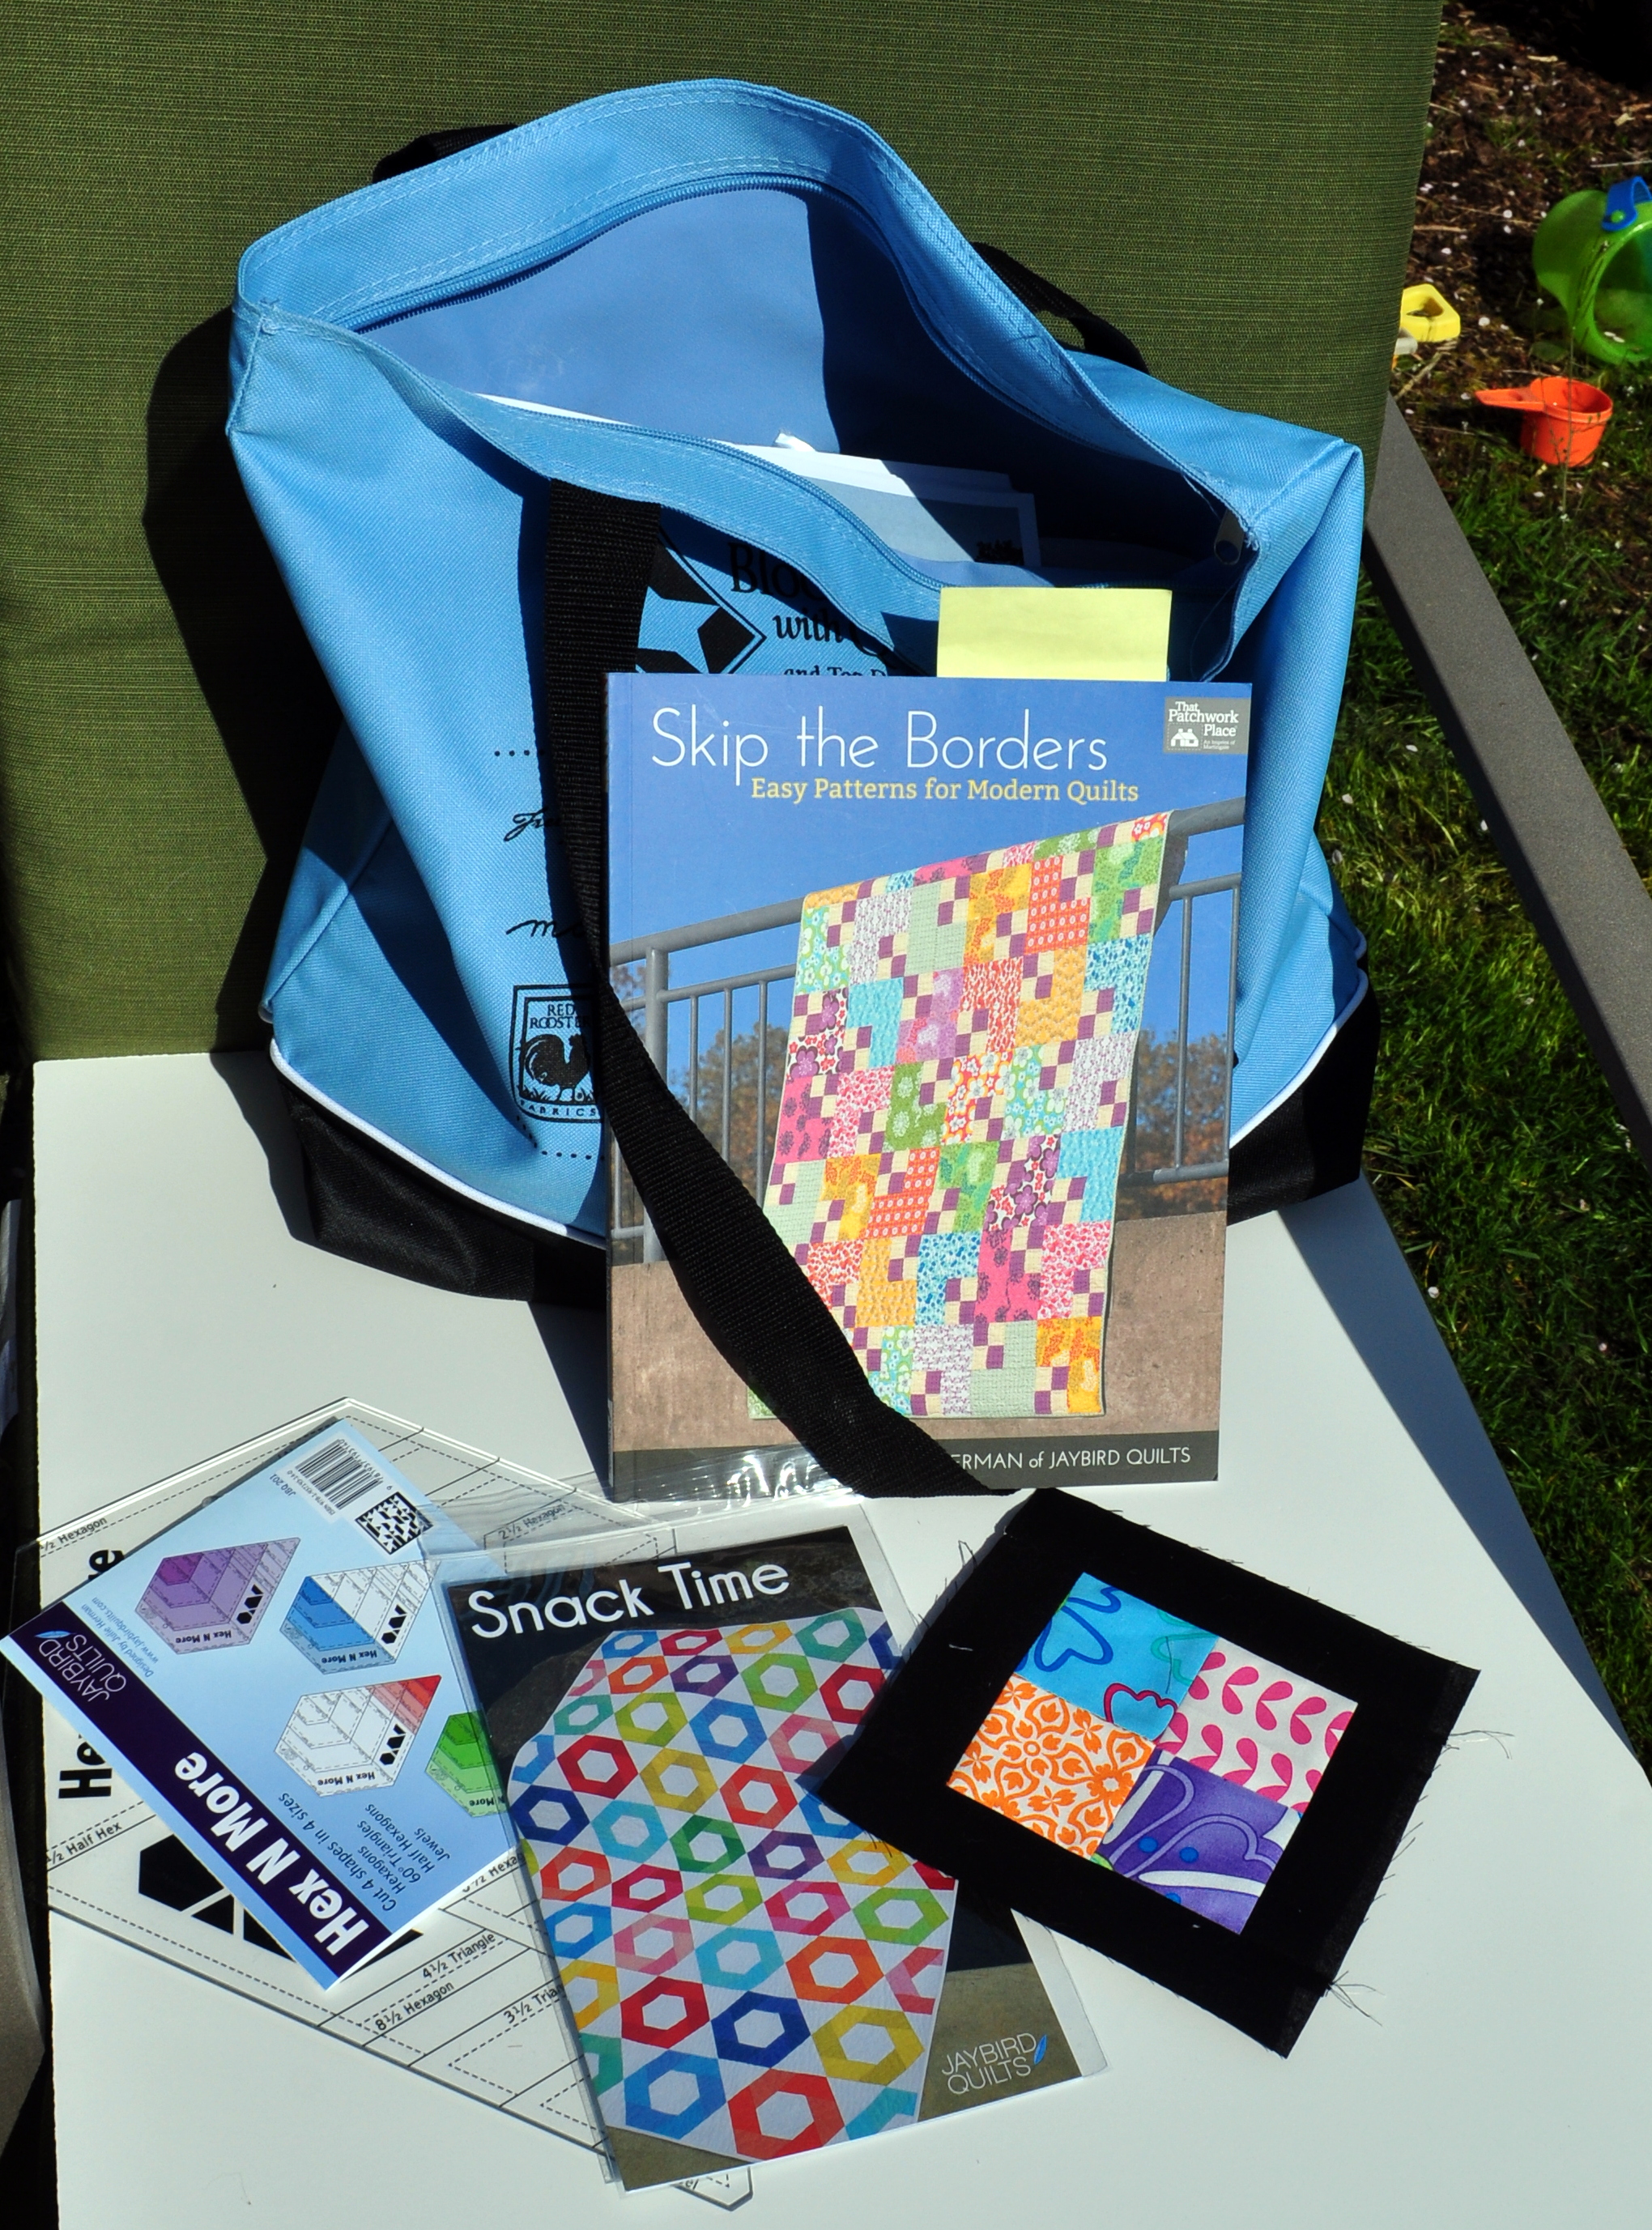
At the Block Party store, I took the opportunity to purchase Julie’s latest pattern called Snack Time plus her versatile ruler called Hex N More. I highly recommend this ruler because it makes cutting hexagons, triangles, half hexagons, and jewel shapes a snap.

Here’s a pick of some of my purchased goodies:

Hex N More Ruler & Pattern

Hex N More Ruler & Pattern

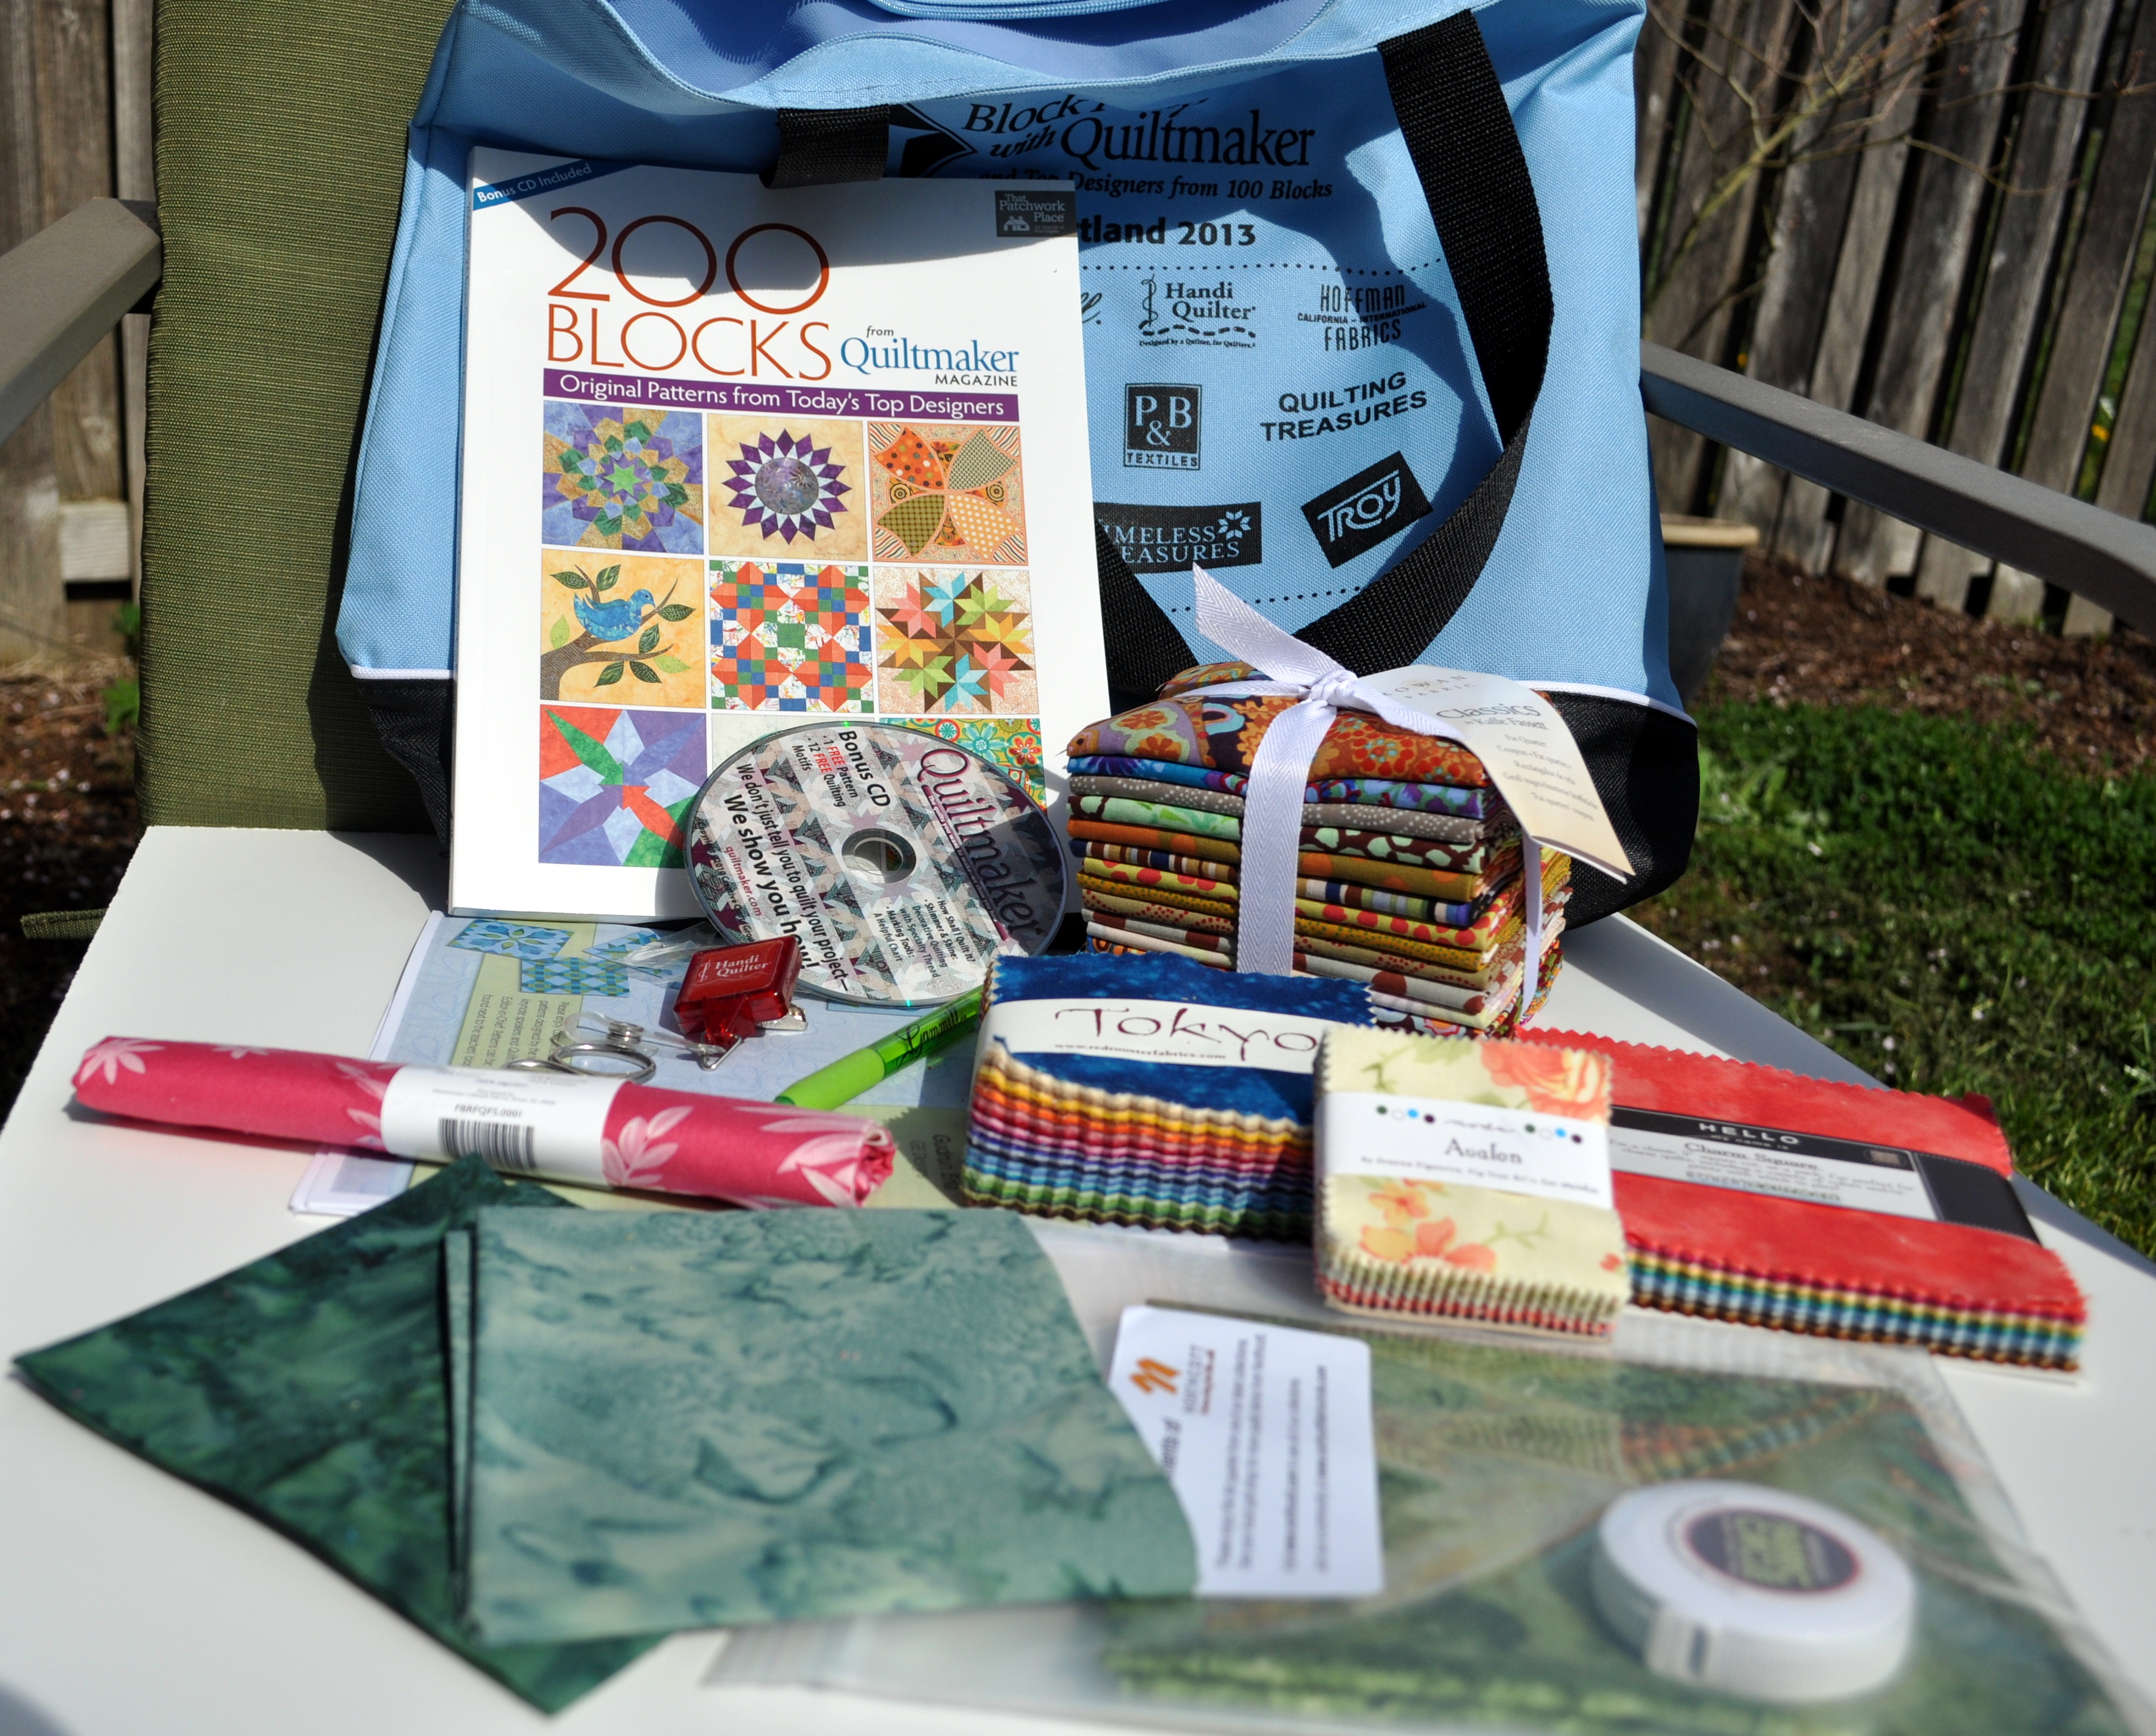
I really enjoyed experiencing Quiltmaker’s Block Party. I was so surprised to receive a wonderful swag bag stuffed with treasures! The bag itself is a sturdy blue canvas tote with a zipper that will be great for carrying quilting supplies to future events. Inside, I found the following:

  • 15 fat quarters of neutral classics by Kaffe Fasset
  • A swatch pack of Tokyo fabrics by Red Rooster plus a mini quilt pattern
  • A charm square pack of Fresco fabric (New July colors) by Robert Kaufman
  • A fat quarter and retractable ruler by Northcott
  • A mini square pack of Avalon fabric by Joanna Figueroa for Moda
  • Misc. fat quarters
  • Embroidery snips and holder from Handi Quilter
  • A pin and writing pen from Gammill
  • 200 Blocks book from Quiltmaker Magazine
  • Misc. patterns, program guide, etc.

Here are the treasures:

Block Party Goodie Bag

Block Party Goodie Bag

Wow – I’ve never received such a nice gift bag at any event before! I really hope that Quiltmaker comes back to Portland next year, and I’ll plan to take a vacation day or two to sign up for more classes!

Enjoy!
~Jennifer

25% Discount on Craftsy Paper Piecing Class!

Paper piecing is one of my favorite quilt making techniques! I’m happy to share with my blog readers a special 25% off discount to enroll in Carol Doak’s new Craftsy class called Mastering Foundation Paper Piecing. Just use this link.

The class has 8 lessons and covers all your paper piecing questions from the basics to learning how to join intricate blocks.

I’ve taken a class with Carol before and she is a great instructor! I also use her paper piecing techniques and have posted some of her blocks and projects on my blog throughout the past year.

Hope to ‘see’ you in class!
~Jennifer