Black Diamonds Quilt

Hi everyone,

I completed a new quilt called Black Diamonds from the Fat Quarter Shop. This quilt features a new ruler called the half triangle trimmer, which helps you to create perfect 2″ x 4″ half rectangle blocks.

If you purchase the supplies for this quilt using the links in my post, I get a small percentage of the sale to help offset the costs of running this blog. I appreciate any and all purchases via my affiliate links!!

Quilt Kit and Pattern Available Soon!

The Fat Quarter Shop will be announcing this new quilt pattern and quilt kit later in August or early September so watch for an announcement on their social media. The quilt kit will feature a fabric line called “Create” by Alli K Designs.

The half triangle trimmer is now available to purchase.

Let’s Take a Look at My Project!

For my version of the quilt, I used the Too Cute to Spook line by Me and My Sister Designs. I thought this pattern would make a really cute Halloween themed quilt.
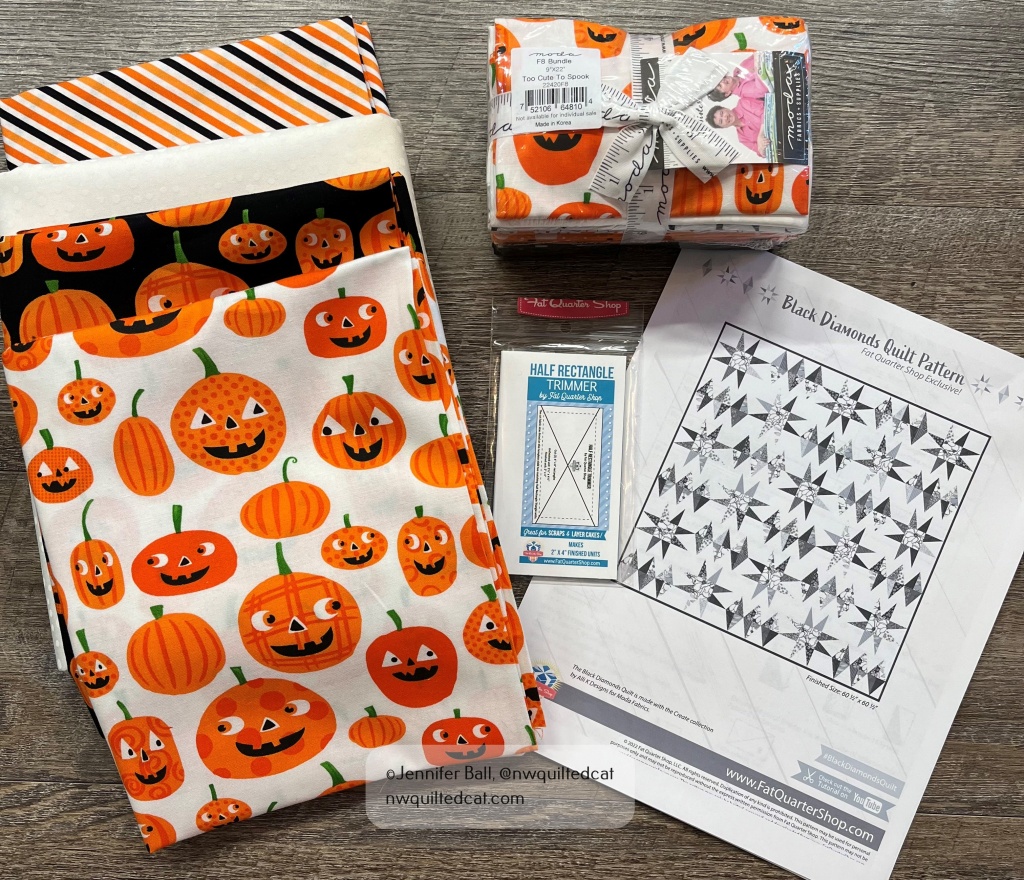
Supplies for my Black Diamonds quilt: Too Cute to Spook Fat Eighth bundle, background fabric, pumpkin fabric for center blocks, binding fabric, half rectangle trimmer, and pattern

This pattern is really simple to make because it only contains 2 blocks: a star block and a diamond block. Both blocks use the half rectangle trimmer. I decided to make a test block before cutting out all the pieces and chain piecing.

Here’s my test star block:
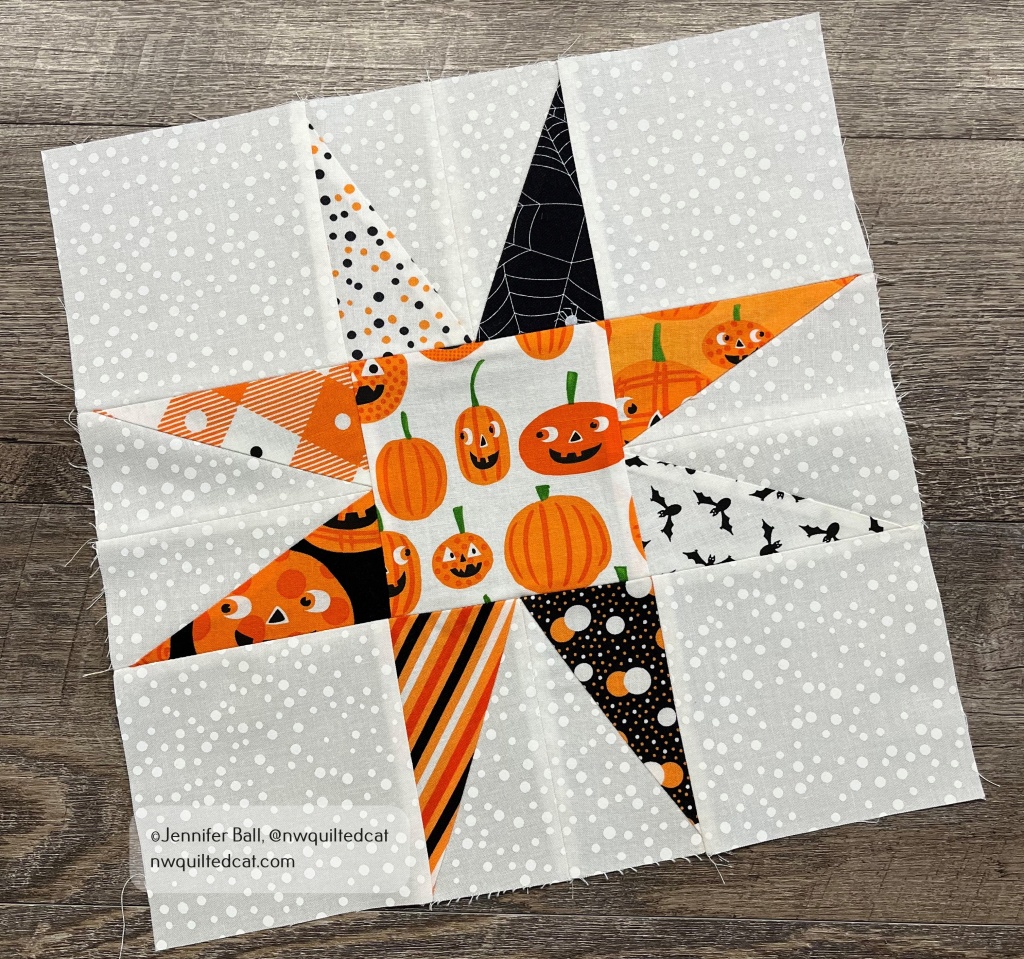
Black Diamonds quilt: a test star block

Usually, star blocks are made with half square triangles so I really like the look of this elongated star using the half triangle trimmer tool. It’s a really fun shape! I also made a test diamond block, which went together perfectly.

I decided to go for it and cut out all of my fabric pieces according to the directions. For my center squares in my star blocks, I used the same fabric for consistency. If you decide to go this route, then you’ll need a 1/2 yard of fabric. If you go scrappy, then you could use fat eighths or fat quarters.

TIP: A Stripology ruler saves you so much time and effort when cutting out strips of fabric.

I chain-pieced the star block units first and then the diamond block units. In this pattern, pay special attention to directions because you need to make right-side facing units and left-side facing units.

TIP: Use a Sue Daley rotating cutting mat when trimming your half rectangle units. As a bonus, I also use this mat to cut out pieces for English paper piecing.

Here’s a look at all my completed star blocks and diamond blocks:
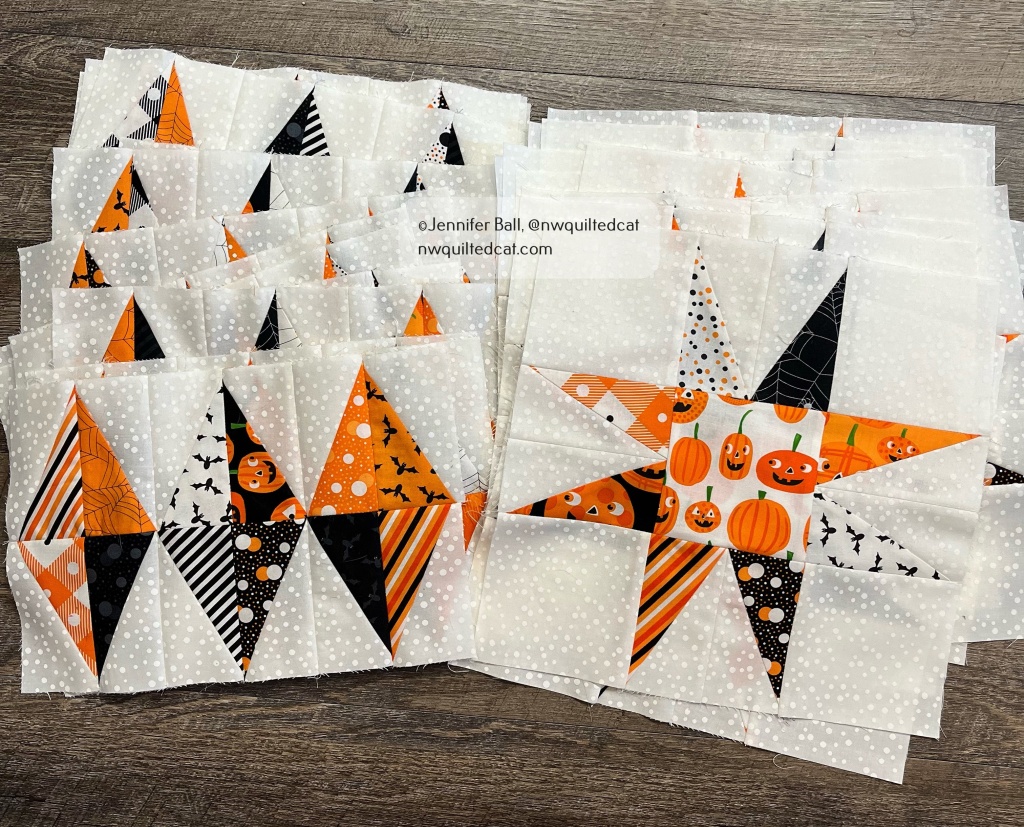
Completed blocks for the Black Diamonds quilt

Aren’t they cute? When I pieced the units together, I didn’t worry about having 2 of the same fabrics touching each other. There is so much movement in the finished quilt that no one will notice!

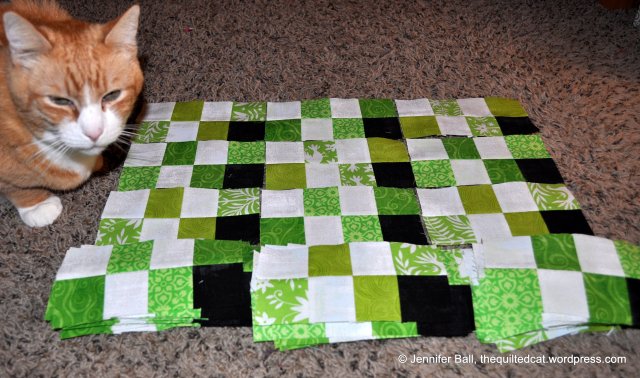
After I had completed all these blocks, I laid them out on the floor with the help of my quilt assistant. As a way to check my placement, I usually take a picture with my cell phone. This picture helps to identify any block placement mistakes, and it also helps me to remember what order I need to sew the blocks.
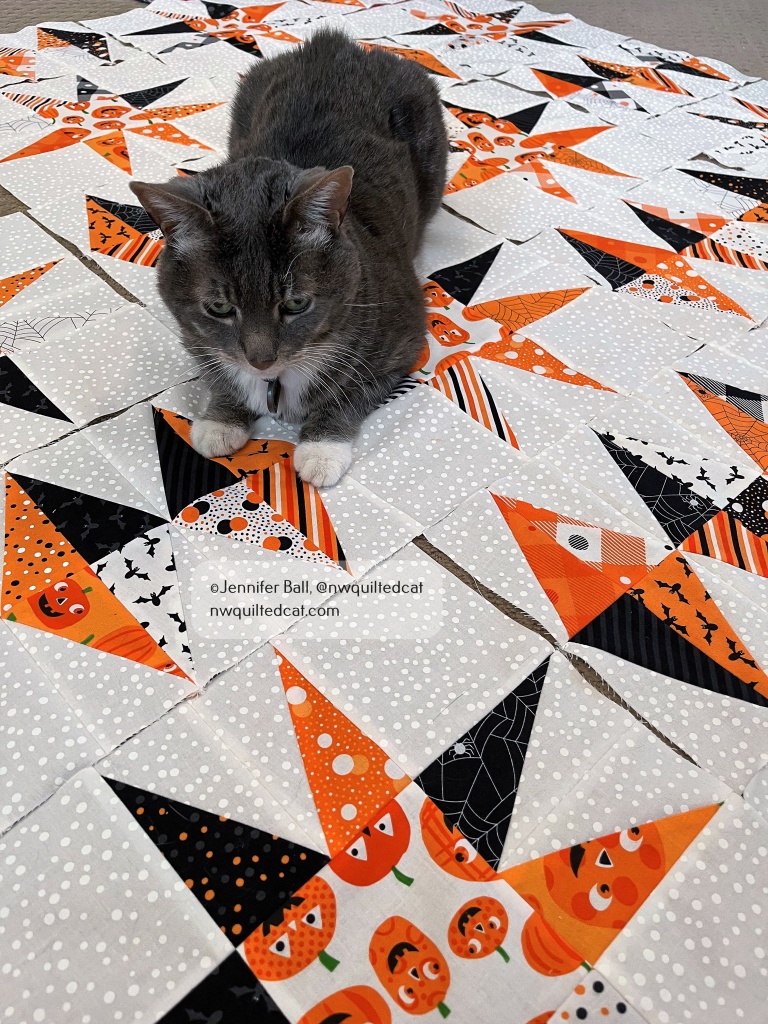
My quilt inspector checks my block placement!

My quilt inspector sometimes likes to rearrange things when I’m not looking! I sewed the rows together and finished the quilt flimsy in time to take on a little mom and son hiking trip. My son was a good sport and held up the quilt top while I took a quick picture.
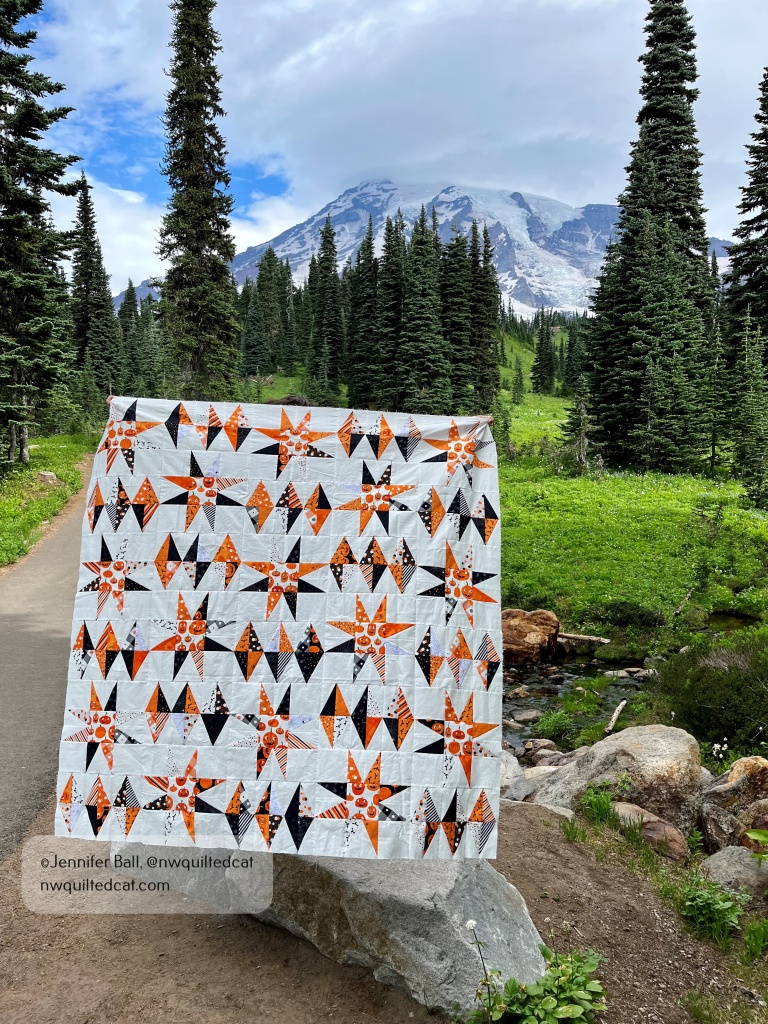
Black Diamonds quilt flimsy

Once home from our short adventure, I decided to quilt it with an open free-motion stipple pattern using white thread. For the binding, I used a striped fabric from the Too Cute to Spook line, which I think is the perfect finishing touch for this quilt!

Here’s a look at my completed Black Diamonds quilt, Halloween style!!

Completed Black Diamonds quilt

This quilt finishes at 60.5″ x 60.5″ so it’s a perfect lap size. You can easily enlarge it by making more blocks to expand it, and be sure to watch the Fat Quarter Shop for a blog post announcing the pattern and quilt kit plus a look at all the sample quilts. Watch for a live tutorial by the Fat Quarter Shop launching on September 8th.

Enjoy!

~Jen

Grand Illusion – We Have Greens!

Greetings!

For those of you following along with Bonnie Hunter’s latest mystery quilt, Grand Illusion, we got to play with our green fabric this week for clue #3! The instructions are still available from now until spring on Bonnie’s blog if you want to join in at any time.

For my quilt, I am mostly using Moda Grunges. For the greens, however, I am adding interest by using 4 different bright greens which match to Bonnie’s color recommendation. For more on the recommendations, see my earlier post here.

These are my greens:

  • Green Google It from the Giggles fabric line by Me and My Sister Designs
  • Swirly Scroll Lime from Wilmington Prints
  • Just Color Lime from Studio E Fabrics
  • Celery from the Folklore line by Lily Ashbury for Moda

I mostly stitch on the weekends and in the evenings after work so I finished assembling these units for part 3 tonight.

As I turned around to grab my camera, my quilt inspector sneaked in behind me and decided to pose with the blocks.

Greens in part 3 of the Grand Illusion Mystery quilt!

Greens in part 3 of the Grand Illusion Mystery quilt!

I’m making half the total number of units for a smaller quilt. Since we’ve now finished three clues, here are my units together:

Tiger with the first 3 clues for Grand Illusion

Tiger with the first 3 clues for Grand Illusion

This is going to be a very bright and cheerful quilt! Tonight, I had hoped to go to a local quilt guild meeting, but hubby and I are in the process of repainting some rooms. One of those rooms is my quilting room so everything is quite hectic and unorganized. I can’t wait to get the new color on the walls and reveal it here soon.

Happy stitching!

~Jennifer

Homespun & Holly Holiday Workshop!

This weekend, I was delighted to attend the 5th annual “Homespun & Holly” holiday workshop at one of my all-time favorite quilt shops, Hollyhill Quilt Shoppe!

The event features 4 different holiday themed projects by some very talented designers! The projects are not revealed until the event. Participants rotate between the 4 designers so each attendee gets to make each project.

My first project station was with Karla Eisenbach of Sweetwater. She had such a fun little tree ornament project called “Embellished Trees.” She provided enough materials for each person to make 5 of these little trees, and I was able to complete 2 during class.

Karla also designed one of my favorite fabric lines called “Mama Said Sew.” I brought my completed project from the Star Surround QAL and asked her to sign the label. Here’s a picture of me and Karla with my quilt featuring her fabric line (I’m the one in the solid black shirt):

Jennifer and Karla with quilt featuring Mama Said Sew fabric

Jennifer and Karla with quilt featuring Mama Said Sew fabric

For my second project, I rotated to Debbie Busby of Wooden Spool Designs. Her project was a cute little holiday felt wreath called “Crazy Hex Ornament.” I finished about half of this project in class and finished the rest at home. Debbie had this great little tool called the “Clover Chaco Liner Chalk Wheel” that we used to draw around our hex template onto the black felt. I must get one!!

I arrived at Anne Sutton of Bunny Hill Designs’ station for my third project. I was so excited to meet Anne because I had just finished sewing on the outer border of her Merry Merry Snowman quilt just the night before. I asked her to sign my quilt label. Her project was my favorite because it featured an adorable little snowman popping out of a mitten called “Cozy Christmas!”

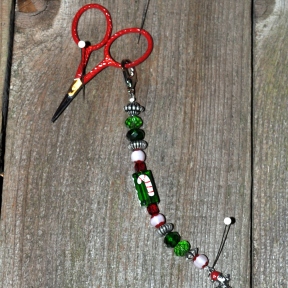
For my last station, I went to visit the cheerful sister duo, Barb & Mary of Me & My Sister Designs! They had the cutest little scissor and bead project for us that only took a short time to assemble. As a bonus, they had a short game for everyone at the table and the top 6 finishers won a free pattern! They also took everyone on a “field trip” to Hollyhill’s companion store across the street featuring Christmas fabrics, quilt kits, and decorations. This store is called Boughs of Holly and is a wonderful place to visit!

Lastly, Brian and Jan, the owners of Hollyhill and organizers of this wonderful event, gave each attendee a special gift. Inside the package, I found yummy chocolates, a snowman ornament, a pattern, thread, and 2 Aspen Frost mini charm packs to make the pattern.

Homespun & Holly Gift Bag

Homespun & Holly Gift Bag

I had such a great time and really hope that “Homespun & Holly” will return in the future. I’d like to thank Brian and Jan as well as the wonderful staff of Hollyhill Quilt Shoppe for making this year’s event such a treat! I’d also like to thank all the talented designers who came to visit and share their special projects with everyone!

I’m so inspired to finish up my holiday sewing and crafting projects!

Enjoy!
~Jennifer

Boxed In Class at Quiltmaker’s Block Party

In an earlier post, I showed the quilt that I won by finding the lucky golden ticket at Quiltmaker’s Block Party in Portland last weekend. With this post, I want to talk about the class that I took and show a photo of the fabulous goodie bag that all the attendees received.

I signed up for a class with Julie Herman of Jaybird Quilts called Boxed In. You can find this pattern in her book entitled Skip The Borders: Easy Patterns for Modern Quilts. In addition to Boxed In, you’ll find patterns for another 14 quilts so it is a great book to add to your quilt book library.

Julie’s patterns are fresh, fun, and appealing to sew. Boxed In is the perfect pattern to use with one of those pretty jellyrolls that you find in local quilt stores (2.5 inch pre-cut strips rolled together). I went with a bright, spring-like fabric line called Ticklish (Me and My Sister Designs for Moda). In the class, I had enough time to finish about 4 blocks. I need to make another 9 full blocks, 4 partial blocks, and 4 corner blocks. The pattern comes together pretty quickly so I hope to be able to finish my quilt soon!

Here’s a look at my four completed blocks:

Boxed In Blocks

Boxed In Blocks

In the class, Julie helped students ‘audition’ fabric choices for the sashing strips. Originally, I was going to use white and purple, but we decided that the black fabric made the Ticklish 2.5-inch squares really pop! I can’t wait to see the finished result.

At the Block Party store, I took the opportunity to purchase Julie’s latest pattern called Snack Time plus her versatile ruler called Hex N More. I highly recommend this ruler because it makes cutting hexagons, triangles, half hexagons, and jewel shapes a snap.

Here’s a pick of some of my purchased goodies:

Hex N More Ruler & Pattern

Hex N More Ruler & Pattern

I really enjoyed experiencing Quiltmaker’s Block Party. I was so surprised to receive a wonderful swag bag stuffed with treasures! The bag itself is a sturdy blue canvas tote with a zipper that will be great for carrying quilting supplies to future events. Inside, I found the following:

  • 15 fat quarters of neutral classics by Kaffe Fasset
  • A swatch pack of Tokyo fabrics by Red Rooster plus a mini quilt pattern
  • A charm square pack of Fresco fabric (New July colors) by Robert Kaufman
  • A fat quarter and retractable ruler by Northcott
  • A mini square pack of Avalon fabric by Joanna Figueroa for Moda
  • Misc. fat quarters
  • Embroidery snips and holder from Handi Quilter
  • A pin and writing pen from Gammill
  • 200 Blocks book from Quiltmaker Magazine
  • Misc. patterns, program guide, etc.

Here are the treasures:

Block Party Goodie Bag

Block Party Goodie Bag

Wow – I’ve never received such a nice gift bag at any event before! I really hope that Quiltmaker comes back to Portland next year, and I’ll plan to take a vacation day or two to sign up for more classes!

Enjoy!
~Jennifer