Reach for the Stars Quilt, Blocks 1-3

This year, I made myself a goal to improve my piecing skills. To achieve that goal, I’m participating in various online BOMs as well as working on the Reach for the Stars quilt. You can read about my start on this quilt as well as all my fabric selections here.

I’m using the delicious Sunnyside line by Kate Spain for Moda, along with several solids thrown into the mix.

I finished up part 2 of 7 this weekend, which included blocks 1-3. I really wanted to get an outdoors photo to show off the fabrics better, but couldn’t squeeze it in before work on Monday.

Here are close-up photos of blocks 1-3. You can click each picture to zoom in on the block.

These blocks will be placed on the top of the quilt, above the center medallion:

Reach for the Stars, Blocks 1-3 with Center Medallion

Reach for the Stars, Blocks 1-3 with Center Medallion

It was challenging to find a floor space big enough for a photo. I stood on a little chair to get high enough, and I’m really surprised that one of my quilt inspectors didn’t come to “rearrange” the blocks, lol!

Since this project stretches over a year or so, I decided to create a little fabric swatch card/cheat sheet.

Fabric Swatch Cheat Sheet

Fabric Swatch Cheat Sheet

This cheat sheet really helped me keep all my fabric placements correct for each block. In the past, I just had my chicken scratches on a piece of paper. I could just see myself confusing dark 2 with dark 3 or light tan with medium 1 if I didn’t have the little fabric swatches.

I cut out all the pieces for blocks 1-3 at the same time and kept them in individual groups with labels:
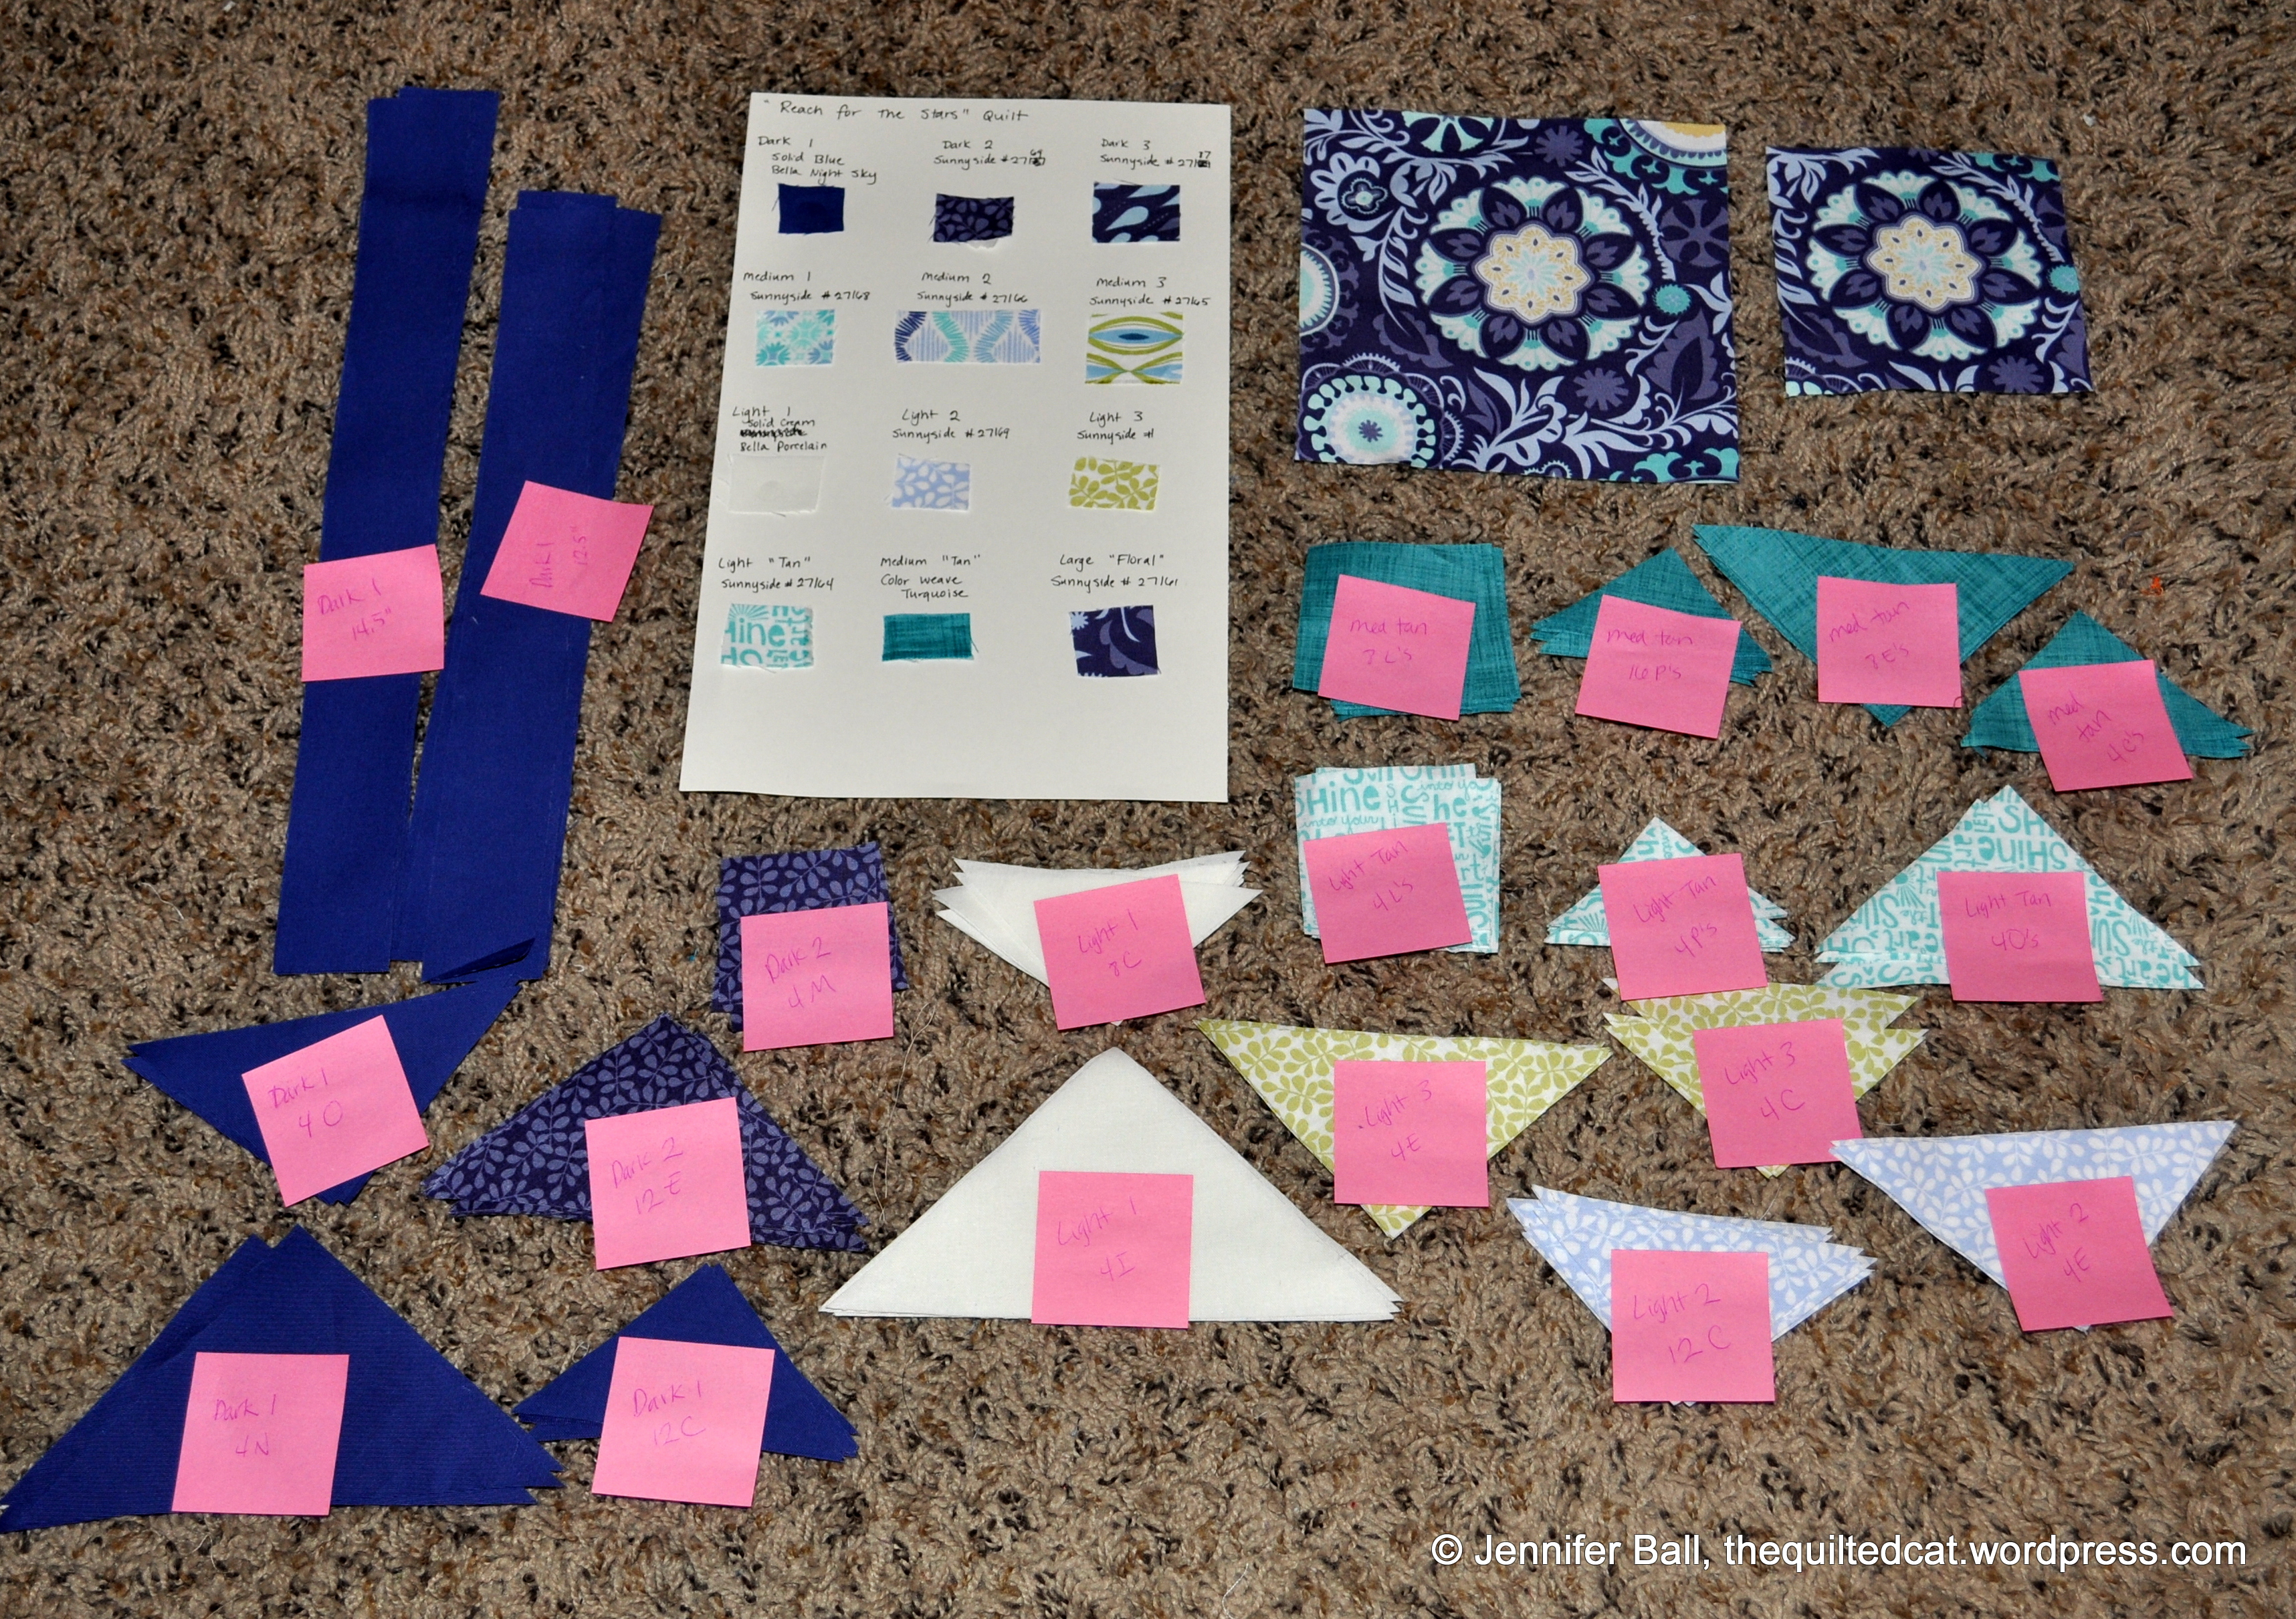
Cut Fabric Groups

Cut Fabric Groups

Now, if only I could be this organized with all my quilty projects!

I hope you enjoyed seeing photos of this evolving quilt. I still need to “catch up” on parts 3 and 4, which are already published in the magazine.

Happy quilting,
Jen

Happy Worldwide Quilting Day!

Did you know that today, March 15th, is Worldwide Quilting Day? Yippee – a special day devoted to our love of all things quilty.

I celebrated the event by purchasing some gorgeous fabric from a local quilt shop having a 20% off sale this week. I was drooling over the new Sunnyside line by Kate Spain for Moda. You can purchase this fabric online from Fat Quarter Shop if your local shop does not have it.

I didn’t have a specific project in mind until I saw the Reach for the Stars quilt on Dawn’s blog, First Light Designs. This quilt pattern features a medallion in the quilt center, something that I haven’t yet tried in a quilt. The design is by Terry Krysan and can be found in the Quilter’s Newsletter magazine as a 7-part series. Look for the October/November 2013 issue for the fabric requirements and the medallion instructions.

For my quilt, I’m using the Sunnyside line plus 2 Bella Solids (Night Sky and Porcelain) and 1 color weave in turquoise. I’m using Aurifil in Light Sand (#2000) for all the piecing. I really need to get an Aurifil thread color chart so I can pick out the best thread color for the quilting.

Here’s a quick iPhone picture of my medallion before I had it sewn together.

Tiger on Medallion

Tiger on Medallion

I finished sewing the borders onto the medallion this evening and tried to catch the last of the light. These pictures are a little grainy due to the low-light conditions, but I hope you see the beautiful Sunnyside fabrics!

Reach for the Stars Medallion

Reach for the Stars Medallion

Some of my points do not quite match up, but I can see definite improvement in my piecing skills over the last year.

Of course, one of my cat inspectors could not resist sitting on the medallion during my photo session. I could hardly keep him off the fabric so I guess he approves!

Cow the Cat on the medallion

Cow the Cat on the medallion

Once I finish piecing the top for my Star Light Star Bright QAL project, then I hope to be able to work on the next blocks on this Reach for the Stars quilt.

I hope you had a little time to do some sewing today!

Enjoy,
~Jennifer