Vintage Christmas Quilt Along, Month One Blocks

Hi everyone,

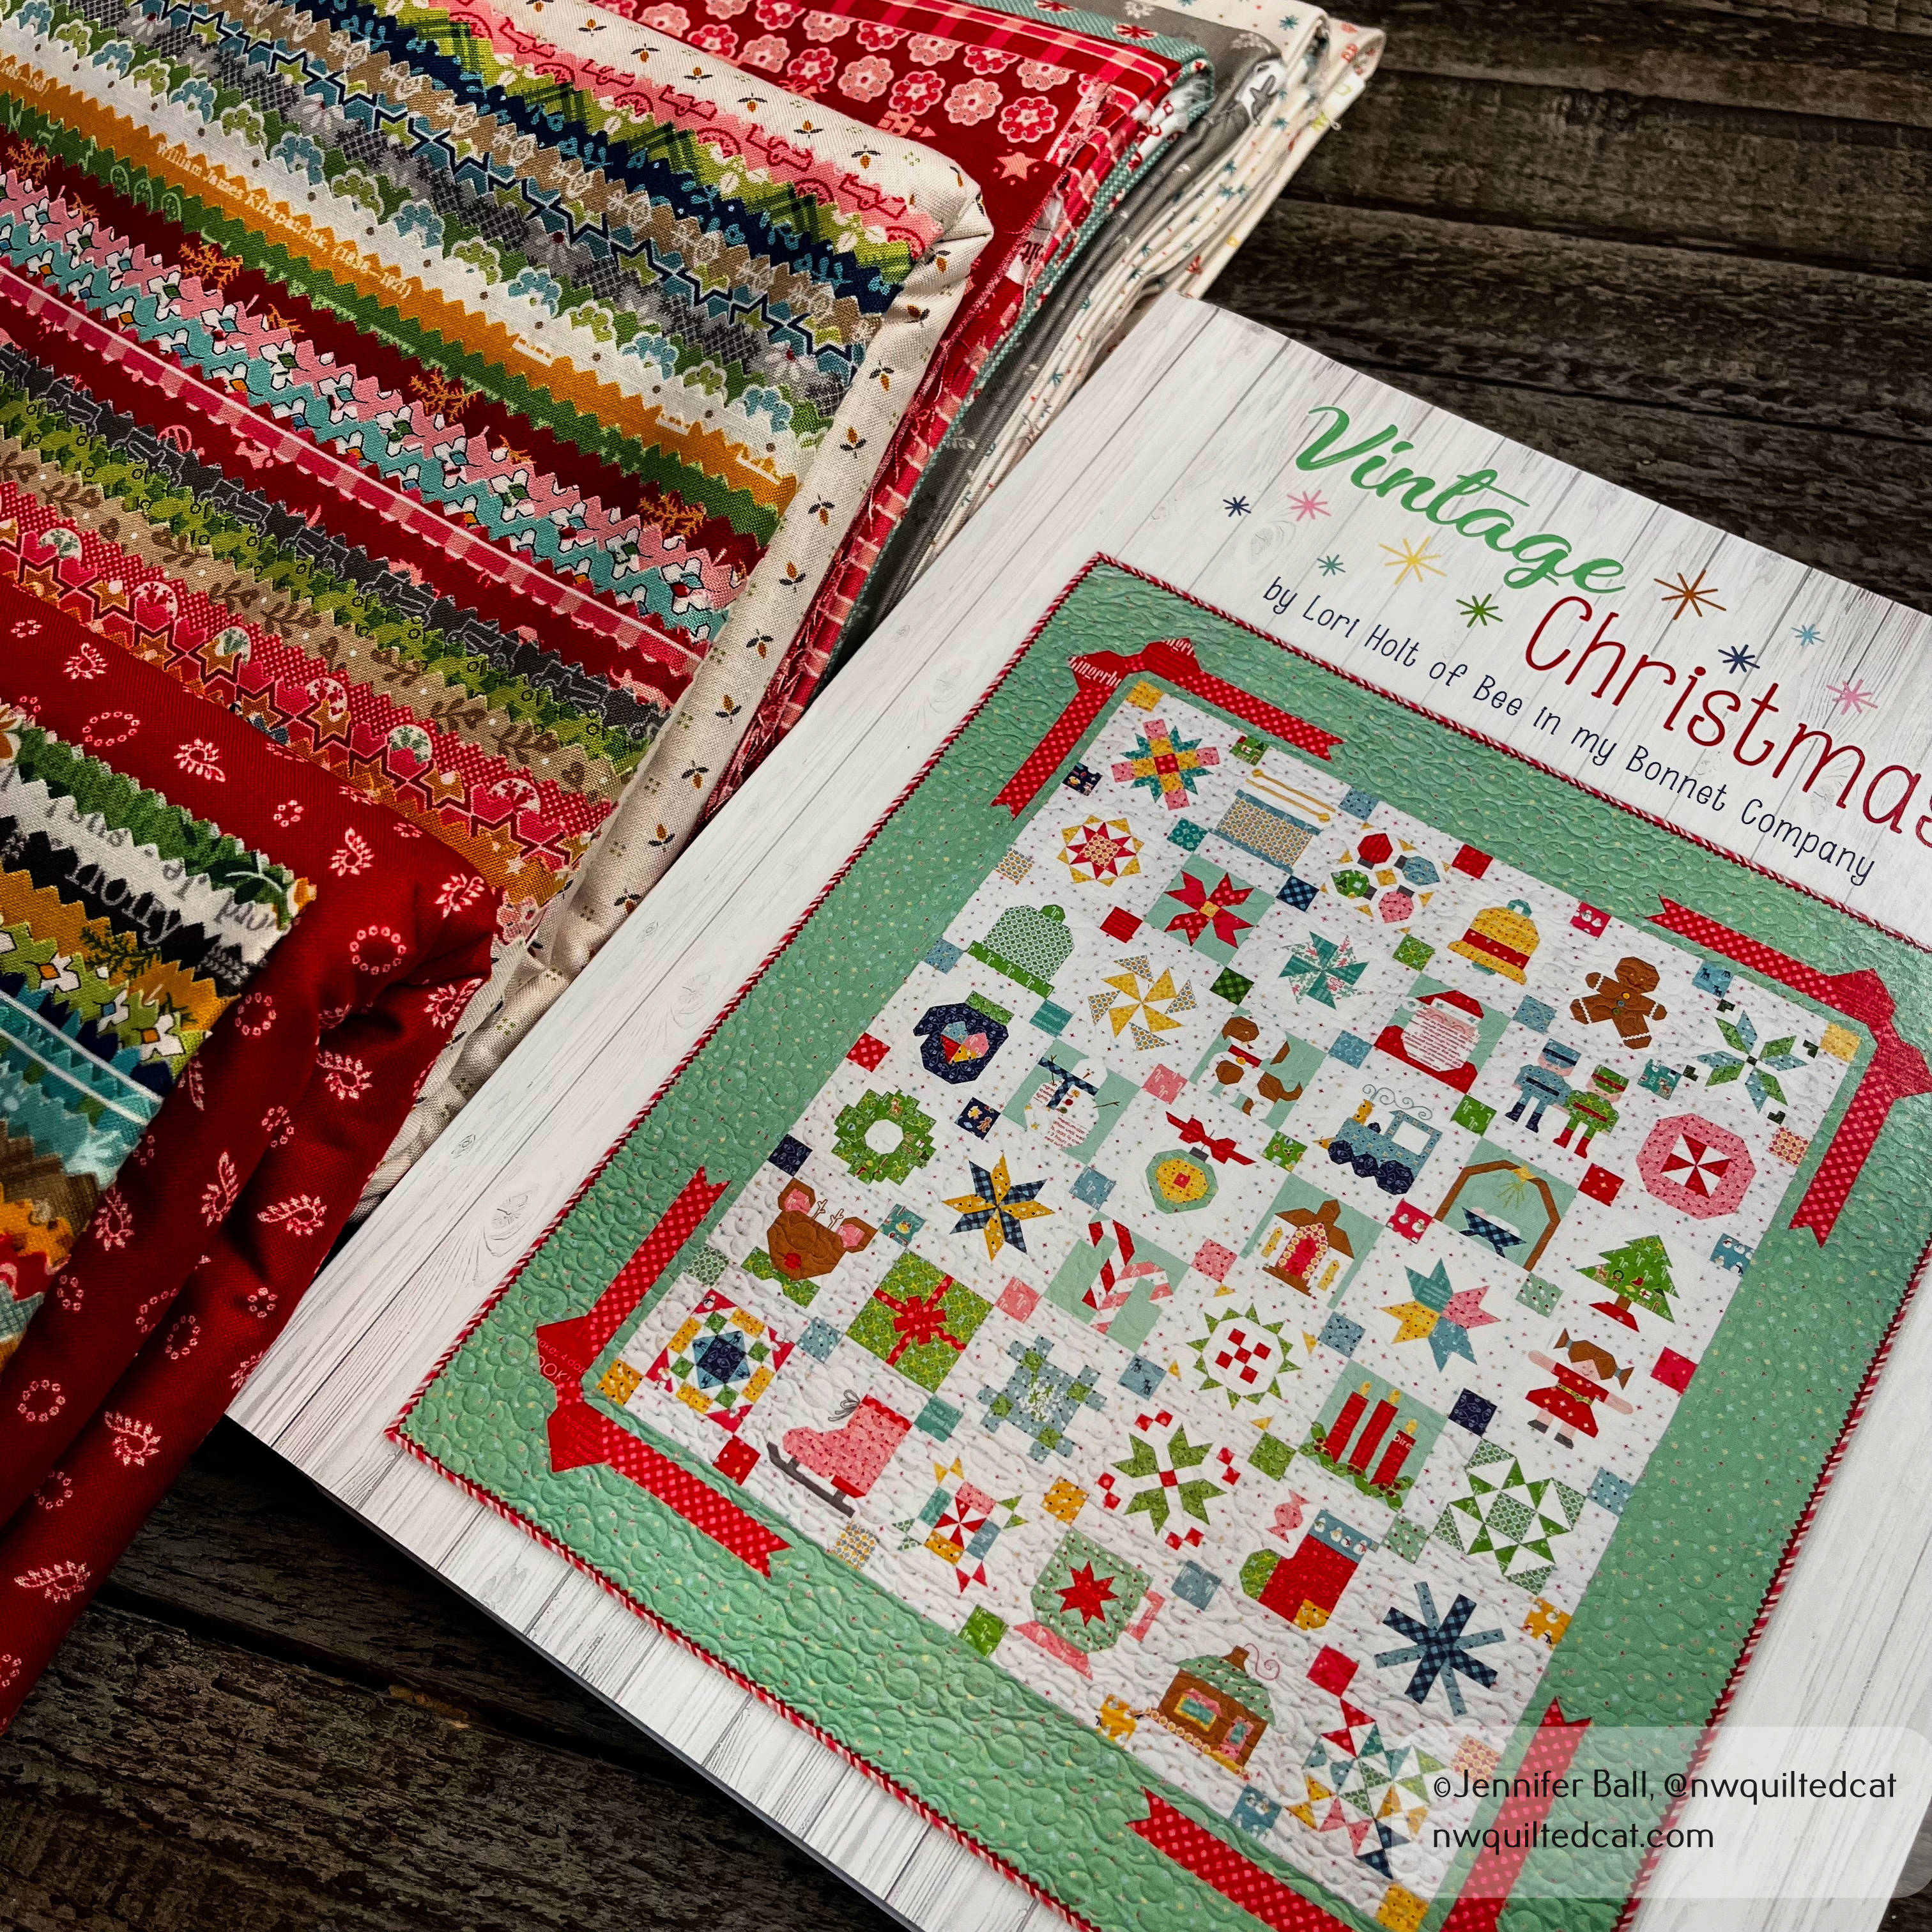
In my previous post, I talked about the new Vintage Christmas quilt along hosted by Fat Quarter Shop. This quilt along lasts 12 months and features blocks from Lori Holt’s book, Vintage Christmas. Each month, we’ll sew 4 blocks and you can join at any time!

Let’s take a look at my remaining three blocks from January (see my earlier post for details on the first block).

Candy Canes block

Vintage Christmas Quilt Along, Block 2, Candy Canes

This block came together pretty quickly. If you’re using directional fabrics, be careful how you place the reds/pinks and whites so they are all facing the same direction.

Candy Swirl Block

Vintage Christmas Quilt Along, Block 3, Candy Swirls

This block was the easiest to sew this month. Again, watch your directional fabrics if you want them to face the same direction. In this block, I kept the directional fabric going vertical for the outer ring. For the darker reds in the middle, I made two of the half-square triangles with the print oriented vertically and the other two with the print oriented horizontally.

Christmas Candles Block

Vintage Christmas Quilt Along, Block 4, Christmas Candles

This block has some very tiny 3/4″ pieces! The are situated in the candle flames and in the greenery at the bottom. These small pieces are challenging so go slow. If I were to make this block again, I think that I’d foundation paper-piece those sections (by drawing my own pattern based on the block).

Vintage Christmas Quilt Along, First Four Blocks

Vintage Christmas Quilt Along, First Four Blocks

You’ll notice that three of these blocks have a darker background fabric, and one block has a lighter background fabric. I’m using the kit from Fat Quarter Shop so these blocks will all pop nicely against the sashing when I put the blocks together.

Join me again in February where we’ll make four more blocks! Let me know in the comments if you are quilting along with this BOM. I’d love to see your progress. You can also follow my progress at Instagram at @nwquiltedcat.

Happy quilting!

Jen

A New Year and A New Quilt Along!

Wishing you all a very happy 2025! We started the year off with a short hike through a beautiful forest. The trail contained so many hues of green from the giant sword ferns to the mosses to the trees. The trail was quite muddy from all of our recent rain, but we were fortunate to have cloudy conditions and no rain during our walk.

For 2025, I’m doing a themed quilt along with the Fat Quarter Shop called Vintage Christmas. For this sew along, you’ll need this quilt book by Lori Holt. You can use your own fabrics or you can buy the quilt kit once it is restocked.

Each month, we’ll make 4 blocks, each finishing at 6-inches. The quilt along runs until December so you’ll have a beautiful quilt finished in time for Christmas 2025, assuming you can finish the quilting, ha, ha!

I’m using the quilt kit, and here’s a look at my book with some of the beautiful fabrics.

Vintage Christmas book and fabric kit for the quilt along

I do starch my fabric, usually one block at a time because I don’t have the time or space to starch the entire kit all at once.

When I work on these smaller 6-inch blocks with many pieces, I like to label them with Alphabitties and place them on little design boards. You can make design boards by using a foam board, batting scraps, and fabric scraps for the binding or purchase them here.

Vintage Christmas block one with Alphabitties on a design board for easier piecing

When sewing these blocks, go slow and careful to maintain accuracy. I do lower my stitch length slightly and backstitch where the pieces will be exposed on the edges. I don’t like to use steam in my iron so I do a final press when a hot, dry iron and Flatter spray. I also use wooden clappers and let the blocks cool completely with the clappers on top.

Here’s a look at block one called “Away in a Manger.”

Away in a Manger block – Vintage Christmas Quilt Along

I hope you’ll join me along in this festive quilt along. I’ll post the other month one quilt blocks this week to inspire you.

Happy quilting!

Jen

Hello Mr. Scarecrow!

Hi everyone,

In 2017, I joined a block-of-the-month program through a local quilt store. In this program, we made all of the blocks from Lori Holt’s Farm Girl Vintage book over the course of a year. I kept up each month, made the blocks, and then set them aside because I couldn’t decide on a quilt layout.

Later on, I made a few more blocks from Lori’s second book, Farm Girl Vintage 2, because the new animal blocks were so cute! I couldn’t decide which blocks to keep so I decided to combine all of my blocks into a quilt layout. I also couldn’t resist adding the little dog from her book, Spelling Bee, because what is a farm without a dog?

Here are a few of my blocks going up on my design wall. Hmm, what layout should I use?

Farm Girl Vintage blocks on my design wall

I played with a few layouts, turning blocks this way and that way. Then, I decided to sew more blocks!!

My little farm needed a scarecrow out in the fields with the tractor. The Mr. Scarecrow block is from the Farm Girl Vintage 2 book, and is a fun addition to my quilt.

Look at all the pieces! I kept them organized by using Alphabitties, which are little plastic squares that you use to label block components.

Alphabitties – great labels to use while making blocks with many pieces

I use Clover Clips to attach the Alphabitties to the fabric pieces so that I don’t lose them in the chaos of my cutting table.

Here’s a look at my assembled Mr. Scarecrow block:

Mr. Scarecrow block

Hmm, I thought that Mr. Scarecrow could use a little friend so I made him one!

A crow joins Mr. Scarecrow in my Farm Girl Vintage quilt

I will hand embroider Mr. Scarecrow’s facial features before I start the quilting. I plan to add this block in front of the tractor in my final layout.

This quilt is so bright and cheerful, and I’m having a blast figuring out how to assemble it into a unique layout. Stay tuned to see how I finish this quilt.

Happy quilting!

~Jen

Farm Pig Mini Quilts

Hi everyone,

Recently, I decided to make a cute little Penny the Pig block from Lori Holt’s Farm Girl Vintage 2 book. I had some pig themed fabric on hand called State Fair by Windham Fabrics. Why not combine them?

I pulled in other pieces from my stash for the ears, nose, feet, and the ground. The background is hand-dyed Cherrywood. I made the 12″ block size.

Penny Pig block from Farm Girl Vintage 2 book

Isn’t this just the cutest little block? In fact, I decided to make a second one to gift to my sister.

As these blocks are small, I went ahead and quilted them side-by-side using a ruler to create diagonal lines and Glide thread in Cotton Candy.

Quilting the pig blocks

After I quilted them, I decided each little pig needed a name. I didn’t want to name them both “Penny” so I kept one named Penny and one named Mabel.

But how to distinguish them? How about a fun embellishment? I added letter beads on colored jewelry wire to the top of each quilt after I finished the binding.

Completed pigs with names

I gifted one pig to my sister, and she loved it! I have the matching one hanging in my sewing room.

Happy quilting!

~Jen

Finished Bubblegum Kisses Mini Quilt

Hi everyone,

Each month, I love receiving the Sew Sampler box from the Fat Quarter Shop with exclusive patterns and notions. I’ve very behind on making the projects, but I finally completed a cheery and happy mini quilt recently called Bubblegum Kisses by Lori Holt.

This quilt finishes at about 23 1/2″ x 27 1/2″ and uses charm squares plus some background fabric. I started this quilt at a retreat in December 2017, pieced the top, and then set it aside in my to-do quilting pile. Yikes!

I pulled it out last week and found a pretty blue gingham fabric in my stash for the backing.

Here’s my quilt inspector, checking it out before quilting:

Romeo inspects my quilt sandwich

For quilting, I decided to do 1″ piano keys around the border. I also stitched-in-the-ditch around each block. I did a little free-motion meandering in between the blocks. I used Glide thread in Linen for all of the quilting. It is a nice creamy color that blended into the background fabric nicely.

Quilting Bubblegum Kisses

The binding came with the Sew Sampler box, and I love the aqua color! I finished the quilting and binding pretty quickly. I knew that I wanted to take a picture of the quilt outside, and I had a perfect opportunity this past weekend.

We hiked about 9 miles along the Pacific Crest Trail, near Mt. Hood. The temperature was perfect for hiking, about 65 degrees. The clouds played peek-a-boo all day with the mountain, but we lucked out and got terrific views.

There are so many wildflowers in bloom right now along the trail from pink rhododendron to white avalanche lilies to tall bear grass.

Here’s a picture of the finished Bubblegum Kisses mini quilt with some delicate avalanche lilies:

Bubblegum Kisses Quilt with Avalanche Lilies

These little wildflowers are just so pretty!

At our turn around point, we had an amazing view of Mt. Hood. I thought this was the perfect location for a quilt-in-the-wild photo!

Bubblegum Kisses Quilt Along the Pacific Crest Trail and Mt. Hood

What a beautiful location and great hike!

I recommended getting on the Sew Sampler wait list if you’re interested in these fun monthly project boxes! Spots do open up regularly. Now to get more projects finished!

Happy quilting!

~Jen