Hello Mr. Scarecrow!

Hi everyone,

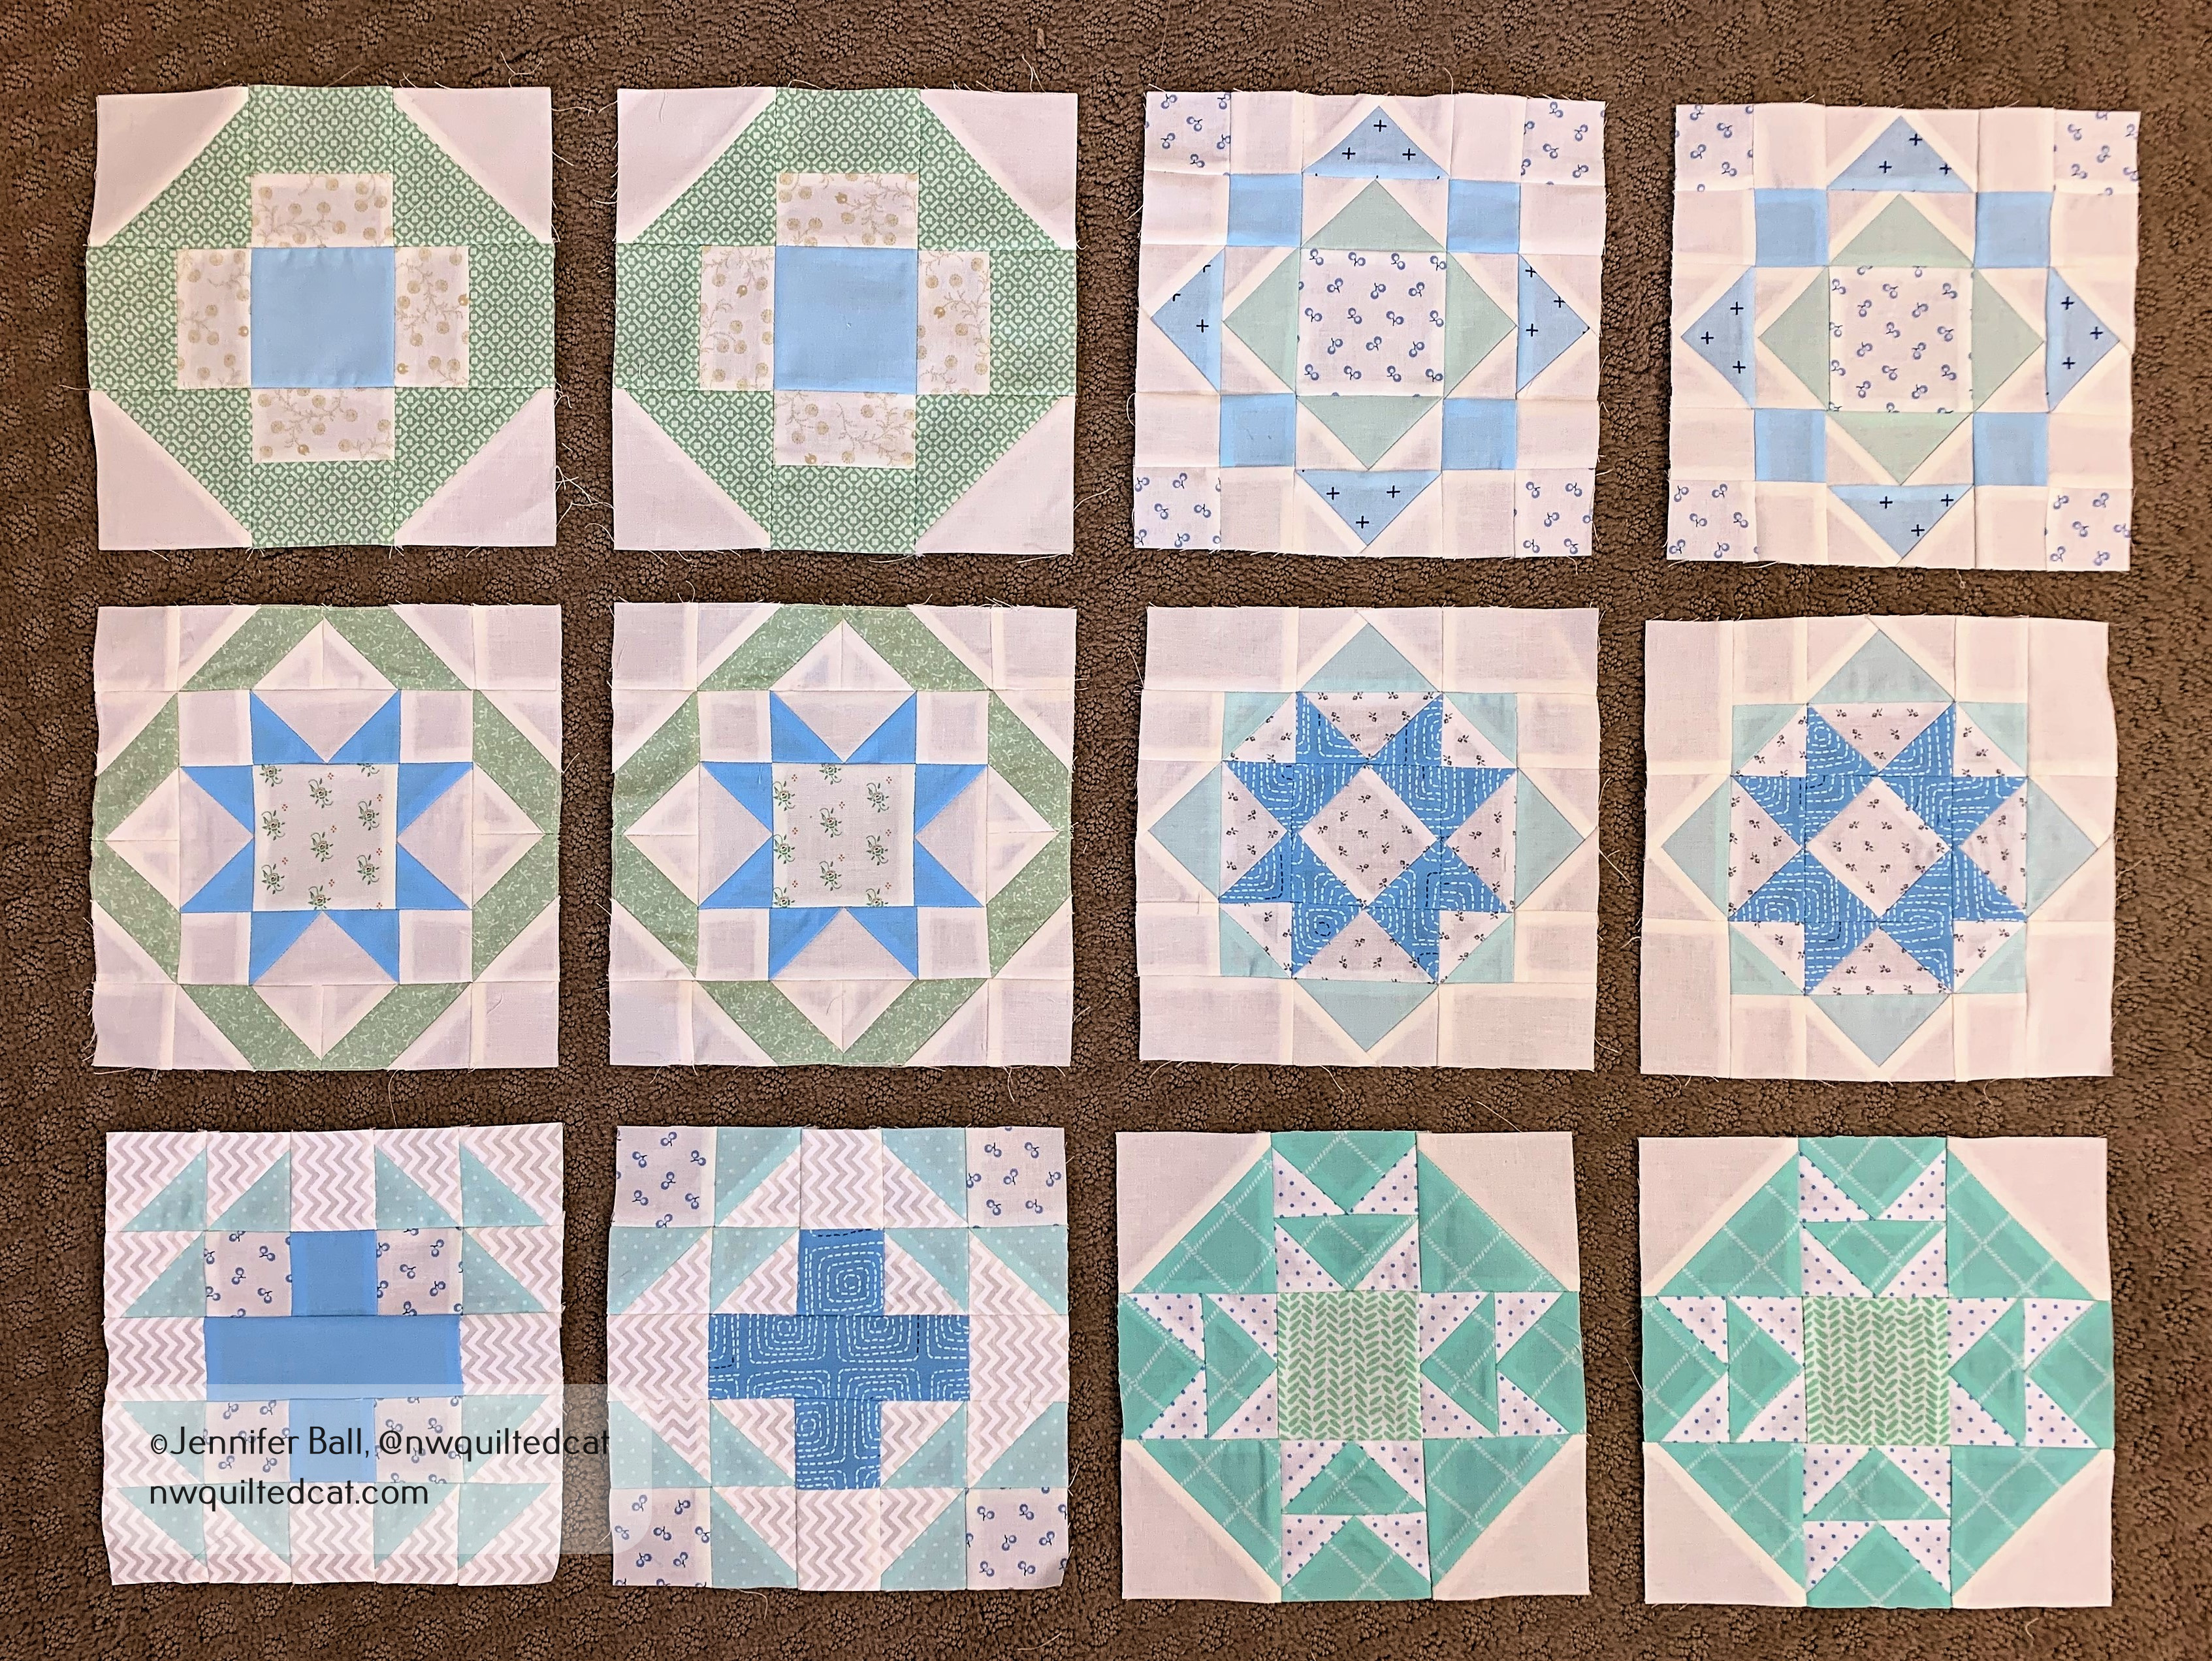
In 2017, I joined a block-of-the-month program through a local quilt store. In this program, we made all of the blocks from Lori Holt’s Farm Girl Vintage book over the course of a year. I kept up each month, made the blocks, and then set them aside because I couldn’t decide on a quilt layout.

Later on, I made a few more blocks from Lori’s second book, Farm Girl Vintage 2, because the new animal blocks were so cute! I couldn’t decide which blocks to keep so I decided to combine all of my blocks into a quilt layout. I also couldn’t resist adding the little dog from her book, Spelling Bee, because what is a farm without a dog?

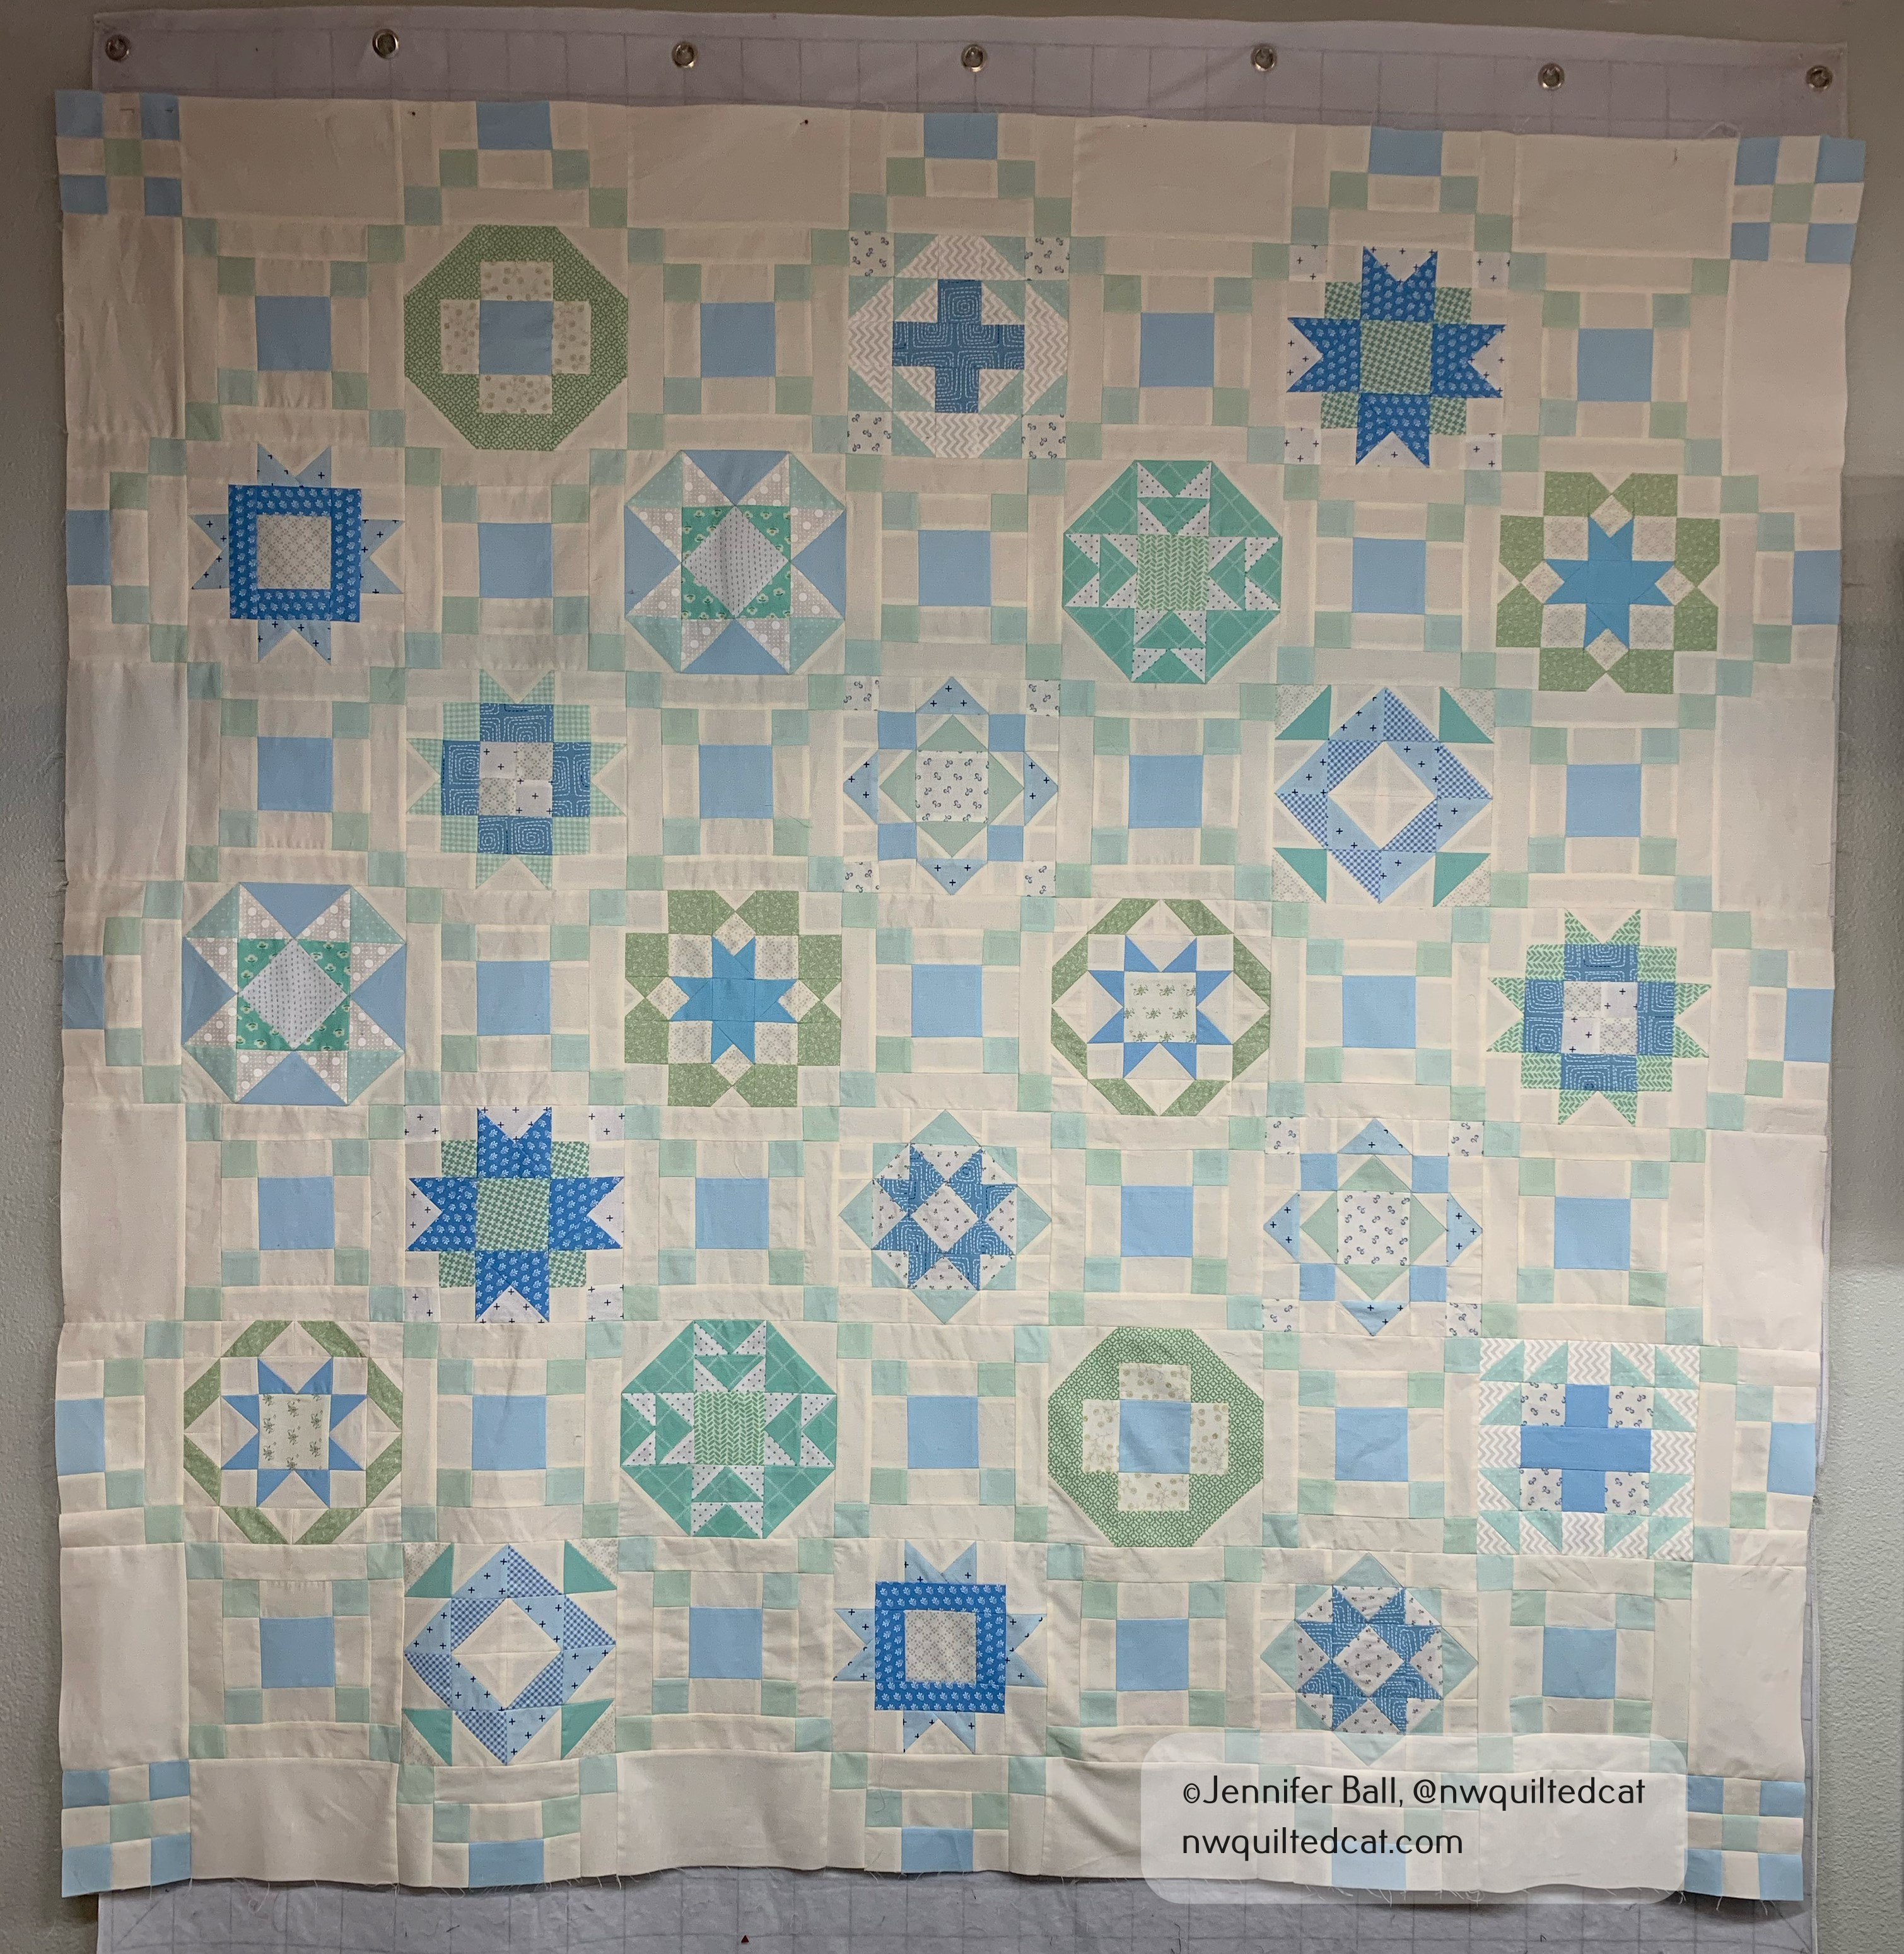
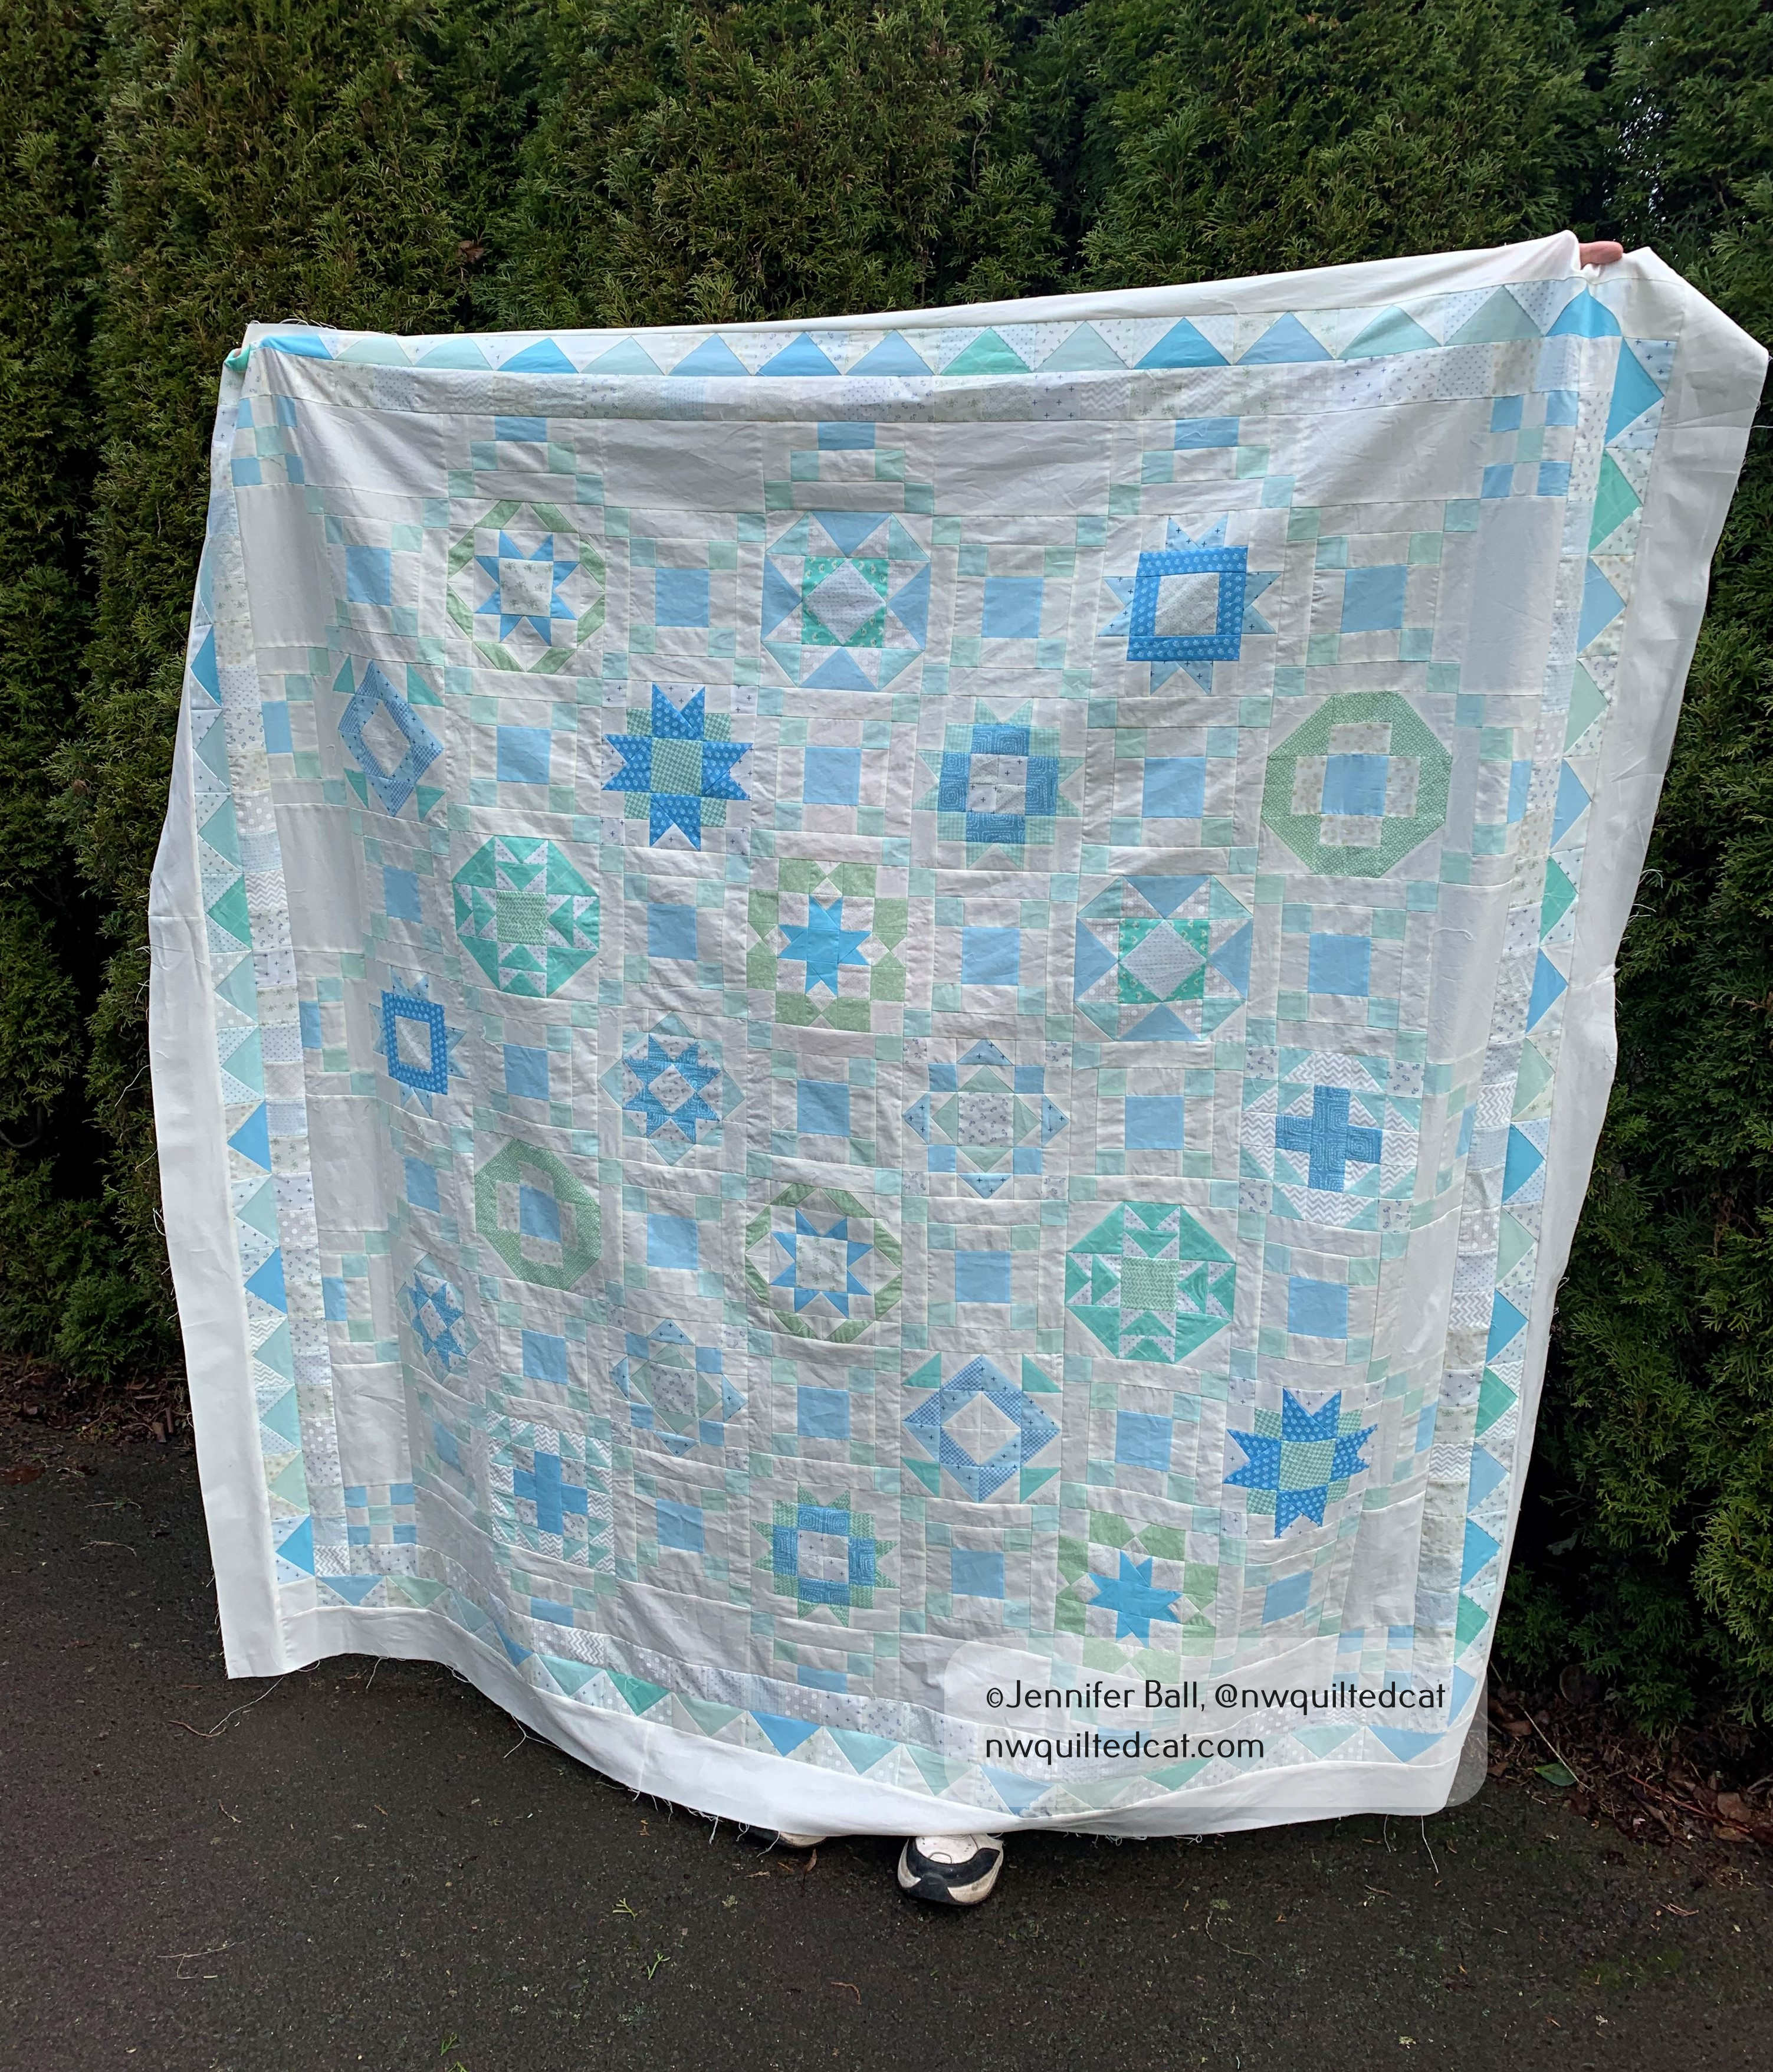
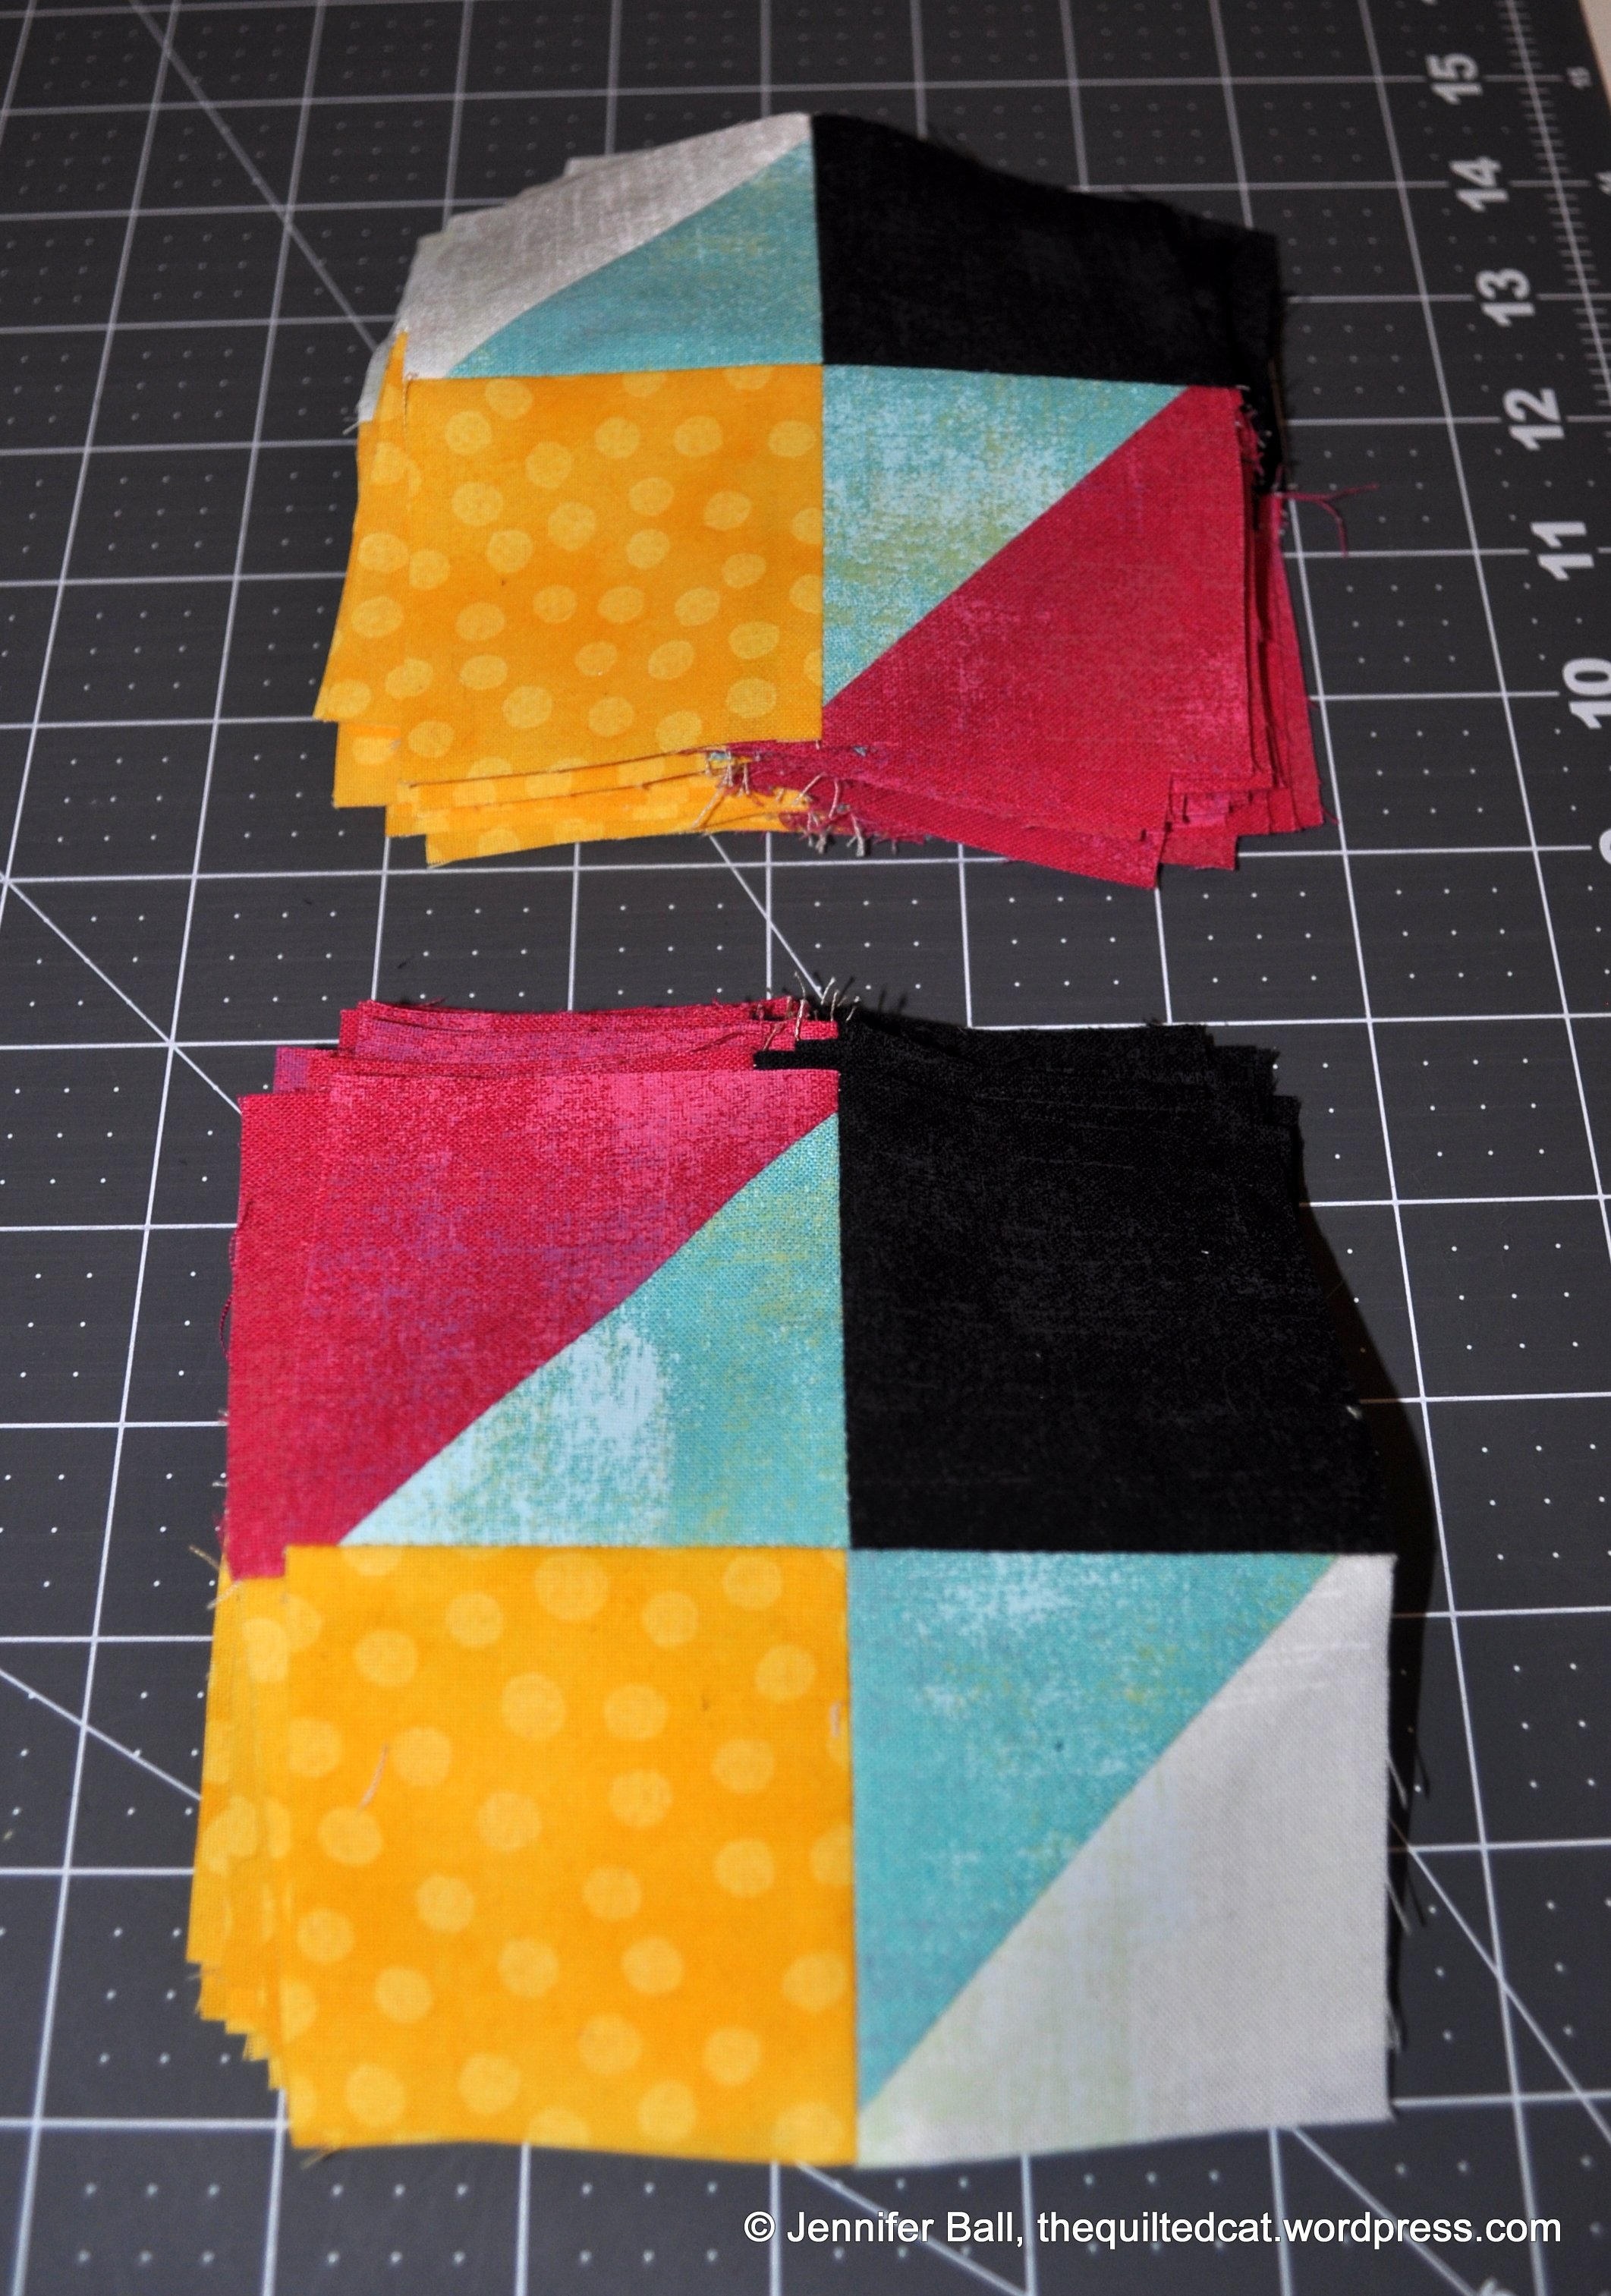
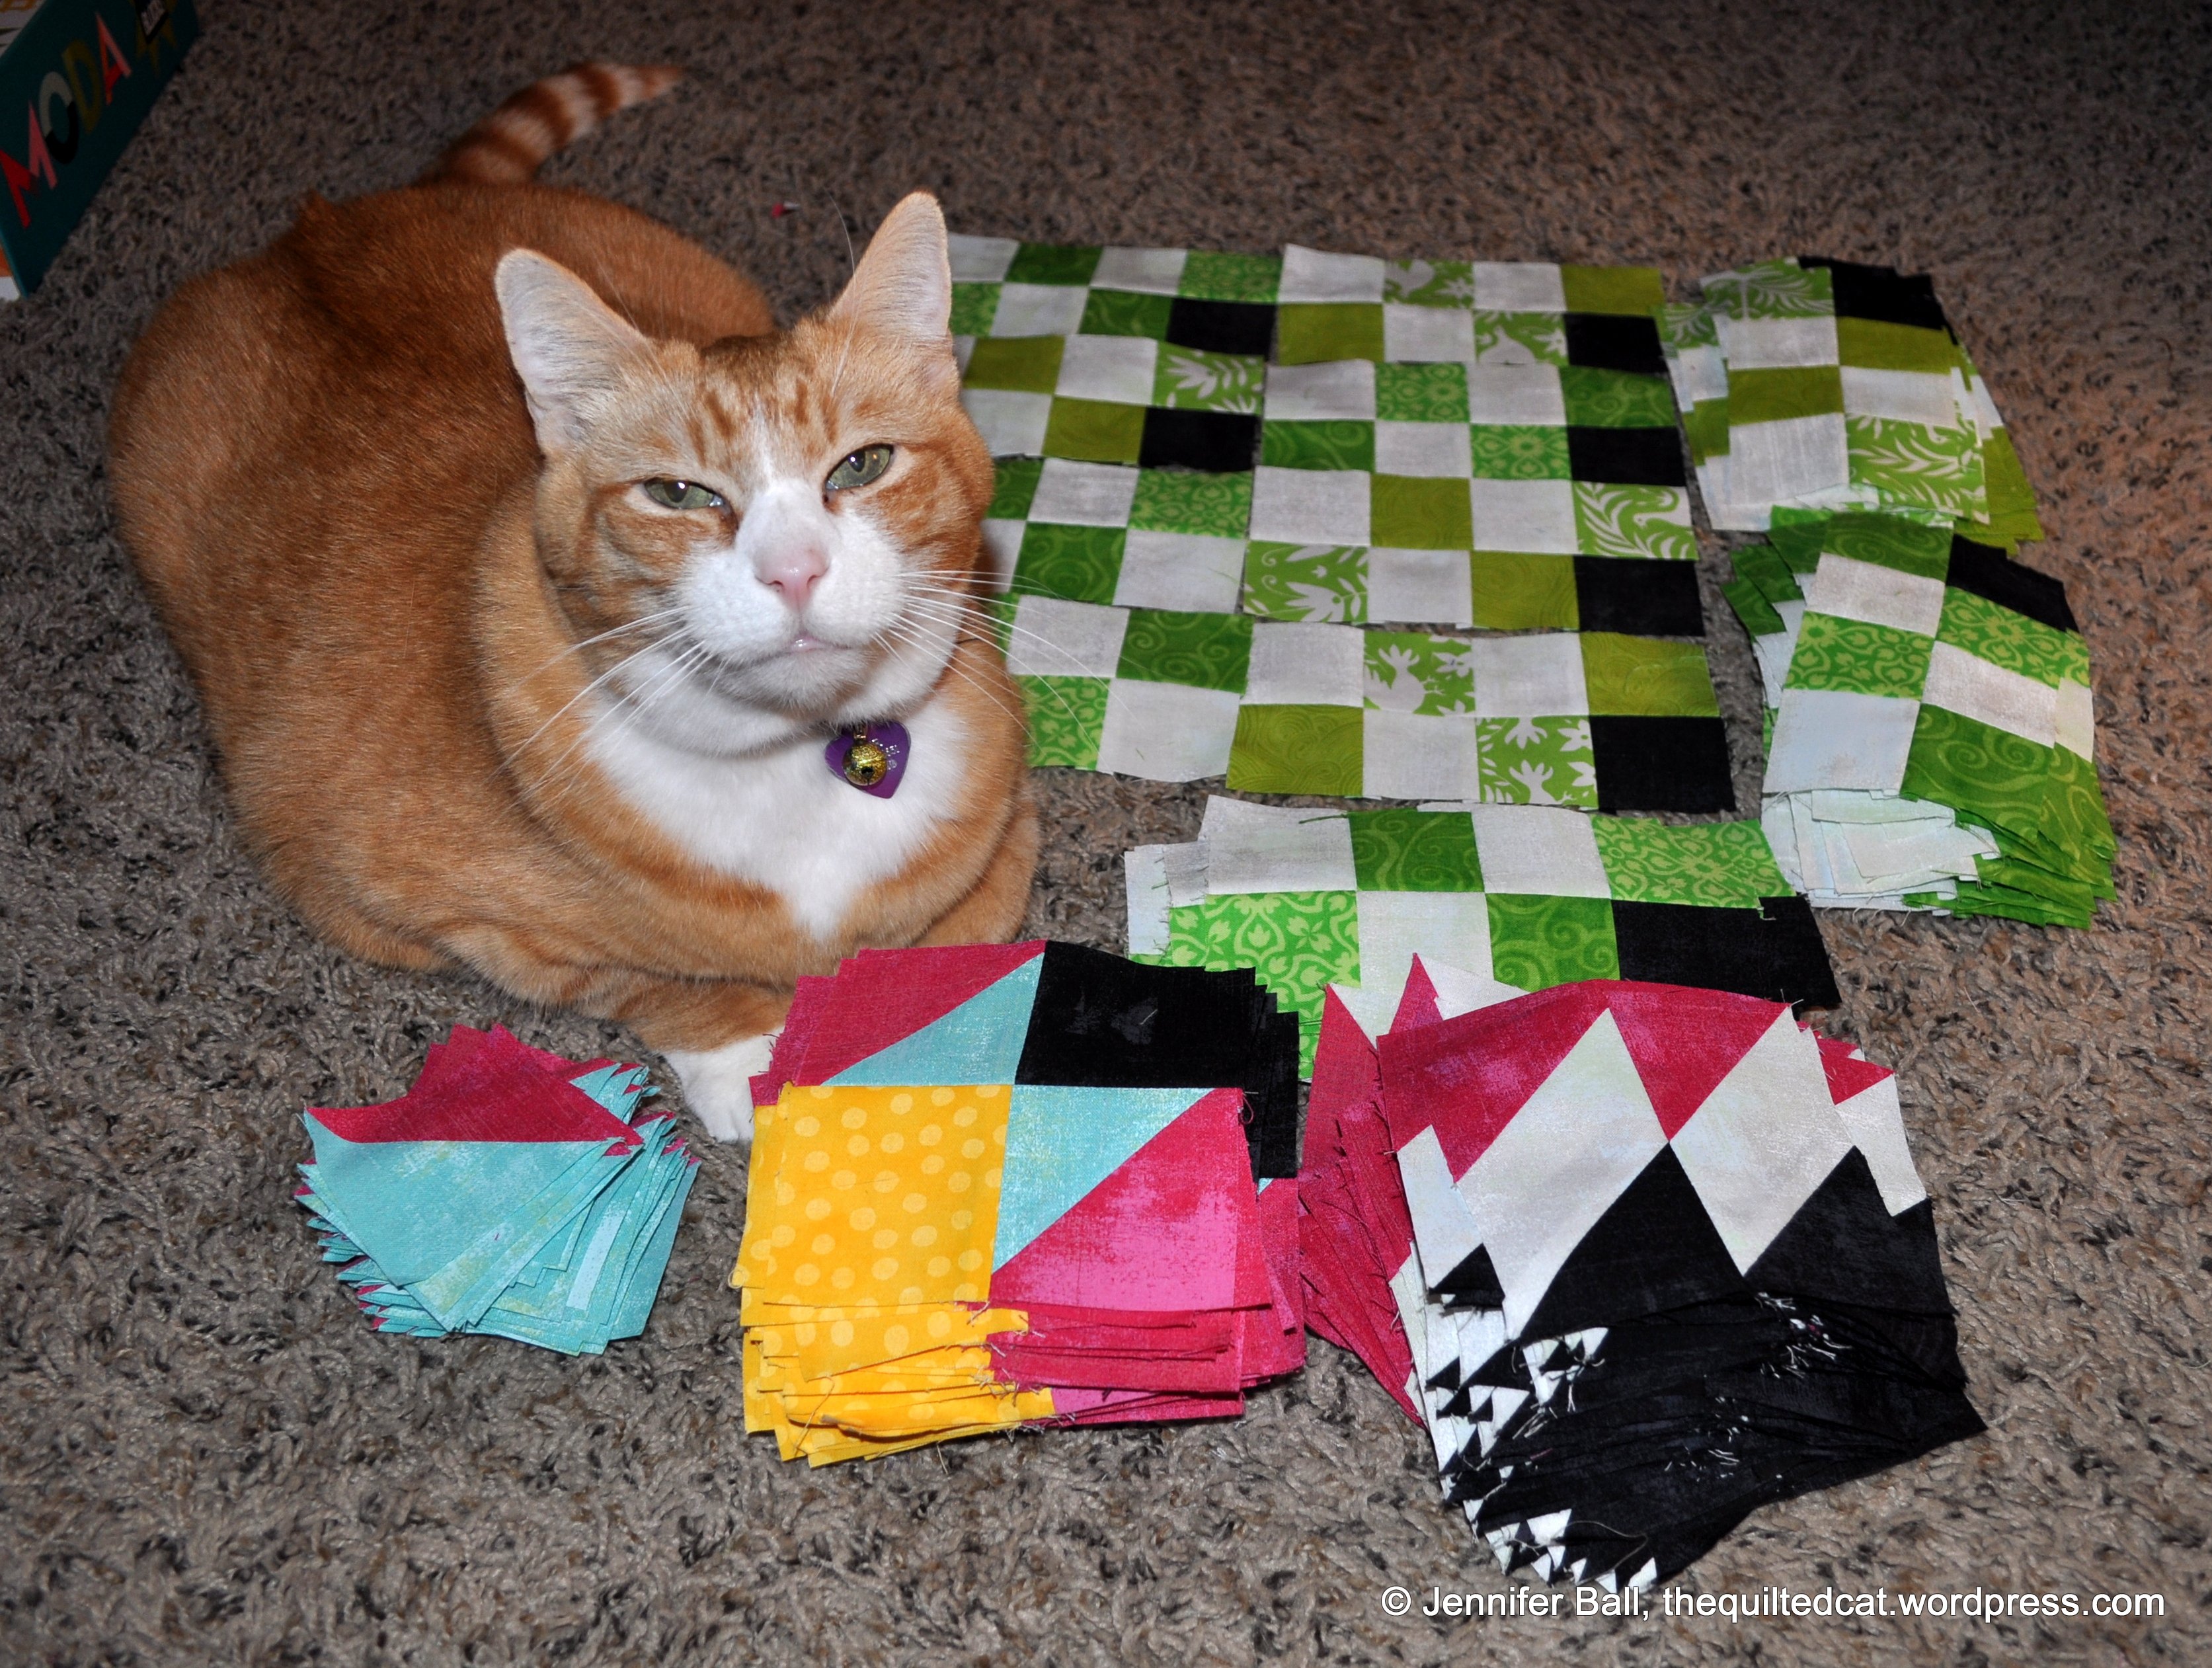
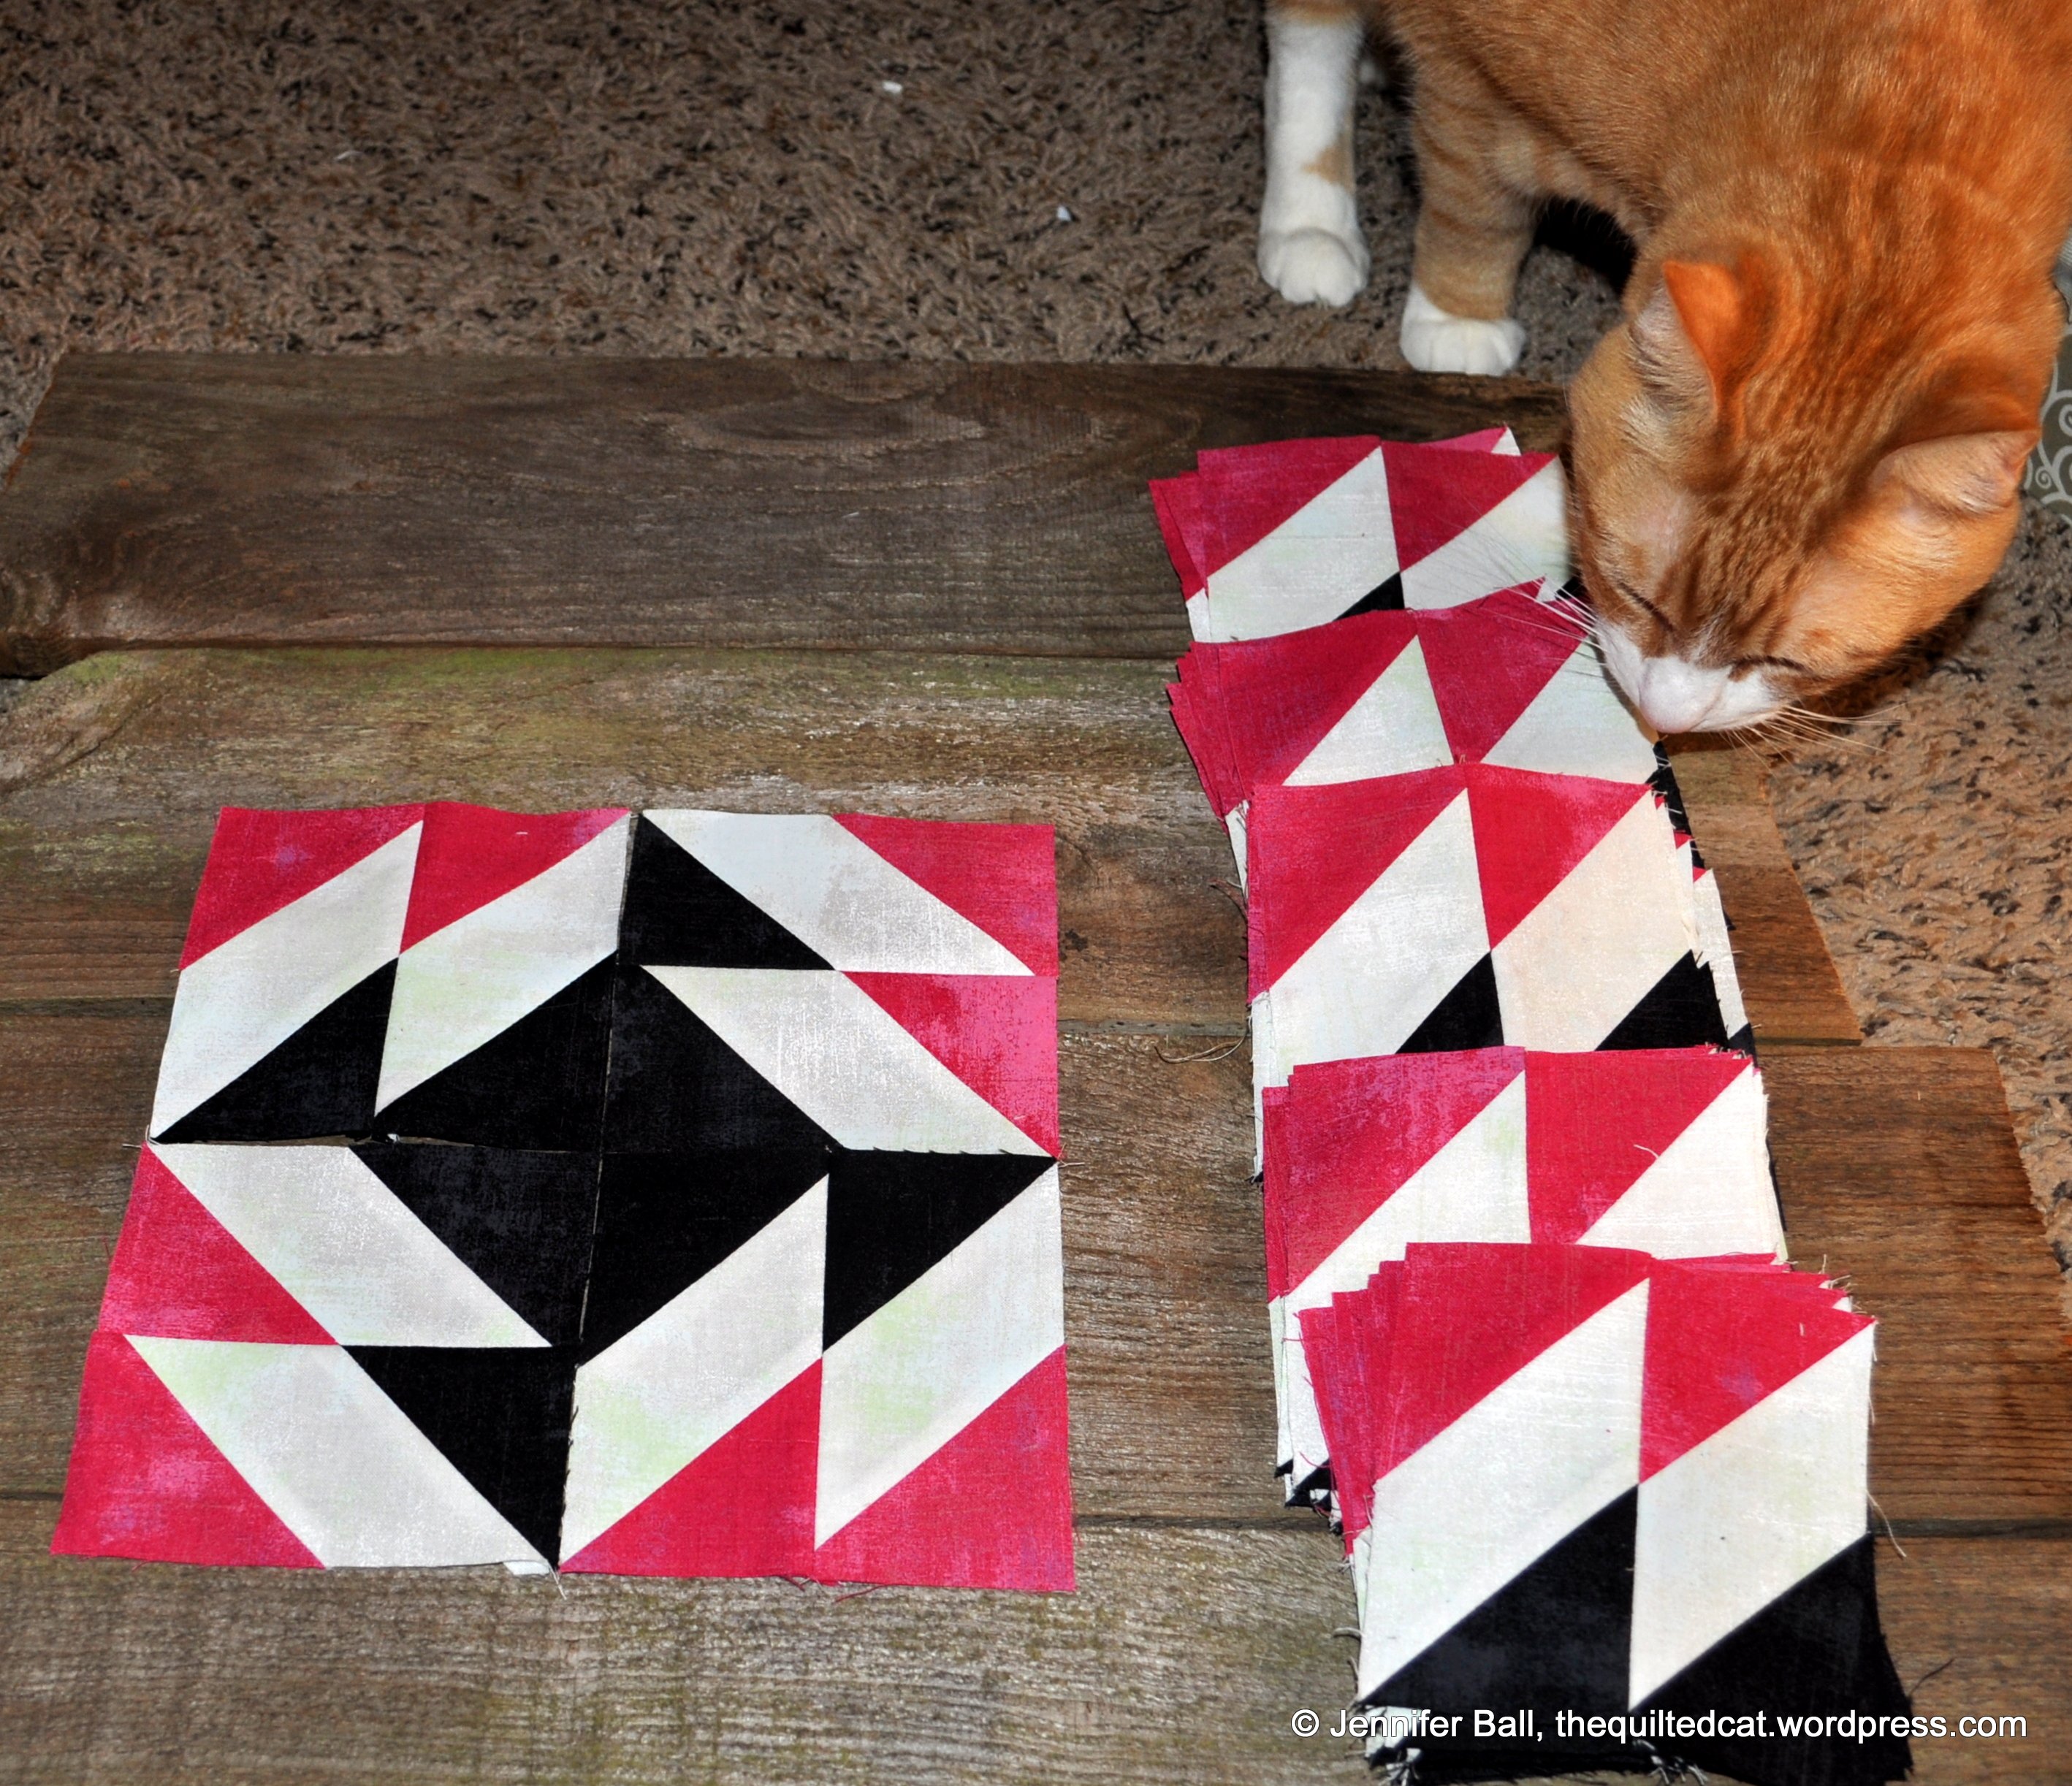
Here are a few of my blocks going up on my design wall. Hmm, what layout should I use?

Farm Girl Vintage blocks on my design wall

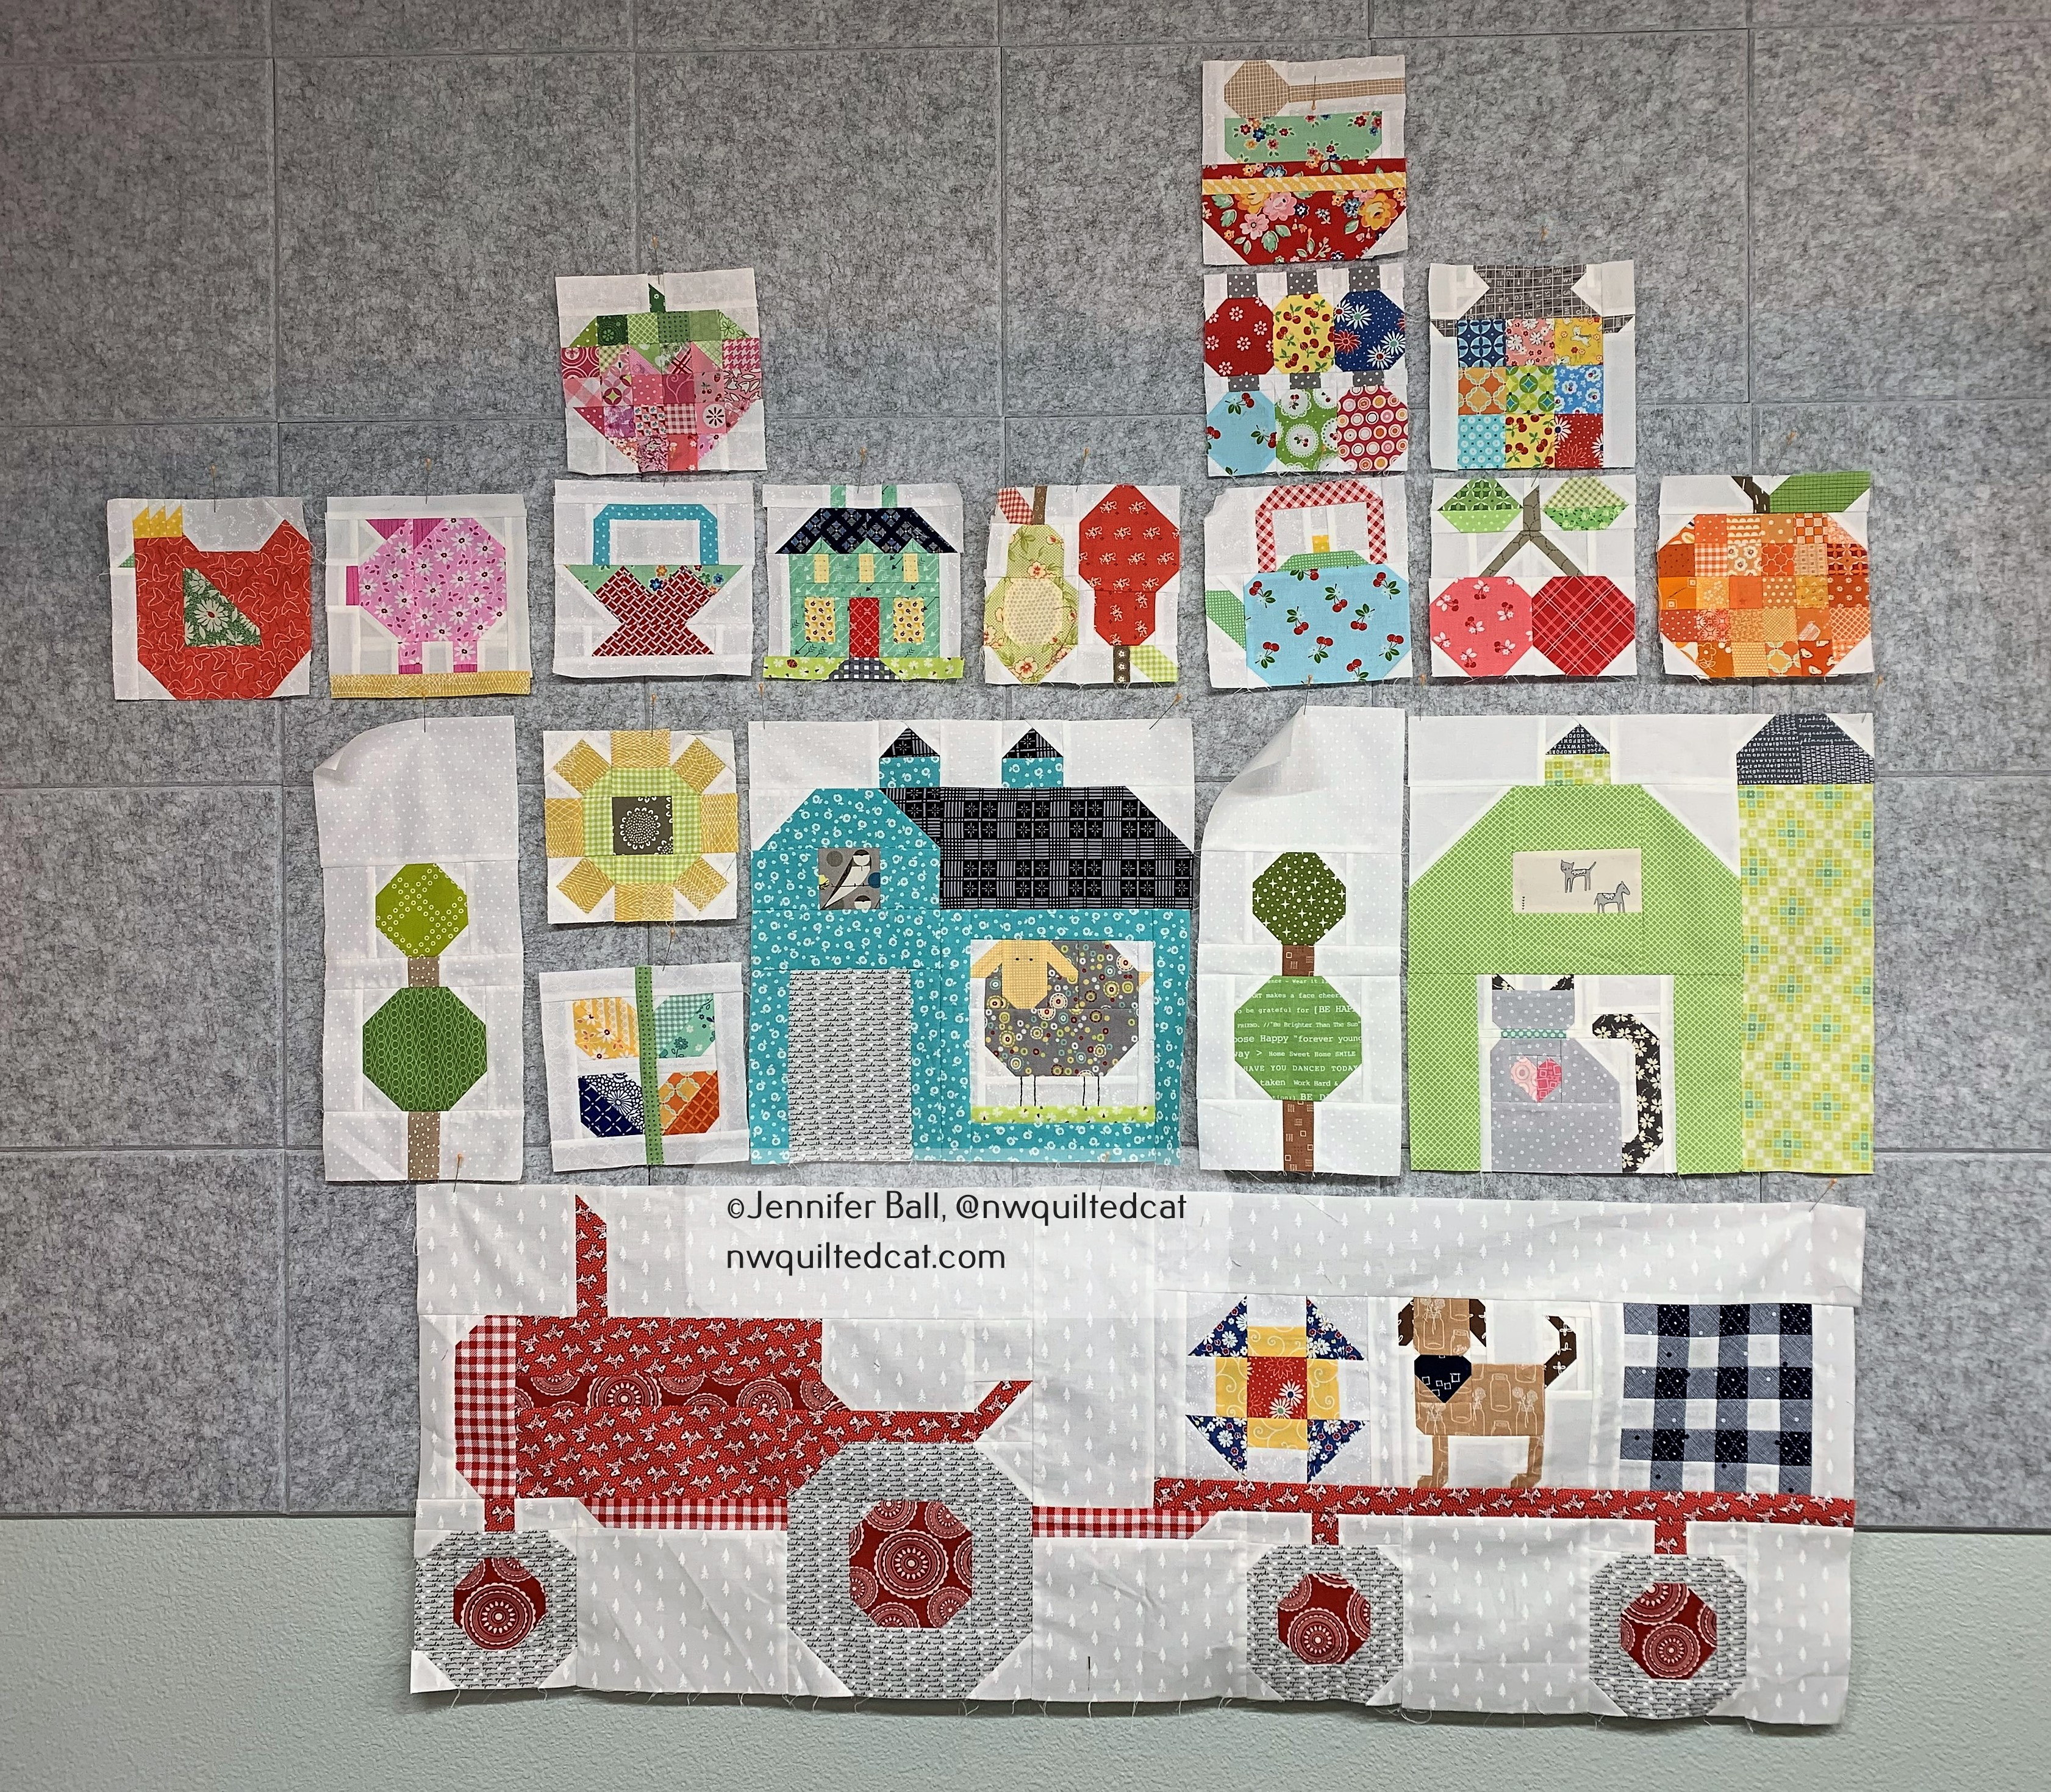
I played with a few layouts, turning blocks this way and that way. Then, I decided to sew more blocks!!

My little farm needed a scarecrow out in the fields with the tractor. The Mr. Scarecrow block is from the Farm Girl Vintage 2 book, and is a fun addition to my quilt.

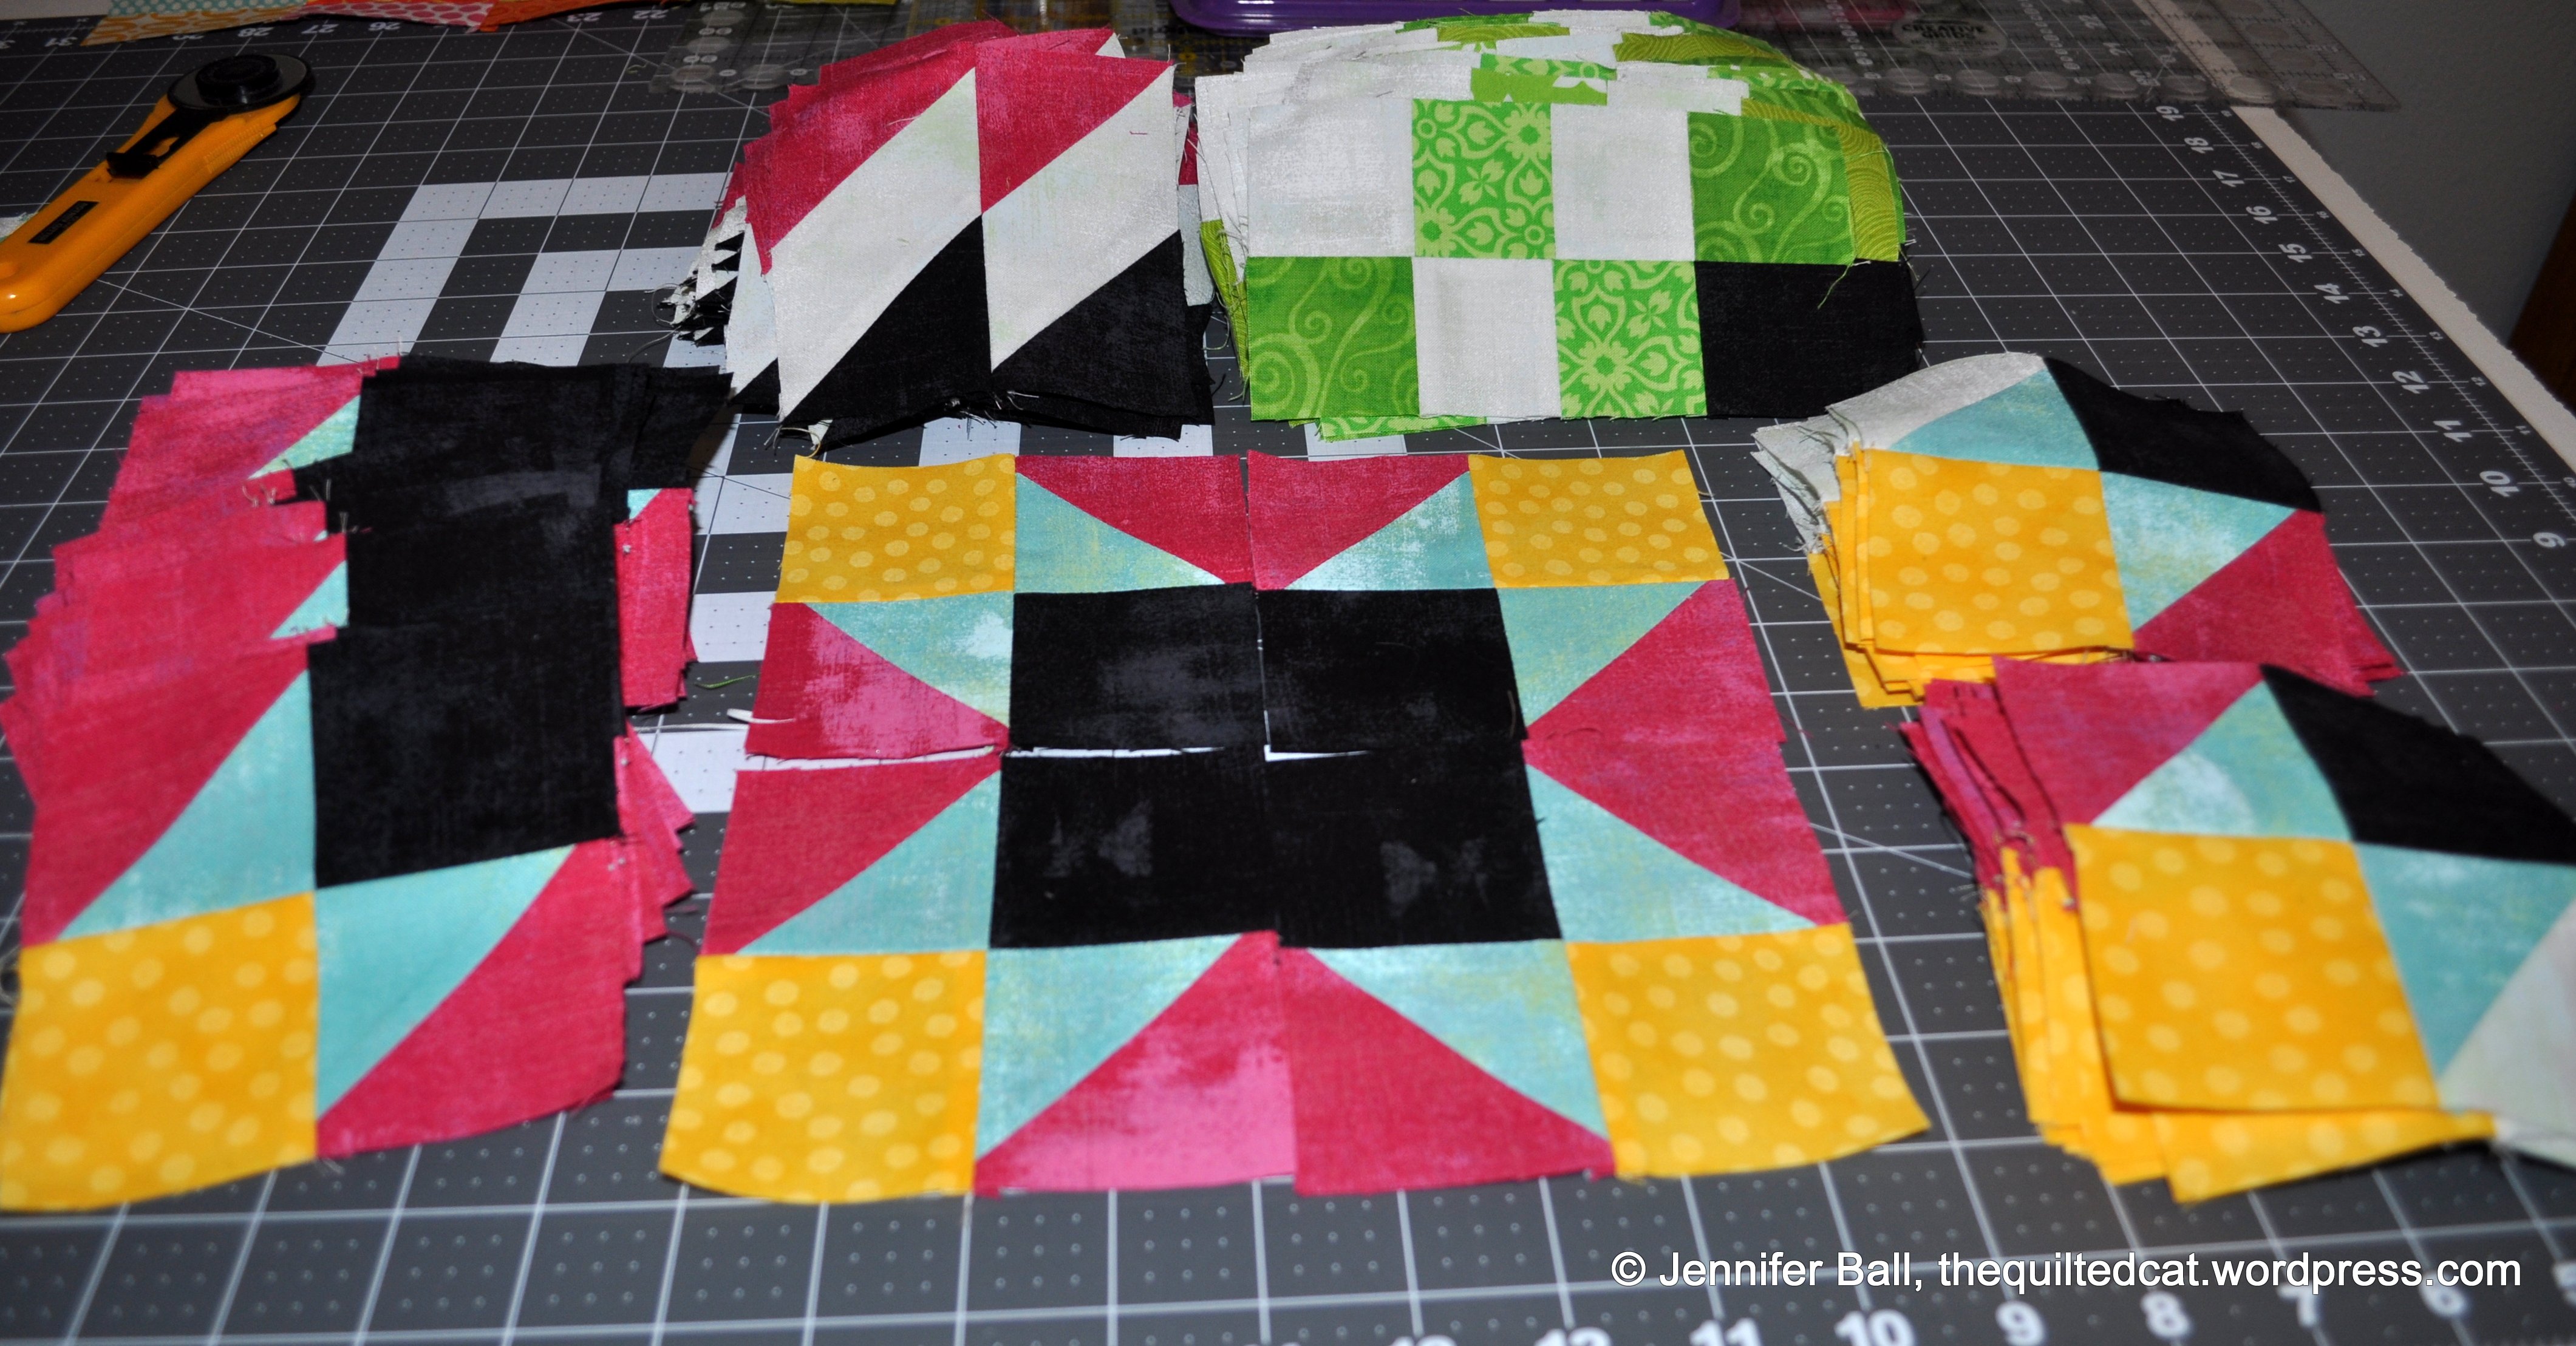
Look at all the pieces! I kept them organized by using Alphabitties, which are little plastic squares that you use to label block components.

Alphabitties – great labels to use while making blocks with many pieces

I use Clover Clips to attach the Alphabitties to the fabric pieces so that I don’t lose them in the chaos of my cutting table.

Here’s a look at my assembled Mr. Scarecrow block:

Mr. Scarecrow block

Hmm, I thought that Mr. Scarecrow could use a little friend so I made him one!

A crow joins Mr. Scarecrow in my Farm Girl Vintage quilt

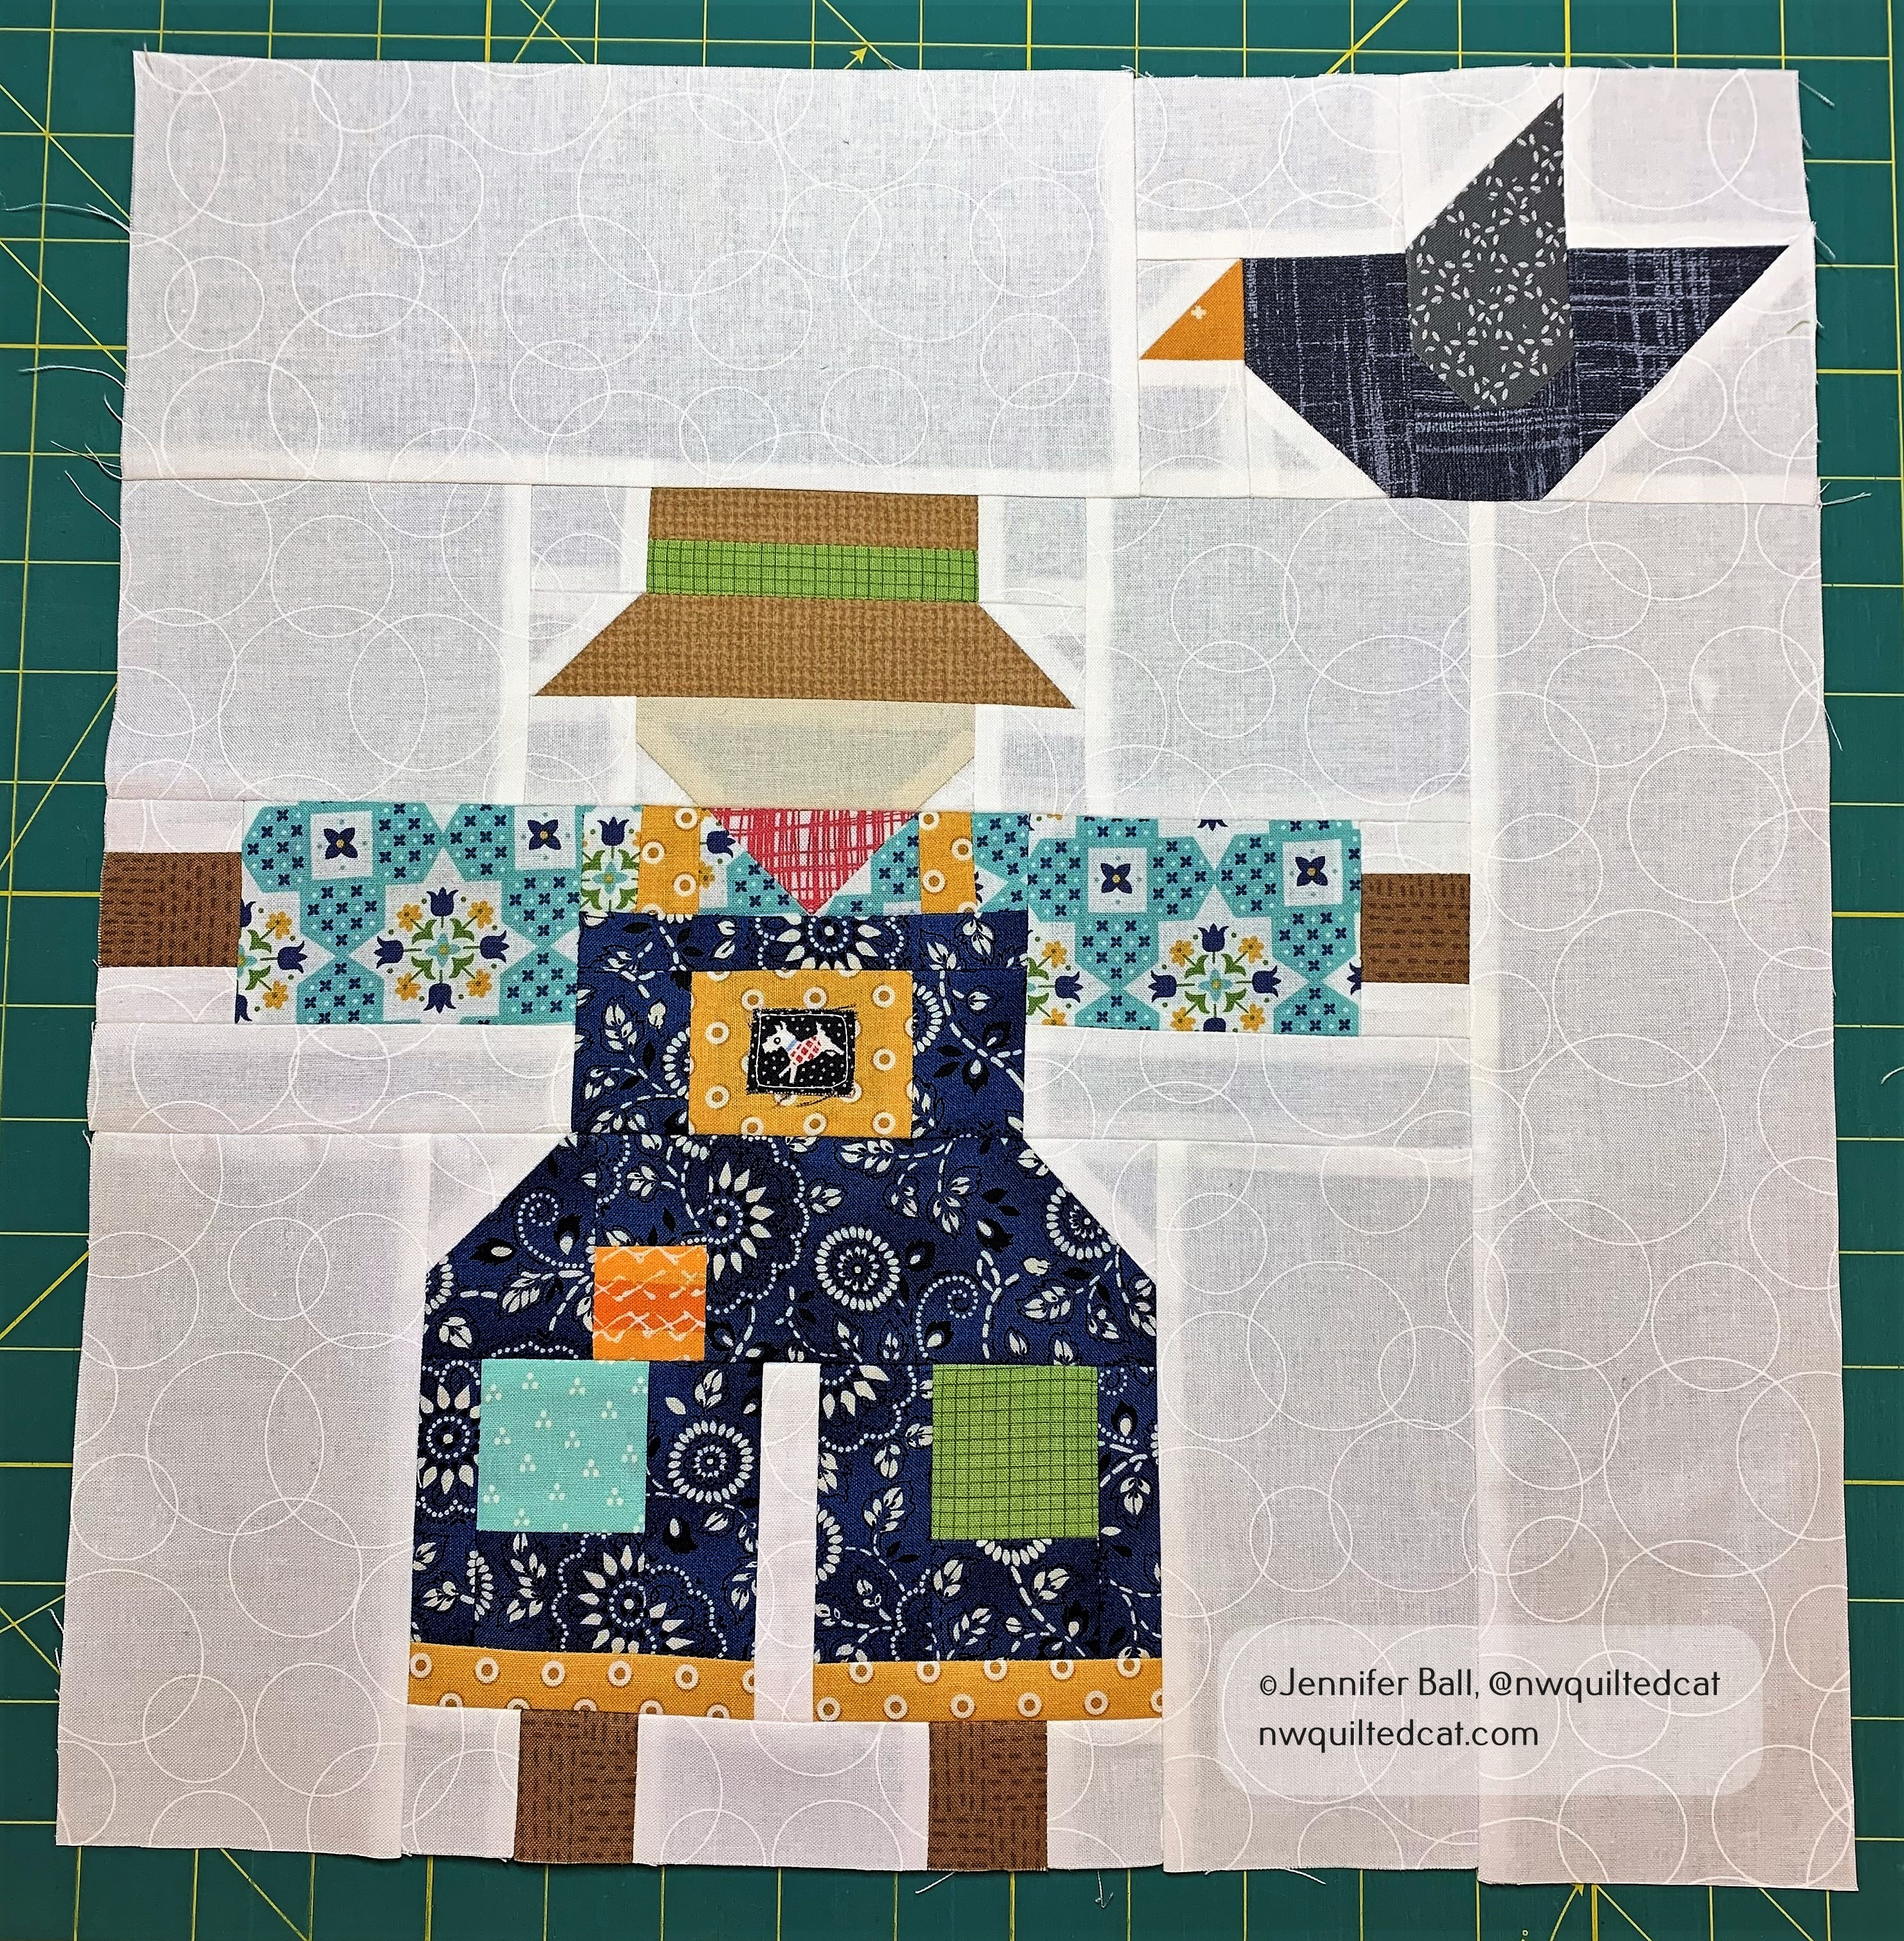
I will hand embroider Mr. Scarecrow’s facial features before I start the quilting. I plan to add this block in front of the tractor in my final layout.

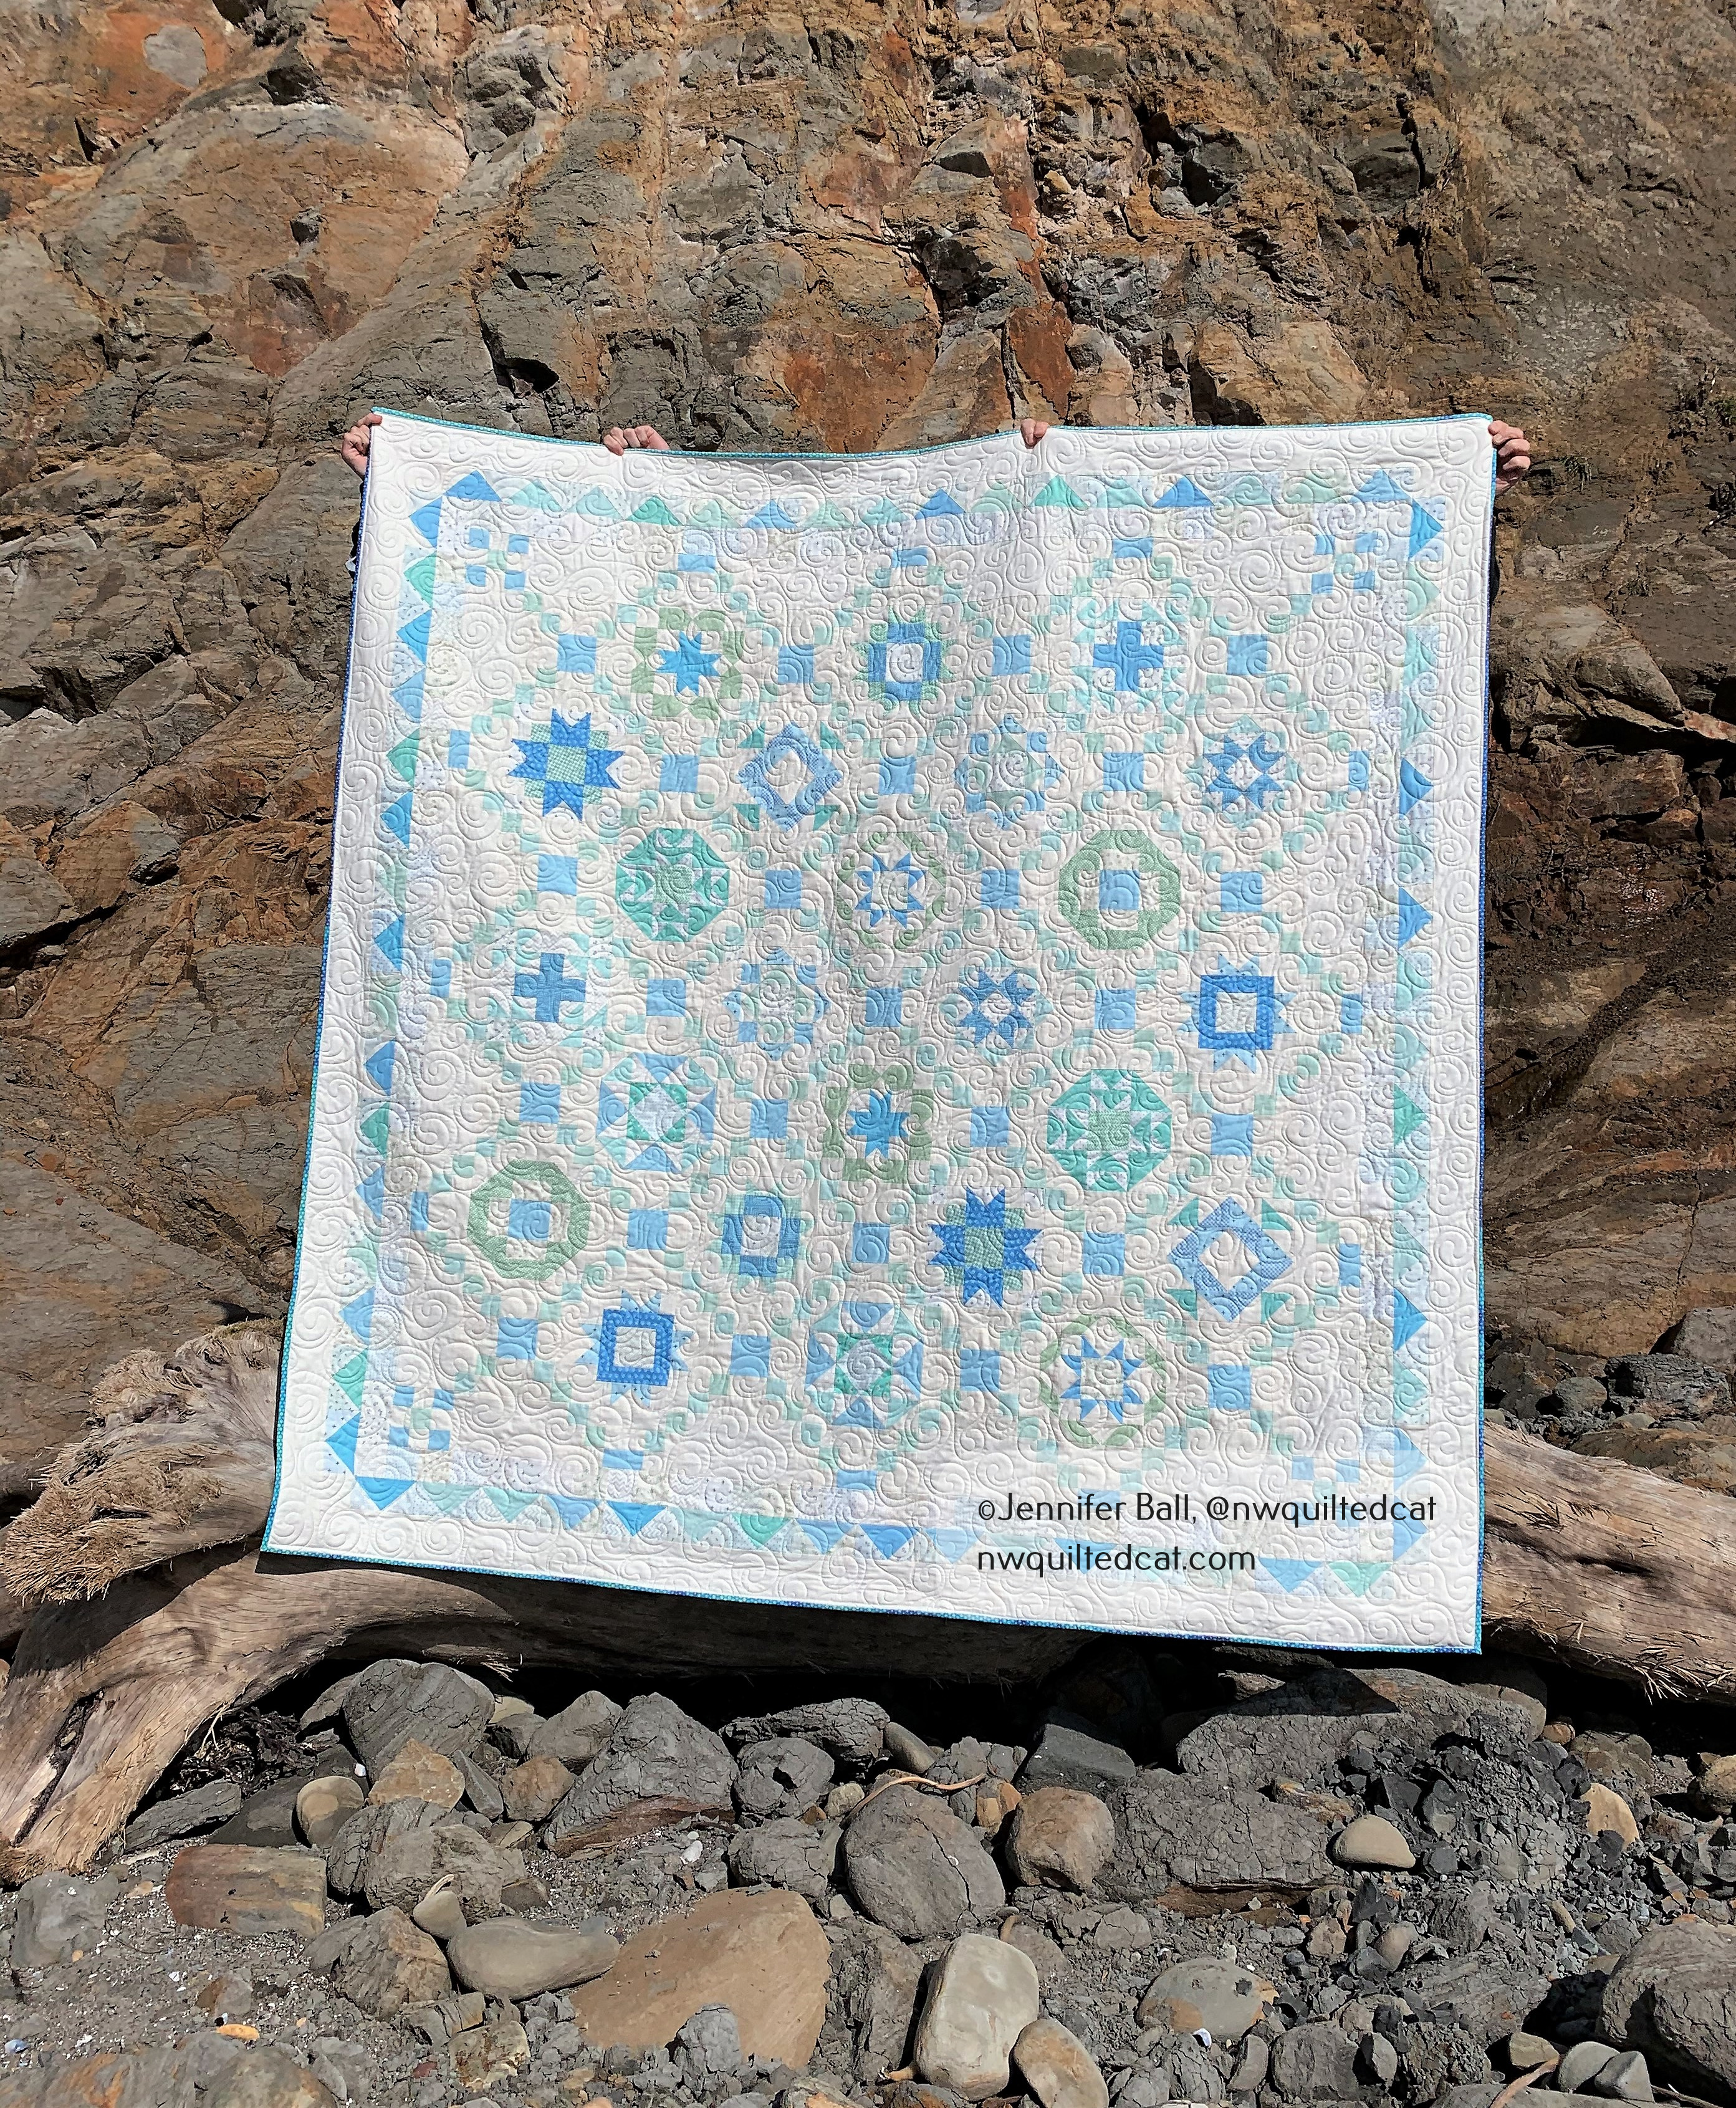
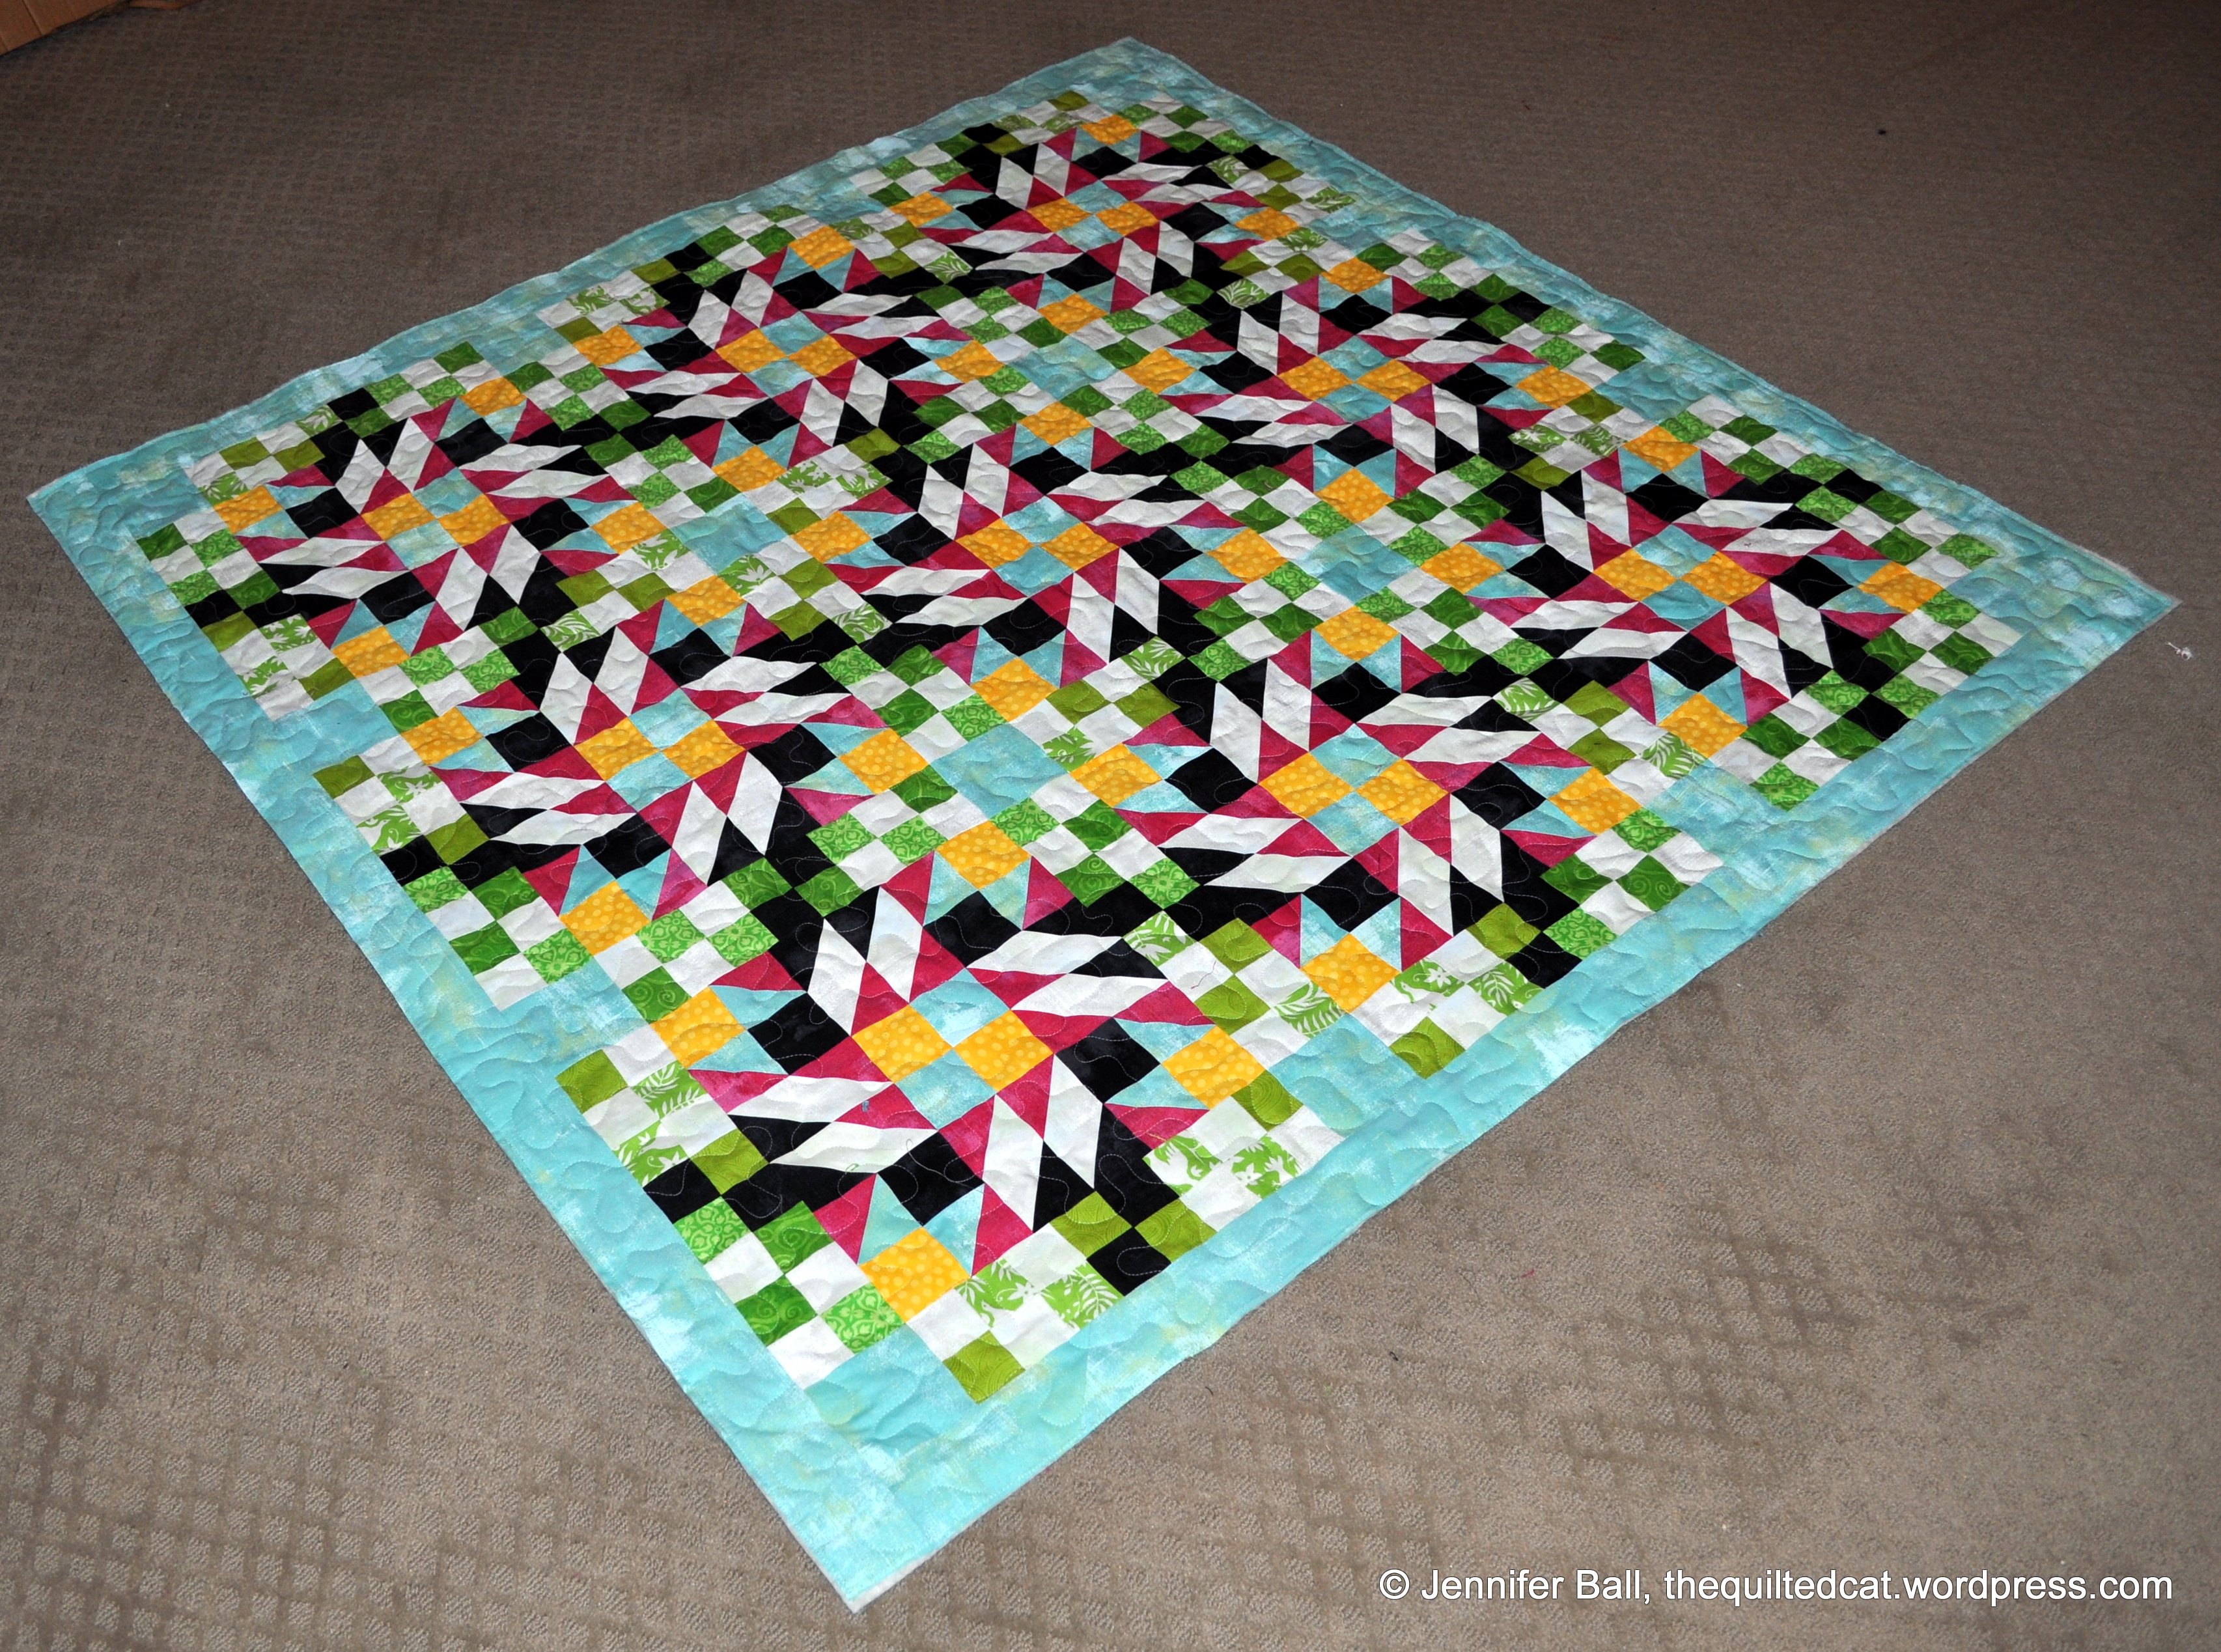
This quilt is so bright and cheerful, and I’m having a blast figuring out how to assemble it into a unique layout. Stay tuned to see how I finish this quilt.

Happy quilting!

~Jen

Sea Glass Quilt Finished

Hi everyone,

I took my completed Sea Glass quilt to the ocean for a few pictures several weekends ago. It was beautiful weather, although the wind made it pretty tricky to get good pictures. We rented a yurt for camping and had a great time! We were so glad to be in a yurt instead of our tent because it did get below freezing at night. Brrr!

I did free-motion quilting using Glide thread in Cool Mint. I used large, open swirls that reminded me of the beach. For the backing, I used Luxe Cuddle in Seal Aqua Sea. My HQ Avante handled the cuddle backing perfectly!

Free-Motion Quilting on My Sea Glass Quilt

For binding, I opted to use a fabric that wasn’t part of the BOM. I had some Zuma High Tides in Aquamarine by Tula Pink in my stash that complements the blues and turquoises in the quilt. I think it really accents and frames the quilt very nicely. Those little anchors are too cute!

Sea Glass Binding

I did machine stitch the binding to both the front and the back because it is pretty difficult to hand sew through the cuddle fabric. I knew that this quilt was going on a bed so I also liked the extra durability of machine stitching.

Here’s a look at the completed quilt with the Pacific Ocean in the background:

Completed Sea Glass Quilt at the Ocean

We found some interesting cliffs a little farther down the coast so I asked my hubby and son climb up on a log to hold the quilt for a picture. It really helps having a teen who is now taller than me!

Sea Glass Quilt Near Cliffs

I have a full size futon bed in my guest room so this quilt will make a nice covering. The luxe cuddle backing is so soft and feels so good against your skin. I’m sure my guest (aka my sister) will love sleeping under this quilt during a future visit.

This Sea Glass quilt finish is the result of a year long block-of-the-month program through Fig Tree & Co. Although the BOM program is over, you may be able to purchase a pattern on their website.

I really enjoyed making a quilt with this soothing color palette, and I’m really glad to have another WIP completed!

Happy quilting!

~Jen

Sea Glass BOM – We Have a Quilt Top!

Hi everyone,

If you’ve been following me during the past year, you know that I’ve been working on a BOM by Fig Tree called Sea Glass. This BOM uses a soothing palette of sea glass: greens, blues, and creams.

In January, we received our final BOM packet to not only complete the blocks for month 12, but we also received the final setting instructions for the quilt. So exciting!

When I sew blocks together to form a quilt top, I like to arrange them all first and then take a picture so that I can remember the order in case things get messed up. Sometimes I put the blocks away into a WIP pile, and sometimes my little inspector likes to do a little rearranging!

The quilt inspector happily rearranges blocks!

I then sew my blocks together into rows, one at a time. I press each row carefully and remove stray threads. I like to use Clover Patchwork Glass Head pins because they are heat resistant and glide through the fabric easily.

I also use a fine mist spray bottle with plain water and a hot iron for pressing. I do not use water in my iron to avoid potential issues like rust stains. Plus, I do foundation paper piecing often and steam is a big no-no because it shrinks the paper.

Piecing blocks into rows, Sea Glass BOM

The Sea Glass quilt has, what I call, “feature” blocks and “spacer” blocks. The spacer blocks form a beautiful Irish chain with subtle variations between a light green color and a light aqua color. The feature blocks are all different, usually 2 per month during the BOM. They use deeper hues of blues, aquas, and greens, like beautiful sea glass found on the beach.

Here’s a look at the quilt with all the rows sewn together, but before I added any borders:

Sea Glass BOM, top without the borders

The final quilt layout contains 3 borders. The first border consists of cream-colored squares that were leftover pieces from the feature blocks. The second border uses the sawtooth flying geese units that we sewed at various stages during the BOM. The third and final border uses long pieces of the cream colored background. The quilt is roughly 72″ x 72″ before quilting.

It’s been so rainy here lately that it’s been very difficult to get a good picture of the completed quilt flimsy (top), but we finally got a bit of afternoon sunshine yesterday.

In this first picture, my husband is holding the quilt with his arms as wide as he could go!

In this second picture, I’m standing on a little ladder while my teen took the picture. The quilt is dancing in the breeze, and we can’t catch a moment of still air. Oh, the problems of taking quilt pics “in the wild!” I do like how the afternoon sun shines through the quilt, illuminating the sea glass colors.

I haven’t yet decided on quilting. I plan to use this quilt on the bed in my guest bedroom so I’m leaning towards free-hand edge-to-edge quilting rather than custom quilting.

I also plan to back it using minky fabric, possibly this Cuddle in Turquoise. It will so soft and comforting!

With a little luck, I’ll have time to quilt it this weekend.

Happy quilting!

~Jen

Sea Glass BOM, Months 11 and 12

Happy Friday, everyone!

This week seemed very long for some reason. Cabin fever, I suppose. We had a little snow flurry earlier in the week, giving us a skiff of snow where it was pretty to watch the fluffy flakes falling from the sky, but not enough to cause any problems. It melted within hours, and the dog loved it!

For the Sea Glass BOM by Fig Tree, I finished my month 11 blocks in early December and my month 12 blocks in early January.

For month 11, we made 4 total blocks using 2 similar but slightly different settings. The blocks on the left in the picture are called Sea Urchin and the blocks on the right are called Barnacle Star.

Month 11 blocks in the Sea Glass BOM

I love how the blues just sparkle and pop in these blocks!

I also finished all my flying geese for the sawtooth border. As of month 11, the exact layout is still a mystery.

Assorted flying geese but the final layout is still a mystery

For month 12, we made 2 blocks called Sea Sparkle. These blocks are nearly identical with the exception of the placement of the blue half-square triangles.

It’s hard to believe that we have completed all the blocks in this wonderful BOM! We received the final layout instructions with block 12 so I’ve been working on piecing my quilt top together the past several weeks. The finished quilt top has 3 different borders, one using the flying geese mentioned above.

In my next post, I’ll show you my quilt assembly process and the completed quilt flimsy. I’ve been waiting for some non-rainy weather to get a decent pic of the quilt outside with my photography assistants, and I think this afternoon just might work.

Happy quilting!

~Jen

Sea Glass BOM, Month 6

Hi everyone,

Whew, it has been a warm week with temperatures in the 90s. My vegetable garden is finally starting to perk up after a cool start to our summer. We’re harvesting salad lettuces now, and the squashes are growing rapidly. I can’t wait for the tomatoes!

I recently finished my 2 blocks for month 6 of the Sea Glass block of the month by Fig Tree. The block this month is called Compass Rose.

Look at these beautiful fabrics! I think the darker aqua is so pretty.

Sea Glass BOM, Month 6 blocks, Compass Rose

I still need to sew the flying geese border units for this month so I hope to get them finished this weekend.

Here’s a look at the first 6 months of blocks together:

Sea Glass BOM, blocks from the first 6 months

Take care and happy quilting!

~Jen

Pets on Quilts Contest

Hi everyone,

With summertime schedules, work, and mini quilt swaps on Instagram, I haven’t had a chance to update my blog for a while!

However, today I have a special treat for you! I’m participating in the Pets on Quilts contest sponsored by Lily Pad Quilting.

My entry features my little puppy, Pepper, sitting prettily on my Grand Illusion Mystery quilt. This quilt is designed by the fabulous Bonnie Hunter as her mystery quilt for last year. I’m entering the “Pup on Quilt” category.

In this photo, Pepper is about 10 weeks old. Don’t you just love her cute little ears?!

Pepper Sits on a Grand Illusion Mystery Quilt

Pepper Sits on a Grand Illusion Mystery Quilt

I made my Grand Illusion Mystery quilt using green scraps from my stash and Moda Grunges for the solids. It is a lap-sized quilt so perfectly sized for cuddling on the couch with a pup or cat!

You can check out all the other wonderful entries in the Pets on Quilts contest in the linky party here.

Enjoy and happy quilting!
~Jennifer

Grand Illusion Mystery Quilt + More

Hi quilty friends!

I hope that your 2015 is off to a great start! I have a few quilty goals in mind for this year so I hope to add those to a blog post soon.

One goal is to participate in some mini quilt swaps on Instagram. I’m now signed up for 4 this year, and I’ll send the first one out later this week. There is a vibrant quilt community on Instagram, and you can find me there as nwquiltedcat.

The other day as I was driving home from work, some late afternoon sun beams hit Mt. Hood with a striking intensity. The volcano seemed to glow, and I pulled over to take a picture (along with several other people!). Unfortunately, I just had a little point-and-shoot, and the pictures don’t do the scene justice.

Mt. Hood at Evening

Mt. Hood at Evening

I’ve been participating in Bonnie Hunter’s latest mystery called Grand Illusion. She released the final clue last week so I have been working on putting my top together. I went with a smaller quilt center and just a solid aqua border rather than a thin inner yellow border and pieced outer border. I used some of my leftover pieces on the back.

Here’s the quilt flimsy:

Grand Illusion Flimsy

Grand Illusion Flimsy

For the backing, I used units that would have gone into the pieced border along with some darker turquoise fabric that I had on hand. While trying to lay it out on the floor, someone jumped on the fabric!

Tiger on Grand Illusion back

Tiger on Grand Illusion back

After piecing the back, I framed it up on my HQ16 and just quilted an all-over meandering pattern with white Aurifil thread:

Grand Illusion on the HQ16

Grand Illusion on the HQ16

My Grand Illusion quilt (small version) is now quilted. I need to square it up and bind it. What do you think for binding – aqua or black or something else?

Grand Illusion quilted

Grand Illusion quilted


You can view other finished Grand Illusion quilts at Bonnie’s link up party here.

Enjoy!
~Jennifer

Merry Christmas and Grand Illusion, part 4

Merry Christmas, everyone!

I hope that you are enjoying the holiday and making happy memories with friends and family.

Here’s a picture of our Christmas tree this year, a noble fir:

Christmas 2014

Christmas 2014

Our son had fun opening presents this morning, and then we took the dog out for a nice Christmas day walk. The rain stopped and the cool temperatures felt good against our bright and merry cheeks.

My husband and I have repainted several rooms in our house and switched the guest room/play room and my sewing room. I’m slowly moving things into the new sewing room and organizing it.

I finished up part 4 of the Grand Illusion mystery quilt, hosted and designed by Bonnie Hunter. For part 4, we made 2 different Broken Dishes units.

Broken Dishes, part 4

Broken Dishes, part 4

We did make Broken Dishes units during part 1, but these units have the colors rotated a bit differently.

Here are all my clues together:

Grand Illusion, parts 1-4

Grand Illusion, parts 1-4

The next clue will be released tomorrow morning so I’m hoping that we’ll get instructions on how some of these units will be sewn together.

Merry Christmas!
~Jennifer

Grand Illusion – We Have Greens!

Greetings!

For those of you following along with Bonnie Hunter’s latest mystery quilt, Grand Illusion, we got to play with our green fabric this week for clue #3! The instructions are still available from now until spring on Bonnie’s blog if you want to join in at any time.

For my quilt, I am mostly using Moda Grunges. For the greens, however, I am adding interest by using 4 different bright greens which match to Bonnie’s color recommendation. For more on the recommendations, see my earlier post here.

These are my greens:

  • Green Google It from the Giggles fabric line by Me and My Sister Designs
  • Swirly Scroll Lime from Wilmington Prints
  • Just Color Lime from Studio E Fabrics
  • Celery from the Folklore line by Lily Ashbury for Moda

I mostly stitch on the weekends and in the evenings after work so I finished assembling these units for part 3 tonight.

As I turned around to grab my camera, my quilt inspector sneaked in behind me and decided to pose with the blocks.

Greens in part 3 of the Grand Illusion Mystery quilt!

Greens in part 3 of the Grand Illusion Mystery quilt!

I’m making half the total number of unitsĀ for a smaller quilt. Since we’ve now finished three clues, here are my units together:

Tiger with the first 3 clues for Grand Illusion

Tiger with the first 3 clues for Grand Illusion

This is going to be a very bright and cheerful quilt! Tonight, I had hoped to go to a local quilt guild meeting, but hubby and I are in the process of repainting some rooms. One of those rooms is my quilting room so everything is quite hectic and unorganized. I can’t wait to get the new color on the walls and reveal it here soon.

Happy stitching!

~Jennifer

Grand Illusion Double Diamonds

Hi everyone!

I’m participating in Bonnie Hunter’s newest mystery quilt, Grand Illusion. You can read about my broken dishes units for part one here.

For part two, we are making double diamond units using our pink, black, and neutral fabrics. I’m mostly using Moda Grunge fabrics for my project because I love the texture and dimension of the Grunges!

I’m making just 1/2 of the number of units for a smaller quilt. You can still join in and get the free instructions for a limited time on Bonnie’s blog. She will retire these instructions sometime next spring.

Here are my double diamond units, being inspected:

Grand Illusion Double Diamond Units

Grand Illusion Double Diamond Units

Since this quilt is a mystery, we don’t know how the individual units will be sewn together. So the layout in my photo is a complete guess.

Here are the double diamonds with the units from part one:

Grand Illusion, parts 1 and 2

Grand Illusion, parts 1 and 2

I’m really loving the boldness of these units so far! On Friday, Bonnie will reveal the part three clue and we’ll be off stitching for another week. Hopefully, the greens will be used in the next clue.

Have you entered my giveaway as part of the larger Sew Mama Sew Giveaway? There are many fabulous prizes and fun blogs to check out as part of the giveaway so go check it out!

Enjoy!
~Jennifer