The March block for the Aurifil BOM is called Borders and is designed by Emily Herrick.
In keeping with my color scheme of reds and blacks with Kona cotton in Shadow as my background, I went looking in my stash for a fun print to fussy cut for the block center. Many quilters have “assistants” or “inspectors” of the feline variety, and I have several myself! However, I also have a dog who offers his services as a stunt double for my cats when they are too busy to bother with quilt inspection. So when I found a nice dog print fabric, I just knew that I had to incorporate one of the little dogs into this block.
Most of the dogs were too large, but I did find this one little dog on the fabric that perfectly fit the inner square! I then pulled some other black and red prints from my stash to coordinate with the dog and sewed the block.
I used Aurifil in light sand (#2000) for my piecing. This is my go-to thread for all my piecing projects.
Here’s a look at the finished March block, Borders:

Borders, March Block for Aurifil BOM
Isn’t this a fun block? I just love the little dachshunds running around the black border.
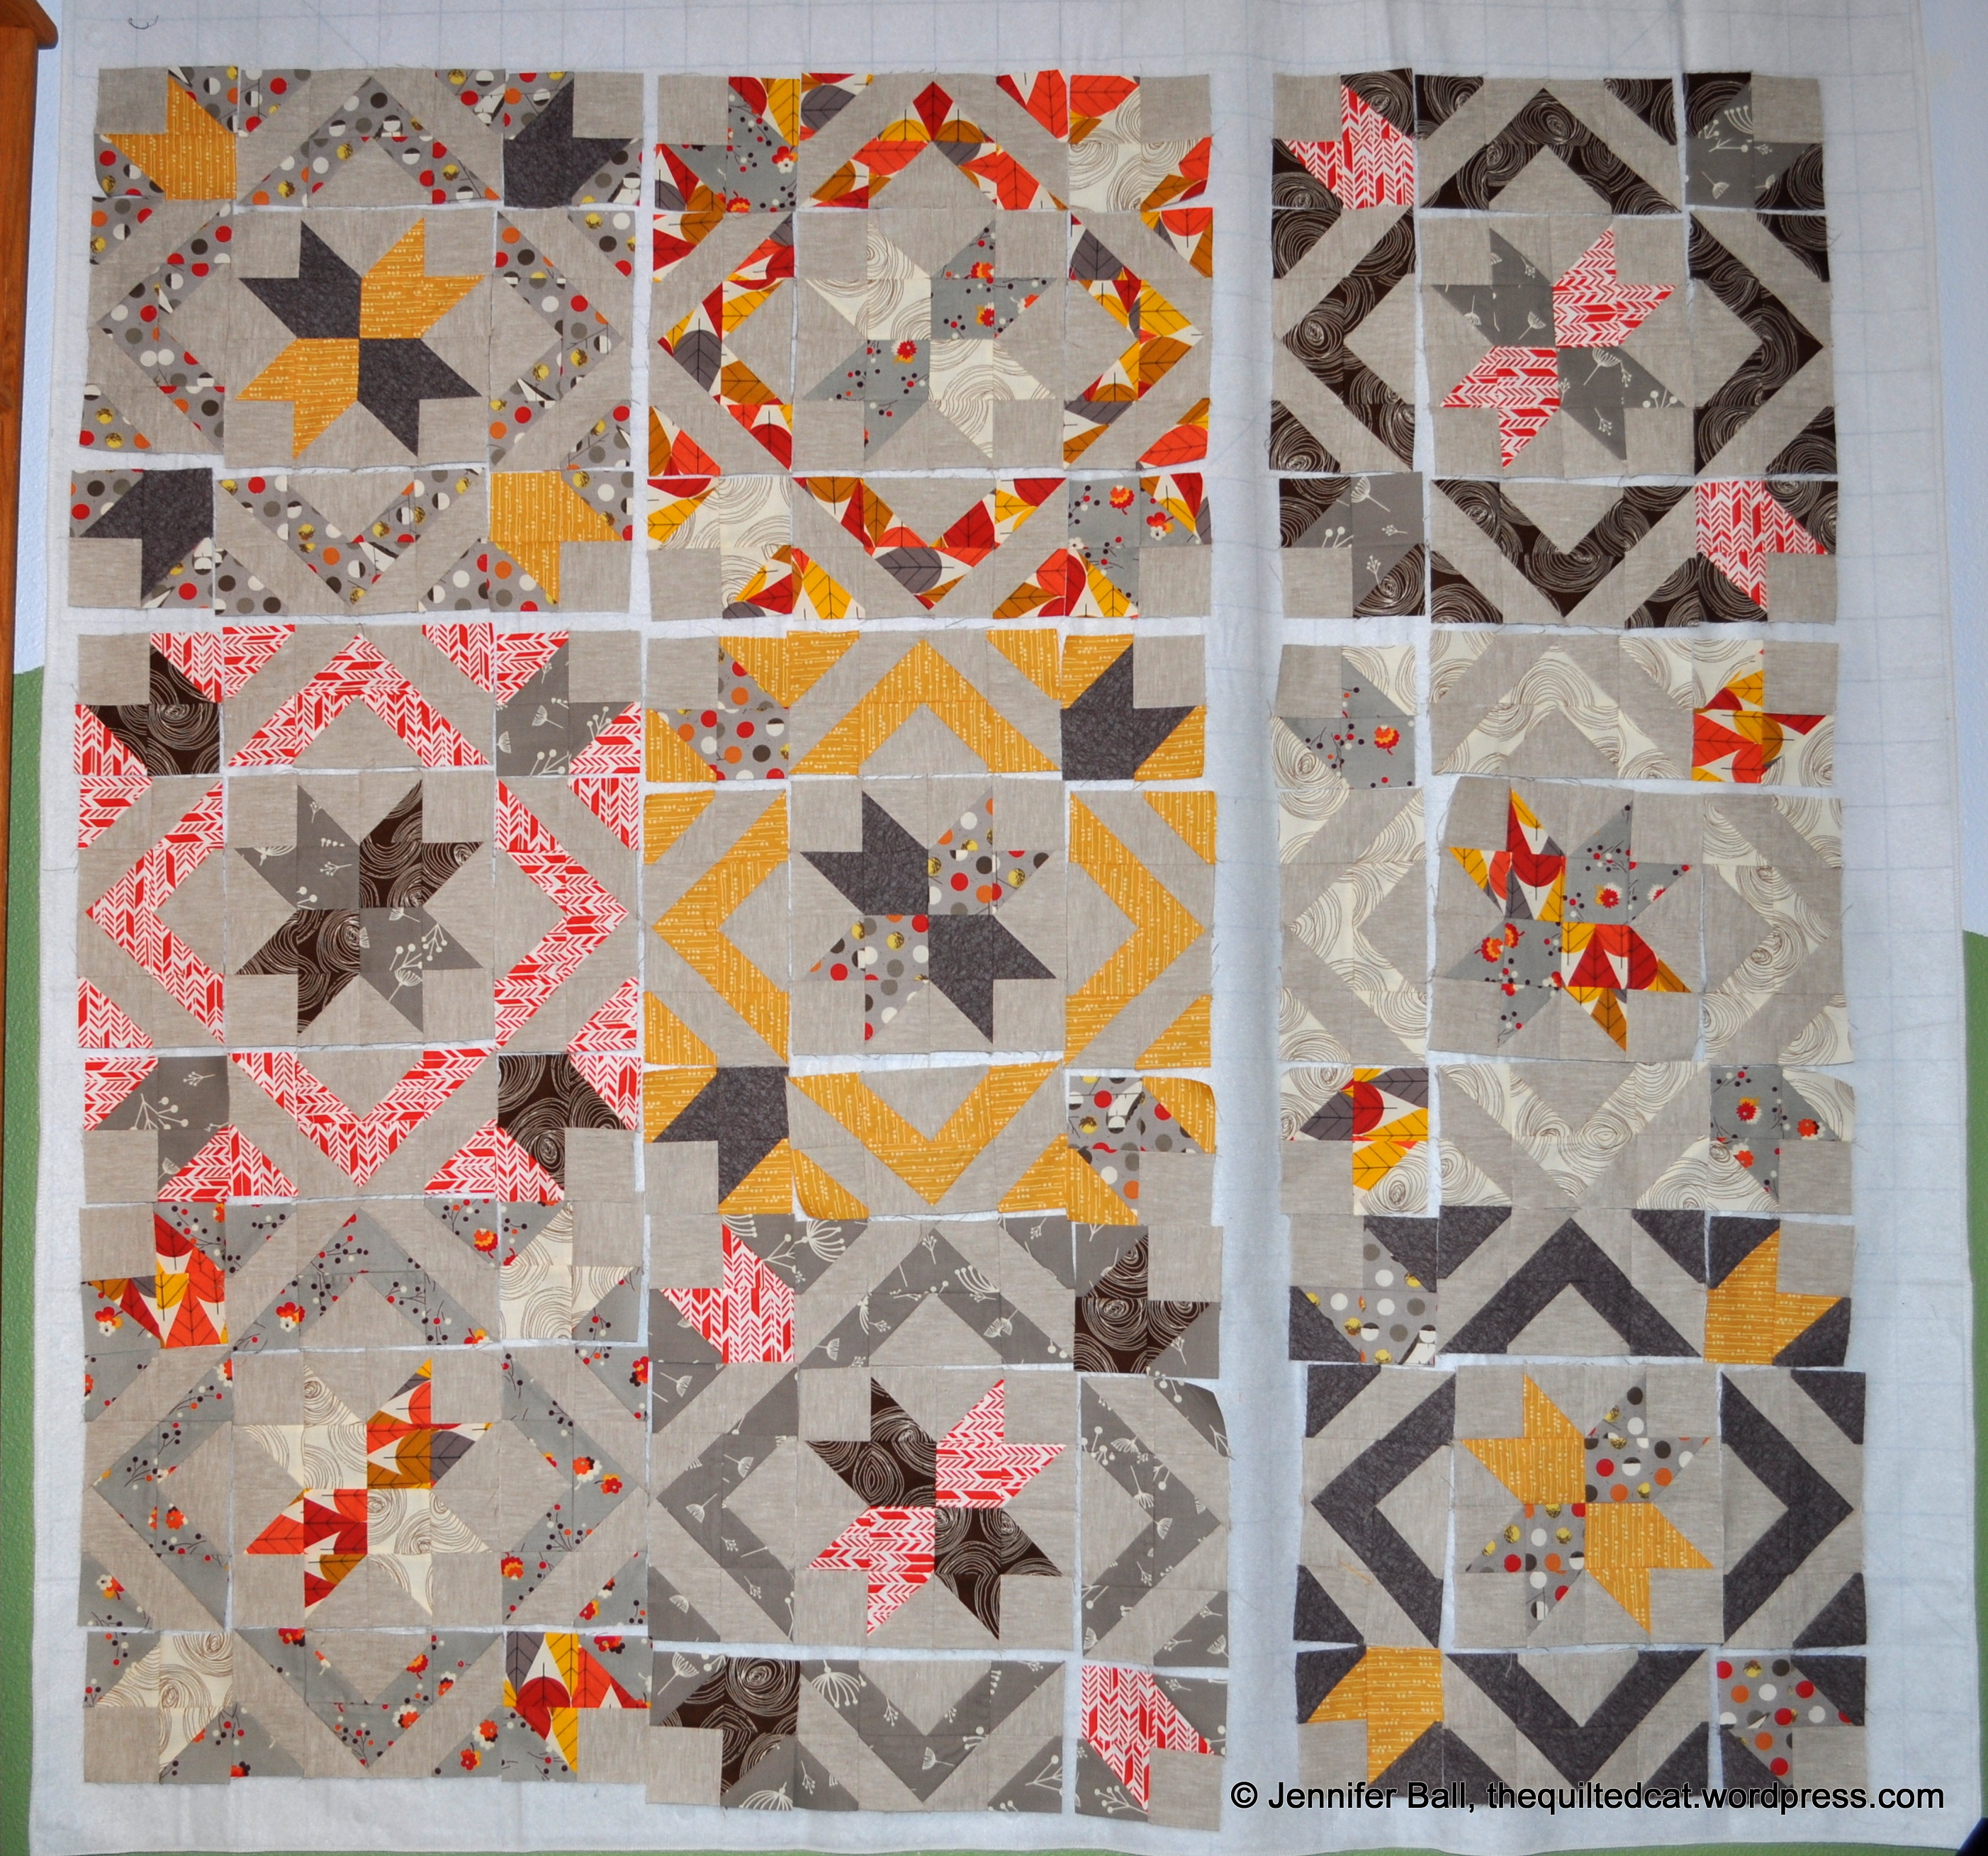
Here are my Aurifil BOM blocks together. You can read about January’s block here and February’s block here.

Aurifil BOM Blocks: Jan, Feb, March
If you’d like to join in the fun, check out the Aurifil blog post here about Emily and the March block.
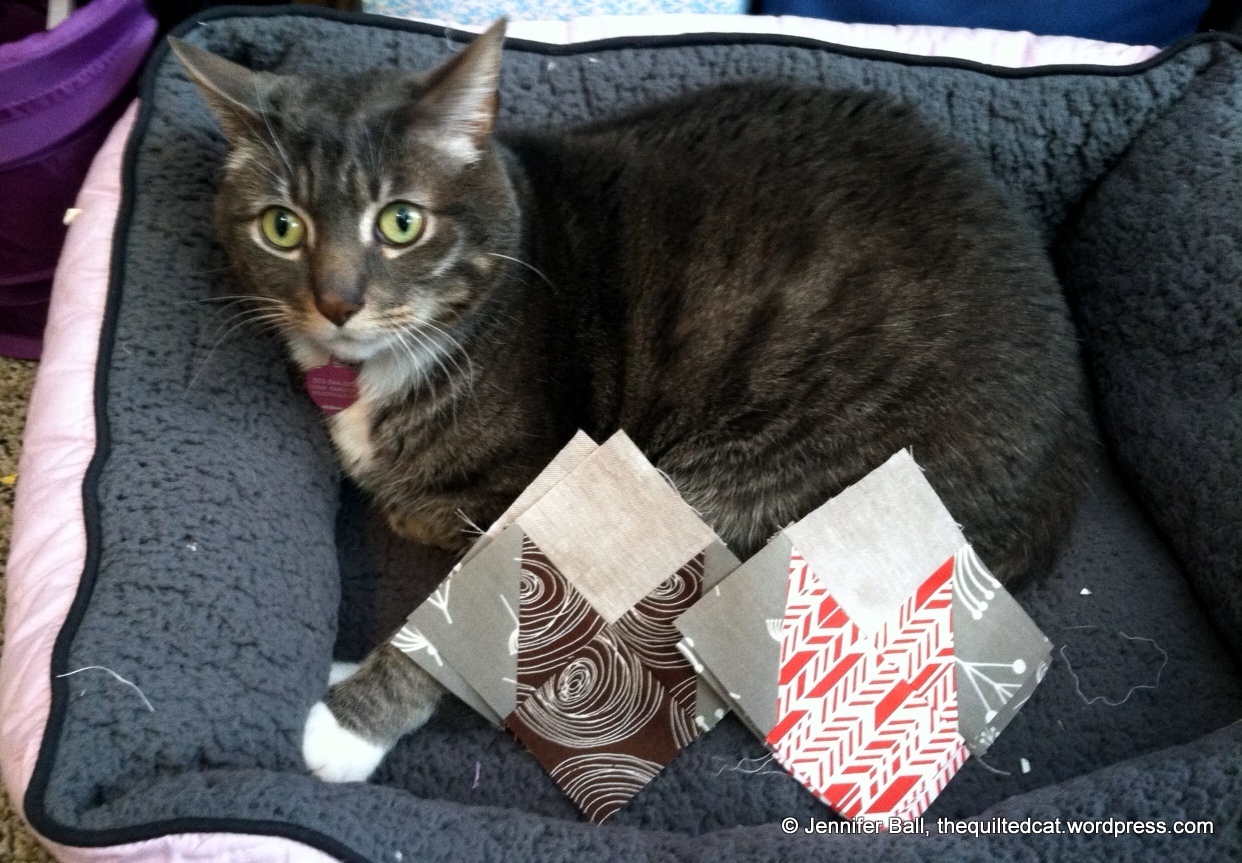
Although I didn’t get a picture (yet) of this block with my dog, one of my inspectors did wander into my sewing room when the block was finished. His expression seems to say, “I can’t believe you used dog print fabric!”
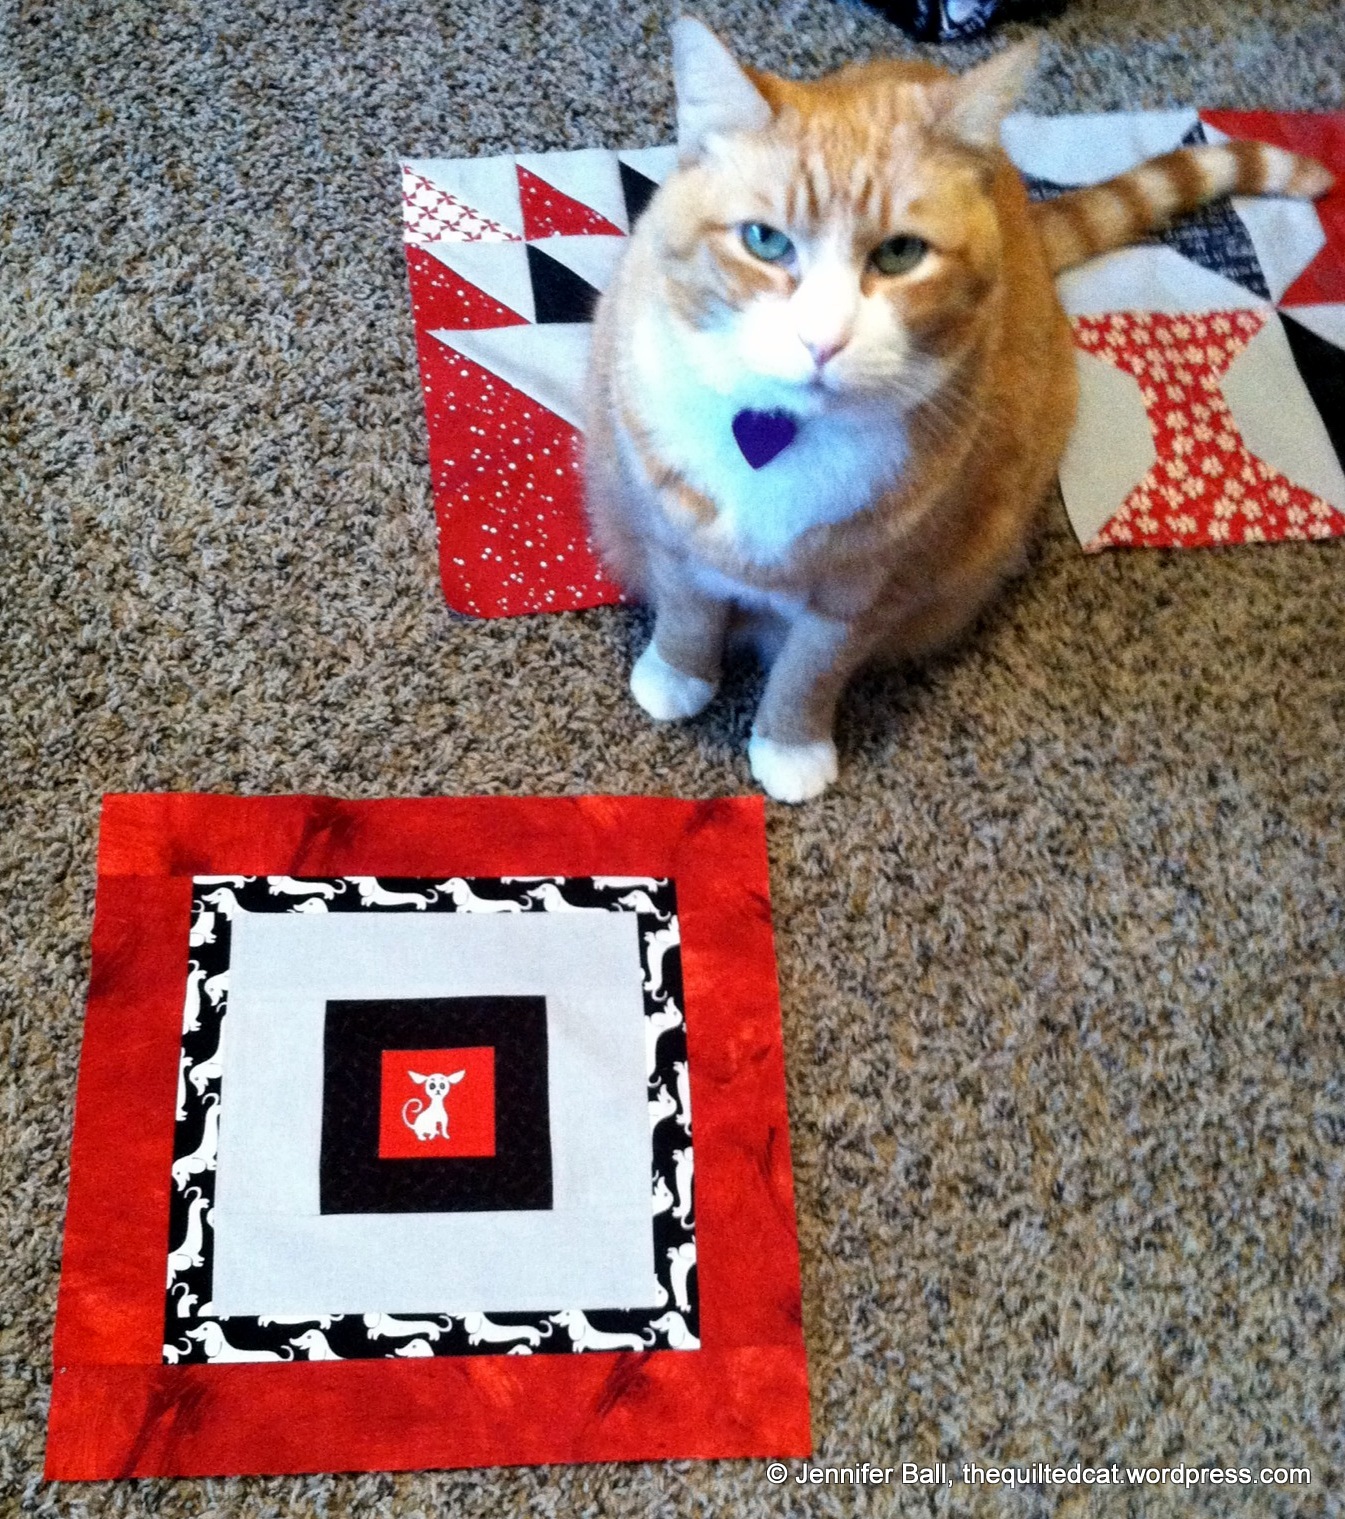
Hmmm, I think the quilt inspector does not approve!
Have a good week!
~Jennifer