Happy 2023!
I recently participated in a holiday project swap on Instagram where participants made 13 items using modern fabric. In exchange, we received 12 items from other swappers and the extra items were auctioned off by the organizers.
I decided to make a mini rotary mat holder to use when going to quilt classes or retreats. I really liked the idea of having a little case to hold a small rotary mat and cutter for trimming up little foundation paper pieced blocks.
This project uses a free pattern from American Patchwork & Quilting.
My Supplies
- Essex Yarn Dyed Linen in charcoal for the mat holder body
- Assorted Tiny Dots and Tiny Stripes by Tula Pink for the interior large pocket
- Painted Ladies by Tula Pink for the interior small pocket
- Deja Vu Parisville Cameo by Tula Pink on the back for a fun accent
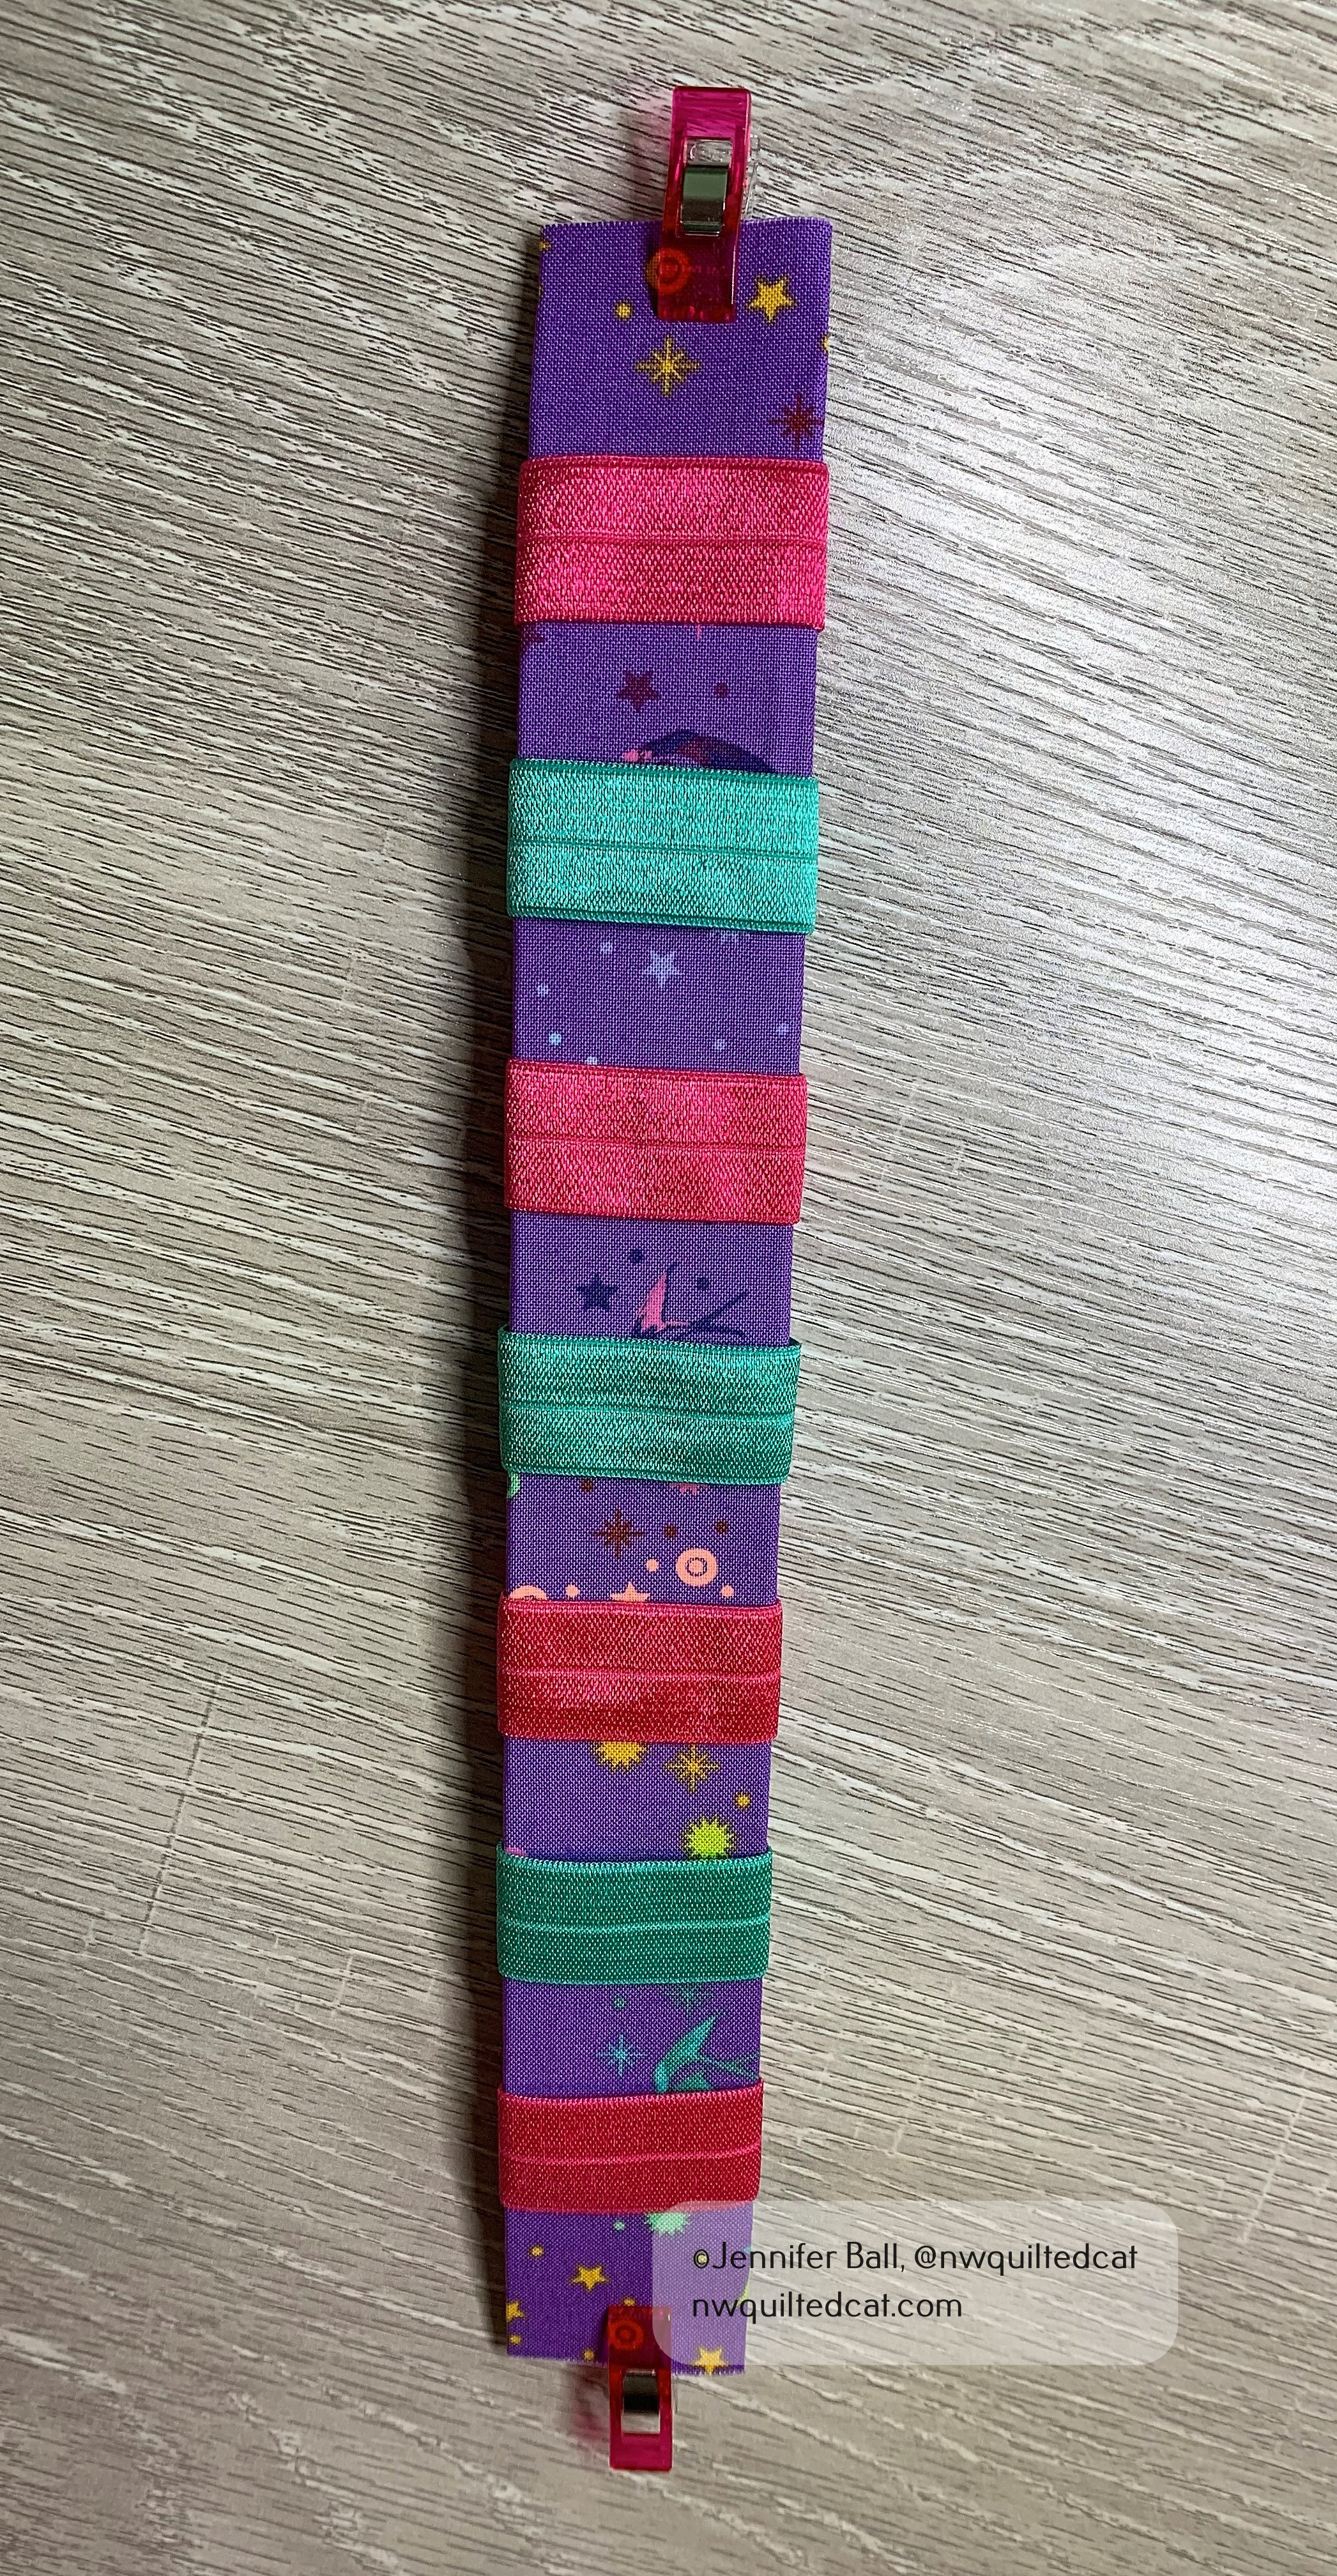
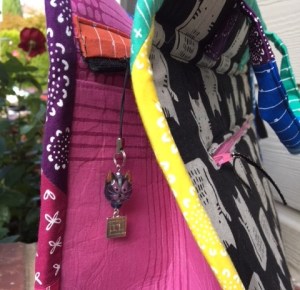
- Assorted Tula Pink ribbons by Renaissance Ribbons for accent on the outside flap
- Pearl snap closure
- My NW Quilted Cat faux leather logo patch
- Aurifil 50 weight thread
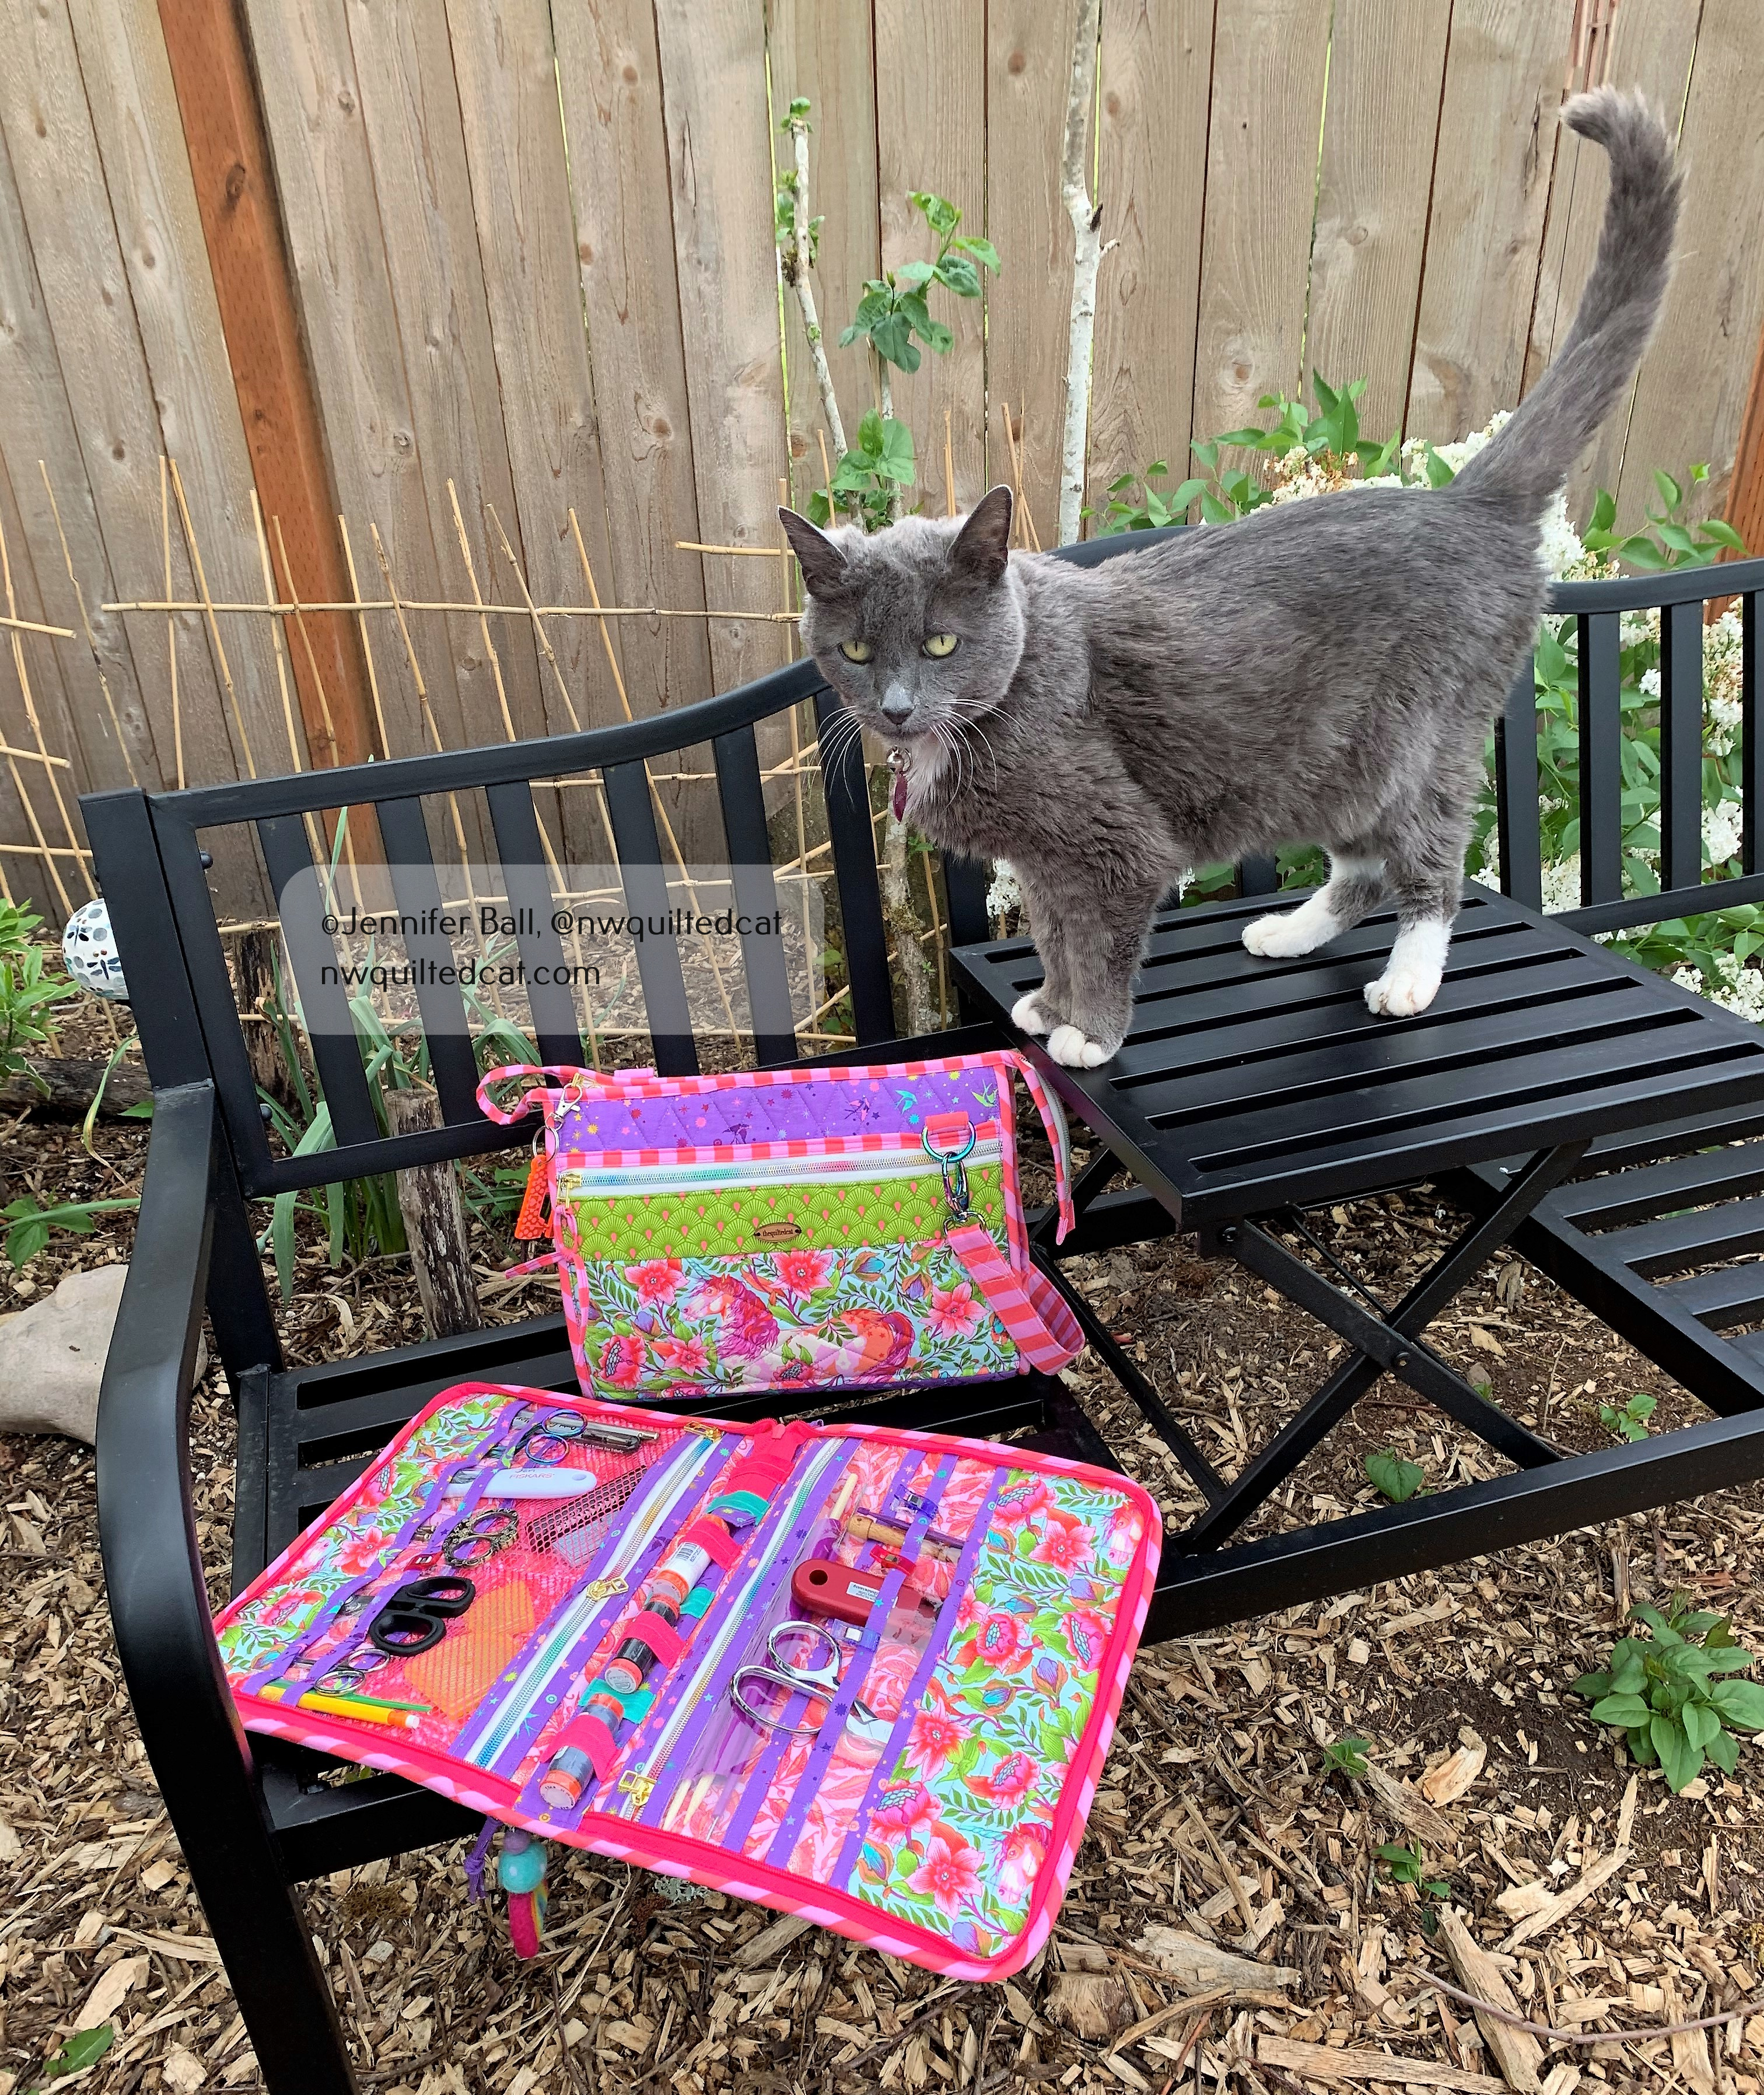
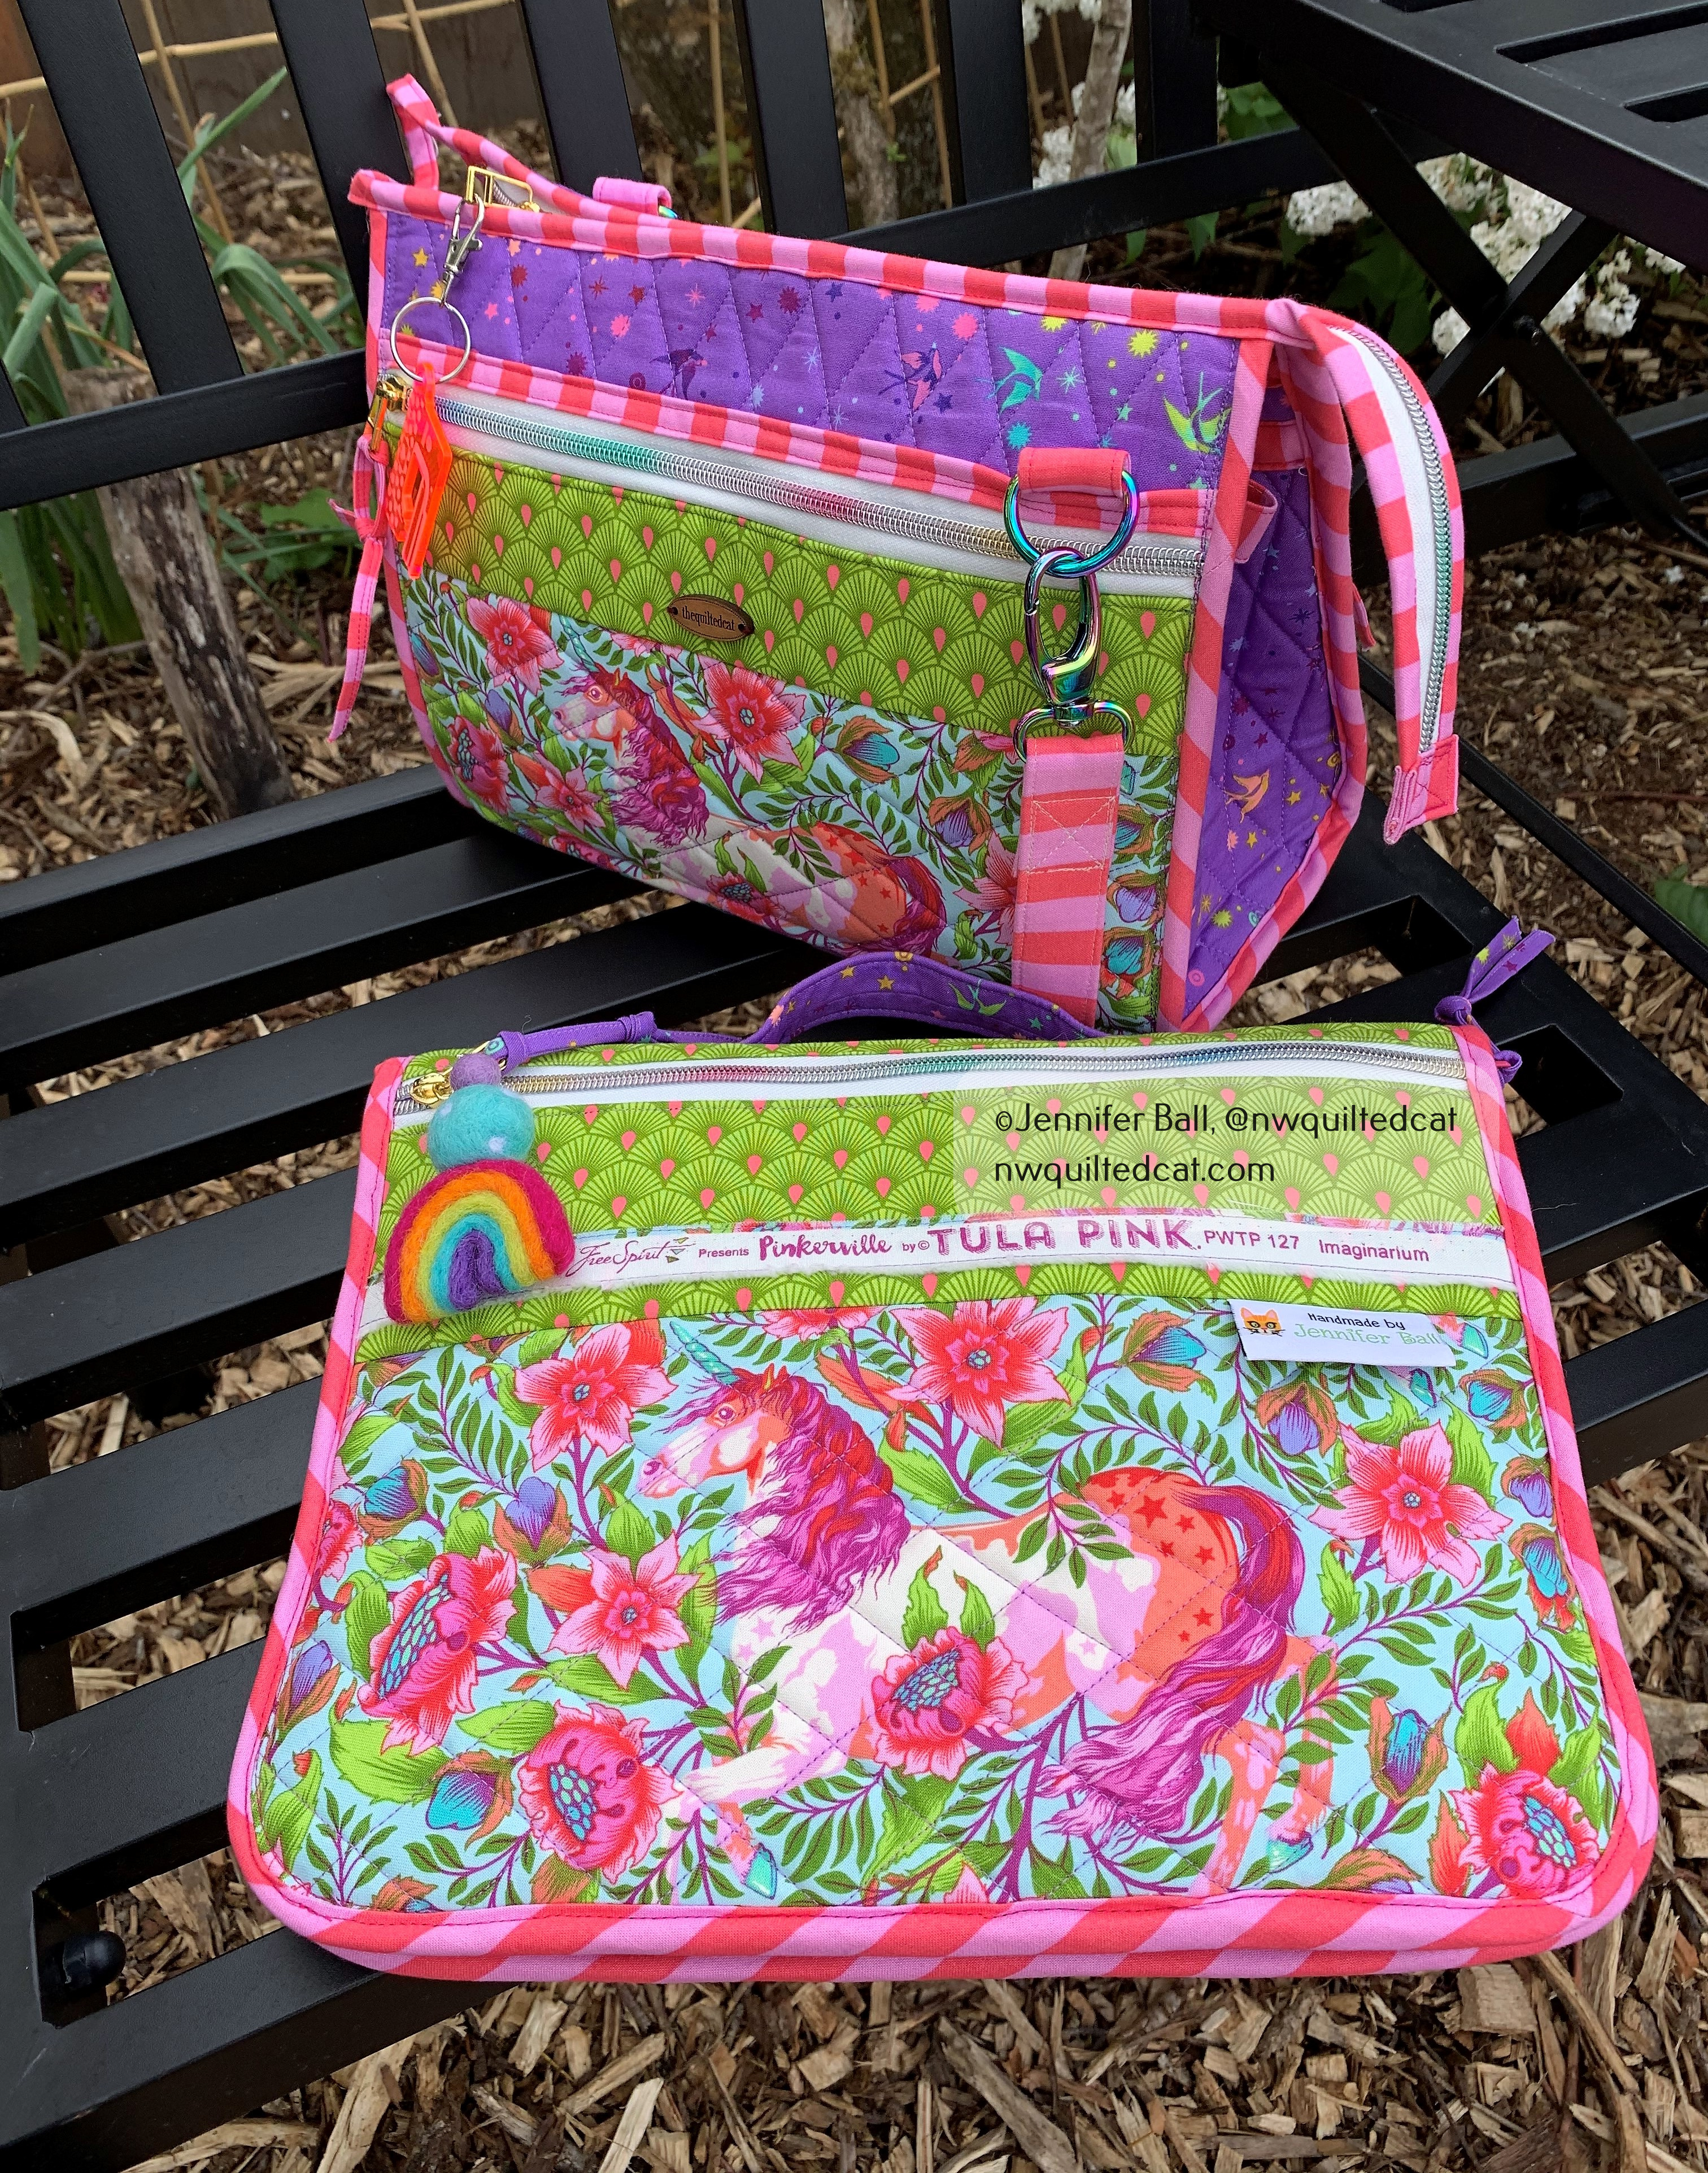
My Custom Tula Pink Mini Rotary Mat Holders!
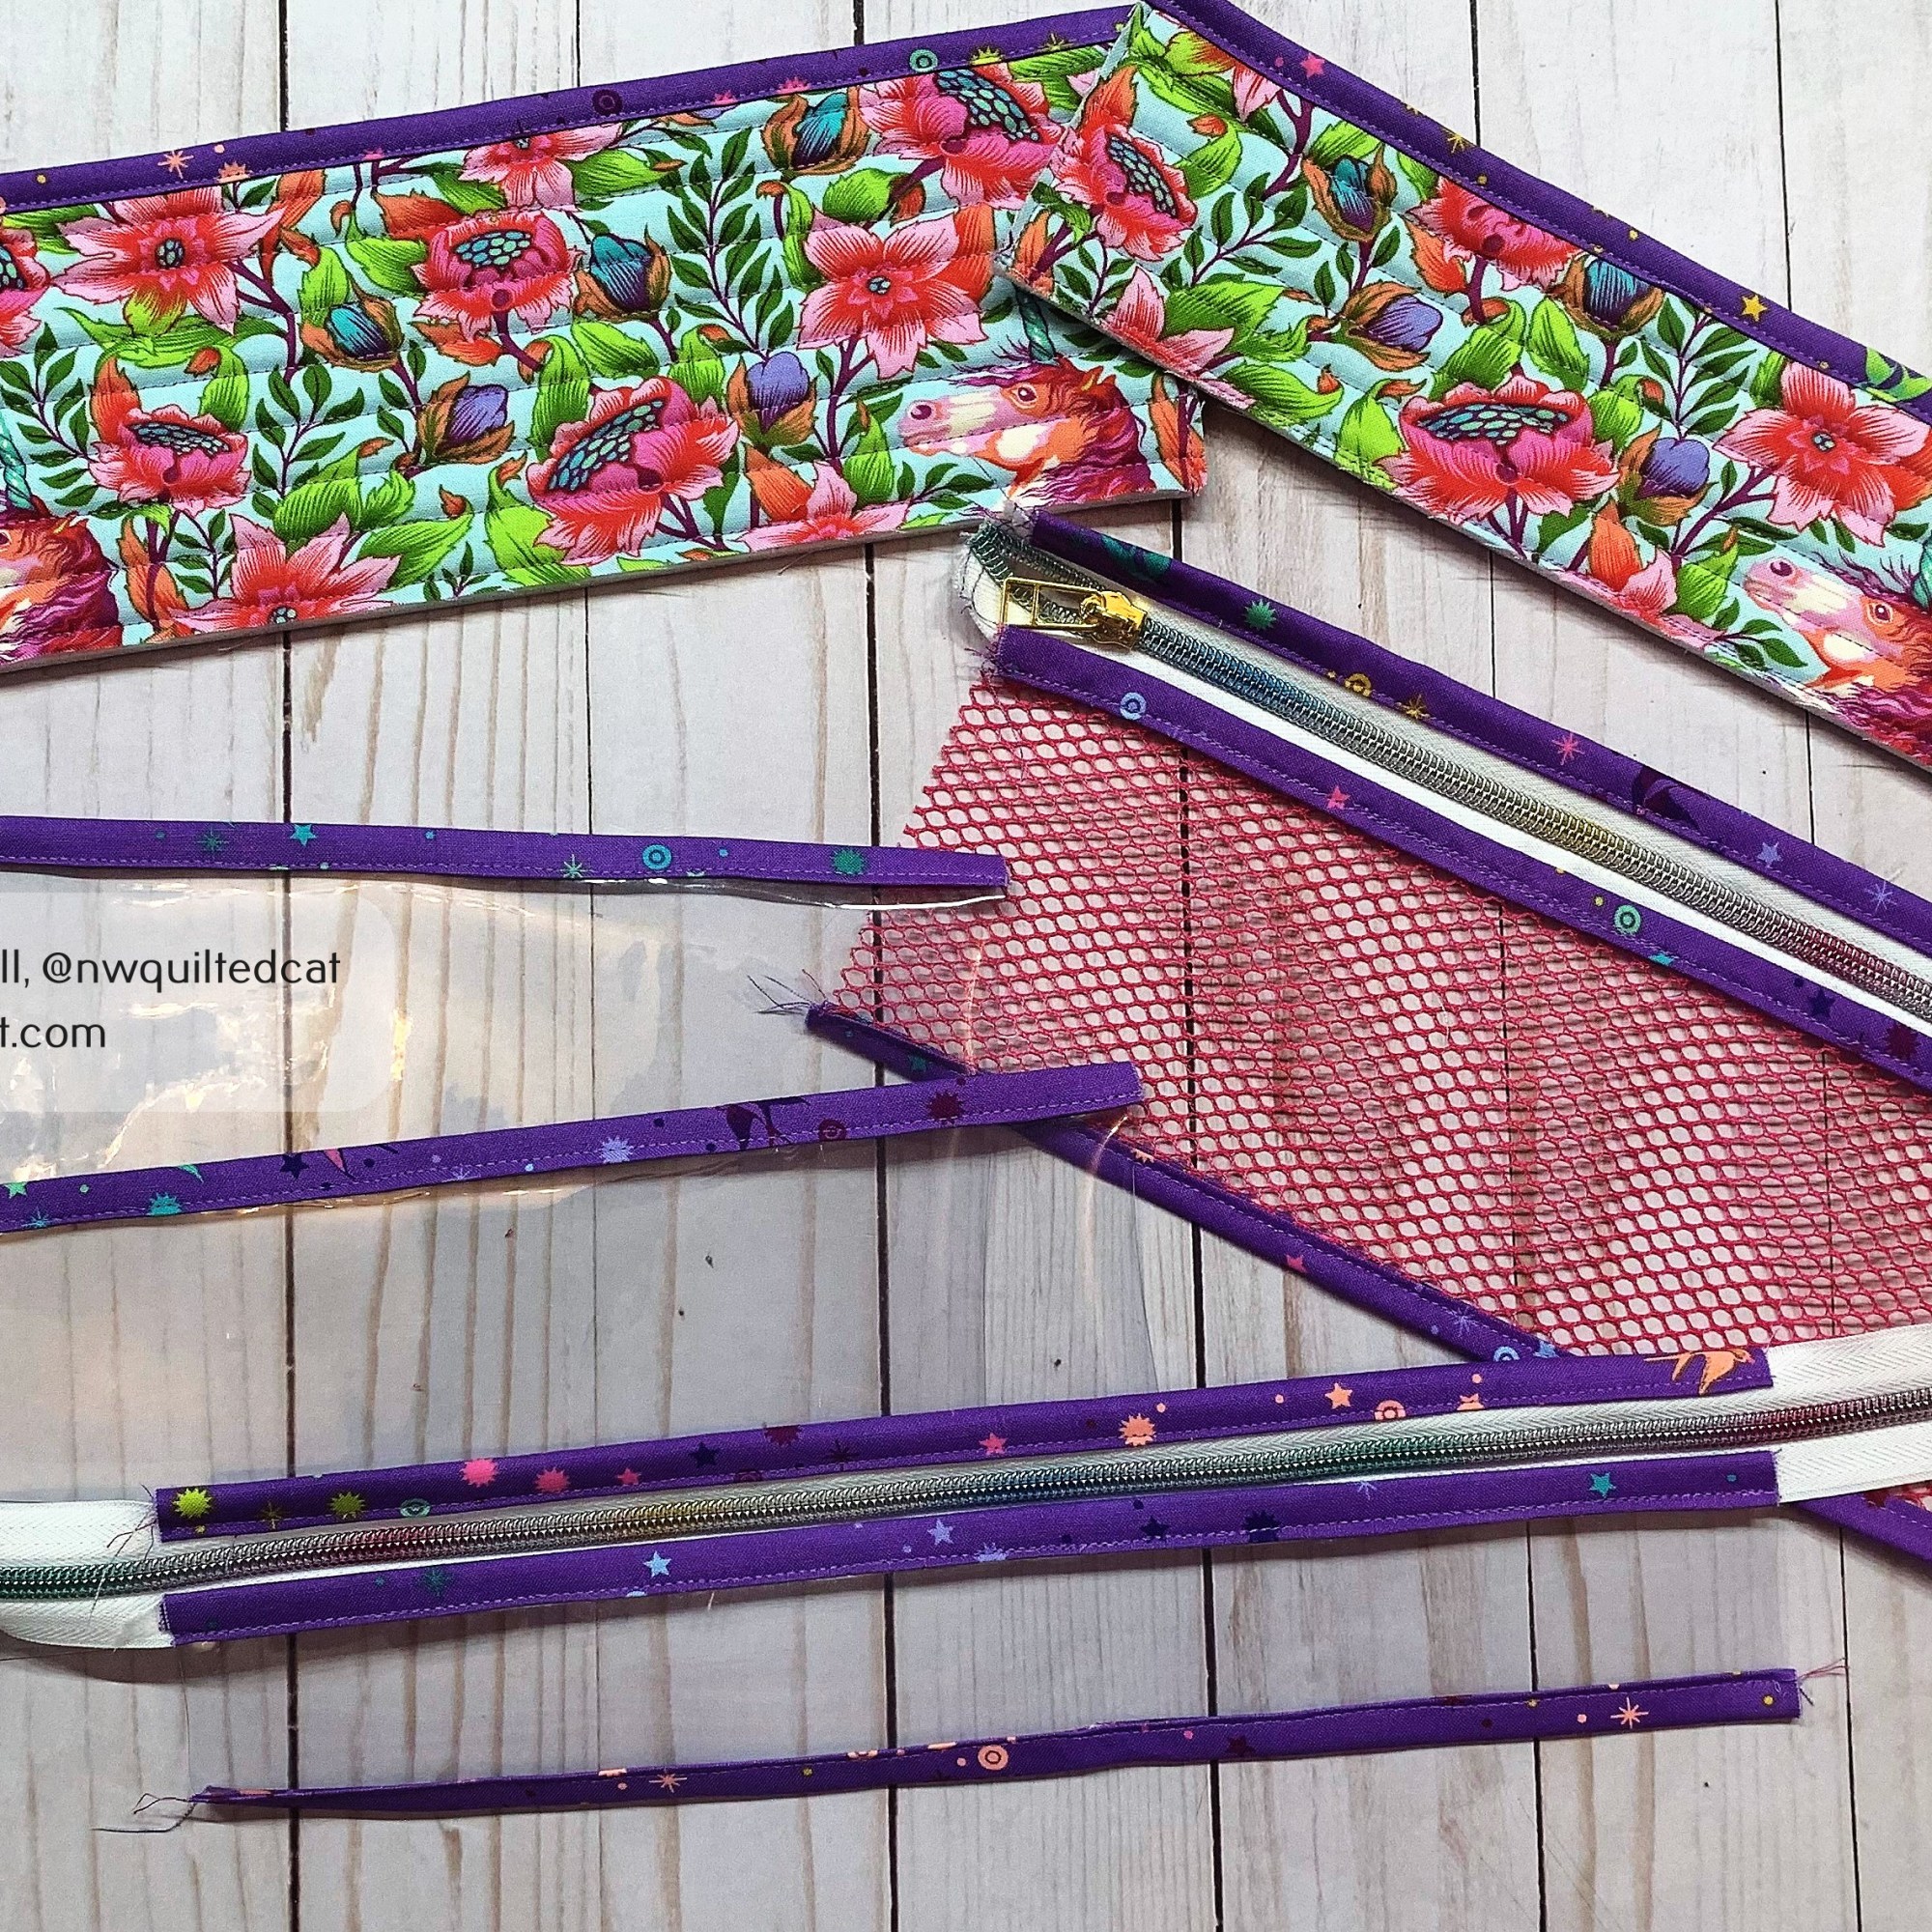
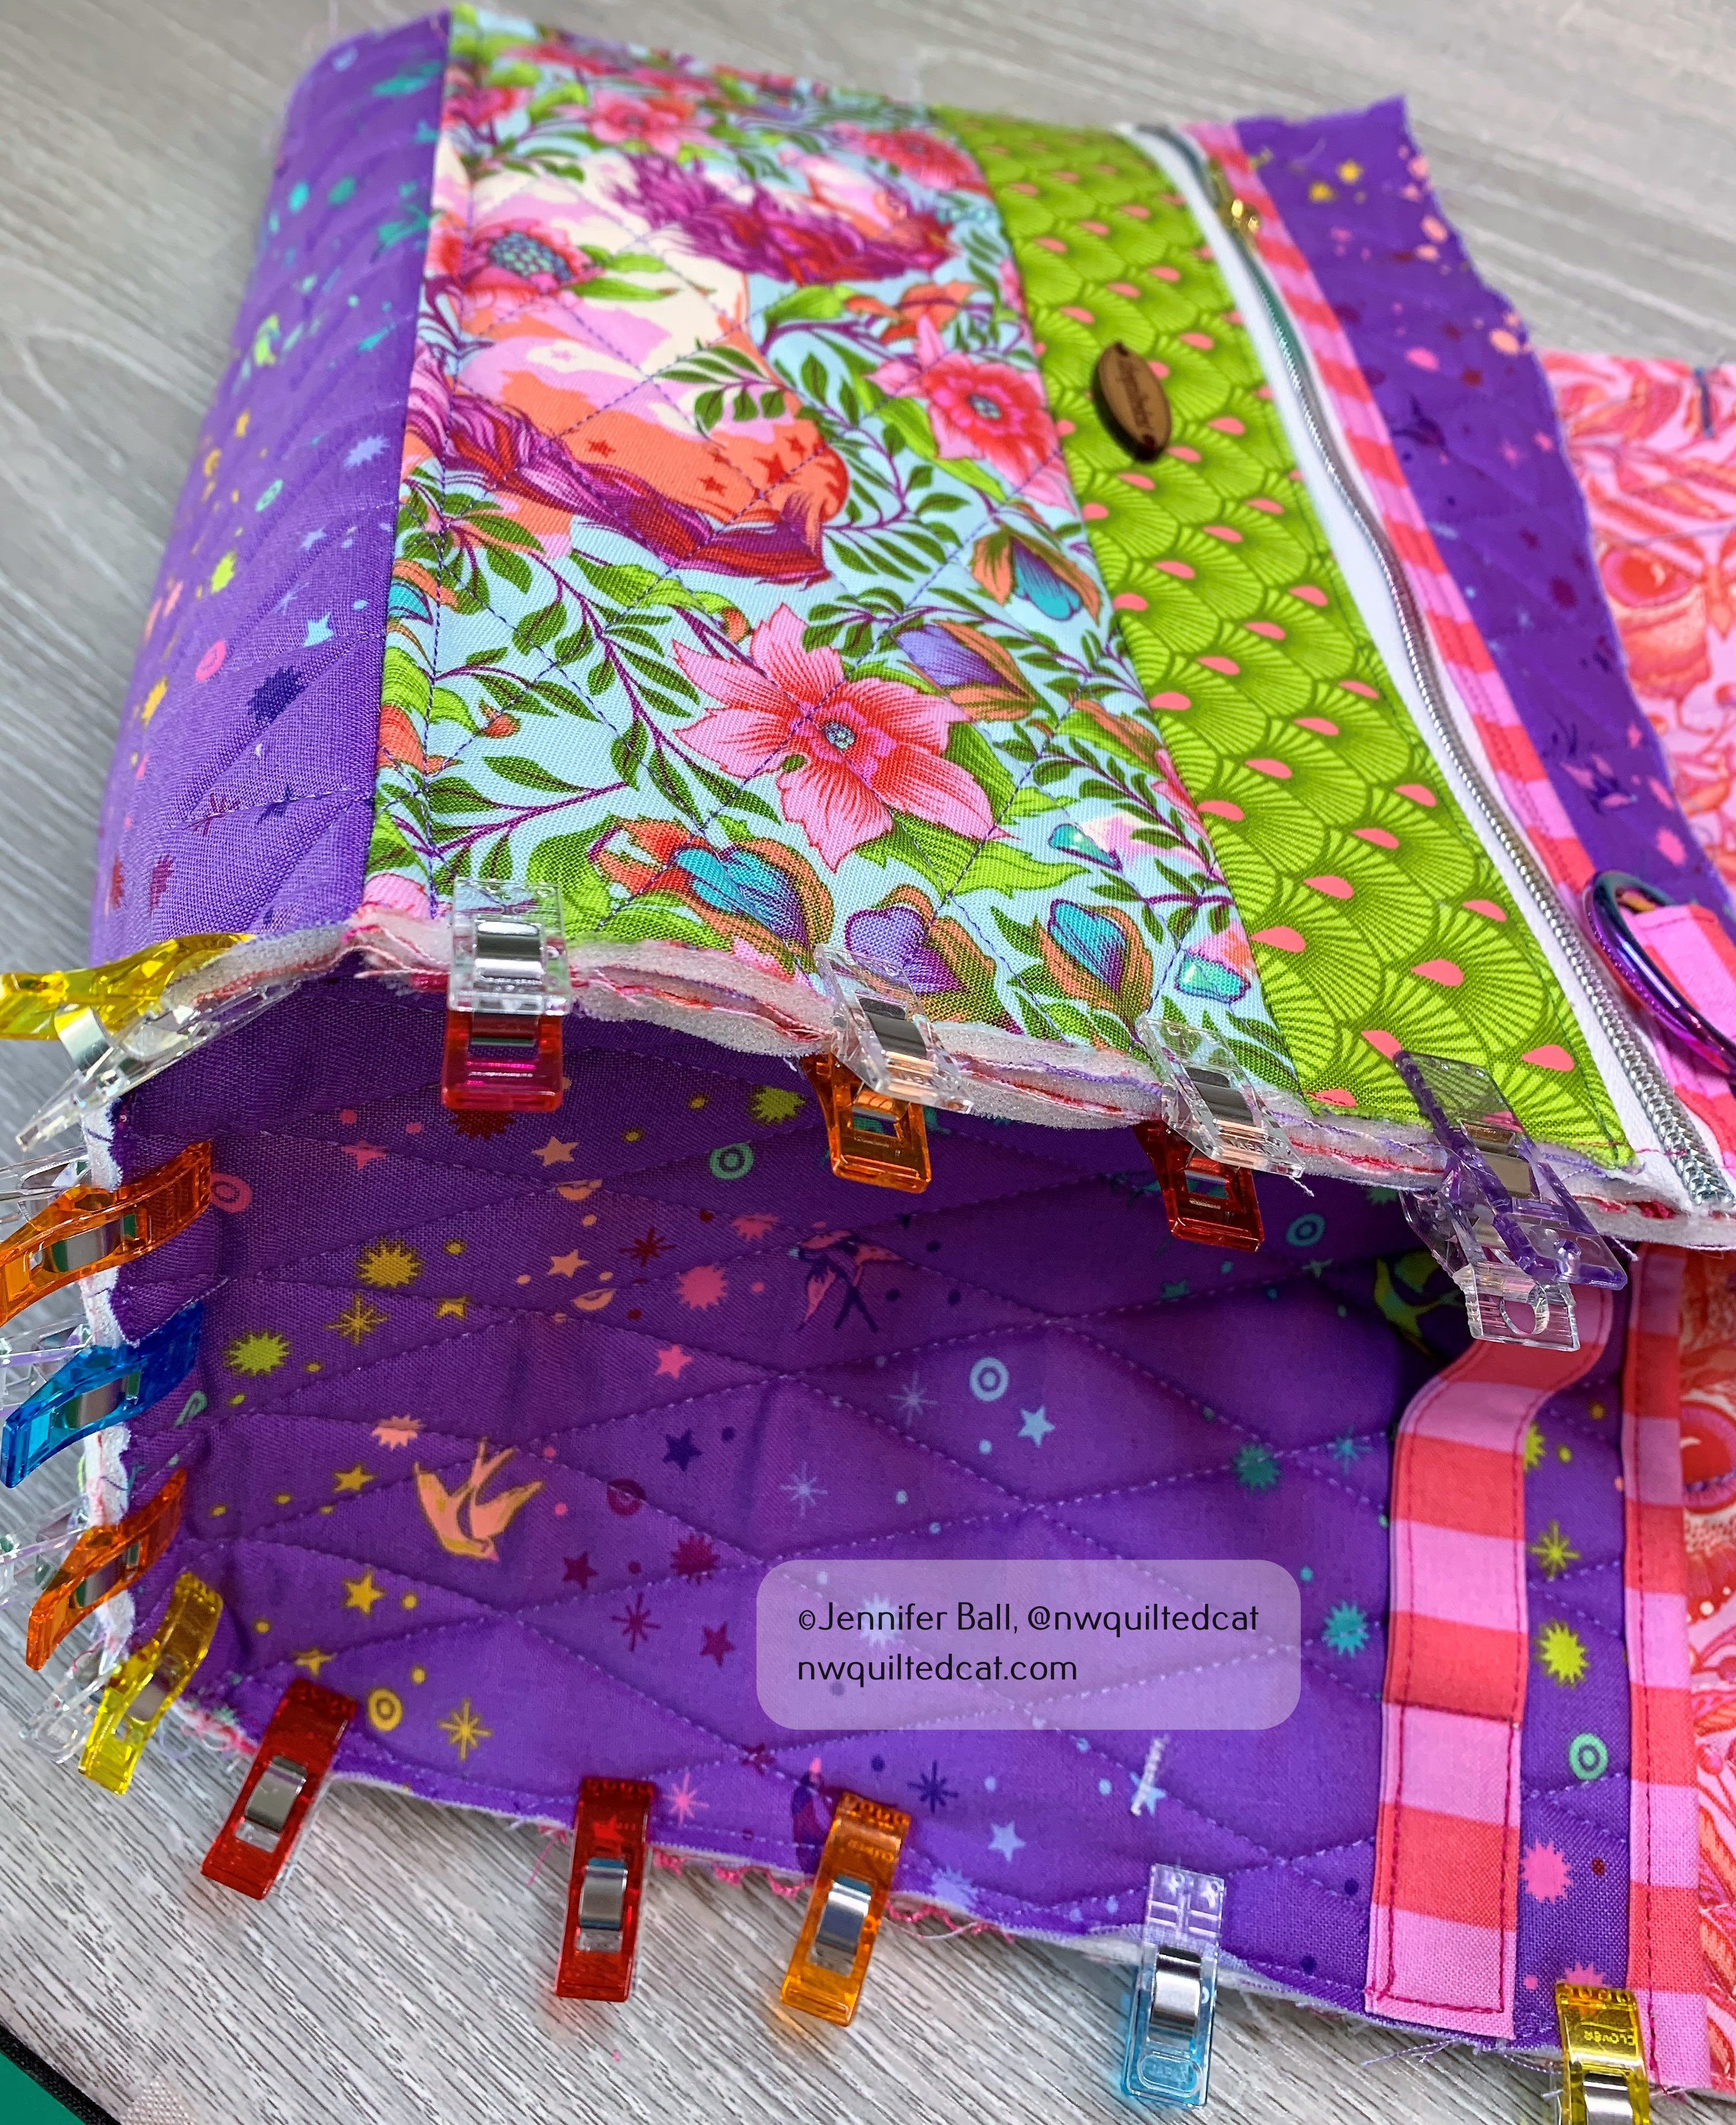
I altered the pattern slightly by piecing a Deja Vu Parisville cameo into the back of each mat. I really wanted something that could showcase this large scale print, and this little project worked great. I used the Essex Yarn Dyed linen for a little extra structure and stability, and to provide a nice contrast to the bright Tula Pink fabrics.
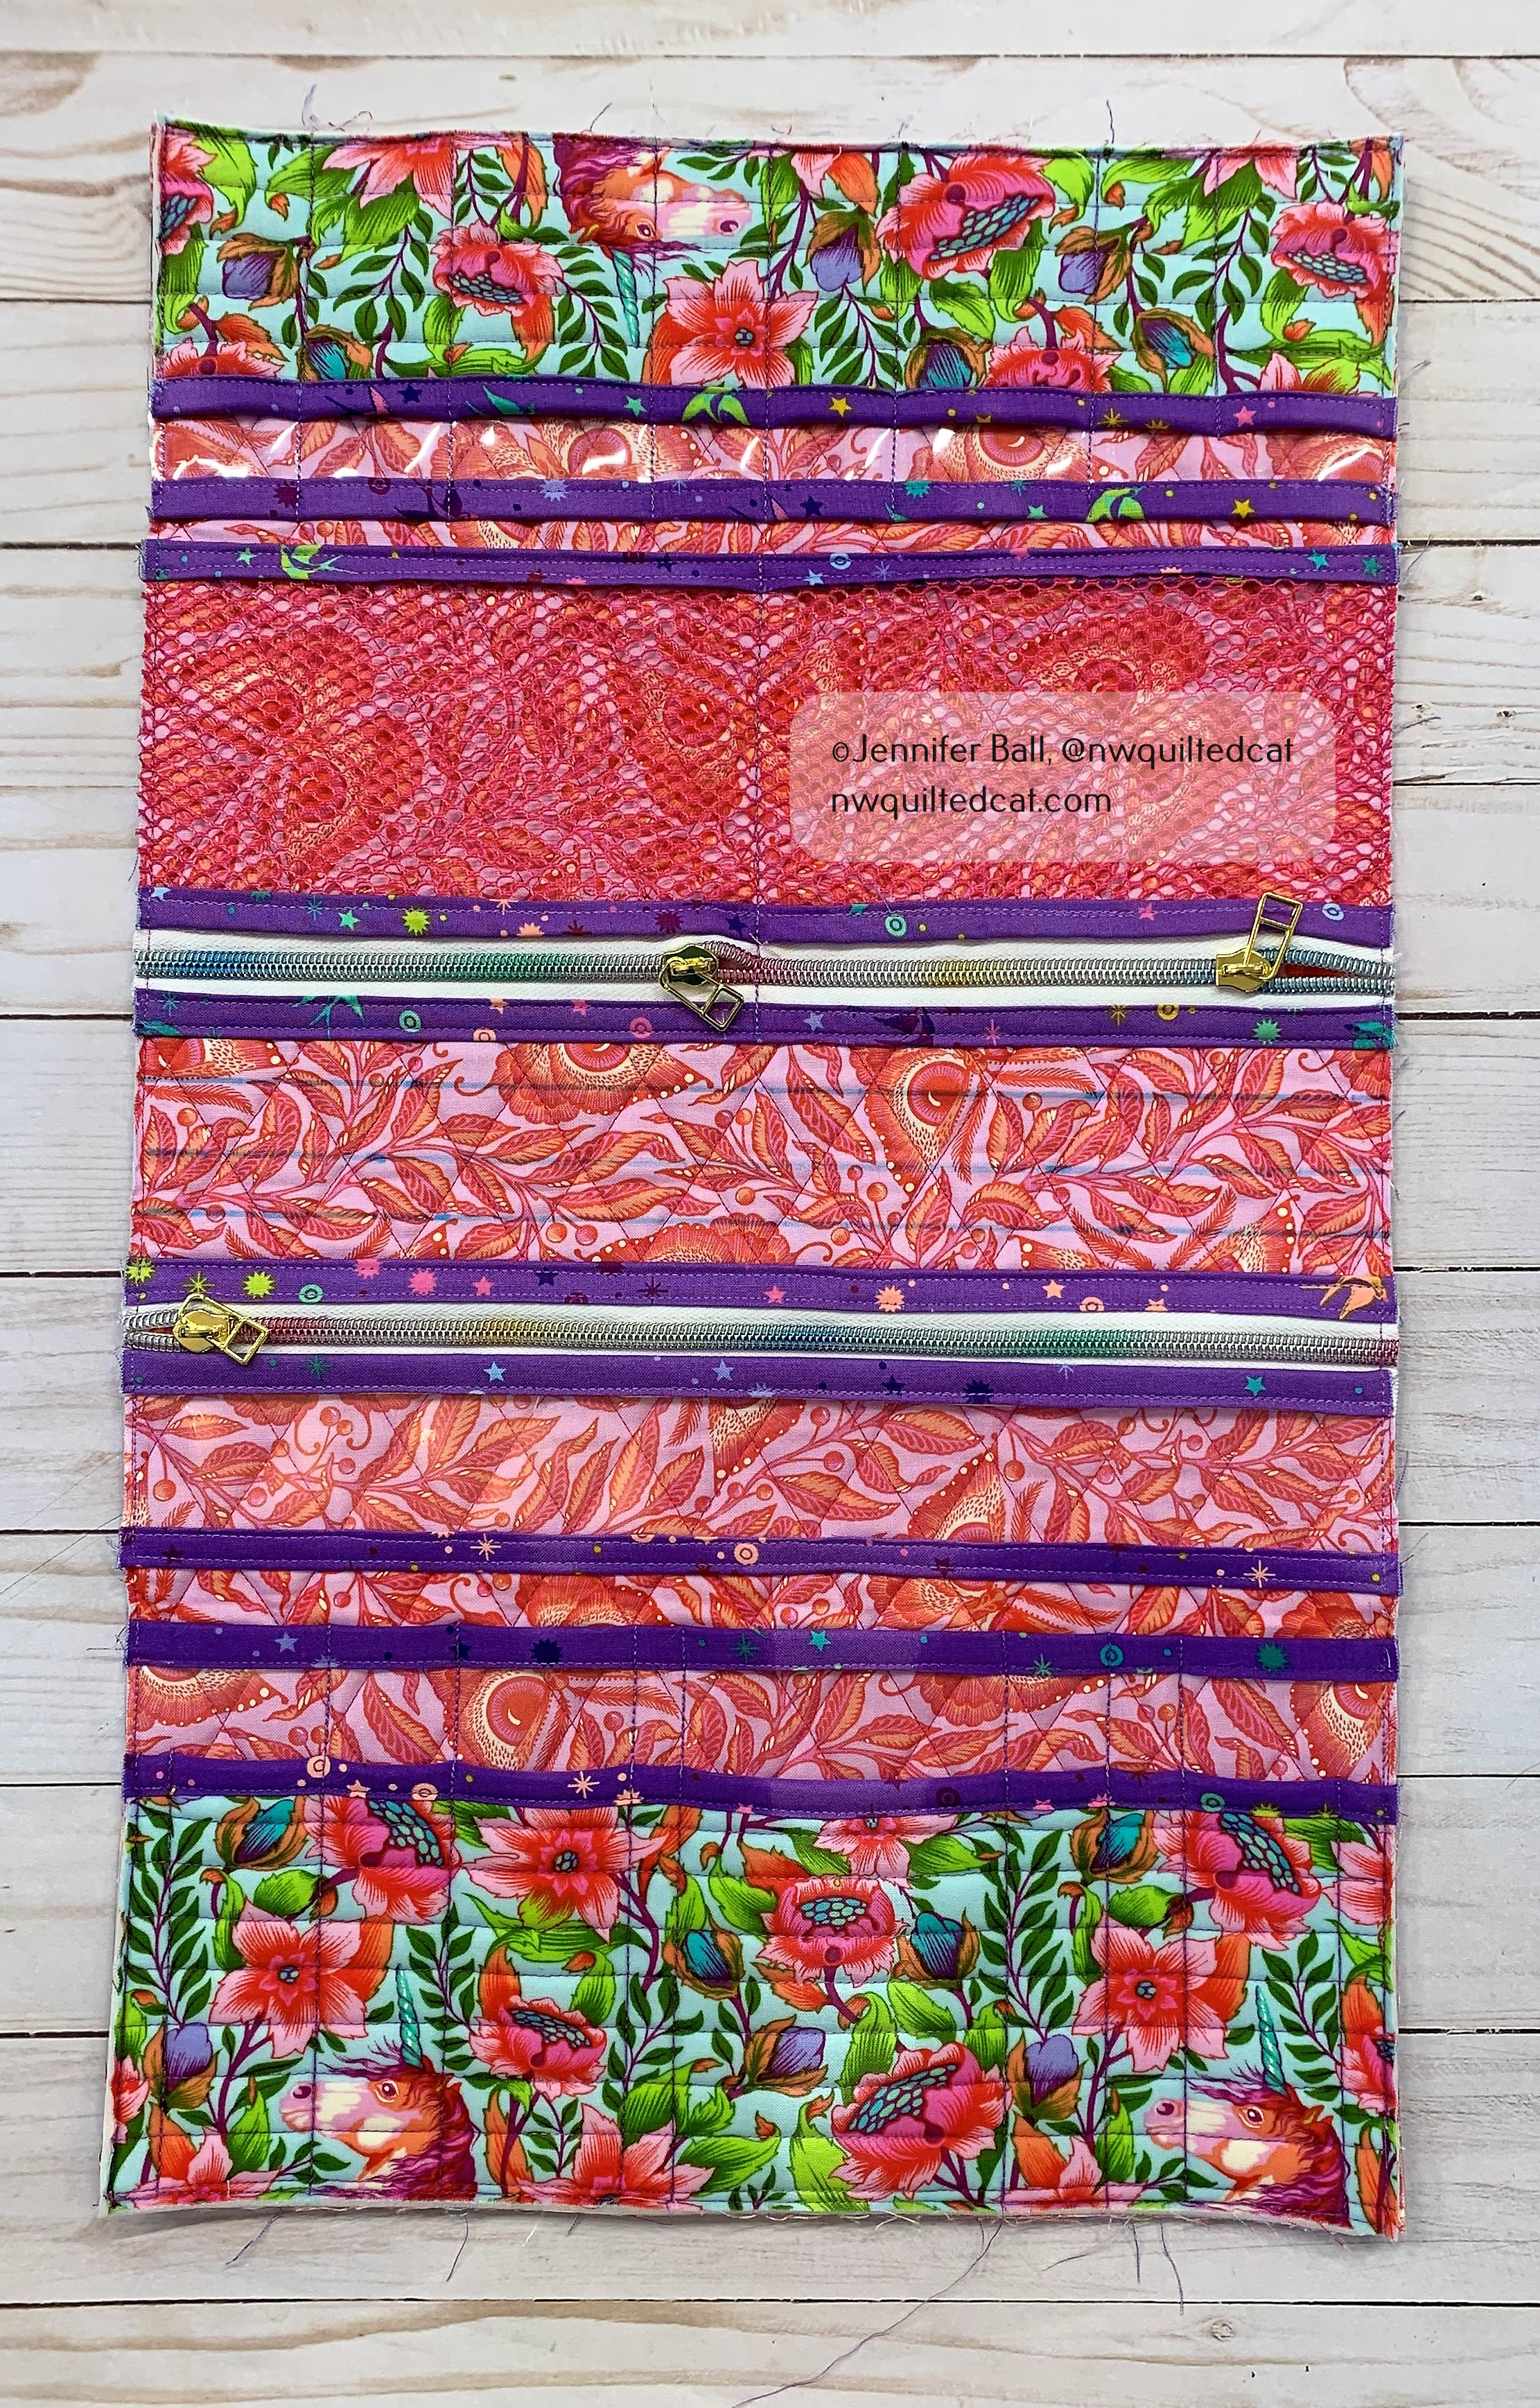
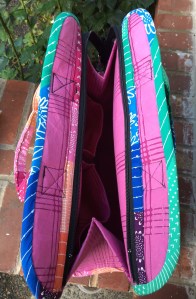
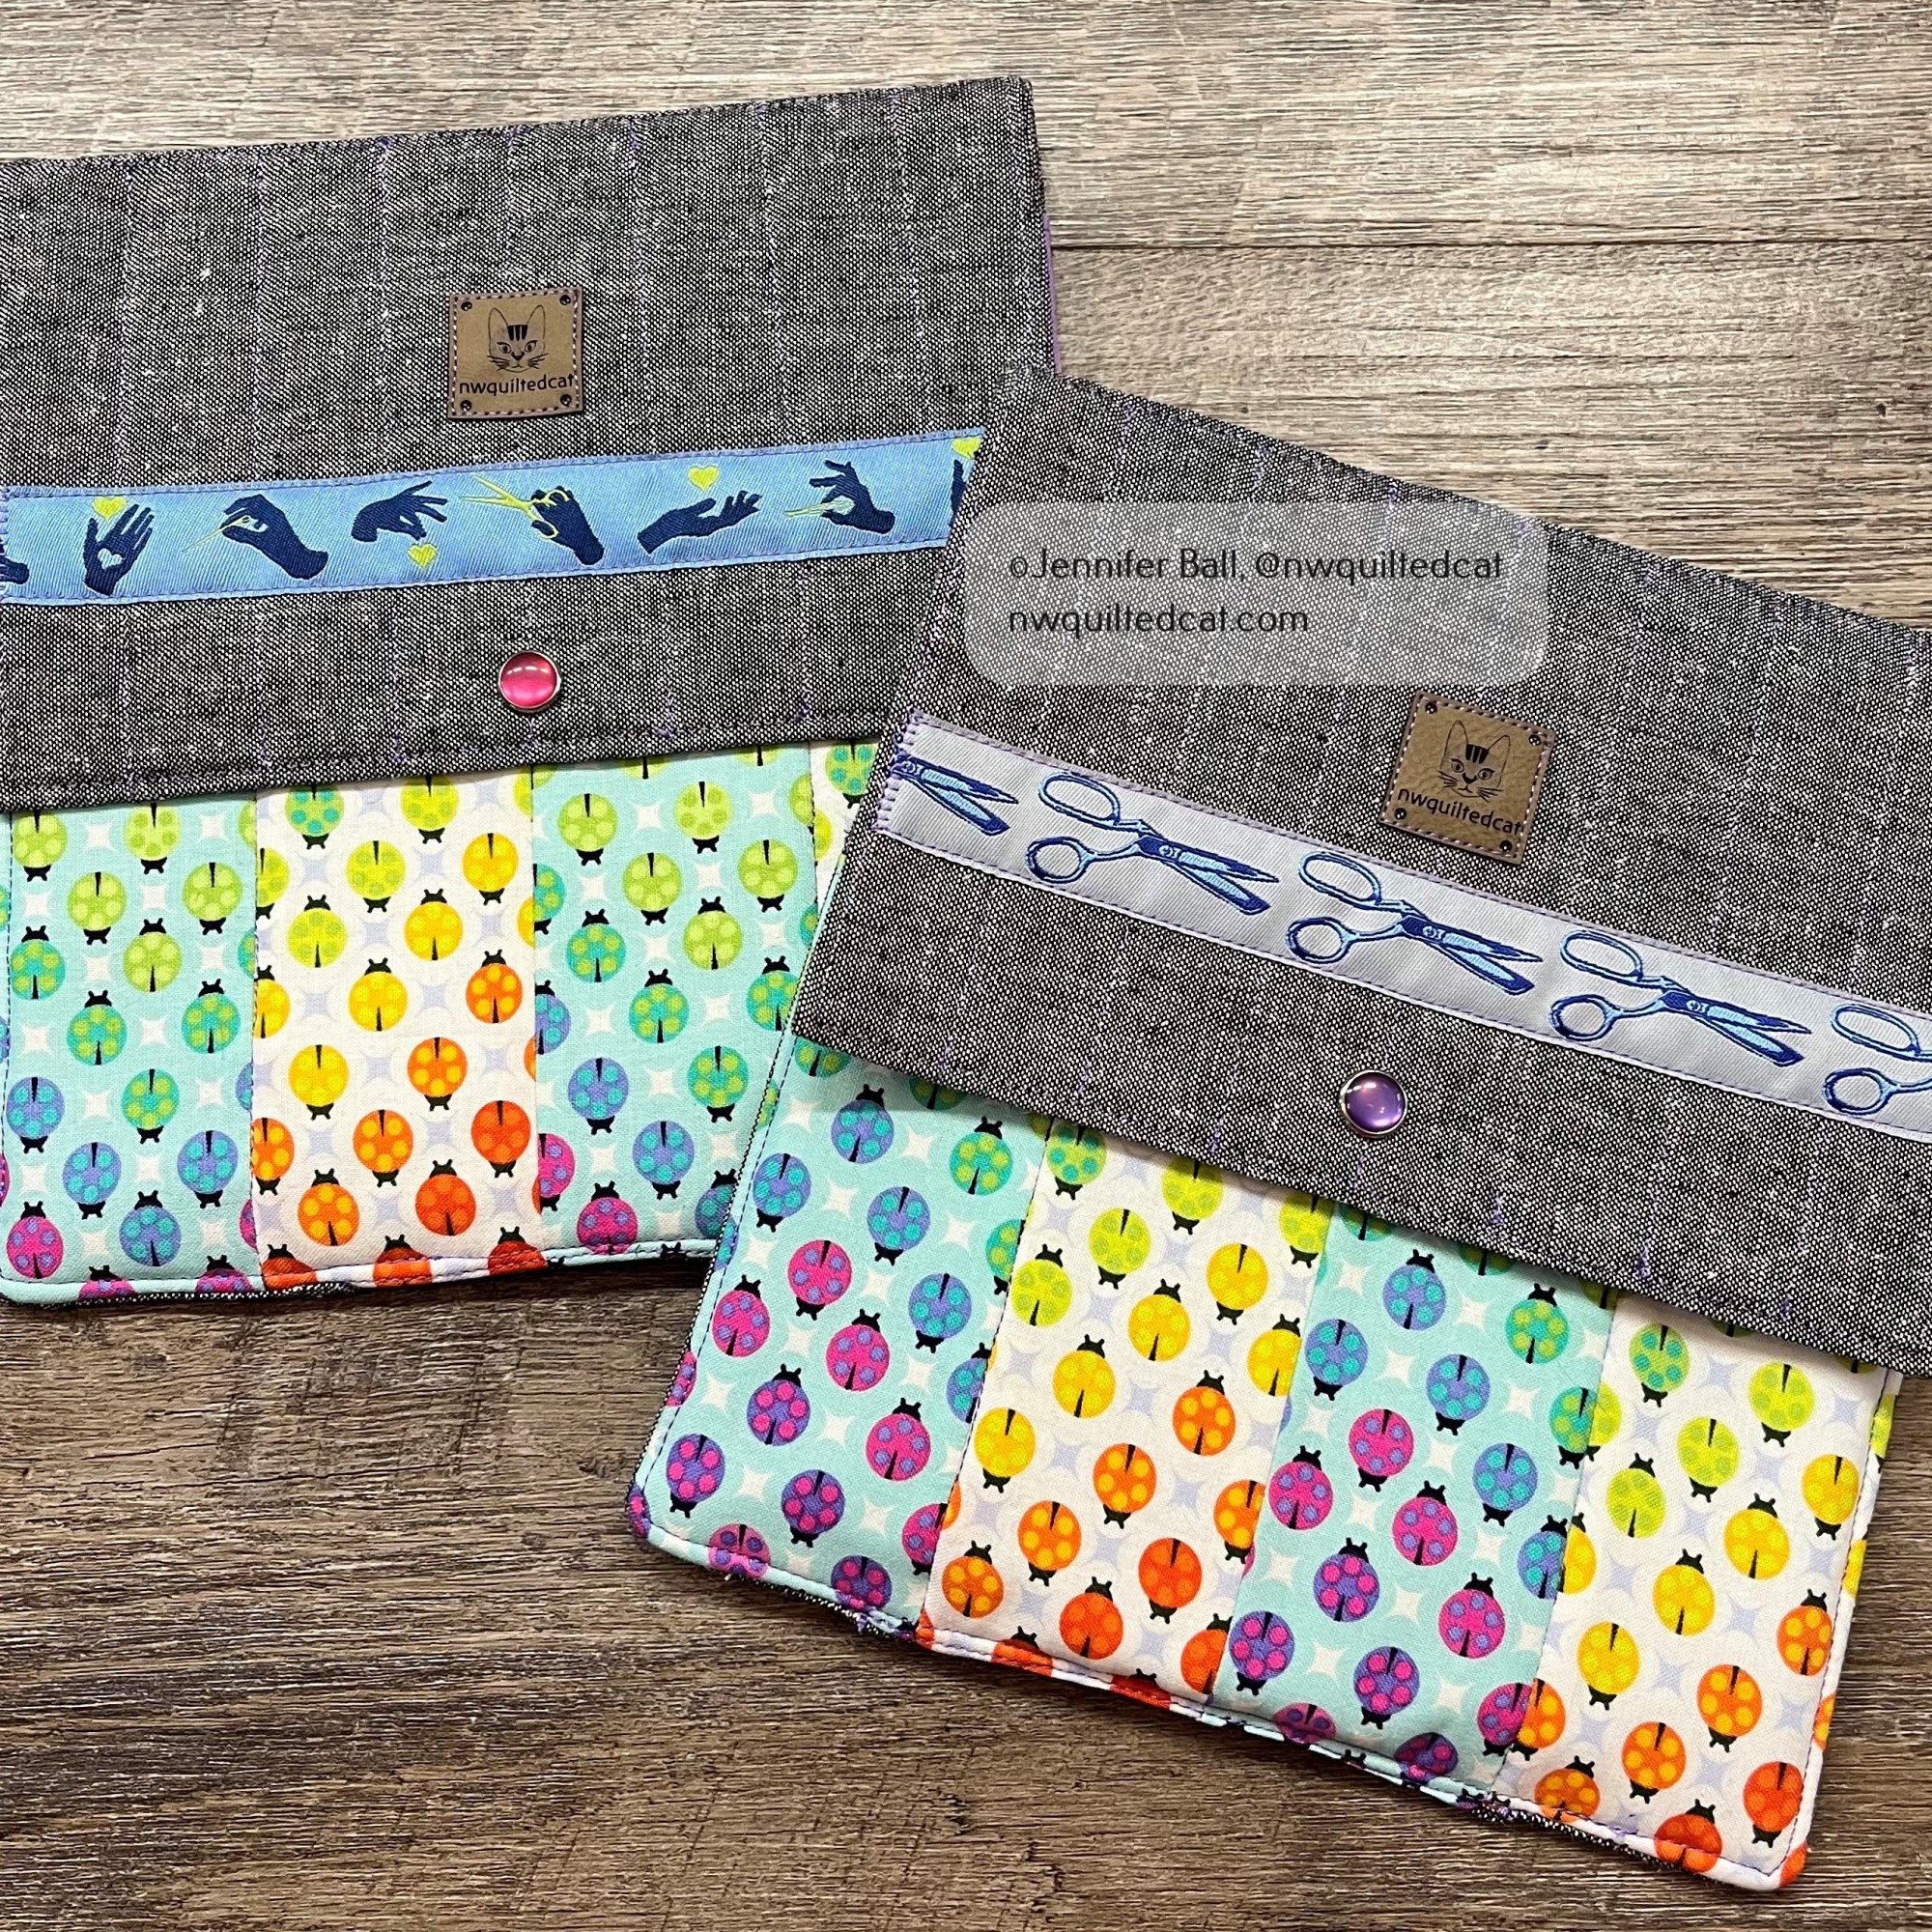
Here’s a look at the front and back of 2 mini rotary mat holders opened:

The large pocket holds a 6×8 inch rotary mat. The smaller pocket is divided into 4 sections to hold small tools such as a rotary cutter, scissors, pencils, and more. I added a ribbon to each exterior flap for a cute accent.
Each holder uses the same Painted Ladies fabric in alternating “glow” and “glimmer” colorways. The “glow” colorway is the white background and the “glimmer” colorway is the aqua background. I had a fat quarter stack of the Tiny Dots and Stripes prints so I used a different one for each rotary holder. I really love how colorway these little cases are all together!


Everyone in the swap wrapped their items so that participants could unwrap one item a day for the 12 days leading up to Christmas.
I wrapped my items in a polka-dot printed paper with a pink ribbon:

I really enjoyed participating in this swap, and I received some really fun items in return! This project comes together pretty easily if you want to make one for yourself or as a gift for a quilting buddy.
Happy quilting!
Jen