Fabric Postcards for Sisters Outdoor Quilt Show

The Sisters Outdoor Quilt Show occurs on the 2nd Saturday in July each summer in the beautiful high-desert town of Sisters, Oregon. I try to attend every couple of years since the drive over is very pretty from the Portland area.

The show is having a fabric postcard contest called “Wish Upon a Card.” The postcards will be sold via silent auction and proceeds benefit local cancer patients. I decided to enter some cards and finished them up several weekends ago. Participants are required to use a 4-inch by 6-inch size for each postcard and must use Michael Miller’s Tiki Winki fabric to be eligible for prizes. Any postcards that do not use the fabric can still be sold for the charity, but they won’t be entered into the prize bucket.

Here are the 2 Michael Miller Tiki Winki colorways:

Michael Miller Tiki Winki Fabric

Michael Miller Tiki Winki Fabric

Both colorways are fun so I decided to use both! I used the brown/black colorway to make 2 postcards. For the first postcard, I wanted to use a Hawaiian beach theme. I found some great fabrics in my stash to complement the tikis so I could build a little coconut tiki hut on a beach. The surprise bonus is the little koa wood turtle coming up to the beach from the ocean.

Tiki Hut Tropical Beach Postcard

Tiki Hut Tropical Beach Postcard

For the second card using the brown/black colorway, I decided to go “out of this world” by creating a tiki bar stop in space for a little alien! The alien’s spaceship has 5 hotfix crystals to add a little bling.
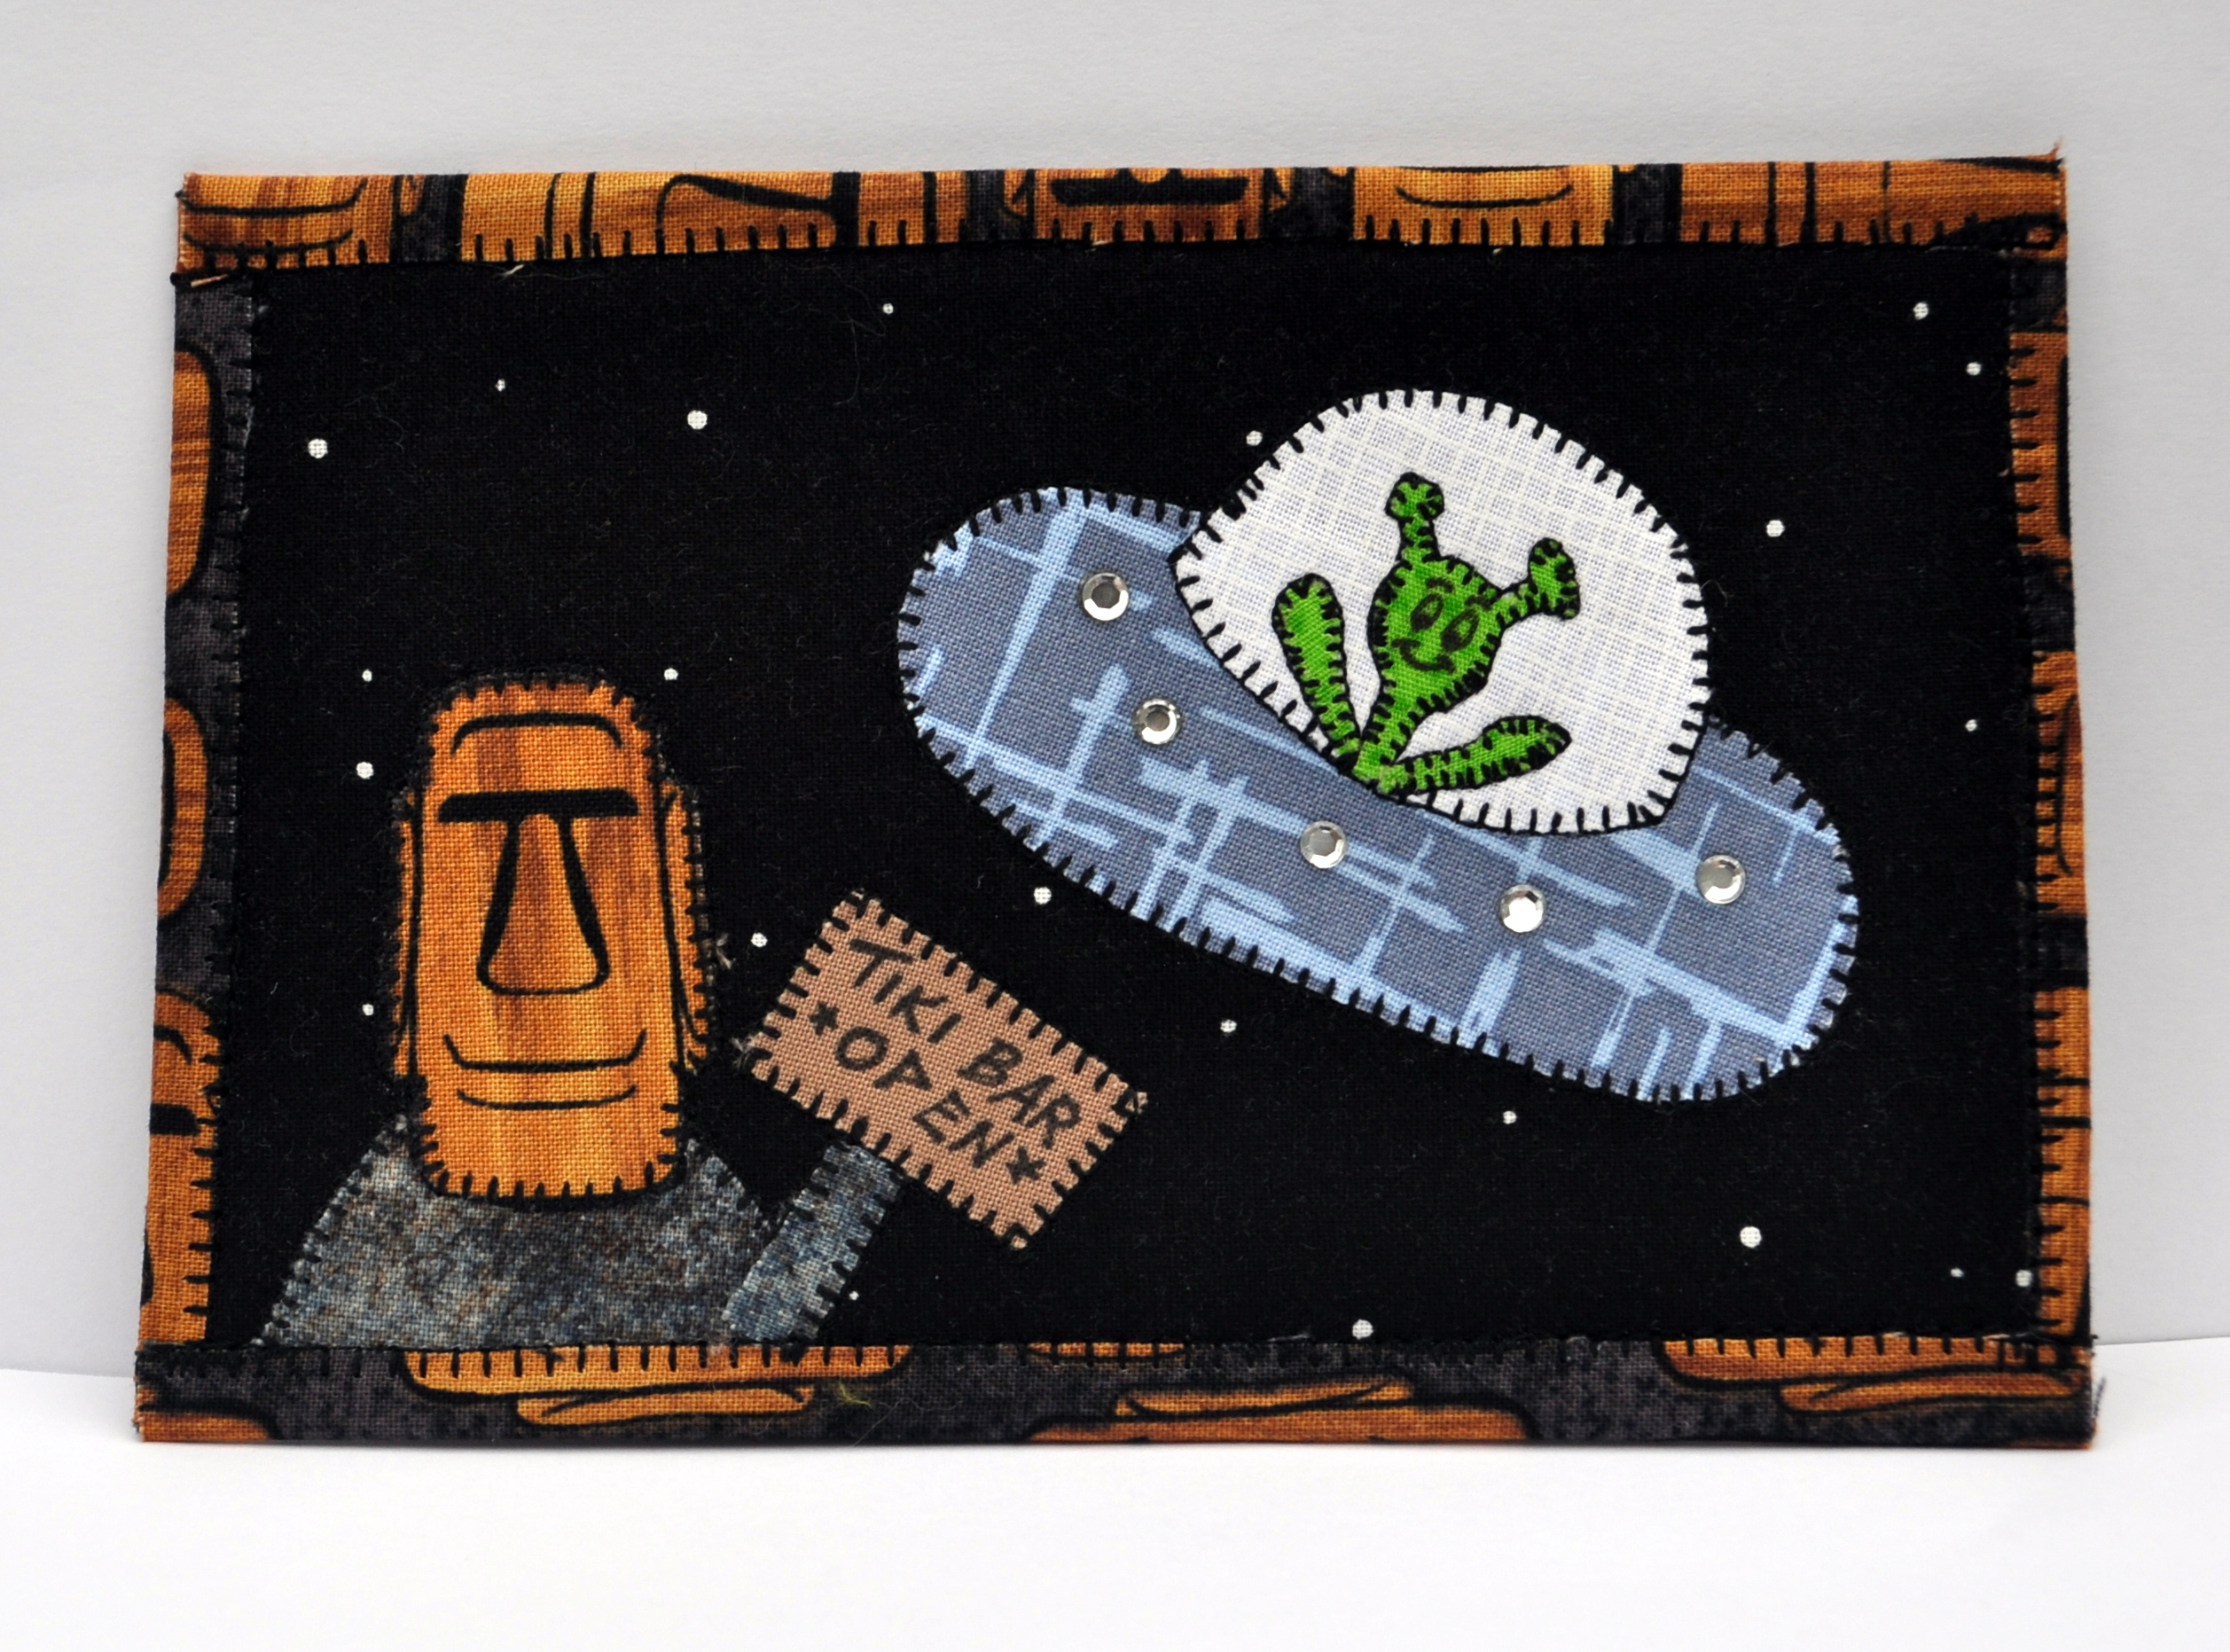
Space Tiki Ba

Space Tiki Ba

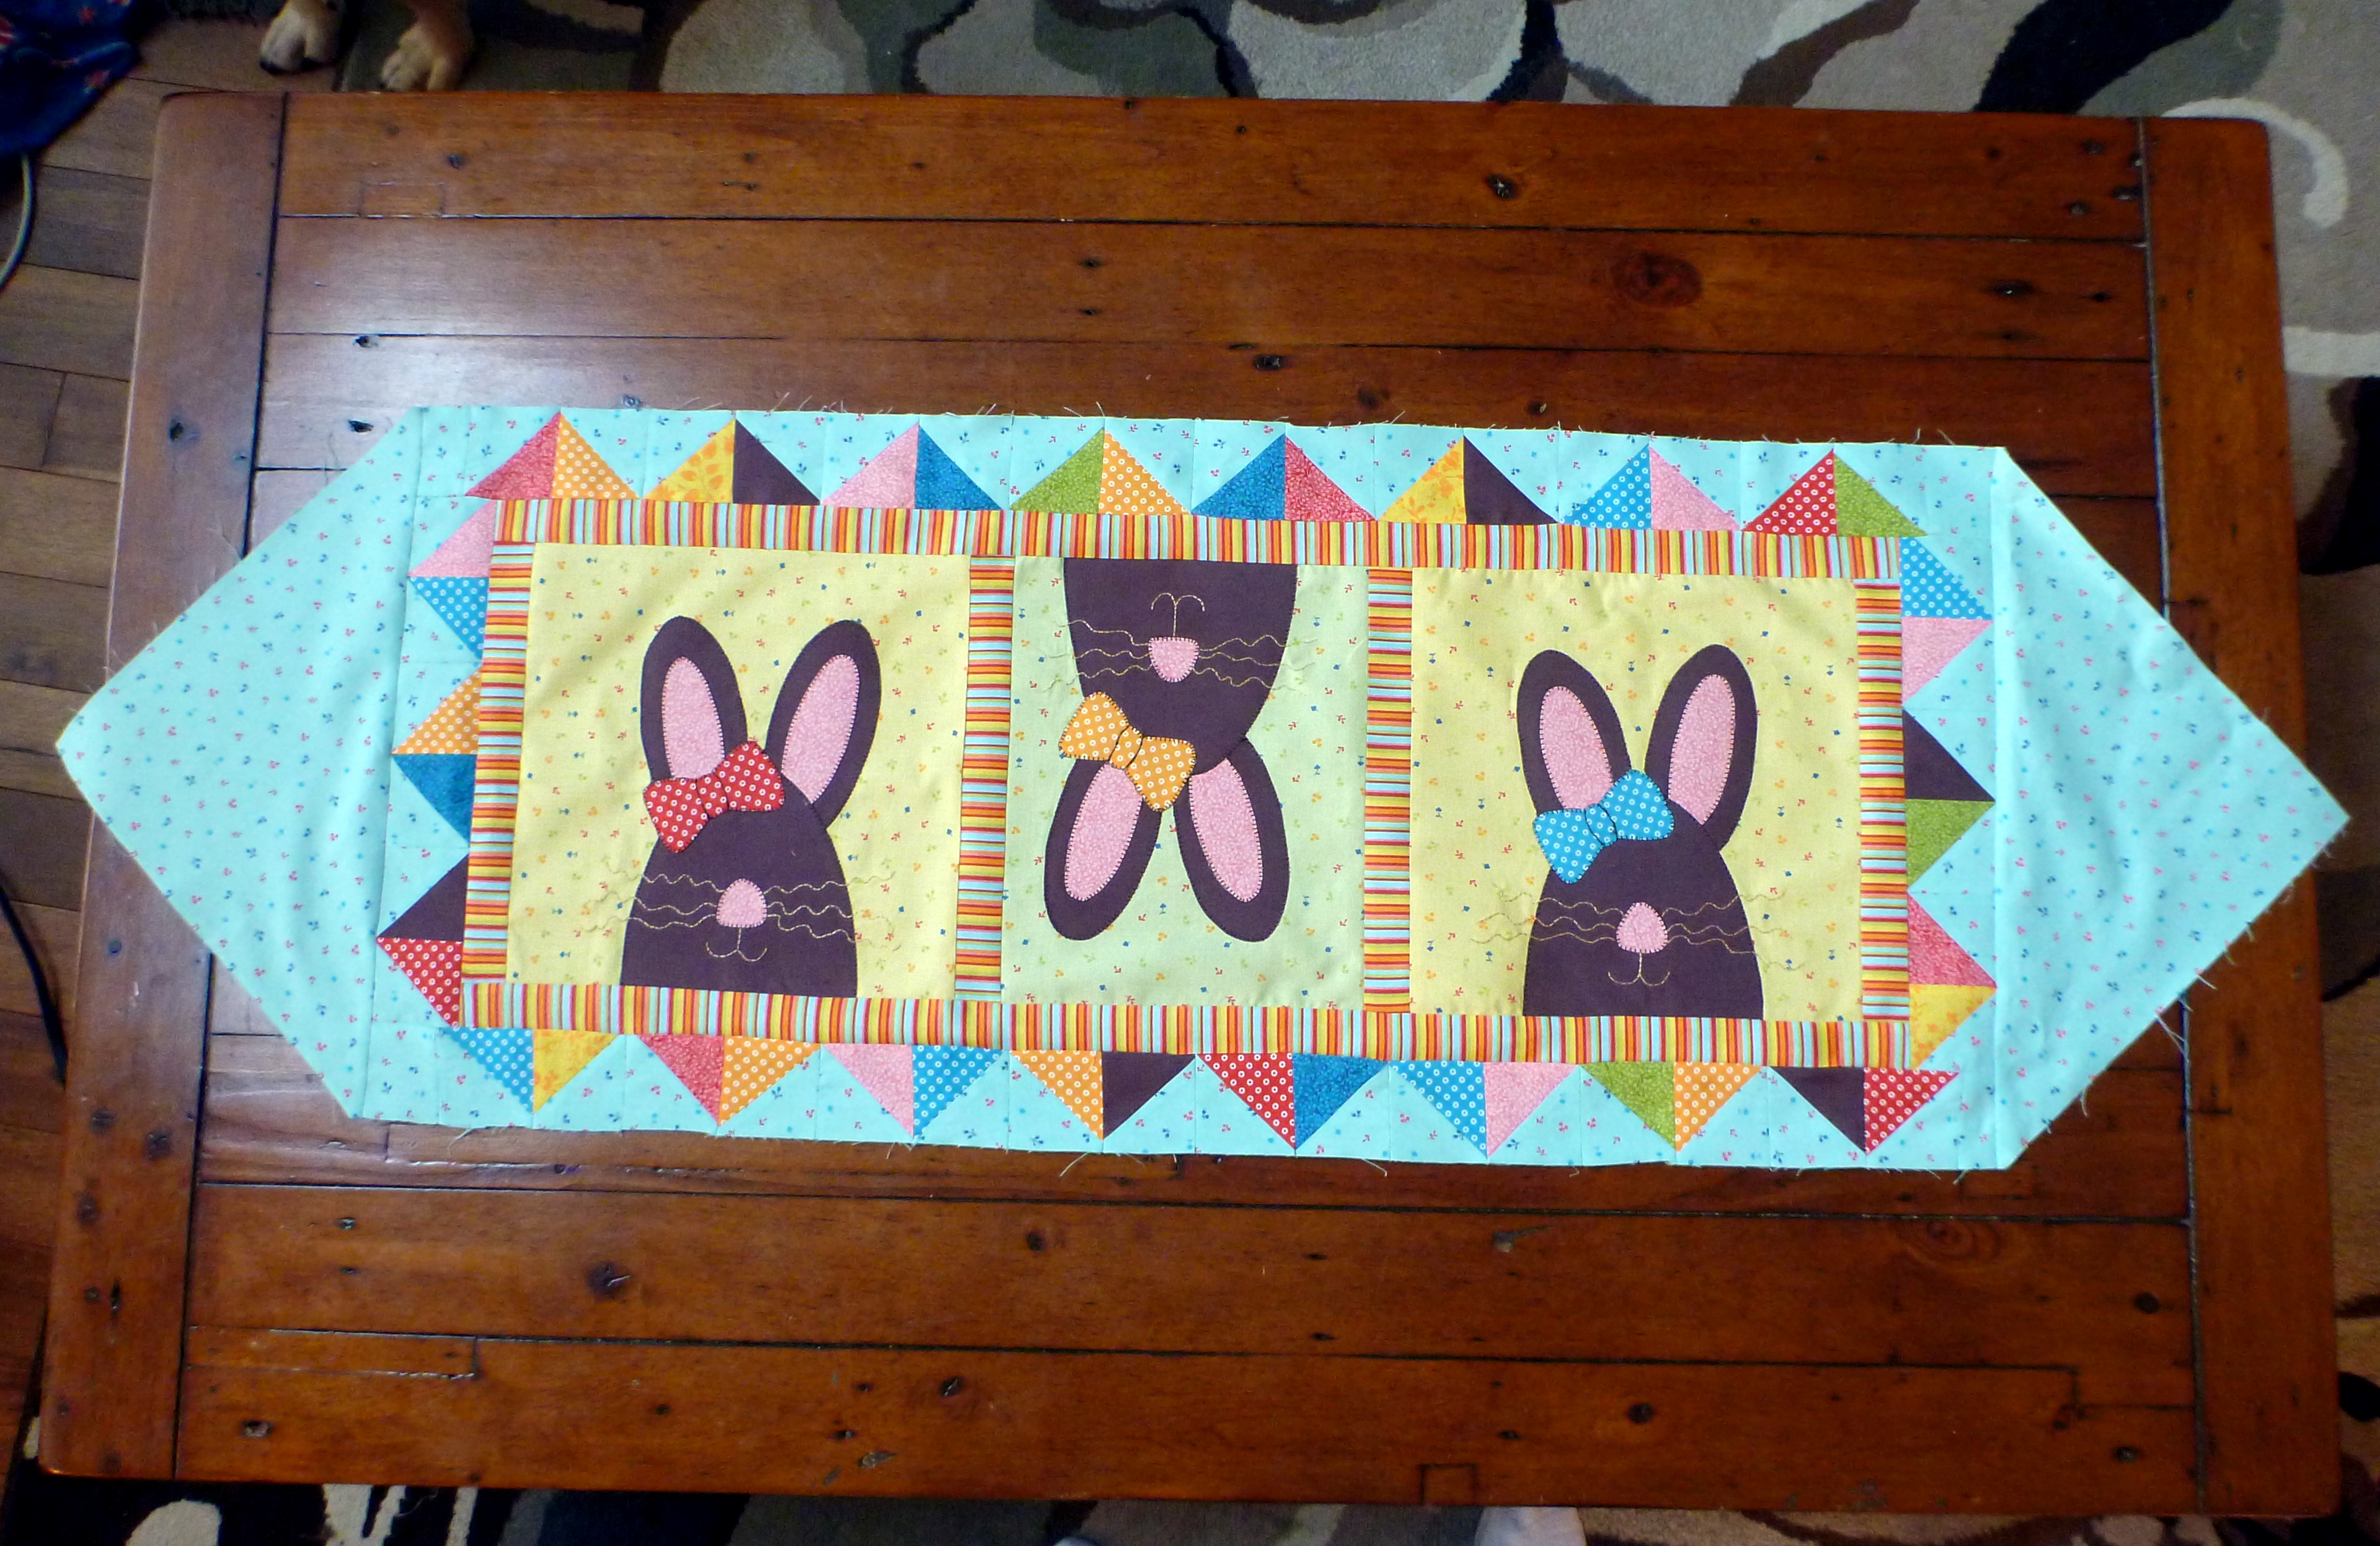
My final postcard uses the pink/blue colorway. After recently seeing the movie Hop with my 7-year-old, I thought a bunny on Easter Island would be the perfect use of the tiki heads!

Easter Island Postcard

Easter Island Postcard

These fabric postcards are fun and quick to make. I will make some more in the future to send to friends and family, although I’ll probably send them in a protective mailer so that they do not get damaged in transit.

If you’re traveling to the Sisters Outdoor Quilt Show this summer, do stop by the fabric postcard silent auction. Maybe I’ll see you there!

Enjoy,
~Jennifer

“So Tweet” Bird Test Block for Guild Exchange

My sister recently invited me to make 6 blocks for an exchange with her quilt guild. There are 3 basic rules:

  • must be 12.5 x 12.5 inches unfinished
  • must use bright primary colors
  • must have a bird on the block

I made up a test block using both piecing and applique techniques. This is block #555 (So Tweet) by Paula Stoddard from the Quiltmaker’s 100 Blocks collector’s edition, volume 6.

I went with some birchy/aspen type fabric for the tree trunk. Instead of using green leaves, I keep with the primary color theme and used yellow tone leaves to suggest an aspen tree in the fall. While I do like the tree fabric, I think I may jazz it up on the next block and use a bolder fabric.

I machine-appliqued the bird and leaves to the pieced background and then added some fun thread accents by using Ricky Tims’ Razzle Dazzle thread #266 with a bobbin technique. I think it adds a nice touch of color and sparkle to the stitching.

The bird’s eye is a button which I did not sew down in case the block goes on a long-arm. I’ll probably include the buttons separately with the blocks so they can be added after quilting is completed.

Here’s a look at the block:

So Tweet Test Block

So Tweet Test Block


So Tweet Thread Close-Up

So Tweet Thread Close-Up

What do you think of the test block? A bird themed quilt seems like a fun spring or summer project.

Enjoy!
~Jennifer

Easter Bunny Hopping in Early!

I purchased an Easter Bunny table runner kit several years ago, opened it to admire the pattern and fabrics, and then packed it away in my to-do-someday stash. Last week, I decided to work on it since Easter is just around the corner, and I wanted something bright and cheerful.

This table runner is called “Hopping Hares” by Connecting Threads. It uses a combination of appliqued bunnies with pieced borders.

I embroidered the bunny whiskers and mouth using a gold-toned floss. I plan to add button eyes once the quilting is complete. The binding will be the same striped fabric as the inner border.

It was a pretty easy project, and I’m really happy to see the spring colors. Spring itself is trying to make an appearance here in Oregon with buds appearing on trees and early bulbs peeking up through the soil. I have some purple and white crocus blooming in the garden and several early daffodils are just waiting for a sunny day to burst open!

Here’s a pic of the bunny table runner before quilting and binding:

Easter Bunny Table Runner

Easter Bunny Table Runner


Bunny Close-Up

Bunny Close-Up

Hopefully, we’ll get some more sunshine soon and chase away all the winter blues!

Enjoy the bunnies!
~Jennifer

Stitches in Bloom Quilt Show – Oregon Garden

This past Saturday, I had the opportunity to visit the Stitches in Bloom quilt show at the Oregon Garden in Silverton. This part of Oregon is lush, green, and famous for the nearby waterfalls at Silver Falls State Park. Since it is so green, the area naturally has plenty of rain and this weekend was no exception!!. The $10 admission to the quilt show did include entrance to the gardens, but it was chilly rain so I decided to stick with the show. I definitely need to make a return trip in the spring to see the garden in bloom.

The show had some great vendors, and I picked up a wonderful wooden quilt frame, a paper piece pattern, a wooden quilt coaster, and some fat quarters.

Here’s the wooden quilt rack that I picked up:
DSC_0694

The quilt is one that I made a couple of years ago called the “Bear Went Over the Mountain” by Susan Schwarting. The fabric is from the Lake of the Woods collection by Julie Ingleman for P&B Textiles. P&B Textiles has the pattern available for free on their website; however, the fabric collection is probably out of print now. I think it goes so well with the oak quilt rack above my brown leather couch!

I took a few pictures of quilts displayed in the show. We were not able to take flash pictures so many of my pictures turned out too blurry, but I did manage to get few decent ones.

This slideshow requires JavaScript.

What a great way to spend a Saturday afternoon!

Happy quilting,
~Jennifer~

Adding Santa to the Mantel

About 6 or 7 years ago, I purchased an adorable little Christmas pattern called Straddling Santa by The Wooden Bear. In my excitement, I also purchased some great fabrics to go with the pattern. Then, I got home and the pattern and fabric went into my to-do pile. Sound familiar?

I did finally make this little wall hanging about 3 years ago and have used it to decorate my fireplace mantel each year. It adds just the right touch of “Santa” to the space, along side our stockings.

The finished project is about 19.5 inches by 23.5 inches and you can easily make it with scraps from your stash. The largest piece of fabric needed is 3/4 yard for the backing.

Here’s a look at Straddling Santa:

Straddling Santa Wall Quilt

Straddling Santa Wall Quilt

I used 2 little black buttons for the eyes and 1 red button along his coat. I used my Bernina to do some basic free-motion quilting in the cream background blocks and in the red border.

I have one more fun little Christmas mini quilt that I started several years ago to finish. All I need to do is the quilting and binding! It’s always a great feeling to finish up these projects.

Enjoy!
~Jennifer~

Completed Happy Halloween Quilt!

I added the finishing touches to my Happy Halloween quilt this week. This quilt is designed by Amy Bradley and you can read about my progress in earlier posts here.

I hand-stitched the binding to the quilt back over several evenings this week (while watching movies with the family). Once the binding was completed, I then hand-stitched on the button eyes for each character. I still need to create a quilt label and add it to the quilt back.

Here’s a photo of the completed quilt:

Completed Happy Halloween Quilt

And, of course, another photo with my outdoor “quilting” cat. He likes to supervise any and all outdoor projects, including the photographing of said projects. In this photo, he had just given his sniff of approval to the quilt!

Cat Approved Halloween Quilt

I hope you’ve enjoyed following my progress on this quilt! I’ve also been working on a Christmas block-of-the-month project from a different designer. I will soon post about that project as it’s nearly complete, but it will be really close if I finish it by this Christmas.

Enjoy!
~Jennifer~

Werewolf, Death, Mummy, and Cat Halloween Quilt Blocks – the Final Row!

Yippee – I recently completed the final row in my “Happy Halloween” quilt designed by Amy Bradley. This final row features 4 adorable little critters! They are without their eye buttons for now, but I hope to be able to get the whole thing quilted this weekend.

Go to this post for earlier pictures and details about this fun project.

Here’s Mr. Werewolf and Mr. Death’s up close photo:

Werewolf and Death Close-Ups

And the Mummy and Cat close-up photo. The black line detail on the mummy are actual stitching lines over a piece of white fabric!

Mummy and Cat Close-Up

Now that I have all the Halloween critters assembled, I sewed them together into one large rectangle with a “Happy Halloween” row separating the 1st character row from the 2nd character row.

Here is the quilt top before I added the borders. There will be a small black and white inner border and then a larger purple polka-dotted outer border.

Happy Halloween Quilt Before Borders

I will post again showing what the finished project looks like with the borders, quilting, binding, eyes, and other finishing details. This has been such a fun project for me and a great way to use up some of my Halloween fabric stash. All the different colors that you see in the various critters are little individual pieces of fabric appliqued onto a background block.

Enjoy!
~Jennifer~

Skeleton, Monster, Mrs. Monster, and Pumpkin Head Halloween Quilt Blocks!

If you’ve been following my blog, you’ll know that I’ve been feverishly trying to finish a quilt for this Halloween. But not just any Halloween quilt! No, I’m using Amy Bradley’s “Happy Halloween” pattern with plenty of whimsical characters!

My earlier posts are here and here and here.

Well, I have completed the 2nd row of characters – Skeleton, Monster, Mrs. Monster, and Pumpkin Head! Yea me!! Keep in mind that these characters will have button eyes and extra little embellishments after quilting is completed.

Here is Mr. Skeleton with his jaunty hat and fun skeleton-print fabric:

I had to take a photo of Monster and Mrs. Monster together. Naturally, my quilting cat helped me!
Don’t you just love Mrs. Monster’s white hair streak?

Monster and Mrs. Monster Halloween Blocks

Mr. Pumpkin Head came out rather adorable with his goofy grin and little vine on the top of his head:

The four blocks together with my quilting kitty supervising the layout:

Happy Halloween Quilt – 2nd Character Row

I’m now starting to work on the final row of Halloween characters. I really hope to be able to finish them this weekend and maybe even get to quilt it the following weekend!

I can’t resist one close-up photo of my great quilting cat:

Tiger, the quilting cat

Enjoy all your Halloween projects!
~Jennifer~

NW Quilting Expo Slide Show

Hi everyone,

I’m going to try my first slideshow post, featuring some photos that I took this week at the NW Quilting Expo in Portland. There were so many beautiful quilts! These pictures are only a portion of the displayed quilts so if you ever get the chance to visit the expo, I highly recommend it!

After viewing all these beautiful quilted pieces of art, I am inspired to create my own for next year’s show. How about you?

This slideshow requires JavaScript.

Enjoy!
~Jennifer~

NW Quilting Expo – Two Rivers, Three Sisters Traveling Exhibit

The NW Quilting Expo takes place this week in Portland, Oregon, and I took a day of work to go see it today with my mom. There were so many great vendors and quilts on display! I picked up a few cool new projects, some beautiful batiks, and a fun new tool or two.

One of my favorite portions of the show was the Two Rivers, Three Sisters Traveling Exhibit. It features many quilt panels by different artists representing two rivers in Oregon plus the Three Sisters Cascade mountains. I tried to list the artist of each panel, but had a hard time reading some of the names on my photos. If you know the name of a missing artist or if I’ve misspelled a name, please let me know!

You can find more information about this traveling exhibit at this website.

It was impossible for me to take one shot of the entire exhibit so I took many!!

Here’s a little overview display card with thumbnail pictures of the various quilts in this project:

Quilt Display Card

The first picture features the first three quilt panels. Artists from left to right are: Sheila Finzer, Jean Wells Keenan and Valori Wells Kennedy, and June Jaeger.

The second picture shows the 4th and 5th quilt panels. Artists are Catherine Moen and Janice W. Hearn.

First Three Panels

4th and 5th Panels

This next group shows the 6th and 7th panels. Artists: Pat Welsh and Mary Stiewig. Then the 8th through 10th panels. Artists: Sarah Kaufman, Helen Erisson, and Beth ?.

6th and 7th Panels

8th, 9th, and 10th Panels

Up next, you’ll see the 11th and 12th panels. Artists: Tonye Belinda Phillips and Cindy Young.

Then, you’ll see the 13th, 14th, and 15th panels. Artists: Mary Nyquist Koons, Judy Johnson, and Donna Cherry.

11th and 12th Panels

13th, 14th, 15th Panels

And the final panels are shown below. Artists: Carol W? and Donna Rice.

16th and 17th Panels