Epic Tiny House Paper Pieced Quilt, Part 2

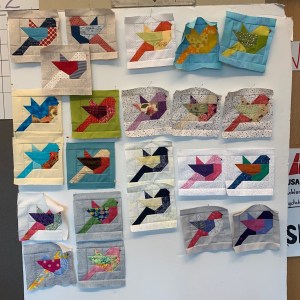
I last blogged in January, but I have been working on various projects to submit to the Sisters Outdoor Quilt Show. I have some quilt tops that have been pieced for a while and need to be quilted plus I wanted to submit some post cards for the annual fundraiser at the show.

For the tiny house project, I had to decide how to piece the top because there is no pattern for the final layout.

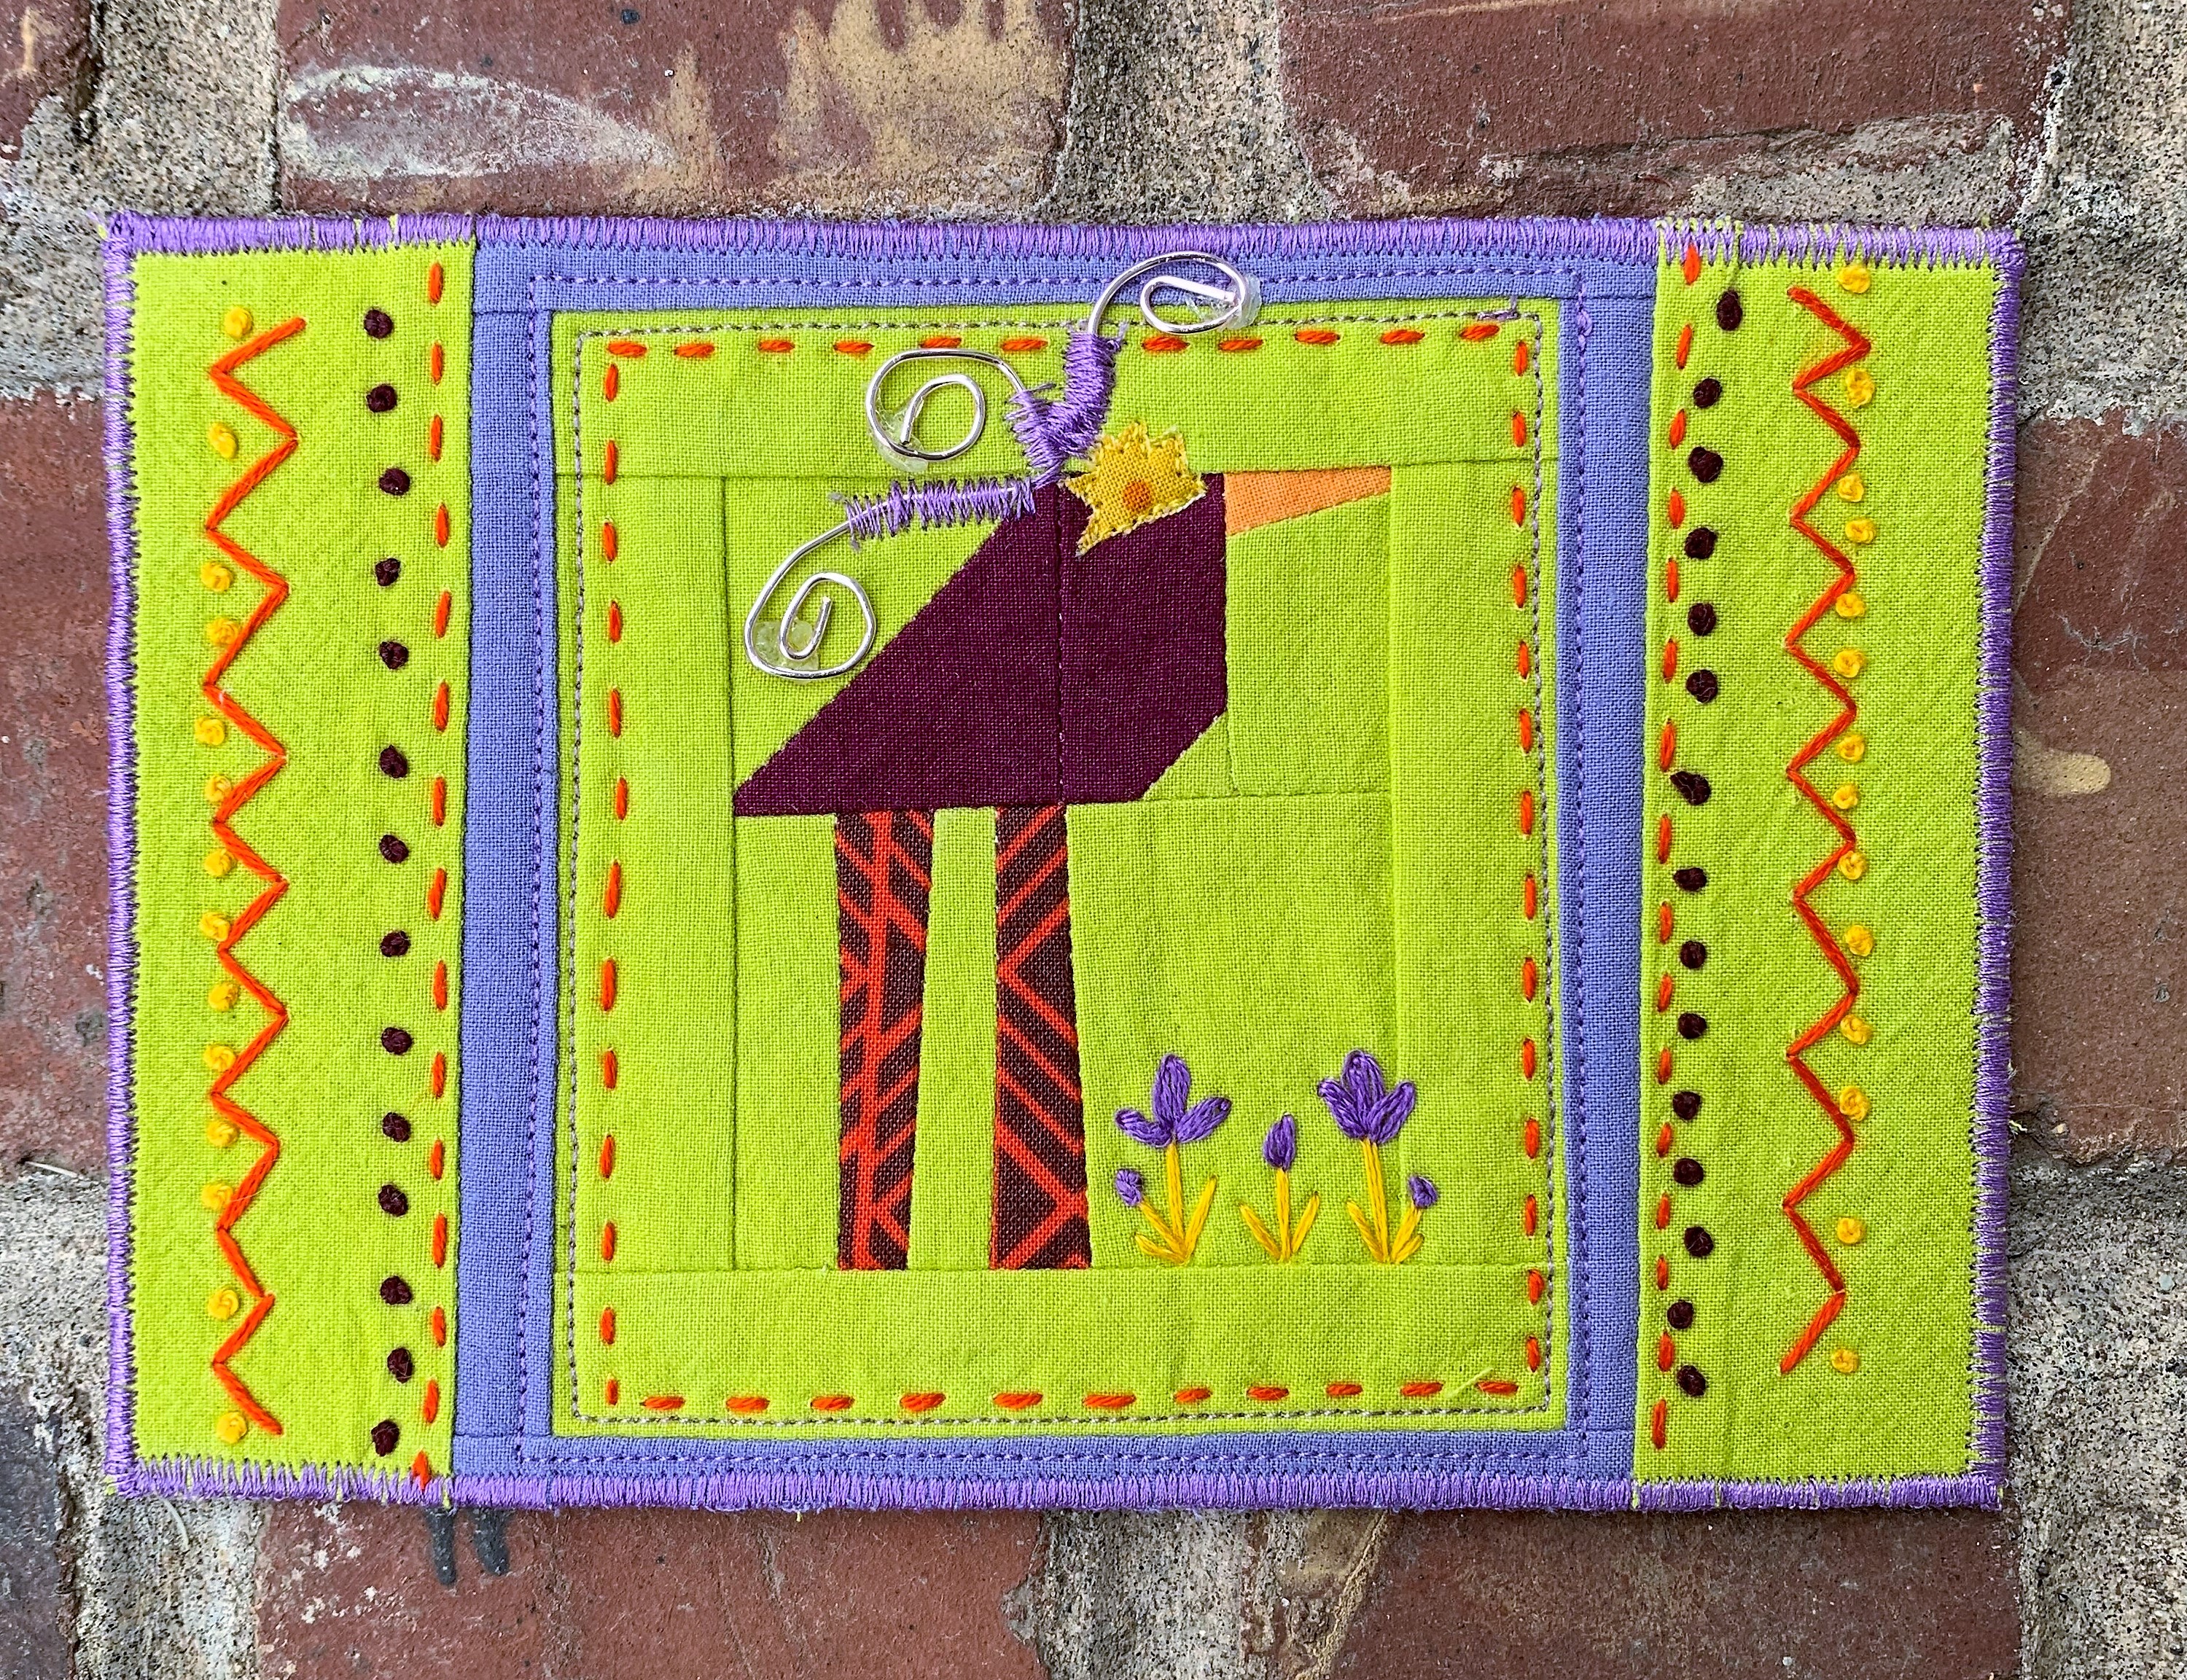
I decided that my “Meowville” quilt needed the pieced name to be on the top, but the quilt was still missing something. Hmm, what could I add? How about a giant cat face peeking out at the viewers? I found a great pattern from Quilt Art Design called “Cat Helper” that would fit my idea with a few modifications.

The cat’s eye is always watching!
A partial cat head, perfect for mischievously peering down at the Meowville tiny houses

I now had the final blocks of my quilt assembled and ready to be set into a layout! I thought about a layout for a few weeks, and decided to place my tiny houses in rows without sashing strips. I set the blocks using a fun Ruby Star Society from their Starry line. I used Starry in the Smoke colorway, which is a beautiful deep blue with black stars. Finally, I added an outer border using a black print from my stash to give the quilt a nice frame and to meet the minimum width requirements for the quilt show.

Meowville quilt flimsy

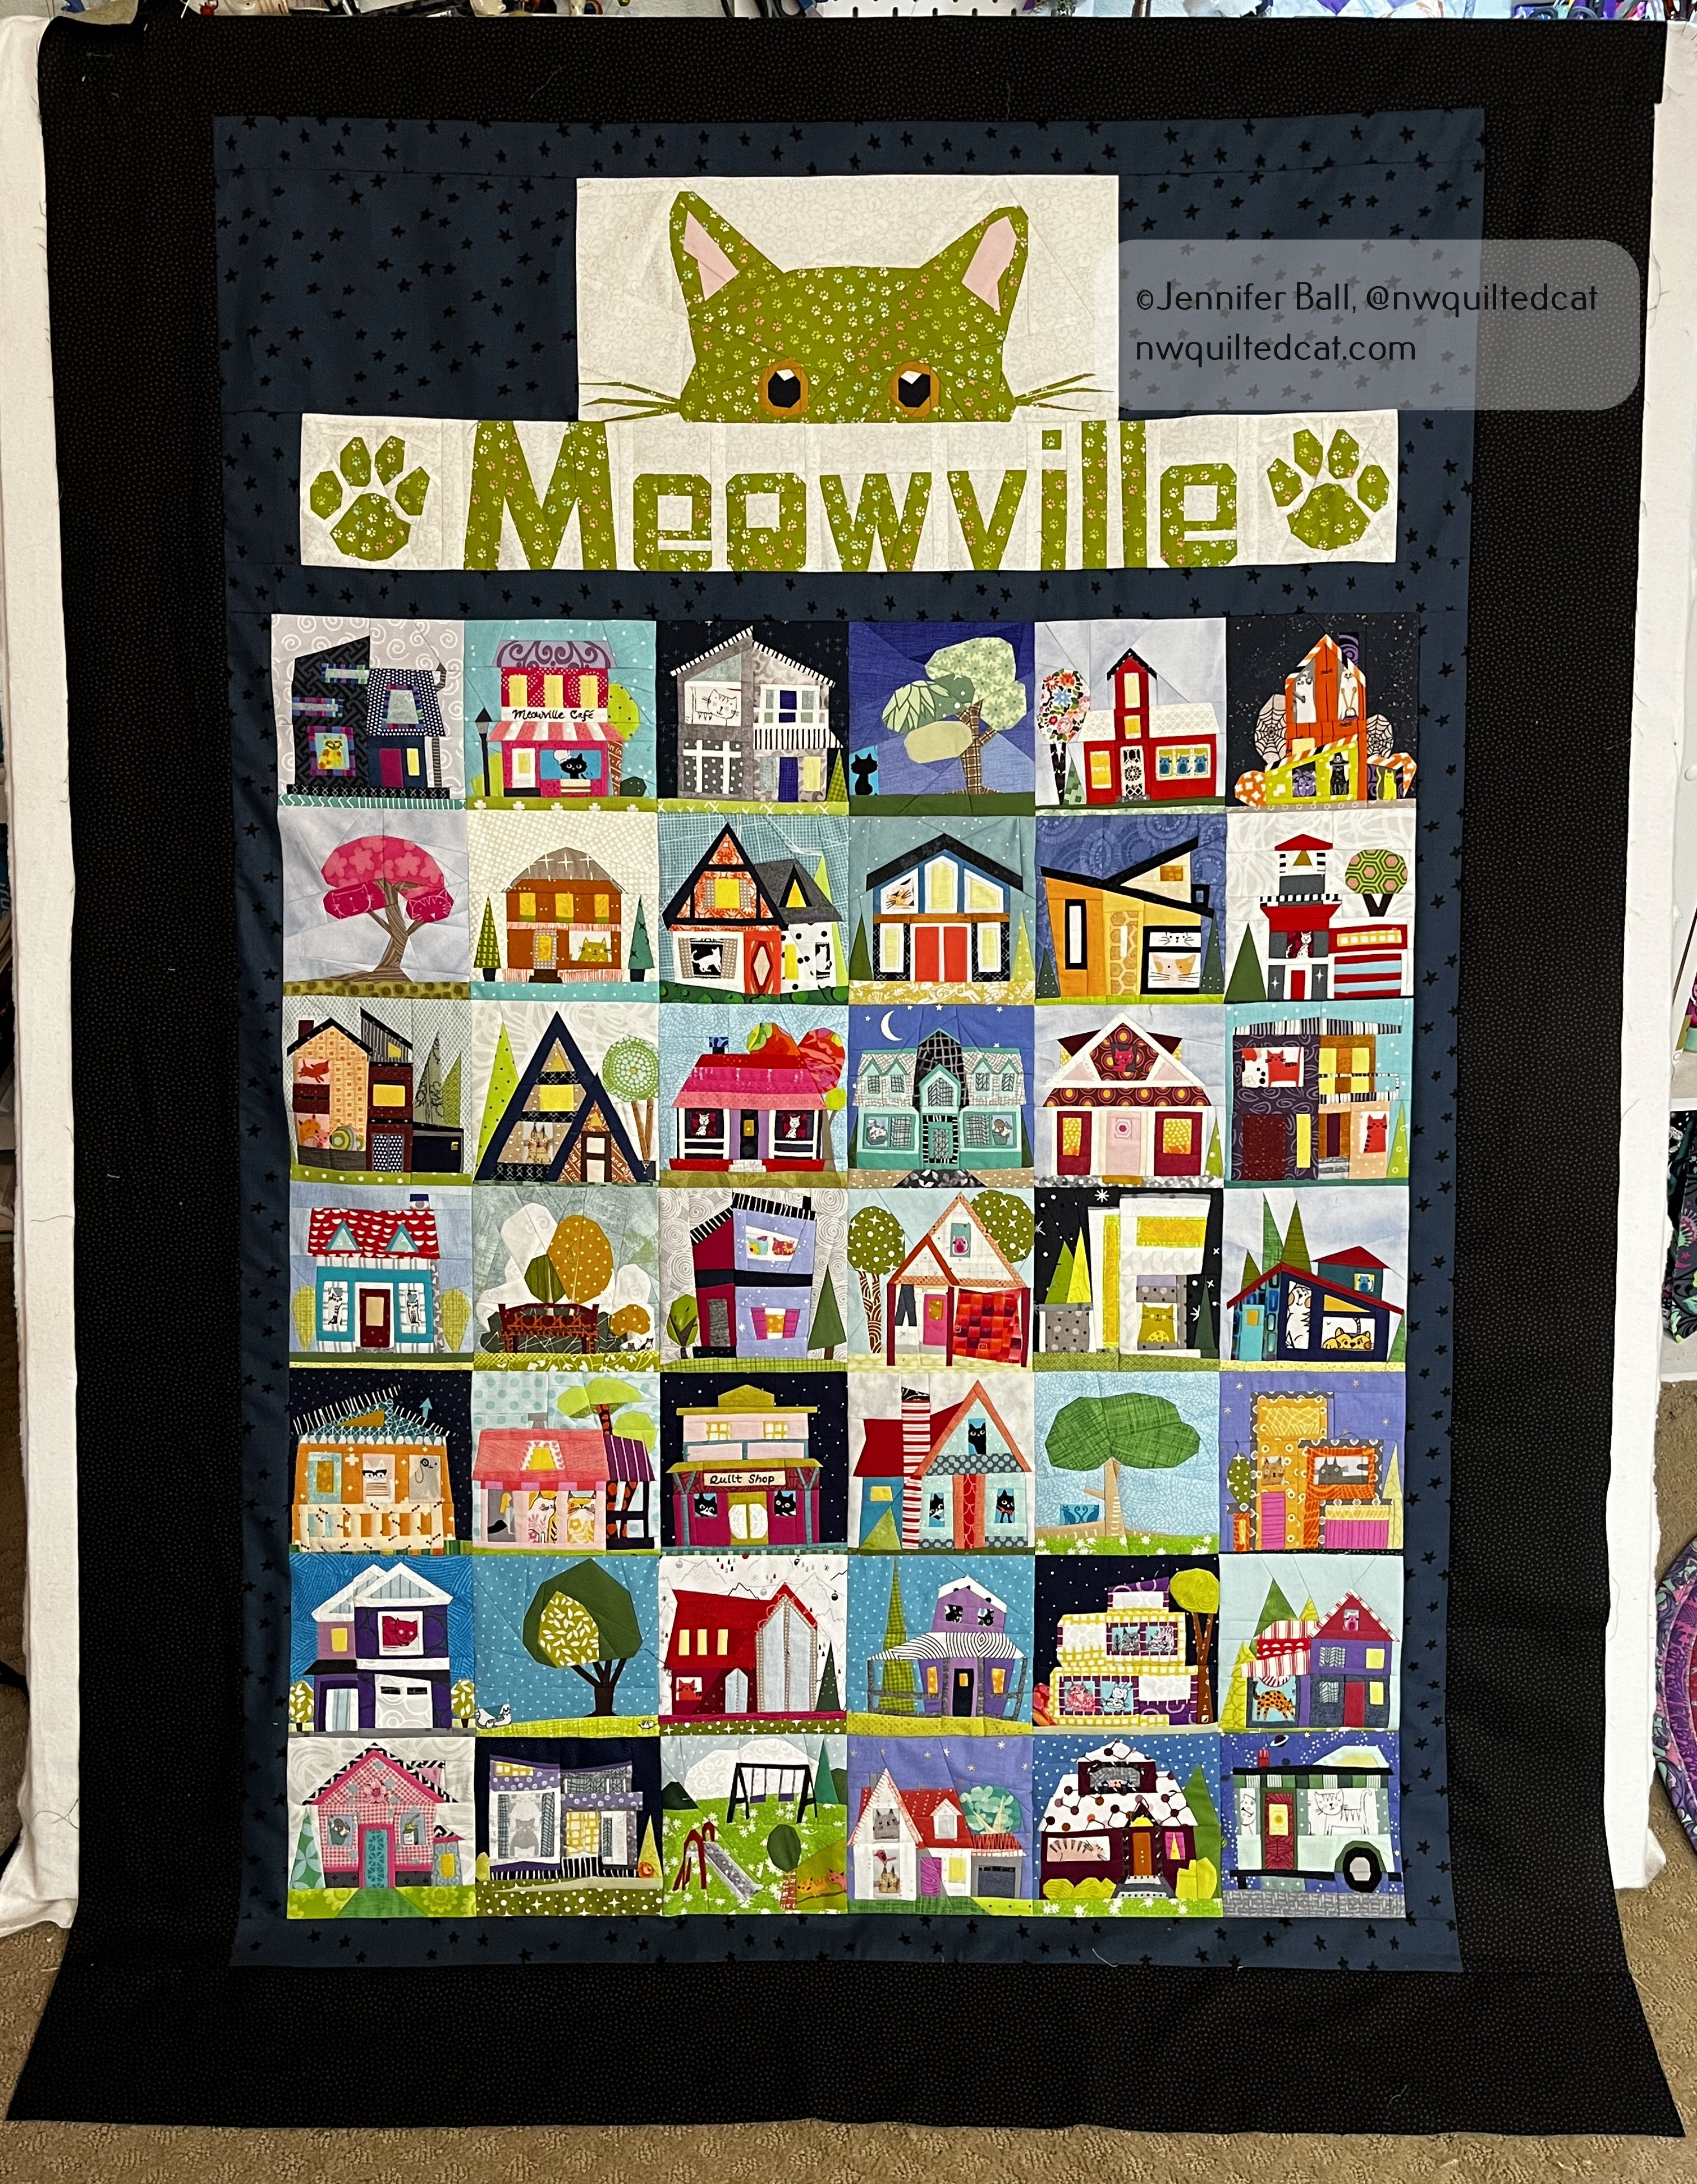
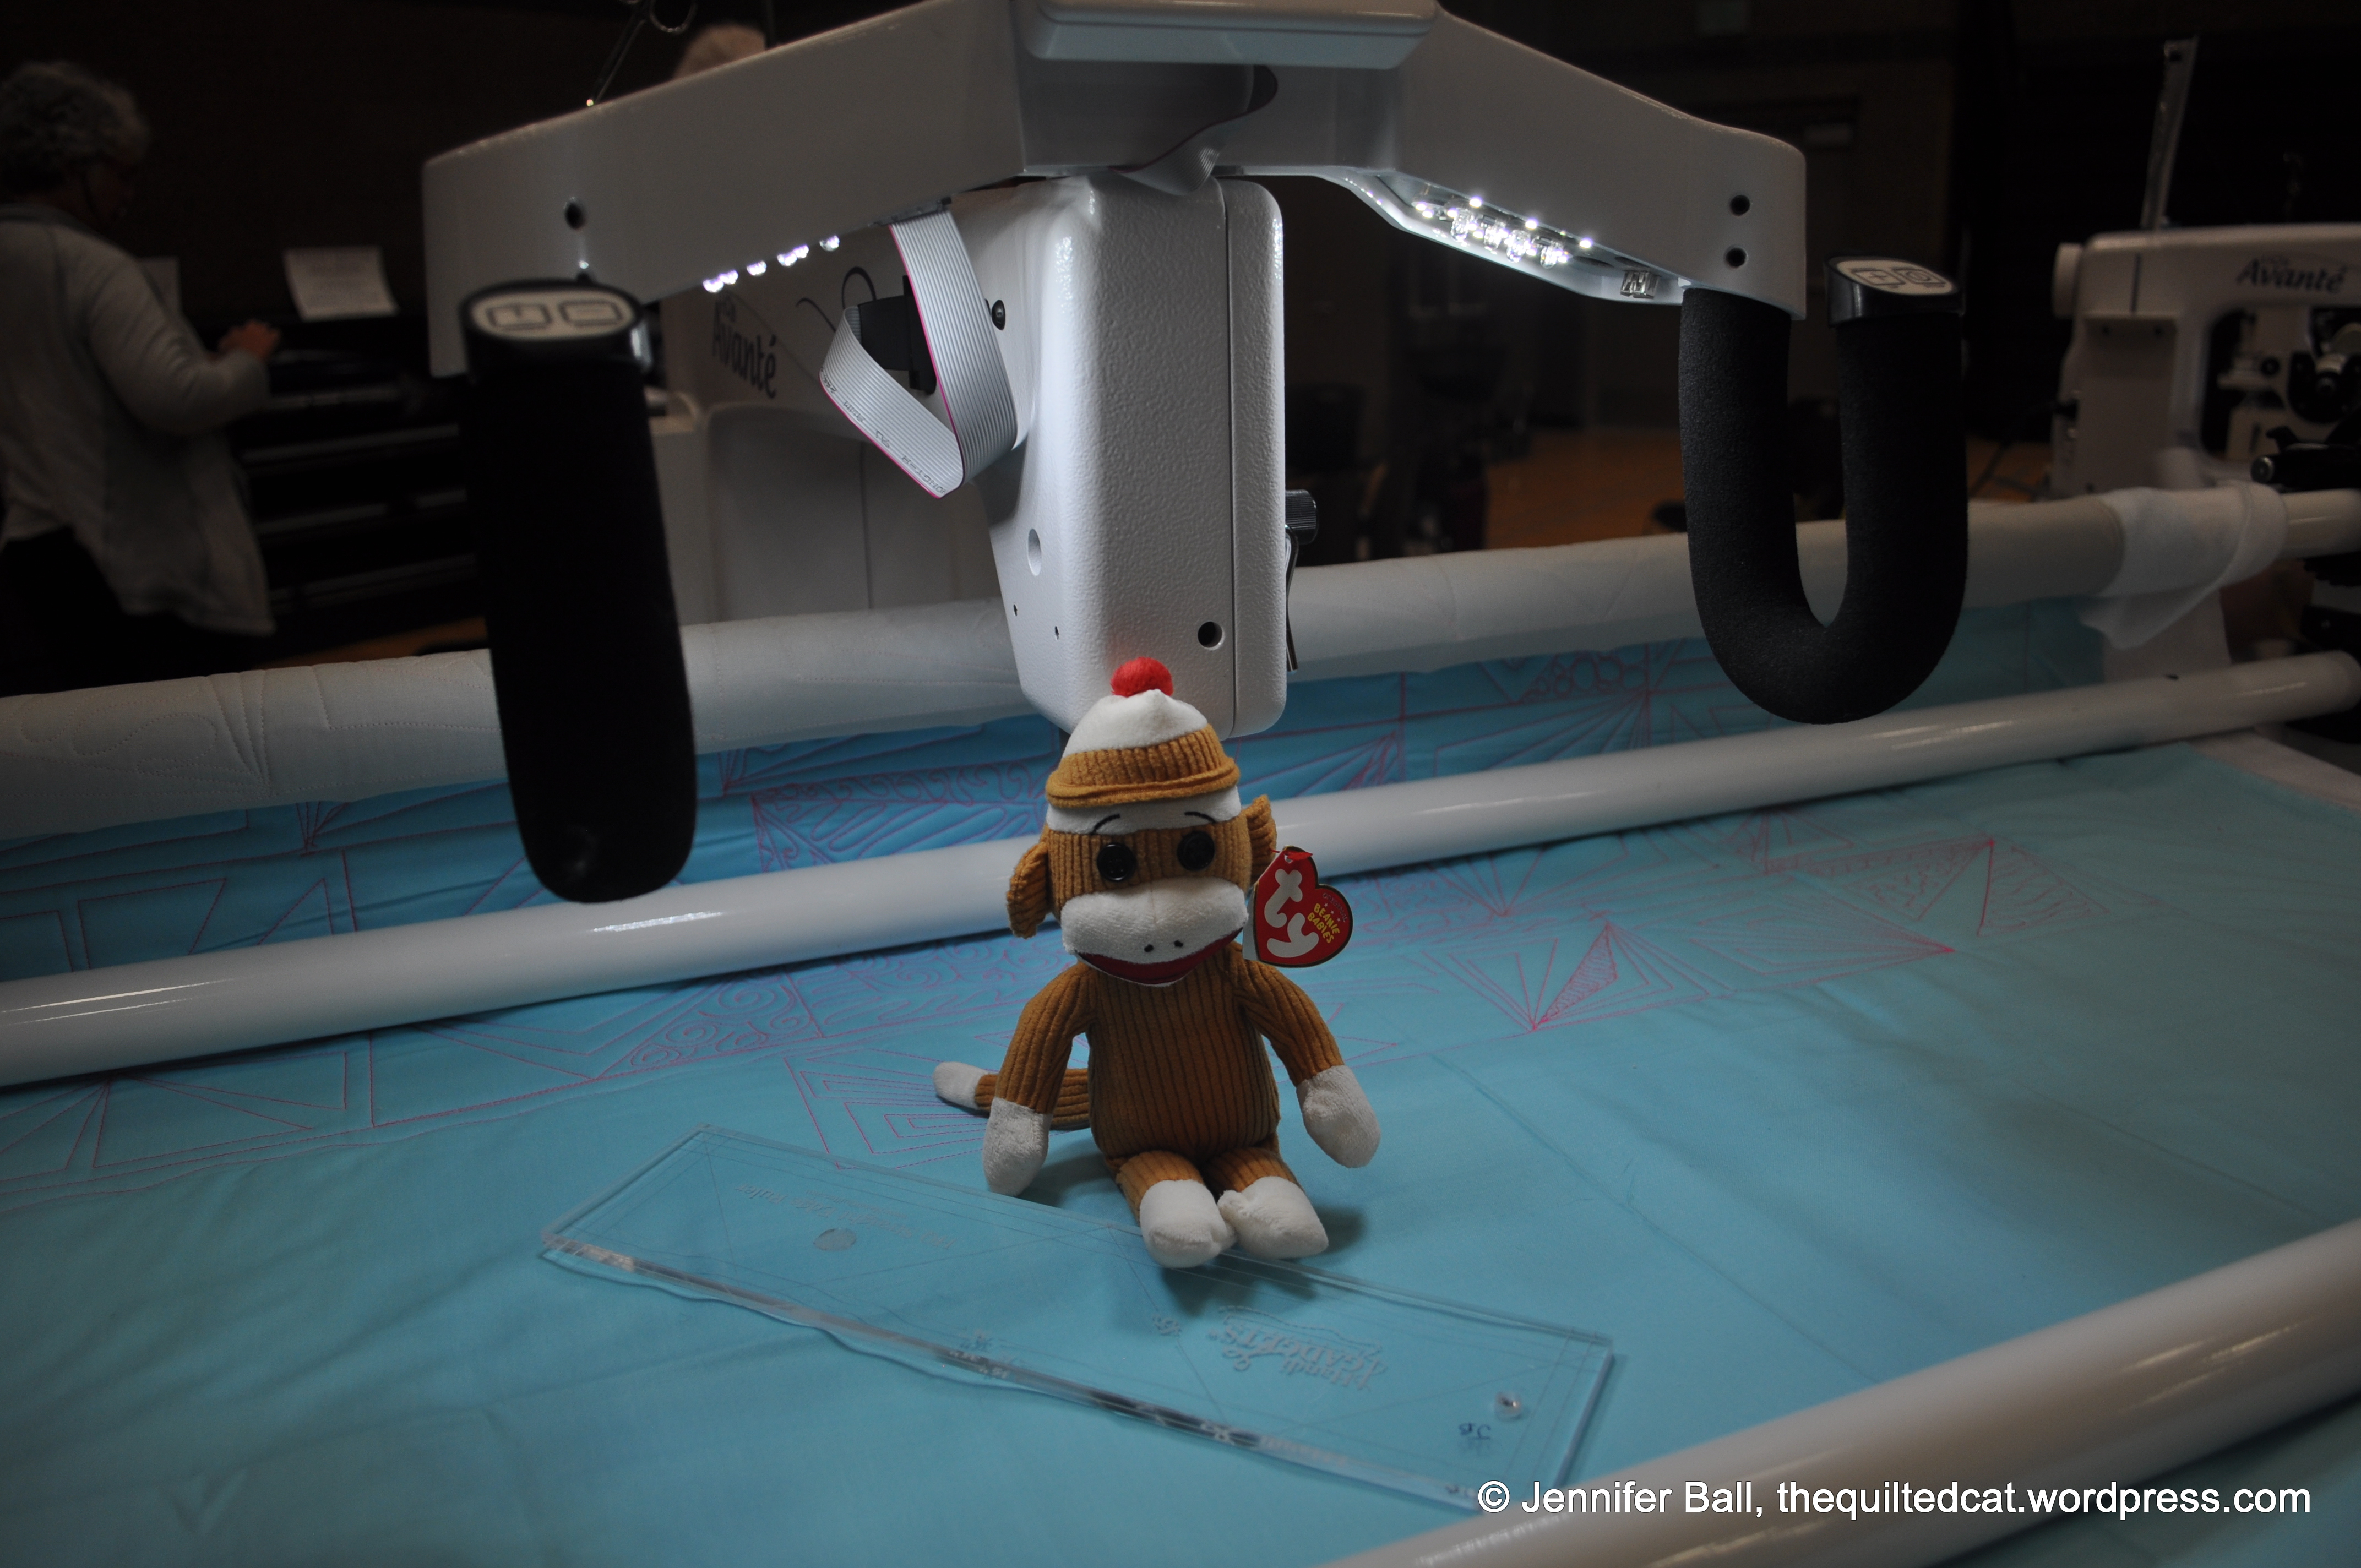
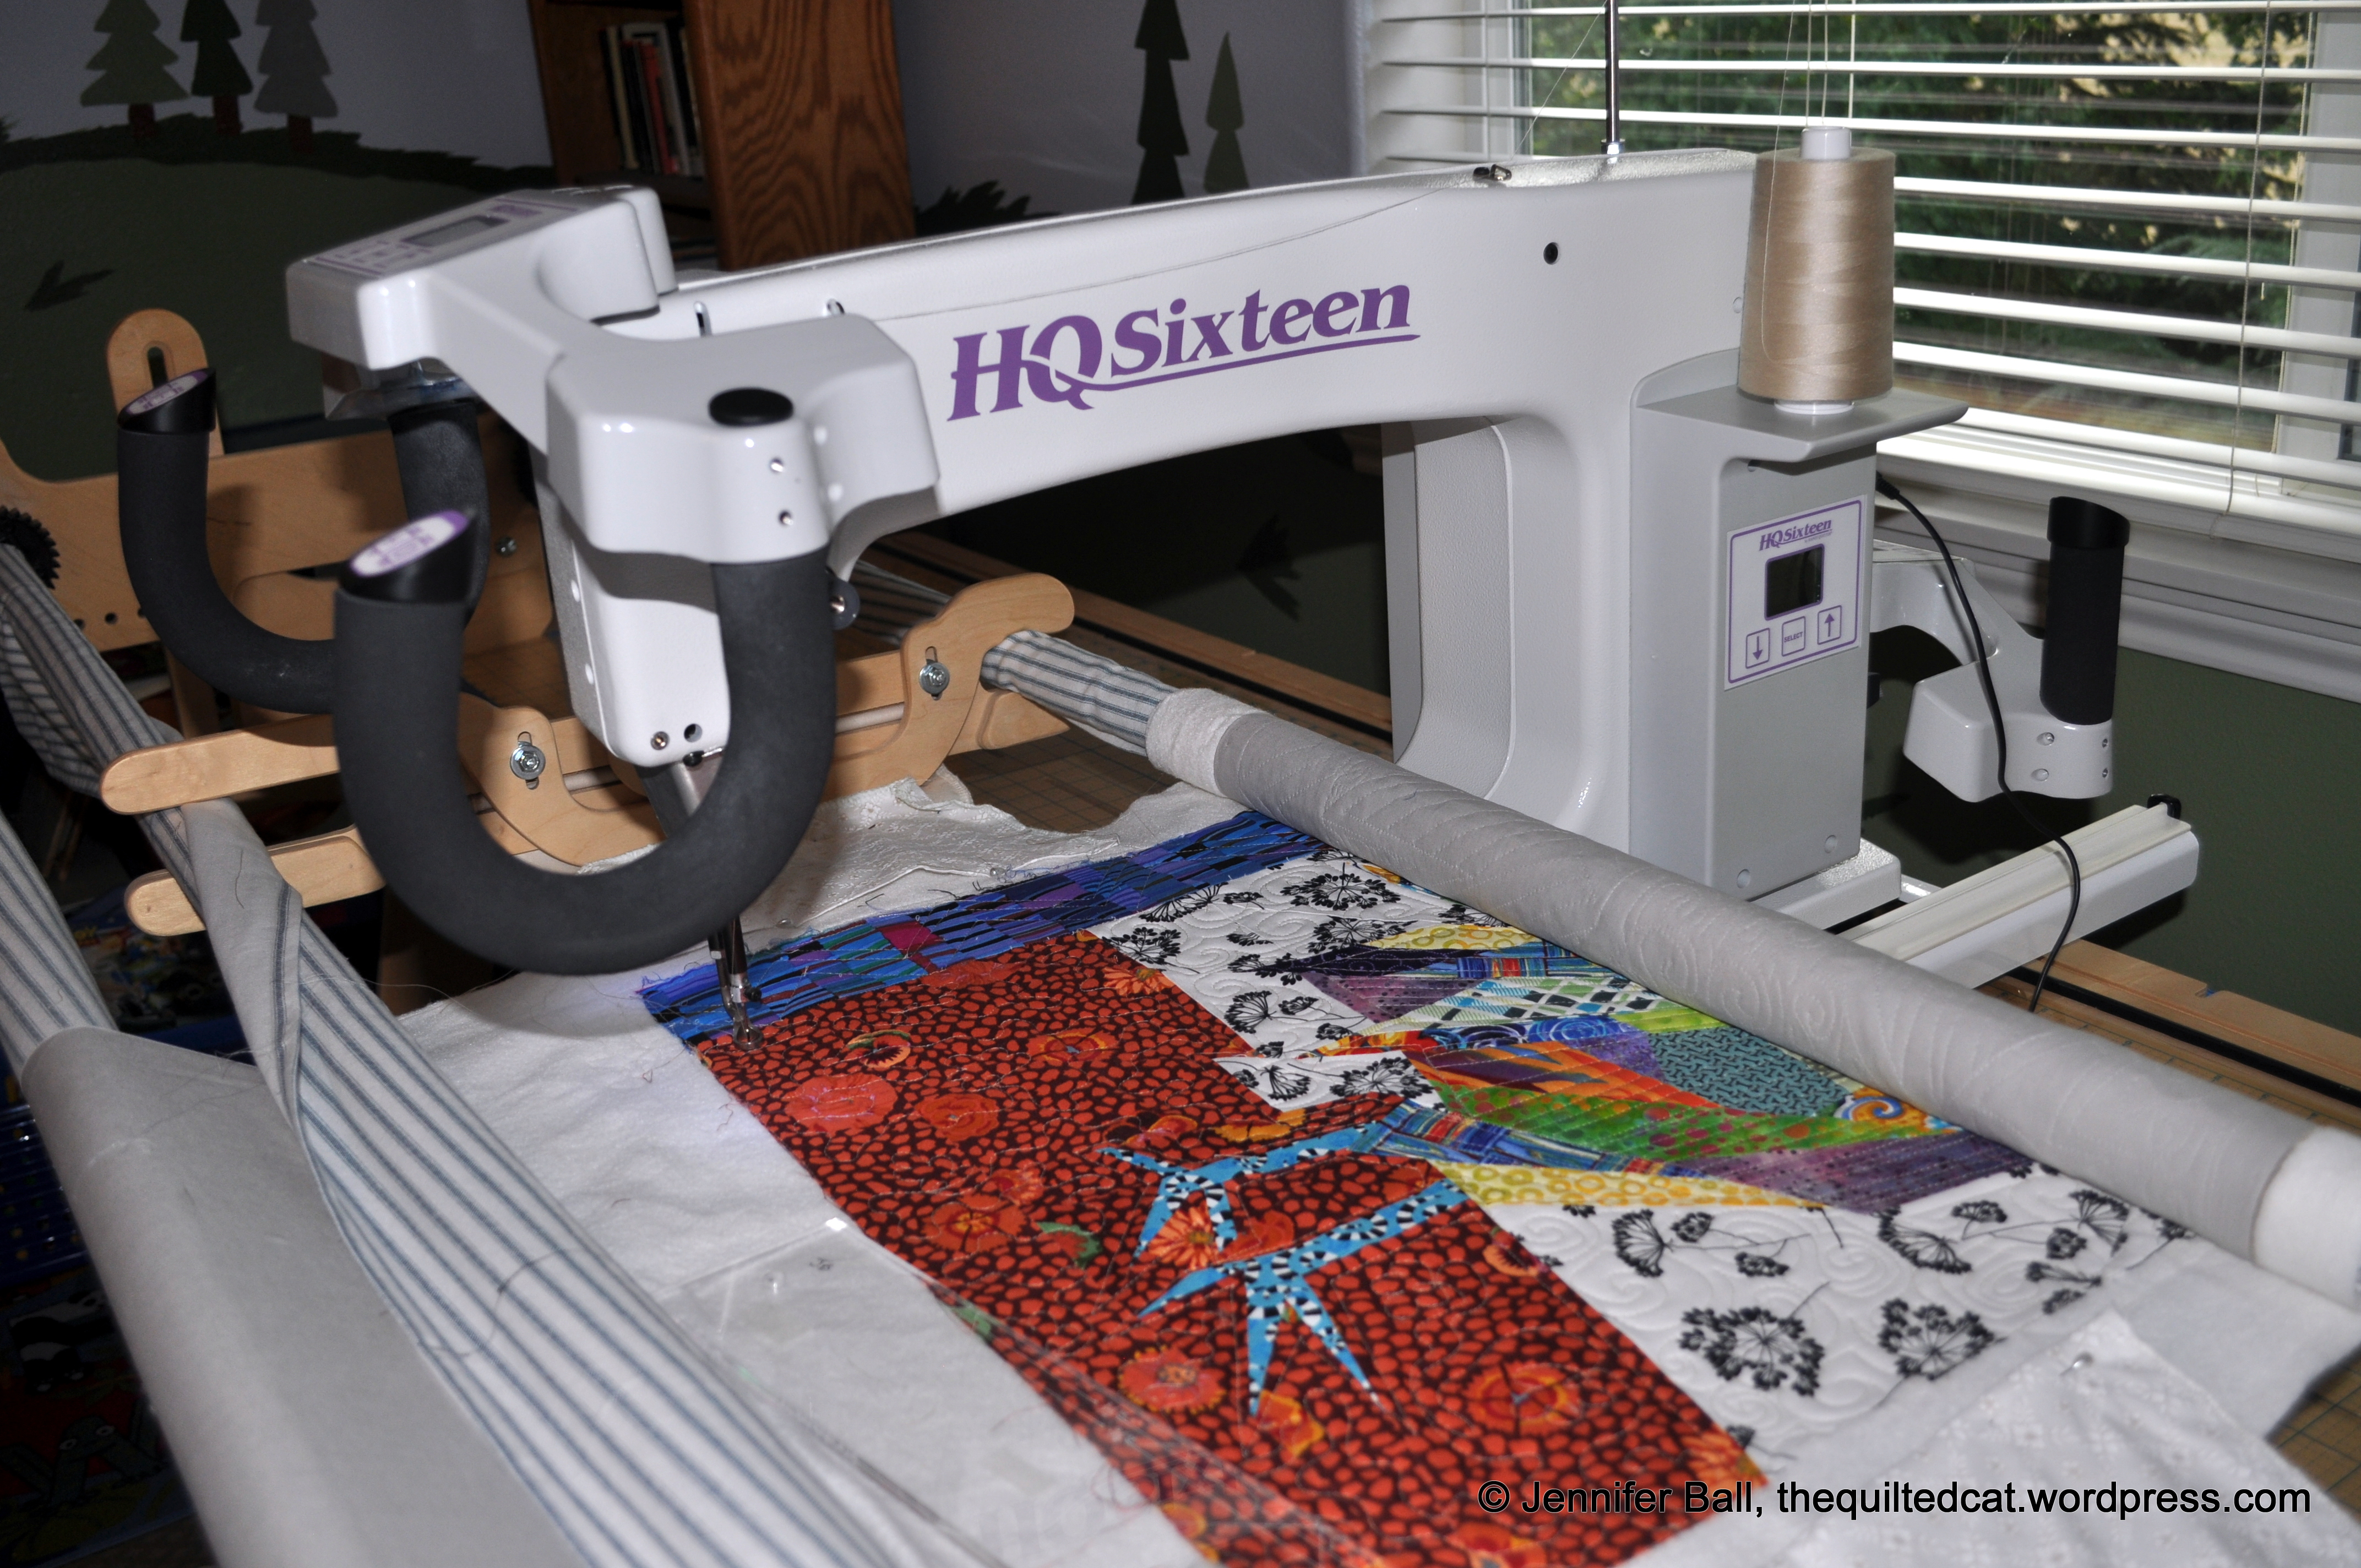
Last weekend, I loaded Meowville onto my frame to start quilting. I’m using Glide thread in Celery in the giant cat head and letters, and using Glide thread in black for the remainder of the quilt. I’m going to keep the quilting very simple to keep the focus on all of those wonderful tiny houses!

Time for quilting!
A cute heart quilted into a paw

I’m about 2/3 of the way finished with the quilting, and I expect to finish this week. I’ll post a picture of the completed quilt soon! I have 2 more quilt tops ready to be quilted for the show so I need to get to it!

Happy quilting,

Jen

Make a Wish Postcards for SOQS + A Fabulous Coupon for Cricut Maker Machine

Hi everyone!

Today, I’m excited to share with you the 2 postcards that I made for the Make a Wish Postcard challenge for the 2020 Sisters Outdoor Quilt Show, now a re-imagined as a virtual show. I’m also very happy to share a special price and some coupon codes for the Cricut Maker machine, which you can use with fabric!

The Cricuit Maker machine normally retails for $329-$369, depending on options. However, this weekend through May 31st, you can get one for $299! You can also use the coupon code, JUNSHIP, to get free shipping through June. If you already have a Cricuit machine, you can get 40% off all materials through June 2nd. If you purchase using one of my links, I’ll receive a small commission, which I use to offset the cost of fees for running this blog.

Are you ready to see my 2020 SOQS postcards? I support the show every year by making at least one postcard using the challenge fabric.

This year, the challenge fabric was from Elizabeth Hartman.

Challenge fabric for Wish Upon a Card 2020

For my first card, I used the Flame fabric by incorporating it into bird legs and the Meringue fabric by turning it into a bird’s eye. The remaining solid fabrics are by Cherrywood. I added hand embroidery elements, and added rose gold wire detail to the bird’s head. I called this postcard, “Tall Bird.”

“Tall Bird” Postcard for 2020 Wish Upon a Card

For my second card, I decided to make an alpaca based on a photo that I took at last year’s quilt show while staying at the Sisters Best Western. The hotel replaced their llama herd with some young alpacas. One alpaca, in particular, gave me a charming side grin that I wanted to capture.

Designing an Alpaca Postcard

I started the process by printing 2 versions of my photo: a close-up and a full body. I traced the close-up of the alpaca face onto paper to make my pattern. I used a light table and created reverse applique pattern pieces.

The background of the card is from 3 different green batik prints, pieced together. The alpaca body is made from wool felt with machine and hand embroidered details. I used the Meringue challenge fabric as flowers in the background, along with some orange embroidered flowers.

I called this card, “Happy Alpaca!”

“Happy Alpaca” Postcard for the 2020 Wish Upon a Card challenge

Although neither of my cards won a prize in the challenge, they will both be available for sale during the 2020 Sisters Outdoor Quilt Show virtual event. I’m not sure if they were selected for framing or matting, so I’ll find out along with you! I may even bid on my open cards, lol.

I really enjoy supporting the show by making these cards, and I purchase cards each year.

Postcards for the 2020 Wish Upon a Card Challenge

Did you make a challenge card this year? I’d love to see it!

Happy quilting!

~Jen

Quilter’s Affair 2019 Classes

This year, my sister and I took 2 classes at A Quilter’s Affair in the week leading up to the Sisters Outdoor Quilt Show.

For our first class, we decided to take an English Paper Piecing class (EPP) with Violet Craft because we really haven’t used this quilting technique before and we both thought it might be a great technique to do while traveling.

We used the Fruit Basket pattern, and we both picked the strawberry for our practice block, and we learned some great tips in the class.

Start of my strawberry block:

Strawberry 1

Here’s a pic of us together with our strawberry blocks in August when my sister came to my house for a visit. I’m on the right with the blue shorts.

I have started working on the pineapple block, but I must admit that I haven’t made too much progress. I’ll pick it up again when the weather turns rainy, and I do less hiking and yard work.

For our second class, we took “Gertie’s Birdies” with Sally Frey. We used the pattern Feathers by The Pattern Basket. We signed up for this class because birds have a special inside meaning to us and these chunky little birds just looked so cute.

I made 3 birds in class using the Sweet Tea collection by Sweetwater for Moda Fabrics plus some solids by Cherrywood. I love these fabrics because they remind me of summer!

Here is a look at the birds from other quilters in the class at the end of the day. My 3 bird blocks are in the top left:

I’ve finished another 3 bird blocks in the months since our class. I plan on making 3 more so I can complete the smaller quilt, which will be a perfect little summer wall hanging.

The Quilter’s Affair is so much fun, and I’m glad my sister got to come this year. We hope to go again next year!

Here’s a view of the Three Sisters during an evening hike we took:

Happy quilting!

-Jen

Alpaca Anyone?

Oh my, I haven’t blogged in so long! I have been working on many quilting projects in my spare time, and you can see more real time progress on my Instagram account.

Last week, I had the opportunity to attend some classes at A Quilter’s Affair in the week leading up to the Sisters Outdoor Quilt Show. I usually attend each year, but my sister got to join me after she missed the prior 2 years.

I wanted to surprise her with a fun gift as a memento of our trip. We stay at the Best Western Ponderosa, which used to have a llama herd. The hotel retired the herd and replaced it with an alpaca herd! These alpacas have been at the hotel grounds for just a few weeks so they are still a bit shy.

The lovely Lorna of Sew Fresh Quilts recently posted a series of new mini quilts that she designed, including an alpaca! It was fate!! I immediately purchased the pattern and set out to make 2 alpaca minis.

This pattern is traditionally pieced and goes together pretty quickly. Here’s a look at the quilt tops with my inspector:

Romeo inspects the alpaca quilt tops

The solids are hand dyed from Cherrywood, the background is from Karen Lewis Textiles, and the alpaca body is the aqua Fairy Dust print from Tula Pink’s line called Pinkerville. The other prints are various scraps from my stash.

I quilted these alpaca minis 2-up on my HQ Avante. I did a combination of ruler work to outline the alpacas and some free-motion swirls in the background. I used a black and white striped print for the binding.

Quilting the alpaca minis

I surprised my sister with her choice of quilt last week. She picked the alpaca with the orange hair, and I’m keeping the alpaca with the green hair.

I just couldn’t resist getting a picture of the completed mini quilts with the alpacas at the hotel. One alpaca was very brave and came to check them out!

An alpaca inspects the completed quilts

We had such a fun week together! In my next post, I’ll talk about the classes that we attended at A Quilter’s Affair.

Happy quilting!

Jen

A Finished Maker’s Tote!

Hi everyone!

I finished my first ever Maker’s Tote by Noodlehead recently to take with me to Quilter’s Affair classes in Sisters in a couple of weeks. I made the large size to carry all my sewing basics and class supplies in style!

Maker’s Tote Front

Materials:

I usually make quilts and not bags so this project was a good challenge for me. I think stitching around the gusset pieces is always the hardest part on bags, with the bulk from the stabilizer and the fabrics. I used Clover Clips and took my time.

I changed the pattern only slightly. Instead of having an outside front pocket, I decided to use a pieced stripe of Blueberry Park fabrics to add a pop of color. I also used the same fabrics to piece together the handles and bias binding. I added a cute little cat zipper pull that I purchased at a quilt show.

Here are some more pictures of my finished Maker’s Tote:

Color Pop on the bag front

Colorful zipper binding

Cute little cat zipper pull

Backside of the tote

Tote interior

I think I may make the smaller version of the Maker’s Tote for everyday use. I have fabric ideas swirling around in my head. Too many ideas with too little time!

Happy sewing!

~Jen

MQG Riley Blake Fabric Challenge for 2015

Hi everyone!

I made an original design for my entry into the “Modern Quilt Guild 2015 Fabric Challenge with Riley Blake Designs” contest.

The rules for the challenge are:

  • Make something fantastic that is quilted.
  • Make something you have never done before.
  • Challenge yourself to learn something new.
  • Use only Riley Blake “the Cottage Garden” fabrics and coordinating Riley Blake basics and solids.

I used the fabric sampler pack that MQG members could sign up for and receive in the mail. I added just 2 fabrics – a Riley Blake shade (granite) and a Riley Blake solid (off-white).

I’m calling my entry “Sisters in Bloom” because the quilt features the Three Sisters mountains with a nod to all the beautiful, blooming flowers that you can see while strolling through the town of Sisters (particularly during the upcoming Outdoor Quilt Show in July!!). There is a fussy cut bird from the fabric perched on one of the flowers. Look on the right-hand side!

The flying geese are a paper-pieced, spontaneous creation that I made up as I went along!

I used red floss for a punch of color in the flowers, on the bird, and in the quilt name. The quilting is all free-motion on my domestic machine. If you look closely, the sun is radiating out from just behind the mountain on the far left-hand side of the quilt. I used a variegated thread in the bottom portion of the quilt to add color and movement to imitate a flowering alpine meadow.

Sisters in Bloom Quilt Entry for the MQG Challenge

Sisters in Bloom Quilt Entry for the MQG Challenge

Close-up of embroidery

Close-up of embroidery

Little bird close-up!

Little bird close-up!

Spontaneous, paper-pieced flying geese!

Spontaneous, paper-pieced flying geese!

If you are an MQG member, you can view other entries into this challenge via the online forums. Anyone can view entries in Instagram using the #mqgfabricchallenge hashtag.

I hope you enjoy my entry!

~Jennifer

Wish Upon a Card Postcard, Sister’s Outdoor Quilt Show, 2015 entry

Happy Sunday, quilty friends!

Back in April, I made and submitted a card to the Wish Upon a Card fundraiser that takes place each year at the Sisters Outdoor Quilt Show. For my entry, I did use the Michael Miller challenge fabrics with the blue in the sky and the green in the middle meadow section.

I decided to feature the Three Sisters mountains with a flying geese rainbow arching over the mountains. Below the mountains are trees and grassy meadows.

Here’s a look at my card:

Wish Upon a Card Entry and Event Postcard

Wish Upon a Card Entry and Event Postcard

Wish Upon a Card Entry, Rainbow Over Sisters

Wish Upon a Card Entry, Rainbow Over Sisters

The postcards must be 4 x 6 inches and are available for sale at two locations: the Chamber of Commerce and Sisters High School from July 6th-10th. Last year, I purchased my own entry, which may sound crazy, but the money goes towards the Wendy’s Wish/St. Charles Cancer Center.

If you are in Sisters during the Quilter’s Affair or the actual quilt show, stop by and check out all the amazing quilted postcards!

Enjoy!
~Jennifer

Dot-to-Dot Quilting Class with Angela Walters + HQ Surprise!

Whew, it’s a warm and muggy evening here in the Pacific Northwest. I’m still on a bit of a quilting high after the Quilter’s Affair and Sisters Outdoor Quilt Show several weeks back.

I blogged earlier about my 2-day class with Ann Shaw and her wonderful Chicken Challenge class. (Hint: Keep reading for another picture of my chicken below.)

Today, I want to blog about the inspiring class that I took with my sister with the amazingly talented, Angela Walters.

We took Angela’s Dot-to-Dot longarm quilting class and got plenty of hands-on practice using a HandiQuilter Avante 18. Angela is a fun teacher with a talent for thread designs on the HQ! She made the designs look so easy, inviting, and accessible for everyone in the class.

Here’s a look at the 3 of us in class together:

Me, Angela Walters, my sis (Kimberly)

Me, Angela Walters, my sis (Kimberly)

The class had just the right amount of lecture, demonstration, and hands-on practice. The longarms were all set up in the Sisters High School gym and we did get downright cold at times, despite the heat outside. Although, I think I’d rather practice quilting in a room that is too cool rather than one that is too hot.

Here’s a look at some of our quilting with our sock monkey. Sock monkey followed us all around Sisters and even went hiking at Smith Rock one evening.

Quilting with Sock Monkey

Quilting with Sock Monkey

Up until this point, the only free-motion quilting that I had performed was on my little Bernina Activa or on my mom’s domestic machine that she has set up on a Hinterberg frame. My mom’s set up has worked pretty well, but we were limited to about 4 or 5 inches of actual quilting space.

Here comes the surprise!! A local quilt shop called me to see if I would be interested in purchasing a used, stand-up Handi Quilter Sixteen with a queen-size wooden Grace frame. I wasn’t able to afford a new Avante (my dream), but this Sixteen was in my budget. I purchased it!!

I’ve been practicing on some solid fabrics, but gained so much confidence in Angela’s class that I decided to quilt up my first project this week – my chicken from Ann’s class.

Here’s a look at the chicken on the Handi Quilter Sixteen and Grace frame:

HQ Sixteen

HQ Sixteen

I did a combination of some swirls, meandering, and some ruler work to practice the techniques we learned in class. For the backing, I used a solid fabric so that I could see my quilting (with a Sisters Outdoor Quilt Show fabric panel and my label as a remembrance).

Here are some photos of the quilt back:

I am so happy to have this machine, and I can’t wait to get really proficient with it. One day, I may be able to trade up to the 18, but until then, little 16 and I will be great friends!

Thanks to both Angela and Ann for some amazing classes in Sisters!

Enjoy,
~Jennifer

Aurifil BOM for July + Mt. Jefferson at Sunset

Happy Wednesday, everyone! I’m slowly getting caught up at home and at work after some vacation time last week for the Sisters Outdoor Quilt Show. I hope to have my photos uploaded soon.

I did capture this picture of Mt. Jefferson from Smith Rock State Park at sunset one evening. Unfortunately, I did not have my tripod with me so this photo does not do justice to the explosion of color that we saw first-hand.

Mt. Jefferson from Smith Rock State Park at sunset

Mt. Jefferson from Smith Rock State Park at sunset

I’ve caught up on one of my BOM projects – the Aurifil BOM! The guest designer for July is Camille Roskelley of Thimble Blossoms. I have her Swoon pattern, and it is on my to-do list!

Camille’s block is called “On the Plus Side” and is great fun to stitch together.

Using my palette of Kona Shadow for my neutral combined with reds and blacks, here is my Aurifil July block:

Aurifil July BOM - On the Plus Side

Aurifil July BOM – On the Plus Side

I picked up the red batik in the border and the white/black print from the Stitchin Post in Sisters last week, and I think they’ve found a great home together in this block.

If you’ve been following along with this BOM, we’ve now completed 7 blocks. Here are my blocks together:

Aurifil BOM, Blocks 1-7

Aurifil BOM, Blocks 1-7

I think we have 5 more blocks to go in this BOM. It’s never to late to join in on the fun! I’m linking this post up with Lee’s WIP Wednesday at Freshly Pieced.

Enjoy,
~Jennifer

Chicken Challenge Class at a Quilter’s Affair in Sisters

Happy Monday, everyone!

Last week, I was able to take 2 classes at the Quilter’s Affair event leading up to the Sisters Outdoor Quilt Show. I took the classes with my sister and we had so much fun! We did stay for the quilt show, and I will upload some pictures of the show later this week.

We took a 2-day class called “Chicken Challenge” taught by Ann Shaw. Students could choose from several of Ann’s chicken patterns to use in the class. Ann is a fun and entertaining instructor who really helped the class understand the importance of fabric selection and placement in creating these unique pieced quilts. Yes, these quilts are pieced and not appliqued! Ann teaches a straight-line sewing technique based on Ruth McDowell’s wonderful art quilt methodologies.

Here’s a look at my chicken part way through the fabric audition process. The pattern is Gallus Gallus by Ann Shaw.

Gallus Gallus Fabric Auditions

Gallus Gallus Fabric Auditions

Although we both selected the same pattern, my sister and I selected different fabrics to create 2 equally colorful roosters:

Side-by-Side Roosters

Side-by-Side Roosters

We brought a variety of fabrics for the class, but naturally found ourselves shopping for more fabric yumminess from the Stitchin’ Post after class. With Ann’s help, I decided that my chicken needed to have a black and white background so I found myself petting bolt after bolt on Thursday afternoon before choosing a few pieces. I also picked up a wonderful Kaffe Fasset print for the ground.

My sister picked a great white-on-black print for her ground and used a neutral gray sketch fabric for her background that we had in our stash. I just finished piecing my chicken with about 30 minutes or so to spare in class. My sister almost finished her chicken and only has a couple of seams left to sew at home.

Here are our pieced roosters with backgrounds:

Pieced Roosters

Pieced Roosters

I plan on changing my borders slightly this week and will then quilt up my Gallus Gallus!

I did get a chance to snap a few pictures of some of the other chickens created by our fellow class members. I’m missing a few of the chickens, but these pictures will give you a good idea of how the fabric selections can really change the look of the pattern. Whenever possible, I tried to include the participant’s name in the photo. If you were in the class, please leave a comment!

Here’s a sample that Ann had finished using the Gallus Gallus pattern. This quilt was on display at the mini store inside Sisters High School.

Completed Gallus Gallus by Ann Shaw

Completed Gallus Gallus by Ann Shaw

My thanks goes to Ann for teaching such a wonderful class! Can’t wait for next year.

Enjoy!
~Jennifer