
Hi everyone,
I recently made the Take A Stand bag from ByAnnie patterns, and I blogged about it here. I then decided to create the companion tool organizer called Running with Scissors using similar fabrics from Tula Pink.
Isn’t the name fun? This organizer is really a clever zipped tote that you can use to carry your quilting tools to a class or a retreat or use it at home to save space on your sewing table.
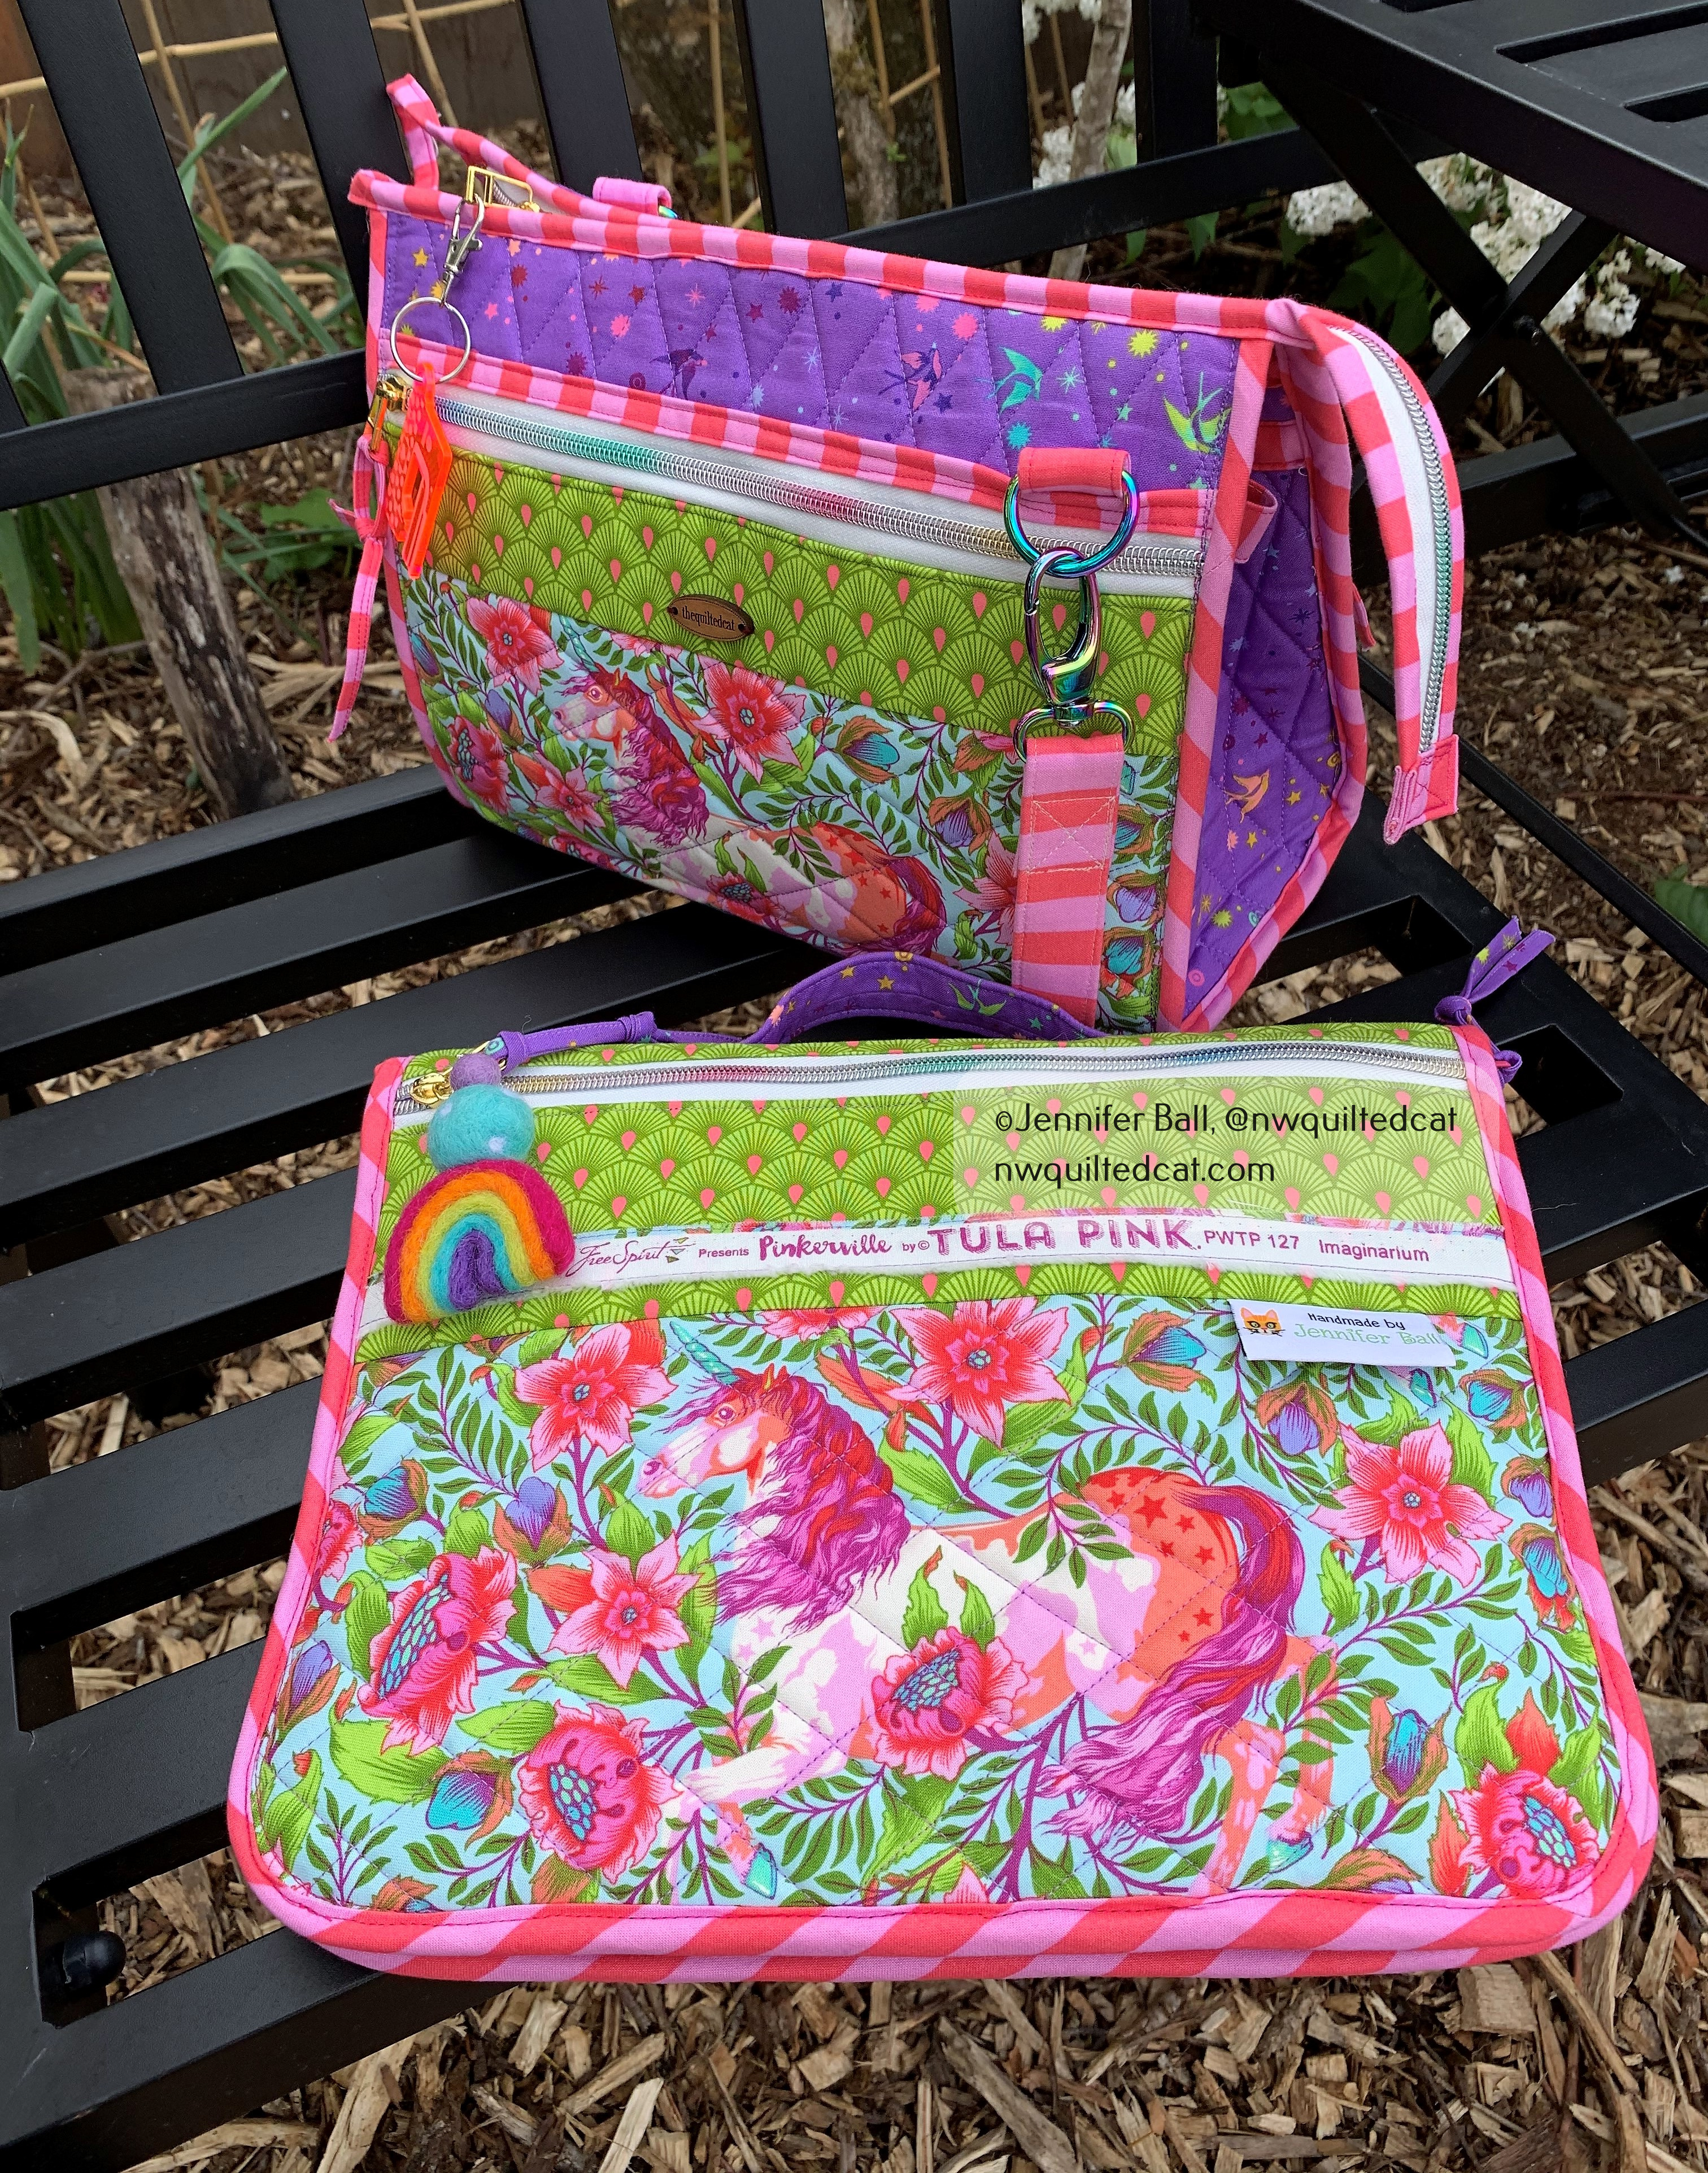
I used Tula Pink’s Pinkerville line with its beautiful unicorn as my front pocket centerpieces. This organizer has 2 large quilted fabric pockets with zippers on the outside. You’ll find smaller inside pockets made out of mesh, vinyl, and quilted fabric, all sized nicely to fit a variety of tools.
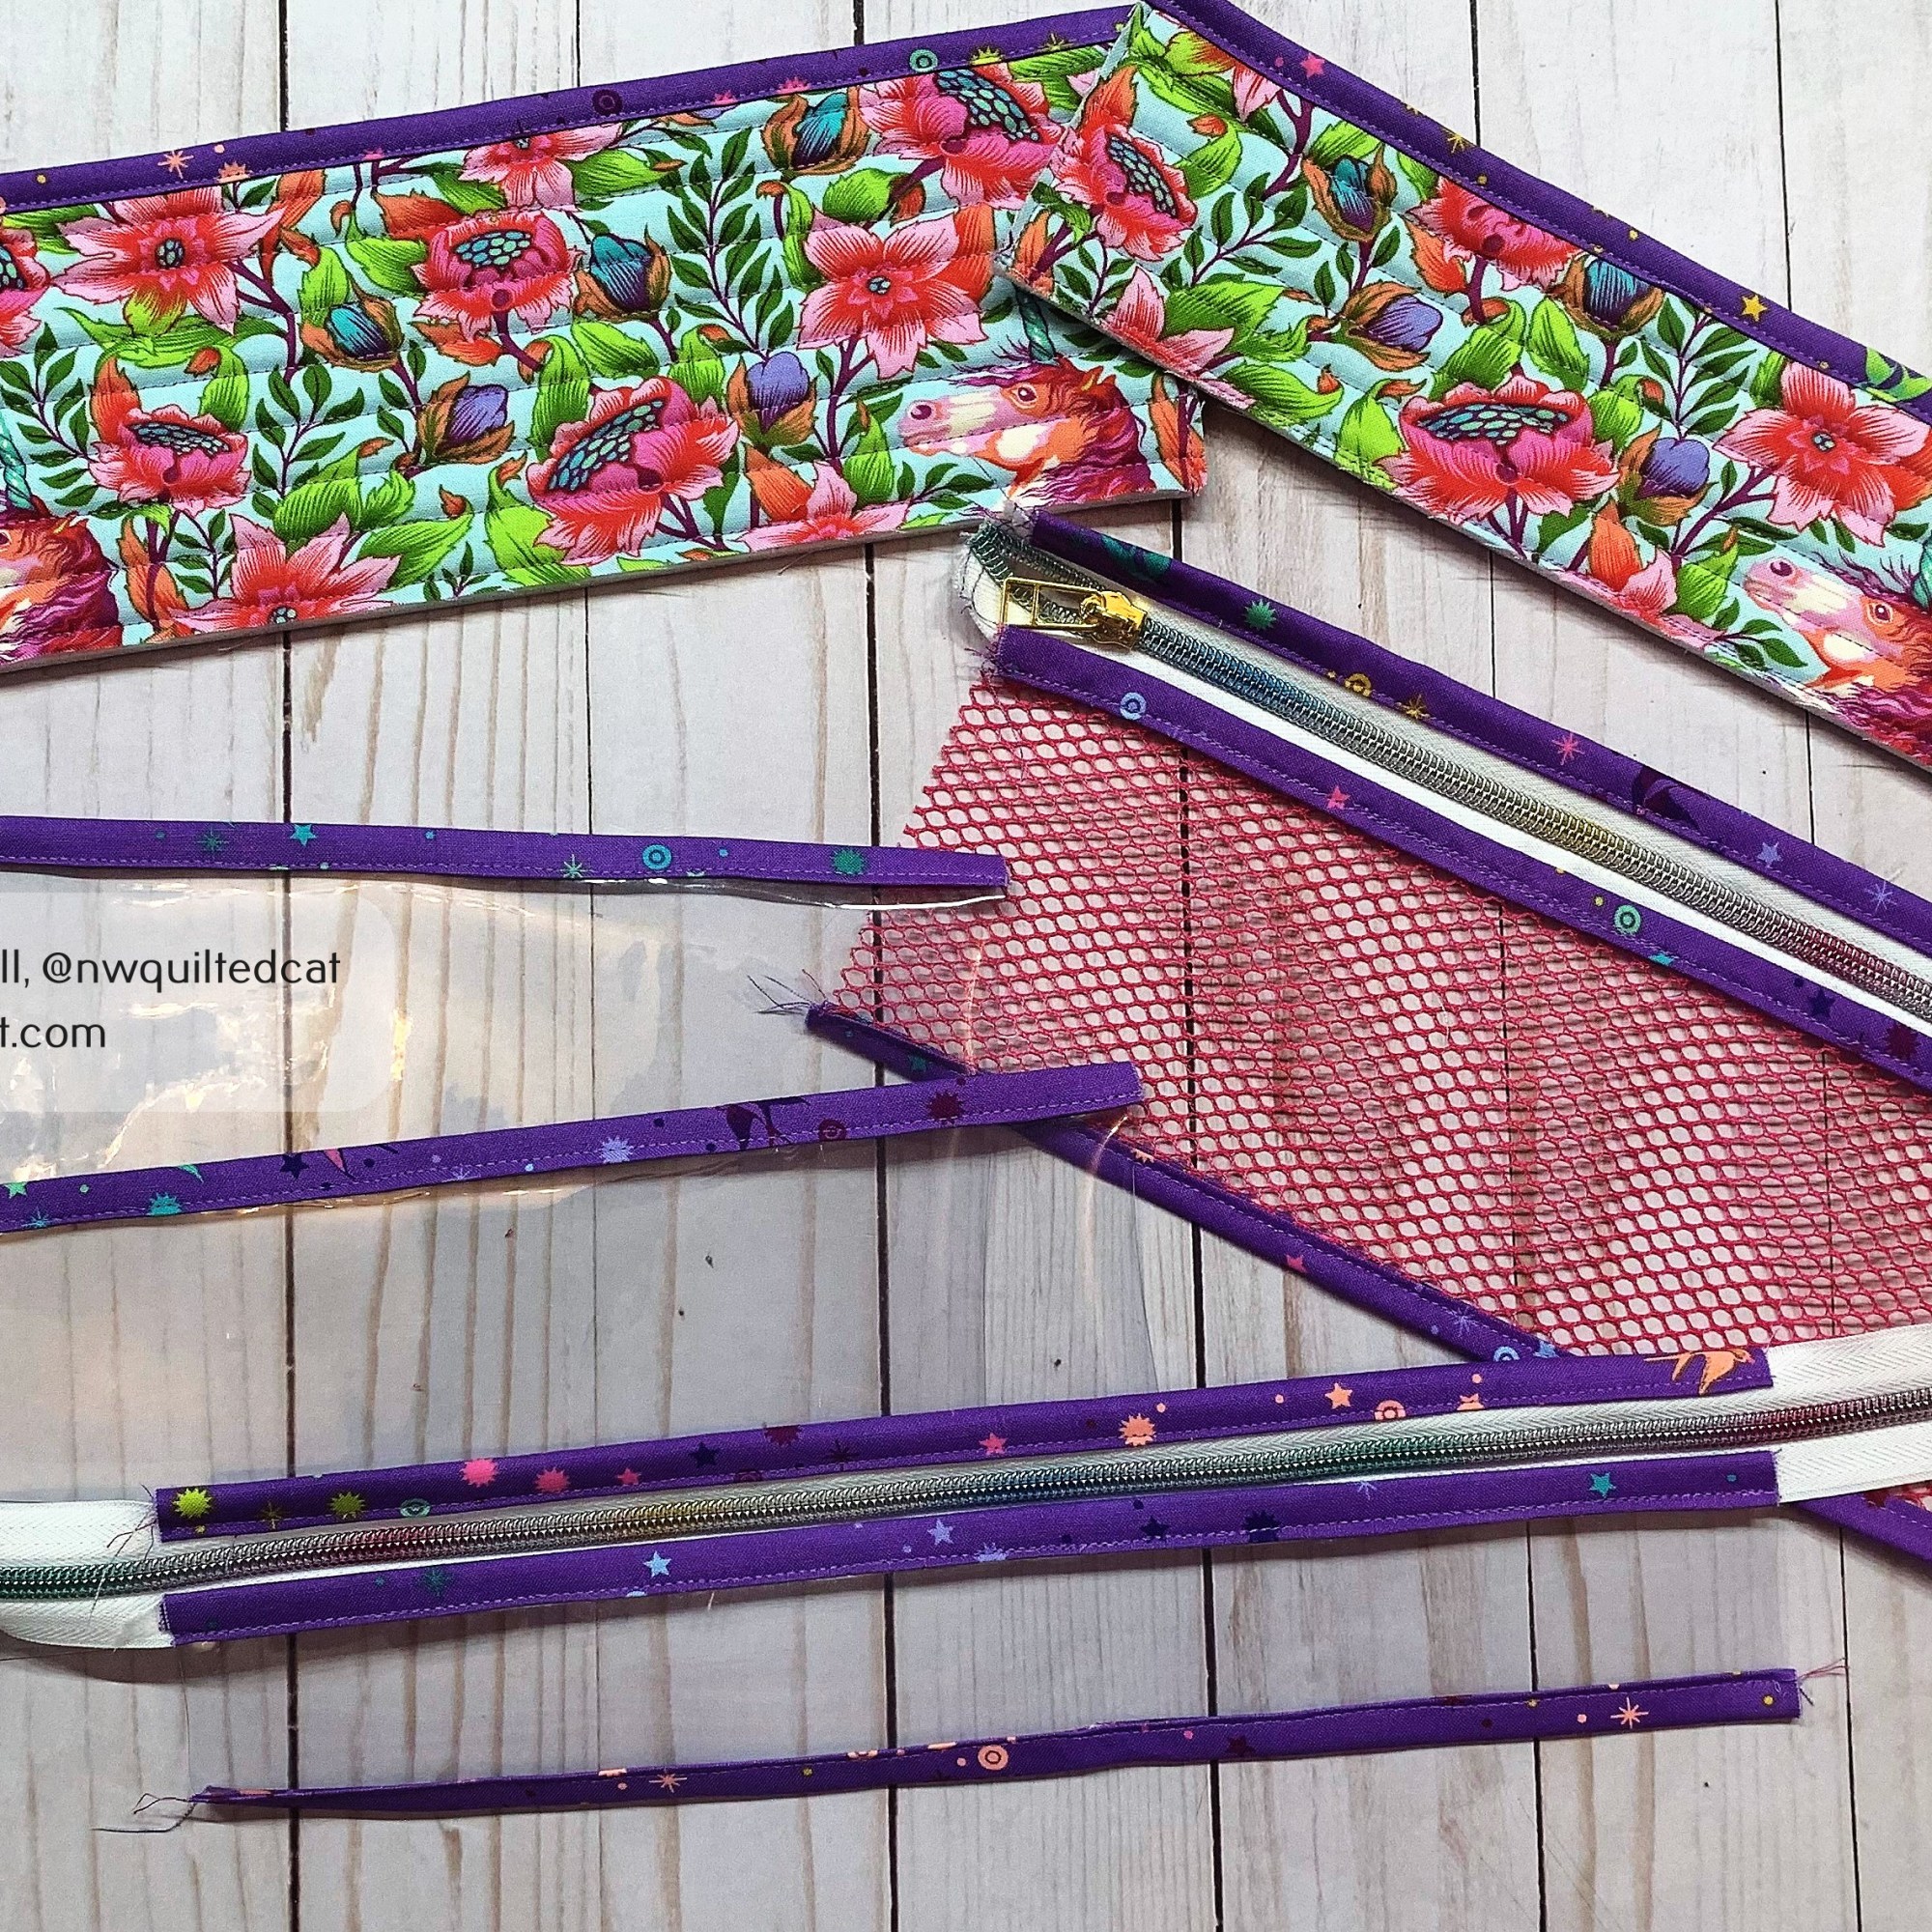

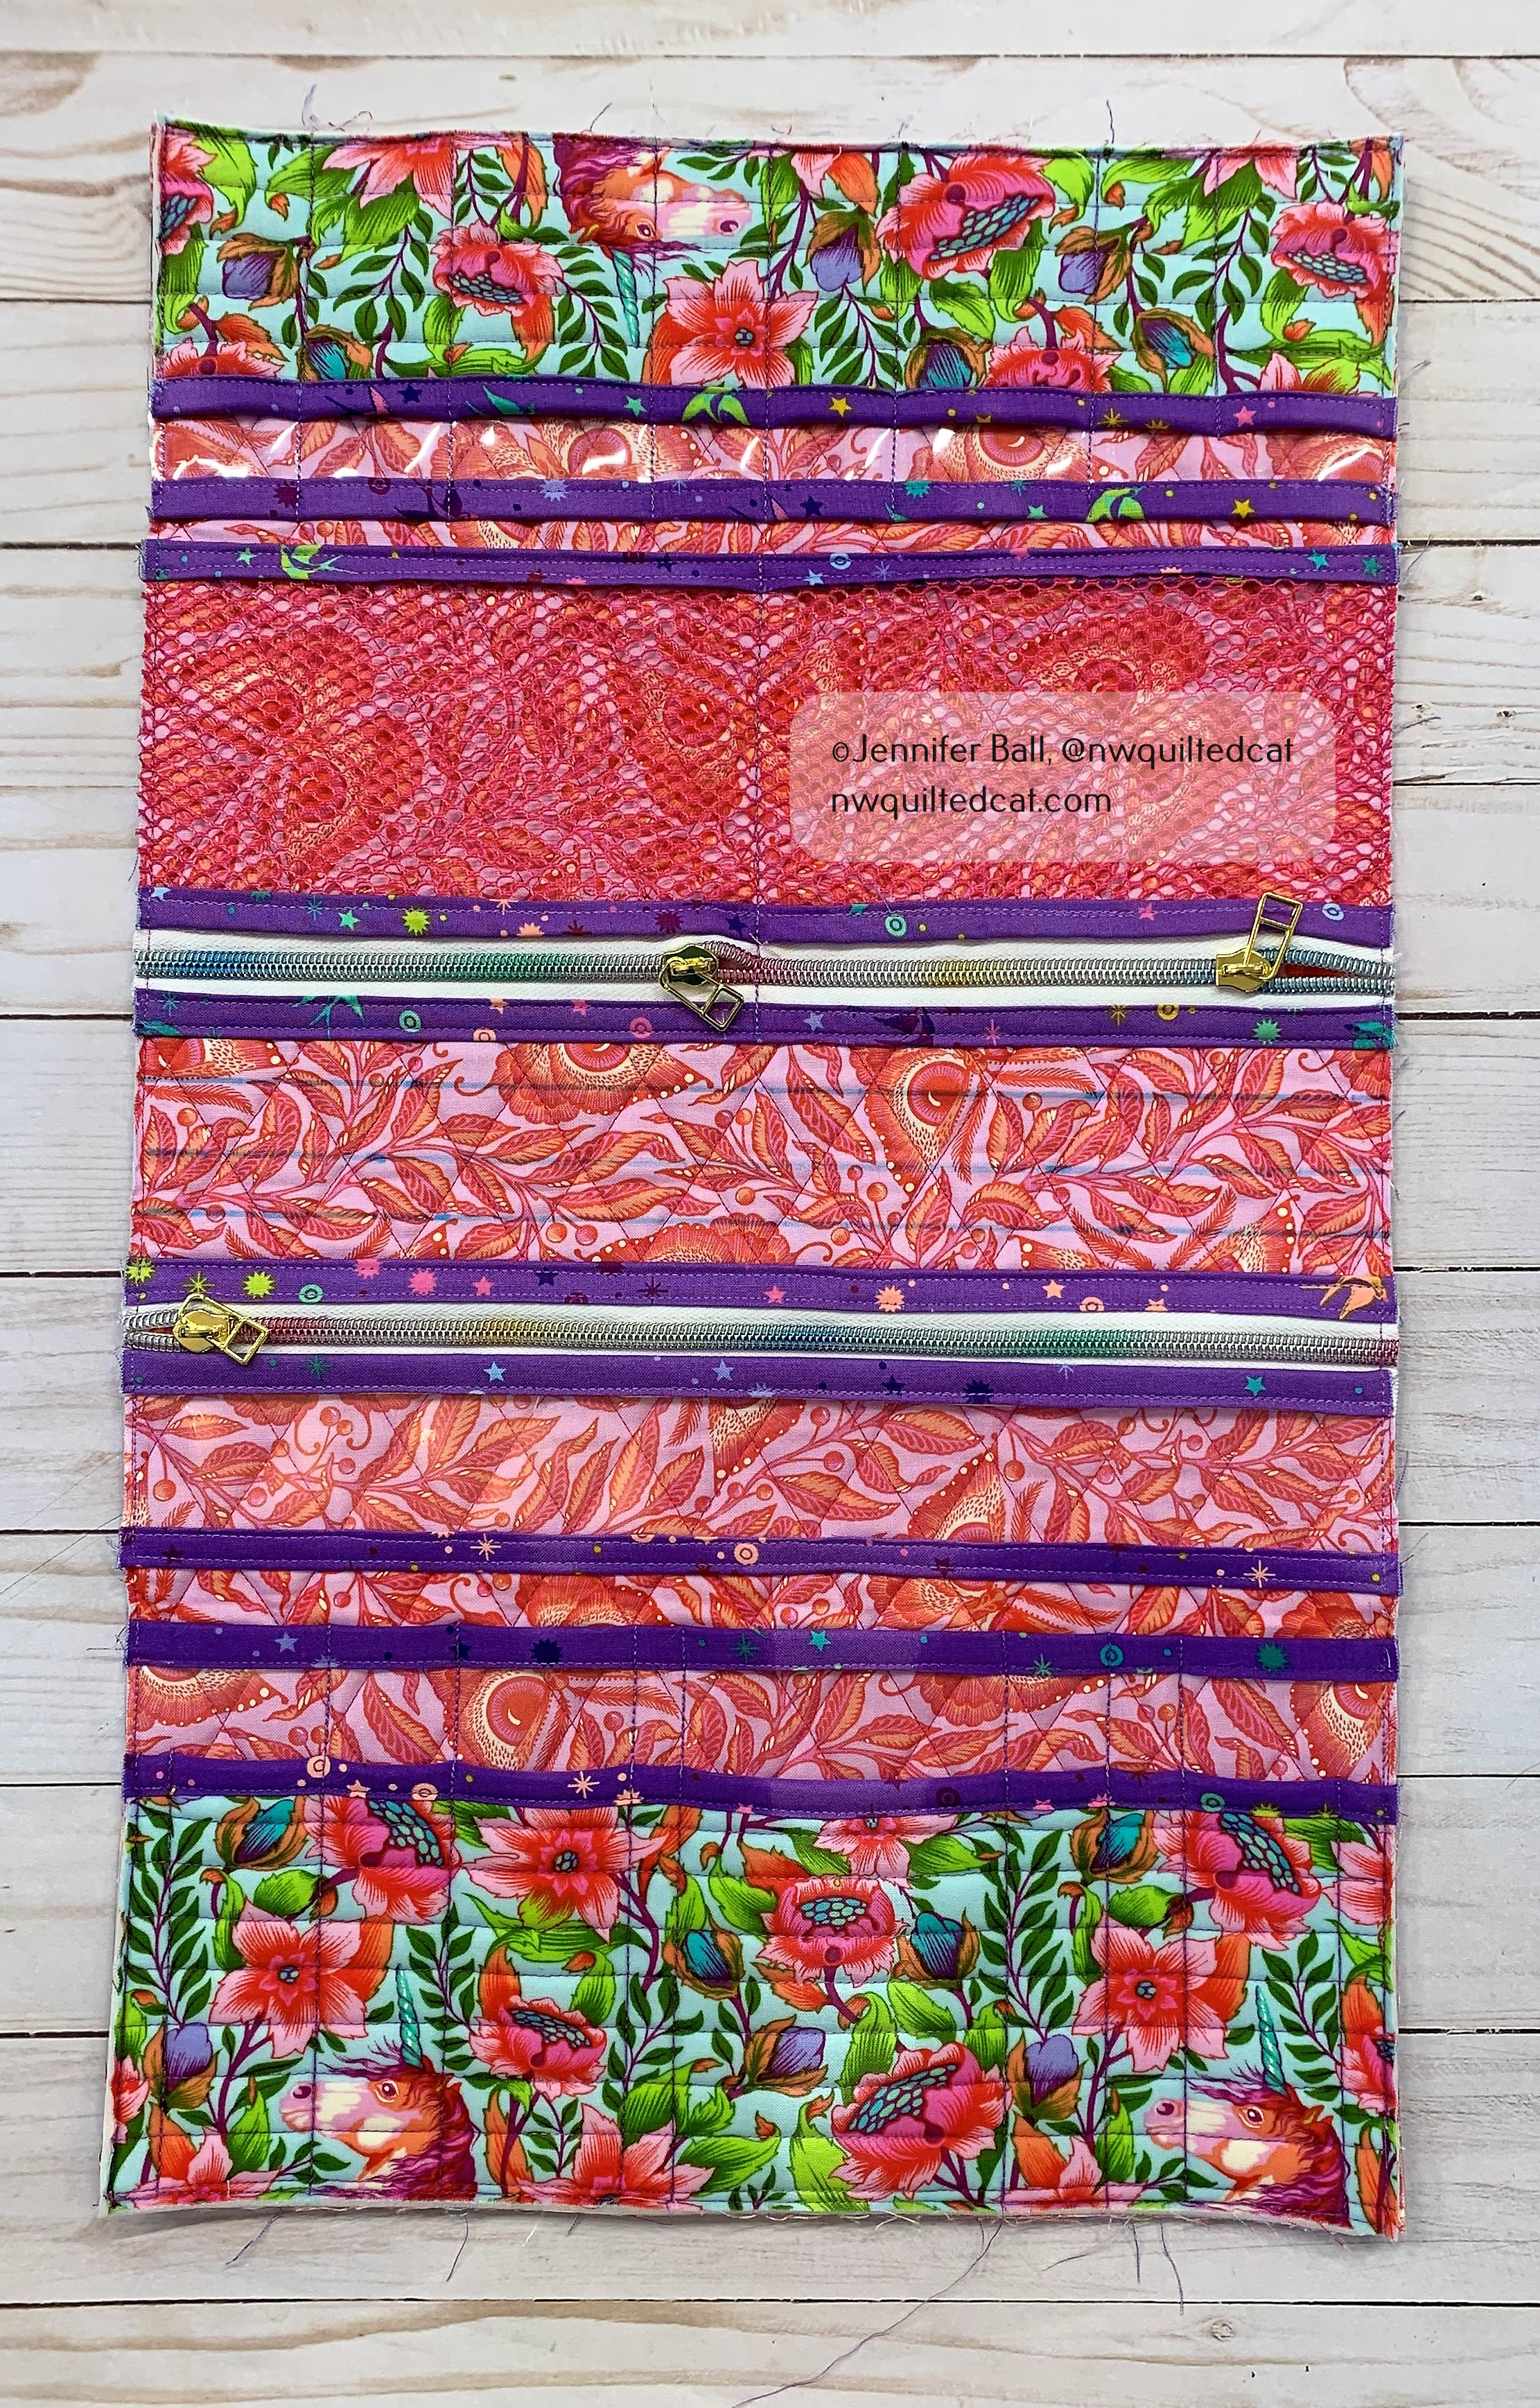
Here’s a look at the organizer once I had sewn on the outer pockets and the inner pockets, but before I added the center facing to the inside.

For me, one of the tricky parts is attaching the outer zipper and binding. When you purchase this pattern, it comes with a $5 off coupon for the accompanying video from Annie, making it free. I highly recommend the video, and I watched it while attaching the binding so I could pause and re-watch as needed. I also use Clover Clips rather than pins to avoid poking myself and because they are just so much easier to use.

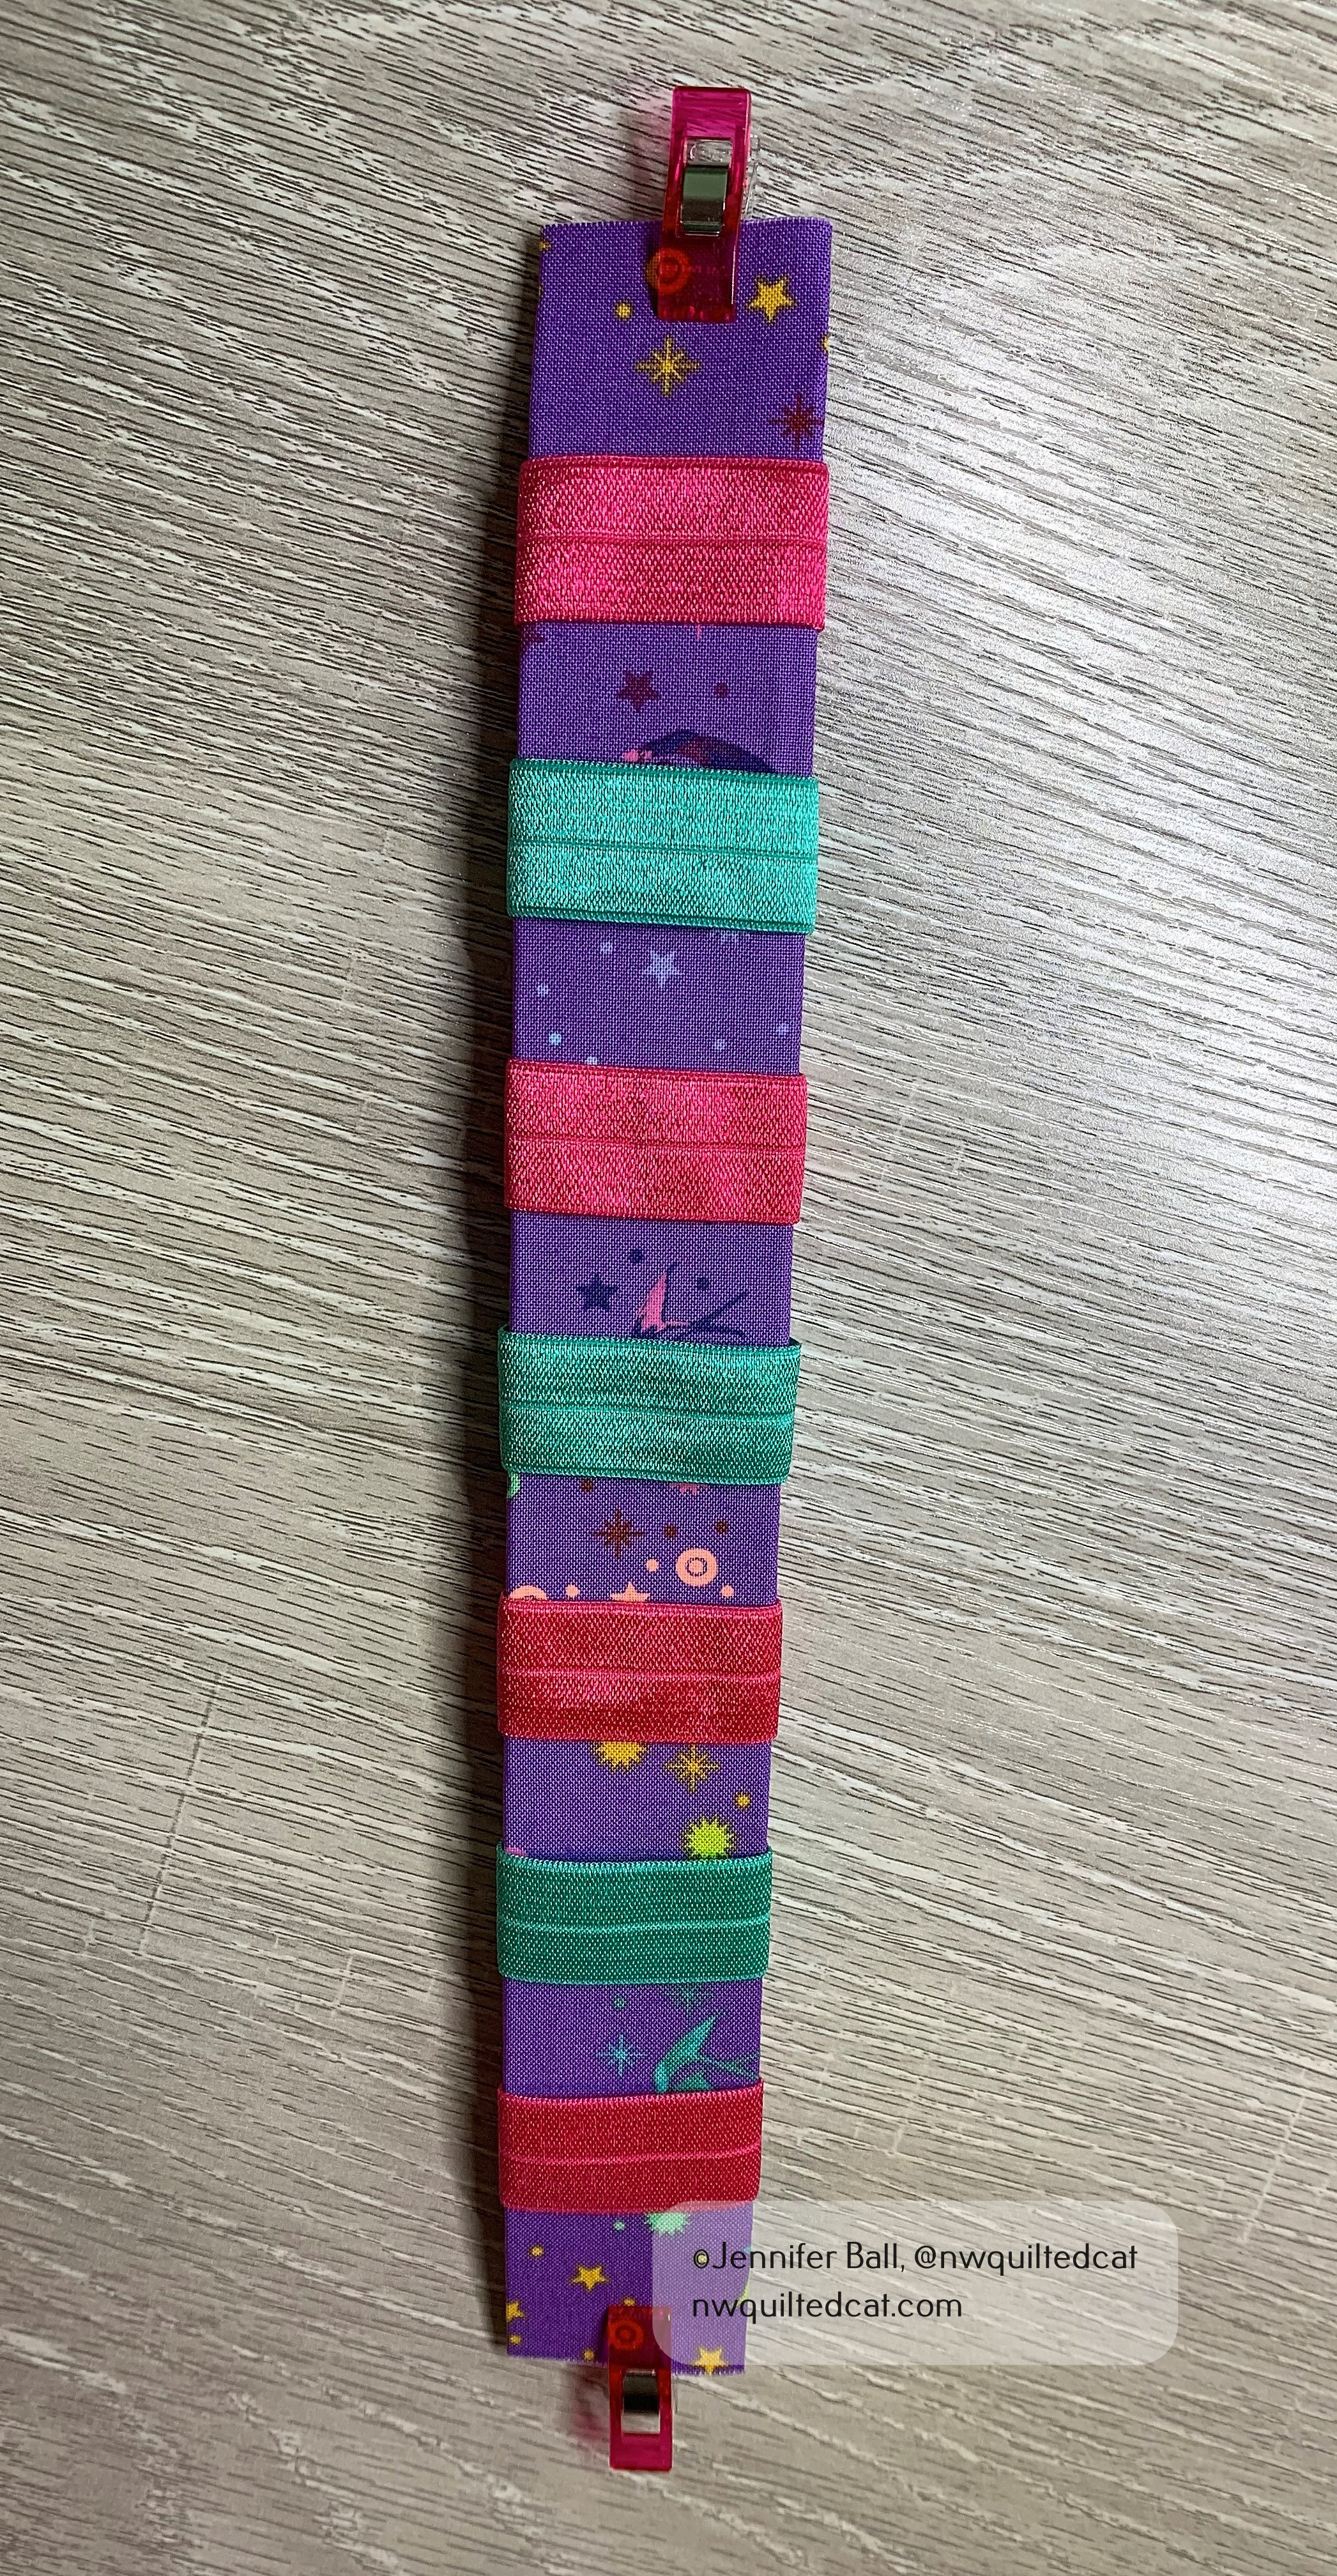
The inside center facing uses clever elastic loops to hold a variety of items from sewing machine feet to bobbins to thread. I had 2 colors of elastic on hand so I decided to use both colors by alternating them on the facing.
Once I had sewn the inside center facing, then I just needed a few finishing details such as zipper pulls to complete my Running with Scissors tool case!
Here’s a look at the front of the completed case:

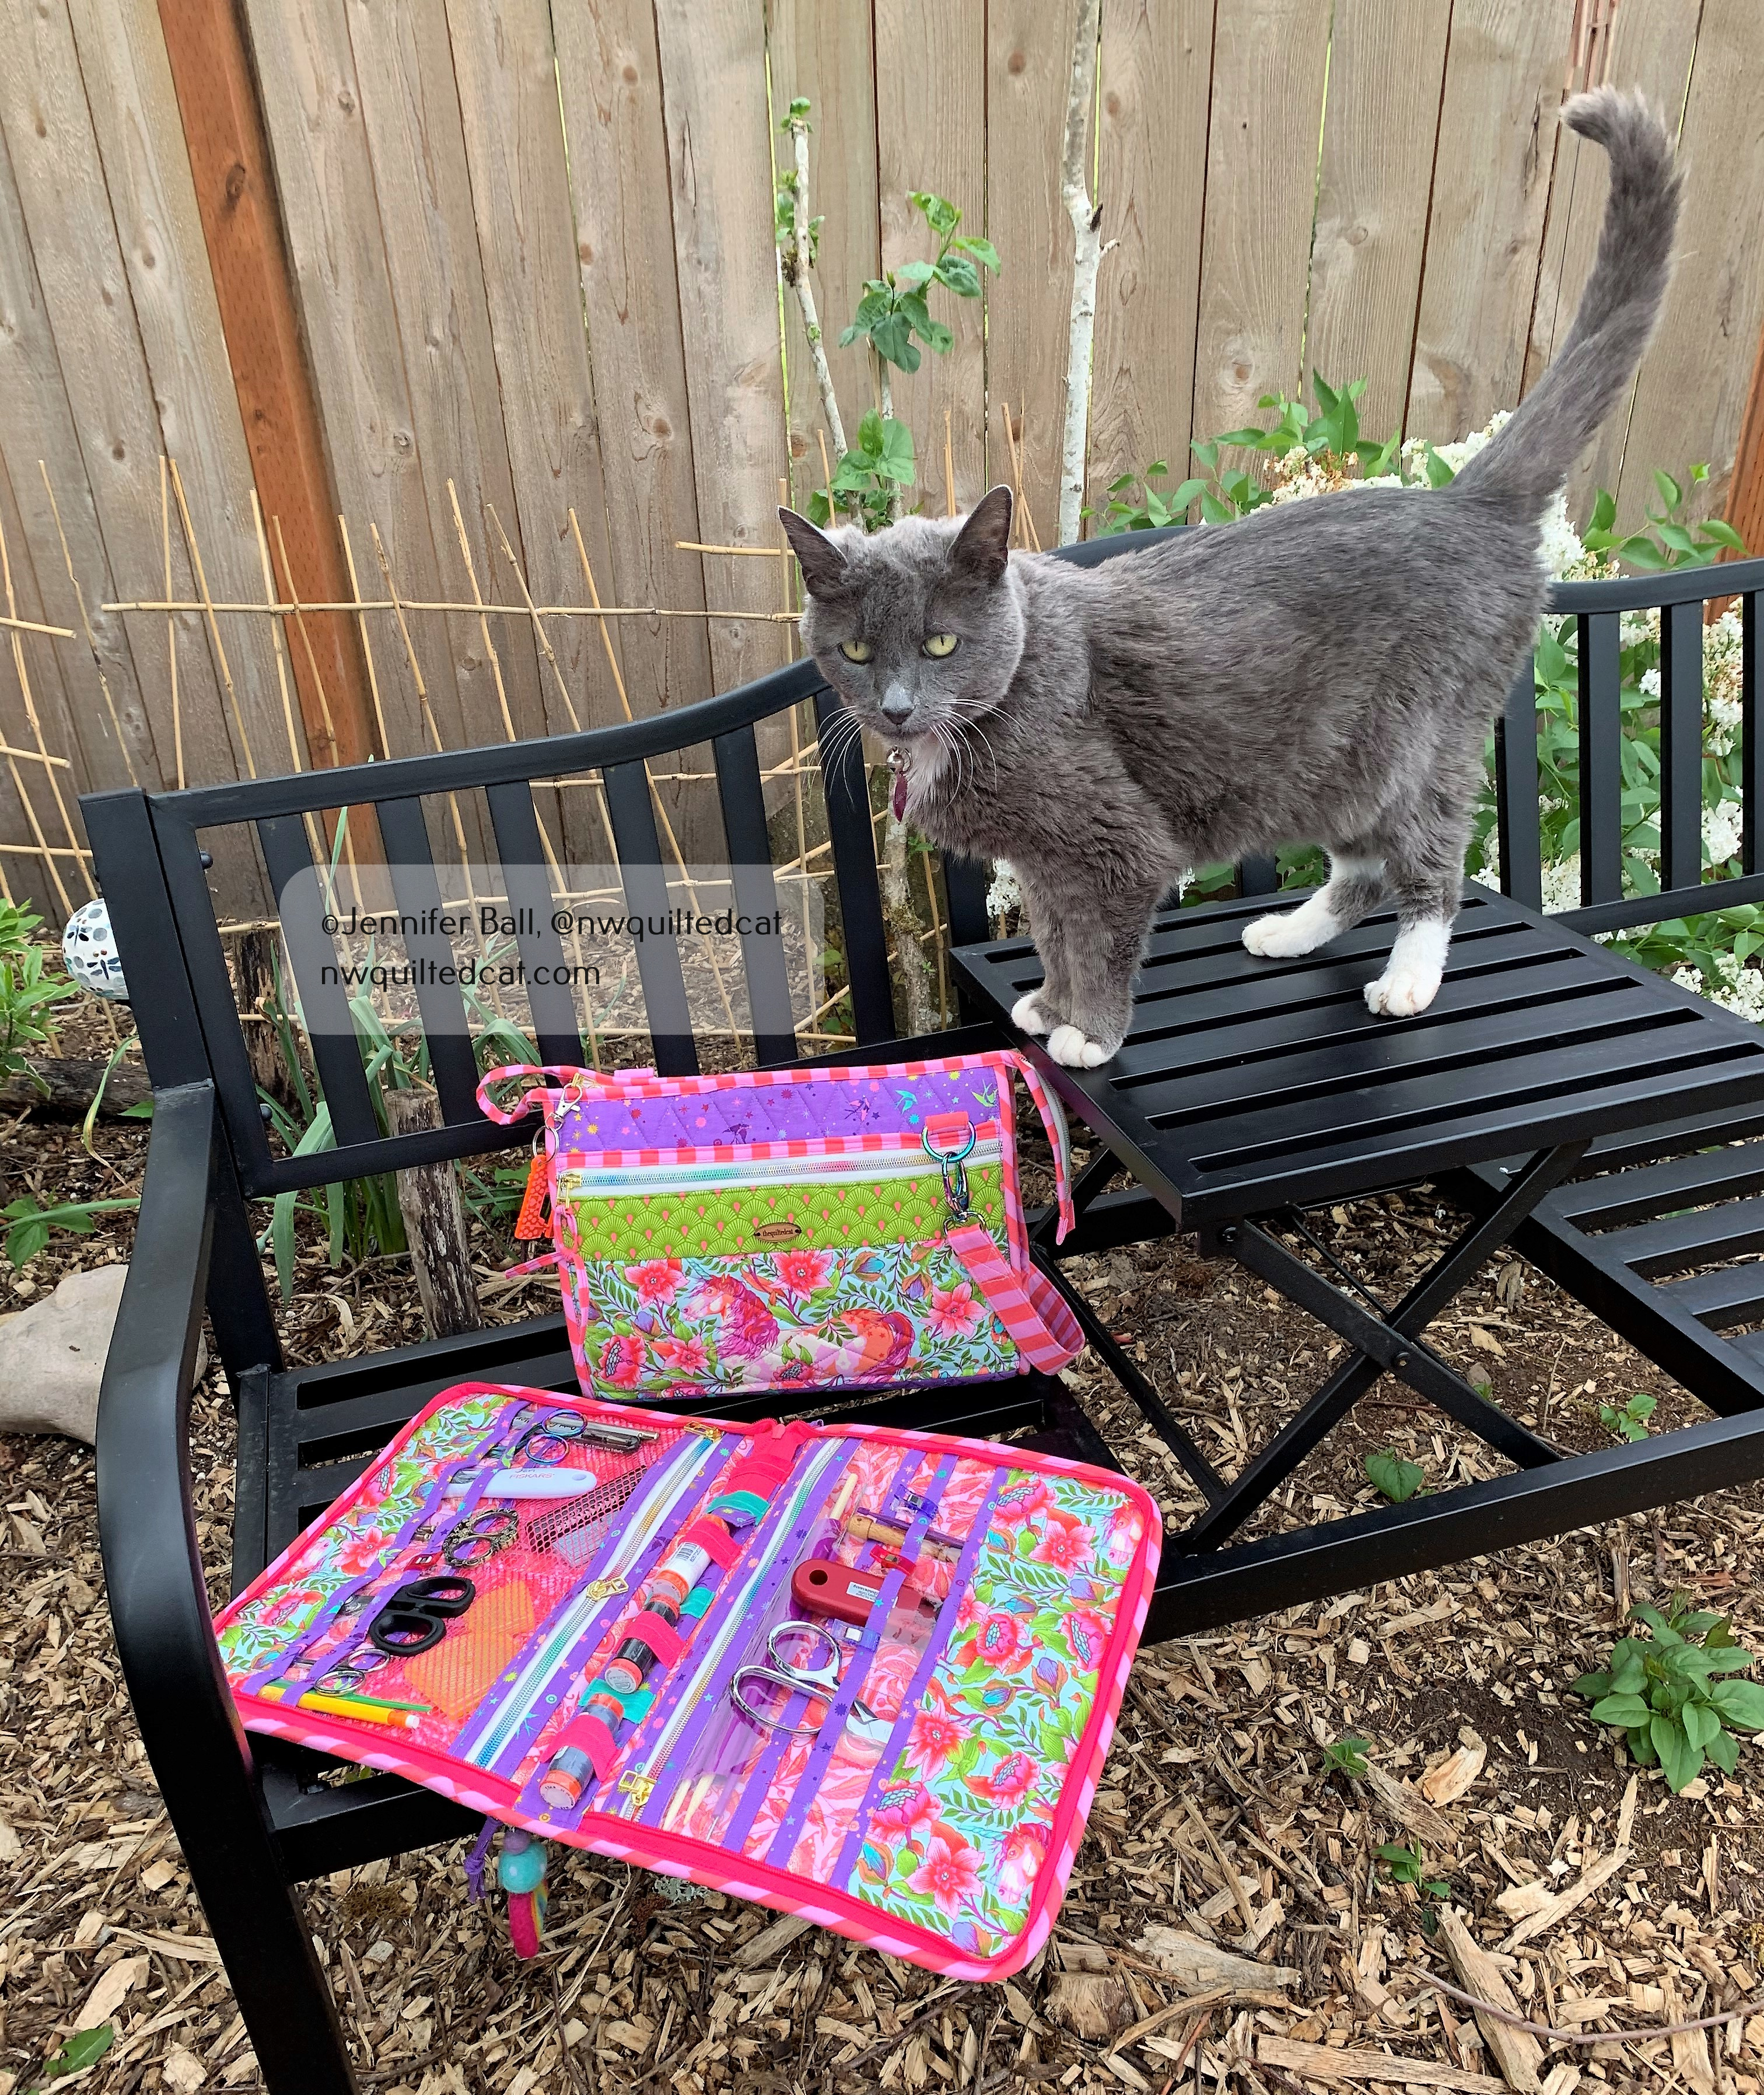
I decided to do a little photo shoot with my 2 new ByAnnie bags, along with my foster kitty, Gracie. She provided excellent inspection services!
In the picture where Gracie is sitting next to the bags, you can see my new Running with Scissors tool case folded over my Take A Stand bag. I’m going to use these 2 bags together at my sewing table to keep frequently used tools close at hand.

Another pic of both bags together;
I now have more confidence to tackle a bigger bag project! On my to-do list is the A Place for Everything 2.0 bag from ByAnnie. It’s a great bag to hold English paper piecing projects and supplies. I haven’t decided which fabric to use yet so stay tuned!
Do you follow me on Instagram (@nwquiltedcat)? I’m very close to reaching 2,000 followers. I’m going to do a little giveaway once I reach that milestone, and it will most likely feature Tula Pink products. Come follow me if you don’t already!
Happy quilting!
~Jen


