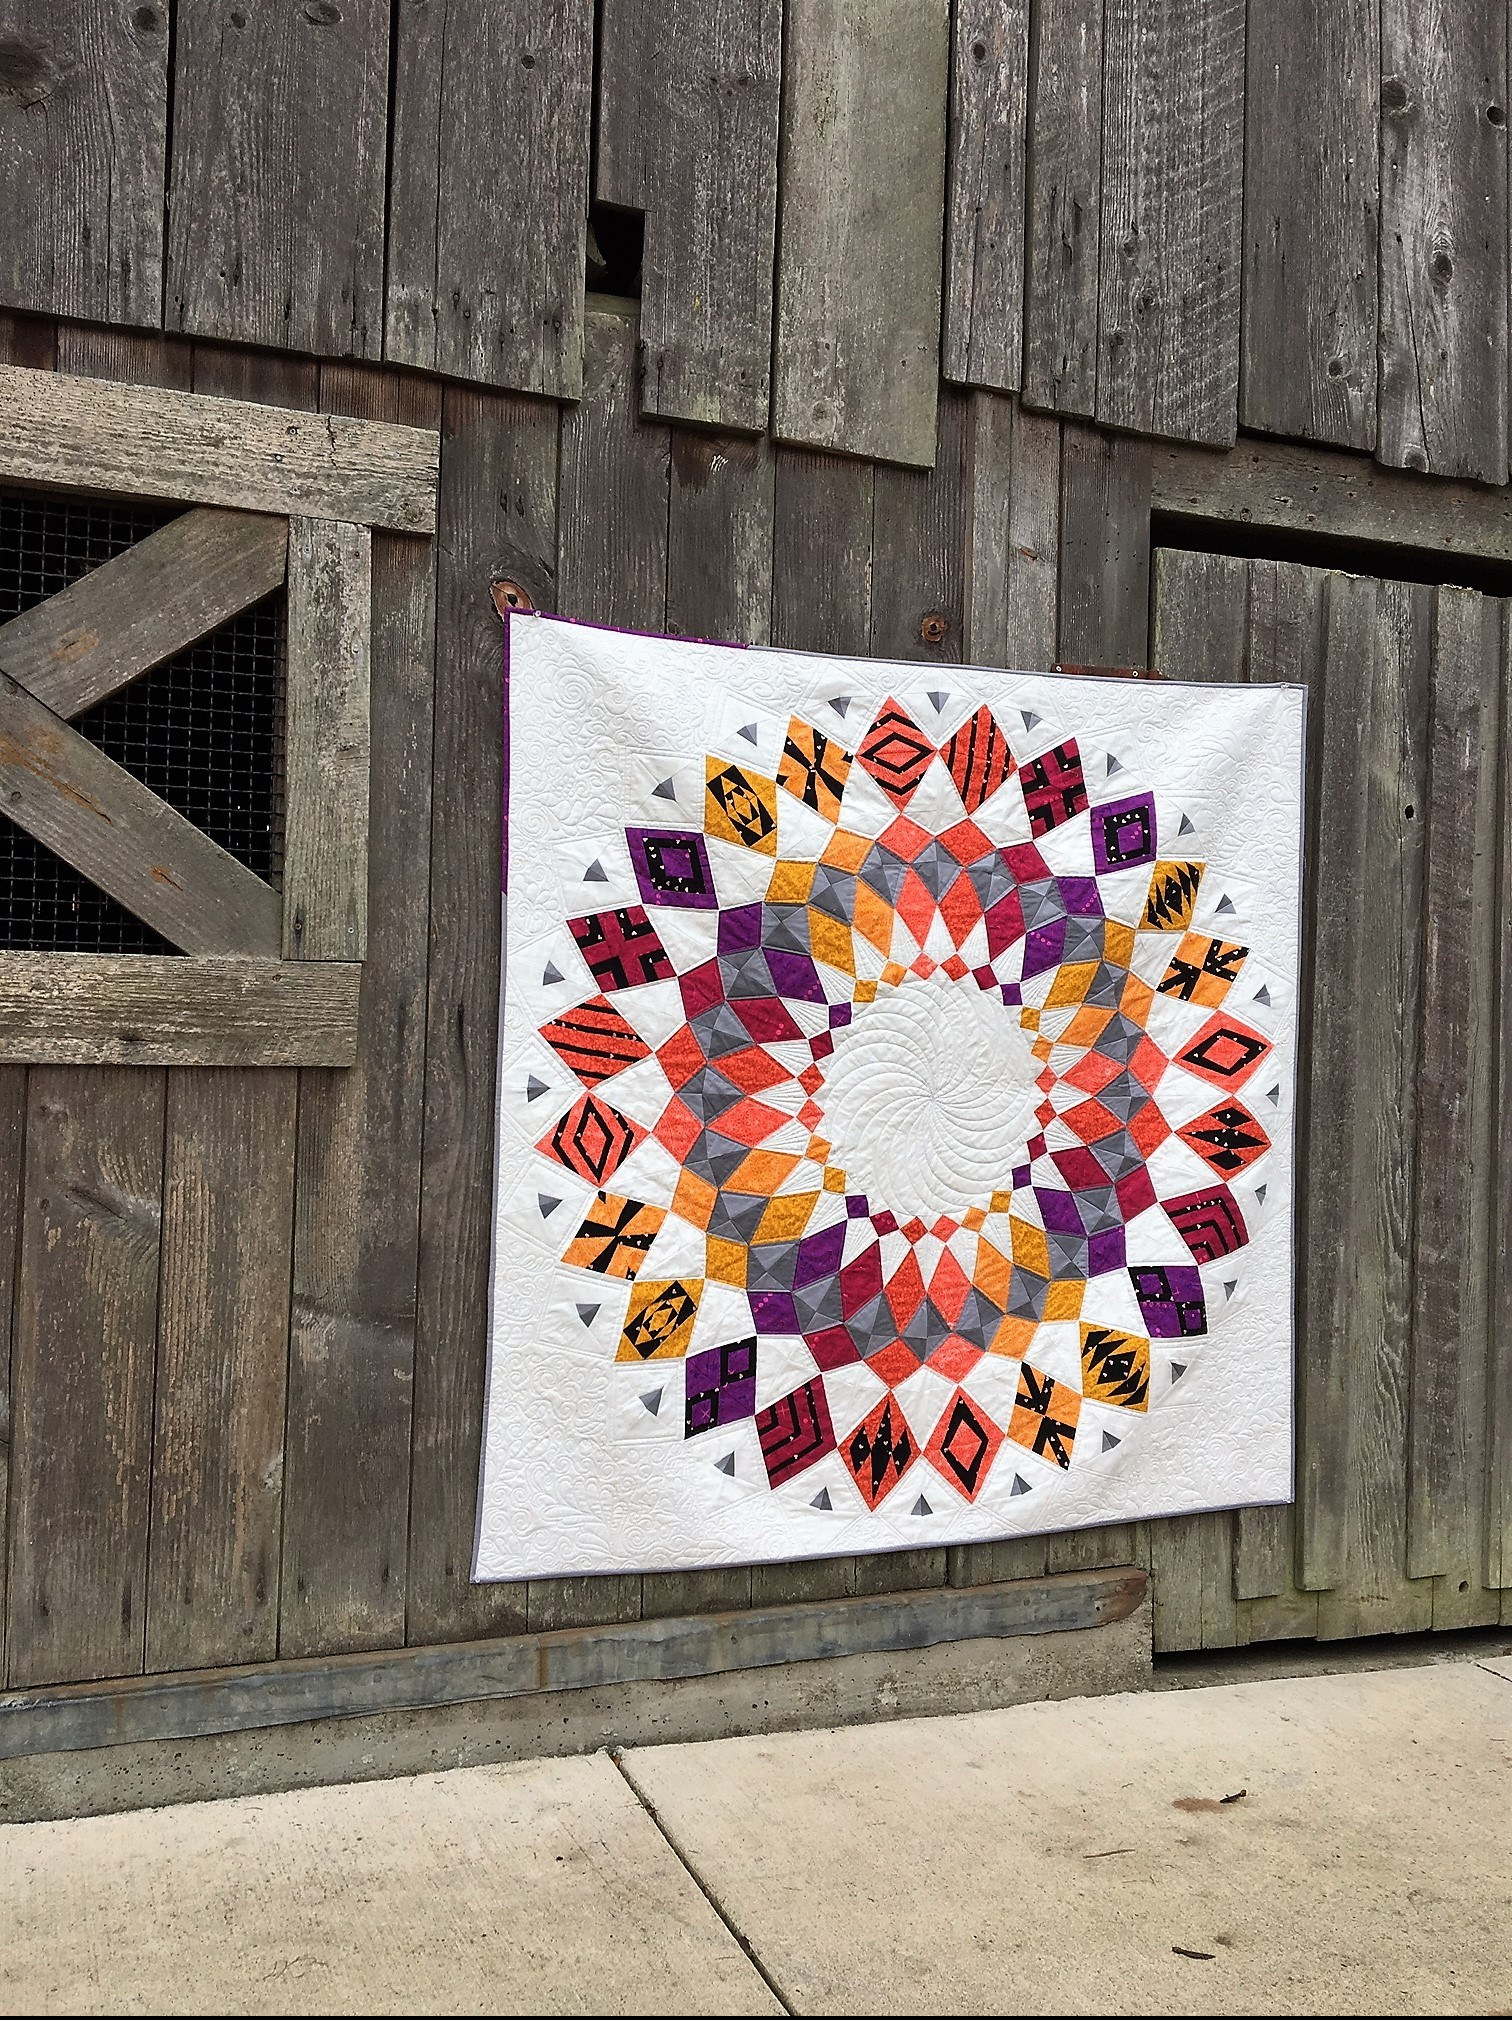
Black Diamonds Quilt

Hi everyone,

I completed a new quilt called Black Diamonds from the Fat Quarter Shop. This quilt features a new ruler called the half triangle trimmer, which helps you to create perfect 2″ x 4″ half rectangle blocks.

If you purchase the supplies for this quilt using the links in my post, I get a small percentage of the sale to help offset the costs of running this blog. I appreciate any and all purchases via my affiliate links!!

Quilt Kit and Pattern Available Soon!

The Fat Quarter Shop will be announcing this new quilt pattern and quilt kit later in August or early September so watch for an announcement on their social media. The quilt kit will feature a fabric line called “Create” by Alli K Designs.

The half triangle trimmer is now available to purchase.

Let’s Take a Look at My Project!

For my version of the quilt, I used the Too Cute to Spook line by Me and My Sister Designs. I thought this pattern would make a really cute Halloween themed quilt.
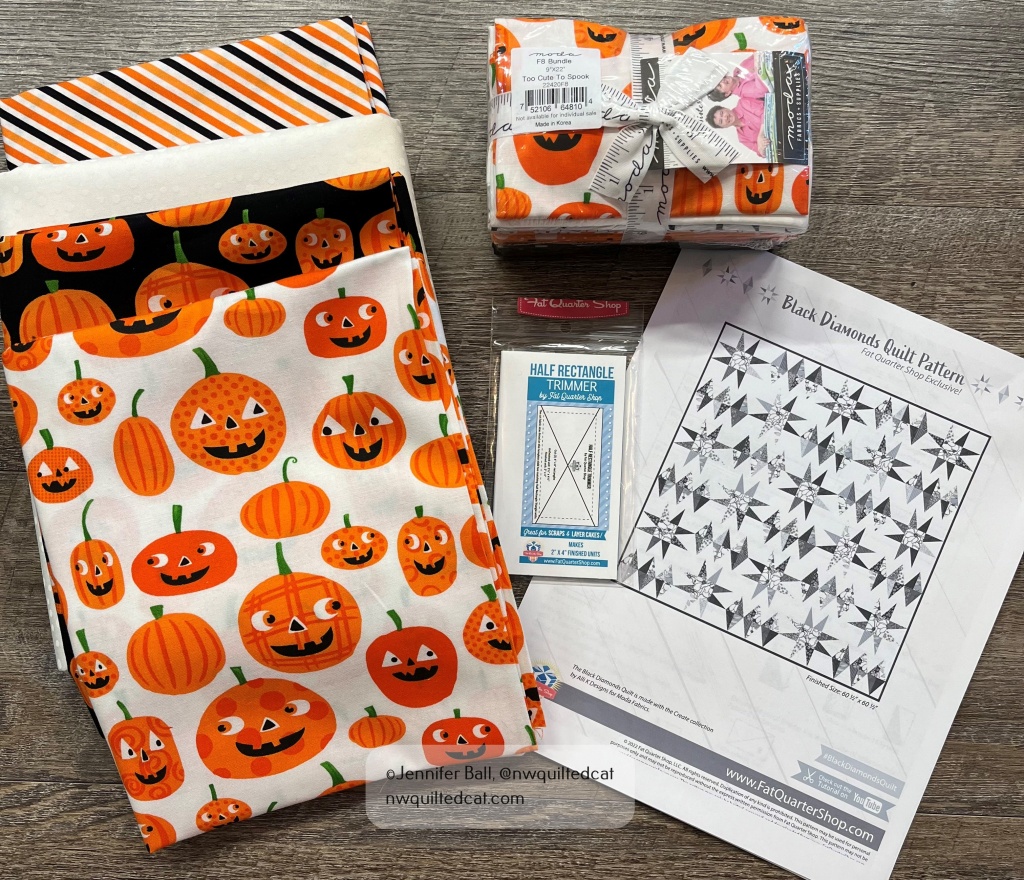
Supplies for my Black Diamonds quilt: Too Cute to Spook Fat Eighth bundle, background fabric, pumpkin fabric for center blocks, binding fabric, half rectangle trimmer, and pattern

This pattern is really simple to make because it only contains 2 blocks: a star block and a diamond block. Both blocks use the half rectangle trimmer. I decided to make a test block before cutting out all the pieces and chain piecing.

Here’s my test star block:
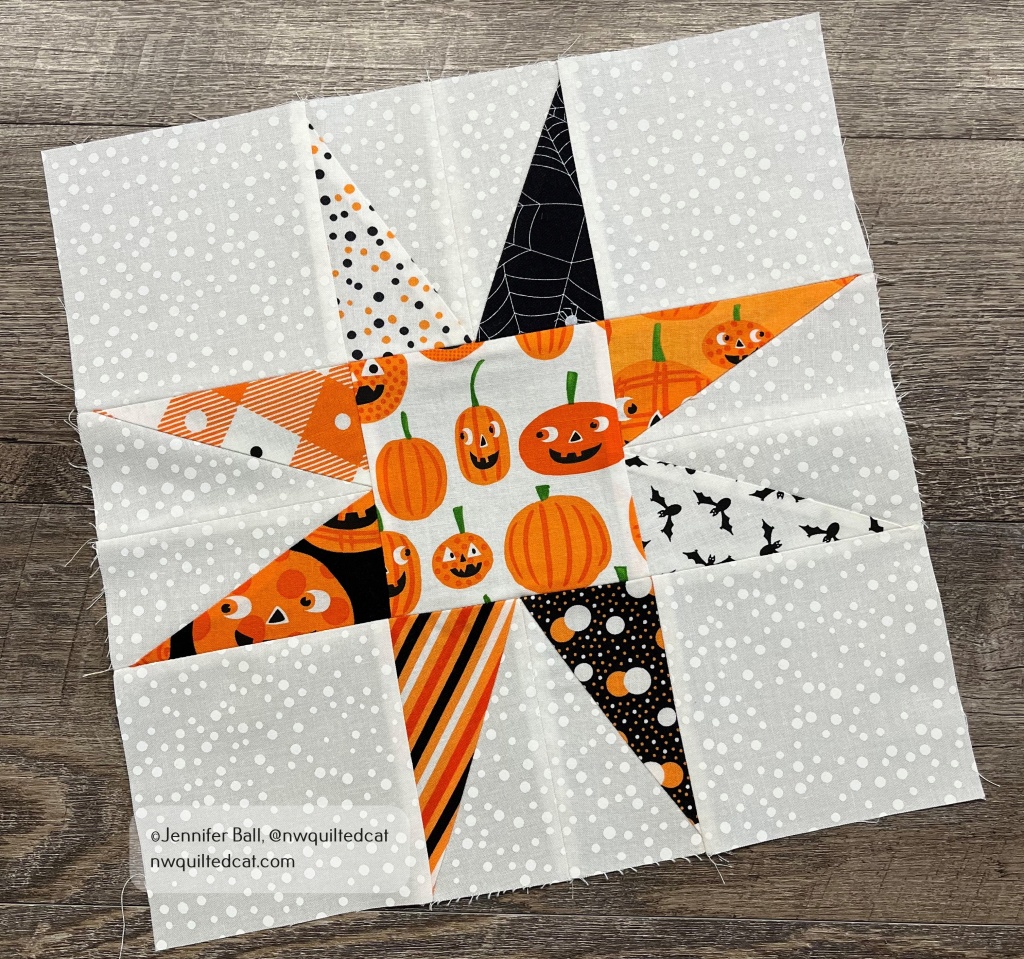
Black Diamonds quilt: a test star block

Usually, star blocks are made with half square triangles so I really like the look of this elongated star using the half triangle trimmer tool. It’s a really fun shape! I also made a test diamond block, which went together perfectly.

I decided to go for it and cut out all of my fabric pieces according to the directions. For my center squares in my star blocks, I used the same fabric for consistency. If you decide to go this route, then you’ll need a 1/2 yard of fabric. If you go scrappy, then you could use fat eighths or fat quarters.

TIP: A Stripology ruler saves you so much time and effort when cutting out strips of fabric.

I chain-pieced the star block units first and then the diamond block units. In this pattern, pay special attention to directions because you need to make right-side facing units and left-side facing units.

TIP: Use a Sue Daley rotating cutting mat when trimming your half rectangle units. As a bonus, I also use this mat to cut out pieces for English paper piecing.

Here’s a look at all my completed star blocks and diamond blocks:
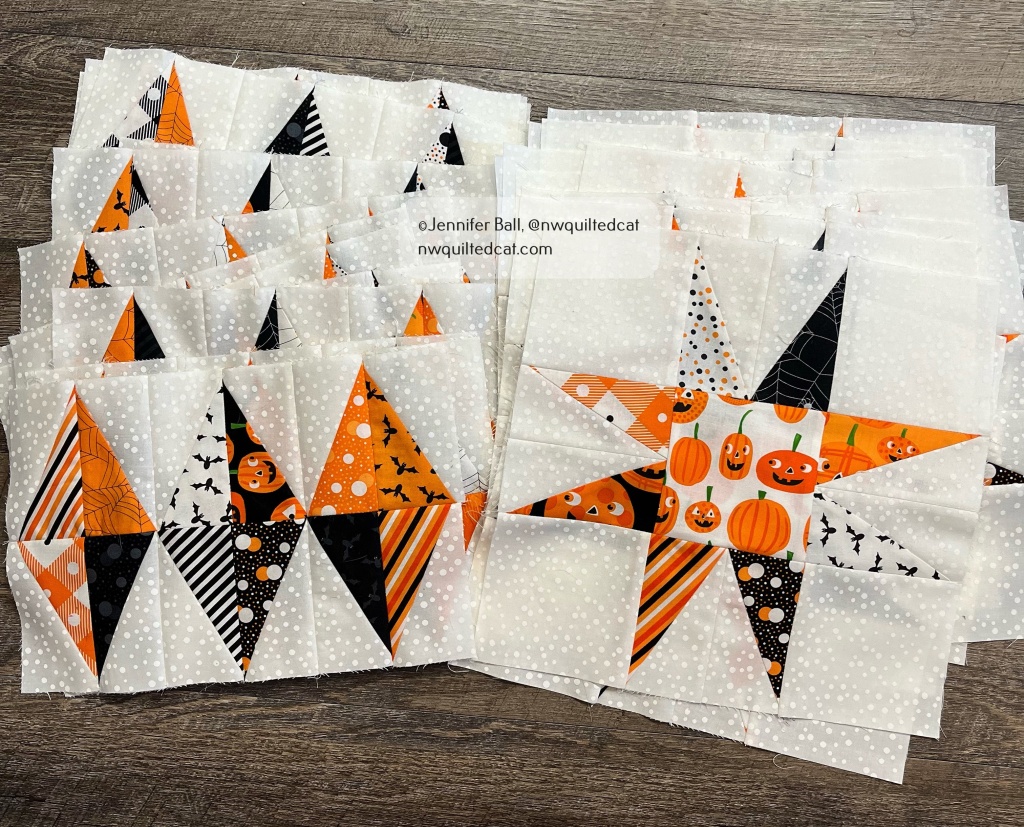
Completed blocks for the Black Diamonds quilt

Aren’t they cute? When I pieced the units together, I didn’t worry about having 2 of the same fabrics touching each other. There is so much movement in the finished quilt that no one will notice!

After I had completed all these blocks, I laid them out on the floor with the help of my quilt assistant. As a way to check my placement, I usually take a picture with my cell phone. This picture helps to identify any block placement mistakes, and it also helps me to remember what order I need to sew the blocks.
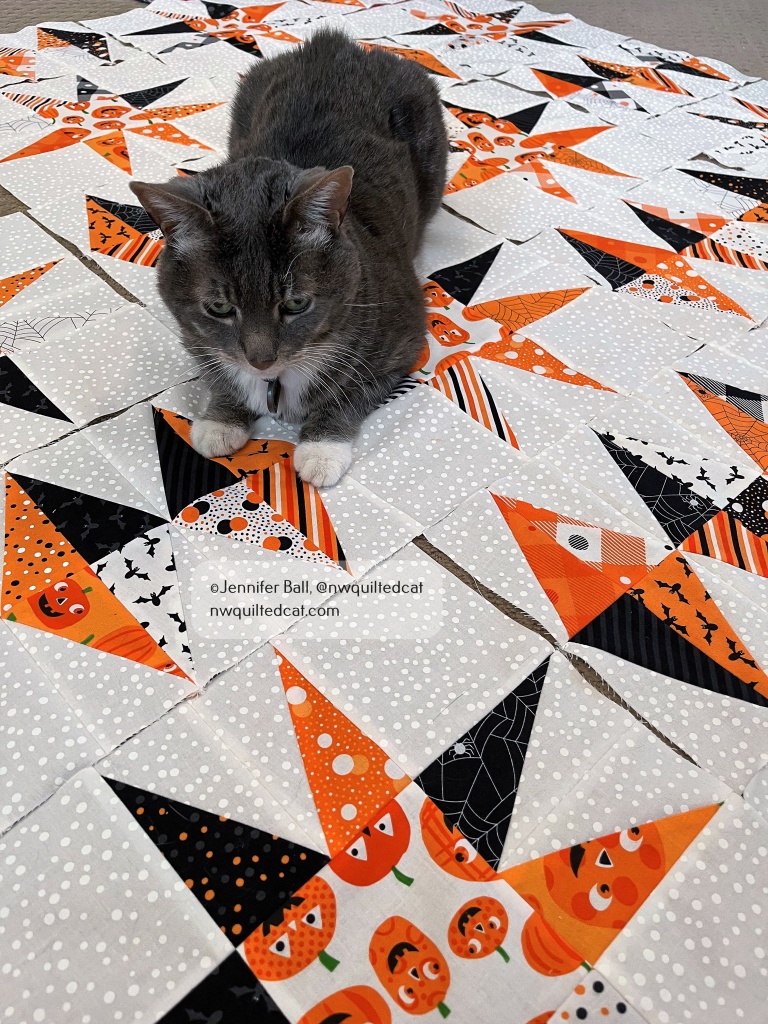
My quilt inspector checks my block placement!

My quilt inspector sometimes likes to rearrange things when I’m not looking! I sewed the rows together and finished the quilt flimsy in time to take on a little mom and son hiking trip. My son was a good sport and held up the quilt top while I took a quick picture.
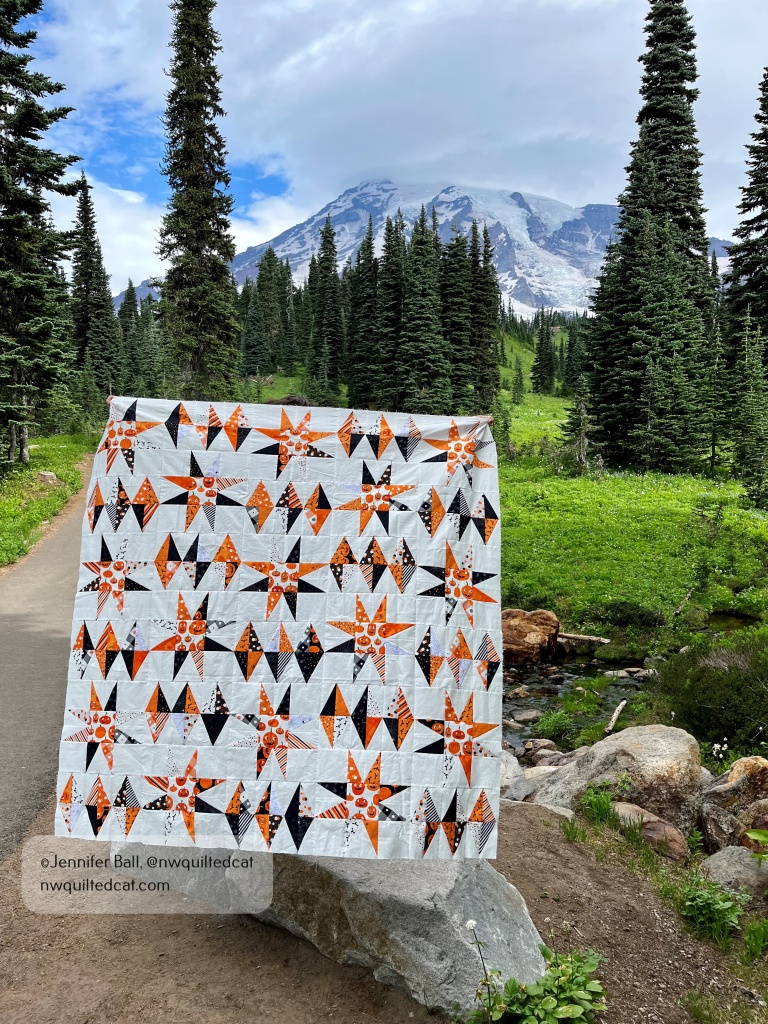
Black Diamonds quilt flimsy

Once home from our short adventure, I decided to quilt it with an open free-motion stipple pattern using white thread. For the binding, I used a striped fabric from the Too Cute to Spook line, which I think is the perfect finishing touch for this quilt!

Here’s a look at my completed Black Diamonds quilt, Halloween style!!

Completed Black Diamonds quilt

This quilt finishes at 60.5″ x 60.5″ so it’s a perfect lap size. You can easily enlarge it by making more blocks to expand it, and be sure to watch the Fat Quarter Shop for a blog post announcing the pattern and quilt kit plus a look at all the sample quilts. Watch for a live tutorial by the Fat Quarter Shop launching on September 8th.

Enjoy!

~Jen

Introducing Alfie the Alpaca Foundation Paper Pieced Pattern!

Hi everyone,

I’m so excited to introduce you to Alfie the alpaca! I designed this cute alpaca block for a mini quilt exchange with my sister.

Alfie is foundation paper pieced, suitable for quilters with some paper piecing experience. The block size is about 16.5 inches by 8 inches before adding borders. The pattern does include instructions for adding the same size borders as shown in my finished quilt.

You can purchase Alfie for just $4 on my Etsy store, QuiltedCatPatterns!

Let’s take a closer look at Alfie the alpaca! I based this pattern on a photo that I took of a cheeky little alpaca in Sisters, Oregon during summer 2019. I used Cherrywood fabrics for the alpaca body, and Pie Making Day in Key Lime from RJR fabrics for the background. I pieced each section of the pattern, and then pinned the sections to a design board before stitching them together. This process helps you to catch any fabric placement mistakes before the whole block is stitched together.

The picture on the left shows all of the individual foundation sections pieced. The picture on the right shows the sections as I started to sew them together into units. I love watching foundation paper piecing patterns come together!


Alfie the alpaca block without borders

After I sewed all of the sections together, I decided to add some off-set borders to the Alfie block. I used a very narrow inner border from a peach colored Grunge fabric on the left side and along the bottom side. This peach fabric matches the peach tone of the blankets on the llamas in the outer green border.

I knew that I would add the dark green outer border before ever designing this block. My sister picked out this fabric as our challenge fabric for our mini quilt swap. We each had a fat quarter to use in our mini quilt somewhere. The llama fabric is called Llama Life Faraway Places by Cloud 9 Fabrics.

I also auditioned many fabrics for the bottom border, and finally settled on a black and white square print that I had in my stash.

I did simple quilting with an all-over meander on Alfie’s face and body using Glide thread in Linen and Bone, free-motion swirls using Glide in Celery in the light green background print, and some diamond shapes in the dark green border. I also free-motion quilted “Alfie” in Glide Apricot Blush on the bottom border.

Alfie the alpaca block without hair

I thought Alfie might be missing something, some integral part of his cheeky self. I figured that he needed some hair!! I went to a local alpaca farm and purchased some alpaca yarn in a shade to match Alfie’s head.

I used a couching foot on my Bernina to sew the yarn to Alfie’s head in little swirls. I love the texture and dimension that the yarn added to this mini quilt. I think it brings Alfie to life!

Adding alpaca yarn to make hair

Here’s a look at my Alfie completed mini quilt from a recent day hike with his fluffy head and shorn body:

Alfie the alpaca mini quilt with avalanche lilies

I hope you enjoy my new pattern, Alfie Alpaca available now for purchase. I’d love to see a photo if you make something using this pattern!

Happy quilting,

Jen

Using the Oliso Mini Project Iron with Foundation Paper Piecing Projects

Hi everyone,

I started a new mini quilt project yesterday to acknowledge the current pandemic situation. I wanted to make something small and quick, but something a little cheeky to hang in my guest bathroom. Can you guess what it is? Keep reading!

This little mini quilt uses foundation paper piecing, but it is a good pattern for beginners because there are no tiny pieces and only two sections to join together. You can use regular copy paper to print your foundations if you don’t have any “fancy” foundation paper.

I also want to recommend using the new Olison mini project iron for your foundation paper piecing projects. It is small, lightweight, and works great for small projects. I keep my mini project iron next to the left of my sewing machine on a small ironing table. I can flip, press, and trim my foundations without needing to move over to my big ironing station.

These mini irons come in pink or yellow, and Oliso is currently having a sale on them so they are a great deal! You also get a silicone solemate so that you can leave your iron on in the down position. I do get a small percentage of the sale if you purchase through my link, which helps fund the costs of this blog.

Here’s a look at my pink mini iron in action. I do like to use a small wool pressing mat under my irons for crisper seams. Remember, do not use steam when foundation paper piecing because it will shrink your paper!

Oliso mini project iron in pink

This mini quilt is a free pattern available from Mitchie at Miso Quilty called “Keep Calm and Roll On.” She has the block available in 3 sizes, but I selected to make the smallest size at 8-inches by 8-inches before adding borders.

I used fabrics from my stash, digging deep to find just the right background print for maximum cuteness!

  • Ramblings from P&B Textiles for the toilet paper
  • Netorious in Pink from Cotton + Steel for the toilet paper roll hole on the top
  • The Warm Fuzzies by Sarah Watts for Cotton + Steel (2017) for the background/borders
  • Aurifil silver white #2309 for all the piecing

Keep Calm and Roll On block at 8×8 inch size

I cut my bear borders slightly larger at 3-1/4″ so that I could see more of the bears.

Keep Calm and Roll On, toilet paper roll block with borders

Don’t you just love those bear faces? To me, they are saying, “hey, humans, what’s going on with your toilet paper shortage?”

In my next post, I’ll show you how I quilted this fun little mini quilt.

Until then, I hope you have enough toilet paper rolls! 🙂

Happy quilting,

Jen

Yoga Mat Carrying Bag

Happy Friday, everyone!

I hope that you and your family are healthy and safe in these uncertain times. I usually attend a yoga class twice each week during my lunch breaks at work. While these classes are temporarily canceled to keep everyone safe, I decided to keep up with my stretches by using yoga videos online.

I have a home yoga mat that I wanted to keep clean while not in use. Why not make a yoga mat carrying bag?

I had some fun yoga themed fabric in my stash from Michael Miller’s Namaste Spa collection. This fabric is mostly sold out, but a few quilt stores may have some left if you do an online search.

I used these supplies:

  • Main body is Good Postures in gray
  • Bag bottom is Namaste in orange
  • Handle is Chakra Stripe in Happy
  • Liner is muslin
  • Thread is Aurifil 50 weight in cream

I have a standard sized yoga mat so I searched online for some yoga bag patterns. I wanted a pattern with a draw-string instead of a zipper because I didn’t have a large enough zipper in my stash.

I used a free pattern by Laura Pifer called DIY Yoga Mat Bag available on the Brother website. This pattern is quick and easy and, if you are a quilter like me, you will have plenty of fabric options to choose from your stash! I made the bag in under 2 hours.

Now when I practice my yoga at home, I have a cute  carrying bag to keep my mat clean and mostly free from pets when not in use! Of course, my cat and dog both try to “help” me when doing yoga!

Happy sewing!

~Jen

Cadence Court Quilt

Hi everyone!

I saw the beautiful Cadence Court Quilt by Sassafras Lane Designs on many Instagram feeds over the summer and decided that I really wanted to make one using sunset colors.

This quilt is mostly foundation paper pieced with a little bit of traditional piecing to add the background pieces and center pieces. There are 24 paper pieced wedges to make and each wedge took me roughly 2 hours to sew.

For my colorful sections, I used Alison Glass fabrics in 6 colors. Each color is repeated 4 times throughout the quilt. The white background is Alison Glass Sun Print Compass in coconut. The black fabric has tiny metallic hearts that look pretty in person and is called Yes Please Hearts by Riley Black. The gray fabrics are just solids.

cc_all_wedges

I started working on the quilt in August, and I finished it in November. Between working full-time and going on a family hiking trip to the southwest in August, I think that I assembled this quilt pretty quickly!

I used my Handi Quilter Avante longarm with Superior thread to do ruler work around the triangle shapes as well as custom free-motion quilting in the negative spaces. I used the Handi Quilter 3-inch slice ruler to create a beautiful swirl in the quilt center.cc_quilting_closeup

cc_halfcircle_rulerwork

If you live in the Missoula, Montana area, you can see the quilt on display at The Confident Stitch. They carry all the fabrics and the pattern that I used to make this quilt. For other color inspirations, go check out the #cadencecourt hashtag on Instagram!

Here’s a look at my finished quilt. Isn’t it just gorgeous?

cc_finished

Happy quilting!

~Jen

Stellar Twist Pattern for Sale!

Greetings!

I had a wonderful time teaching my Stellar Twist block in an introduction to foundation paper piecing class at Hollyhill Quilt Shoppe.

If you want to purchase the pattern, you can find it here on Craftsy starting today. I’d love to see what you make with it! I’ve made a mini quilt plus a Halloween themed table runner and a holiday themed table runner.

Stellar Twist Mini Quilt

This pattern is very versatile and comes together pretty quickly. I don’t show you how to do foundation paper piecing in the pattern so if you need to learn how, ask your local quilt shop for a class!

Happy quilting!

~Jennifer