A Tula Unicorn Bag!

Hi everyone,

I had some really pretty unicorn fabric by Tula Pink in my stash that I’ve wanted to use for a special project. I didn’t want to make quilt, but I wanted to make something more portable. How about a bag?

Yep, I decided to tackle a bag! I’m mostly a quilt maker and rarely make bags because I struggle sometimes with 3D objects. I had a By Annie pattern on hand called “Take A Stand” that I wanted to try.

For the front and back pockets of the bag, I decided to fussy cut the unicorn. It’s from Tula’s Pinkerville line, and it’s called Imaginarium in Cotton Candy. It’s out-of-print but you may be able to find pieces out in the wild at local quilt shops. These pockets sit on the outside of the bag and are sewn to the main body of the bag. I used a different print for the main bag body called Fairy Dust in Daydream, which is a beautiful purple color with little multi-colored birds, stars, and dots sprinkled all over.

I really like the contrast of the unicorn against the purple bag body. I quilted both pieces using my Bernina and some lovely purple thread in a diagonal cross-hatch pattern. For these little quilt sandwiches, I do use this Soft and Stable foam stabilizer because it just works so well.

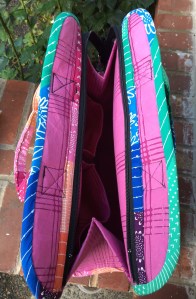
For a contrasting pocket detail, I used some green fabric from the Pinkerville line called Serenity Frolic. I used the pink moth from Pinkerville for the entire interior, but the binding is pink stripe from a different Tula Pink line.

The pink mesh is from By Annie in lipstick and the shiny pink material that you see below is fold over elastic from By Annie, also in lipstick.

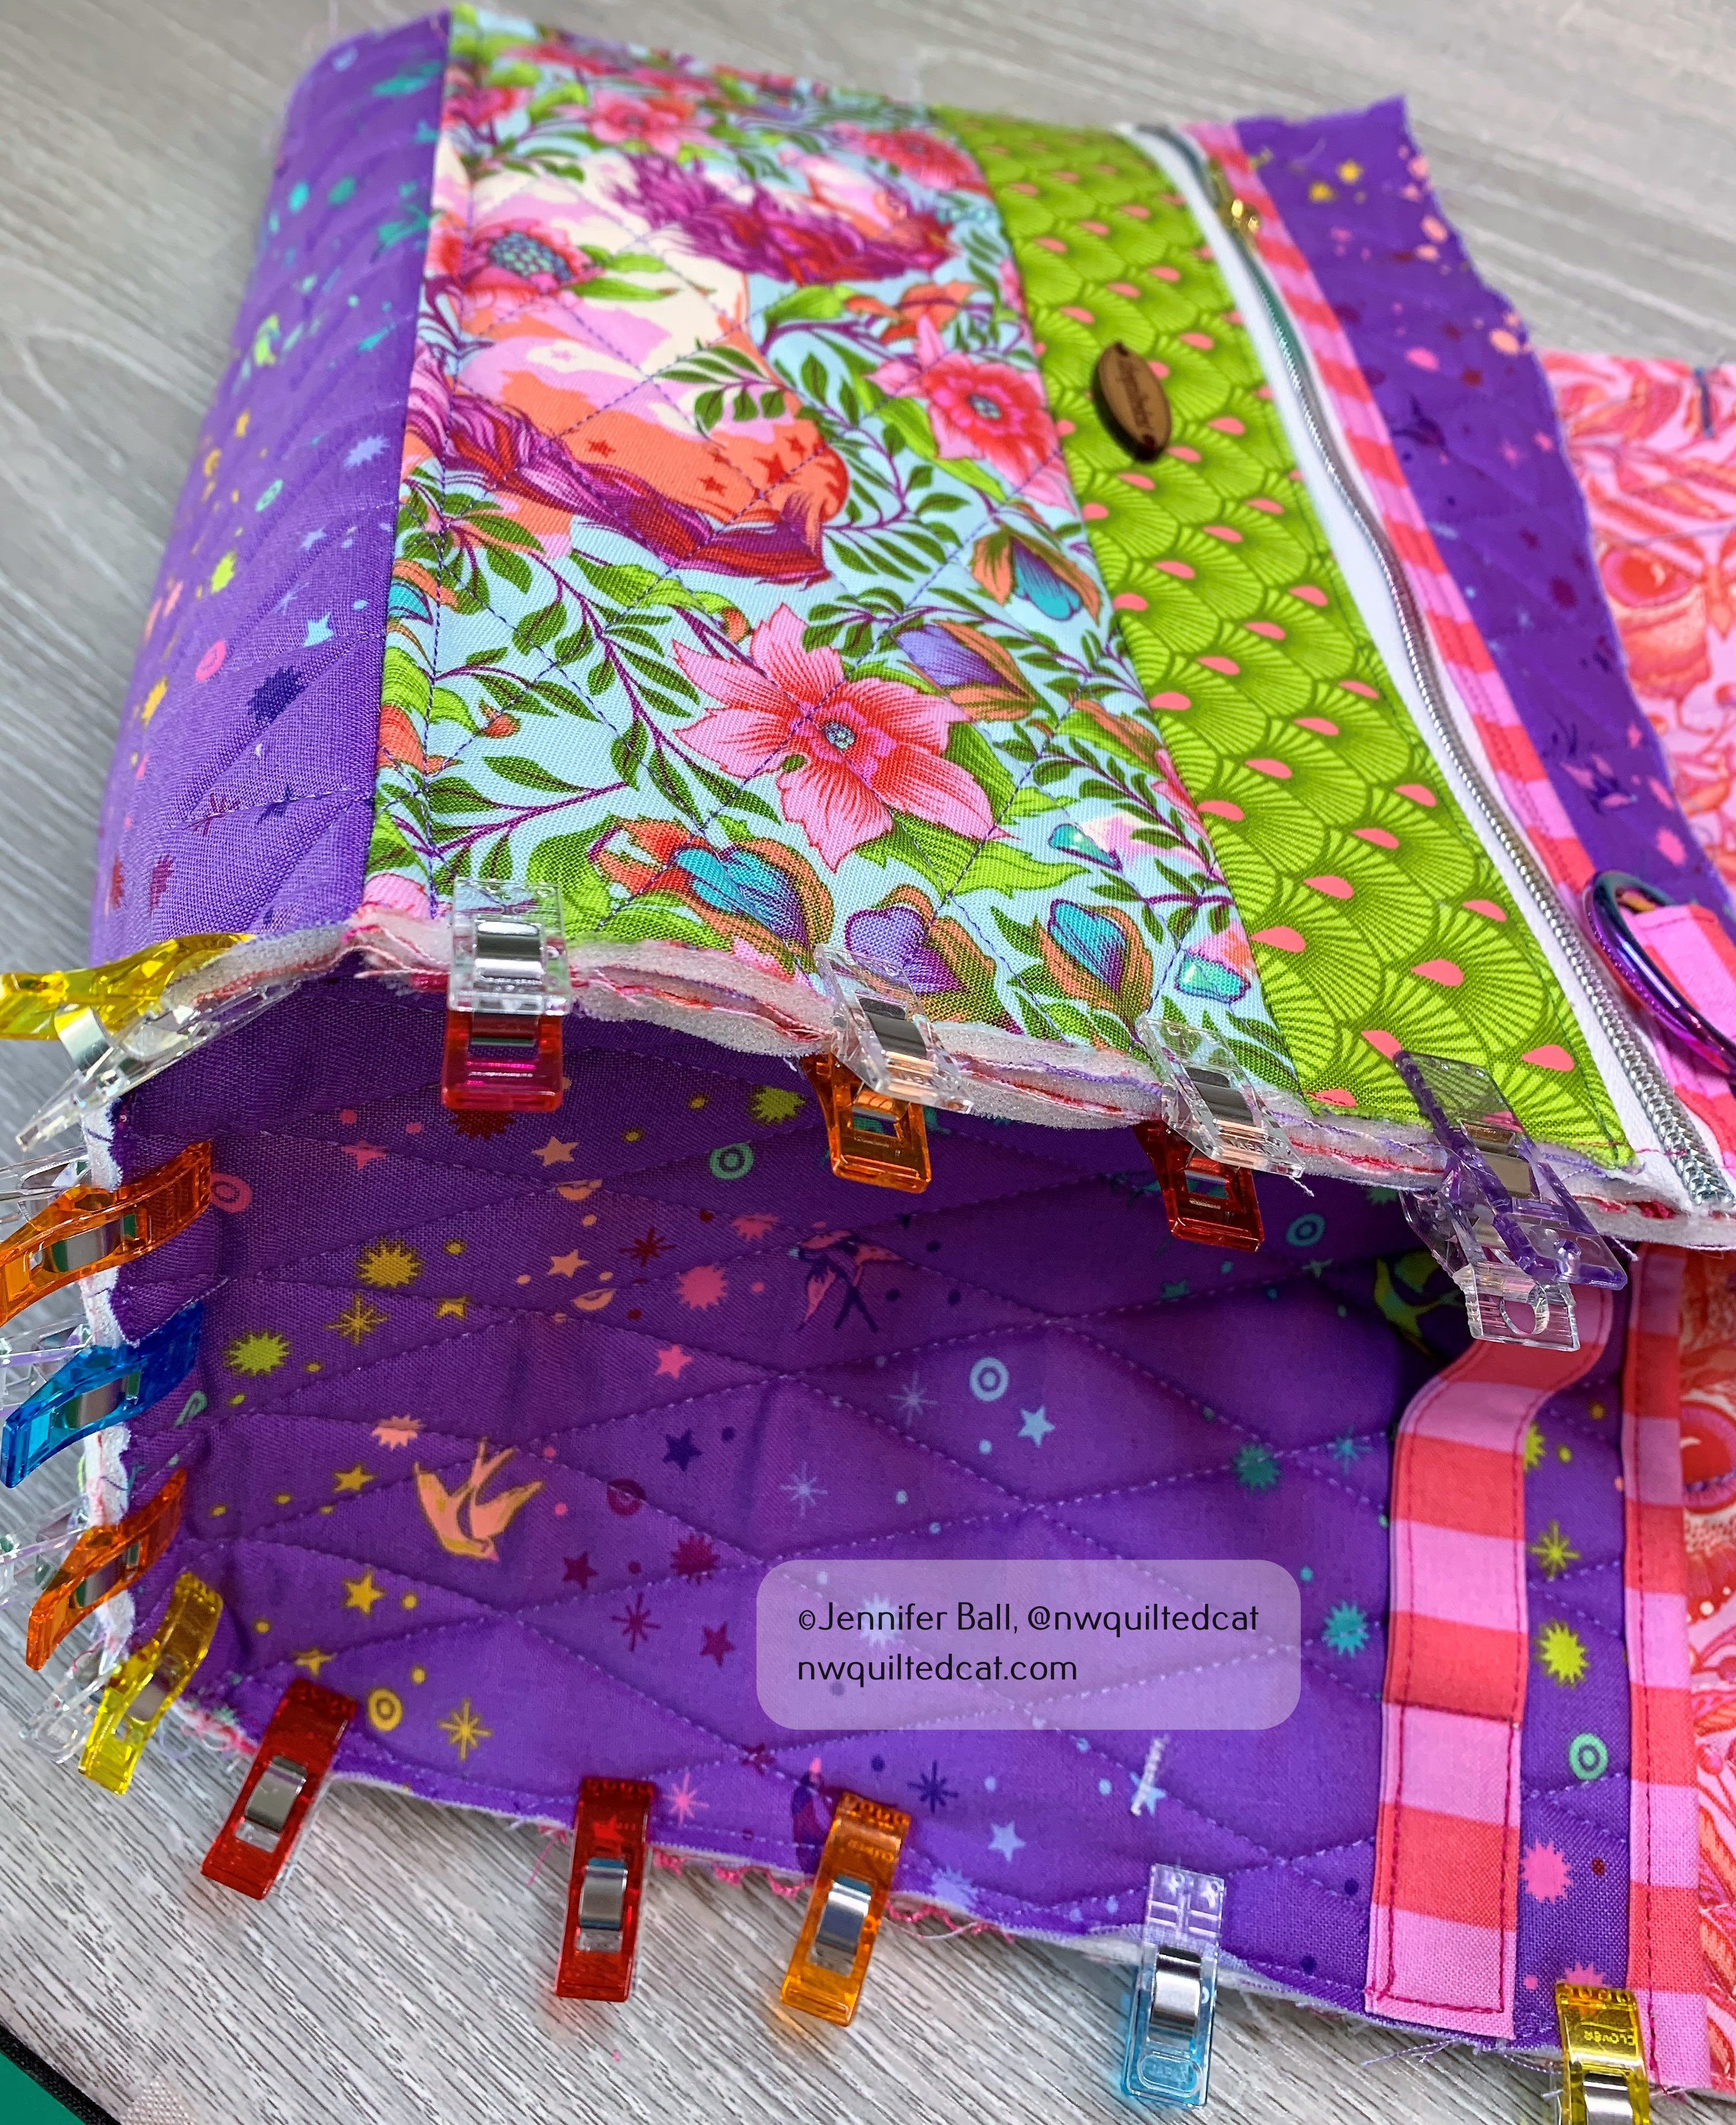
Once I had all the pieces cut and quilted, I was ready to tackle the bag assembly! First up, the exterior pockets with zippers. These zippers actually went in pretty well. At least, until I noticed on the second pocket that the zipper head had actually fallen off! I just couldn’t get the zipper head back on and so I asked my sister for help. Of course, she was able to reattach it in about 2 seconds.

I love the rainbow teeth on this zipper! It’s from Sew Quirky from Australia, but I was able to find it online at a US retailer for cheaper shipping. The package contained enough zipper tape and zipper heads that I can make another project with the left overs.

The side pieces of the bag went in pretty easily! I definitely recommend using these Wonder Clips by Clover to help keep the pieces in place without worrying about pins poking you.

Once I had finished sewing the sides, I took a break before tackling the binding. The instructions are very text heavy so I did watch the accompanying videos from By Annie to make sure that I knew what to do. When you order the pattern, you get a $5 coupon for the video, making it free. I highly recommend the video, especially if you aren’t an expert bag maker.

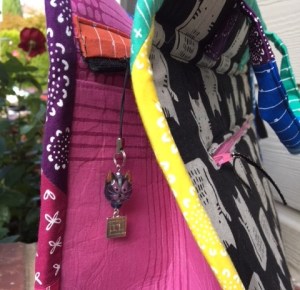
Here’s a look at my finished “Take A Stand” bag in the smaller size, which is approximately 8-3/4″ tall x 12″ wide x 6-1/2″D. I took it with me to a local nursery and took some pictures with flowers.

I love it, and now I want to make the companion “Running with Scissors” tool case to go with it. The tool case folds over the top of the “Take a Stand” bag, which is very handy at your sewing machine or to take to quilt classes.

Happy bag making!

~Jen

A Finished Maker’s Tote!

Hi everyone!

I finished my first ever Maker’s Tote by Noodlehead recently to take with me to Quilter’s Affair classes in Sisters in a couple of weeks. I made the large size to carry all my sewing basics and class supplies in style!

Maker’s Tote Front

Materials:

I usually make quilts and not bags so this project was a good challenge for me. I think stitching around the gusset pieces is always the hardest part on bags, with the bulk from the stabilizer and the fabrics. I used Clover Clips and took my time.

I changed the pattern only slightly. Instead of having an outside front pocket, I decided to use a pieced stripe of Blueberry Park fabrics to add a pop of color. I also used the same fabrics to piece together the handles and bias binding. I added a cute little cat zipper pull that I purchased at a quilt show.

Here are some more pictures of my finished Maker’s Tote:

Color Pop on the bag front

Colorful zipper binding

Cute little cat zipper pull

Backside of the tote

Tote interior

I think I may make the smaller version of the Maker’s Tote for everyday use. I have fabric ideas swirling around in my head. Too many ideas with too little time!

Happy sewing!

~Jen

A New Quilted Bag

Happy Monday!

I’ve been using a small, store-bought purse for my day-to-day needs, but decided that I really need to make my own.

I fell in love with the new Elementary fabric collection by Sweetwater and recently picked up a charm pack and some coordinating half-yard pieces. I love how the colors look together in this collection and the back-to-school theme is perfect for fall.

I used a bag pattern called the Oak Park Bag by Loft Creations.

For the base, I wanted a heavier material than cotton, but still something that would look nice with the Sweetwater fabric. I picked up a gorgeous piece of espresso-colored faux leather. I think the leather really adds some character and style to the finished bag!

I used Aurifil 50 wt in brown (#2372) for the piecing and straight-line quilting. The lining is fusible fleece, but I really want to try Annie’s Soft and Stable when I make this bag again. The fleece will work fine, especially once the bag has a few items inside it. But, I saw the Soft and Stable product at a quilt show recently and now really want to try it out!

I did use a leather foot and a leather needle. I stitched really slowly on my Bernina since the leather, especially on the handles, was so thick. I did break 2 needles in the process so I probably will not use the faux leather on the handles again. However, on the base, the faux leather worked fine since it was just 1 layer.

The finished bag measures approximately 13-inches wide by 19-inches high. The inside is lined with the Elementary fabric as well and has 1 pocket.

Here’s a look at the finished bag, hanging in the gorgeous 80 degree weather that we had this weeekend:
Oak Park Bag Closeup

Oak Park Bag

I have only made a few bags so this project really help me improve some skills. I hope to make it again since it came together pretty quickly.

Enjoy!
~Jennifer

Little Honu (Turtle) Quilted Bag

In September, I visited the NW Quilting Expo in Portland. I found some gorgeous turtle batik fabric that I just knew I needed to have!!! The vendor for the turtle batik is Quilt Passions and you can buy the fabric online.

While continuing to browse the expo, I came across another vendor who had a bunch of cute bag patterns that only require 6 fat quarters and some fusible fleece to make. After pondering the bag patterns, I selected the Half Moon Bay one because I thought I could modify it to use my turtle batik fabric.

Honu Batik Fabric and Bag Pattern

This past week, I had the chance to make the bag. I fussy-cut the larger squares in the pattern to feature a turtle from the batik print. I also used a lovely batik that looked like water for the background and handles. The accent fabrics are a dark blue batik, a dark green print batik with a slight turtle pattern, and a light green batik.

As accent items, I purchased some little honu (turtle) charms cut from koa wood from Etsy. I hand sewed 1 honu charm to each light green batik squre and sewed additional charms along the top portion of the finished bag.

Honu Charms from Koa Wood

Here are some pics of the completed project:

Completed Little Honu Bag (Inside)


Completed Little Honu Bag

Since I did modify the pattern a bit, I used more than 1 fat quarter of the turtle batik fabric to fuzzy cut the squares and to use it for my lining. I used 2 fat quarters of the batik water print, 2 fat quarters of the dark blue batik, and portions of 1 fat quarter each of the dark green batik and light green batik.

This little honu bag brings a smile to my face!

Enjoy!
~Jennifer~