Happy Monday, everyone!
Today is my day to share the project that I made for the Wake Up to Kona blog hop, and I’m so excited! I’d like to give a big thanks to Madame Samm, our wonderful hostess and supporter of all things quilty and our great cheerleader, Carol, who inspires us all.
We have great sponsors for this blog hop – Amanda Murphy (author of Quilt Essentials), Robert Kaufman (all those delicious Kona solids), and Aurifil threads that keep us in stitches!
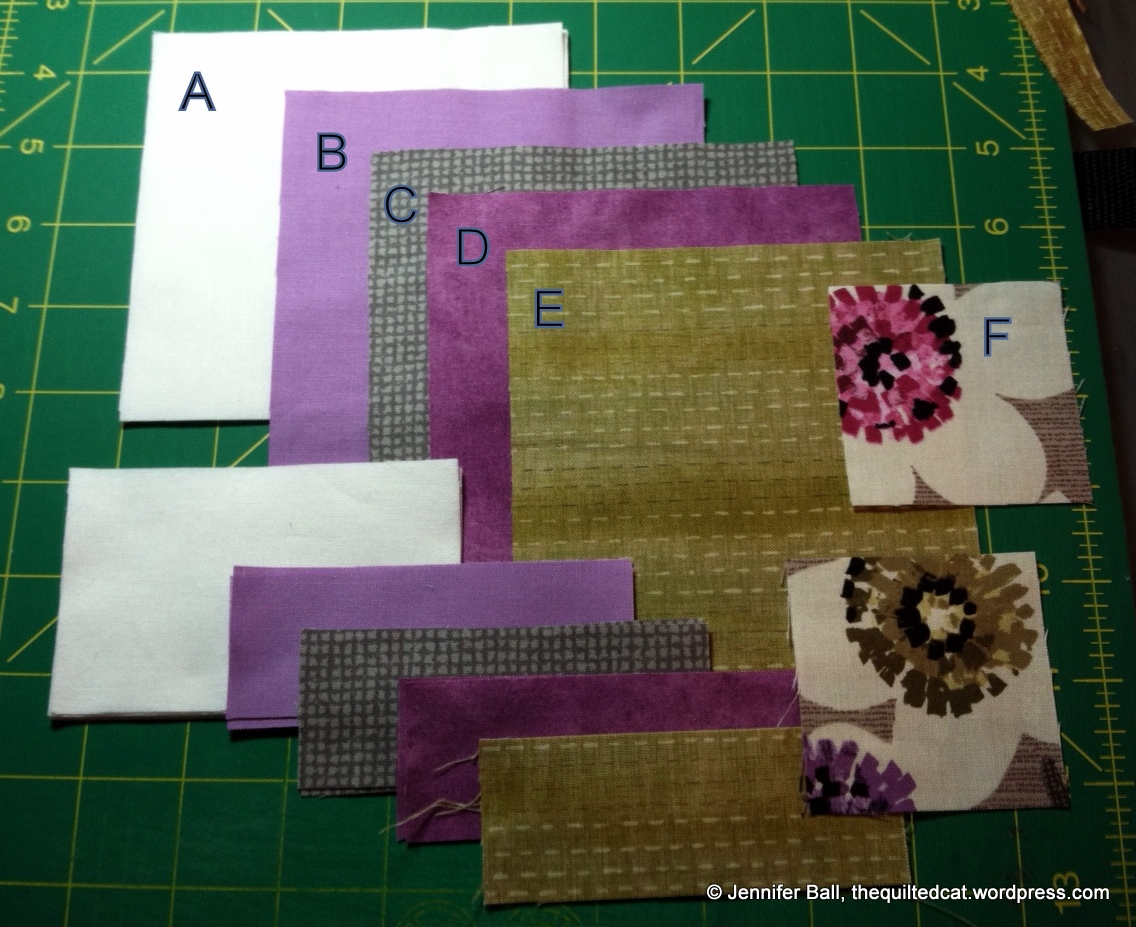
For my project, I started with Kona black as my background color and added this delicious grouping of colors:
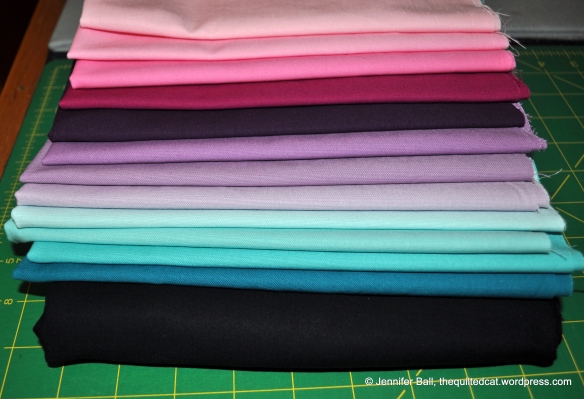
Beautiful Kona solids!
The colors are: #110 Peony, #141 Carnation, #1062 Candy Pink, #1066 Cerise, #24 Petunia, #1484 Lupine, #1383 Violet, #188 Hibiscus, #1005 Aqua, #1009 Azure, #442 Capri, and #1064 Caribbean.
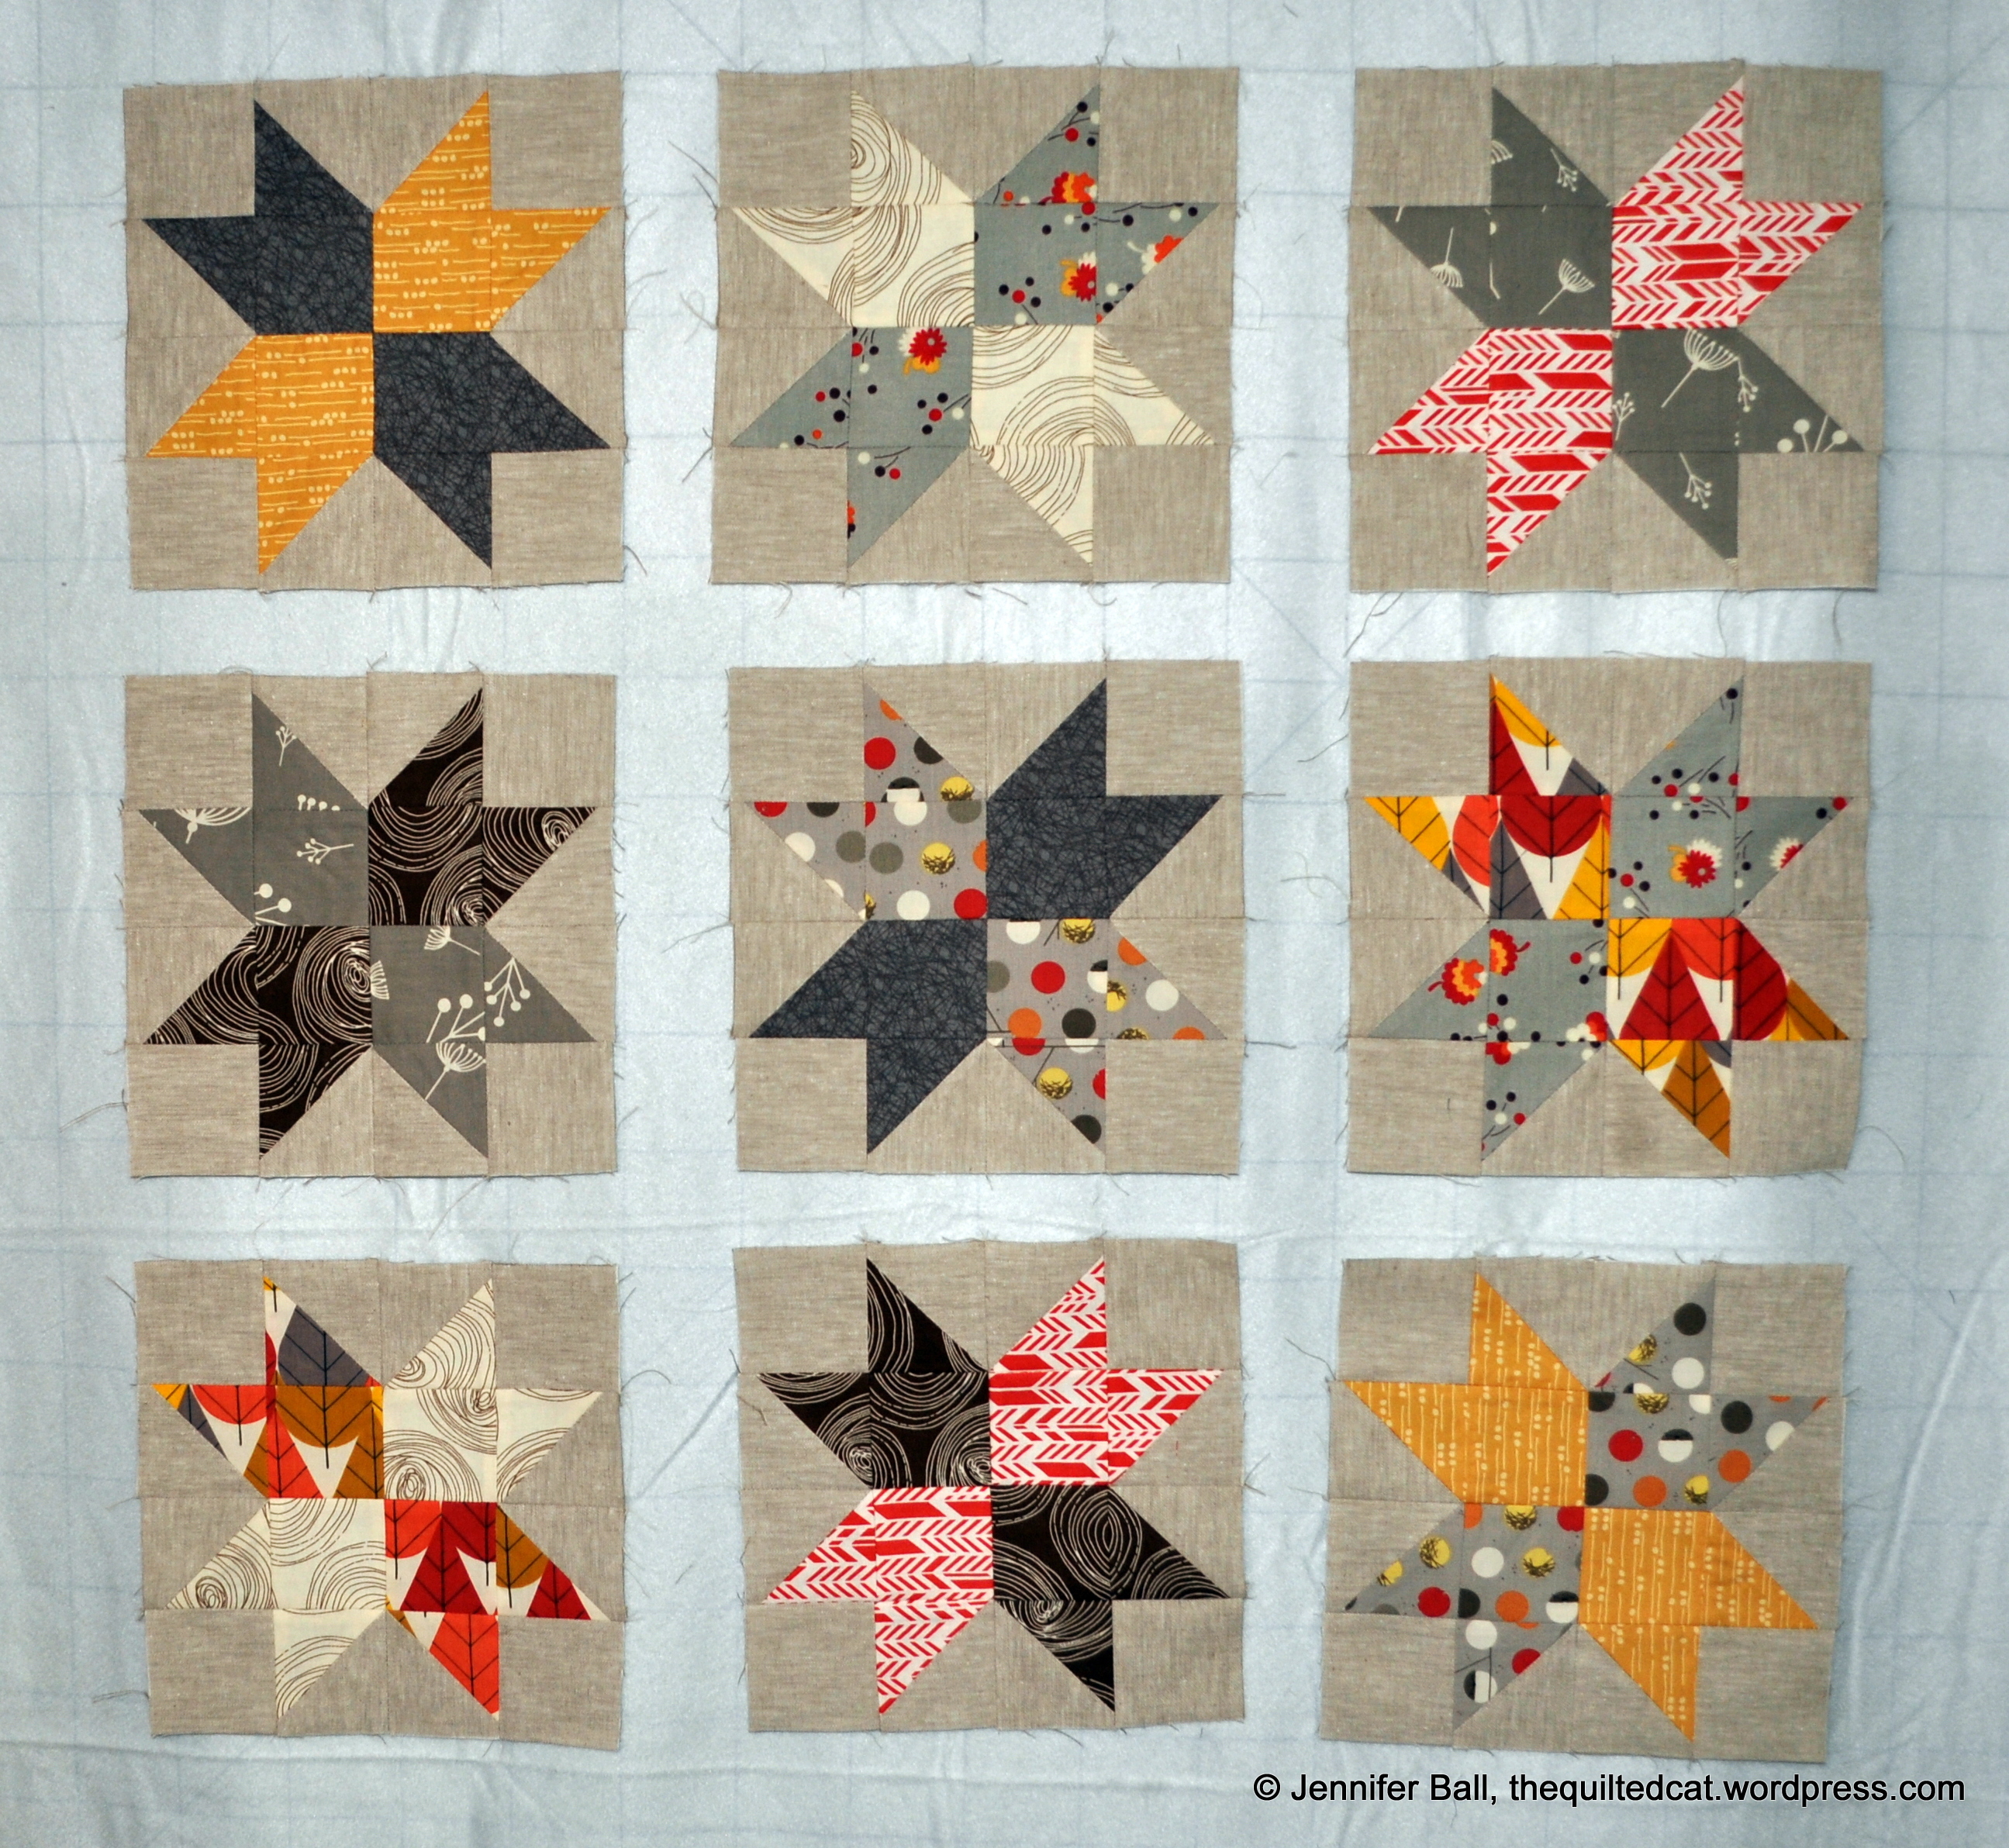
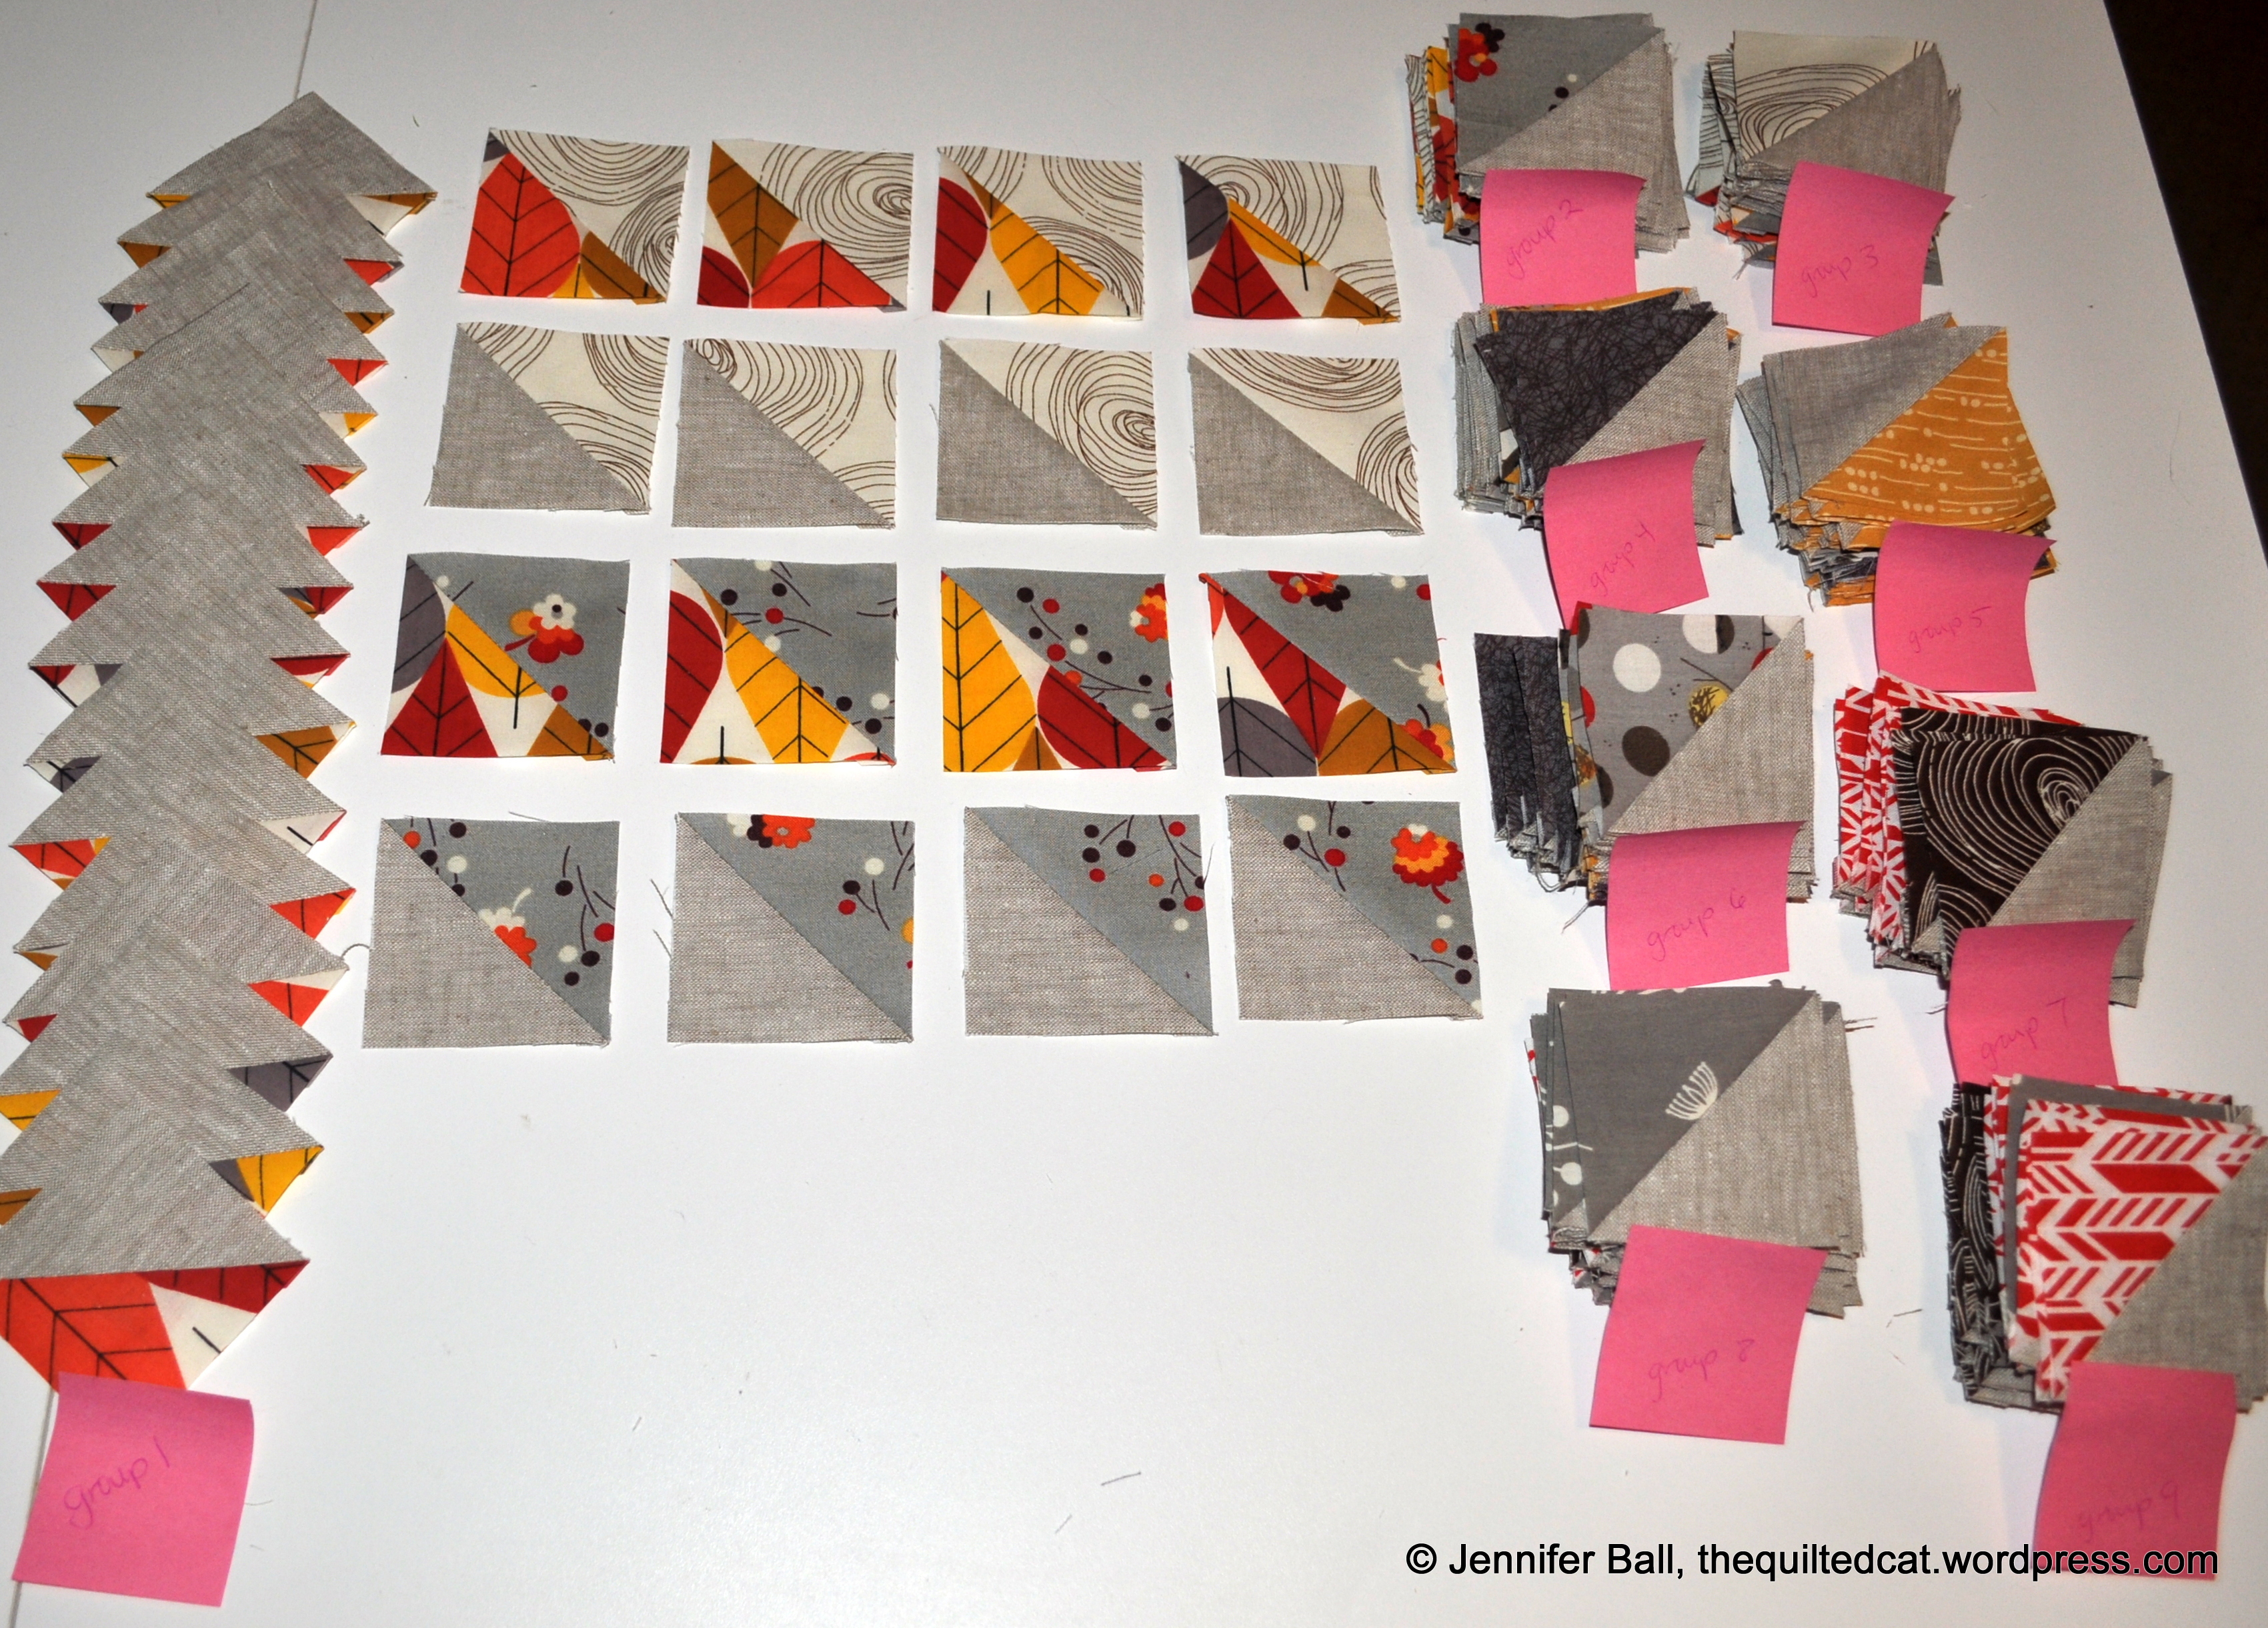
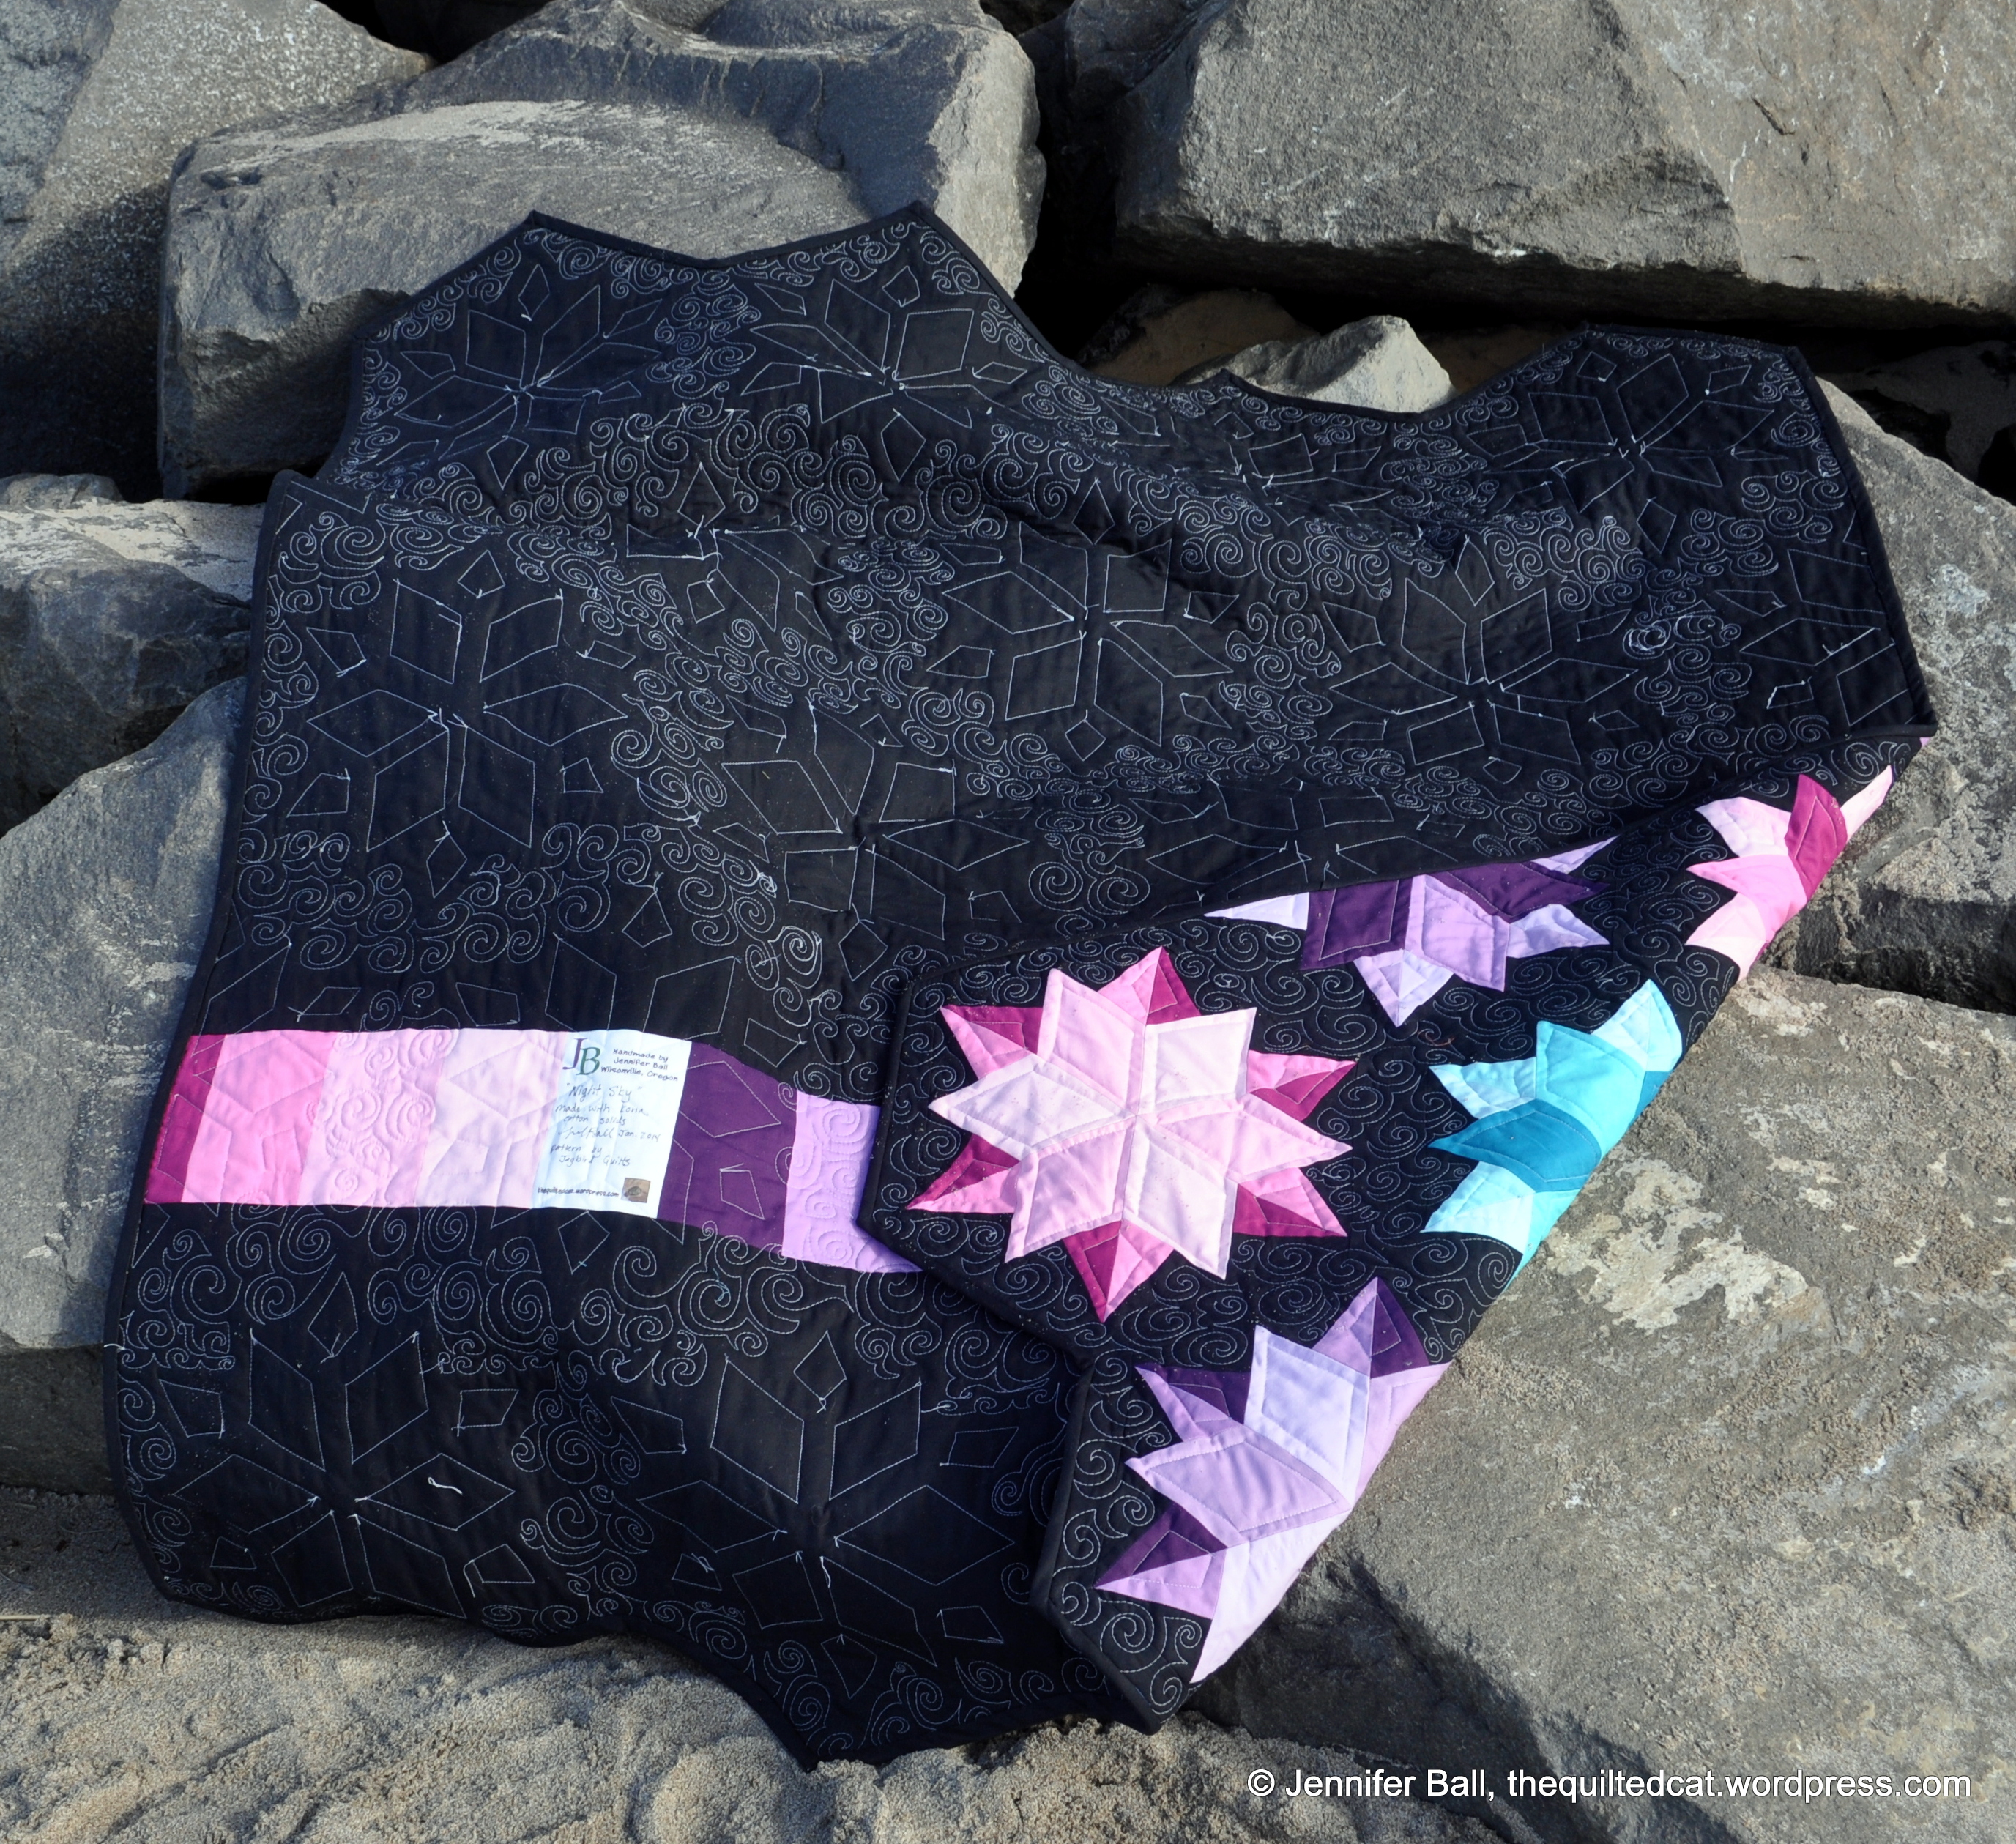
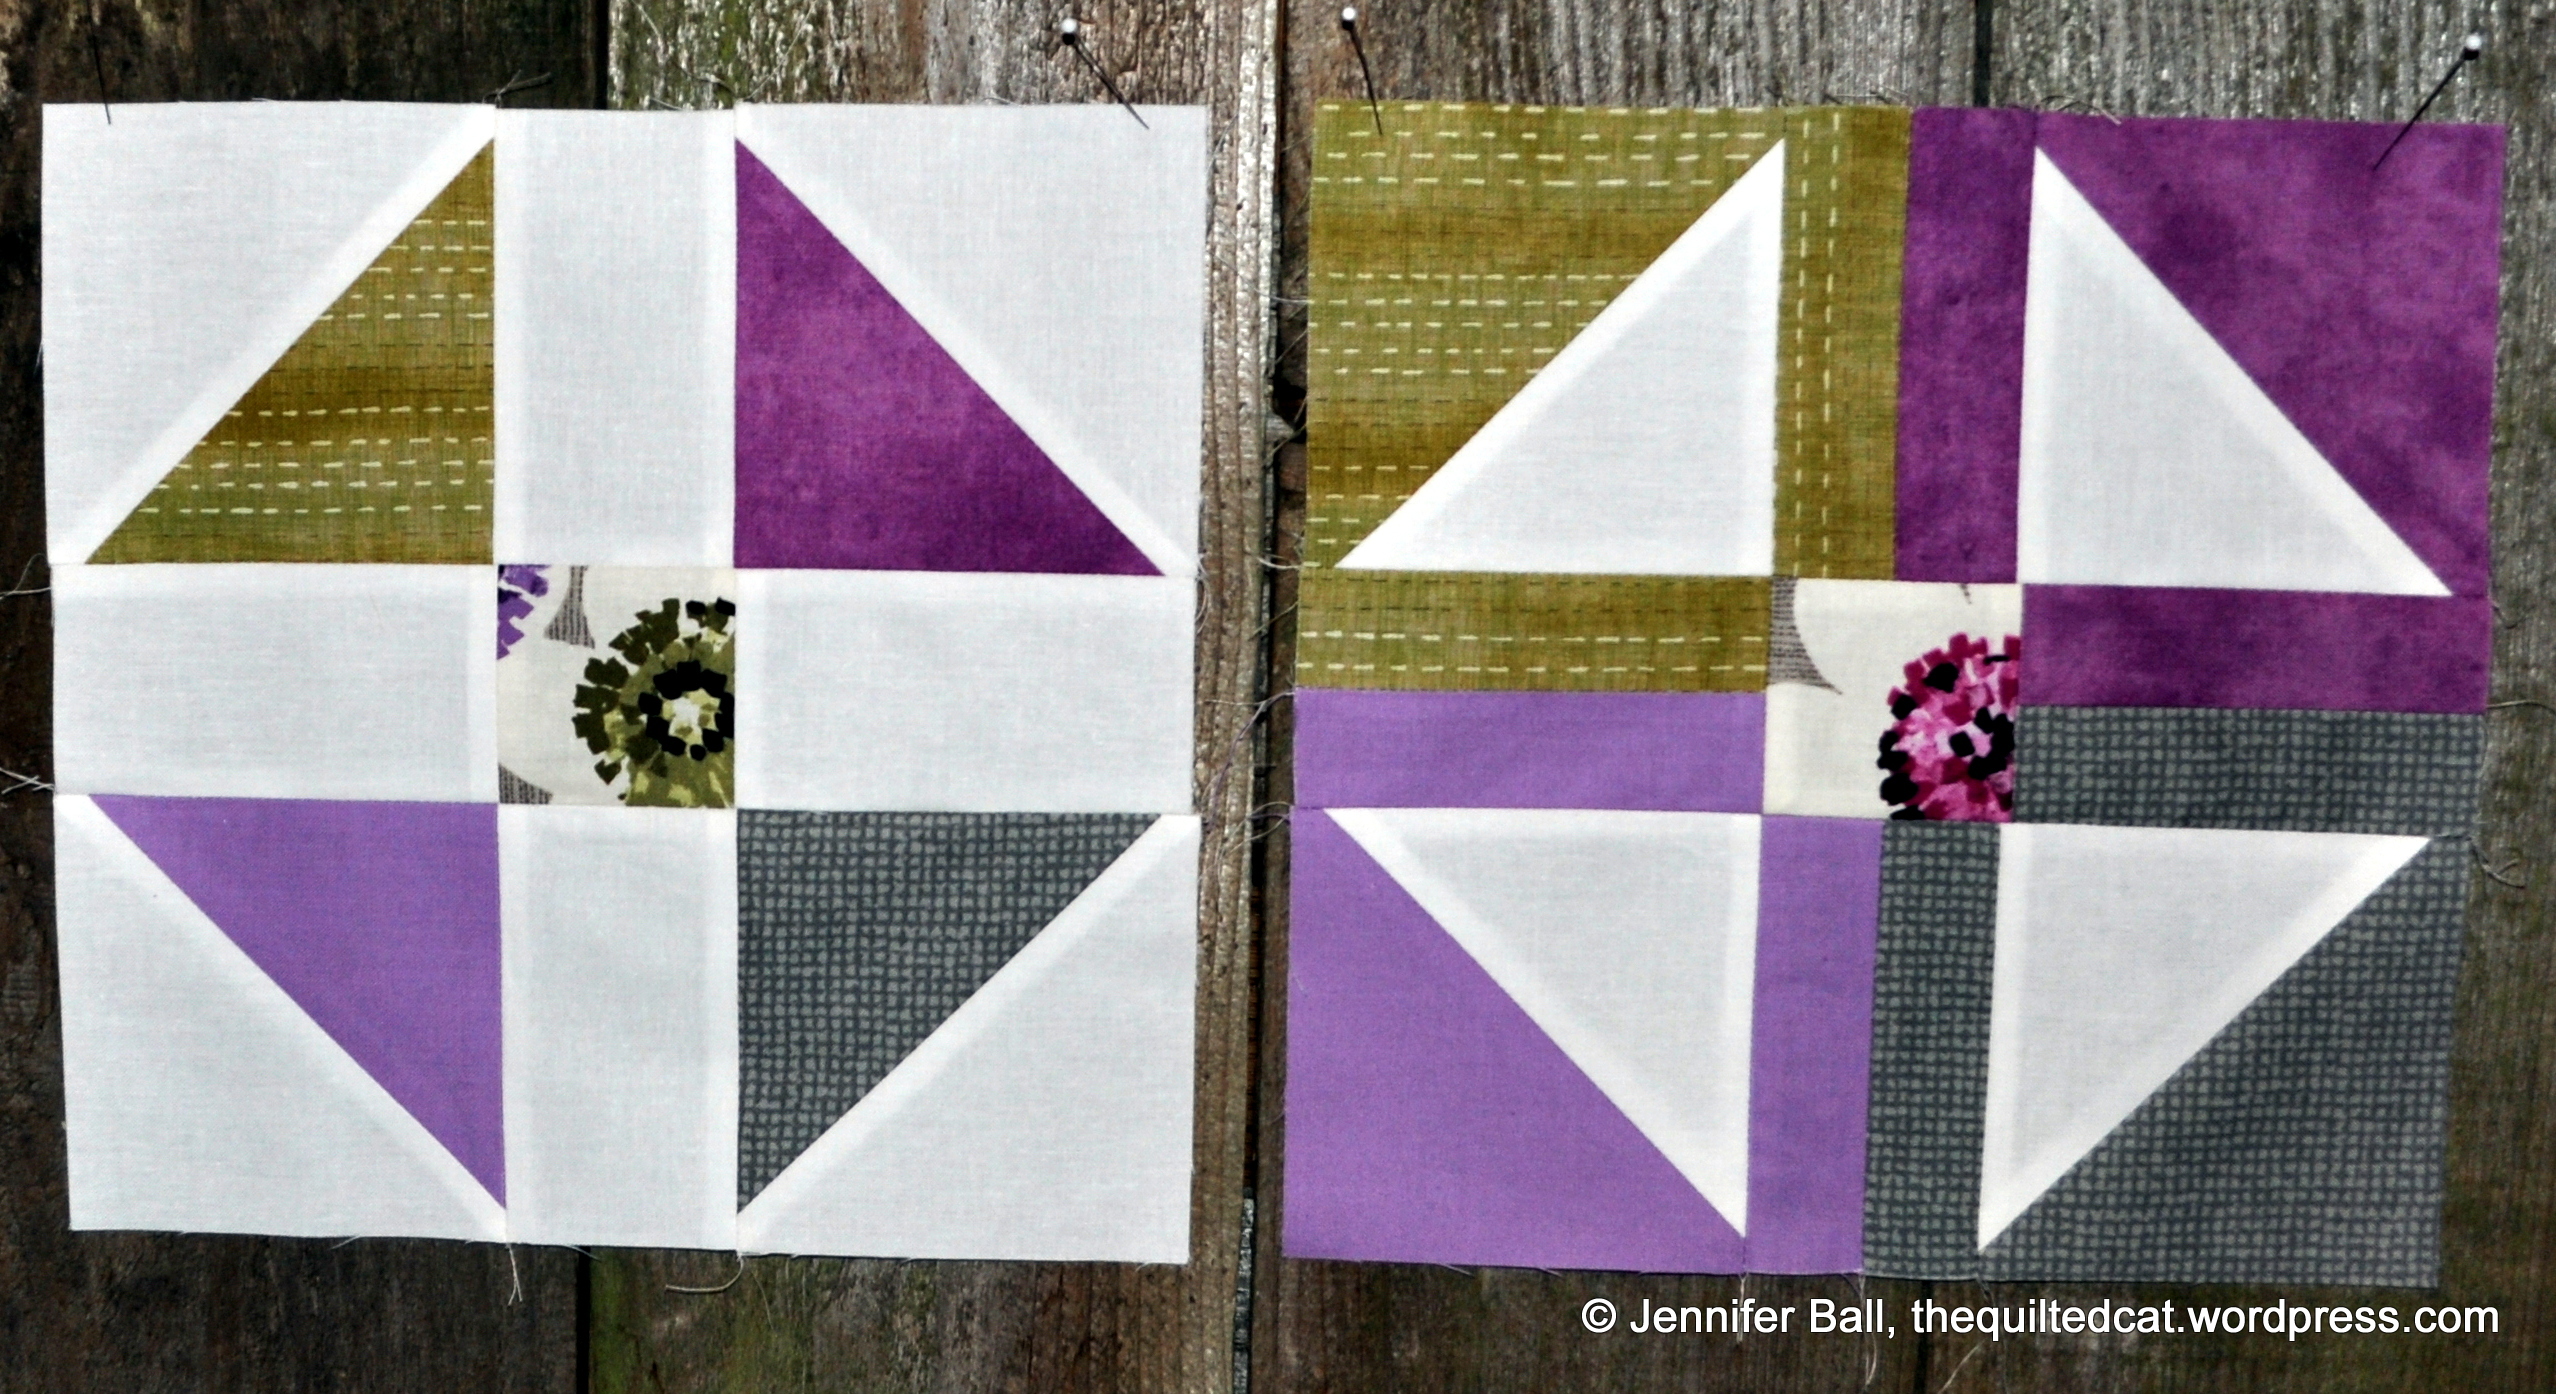
Next, I selected the Night Sky pattern by Jaybird Quilts for its striking beauty! This quilt uses her sidekick ruler to create the triangle and diamond shapes that are used in the construction of the quilt. Each starbust (or starfish?) has 4 different shades of a color group.
I pieced the entire quilt top using Aurifil threads, 50 wt (#2000 light sand color and #2692 black color).
I used Superior Threads So Fine #50 in Genoa Gray because I really wanted the quilting to stand out against the black background.
We took the finished quilt to the beautiful Oregon Coast this weekend to take some photographs. I had my hubby and son be my scouting location/photography assistants, and I think they did a wonderful job.
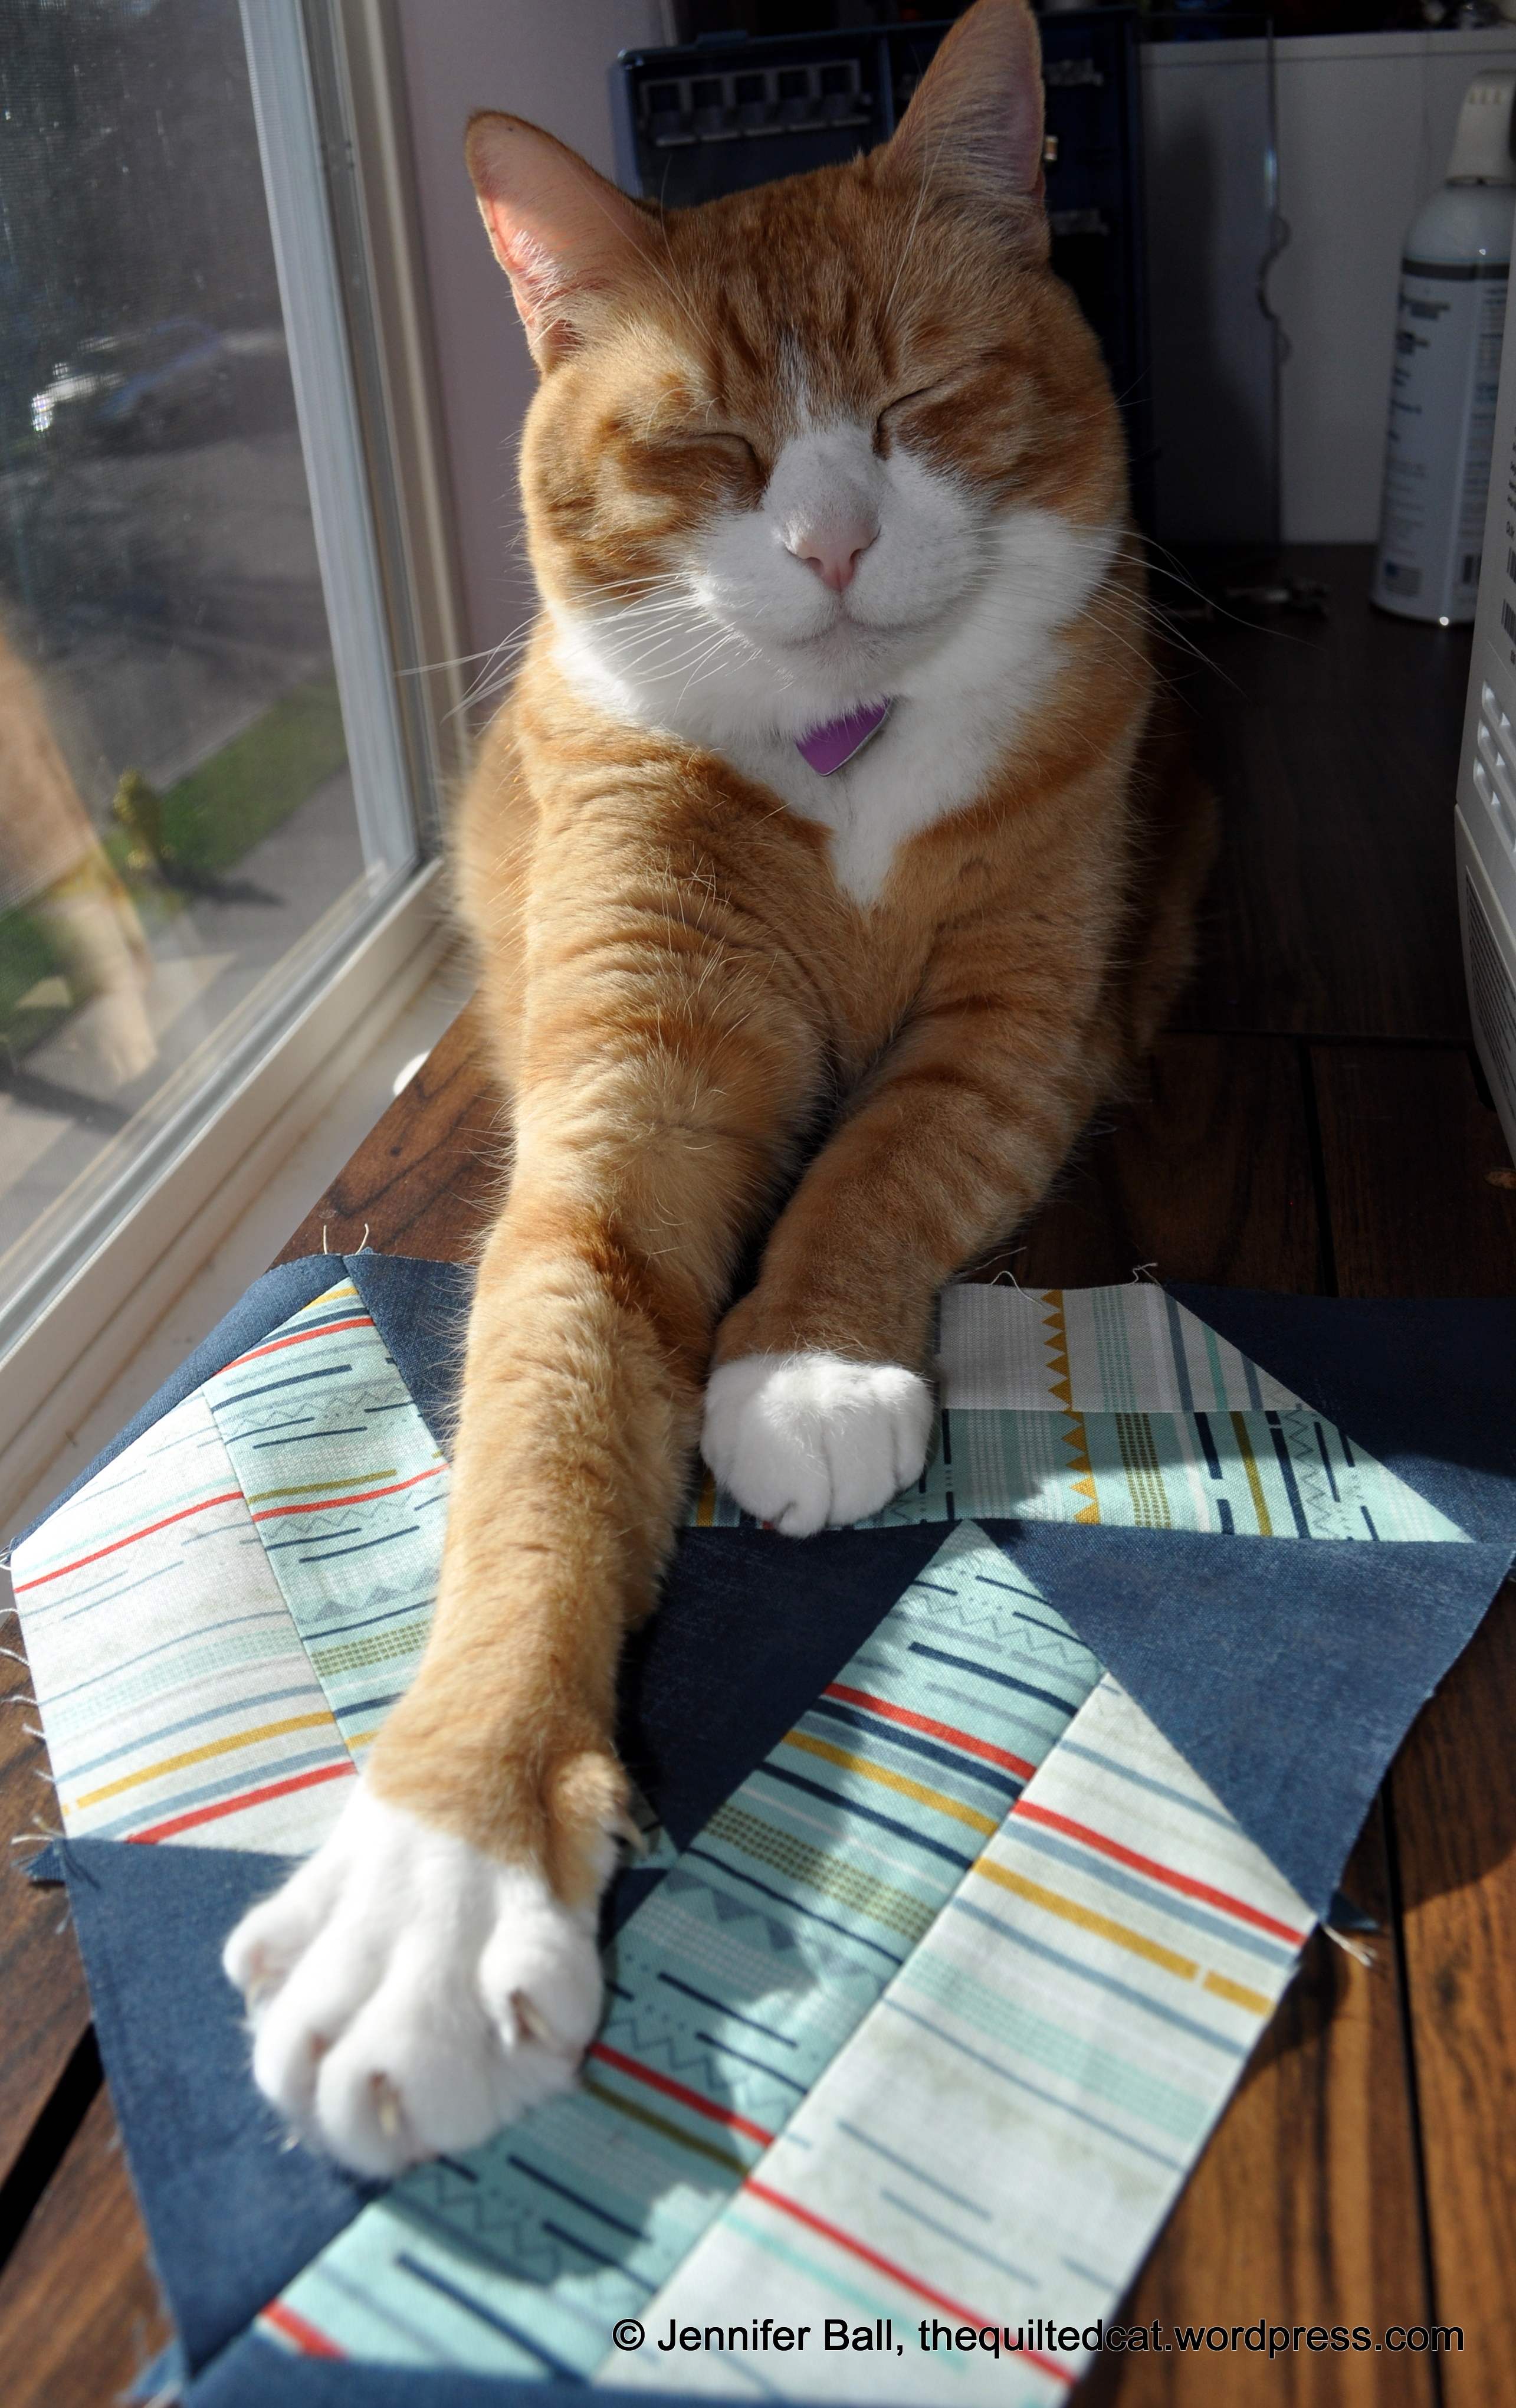
Since my cats aren’t too keen on traveling, my dog (and best hiking buddy) became my cat quilt inspector stunt-double. (Yes, he earned extra dog cookies for his hard work!).
Here are some pictures of my finished Night Sky quilt using Kona cotton solids:
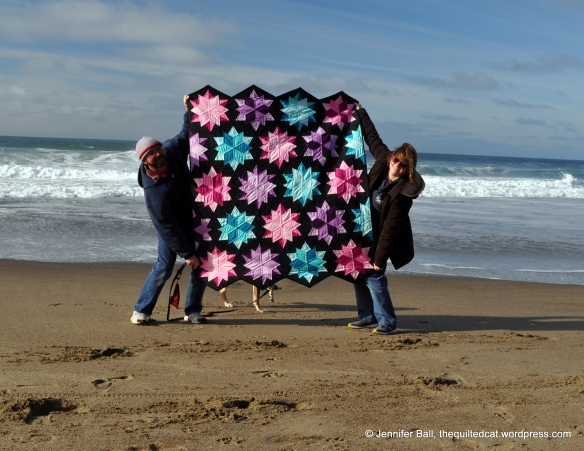
Me and Hubby Holding Night Sky (dog legs too)
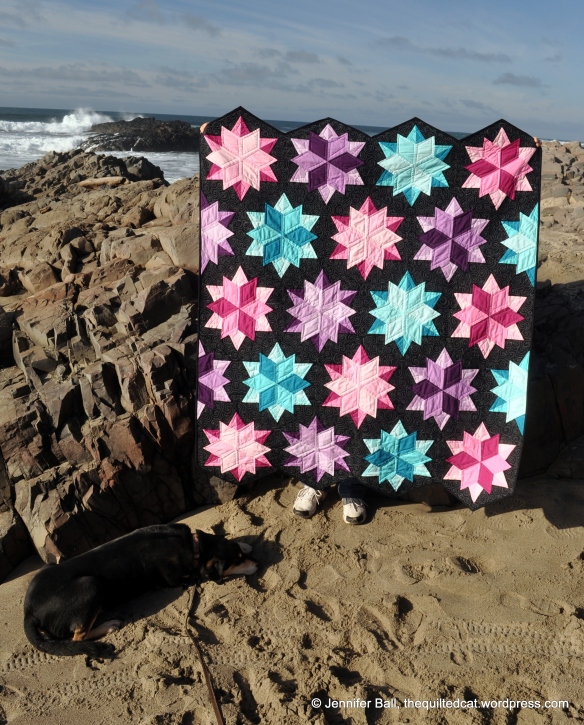
Night Sky with My Dog (cat quilt inspector stunt-double)

Me holding the quilt in the wind!
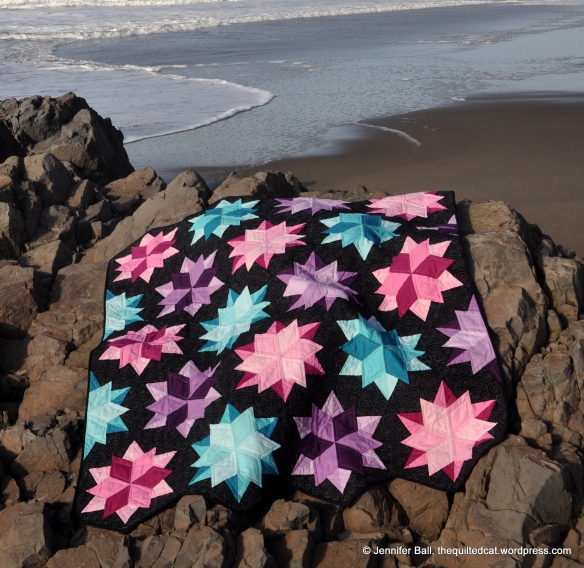
Night Sky Quilt – starbursts resemble starfish!

Night Sky Quilt – backside
These last two pictures show the free-motion quilting that I did using the Genoa Gray thread. The quilting alone took me 12 hours! I did a swirly pattern in the black background and did some straight-edge echo quilting in the colored starbursts.
While I was doing the quilting, I ran out of thread – yikes! I called local quilt stores within an hour of my house, but no one had the same thread in stock. Fortunately, I was able to order the thread from Superior Threads directly via 2-day shipping and completed it in time.
I really love how the free-motion swirls accent the Night Sky stars:
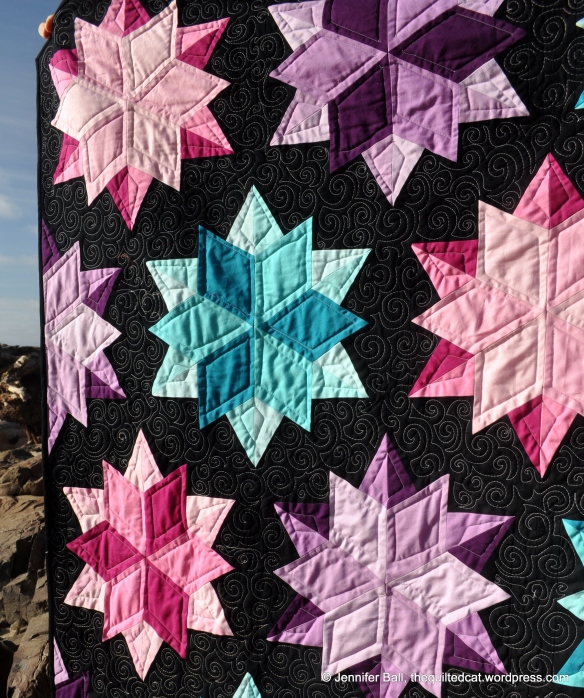
Night Sky Quilting Detail
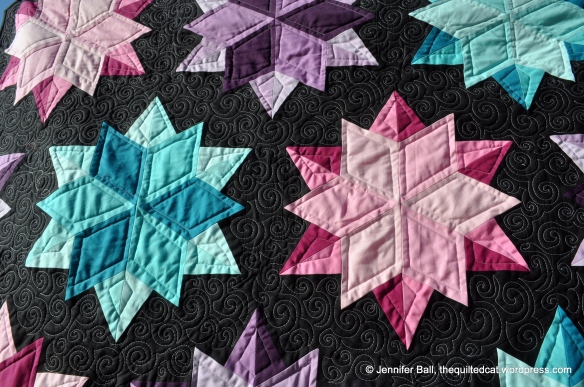
Closeup of the quilting
I hope you enjoyed my project and please check out the other bloggers on the last 2 days of the hop!
January 20th
More Stars in Comanche
Buzzing and Bumbling
Quilting Quietly
Grammie Q’s
The Quilted Cat (you are here!)
The Quilting Queen Online
Lauraluvsloons
Sew Incredibly Crazy
January 21st
Just Sew Sue
Pigtales and Quilts
Miss Priss Quilts
Charlottes Creation
Childlike Fascination
Renee Luvs Quilting
Cherry Blossoms
Sew We Quilt
I am giving away 4 Kona cotton solid fat quarters! Just leave me a comment to enter. If you follow my blog, let me know how you follow for a second entry. I will ship internationally.
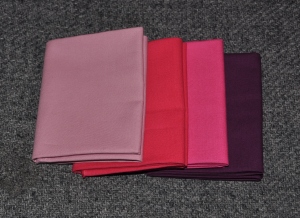
Wake Up to Kona Giveaway
Happy quilting!
~Jennifer