Using the Oliso Mini Project Iron with Foundation Paper Piecing Projects

Hi everyone,

I started a new mini quilt project yesterday to acknowledge the current pandemic situation. I wanted to make something small and quick, but something a little cheeky to hang in my guest bathroom. Can you guess what it is? Keep reading!

This little mini quilt uses foundation paper piecing, but it is a good pattern for beginners because there are no tiny pieces and only two sections to join together. You can use regular copy paper to print your foundations if you don’t have any “fancy” foundation paper.

I also want to recommend using the new Olison mini project iron for your foundation paper piecing projects. It is small, lightweight, and works great for small projects. I keep my mini project iron next to the left of my sewing machine on a small ironing table. I can flip, press, and trim my foundations without needing to move over to my big ironing station.

These mini irons come in pink or yellow, and Oliso is currently having a sale on them so they are a great deal! You also get a silicone solemate so that you can leave your iron on in the down position. I do get a small percentage of the sale if you purchase through my link, which helps fund the costs of this blog.

Here’s a look at my pink mini iron in action. I do like to use a small wool pressing mat under my irons for crisper seams. Remember, do not use steam when foundation paper piecing because it will shrink your paper!

Oliso mini project iron in pink

This mini quilt is a free pattern available from Mitchie at Miso Quilty called “Keep Calm and Roll On.” She has the block available in 3 sizes, but I selected to make the smallest size at 8-inches by 8-inches before adding borders.

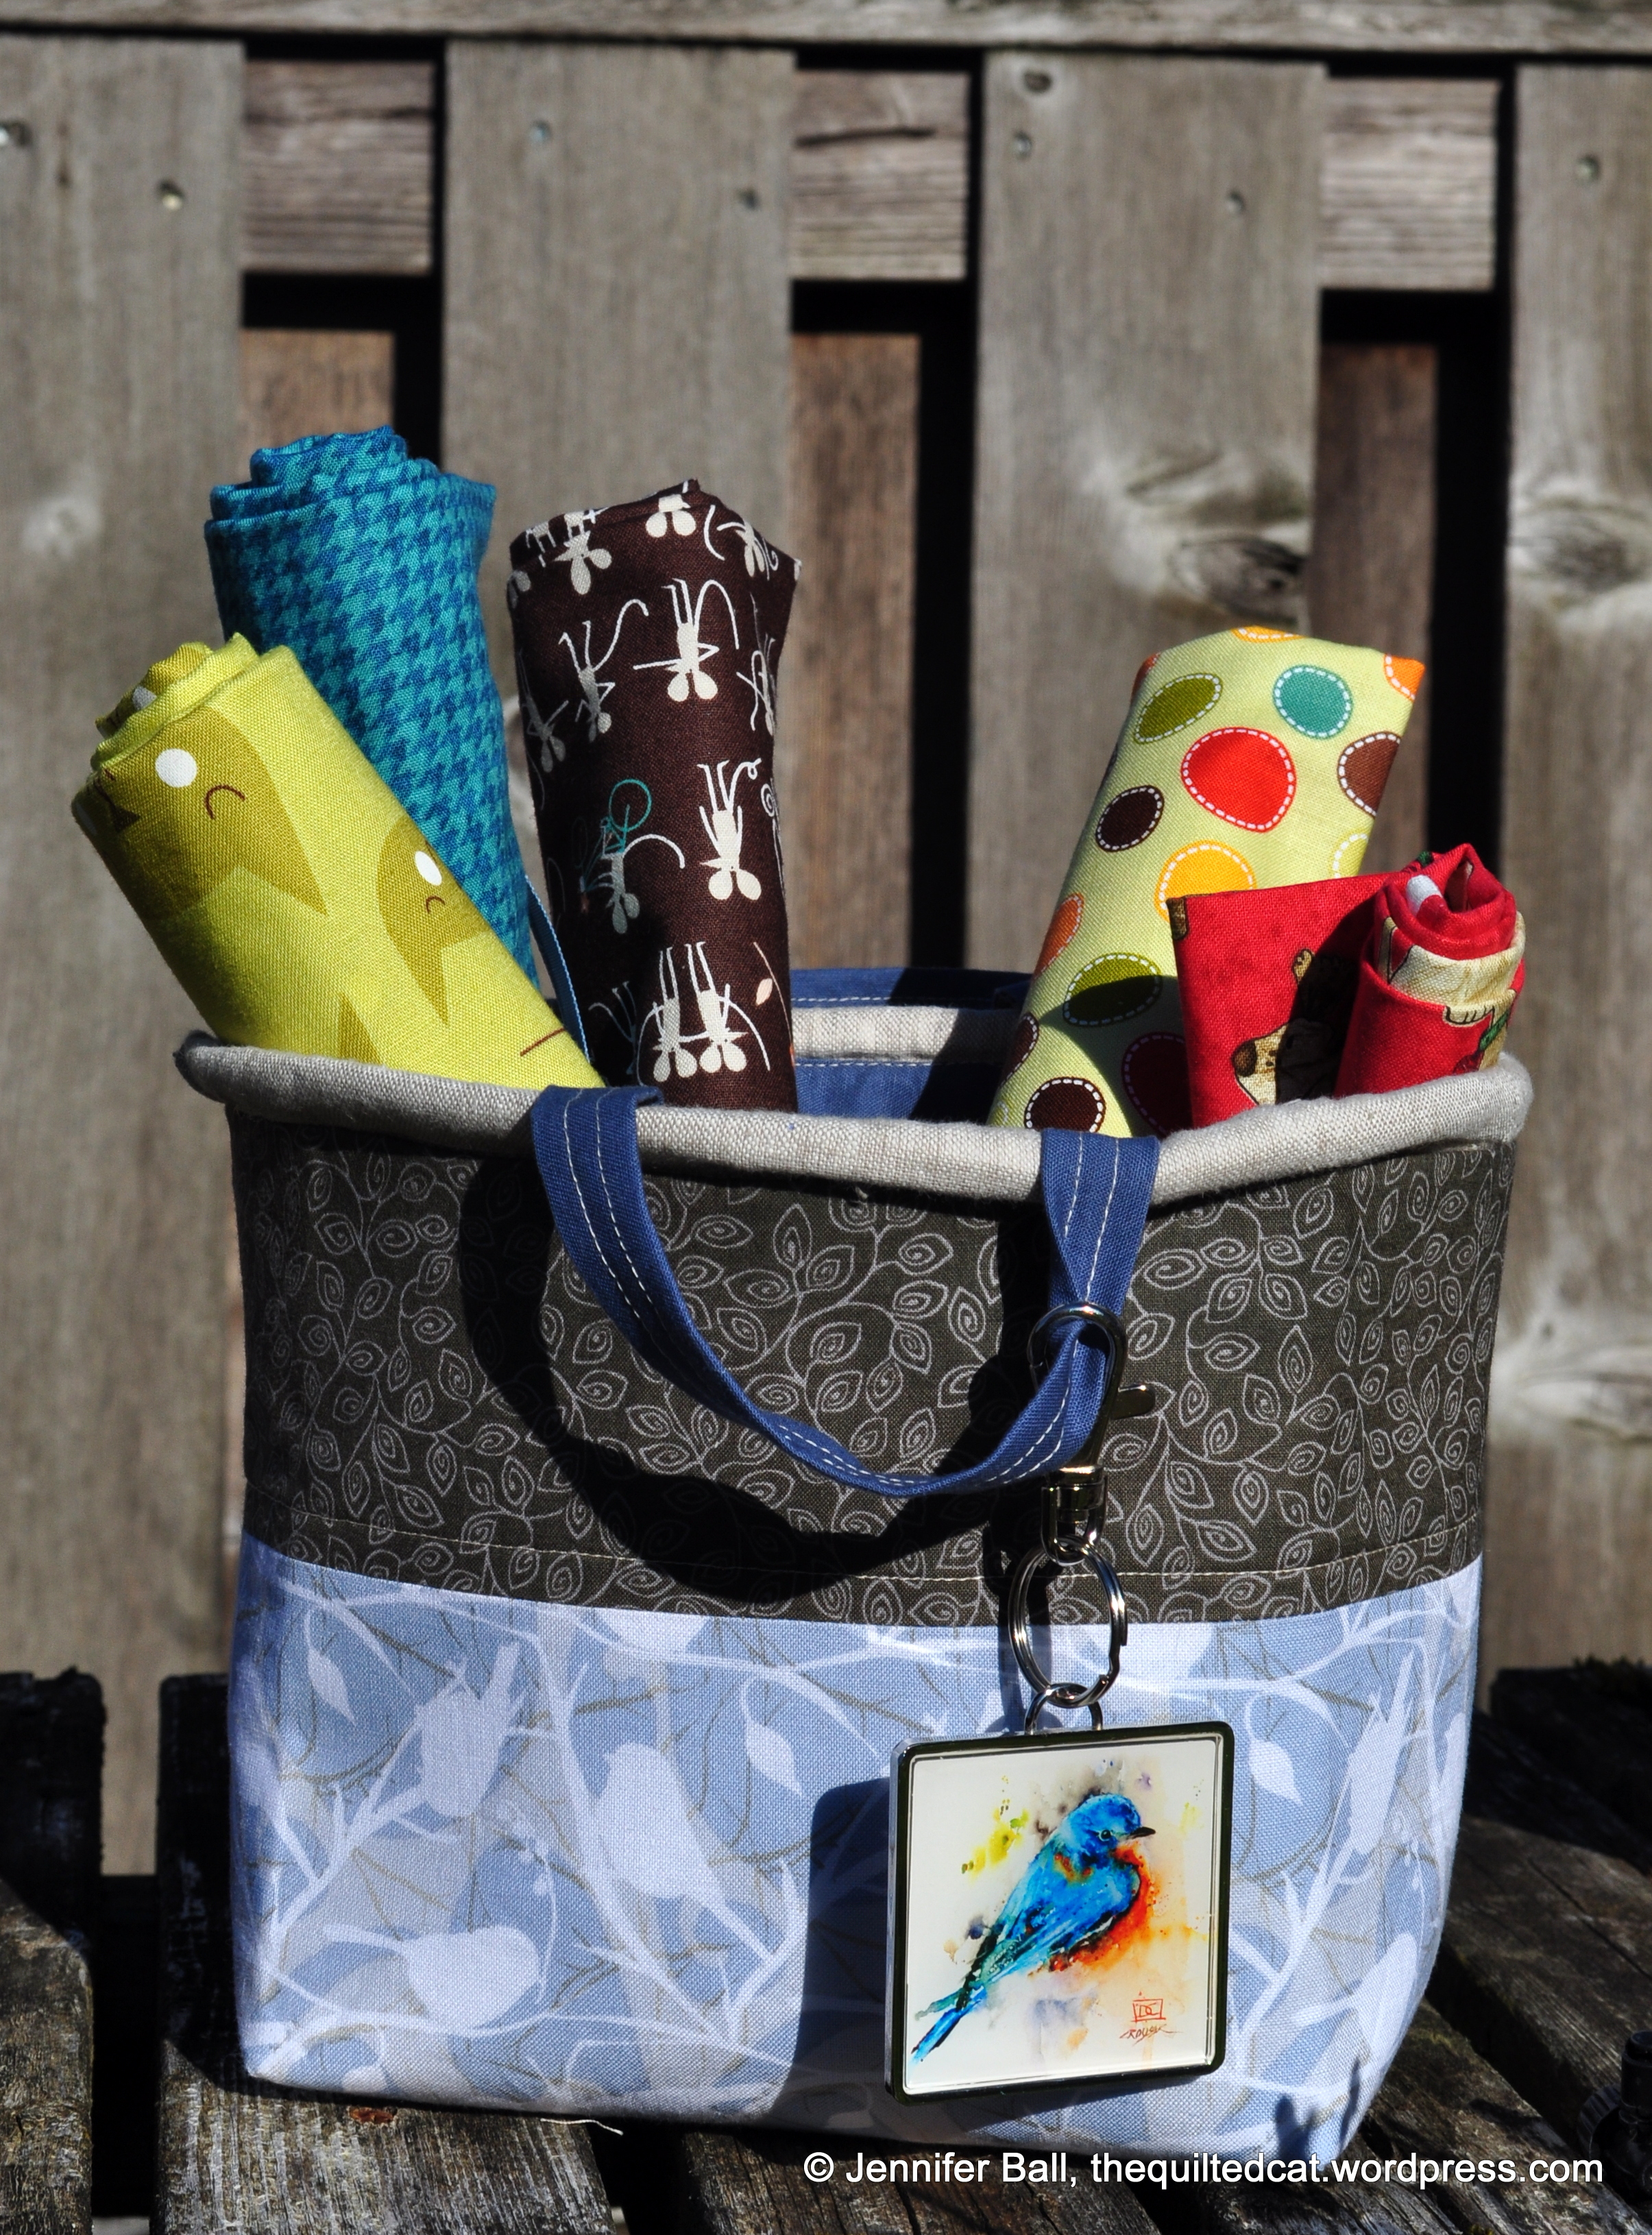
I used fabrics from my stash, digging deep to find just the right background print for maximum cuteness!

  • Ramblings from P&B Textiles for the toilet paper
  • Netorious in Pink from Cotton + Steel for the toilet paper roll hole on the top
  • The Warm Fuzzies by Sarah Watts for Cotton + Steel (2017) for the background/borders
  • Aurifil silver white #2309 for all the piecing

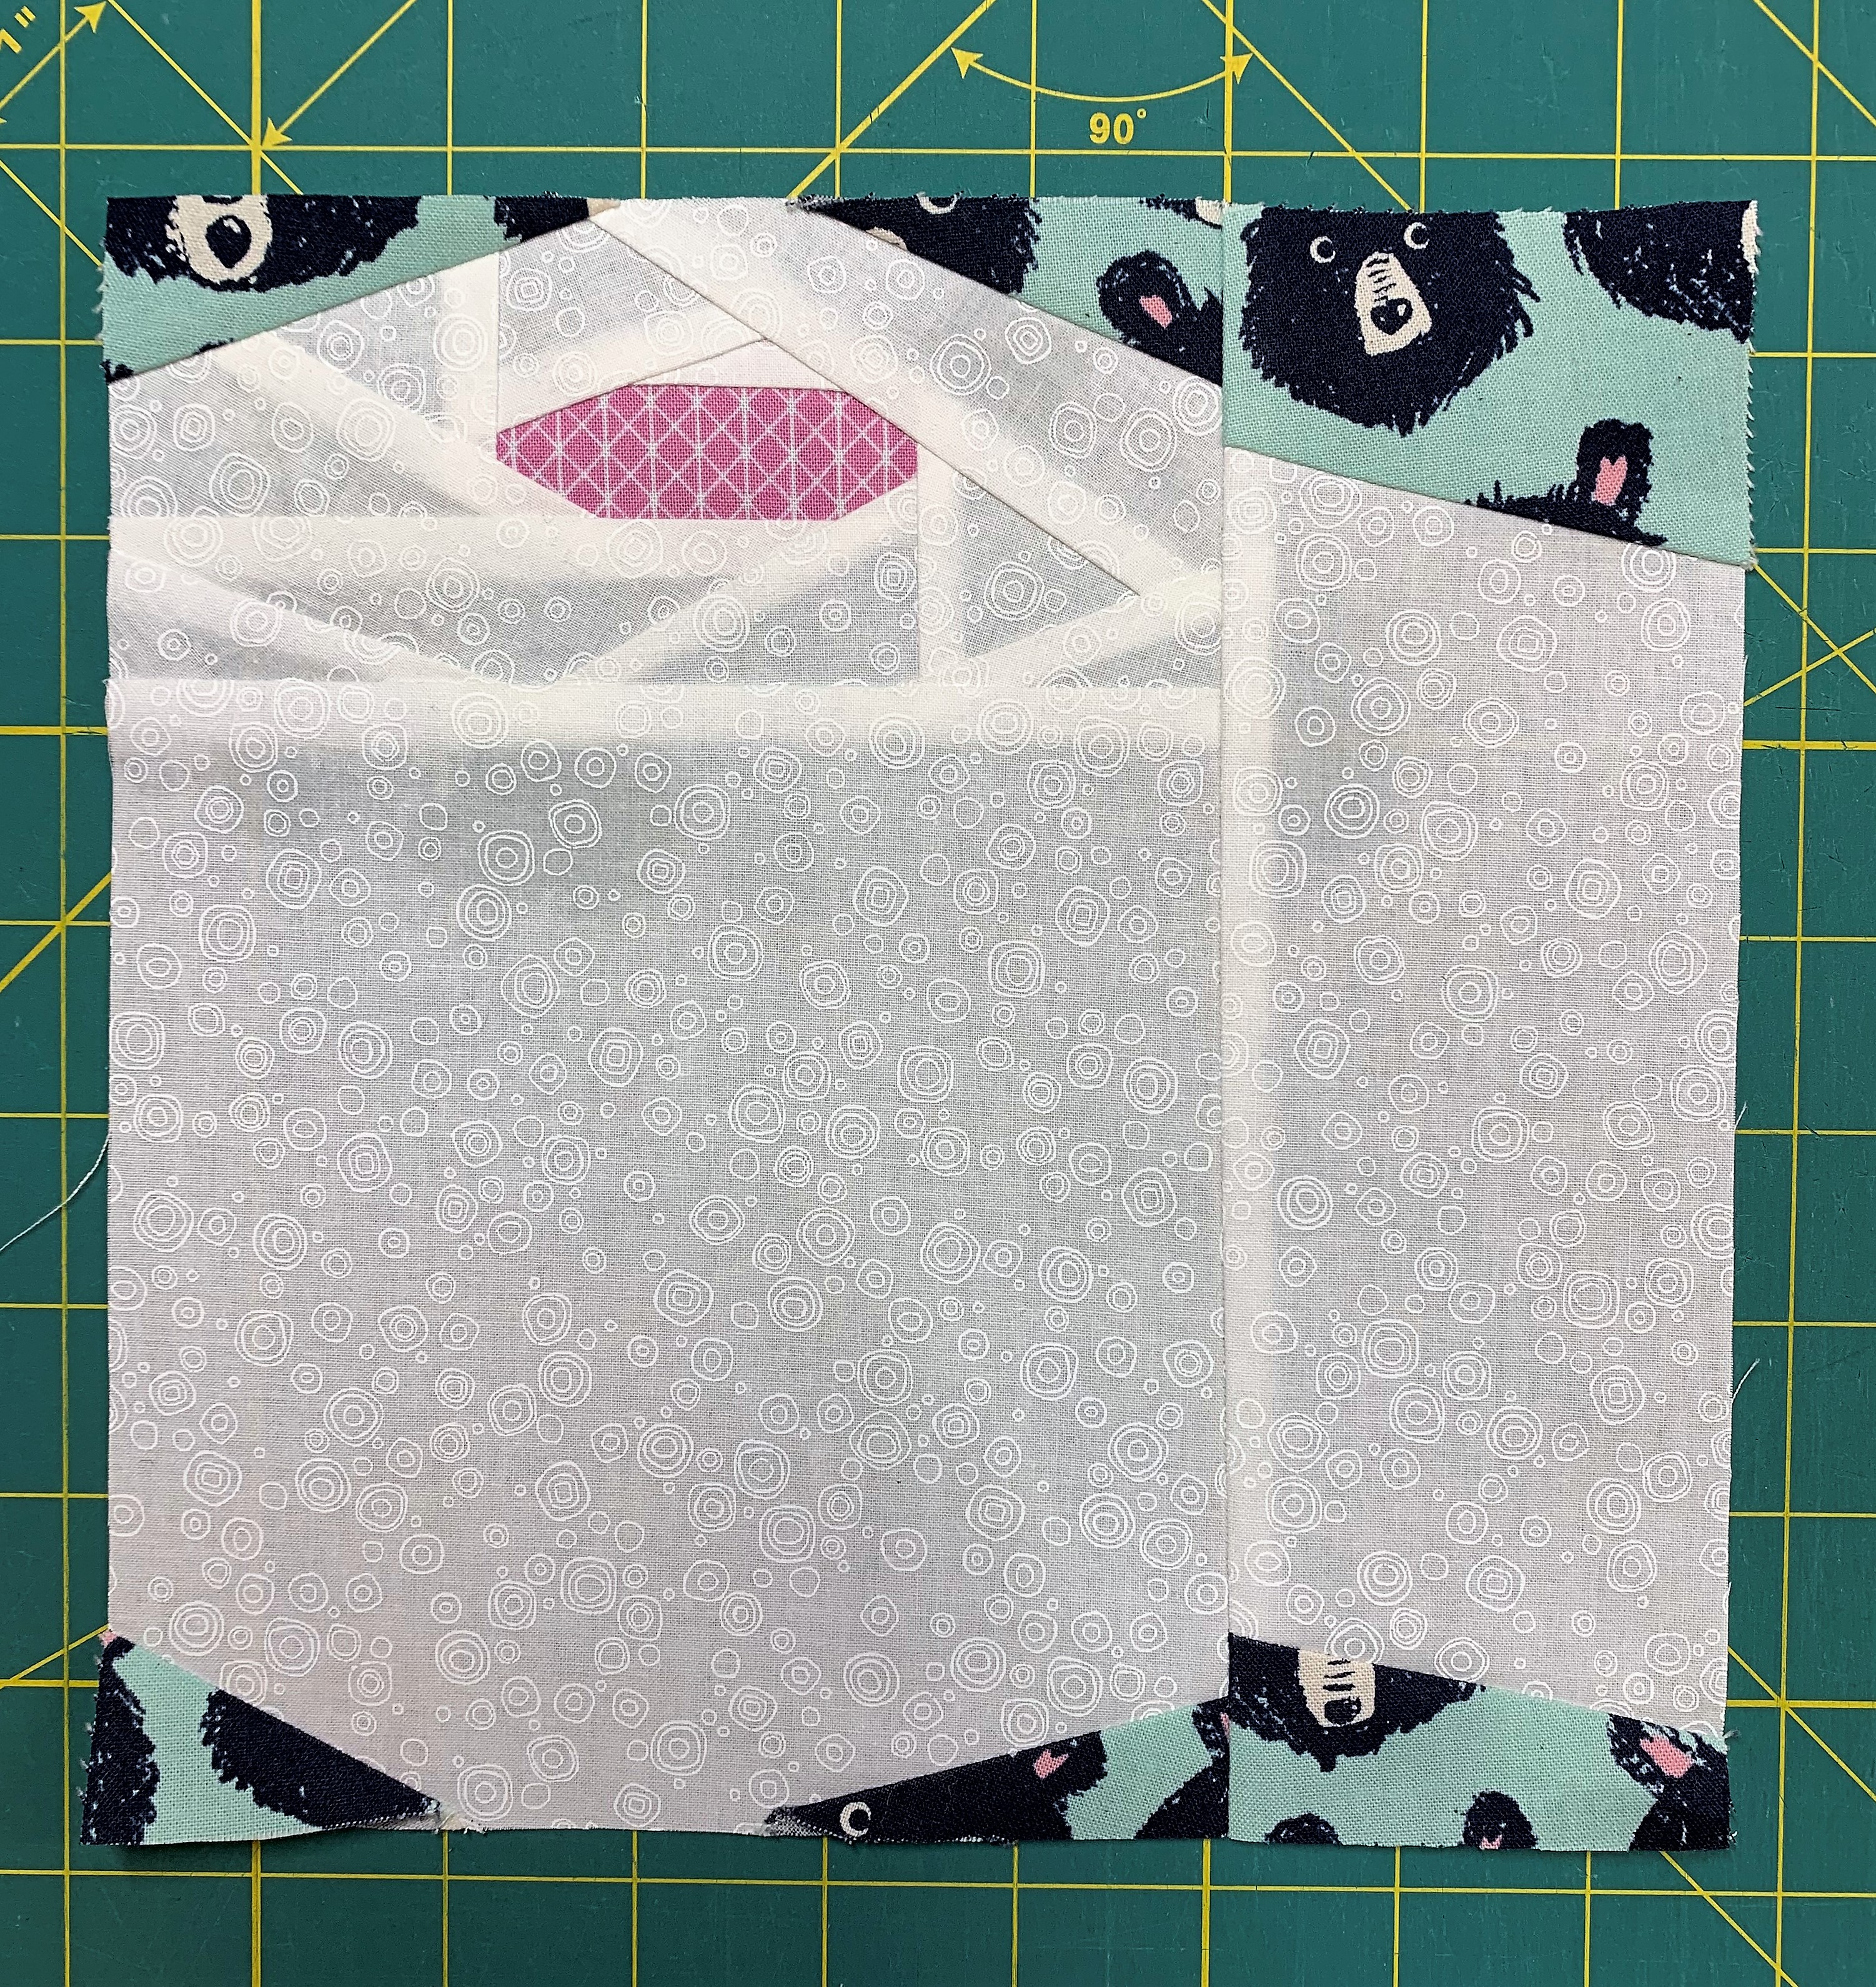
Keep Calm and Roll On block at 8×8 inch size

I cut my bear borders slightly larger at 3-1/4″ so that I could see more of the bears.

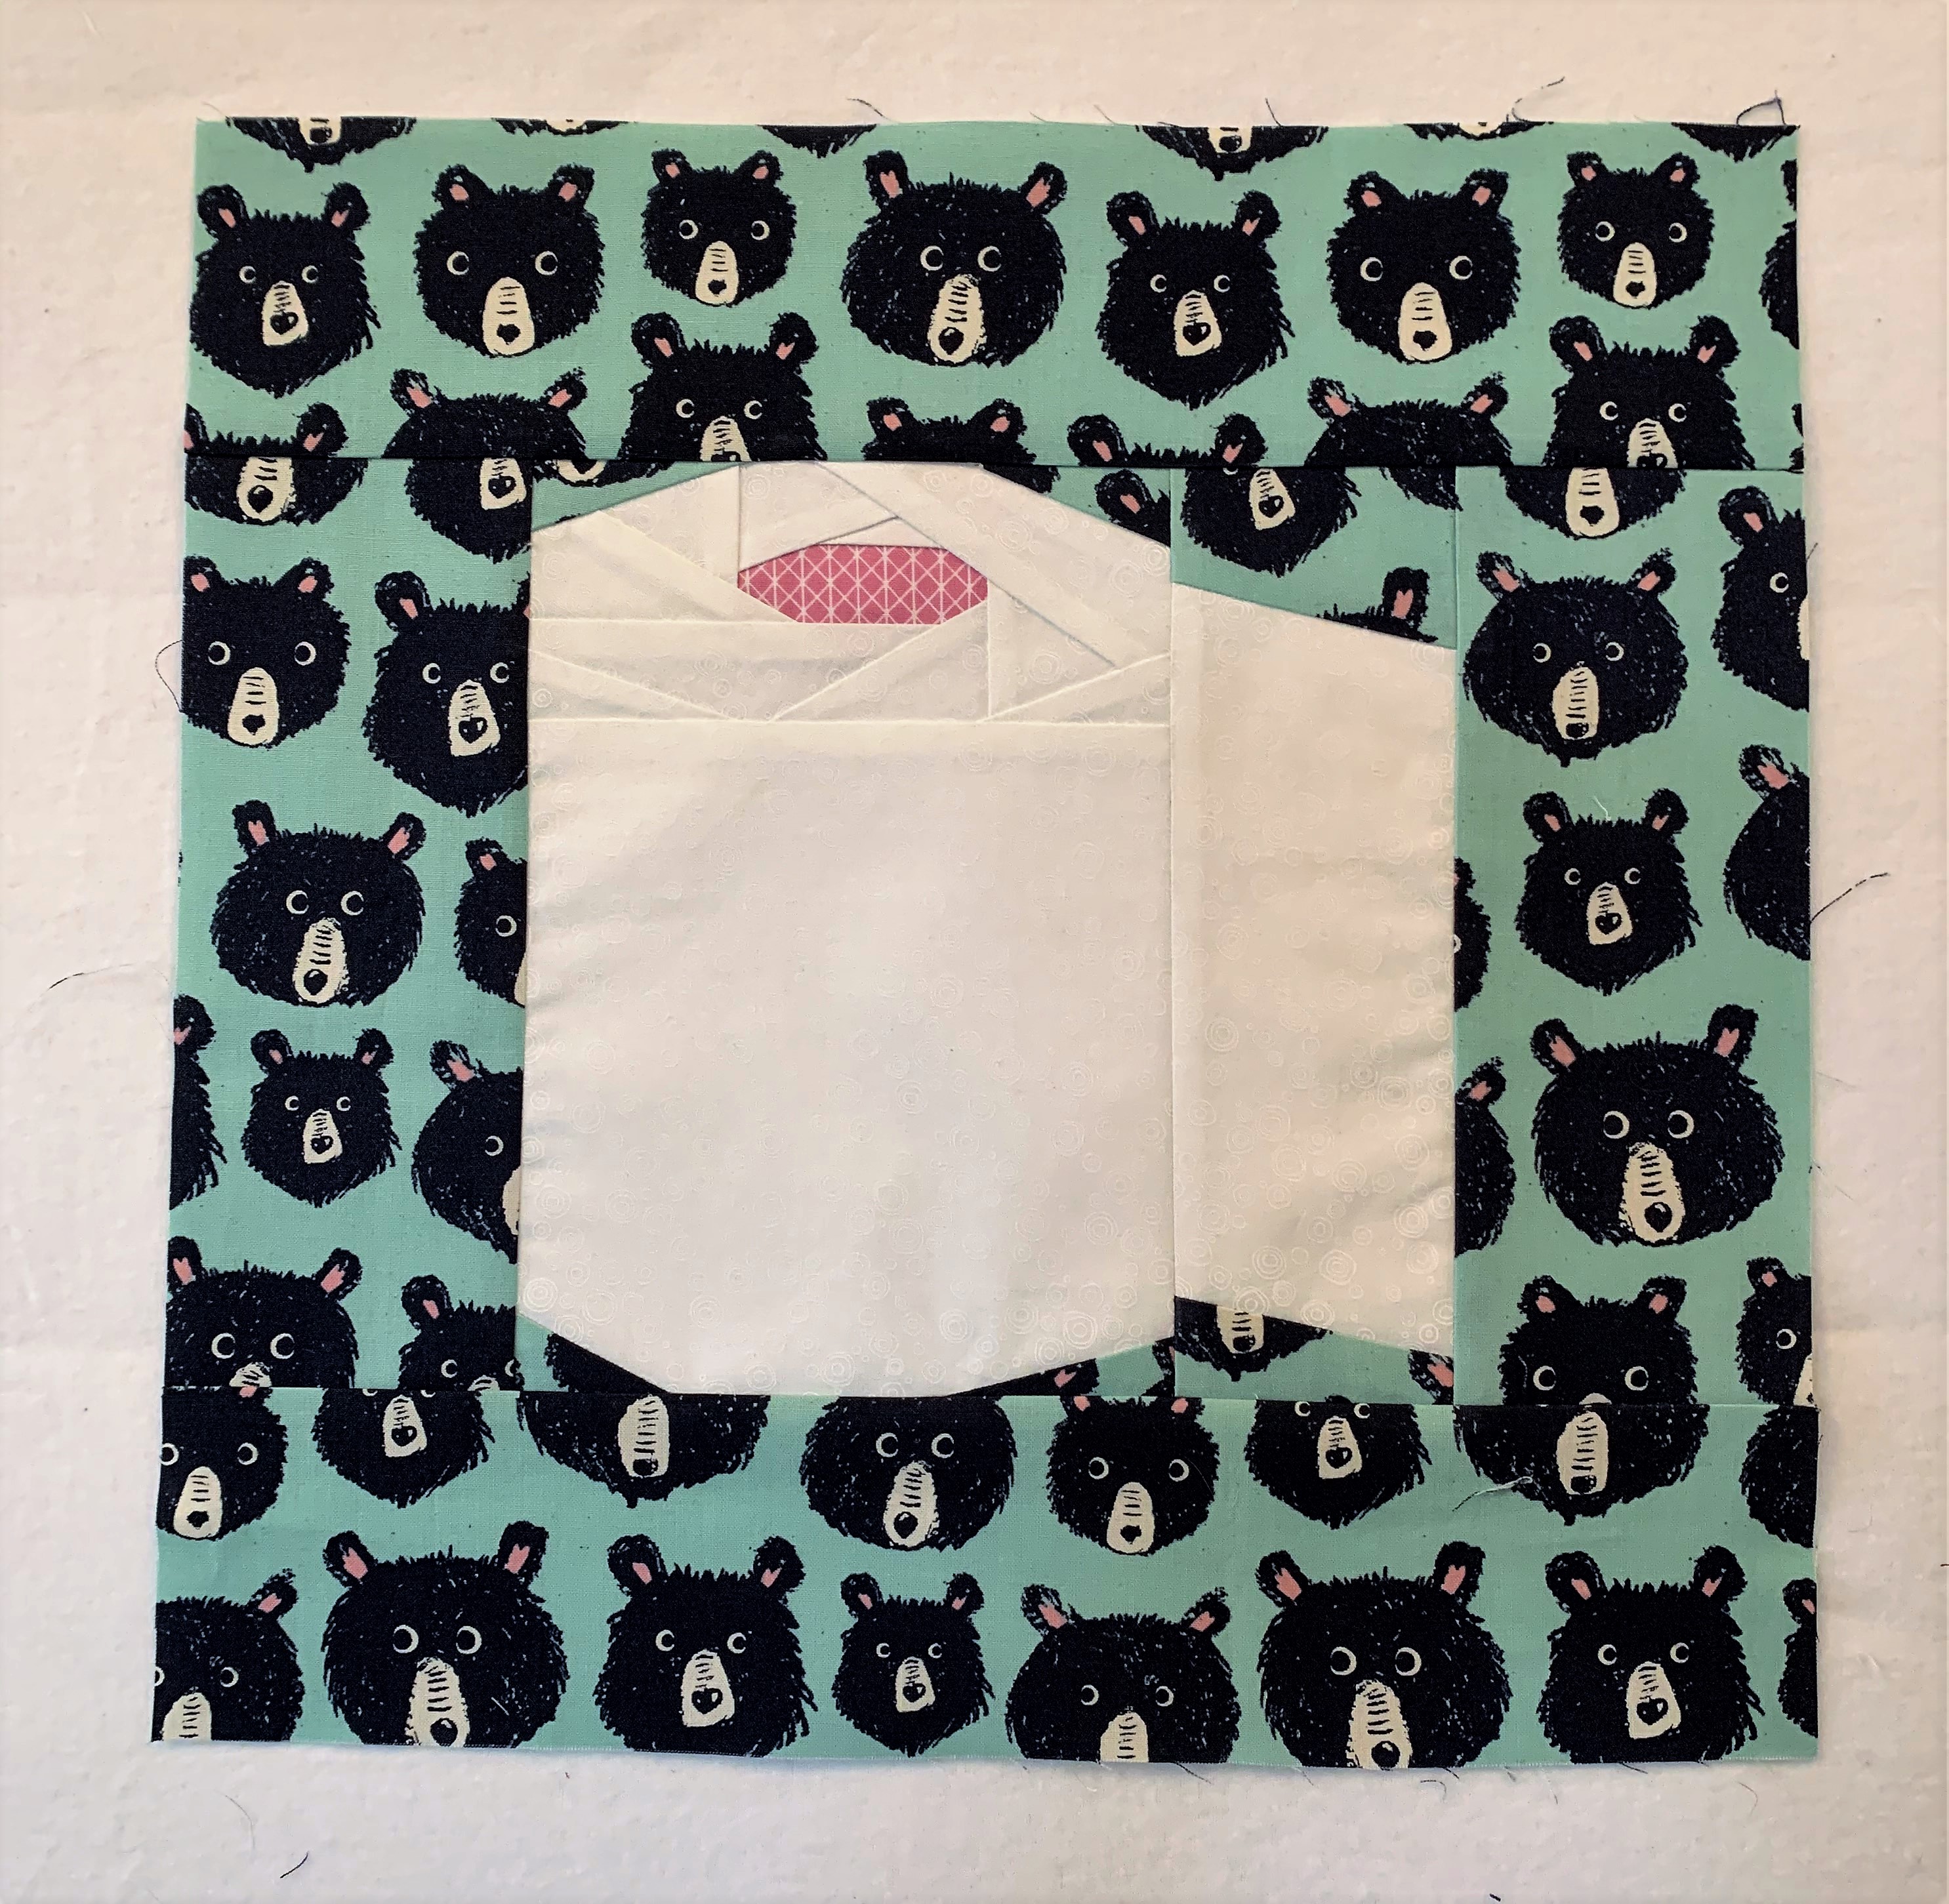
Keep Calm and Roll On, toilet paper roll block with borders

Don’t you just love those bear faces? To me, they are saying, “hey, humans, what’s going on with your toilet paper shortage?”

In my next post, I’ll show you how I quilted this fun little mini quilt.

Until then, I hope you have enough toilet paper rolls! 🙂

Happy quilting,

Jen

Scott Lake Quilted Postcard, Sisters Outdoor Quilt Show

Each year, the Sisters Outdoor Quilt Show has a special fundraiser called Wish Upon a Card. Participants make fabric postcards to be auctioned during the quilt show week.

This year, I decided to make a fabric postcard featuring Scott Lake with the Three Sisters in the background. For inspiration, I used a photograph that I took at Scott Lake last fall during a camping trip.

Here’s my original picture:

Scott Lake at Sunset

Scott Lake at Sunset

It’s such a beautiful place and worth the short drive from Sisters if you are visiting the area.

I printed out my photo and then started to look in my scrap bin for fabrics to use. I’m entering the Michael Miller fabric challenge with this postcard so I needed to incorporate a piece of the Beadwork fabric into my design.

I decided to use the Beadwork fabric to represent the green meadow on the far side of the lake.

I built my postcard by layering the sky and water to form a solid foundation piece. Next, I carefully cut out and appliqued the mountain, lake, and tree shapes to this foundation using various colors of Aurifil thread. I added rocks to the water, a cloud to the sky, and a stick along the grass in the foreground.

Once all the shapes were appliqued, I used embroidery floss to add extra details such as the hint of tree trunks and late summer snow on the mountains. Finally, I layered the completed fabric postcard top with interfacing and cardstock and bound the edges using a black color weave fabric by P&B Textiles.

Here’s a look at the finished fabric postcard side-by-side with my printed photo:

Scott Lake Fabric Postcard and Picture

Scott Lake Fabric Postcard and Picture

Here’s a close-up look of the fabric postcard:

Scott Lake Fabric Postcard for the Sisters Outdoor Quilt Show

Scott Lake Fabric Postcard for the Sisters Outdoor Quilt Show

I really love how this fabric postcard turned out, and I’d be so thrilled to be one of the finalists!

I plan to attend the Sisters Outdoor Quilt Show this year, and I always stop by the wonderful postcard exhibit and auction.

Happy quilting!
~Jennifer

A Cute Little Basket

I picked up a cute pattern recently for a fabric basket called Banded Baskets by Indygo Junction. The pattern actually contains 3 sizes of nesting baskets.

I decided to make the small basket and fill it with little fabric treasures for a special someone! It’s the perfect size for carrying a small project or storing fat quarters.

Small Banded Basket

Small Banded Basket

For the outside, I used a pretty little fabric on the bottom portion called Chickadee (# A-7029-LC) by Andover Fabrics.

The dark brown leaf print on the top portion is from P&B Textiles line called Bear Essentials 2 (#ESS2 569S).

For the piping, I used Essex Yarn Dyed in Flax for sturdiness. The lining and handles are made from a solid blue from my stash. I used Aurifil Light Sand #2000 for the stitching.

Once I finished the basket, I added a little bird charm keychain and some fat quarters. I plan to make a nesting set of 3 baskets for my sewing room as a pretty way to store my quilty projects in-process.

Enjoy!
~Jennifer