I’ve been posting most of my quilting and hiking projects over on Instagram, but I want to blog a bit more this year.
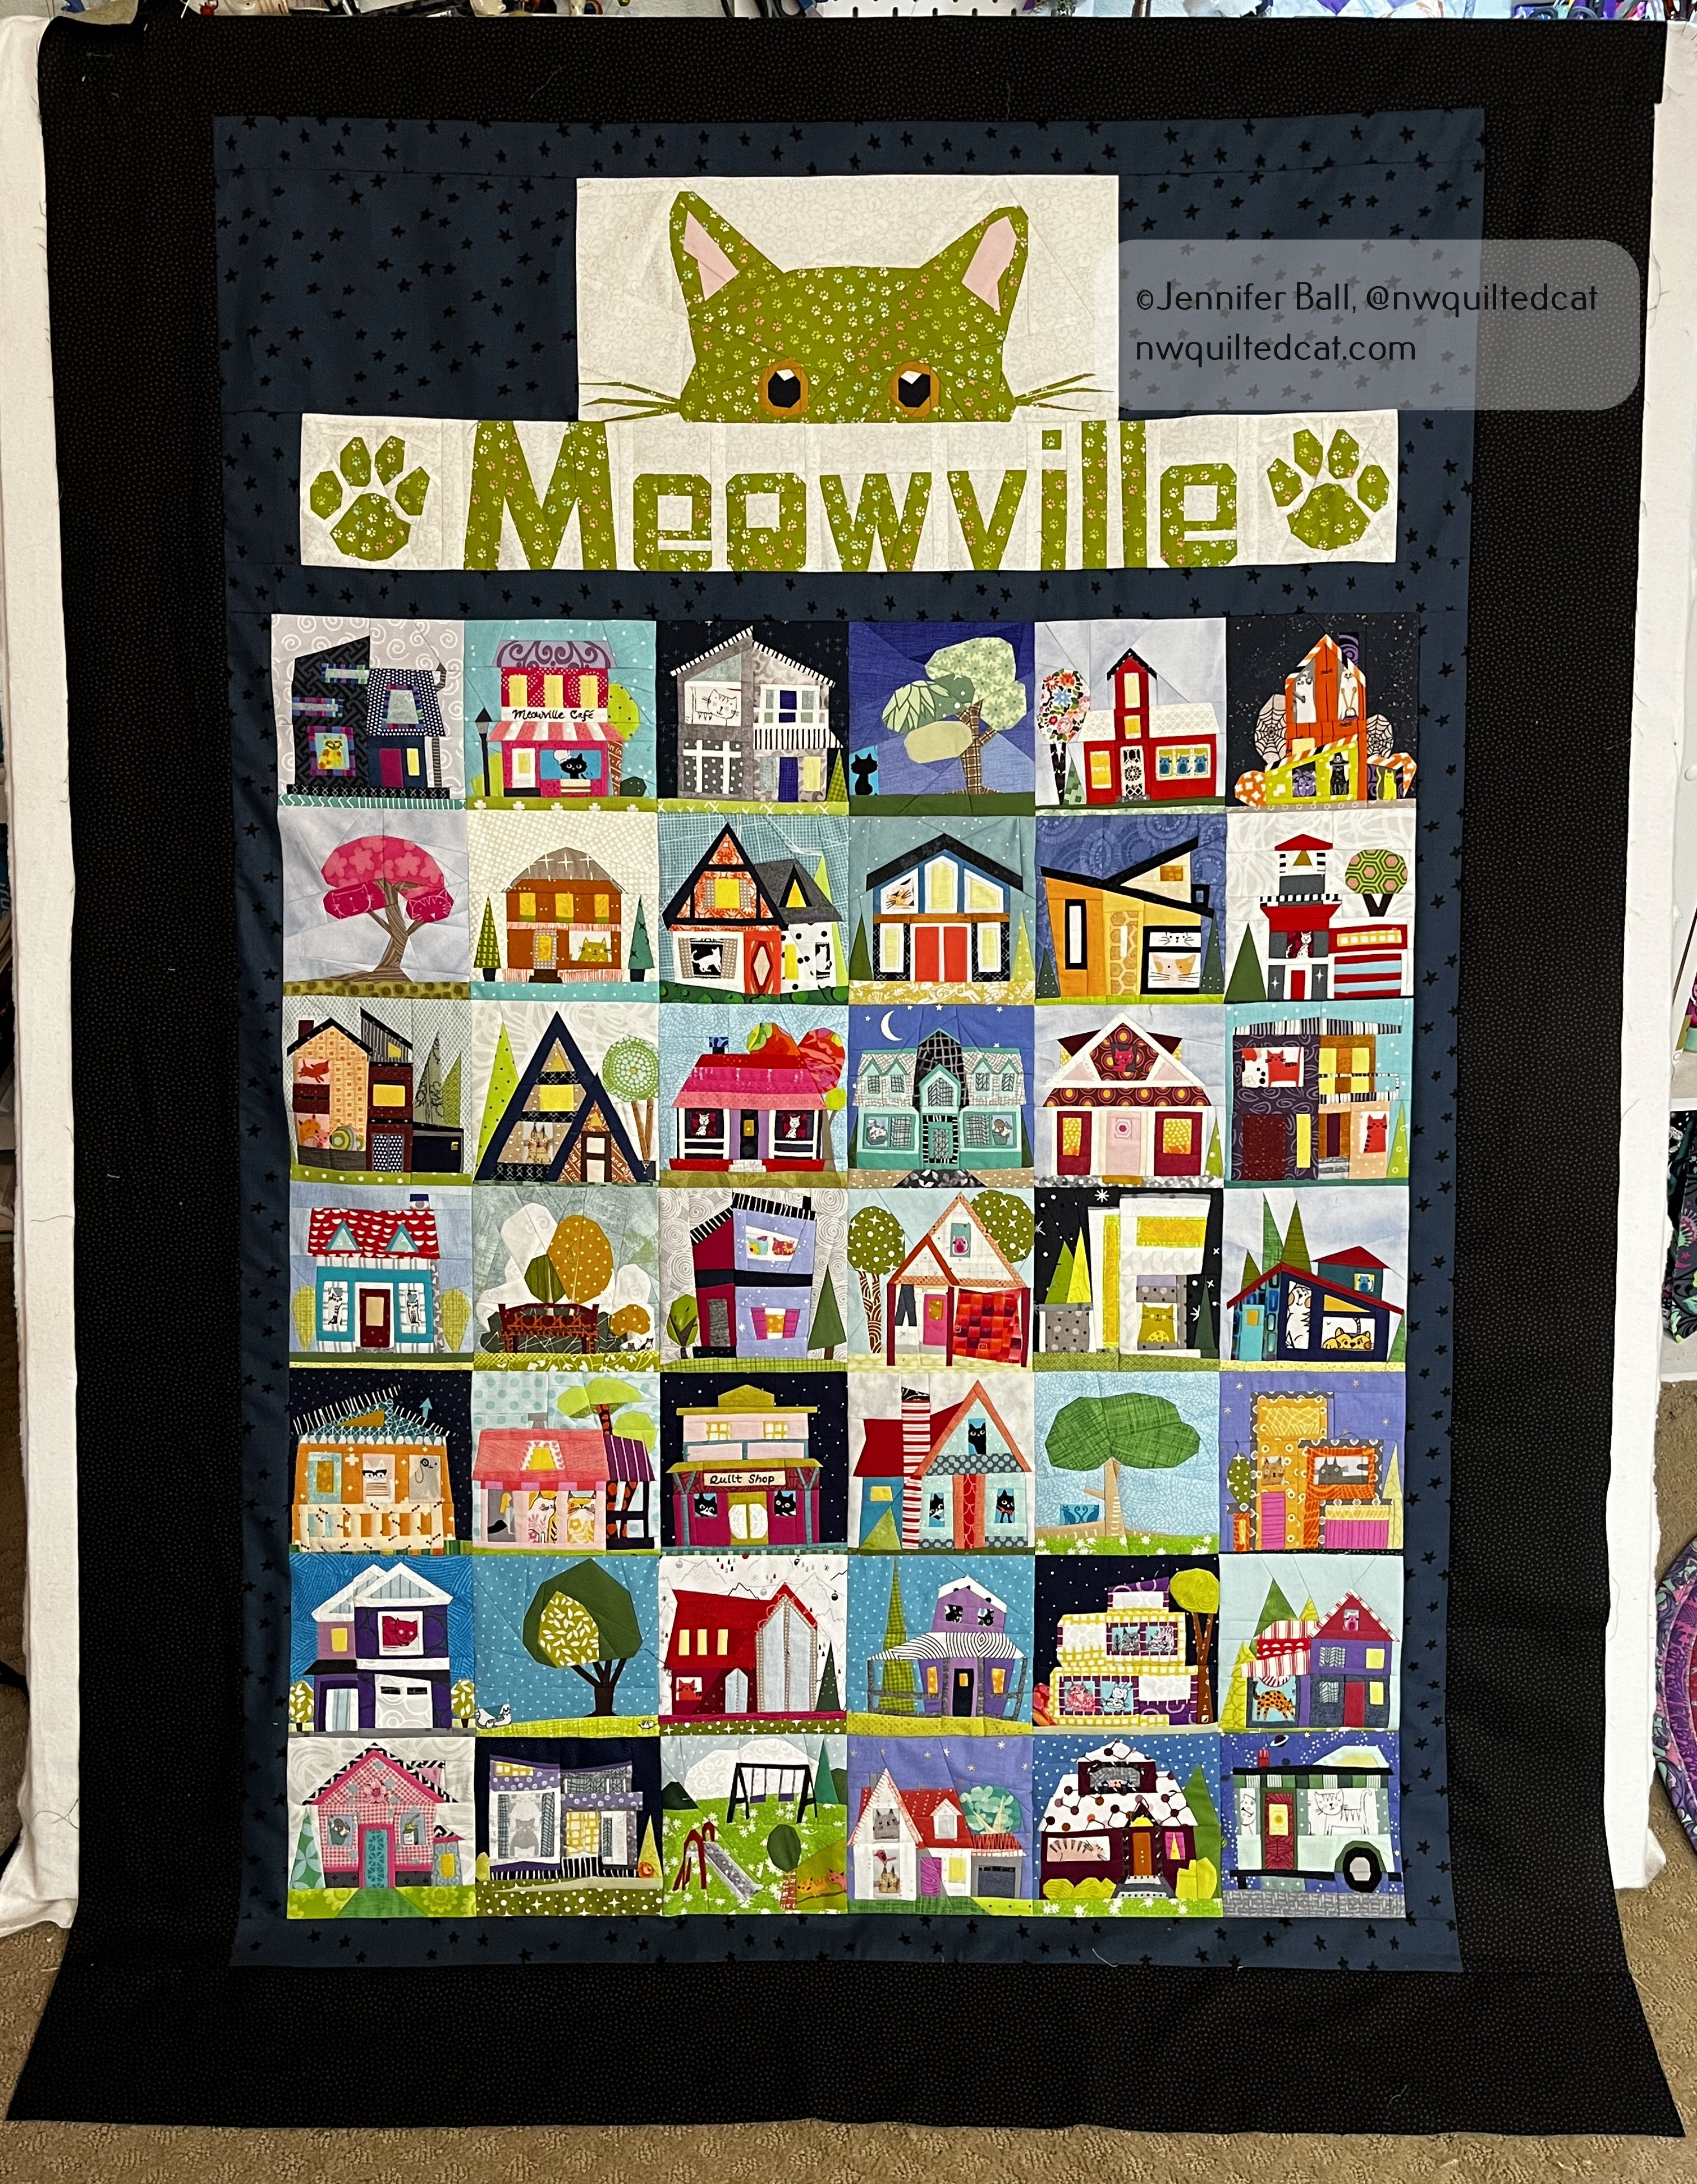
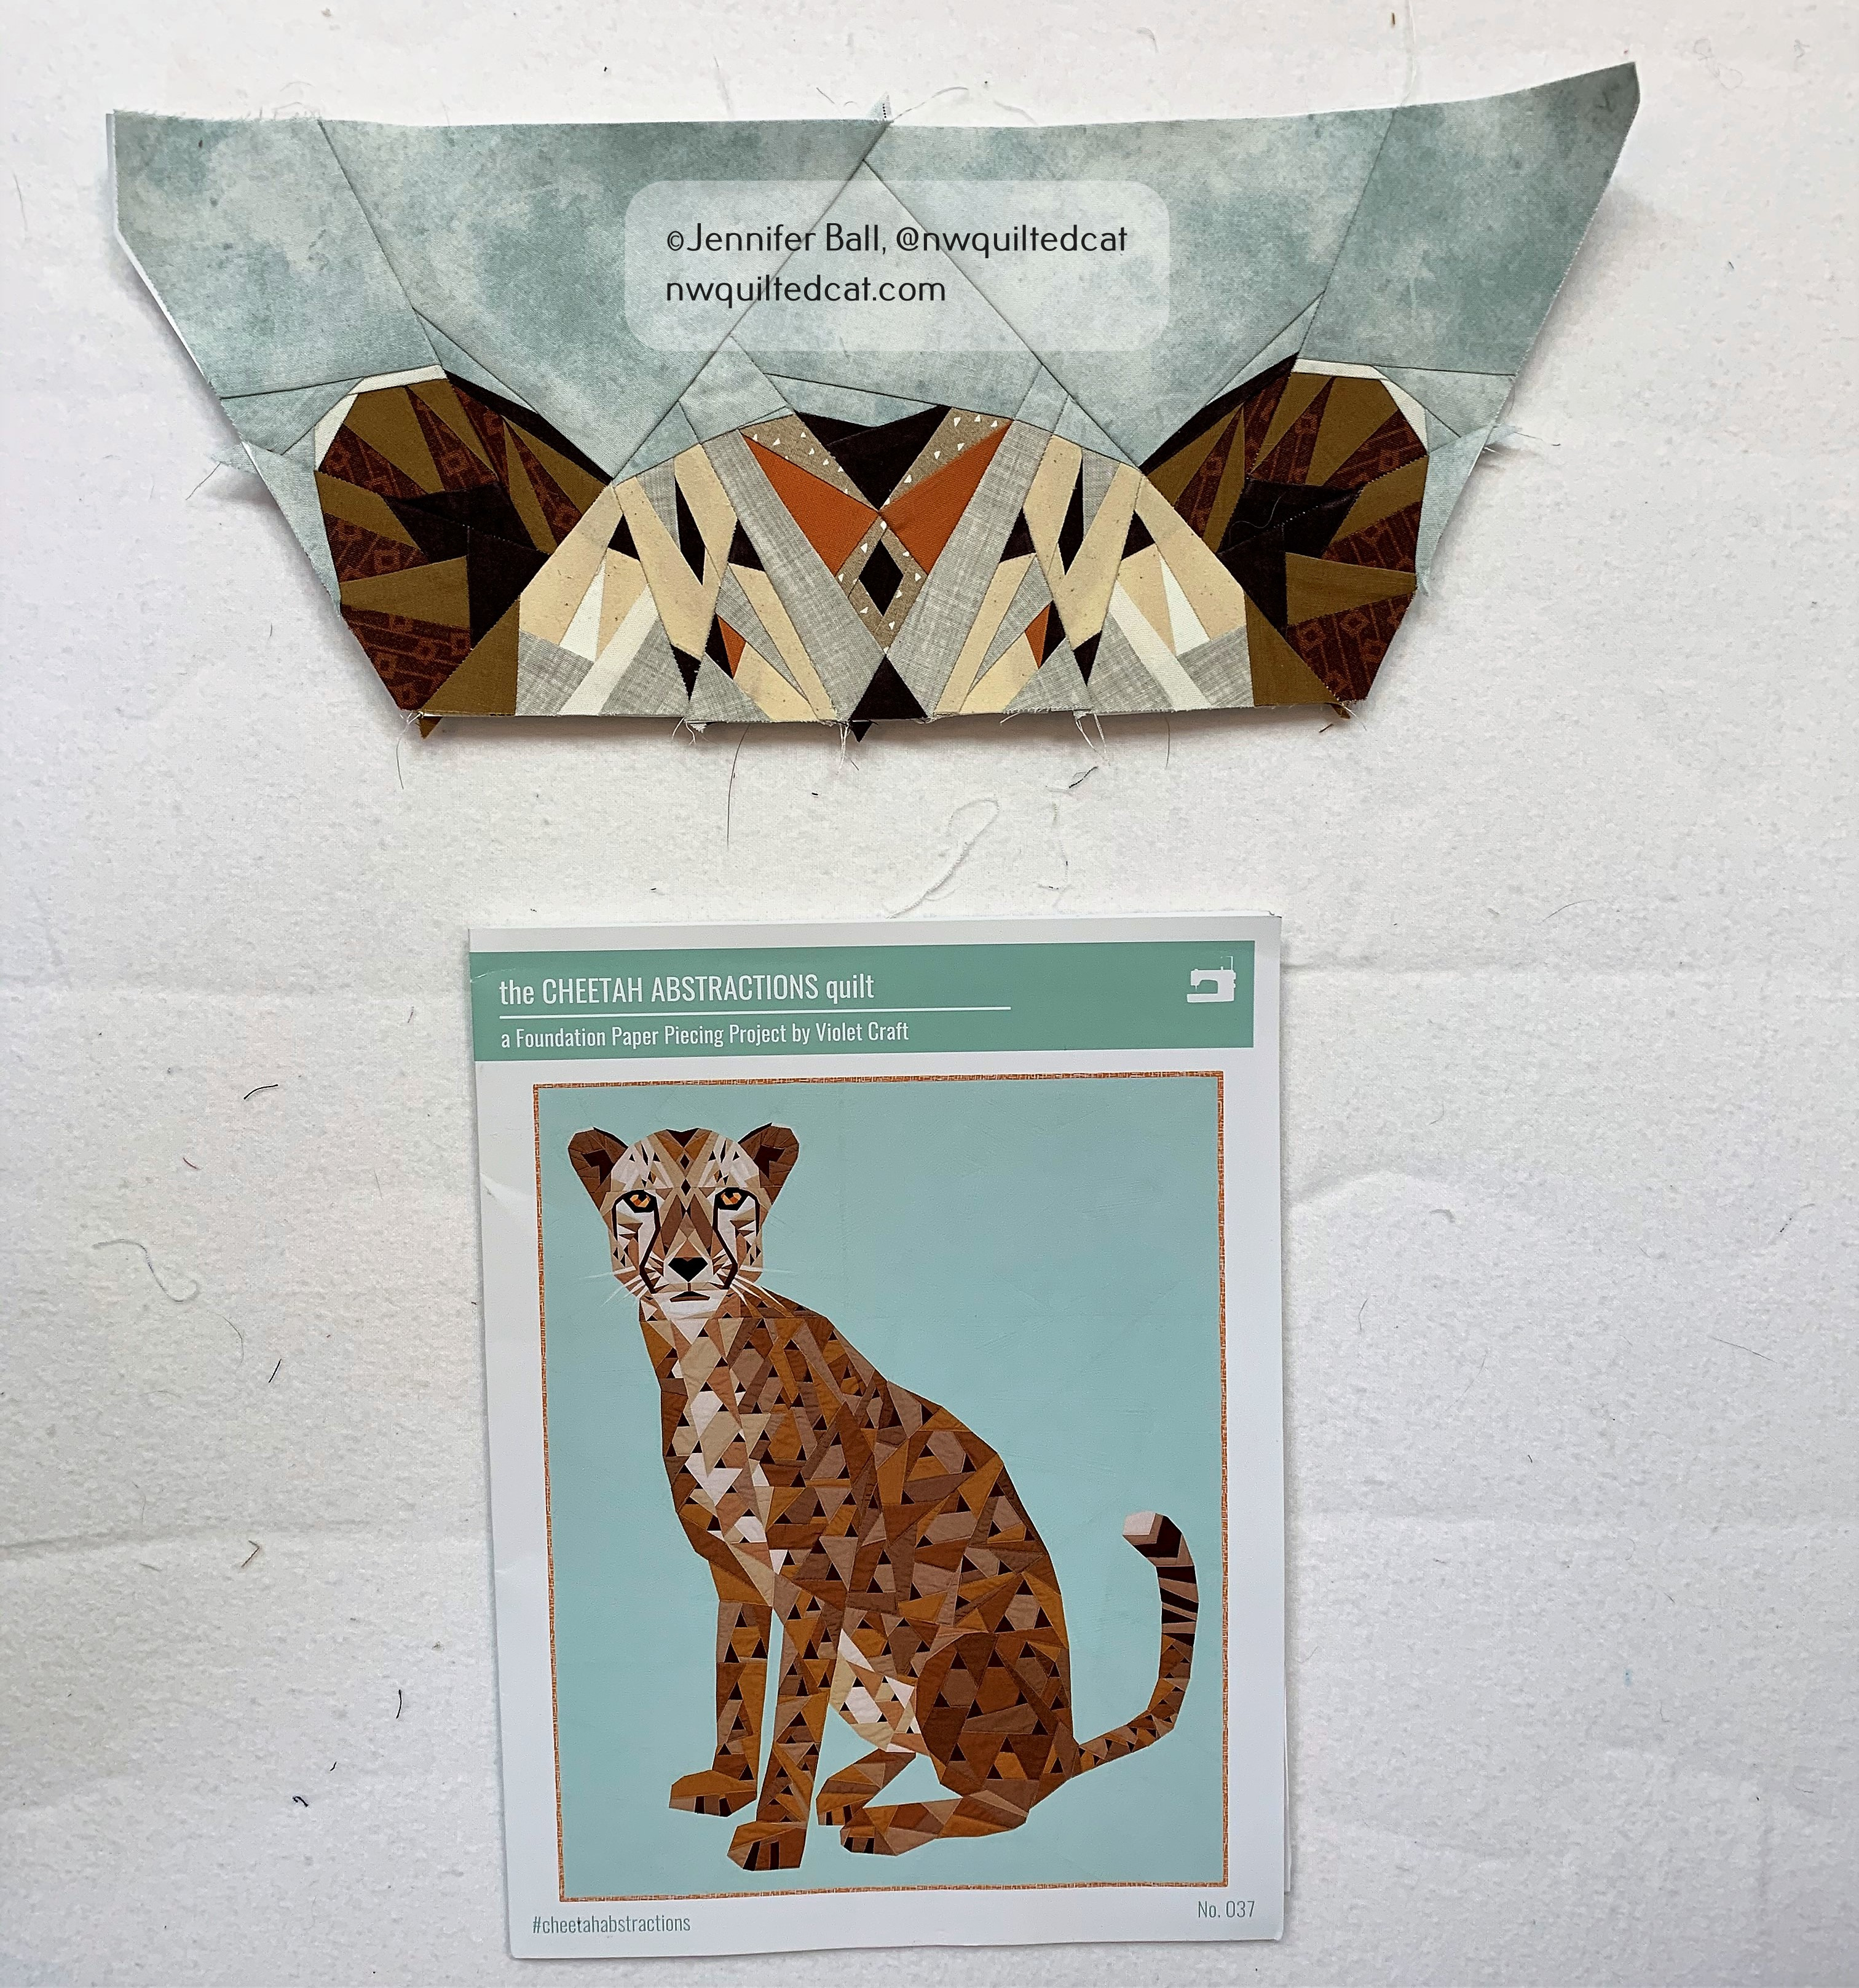
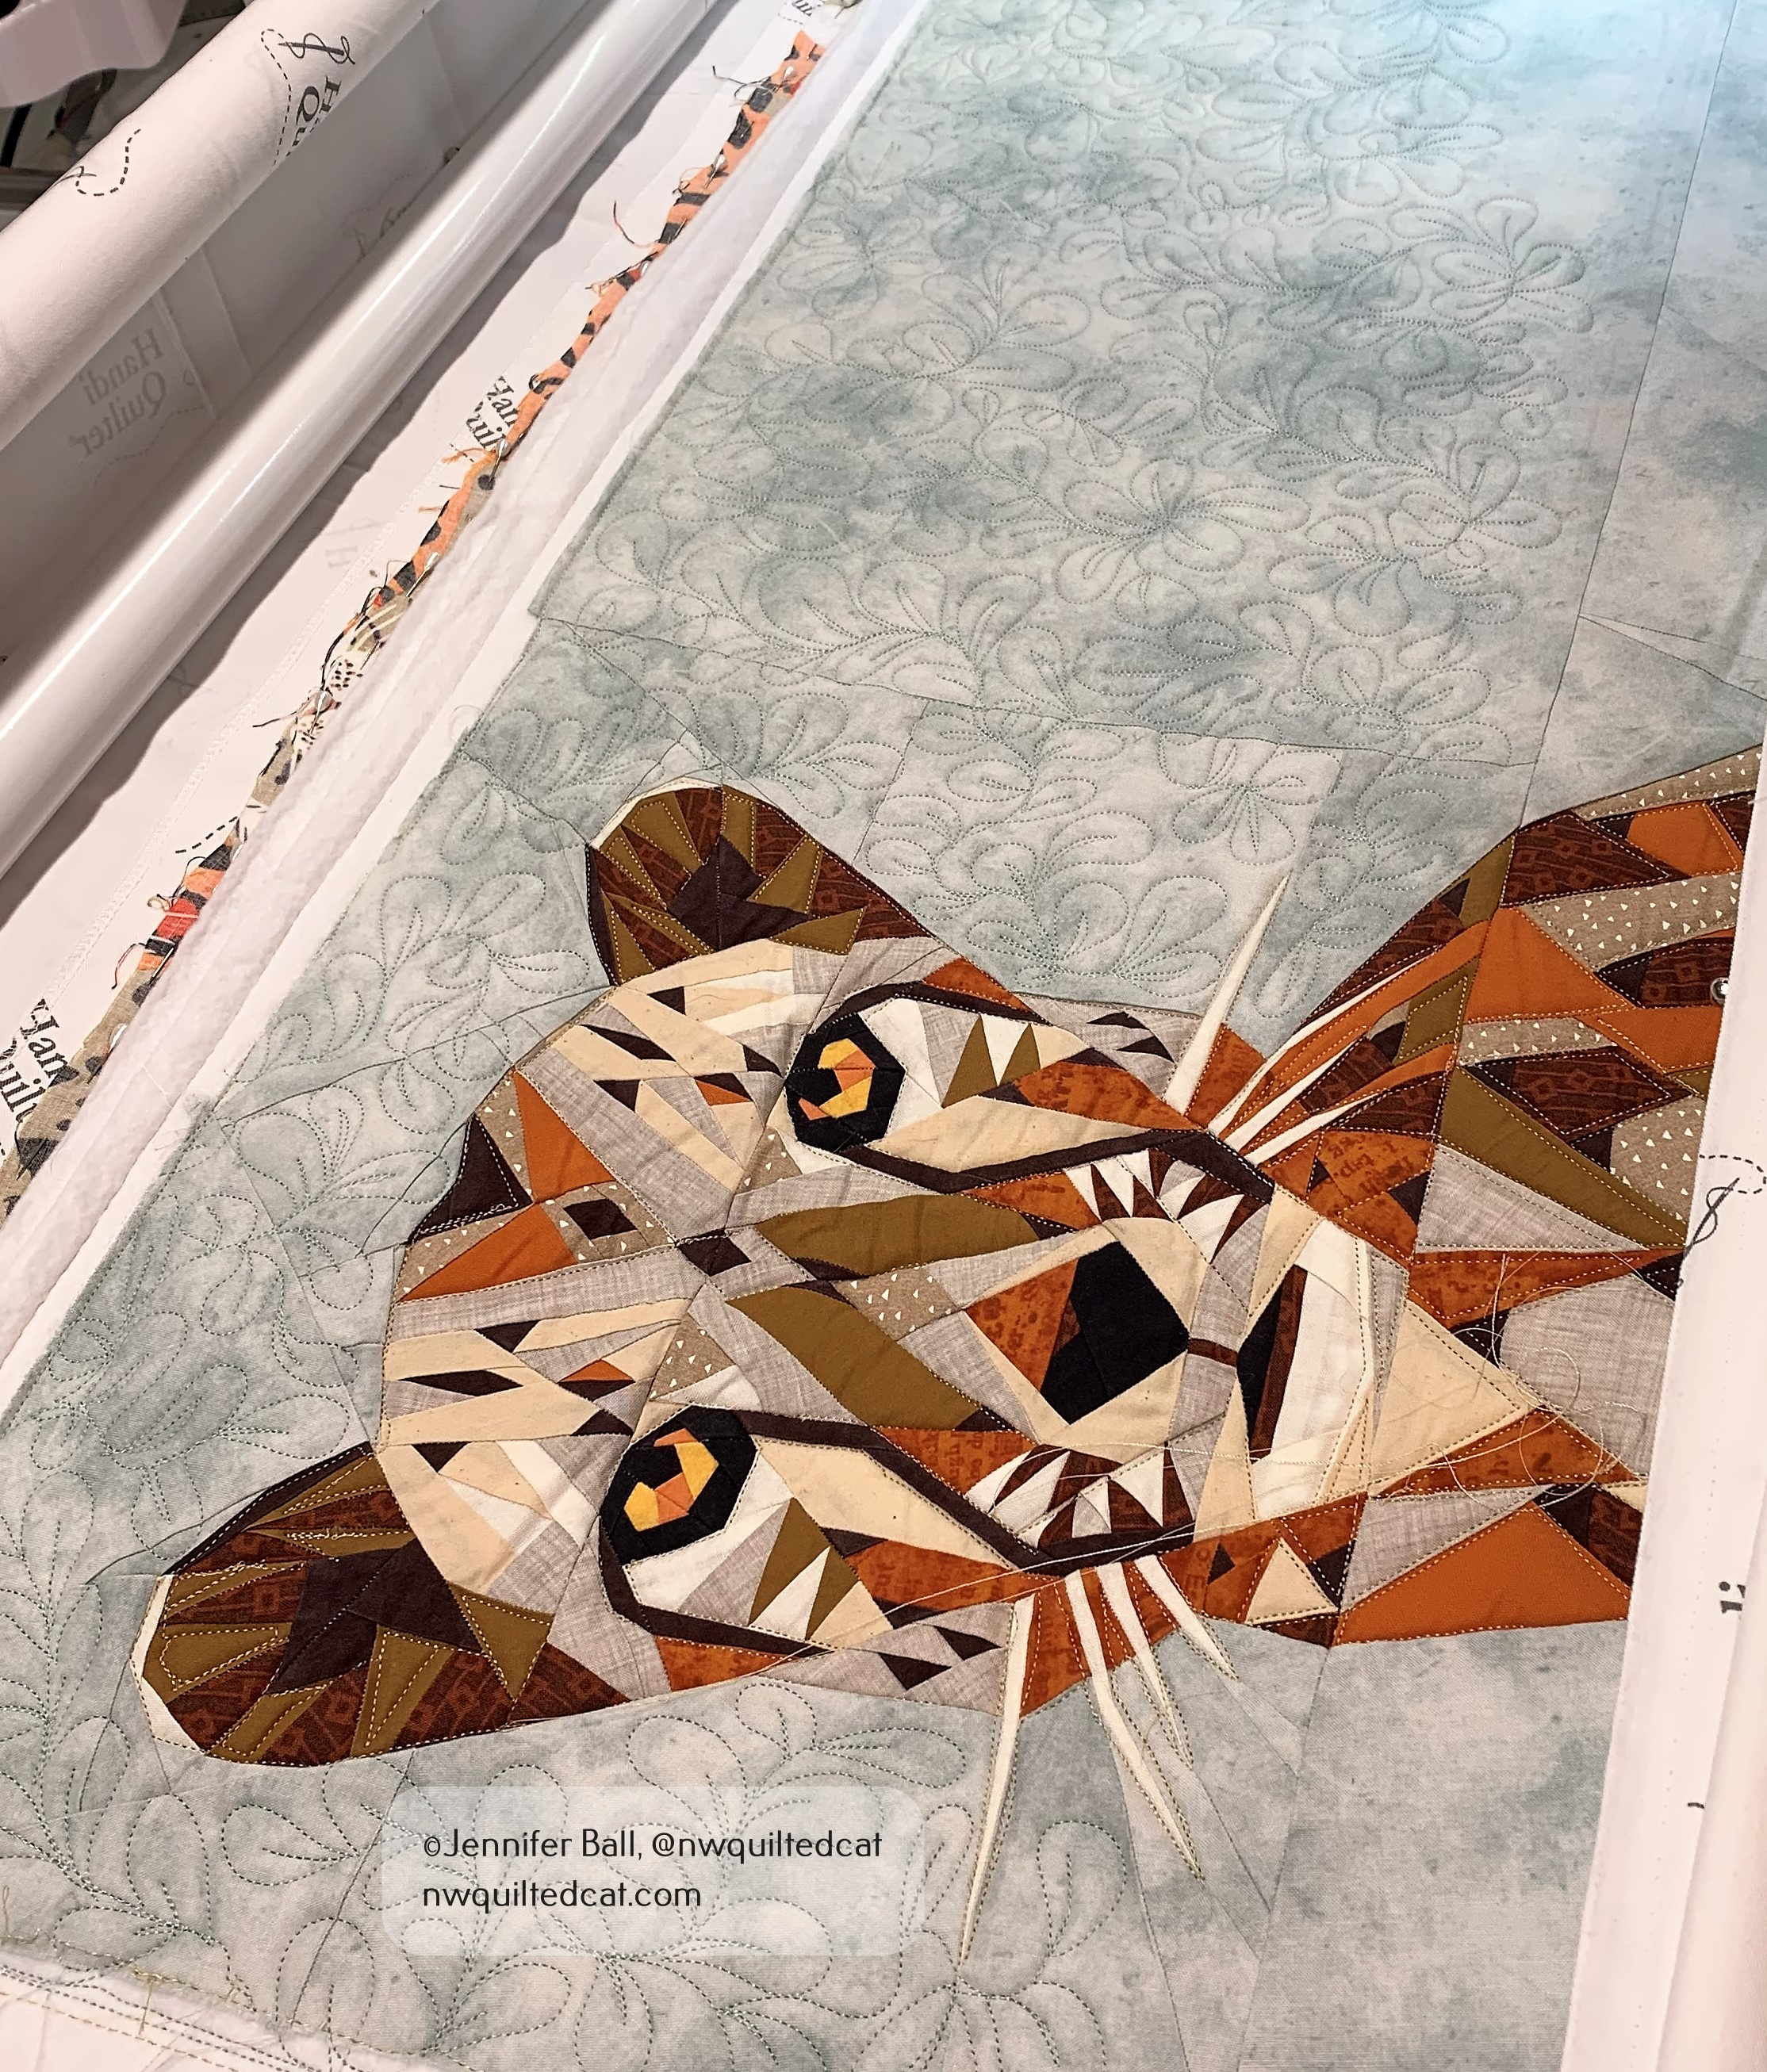
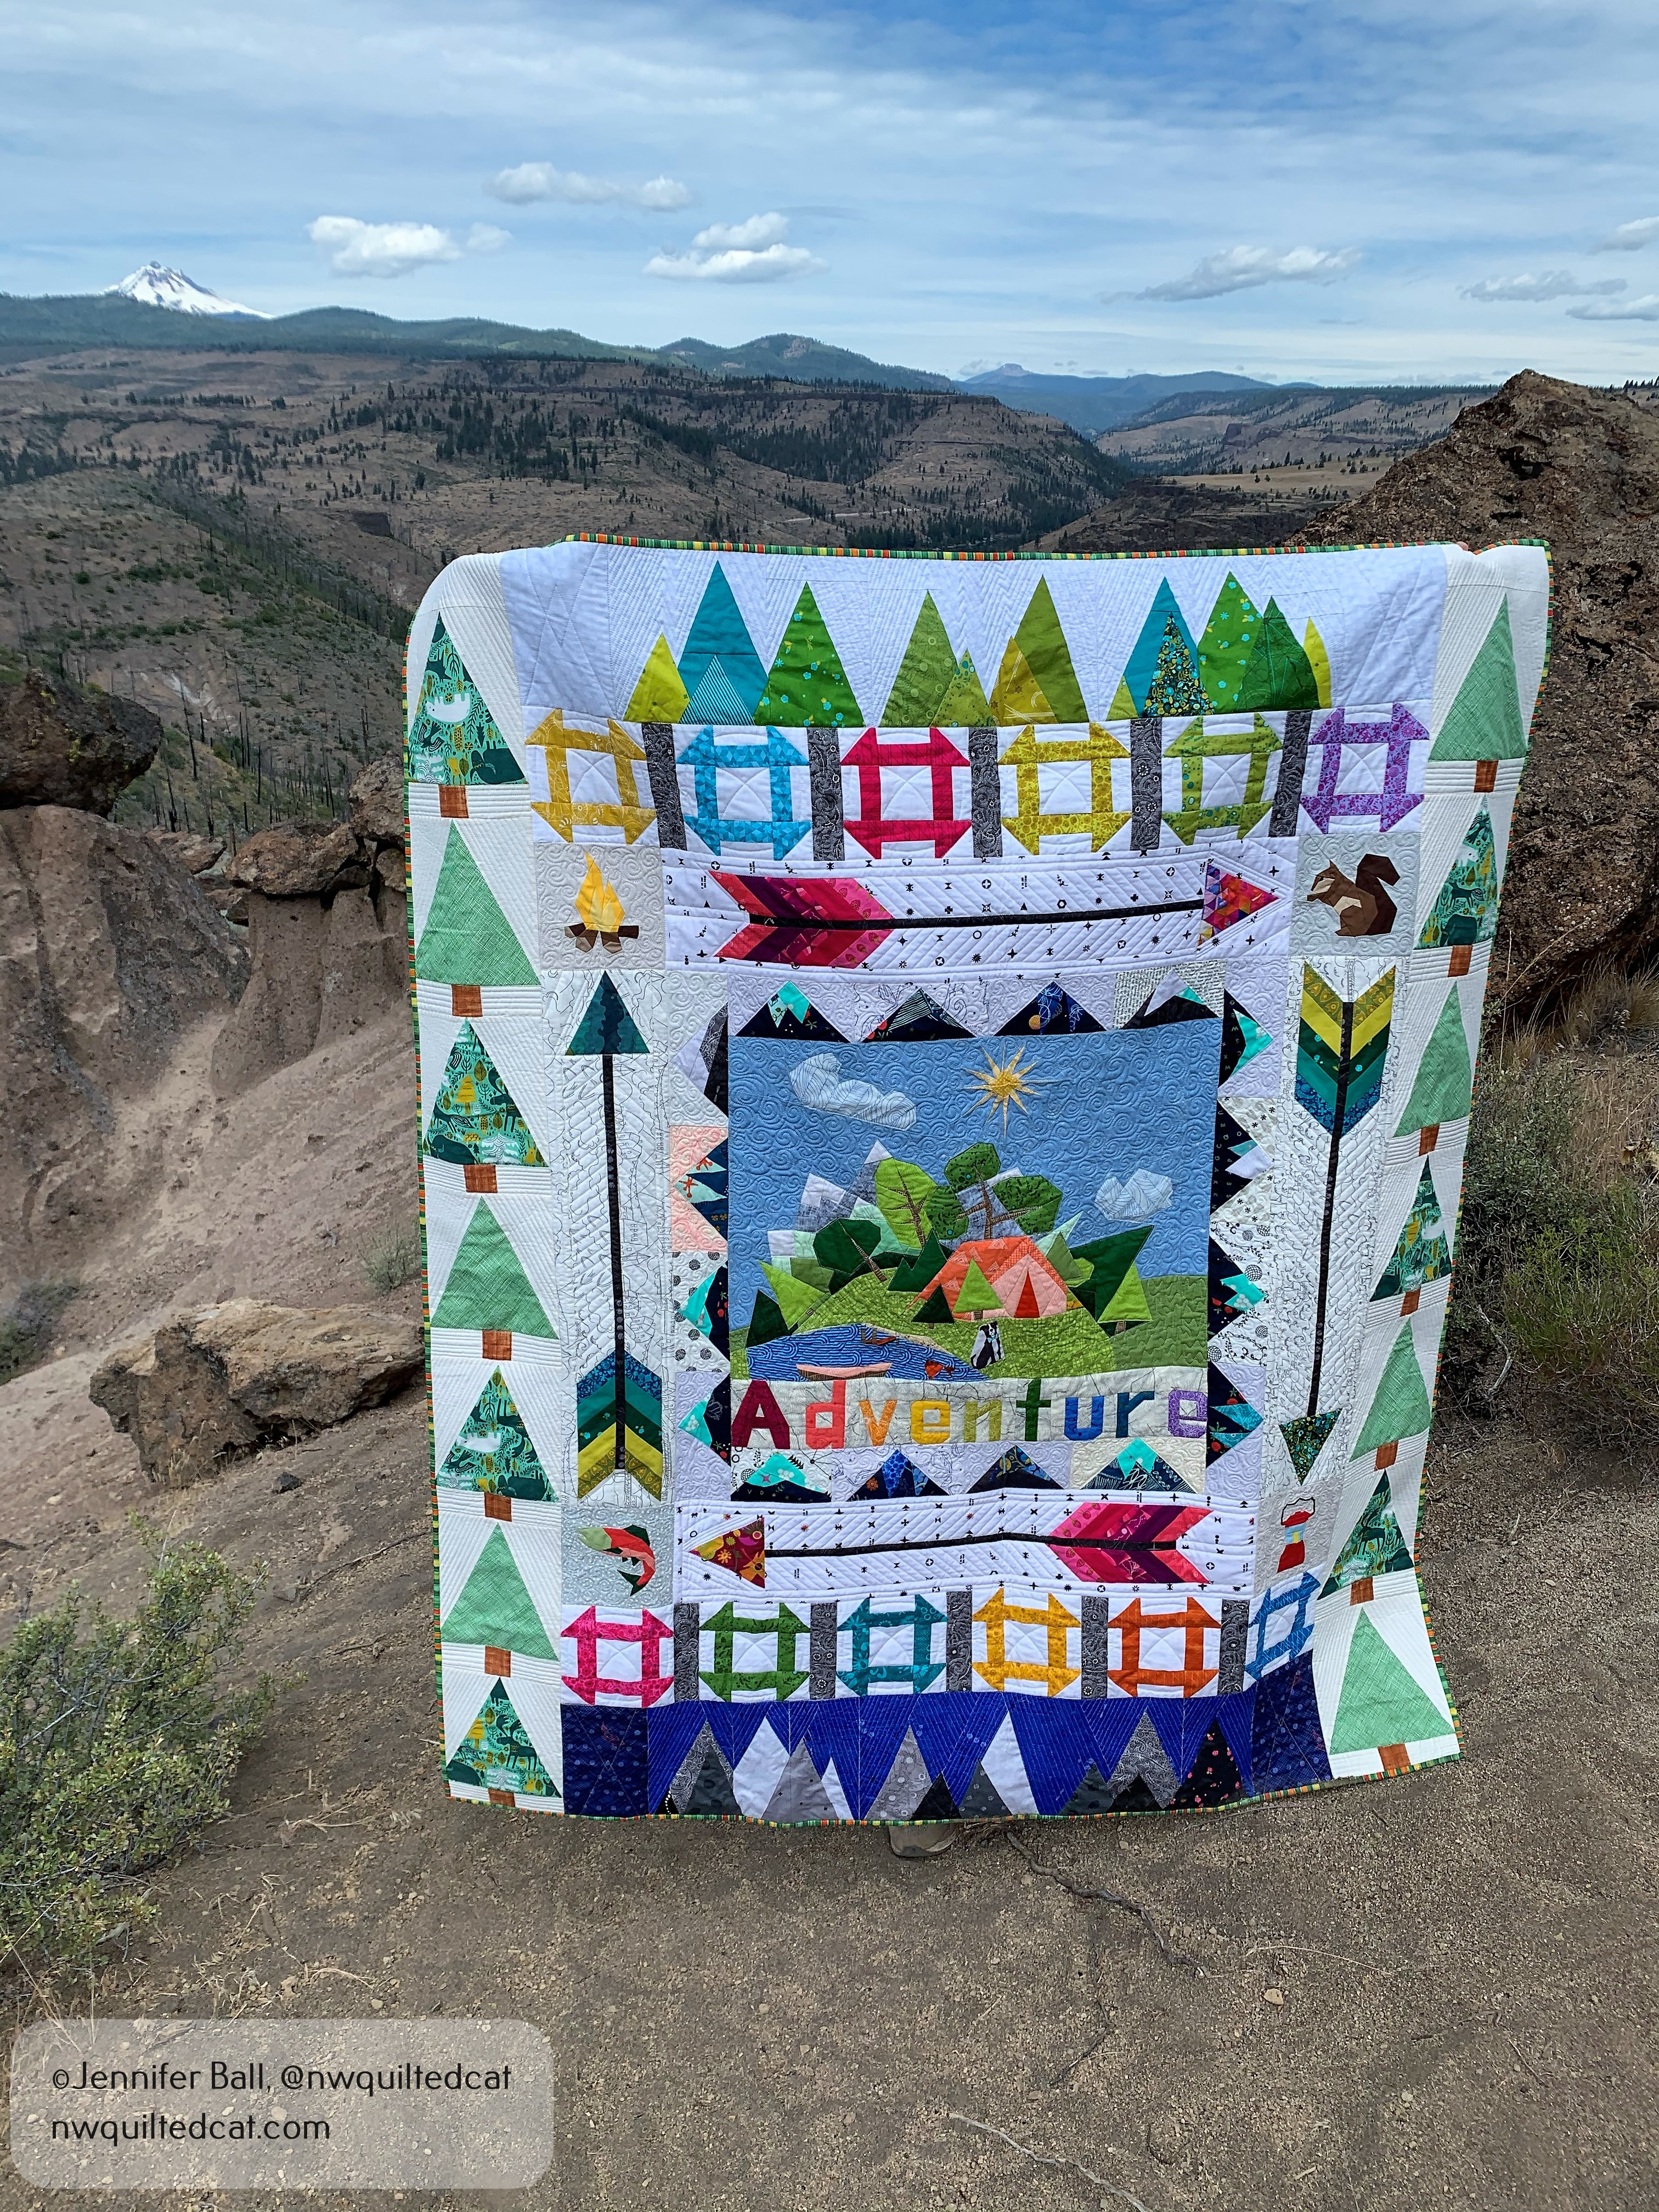
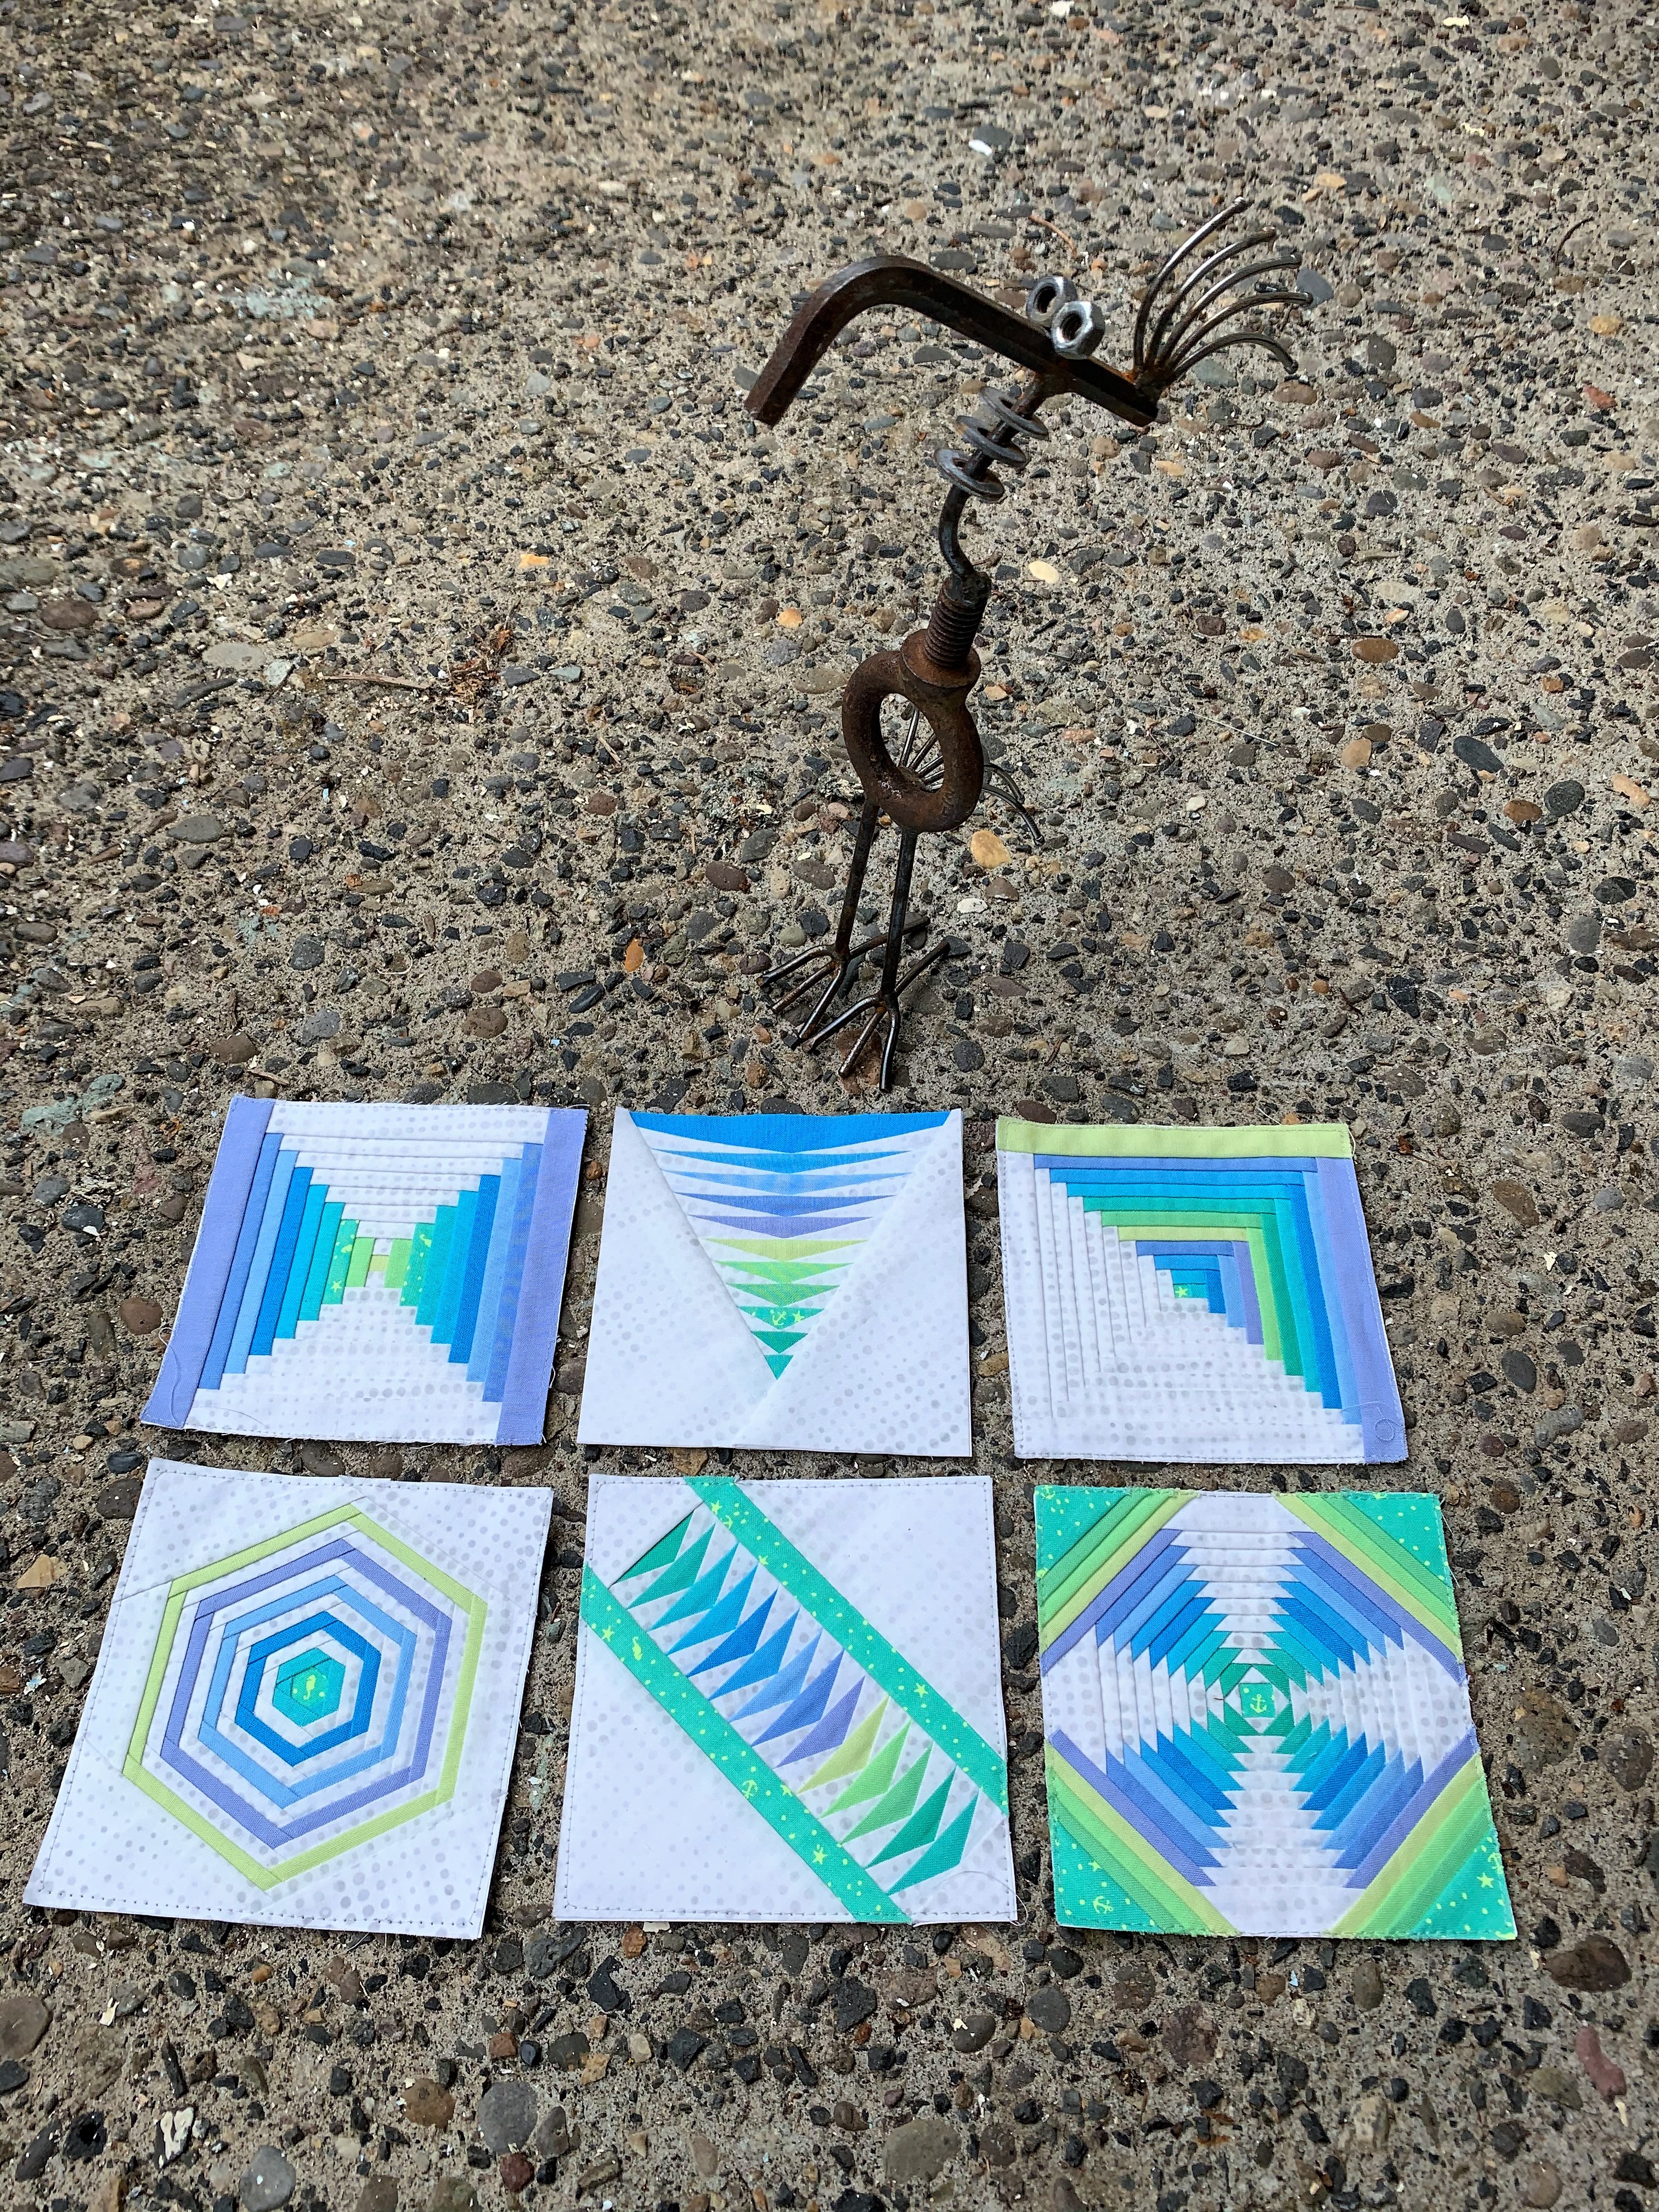
This past year, I did quite a bit of both foundation paper piecing and applique quilts. I love the precision of foundation paper piecing and the crisp edges that it gives. I recently completed a quilt along using this technique and will blog about it over the next few posts. I’ll also talk about my applique quilts and the wonderful experience that I had as an artist-in-residence last fall.
I’ve heard from some quilters who want to know about the tools that I use for foundation paper piecing so this post will focus on that topic. I do have a page on my blog that lists all of my favorite tools so you can amend your toolkit with these items. I use each tool to achieve foundation paper piecing perfection!
Foundation Paper Piecing Method
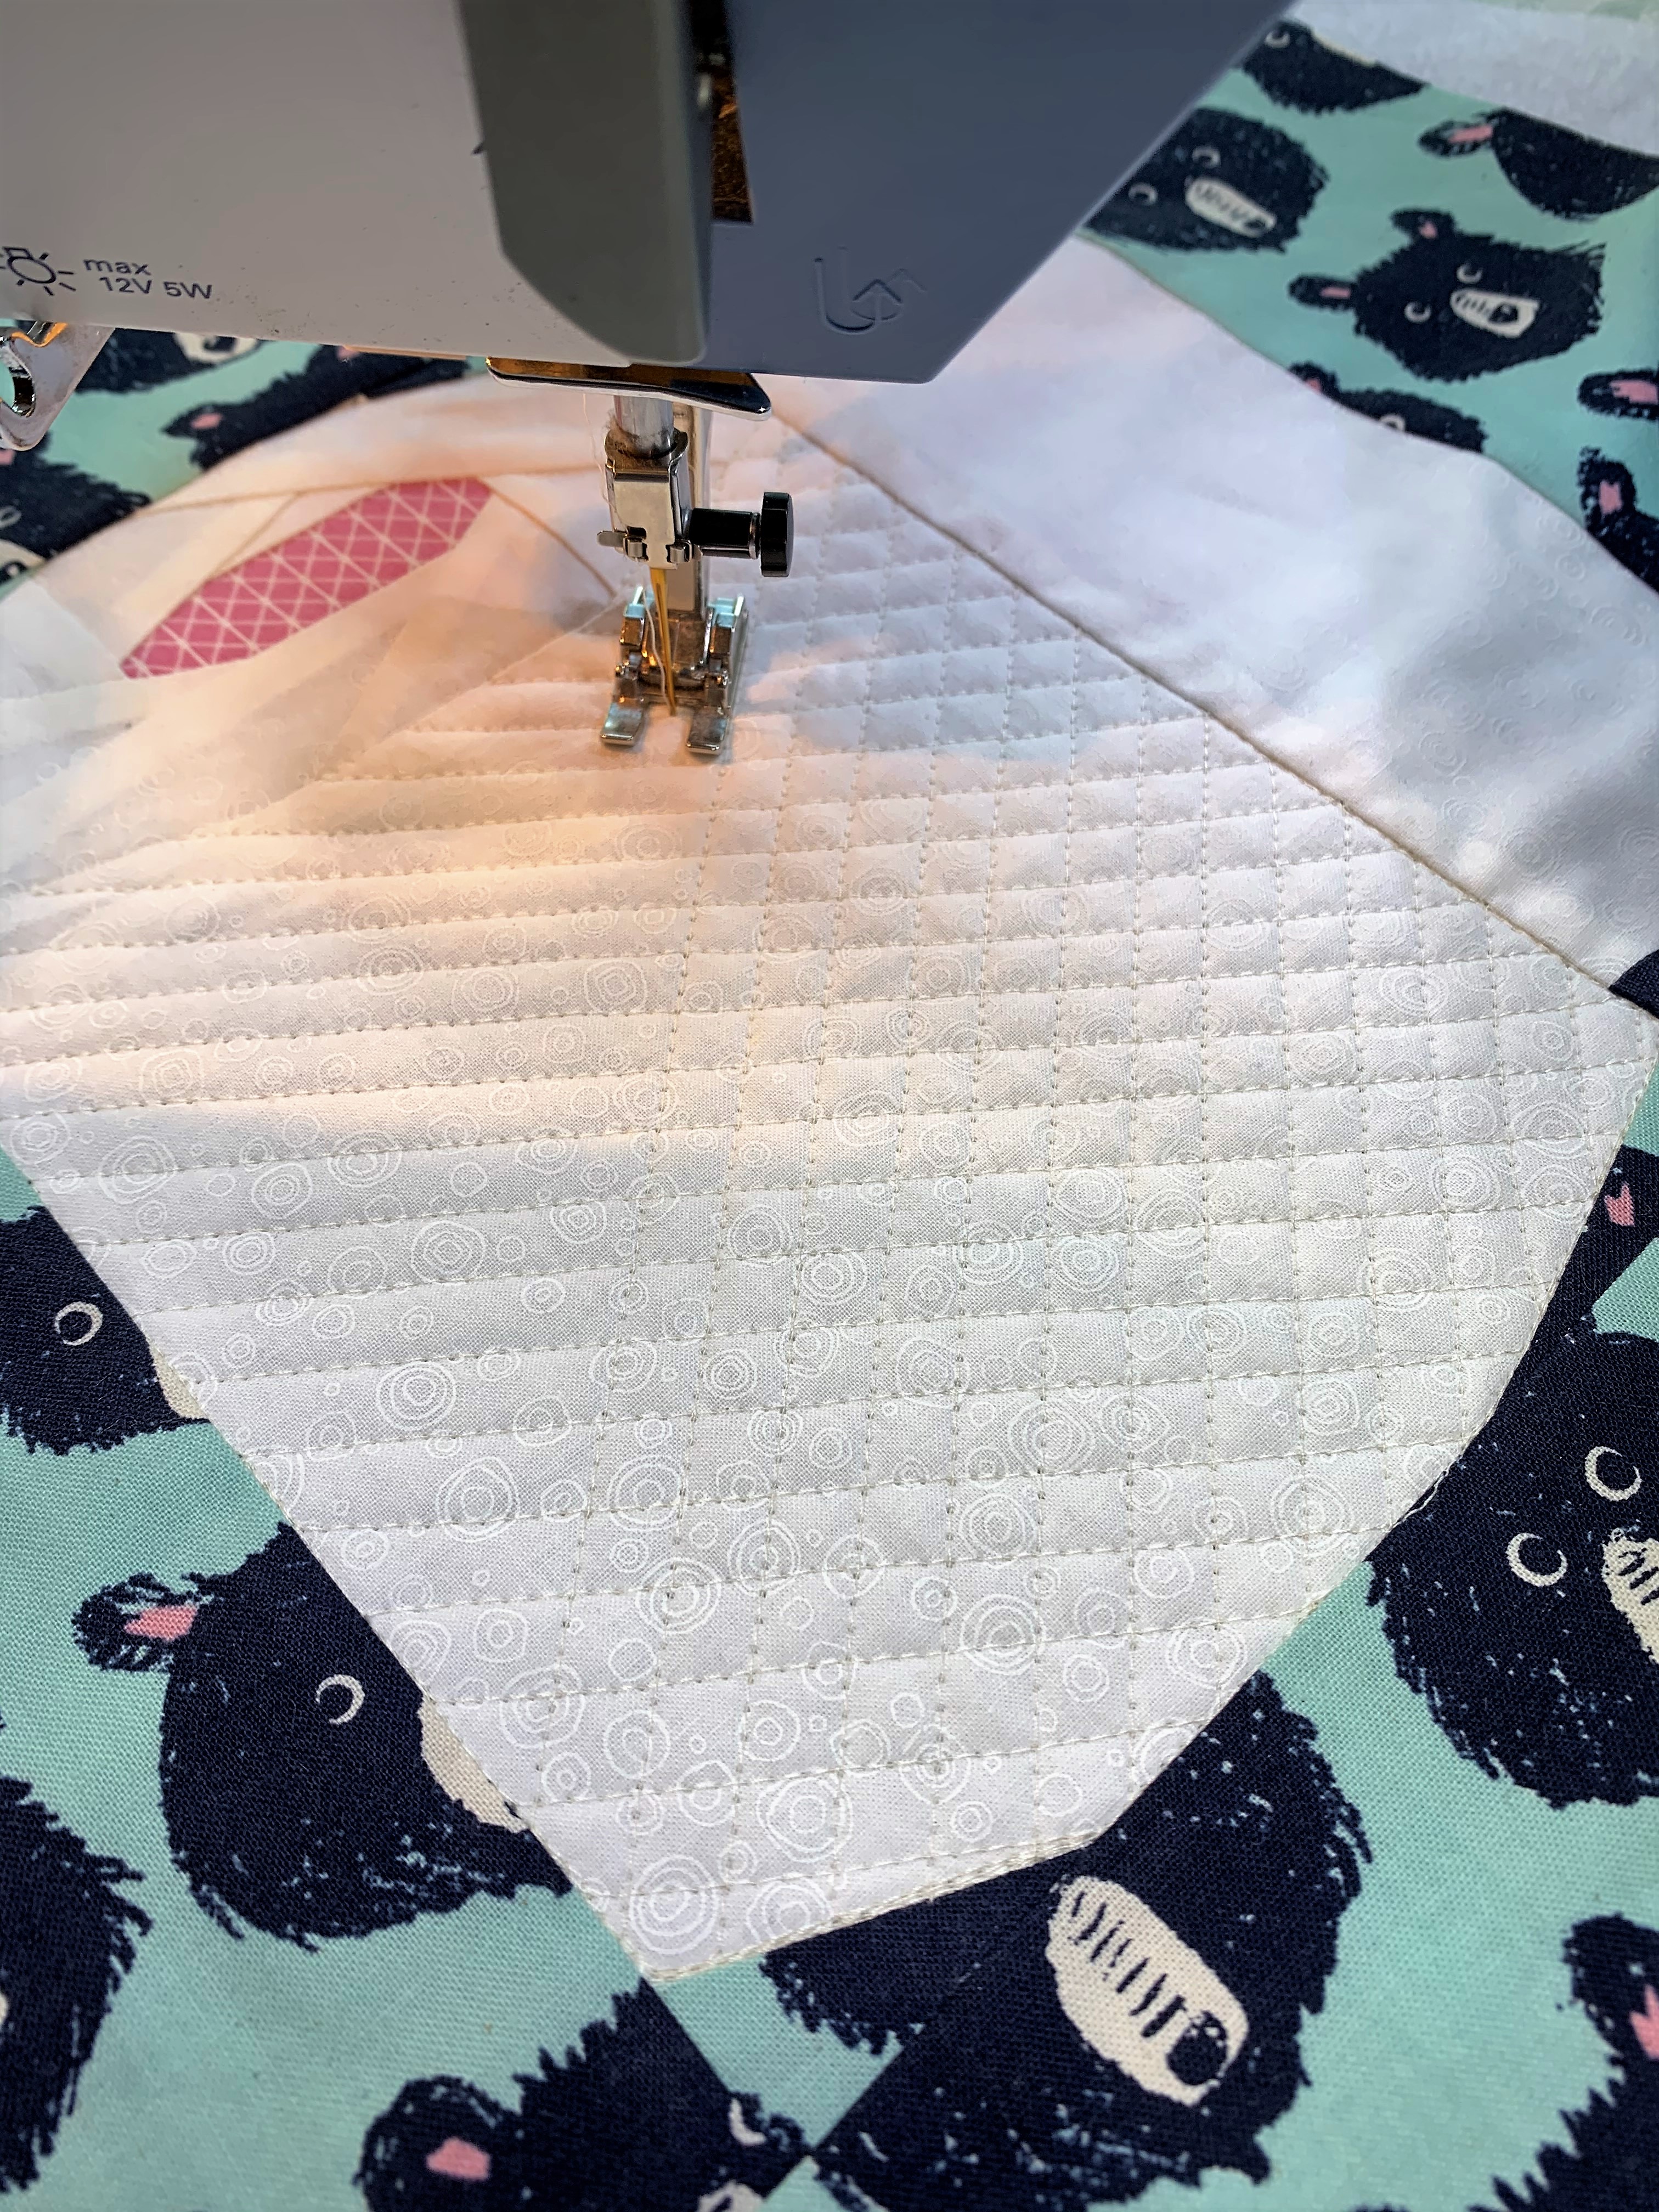
I use the TSP technique for foundation paper piecing, which I learned many years ago from Carol Doak. What is that, you may wonder? It stands for trim, stitch, and press. Essentially, I trim the seam with my add-a-quarter ruler, stitch the next seam using a 1.5″ stitch length, and then press that seam. And repeat!
Foundation Paper Piecing Tools
I use both a 6″ add-a-quarter ruler and a 12″ add-a-quarter ruler, depending on the size of my fabric pieces. I tape these rulers to a postcard to create a sort of flipping mechanism to align my foundation just right. I flip the ruler up, lay the postcard against the seam on the foundation, fold it back, and then trim the fabric underneath. You can get into a nice rhythm using this method, which makes foundation paper piecing a relaxing experience. I may do a little video of myself doing this method in a future post so you can visualize it better.
For the first piece of fabric, I use a little bit of roller adhesive tape rather than glue or pins. I find that glue hardens and makes a terrible little nub in your project, and pins tend to be too big for my small foundations. Remember to place your initial piece of fabric wrong side down. It’s the only piece that gets applied wrong side down! For the remaining pieces of fabric in your foundation, you’ll place the fabric right sides together.
I prefer to use a smaller rotary cutter for foundation paper piecing. My preferred size is a 28mm rotary cutter. For me, the 45mm rotary cutters are too large, although I do use them for cutting sashing, borders, or larger pieces of fabric.
When I do foundation paper piecing, I have a little cutting mat, a small wool pressing mat, and a mini iron next on a little table to me so I don’t have to get up for each step. For larger seams or when the block is complete, I will move to my big iron for pressing. However, I find having my little press and trim station next to my machine helps me to be very efficient at foundation paper piecing.
You can also use this method to chain piece foundations. Yes, you heard it correctly! You can chain piece while doing foundation paper piecing. I usually only chain piece when I’m making similar blocks. If the blocks are very different, then I do them individually so that I don’t get too confused.
If you found these tips and supplies helpful, give me a comment! Would you like to see little videos or pictures of these tips in future posts?
Happy quilting!
Jen