A Modern Cat Finish for the New Year!

Hello everyone!

While much of the country is getting hammered with winter storms, we woke up to a clear and sunny skies with temperatures reaching 48 degrees this afternoon. We took the opportunity to take a family walk in the sunshine, and I brought my first quilt finish of the year along with my camera.

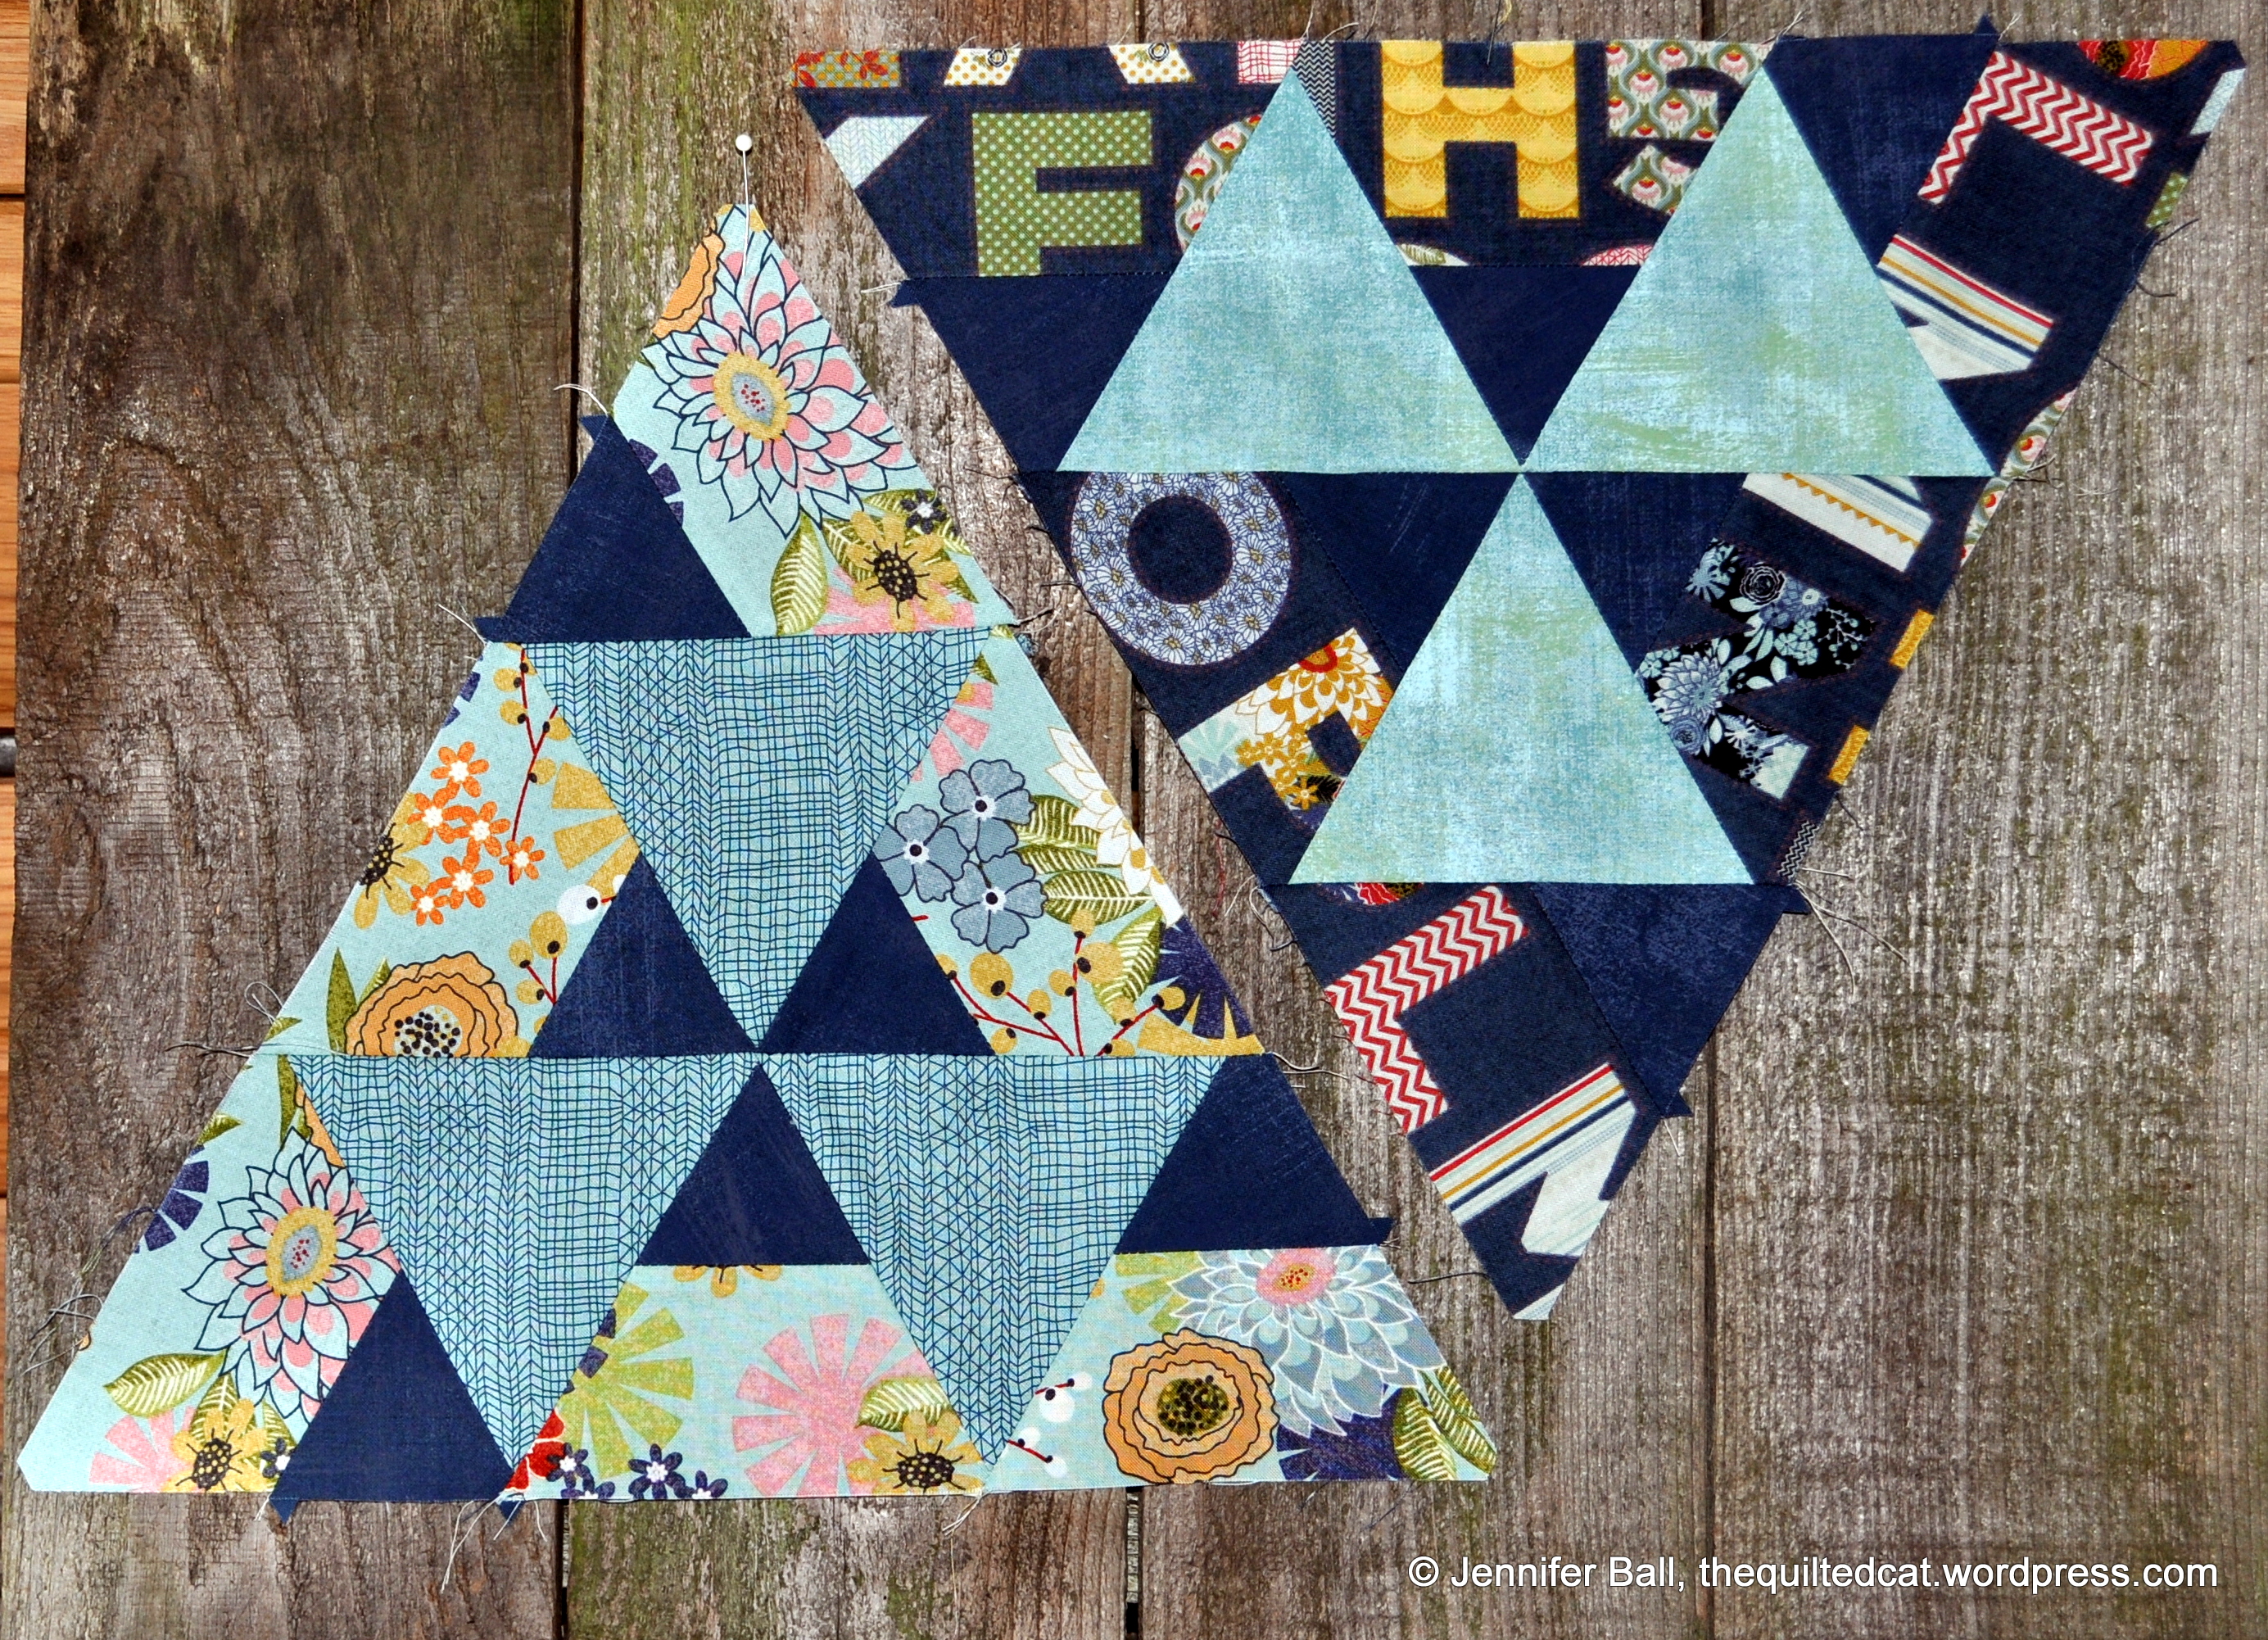
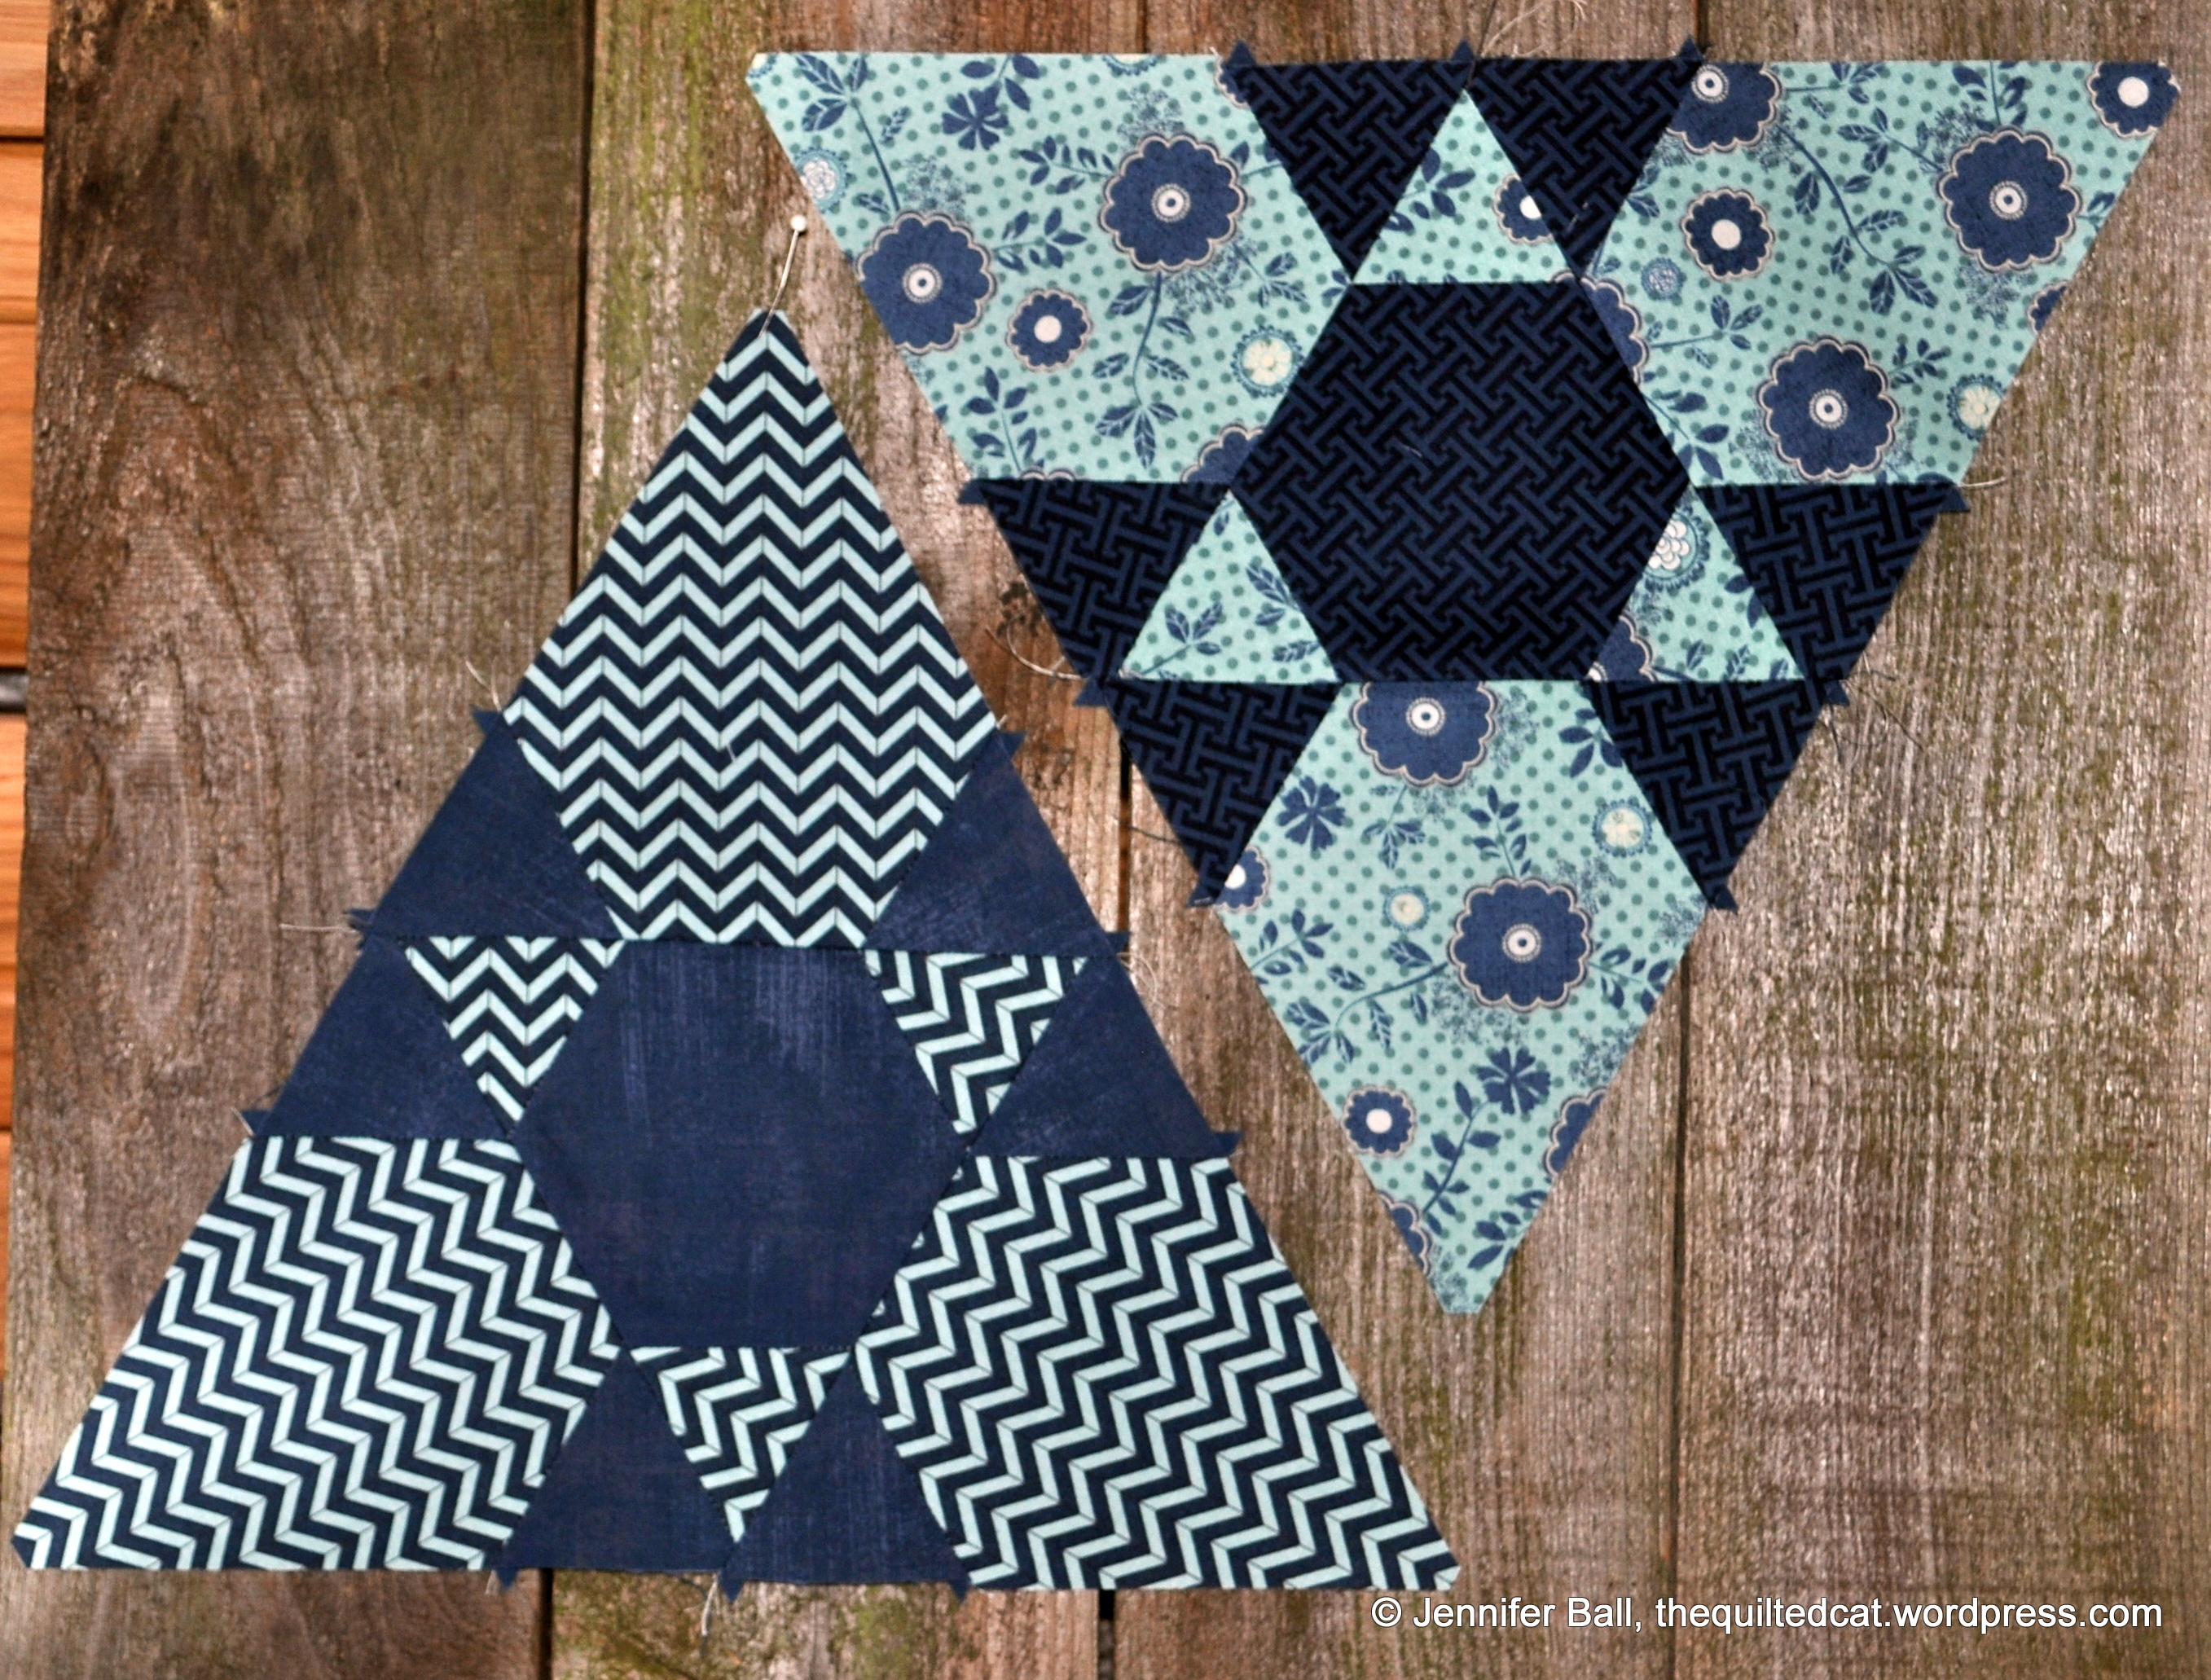
After the past several weeks, I finished piecing the cat blocks from the catevent hosted by Elizabeth of Oh Fransson! I modified the end quilt slightly by adding a calico cat print border and a small outer gray border.

This cat quilt is made from scraps and pieces from my stash. Each cat block is from numerous different fabric scraps. The gray background is Painter’s Canvas by Michael Miller in gray (#CJ-4816) and the calico cat print border is Happy Hills Calico Cat by Michael Miller in white (DY-784). I used Kona cotton in slate for the binding. It is entirely pieced with Aurifil thread.

For quilting, I used some shiny Sulky thread in a silvery/gray blended mix to give a nice sheen to the quilt top. I did straight-line stitching using my Bernina.

The quilting took almost 8 hours, and I couldn’t have done it without the help from my Machingers gloves!

Straight line quilting

Straight line quilting

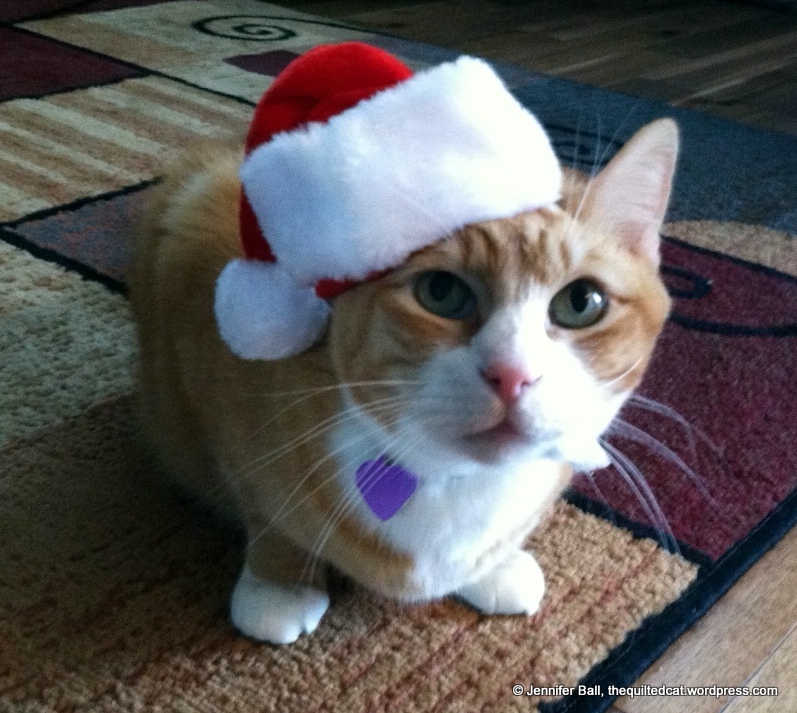
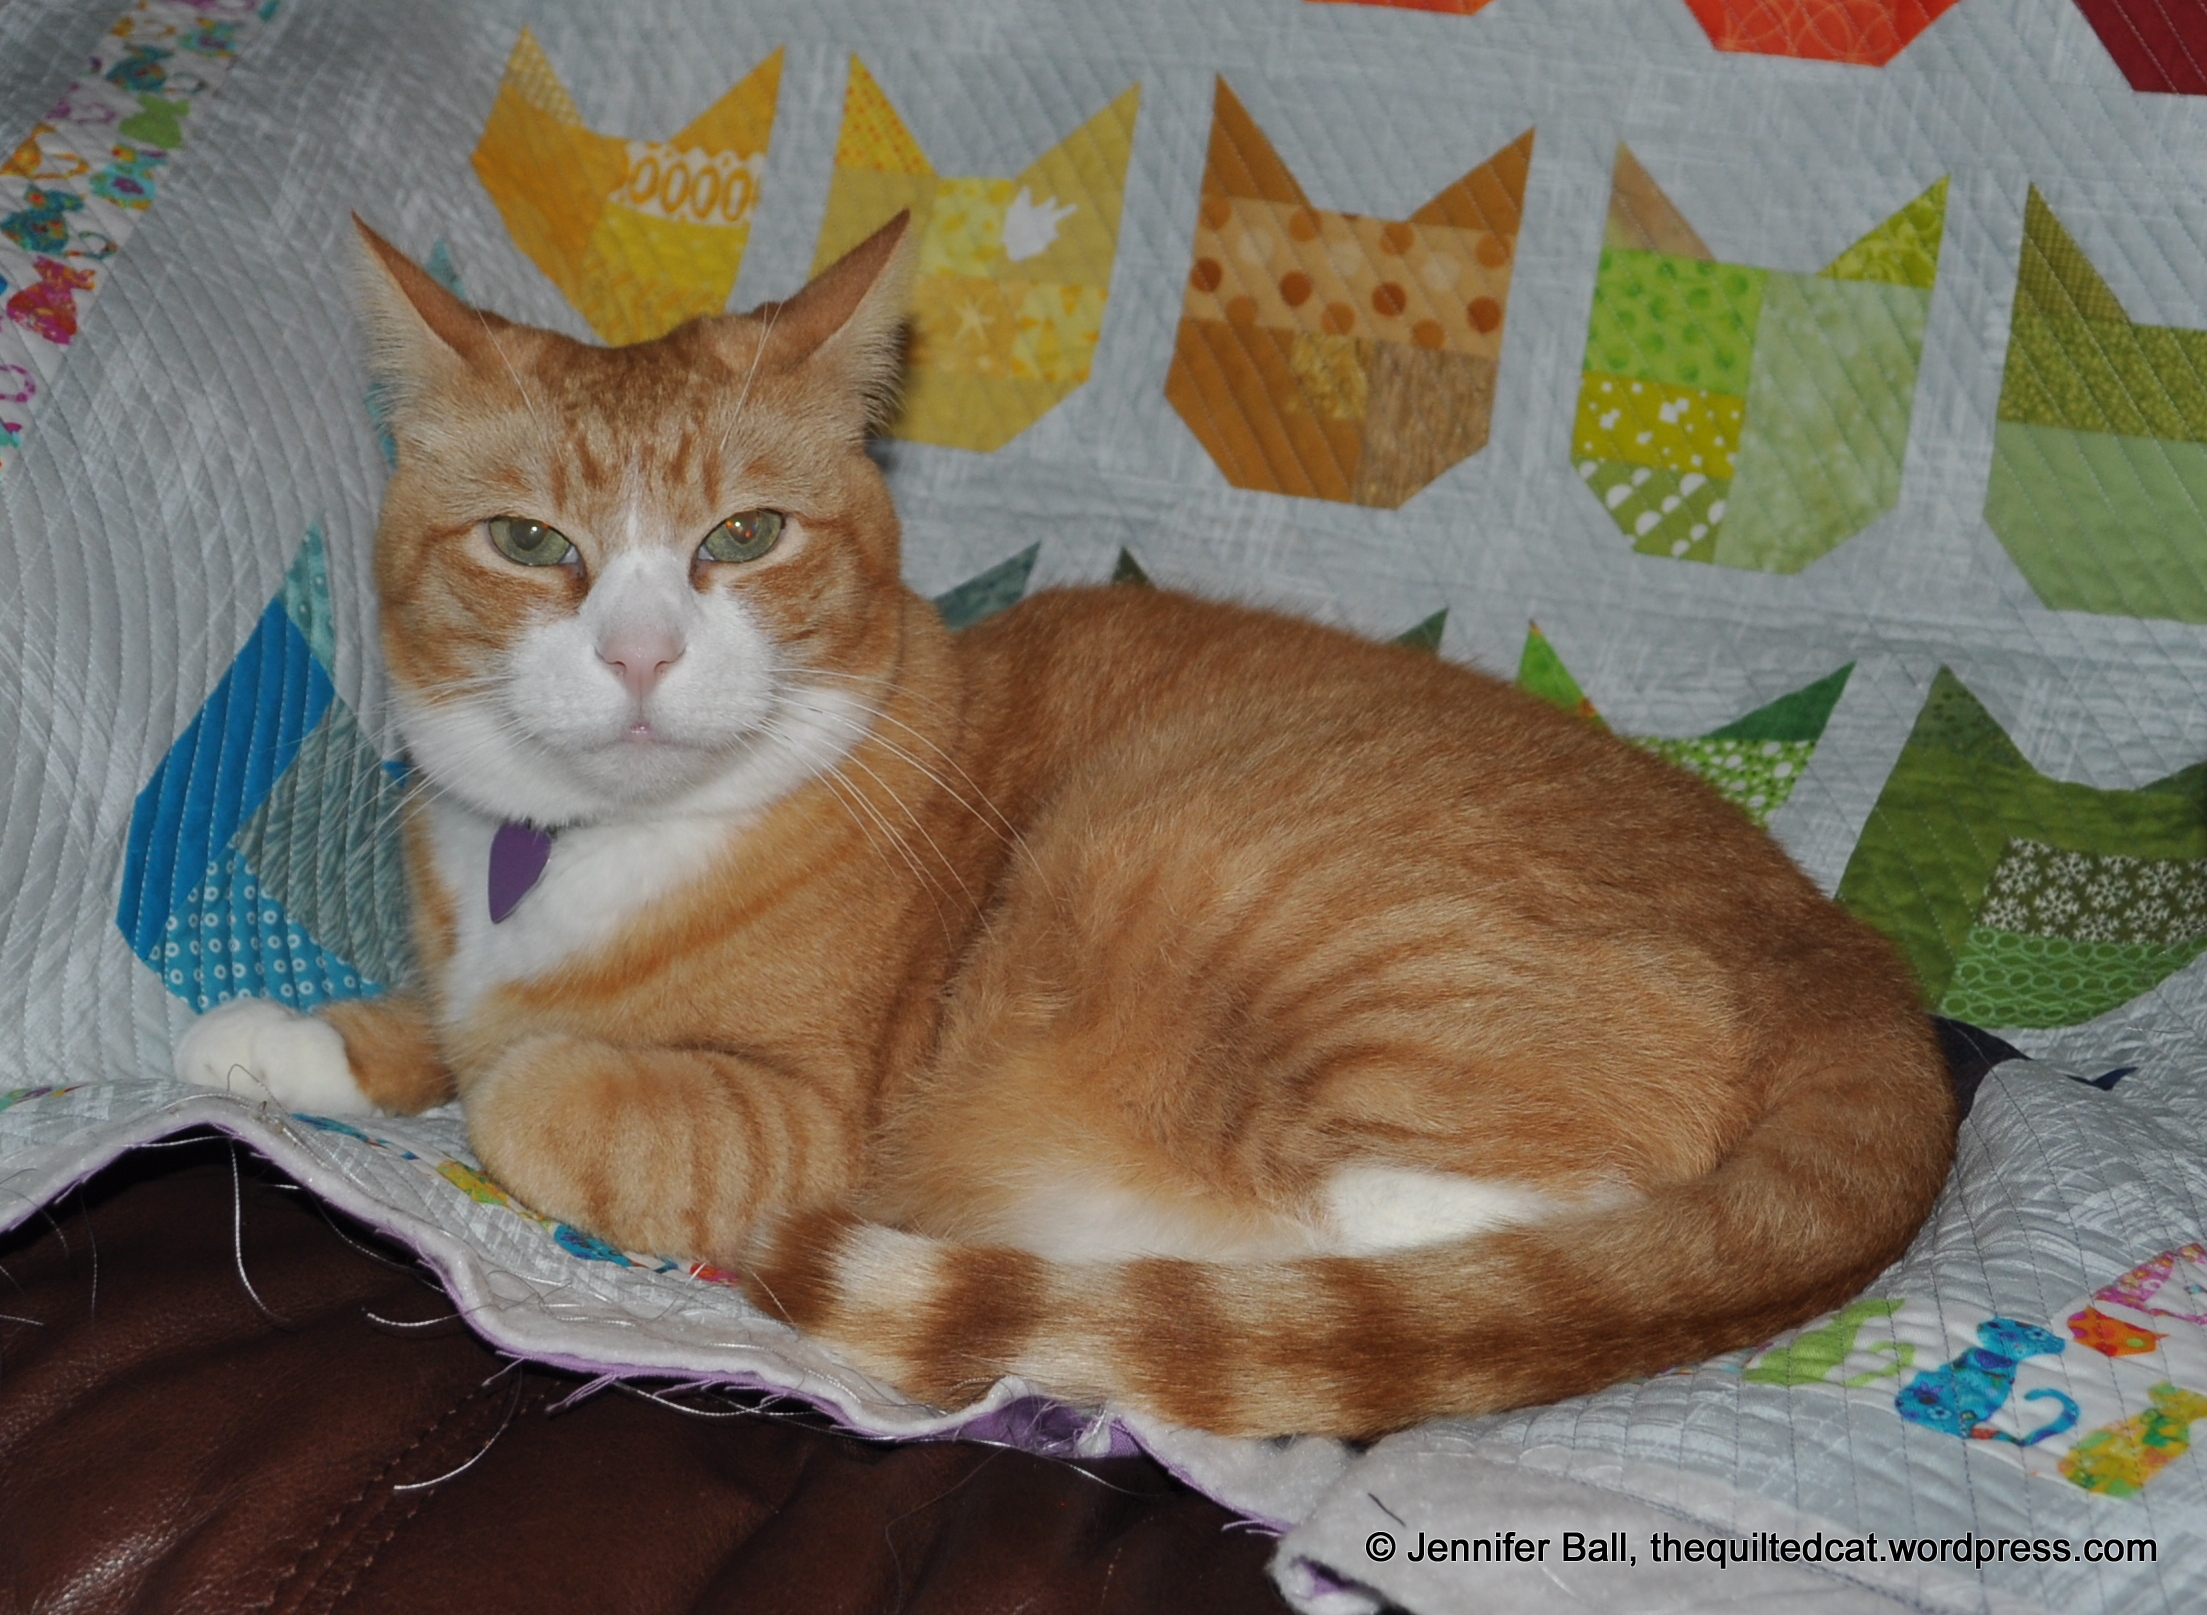
Here’s a look at the quilt flimsy with one of my cat inspectors:

Romeo Inspects the Cat Quilt

Romeo Inspects the Cat Quilt

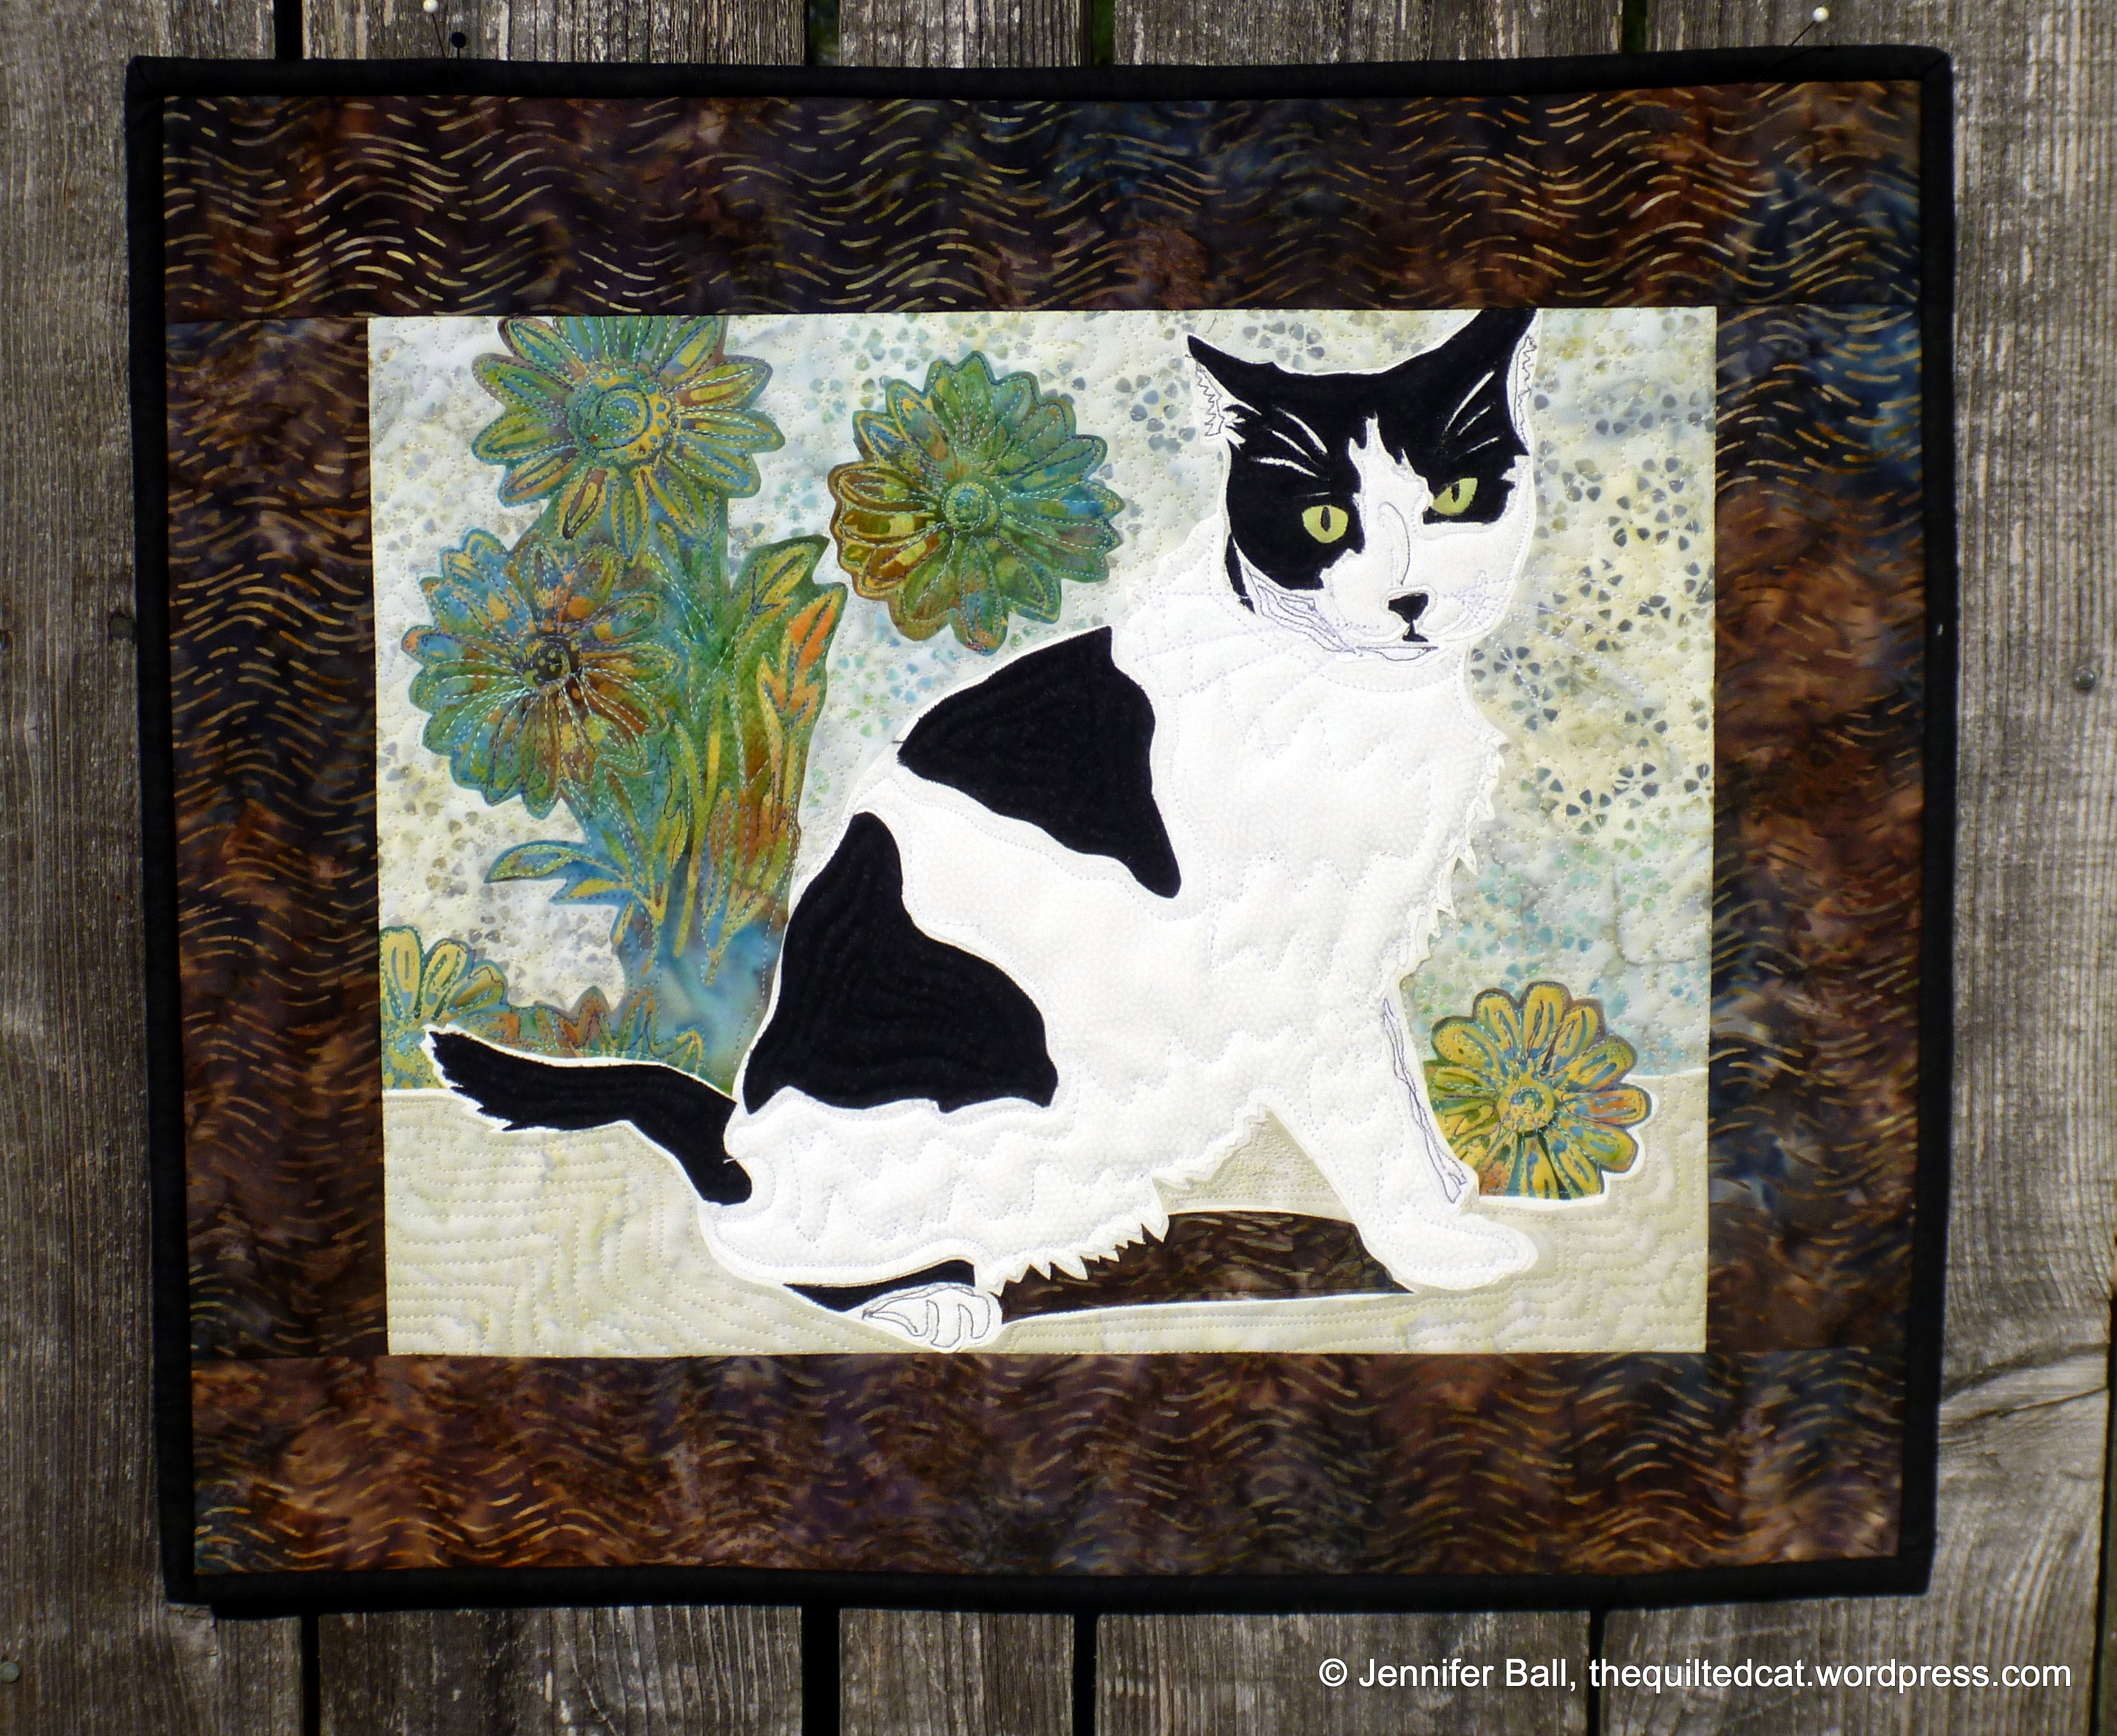
Here’s a look at another cat inspector sitting on the quilt sandwich. Only part of the quilting is completed here!

Tiger Likes the Cat Quilt!

Tiger Likes the Cat Quilt!

And, finally, here are some shots of the finished quilt in the Oregon sunshine:

Catevent Completed Quilt

Catevent Completed Quilt

Me, holding the completed cat quilt!

Me, holding the completed cat quilt!

My 8-year-old with the completed cat quilt!

My 8-year-old with the completed cat quilt!

My thanks to Elizabeth for designing these happy little cat blocks and for generously posting the instructions on her blog. I had so much fun making this project!

Wishing you much health, happiness, and quiltiness in the new year!
~Jennifer

Toes in the Sand BOM Update + Upcoming Blog Hop!

Happy Thursday, everyone! I hope you all had a great holiday and had time to work on some quilty projects this week.

I finally got caught up on the last 3 months of the Toes in the Sand BOM!! There are just 3 blocks left before assembling the quilt top. This is a project designed by Julie of Jaybird Quilts, and I signed up for the BOM via the Fat Quarter Shop.

First up is block #7 from October and the one with the most pieces. Hmm, maybe that’s why I fell behind!! It is called Pebble Beach.

Pebble Beach Block

Pebble Beach Block

The next one is block #8 from November and is called Santa Monica.

Santa Monica Block

Santa Monica Block

And finally the last block is #9 from December and is called Long Beach.

Long Beach Block

Long Beach Block

The fabrics are all from Basic Grey by Moda.

In January, I have a fun surprise for you using 13 different Kona cotton solids! I’ve finished piecing the top and now need to wrangle it into my domestic sewing machine for quilting. It’s about a twin-size which is pushing the limit for how much I can quilt on my machine. We’ll see how it goes! I’m participating in the Wake up to Kona blog hop, beginning on January 7th. My day to blog is January 20th so I do hope to see you then!

Here’s a little Christmas picture greeting from my quilty helper:

Meowy Christmas!

Meowy Christmas!

Tiger’s picture reminds me that I need to finish cat block #25 in Elizabeth’s Catvent Quilt-Along!

Enjoy!
~Jennifer

A Quilty Holiday House and Cat Quilt-Along #3

Happy weekend everyone!

As everyone finishes up their last bit of holiday sewing, I thought you might enjoy this needlework and quilt store from my little Christmas village:

A Holiday Needlework and Quilt Shop

A Holiday Needlework and Quilt Shop

I’ve been keeping up with Elizabeth’s Catevent quilt-along featured on her blog, Oh Fransson!

This week I made the following cat blocks:

Cat Quilt-Along, Week 3

Cat Quilt-Along, Week 3

On the top row, from left to right are: Max, Amelia, Boogie, Victor, and Monica. The bottom cat is Violet. I haven’t made today’s cat block number 22, Maslow. I will make that block today! Then, we’ll be down to just 3 cat blocks left before joining them together.

For the first time, both of my indoor cat quilt inspectors decided to get a closer look at these intriguing cat blocks. Usually, they’ll inspect edges of blocks or perhaps even walk across the blocks, but this time, the inspectors decided to just hang out on the blocks for a while!

Quilt Inspector Duo

Quilt Inspector Duo

My sister is also following along with this quilt-along. She doesn’t have a blog, but did send me a phone picture of her blocks so far.

Scrappy Cat Quilt-Along

Scrappy Cat Quilt-Along

I love the scrappy look of her cat blocks! I’m thinking of making some themed variations of this quilt using Halloween fabrics, Christmas fabrics, and patriotic fabrics.

Enjoy!
~Jennifer

Cat Quilt-Along, Week 2

Meow, Meow!

I’ve finished working on the cat blocks for week 2 of Elizabeth Hartman’s catvent on her blog, Oh Fransson! These cute little cat blocks have been a delight to sew this week in between some of my last minute Christmas projects. I definitely encourage you to join in on the fun! See my first post here.

Here are my cat blocks from the past week:

Cat Quilt-Along Blocks from Week 2

Cat Quilt-Along Blocks from Week 2

In the top row, from left to right are: Toby, Cannon and Jennifer.
In the bottom row, from left to right are: Lucy, Zeke, Barley, Marty, and Helen.

And here are the first 15 cat blocks:

First 15 Cat Quilt Blocks

First 15 Cat Quilt Blocks

There are 10 cat block left before final assembly. I can’t wait!

Enjoy!
~Jennifer

Cat Quilt-Along

Hi everyone,

I started working on the one-block-a-day cat quilt-along project by Elizabeth of Oh Fransson! She has created a cute sampler quilt that is the perfect scrap buster. The completed project will be 30-inches by 35-inches and features 25 different patchwork cat blocks.

I finished up the first week’s batch of blocks today. Each block comes together very quickly. It takes me longer to choose the scraps and fabrics from my stash!

You do need a yard of fabric for the background. I had a piece of Painter’s Canvas by Michael Miller in gray (#CJ-4816) in my stash that I’m using. I love the subtle texture to the fabric.

Here’s a look at the first 7 cat blocks:

Cat Quilt-Along, Week 1

Cat Quilt-Along, Week 1

Elizabeth has also named the cats so I’d love to somehow work the names into the finished project. I’m not sure how yet!

In the photo, the cats in the top row from left to right are: Ferdinand, Bernadette, Sunny, Mia, and Ralphio. In the second row, from left to right are: Chowder and Krista.

Of course, I tried to ask my quilt inspector what he thought of this project. I think he loves it!

Tiger Likes the Cat Blocks!

Tiger Likes the Cat Blocks!

I’m really enjoying this project since the blocks are so quick to make, and I can wedge them in between my other projects! My goal is to work on them as I can throughout the work week, and then play catch up on the weekend. I will keep my blog updated with photos of my cat quilt-along blocks.

If you’re participating in the cat quilt-along, I’d love to see your blocks!

Meowy quilting!
~Jennifer

Cow Cat, Another Quilted Portrait

Happy Wednesday everyone!

Over the Thanksgiving holiday, my family traveled to visit with my sister, brother-in-law, and nephew. We had such a great family time and enjoyed yummy homemade apple and huckleberry pies!

In August, my sister and I worked on making quilted fabric portraits of two of my cats – Tiger and Cow. I finished the Tiger Quilted Cat portrait (and mascot of my blog!) earlier and you can read about it here.

My sister finished up the quilted Cow cat and gave it to me over Thanksgiving. There was just one teensy, weensy detail that I added – Cow’s whiskers. He’s a cat who is very proud of his long, white whiskers so I just used plain white thread and a basic straight stitch to add them to the portrait.

Here is the inspiration photo that I took of Cow this past March:

Cow cat

Cow cat

Here is the finished quilted Cow cat wall-hanging:

Quilted Cow Cat

Quilted Cow Cat

And a close-up of his face:

Cow Cat Face Close-Up

Cow Cat Face Close-Up

Isn’t he a handsome fellow? He usually “helps” me take outdoor photos of my quilty projects. Today, I think he was off enjoying the sunshine before the next rain (or snow) shower appears.

Thanks to my sister for this beautiful project. I have the perfect place to hang it!

Hope you enjoy the second quilted cat!
~Jennifer

Wicked Blog Hop and Giveaway!

Greetings and welcome to day 1 of the Wicked Blog Hop, brought to us by the wickedly fabulous Madame Samm and our devilishly delightful cheerleader, Wendy!

My project for this Halloween Hop is inspired by my handsome black and white cat and a pumpkin patch:

These two images combined in my creative cauldron, and I developed a wicked recipe for a quilted wall-hanging featuring a cat sitting amongst whimsical pumpkins!

Here’s a look at the completed quilt, called “Pumpkin Patch Cat.”

Pumpkin Patch Cat Completed Quilt Top

Pumpkin Patch Cat Completed Quilt Top

Pumpkin Patch Cat Quilt

Pumpkin Patch Cat Quilt

This little wall-hanging finishes at 11.5 inches x 13 inches and can be made in a day and quilted on your domestic sewing machine. I echo quilted around each pumpkin and the cat. I then quilted stars and a moon in the purple background.

Just look at the wickedly handsome cat!!
DSC_0294

You can add your own details to this pattern very easily! My pattern tester and sister extraordinaire made the cat solid black and added a little witch’s hat:

Black Cat with Witch's Hat

Black Cat with Witch’s Hat

Giveaway Details!
One lucky blog hop commenter will win a free copy of my Pumpkin Patch Cat pattern! I will use a random number generator to pick the lucky winner on Halloween, which is the last day of the hop. Be sure to leave me a comment!

You can also purchase this pattern from my Craftsy shop.

Hop on over to these fellow bloggers today to enjoy some more Halloween treats:
Grammie Q’s
Stitchin by the Lake
Quilted Delights
Buzzing and Bumbling
Vrooman’s Quilts
Life in the Scrapatch
Meadowbrook
Patchouli Moon Studio
The Nosy Pepper
Sew Incredibly Crazy

If you get lost along the hop while admiring the many wicked treasures or if you want to see the full list of participants, just click on the Wicked Blog Hop button located in the right hand pane of my blog.

Grab a tasty goblin brew and enjoy!
~Jennifer

Tiger, a Fabric Portrait of the Quilted Cat

The name of my blog, the Quilted Cat, comes from my love of quilting and from my chief fabric and quilt inspector, Tiger. He is my orange and white cat buddy who always gives the final paws up or paws down on projects. I thought it was time that I made a fabric portrait of Tiger by using one of my pictures of him and making my own appliqued pattern from it.

I started with a close-up photo of Tiger that really captures his focus and intensity during the quilt inspection process. I then created the appliqued portion of the quilt using Sue Olsen’s technique called “design to free-motion line.” This is a fun technique where you build your fabric image on a muslin foundation and then free-motion quilt using your regular domestic sewing machine.

Once I completed the applique portion, I decided to add an inner border of black to frame the design. Then, I added the batik dark blue as the outside border. To punch up the border and to draw the eye in towards the cat figure, I paper-pieced some corners using the same fabrics that I used in the cat. I used the 3-inch fan block from Carol Doak’s book, 50 Little Paper-Pieced Blocks.

Here is a look at the completed quilt:

Tiger, the Quilted Cat

Tiger, the Quilted Cat

Here are some close-ups of the free-motion quilting and the paper-pieced corner blocks:

Here’s my favorite picture of this quilt with Tiger inspecting it. I think he approves!

Tiger inspects his quilt

Tiger inspects his quilt

I’m really happy with how this project turned out. The technique allows you to be very creative with fabric choices and stitching so give it a try!

Happy quilting!
~Jennifer

Glacier National Park and Star Surround QAL

With summer winding down here in the Pacific Northwest and the kids almost ready to go back to school, I went with my family on a last summer trip to visit Glacier National Park. We did some hiking and saw wildlife from bears to goats to cute little rodents!

Although the mountains in Glacier were a bit obscured from local wildfires, we still managed to get a few good pictures.

Here’s Swiftcurrent Lake:

Swiftcurrent Lake, Glacier National Park

Swiftcurrent Lake, Glacier National Park

We hiked up to Grinnell Lake:

Grinnell Lake, Glacier National Park

Grinnell Lake, Glacier National Park

I missed a week on the Star Surround QAL project so I had to catch up on the last 2 weeks once I returned home from Glacier.

Here’s a pic of the block surrounds pieced and ready:

Star Surround Pieces

Star Surround Pieces

Once I completed all these building block pieces, I could then begin assembling my 9 star blocks:

9 Star Surround Blocks

9 Star Surround Blocks

The last step to get all caught up with the quilt-a-long was to assemble the stars into 3 blocks by 3 blocks to create the finished quilt top. I decided to take a picture of the complete top outside in the afternoon light when, to my surprise, my Cow cat decided to check out the quilt and give his approval:

I had so much fun on vacation, but I’m happy to be back home!

Here’s a last look at one of our mountain goat friends at Glacier:

Goat at Glacier National Park

Goat at Glacier National Park

Hope everyone had a great summer and here’s to a great September!
~Jennifer

Toes in the Sand BOM, months 3 and 4

Oh my, I haven’t blogged about the Toes in the Sand BOM since May! I got distracted by the Sisters Outdoor Quilt Show and some another must-do quilty projects that popped up in the last few weeks. I did get caught up with months 3 and 4 when, wouldn’t you know it, month 5 arrived in the mail! Hopefully, I’ll get month 5 finished in the next several weeks. Check out my earlier post on this BOM by Jaybird Quilts here.

For month three, we made 2 Venice Beach blocks. This block has quite a bit of movement since each triangle is cut from 4 strips of fabric sewn together. During month four, we made 2 Sonoma Coast blocks. I really like the half hexies combined with the little triangles in this block.

In the photo, the Venice Beach blocks are the top two while the Sonoma Coast blocks are the lower two.

Toes in the Sand, 3 and 4

Toes in the Sand, 3 and 4

I have to share these two pictures of my cat quilting helpers. They just can’t resist examining quilt projects when I try to take photos!