New Quilt Shop in Oregon

Recently, my son and I visited a local pet store to pick up some supplies. While parking the car, I saw the word “sew” out of the corner of my eye! Wait, what?

With 9-year-old in tow, I walked down the sidewalk and found that a new quilt shop has opened in Oregon, specifically in Wilsonville. The store is called Sewn Loverly and has its grand opening this Saturday, September 6th starting at 10:00 a.m. This store is owned and operated by a mother/daughter duo, and I’ve already stopped in 3 or 4 times. They know me now, ha, ha!

Here’s the store front:

Sewn Loverly

Sewn Loverly

I picked up some fun Halloween fabrics to use in a blog hop that I’m participating in this October. I’ve got a cute project in mind, but can’t reveal it quite yet. I posted this photo earlier to Instagram:

New Halloween Fabrics

New Halloween Fabrics

If you’re in the area, be sure to stop by and say hello to the wonderful gals at Sewn Loverly!

Happy quilting,
Jennifer

Aurifil BOM – August

Happy Wednesday, quilty friends!

It’s been a crazy couple of weeks, and I haven’t updated my blog as regularly as I’d like. I’ve been working on several projects with deadlines that are finally completed. Both projects will be in the mail tomorrow. One is a special quilt project for a magazine that I will be able to share with you in November. Until then, no sneak peeks!! 🙂

I have so many BOMs and other projects “in the works” right now, ha! I finished the August block for the Aurifil BOM. This month’s block is called “Aurifil Button” and is designed by Michele Foster.

Here’s a look at my August block with a beautiful 1919 Red Eye Singer that I found last week at a local Goodwill for $25!! (No, I didn’t sew the block on the Singer. It works, but I want to clean her up a bit first).

Aurifil BOM - August block with 1919 Singer Red Eye

Aurifil BOM – August block with 1919 Singer Red Eye

Here is the block alone:

"Aurifil Button" - August Block

“Aurifil Button” – August Block

We have now made 8 blocks for the Aurifil BOM this year. Just 4 more blocks to go!

Aurifil BOM, Blocks 1-8

Aurifil BOM, Blocks 1-8

I’m really behind on my Vice Versa BOM. I need to finish up June, July and August – oops!

Hope you are enjoying some nice weather and getting some sewing time this summer.

Enjoy,
~Jennifer

Chicken Challenge Class at a Quilter’s Affair in Sisters

Happy Monday, everyone!

Last week, I was able to take 2 classes at the Quilter’s Affair event leading up to the Sisters Outdoor Quilt Show. I took the classes with my sister and we had so much fun! We did stay for the quilt show, and I will upload some pictures of the show later this week.

We took a 2-day class called “Chicken Challenge” taught by Ann Shaw. Students could choose from several of Ann’s chicken patterns to use in the class. Ann is a fun and entertaining instructor who really helped the class understand the importance of fabric selection and placement in creating these unique pieced quilts. Yes, these quilts are pieced and not appliqued! Ann teaches a straight-line sewing technique based on Ruth McDowell’s wonderful art quilt methodologies.

Here’s a look at my chicken part way through the fabric audition process. The pattern is Gallus Gallus by Ann Shaw.

Gallus Gallus Fabric Auditions

Gallus Gallus Fabric Auditions

Although we both selected the same pattern, my sister and I selected different fabrics to create 2 equally colorful roosters:

Side-by-Side Roosters

Side-by-Side Roosters

We brought a variety of fabrics for the class, but naturally found ourselves shopping for more fabric yumminess from the Stitchin’ Post after class. With Ann’s help, I decided that my chicken needed to have a black and white background so I found myself petting bolt after bolt on Thursday afternoon before choosing a few pieces. I also picked up a wonderful Kaffe Fasset print for the ground.

My sister picked a great white-on-black print for her ground and used a neutral gray sketch fabric for her background that we had in our stash. I just finished piecing my chicken with about 30 minutes or so to spare in class. My sister almost finished her chicken and only has a couple of seams left to sew at home.

Here are our pieced roosters with backgrounds:

Pieced Roosters

Pieced Roosters

I plan on changing my borders slightly this week and will then quilt up my Gallus Gallus!

I did get a chance to snap a few pictures of some of the other chickens created by our fellow class members. I’m missing a few of the chickens, but these pictures will give you a good idea of how the fabric selections can really change the look of the pattern. Whenever possible, I tried to include the participant’s name in the photo. If you were in the class, please leave a comment!

Here’s a sample that Ann had finished using the Gallus Gallus pattern. This quilt was on display at the mini store inside Sisters High School.

Completed Gallus Gallus by Ann Shaw

Completed Gallus Gallus by Ann Shaw

My thanks goes to Ann for teaching such a wonderful class! Can’t wait for next year.

Enjoy!
~Jennifer

I Love 2 Quilt – Pattern Tester and Reveal

Happy Friday, everyone!

Several weeks ago, Lorna over at Sew Fresh Quilts asked for some pattern testers to try out 2 new mini quilt patterns. I selected the “I Love 2 Quilt” pattern, and off I went into my scrap bin to find bits and pieces to use on this cute quilt.

I quilted mine on my Bernina Activa 145 using Aurifil 50 wt in Light Sand (#2000) with a combination of little flowers in the white border, an all-over stippling in the other white areas, and straight-line quilting on the colorful fabrics.

I added an extra outer border using this fabulous green tape measure fabric from the “She Who Sews” line by Quilting Treasures. I used the same green fabric for the binding. The background fabric is Kona Snow, and all the solid and patterned fabrics are from my stash.

My mini quilt finishes at about 34″ by 19″ with extra border.

Here’s a look at the completed project:

I Love 2 Quilt Completed Mini

I Love 2 Quilt Completed Mini

Photography Assistant!

Photography Assistant!

Close-up view of free motion quilting

Close-up view of free motion quilting

For the back, I had another piece of fabric from the She Who Sews line that I think really works well with this quilt.

I Love 2 Quilt - With Backing Fabric Showing

I Love 2 Quilt – With Backing Fabric Showing

Back of I Love 2 Quilt Mini

Back of I Love 2 Quilt Mini

I had fun making this mini quilt, and I’d like to thank Lorna for the opportunity to be a pattern tester. I’m going to keep this one and hang it up in my sewing room.

Check out all the other quilt tops and finished quilts over at the linky party at Sew Fresh Quilts.

Enjoy!
~Jennifer

Doggie Poo Bag Holder Tutorial

This weekend while walking our dog, we discovered that our usual doggie poo poo bag holder was missing. In the past, I’ve tried the plastic ones that you can buy at the store, but they always break or I can’t get them open in certain weather conditions.

I decided to stitch up a little bag this weekend. It is the perfect size for a holding a roll of doggie poo bags plus some treats.

I used a cute dachshund dog print fabric for the main bag body and an Essex Yard Dyed Linen in Black for the trim. I used black 1/4″ cording that I had on hand and green Aurifil thread for a fun pop of color.

Here is what you’ll need:
(1) 9 x 6 inch piece of print fabric
(1) 9 x 3 inch piece of trim fabric
(1) 21-inch length of cording
Thread
Basic sewing supplies

Doggie Poo Bag Holder Supplies

Doggie Poo Bag Holder Supplies

Assembly instructions:
1. Sew the trim to the print, right sides together, along the top edge. Sew with 1/4″ seam allowance.
2. Press the seam towards the trim.
3. Add button holes or other sturdy stitching on the lower portion of the trim, about 1/2-inch away from the raw edge. Cut the button hole slot opening with scissors.

Trim Stitched Down to Print Fabric

Trim Stitched Down to Print Fabric

4. Fold the unit in half, right sides together, and stitch around 3 sides but leave the top edge open for turning inside out.
5. Keep the unit wrong sides out, but fold the trim down to the previous seam line to form the casing. Sew along the casing edge.
6. Turn the bag inside out so that the right side is facing out.
7. Press.
8. Insert the cording through the holes in the casing.
9. Optional. Tie the cord ends together after securing the doggie poo bag to a leash, backpack, or belt.
10. Add in your doggie poo bag roll and treats and take your pooch for a walk!

Doggie Poo Bag and Treat Holder

Doggie Poo Bag and Treat Holder

I use a carabiner type clip to attach my doggie poo bag holder to the leash handle. The doggie poo bag holder is removable so I can later tie it to a backpack or belt, if needed.

Doggie Poo Bag Holder Attached to Leash

Doggie Poo Bag Holder Attached to Leash

Ta da! You now have a fun little holder to carry a not-so-fun roll of doggie poo bags.

Enjoy,
~Jennifer

Singer Featherweight Find

Hi everyone,

I hinted in earlier blog posts about my wonderful thrift store find. I found a Singer Featherweight 221-1 with its original case with key, instruction manual, presser feet and bobbins!! I do not have any antique sewing machines so I was so happy to finally get one.

She’s in pretty good condition with some of the decals partly rubbed off. The light turns on and she runs well. The case is in pretty good condition with some minor scuffing. I’ve signed up for a Singer Featherweight maintenance class at a local quilt shop in June so that I can learn how to care for her properly!

Based on the model number, she was manufactured on November 18, 1949. I really want to give her a name – any ideas?

Here are some pictures:

Singer Featheweight

Singer Featheweight

Singer Featherweight Side View

Singer Featherweight Side View

Singer Featherweight, Front View

Singer Featherweight, Front View

For now, I have her sitting on a side crafting table in my sewing room. I only have one other sewing machine – my trusty Bernina Activa – so it feels really good to have this beautiful machine to use on future quilty projects.

Have you made any good quilt or sewing related thrift store or garage sale finds?

Enjoy!
~Jennifer

Scott Lake Quilted Postcard, Sisters Outdoor Quilt Show

Each year, the Sisters Outdoor Quilt Show has a special fundraiser called Wish Upon a Card. Participants make fabric postcards to be auctioned during the quilt show week.

This year, I decided to make a fabric postcard featuring Scott Lake with the Three Sisters in the background. For inspiration, I used a photograph that I took at Scott Lake last fall during a camping trip.

Here’s my original picture:

Scott Lake at Sunset

Scott Lake at Sunset

It’s such a beautiful place and worth the short drive from Sisters if you are visiting the area.

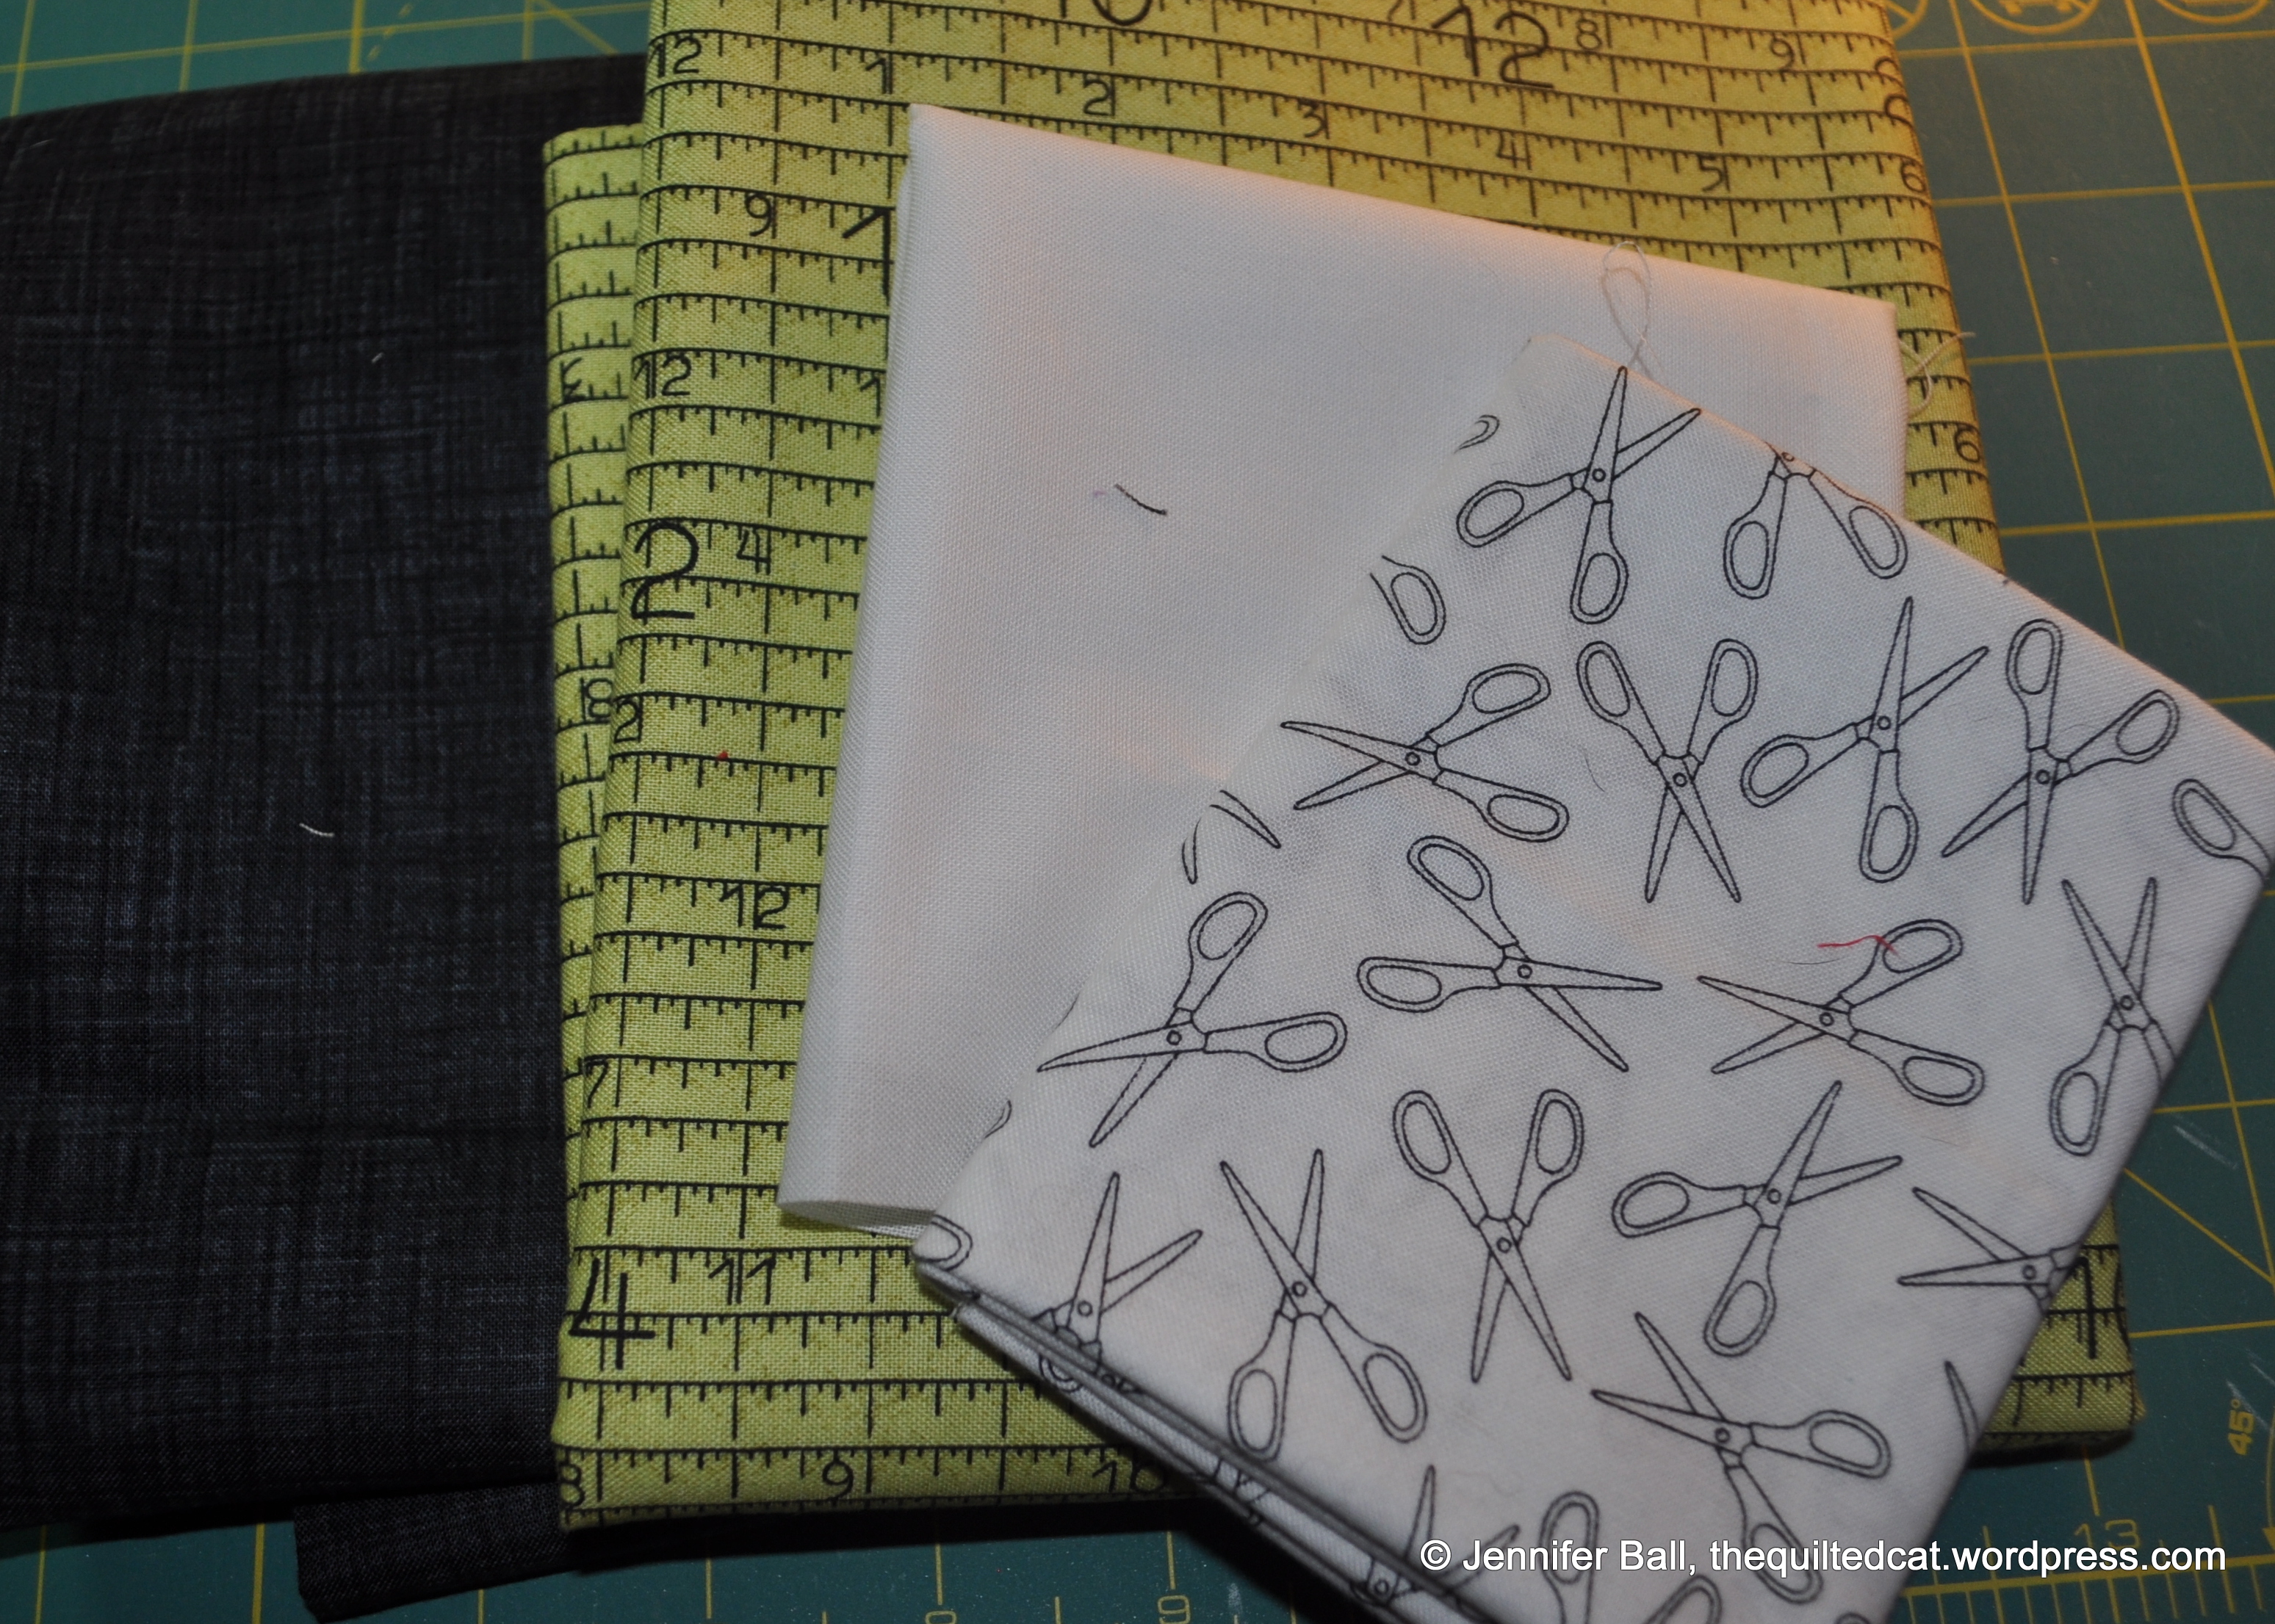
I printed out my photo and then started to look in my scrap bin for fabrics to use. I’m entering the Michael Miller fabric challenge with this postcard so I needed to incorporate a piece of the Beadwork fabric into my design.

I decided to use the Beadwork fabric to represent the green meadow on the far side of the lake.

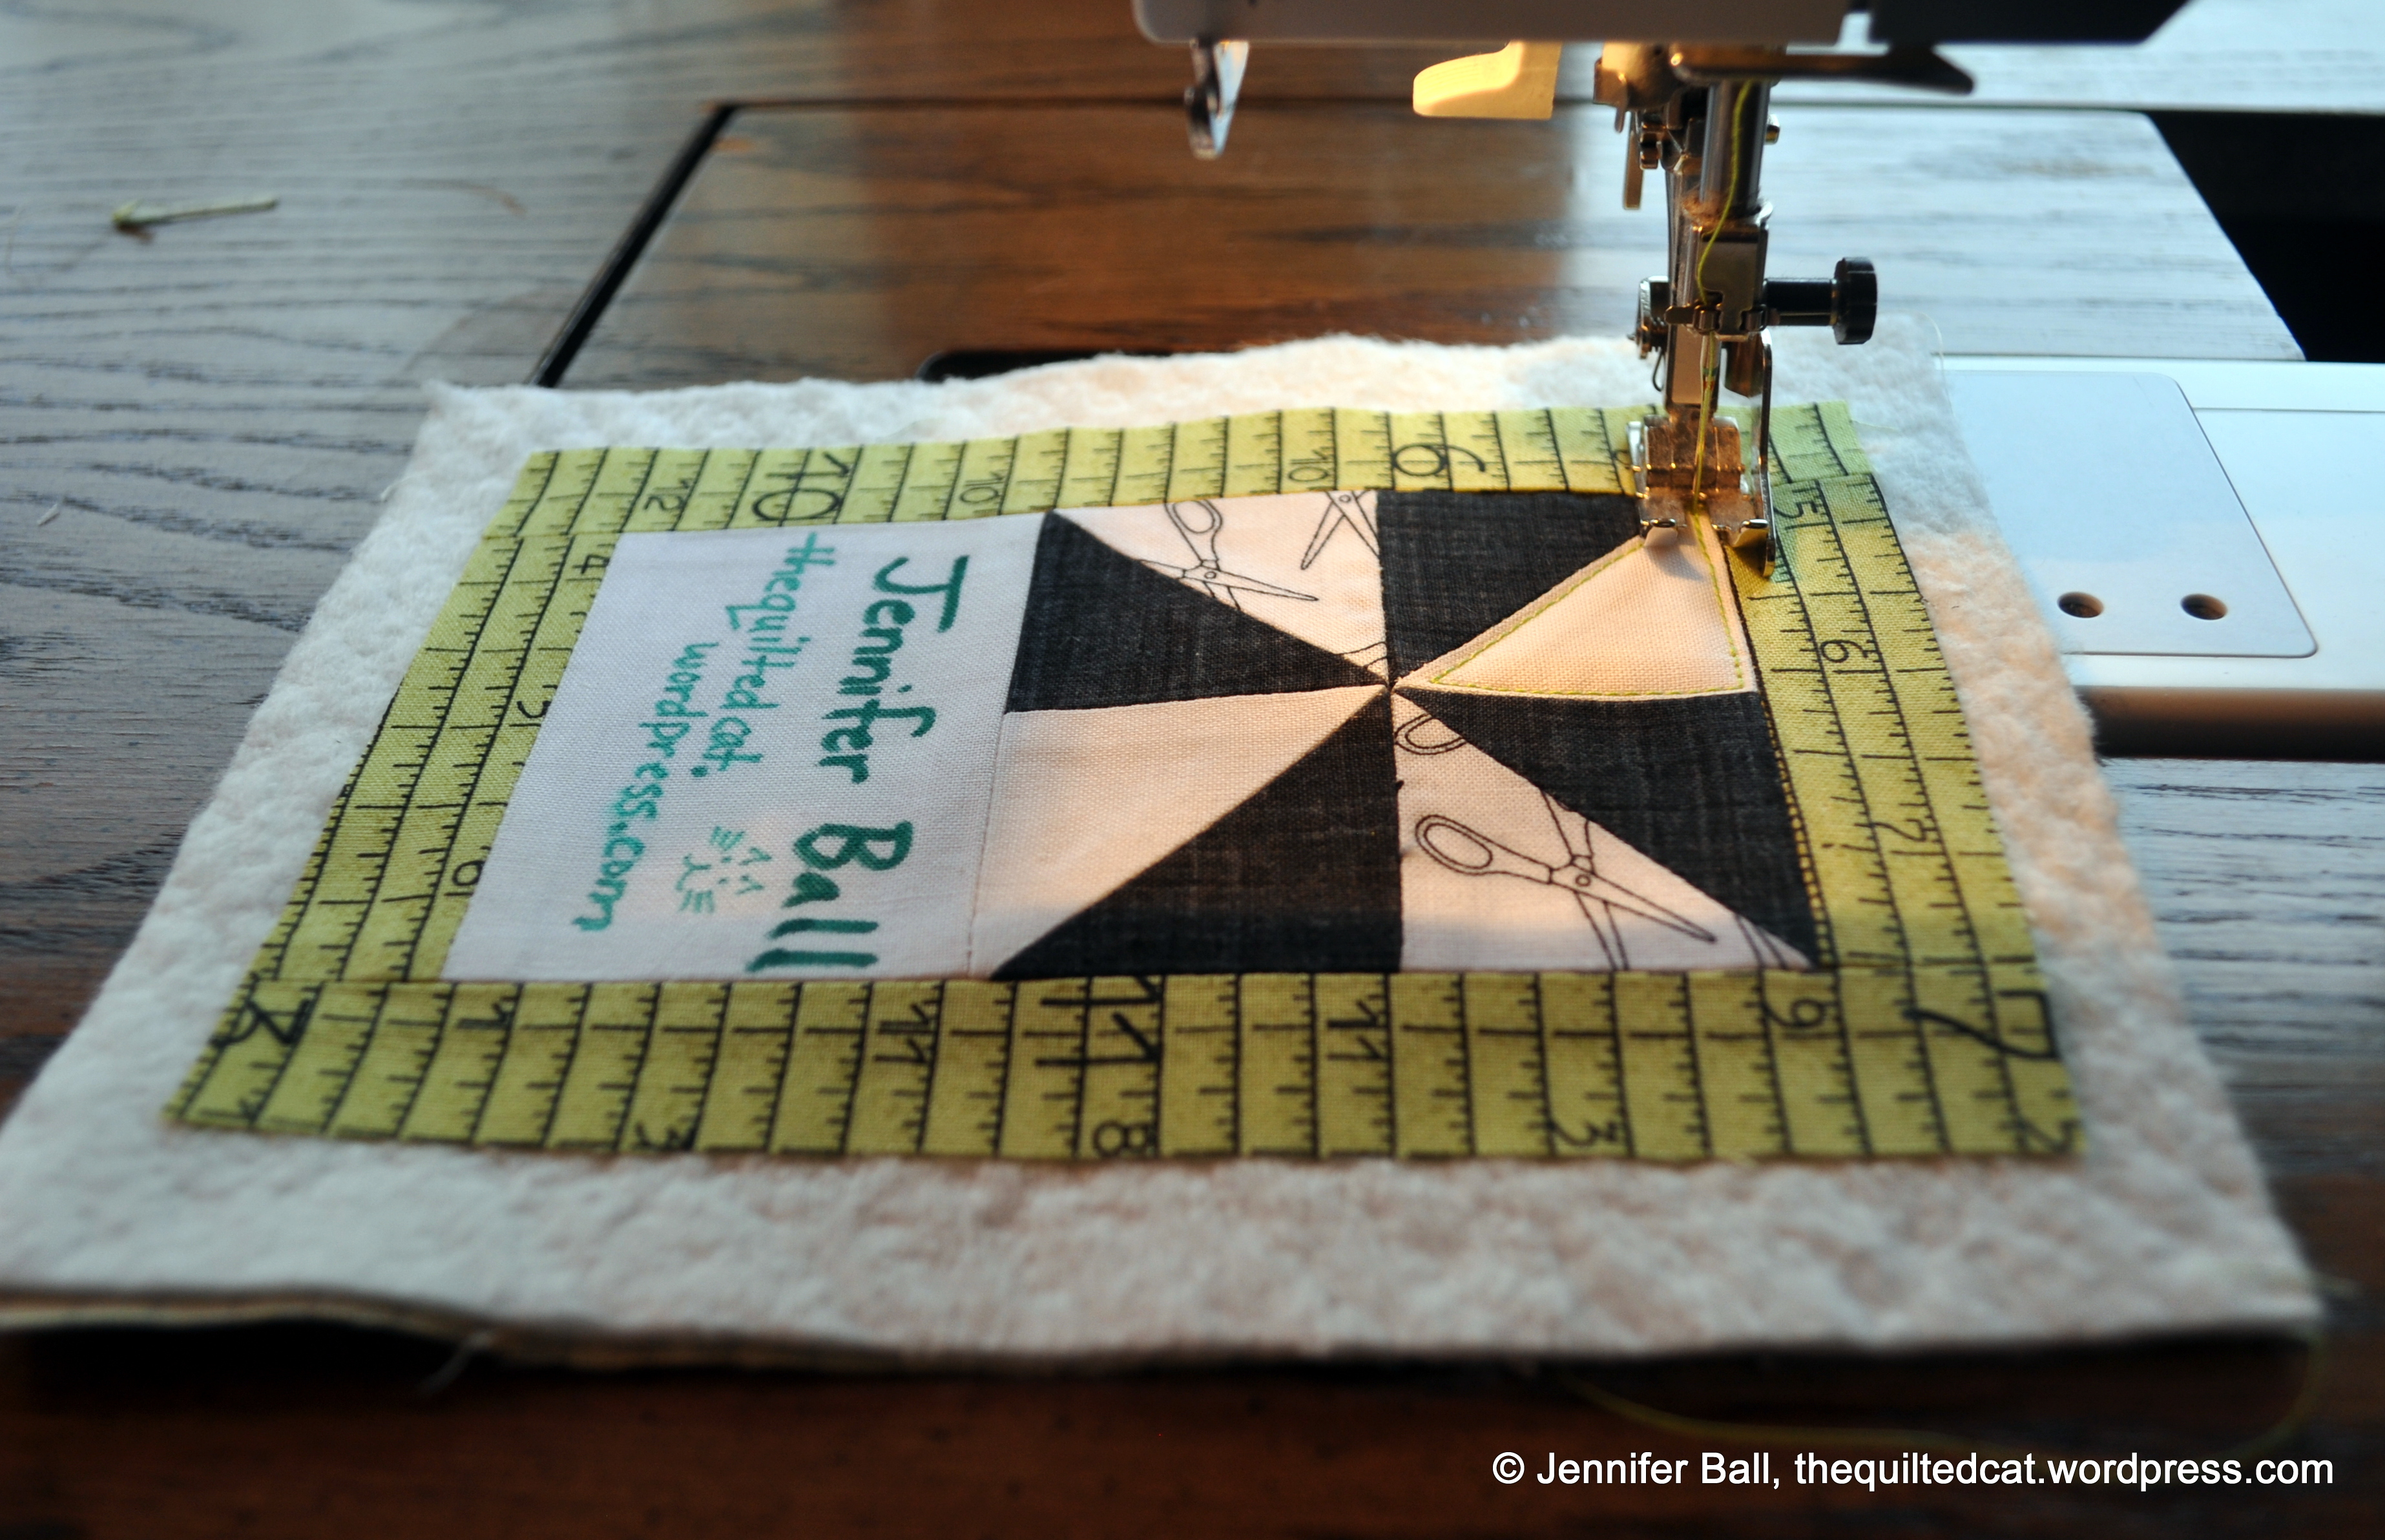
I built my postcard by layering the sky and water to form a solid foundation piece. Next, I carefully cut out and appliqued the mountain, lake, and tree shapes to this foundation using various colors of Aurifil thread. I added rocks to the water, a cloud to the sky, and a stick along the grass in the foreground.

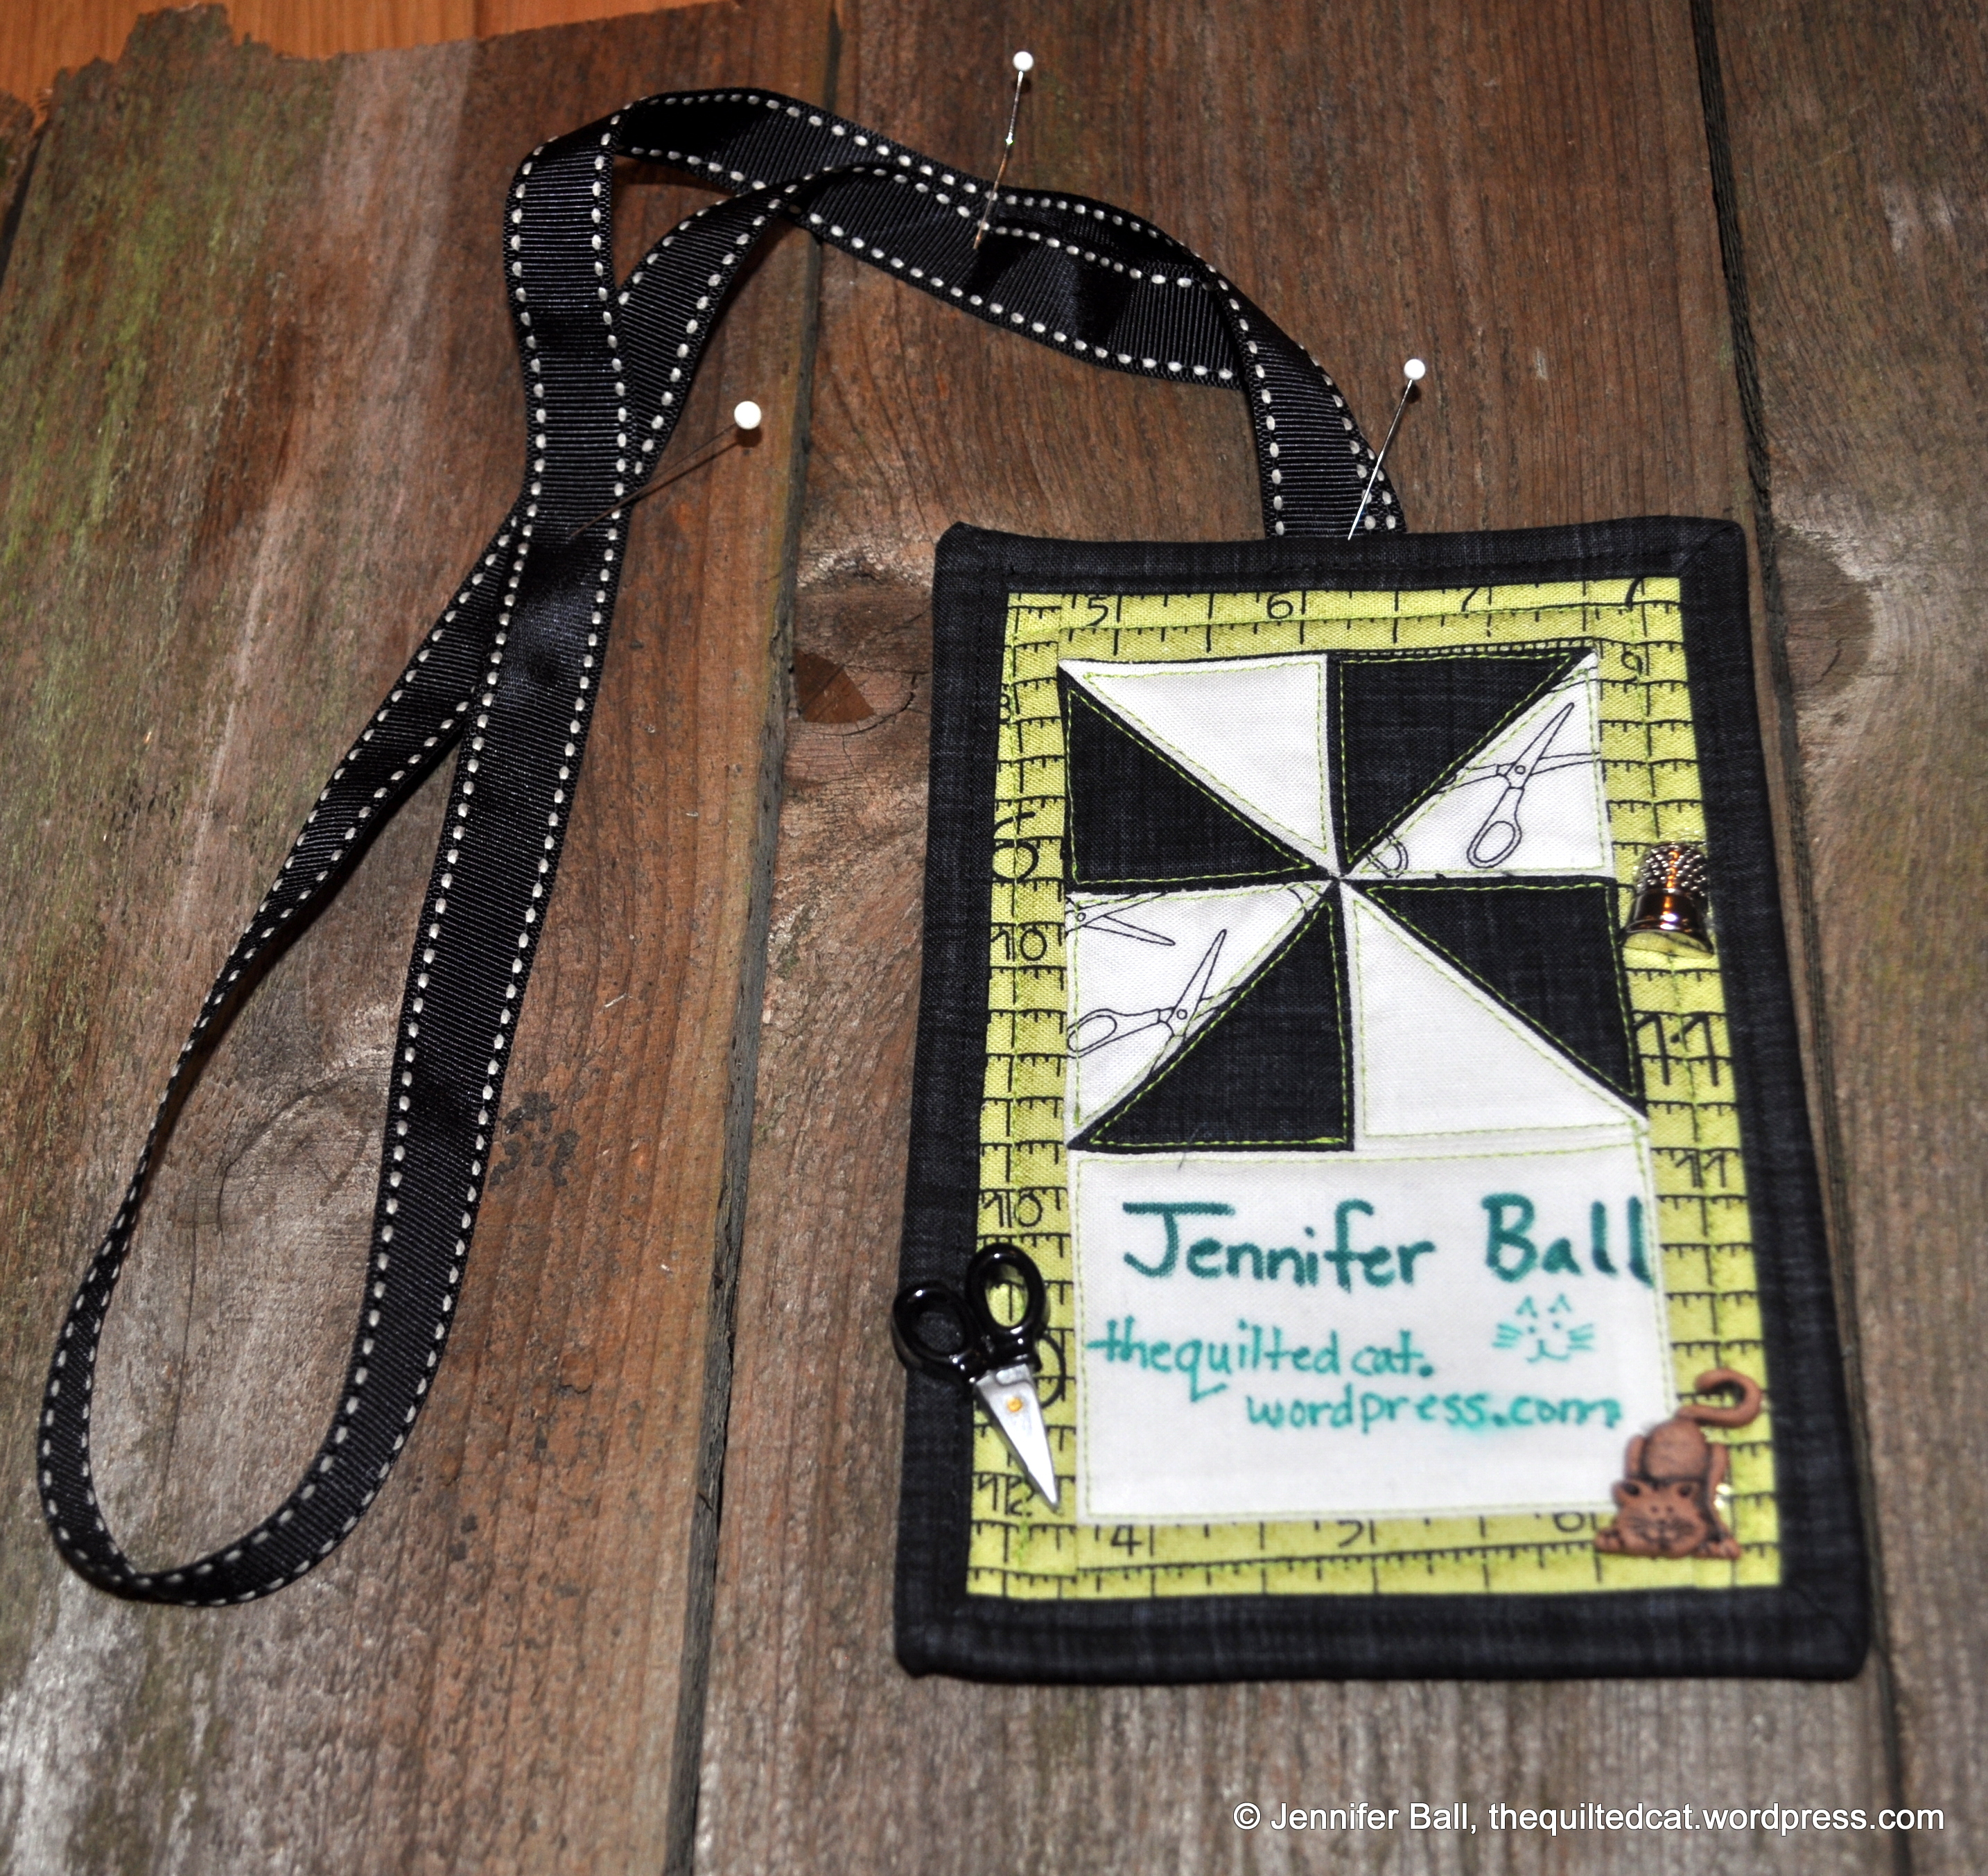
Once all the shapes were appliqued, I used embroidery floss to add extra details such as the hint of tree trunks and late summer snow on the mountains. Finally, I layered the completed fabric postcard top with interfacing and cardstock and bound the edges using a black color weave fabric by P&B Textiles.

Here’s a look at the finished fabric postcard side-by-side with my printed photo:

Scott Lake Fabric Postcard and Picture

Scott Lake Fabric Postcard and Picture

Here’s a close-up look of the fabric postcard:

Scott Lake Fabric Postcard for the Sisters Outdoor Quilt Show

Scott Lake Fabric Postcard for the Sisters Outdoor Quilt Show

I really love how this fabric postcard turned out, and I’d be so thrilled to be one of the finalists!

I plan to attend the Sisters Outdoor Quilt Show this year, and I always stop by the wonderful postcard exhibit and auction.

Happy quilting!
~Jennifer

A Cute Little Basket

I picked up a cute pattern recently for a fabric basket called Banded Baskets by Indygo Junction. The pattern actually contains 3 sizes of nesting baskets.

I decided to make the small basket and fill it with little fabric treasures for a special someone! It’s the perfect size for carrying a small project or storing fat quarters.

Small Banded Basket

Small Banded Basket

For the outside, I used a pretty little fabric on the bottom portion called Chickadee (# A-7029-LC) by Andover Fabrics.

The dark brown leaf print on the top portion is from P&B Textiles line called Bear Essentials 2 (#ESS2 569S).

For the piping, I used Essex Yarn Dyed in Flax for sturdiness. The lining and handles are made from a solid blue from my stash. I used Aurifil Light Sand #2000 for the stitching.

Once I finished the basket, I added a little bird charm keychain and some fat quarters. I plan to make a nesting set of 3 baskets for my sewing room as a pretty way to store my quilty projects in-process.

Enjoy!
~Jennifer

Quilted Name Tag and Lanyard

I belong to a local quilt guild, and we have our monthly meeting coming up this week. The guild encourages people to create name tags to wear at the meetings since there are quite a few members. I’ve been procrastinating on this task for quite some time!

I decided to pull out some fun sewing-themed fabrics to use with my name tag.

Fabrics for Name Tag

Fabrics for Name Tag

These fabrics are:
Black: Color Weave by P&B Textiles
Green: Light Green #23070-H from She Who Sews Handmaids line by Janet Wecker Frisch for Quilting Treasures
Solid White: Kona cotton in white
Scissors Print on White: Pattern #600 by The Henley Studio for Makower Andover (can’t find a link)

I decided to make a simple pinwheel quilt block with a finished measurement of 3-inches by 3-inches. Next, I added a small white rectangle below the pinwheel so I could write my name. I used the Handmaids green fabric as a border, and then made my miniature quilt sandwich!

Name Tag Quilt Sandwich

Name Tag Quilt Sandwich

Isn’t it cute! For piecing, I used Aurifil #2000. For the quilting, I used an Aurifil Green to echo stitch around each pinwheel shape and around the white rectangle. I used Aurifil black to stitch on the black color weave binding.

I then cut a piece of black ribbon from my stash and stitched it to the backside of the name tag and turned it into a lanyard. I decided to make a lanyard style to avoid pinning the tag to my clothes and so I could add commemorative buttons from quilting events to the ribbon.

As a final touch, I added 3 decorative buttons: a cat (of course!), a pair of scissors, and a thimble.

Quilted Name Tag Lanyard

Quilted Name Tag Lanyard

I love these quick-and-easy projects!

Do you have a quilted name tag? I’d love to see photos.

Enjoy!
~Jennifer

A Modern Cat Finish for the New Year!

Hello everyone!

While much of the country is getting hammered with winter storms, we woke up to a clear and sunny skies with temperatures reaching 48 degrees this afternoon. We took the opportunity to take a family walk in the sunshine, and I brought my first quilt finish of the year along with my camera.

After the past several weeks, I finished piecing the cat blocks from the catevent hosted by Elizabeth of Oh Fransson! I modified the end quilt slightly by adding a calico cat print border and a small outer gray border.

This cat quilt is made from scraps and pieces from my stash. Each cat block is from numerous different fabric scraps. The gray background is Painter’s Canvas by Michael Miller in gray (#CJ-4816) and the calico cat print border is Happy Hills Calico Cat by Michael Miller in white (DY-784). I used Kona cotton in slate for the binding. It is entirely pieced with Aurifil thread.

For quilting, I used some shiny Sulky thread in a silvery/gray blended mix to give a nice sheen to the quilt top. I did straight-line stitching using my Bernina.

The quilting took almost 8 hours, and I couldn’t have done it without the help from my Machingers gloves!

Straight line quilting

Straight line quilting

Here’s a look at the quilt flimsy with one of my cat inspectors:

Romeo Inspects the Cat Quilt

Romeo Inspects the Cat Quilt

Here’s a look at another cat inspector sitting on the quilt sandwich. Only part of the quilting is completed here!

Tiger Likes the Cat Quilt!

Tiger Likes the Cat Quilt!

And, finally, here are some shots of the finished quilt in the Oregon sunshine:

Catevent Completed Quilt

Catevent Completed Quilt

Me, holding the completed cat quilt!

Me, holding the completed cat quilt!

My 8-year-old with the completed cat quilt!

My 8-year-old with the completed cat quilt!

My thanks to Elizabeth for designing these happy little cat blocks and for generously posting the instructions on her blog. I had so much fun making this project!

Wishing you much health, happiness, and quiltiness in the new year!
~Jennifer