Greeeeeetings, my dears! Today is my day to share with you the creations that I stitched up in my cauldron for the Black Cat Crossing blog hop. Many thanks go to Madame Samm of Sew We Quilt for encouraging people of all skill levels to brew up something to share with us. I also want to thank our fabulous cheerleader, Wendy of Why Knot Kwilt, for organizing this blog hop!
I picked up some of the Black Cat Crossing fabric by Maywood Studios at a local quilt shop that recently opened in town. I love supporting my local shops!
For my first project, I decided to do a wool felt project with just an accent of cotton fabric. One can never have too many pin cushions, right? Sew off I went to stitch up a little witch hat to keep me company in my sewing room. The hat band uses a strip of fabric from Black Cat Crossing. I used black Aurifil thread for the piecing and midnight glitter hologram thread by Superior to add some sparkle to the brim. The finished pin cushion is about 4.5 inches tall.
This pin cushion is designed by Jennifer Clemen of Cottonwood Creations.
My stitching assistants ensured the quality of this little pin cushion:

Tiger likes the witch hat

Cow is planning his revenge

Now that I had a pin cushion ready to go, I stoked up my cauldron and set to brewing up a special creation using only Black Cat Crossing fabric!
For this project, I stretched my skill levels by creating a mini quilt and by practicing some heavy free motion quilting. I used an Aurifil cream thread for all the piecing and quilting. The pattern is Mini Swoon by Thimble Blossoms.
I modified the pattern slightly so that I could add the Black Cat Crossing border fabric in between the swoon blocks. I’m calling my finished mini quilt, “Black Cat Swoon!”


For the backing, I used left over pieces plus my label:
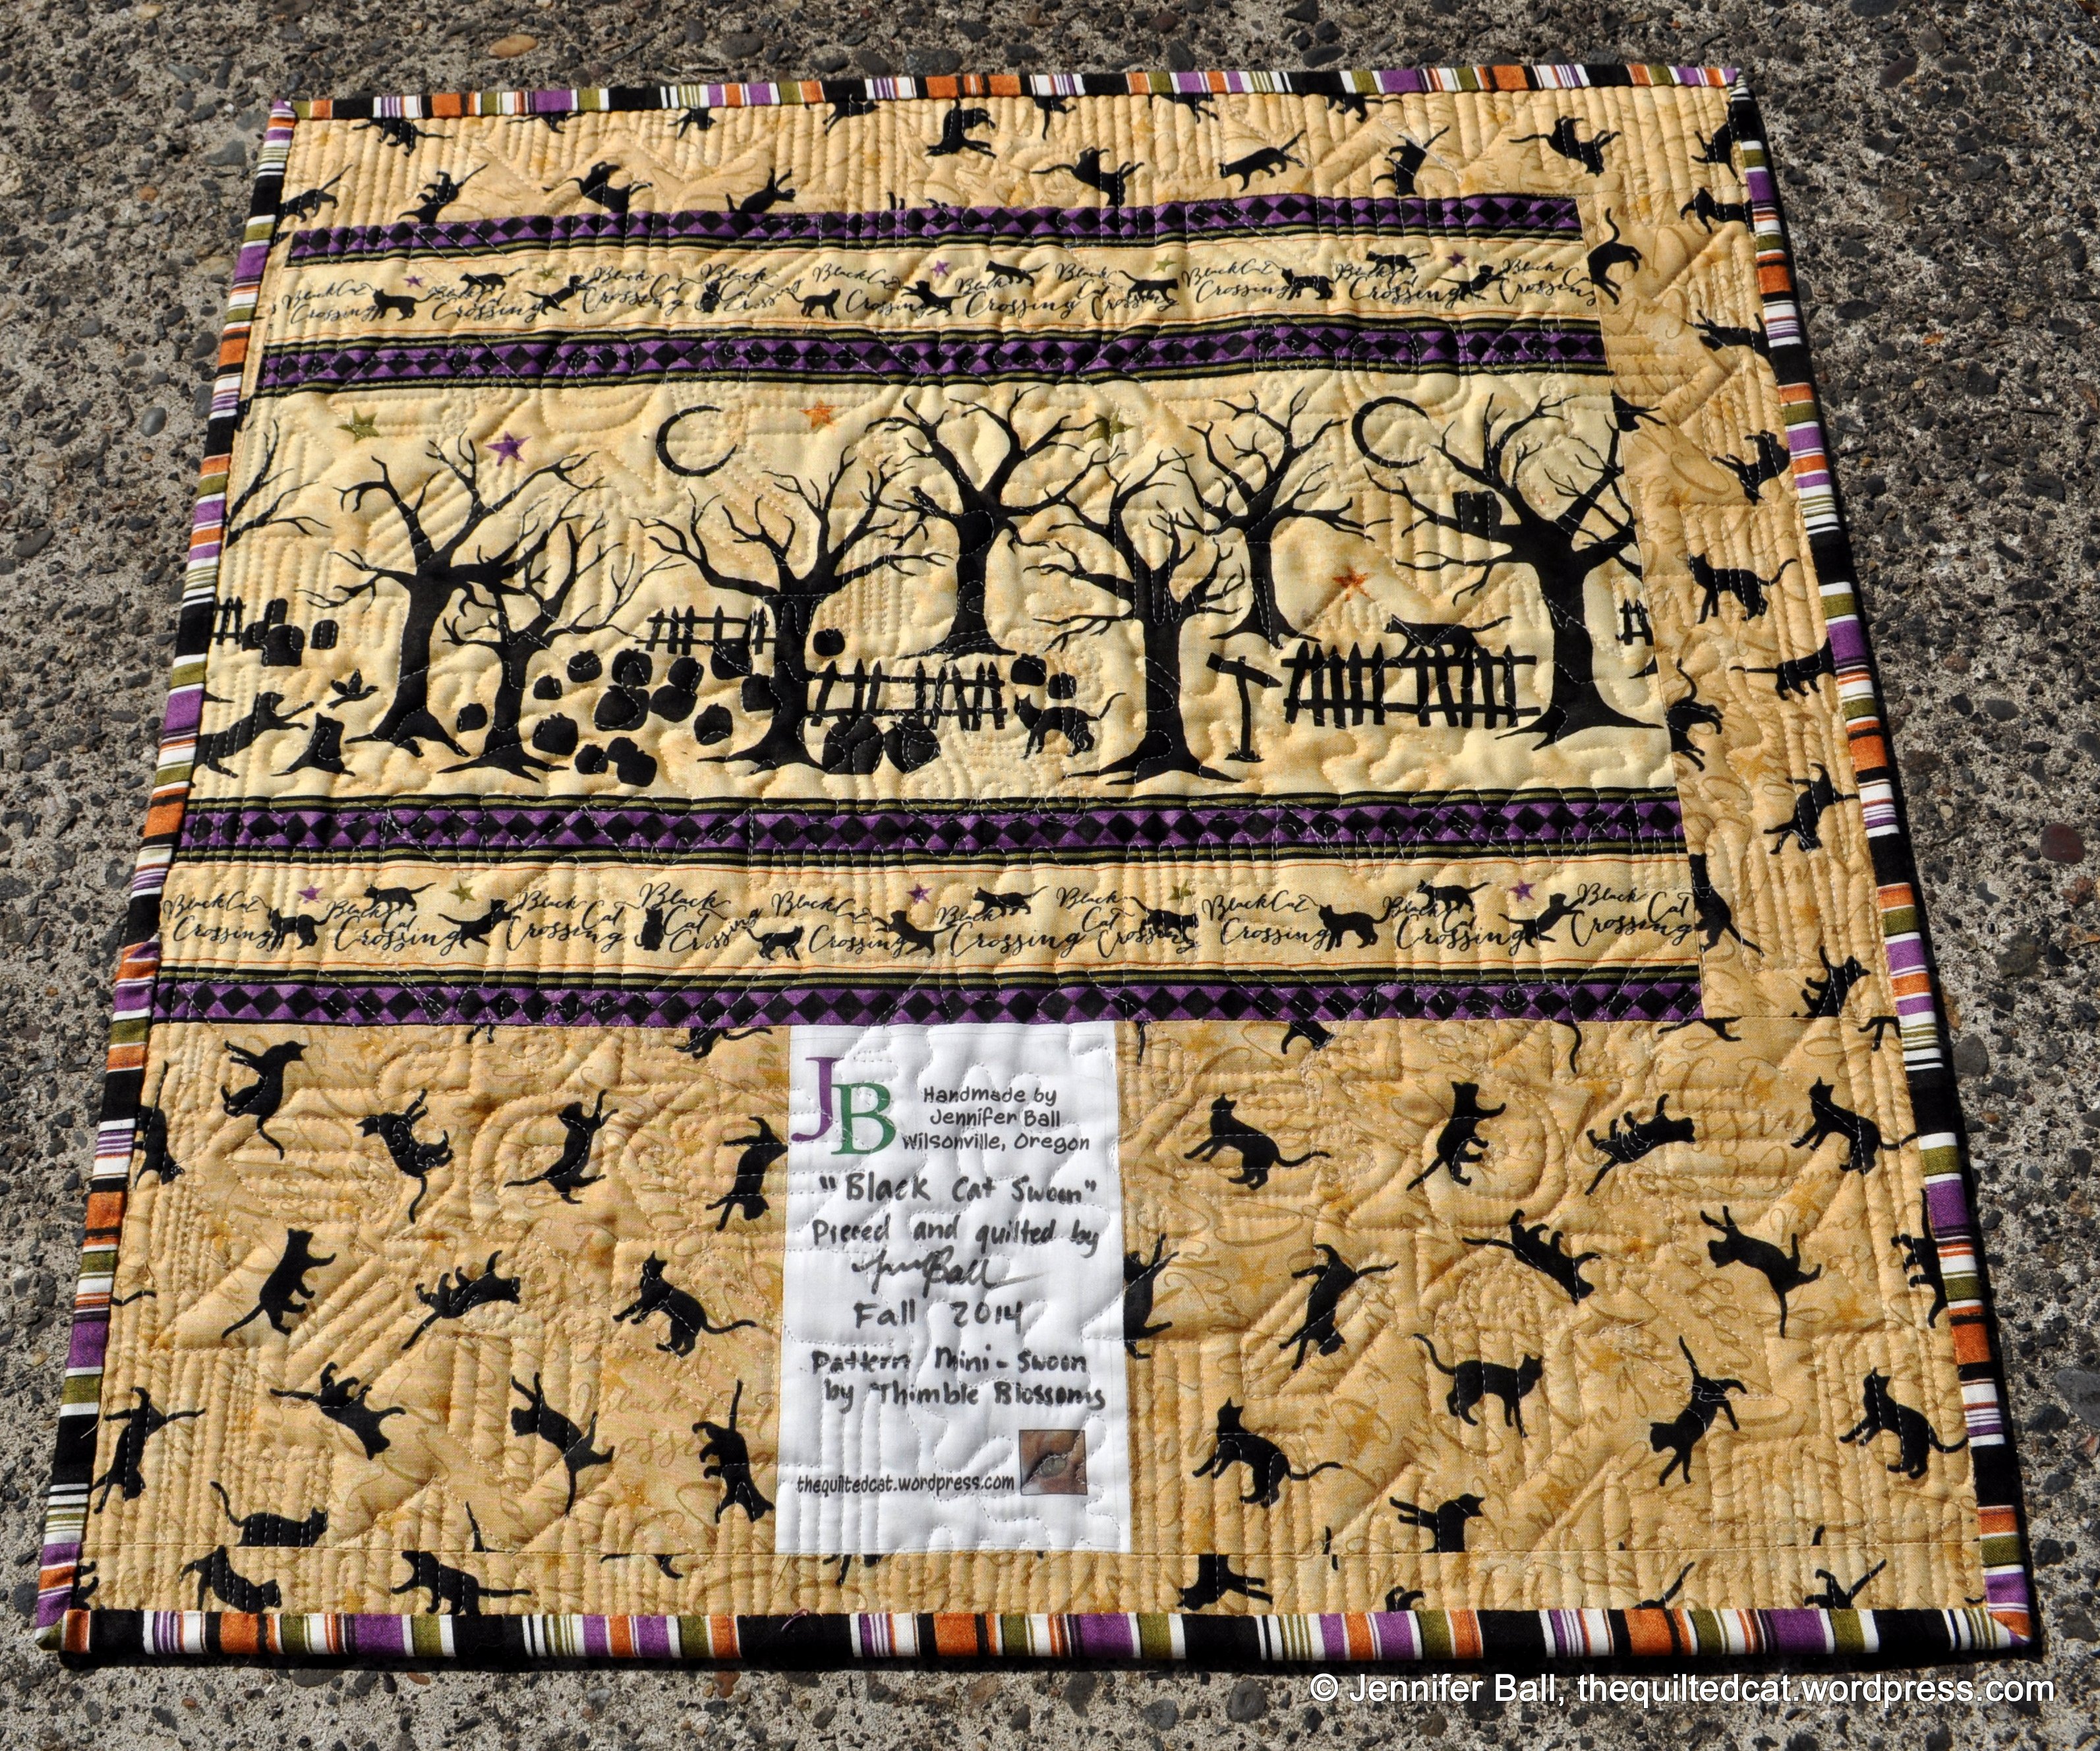
I just love how this mini quilt looks, and I can easily display it in various locations around the house during the fall season.
For more inspiration, please visit my fellow Black Cat Crossing participants today:
Creatin’ in the Sticks
Living With Purpose
Moose Stash Quilting
The Quilted Cat (you are here)
Lines, Colors, and Art
For my giveaway, I’m offering up 2 fat quarters from Black Cat Crossing. Just leave me a comment on this post for an entry. You get a bonus entry if you tell me how you follow my blog, and I’ll draw a random winner from all comments on Halloween, October 31st. I’m willing to ship internationally. Sometimes WordPress and Blogger do not communicate well together so make sure that I have a way to contact you!
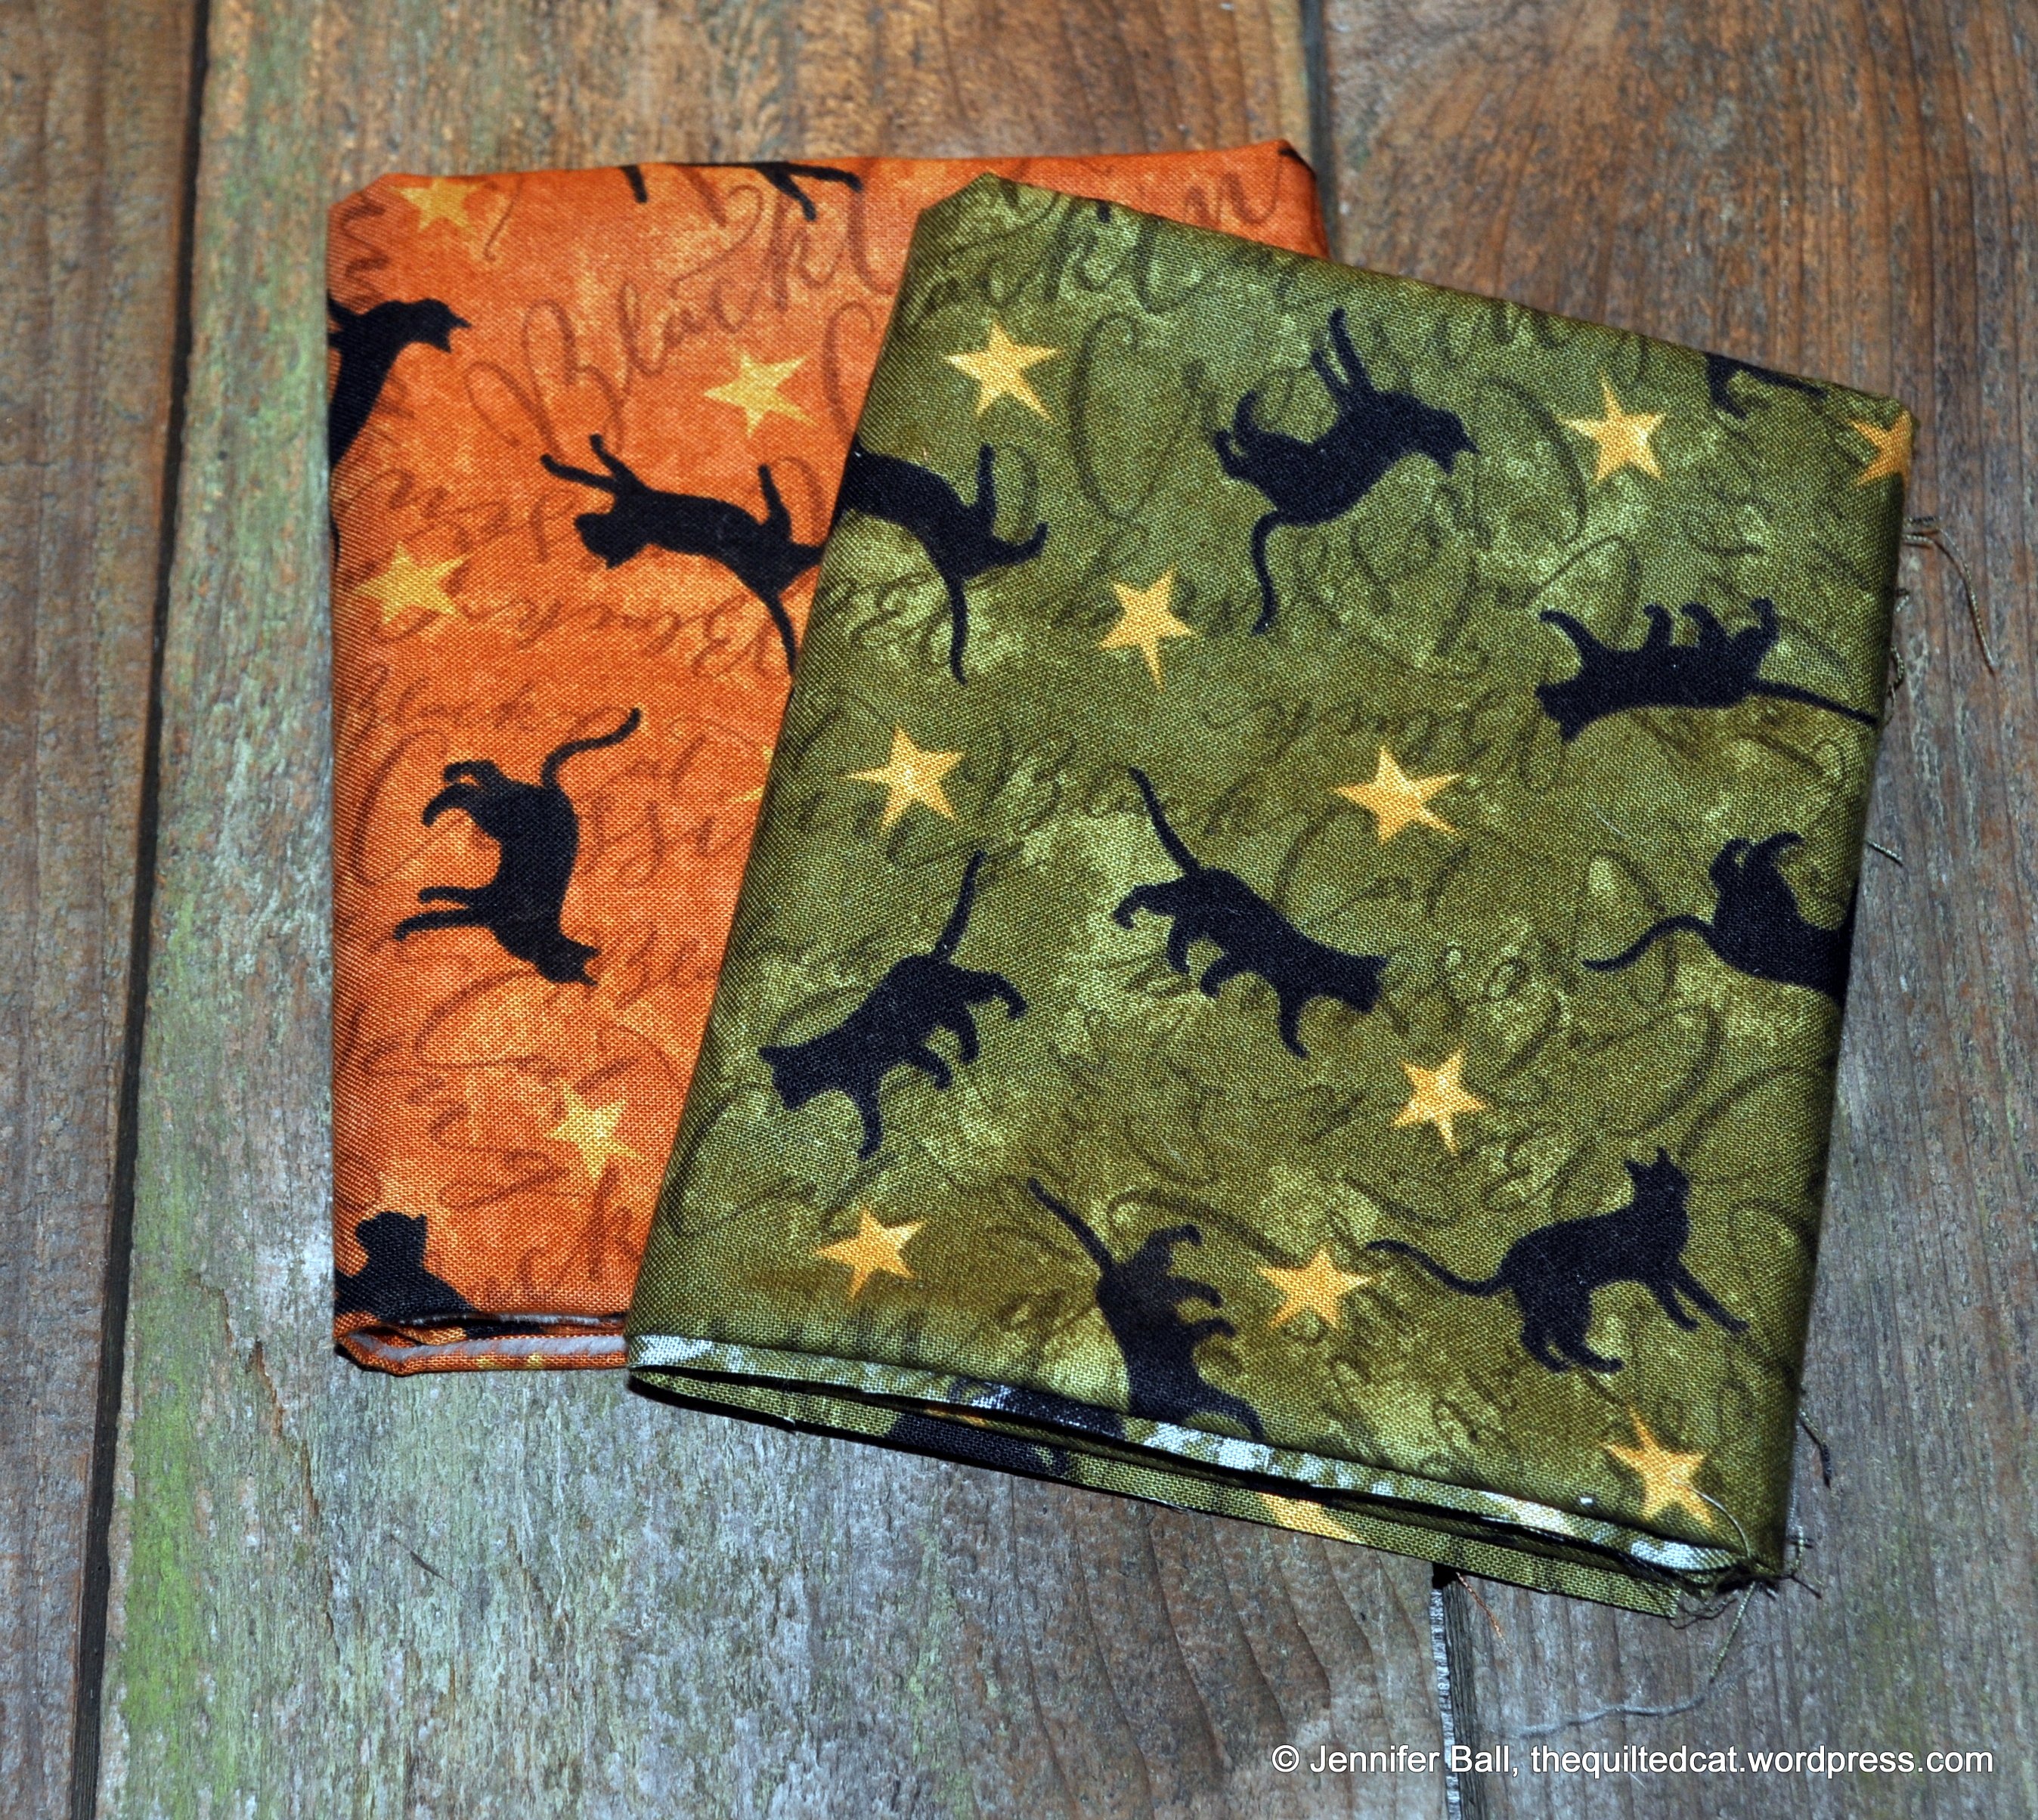
Black Cat Crossing Giveaway
I hope you enjoyed my Black Cat Crossing projects, and that they inspire you to make something beautiful!
Happy quilting,
~Jennifer