Hi everyone!
Last March, I took a class with Julie of Jaybird Quilts. She had finished up her Snack Time pattern, and I was able to purchase a copy of the pattern from the wonderful Quiltmaker booth of goodies outside the classroom area.
I started working on piecing the top sometime last summer and finished it during the fall. Then, other projects popped up, and I never finished the quilting!
This weekend, I finally finished my Snack Time and took some photos of my completed quilt at my sister’s beautiful cabin in the woods!
I used a Bali Pop (2.5″ pre-cut strips) from Hoffman Fabrics in Rum Raisin. I really loved the look of the purples and greens together. For the background, I went with Kona white, which really makes those batiks pop!! The piecing and quilting is with white Aurifil thread.
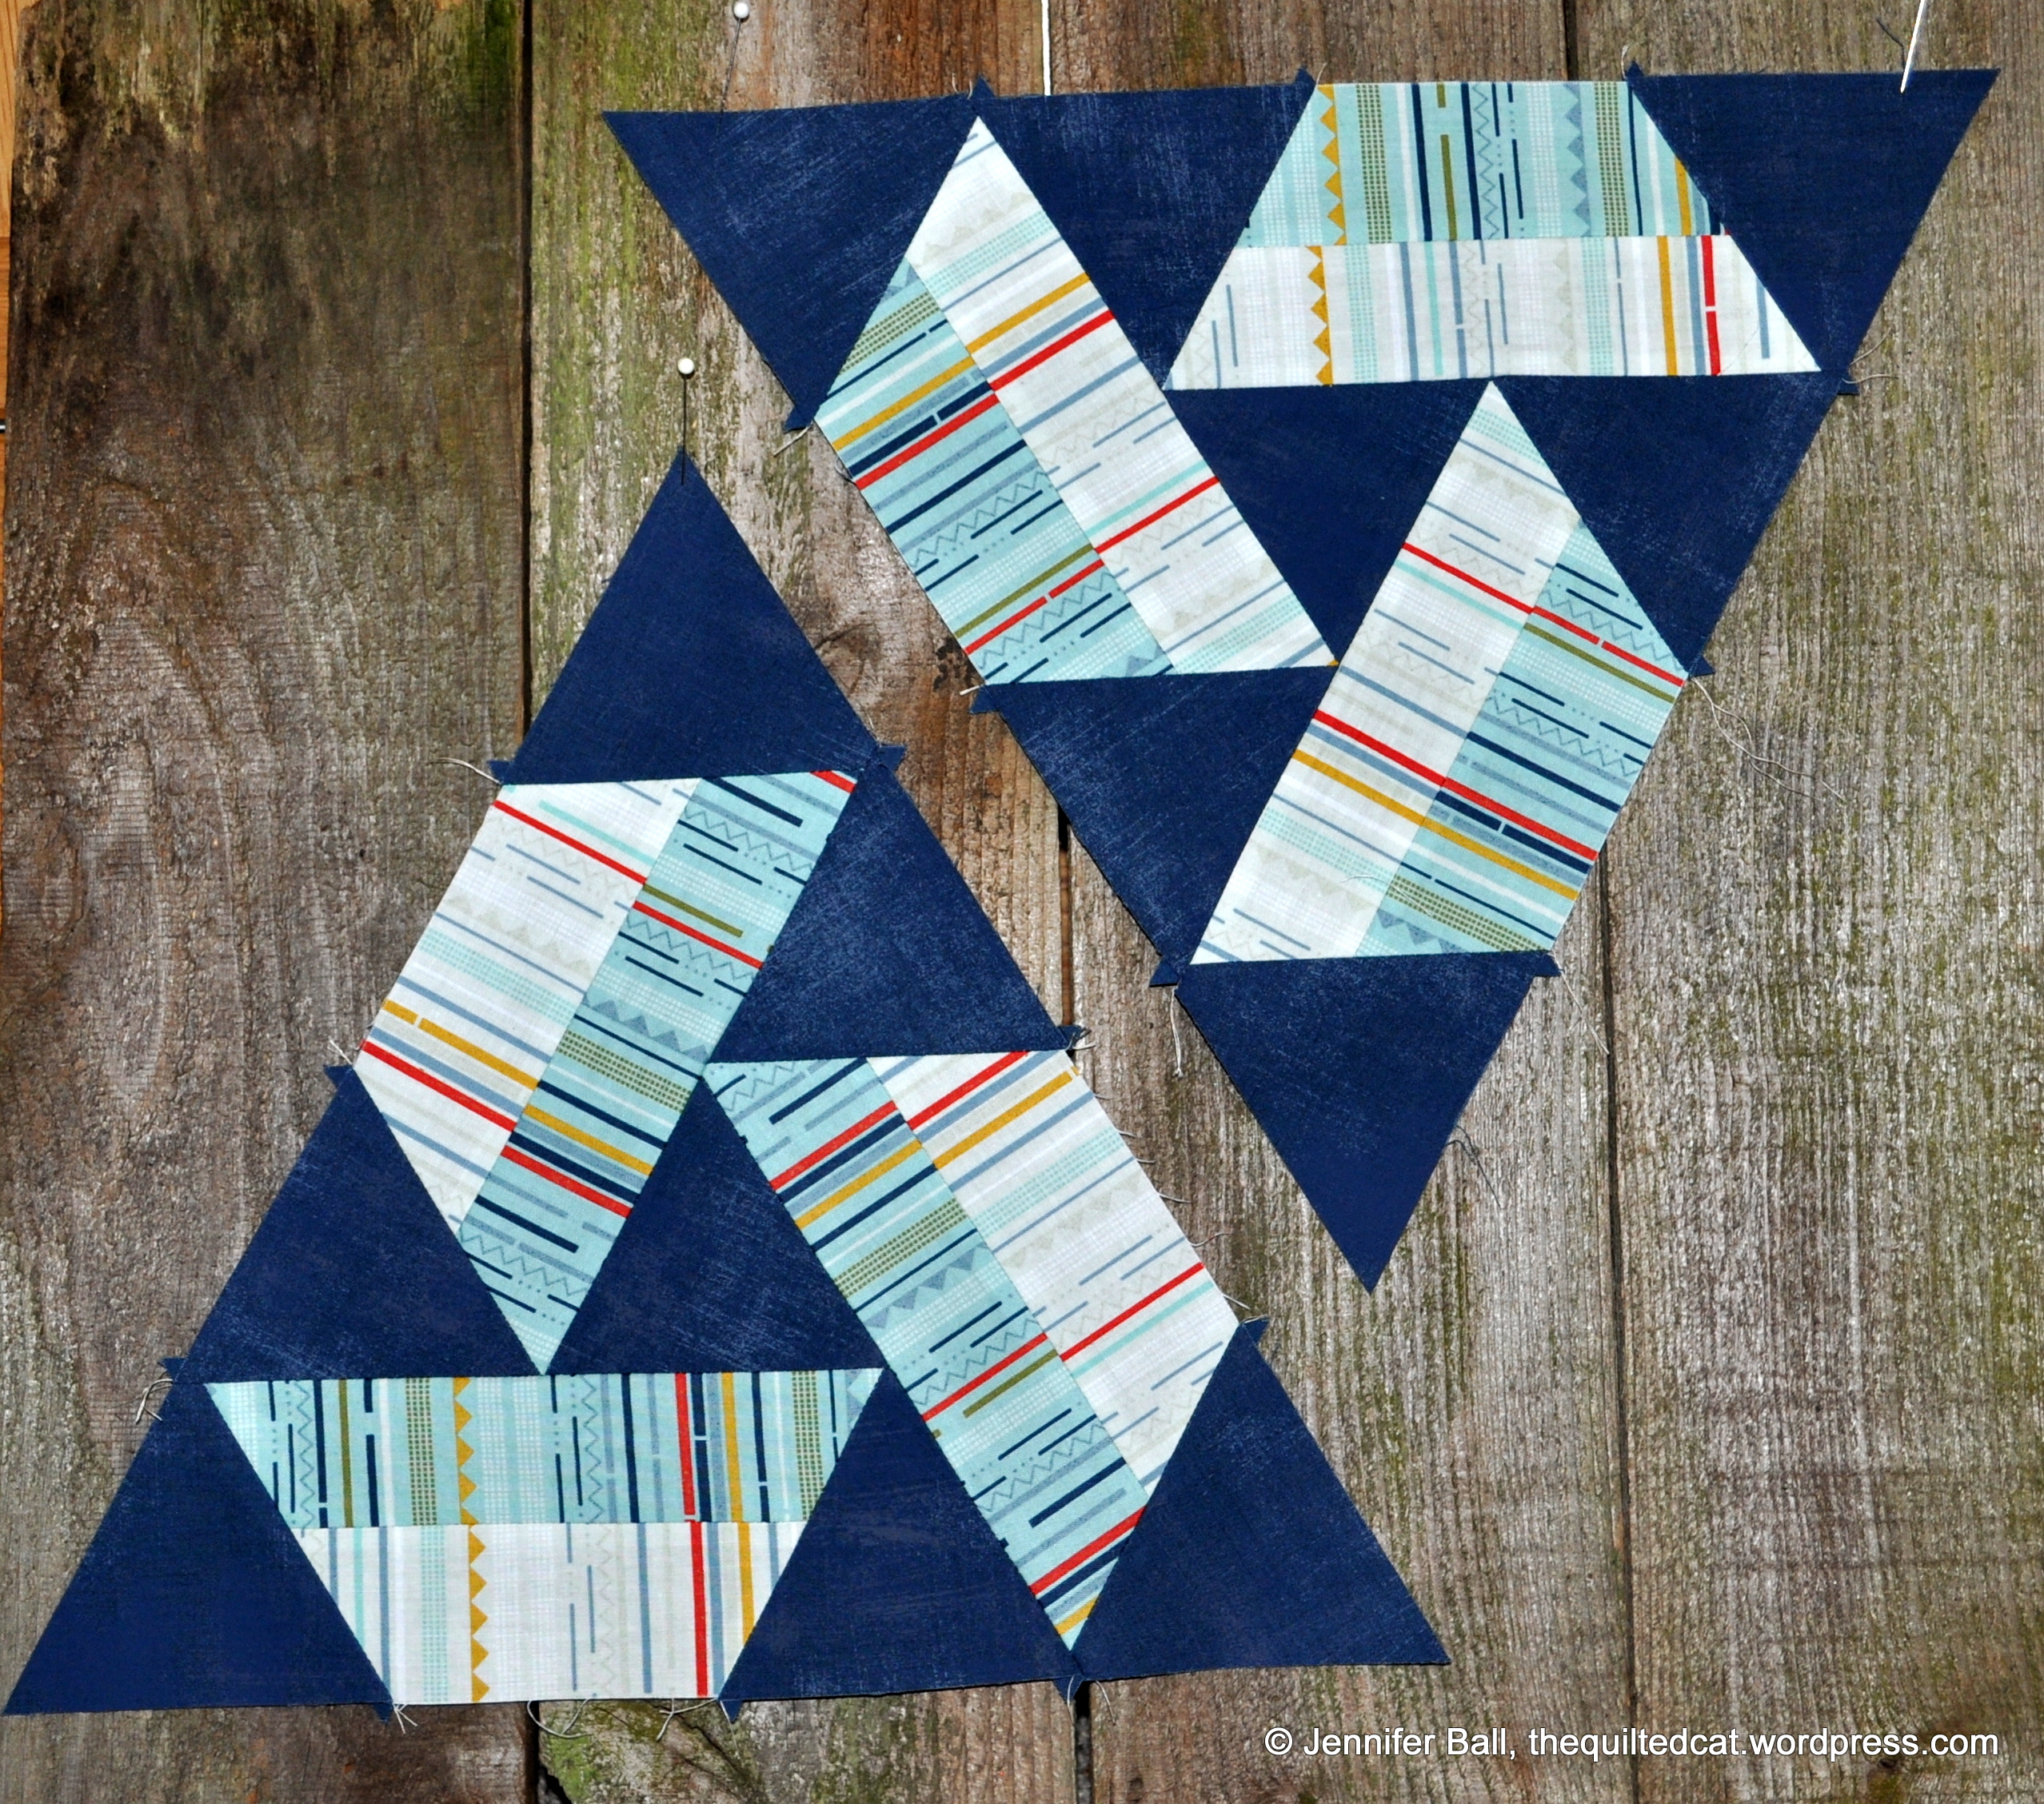
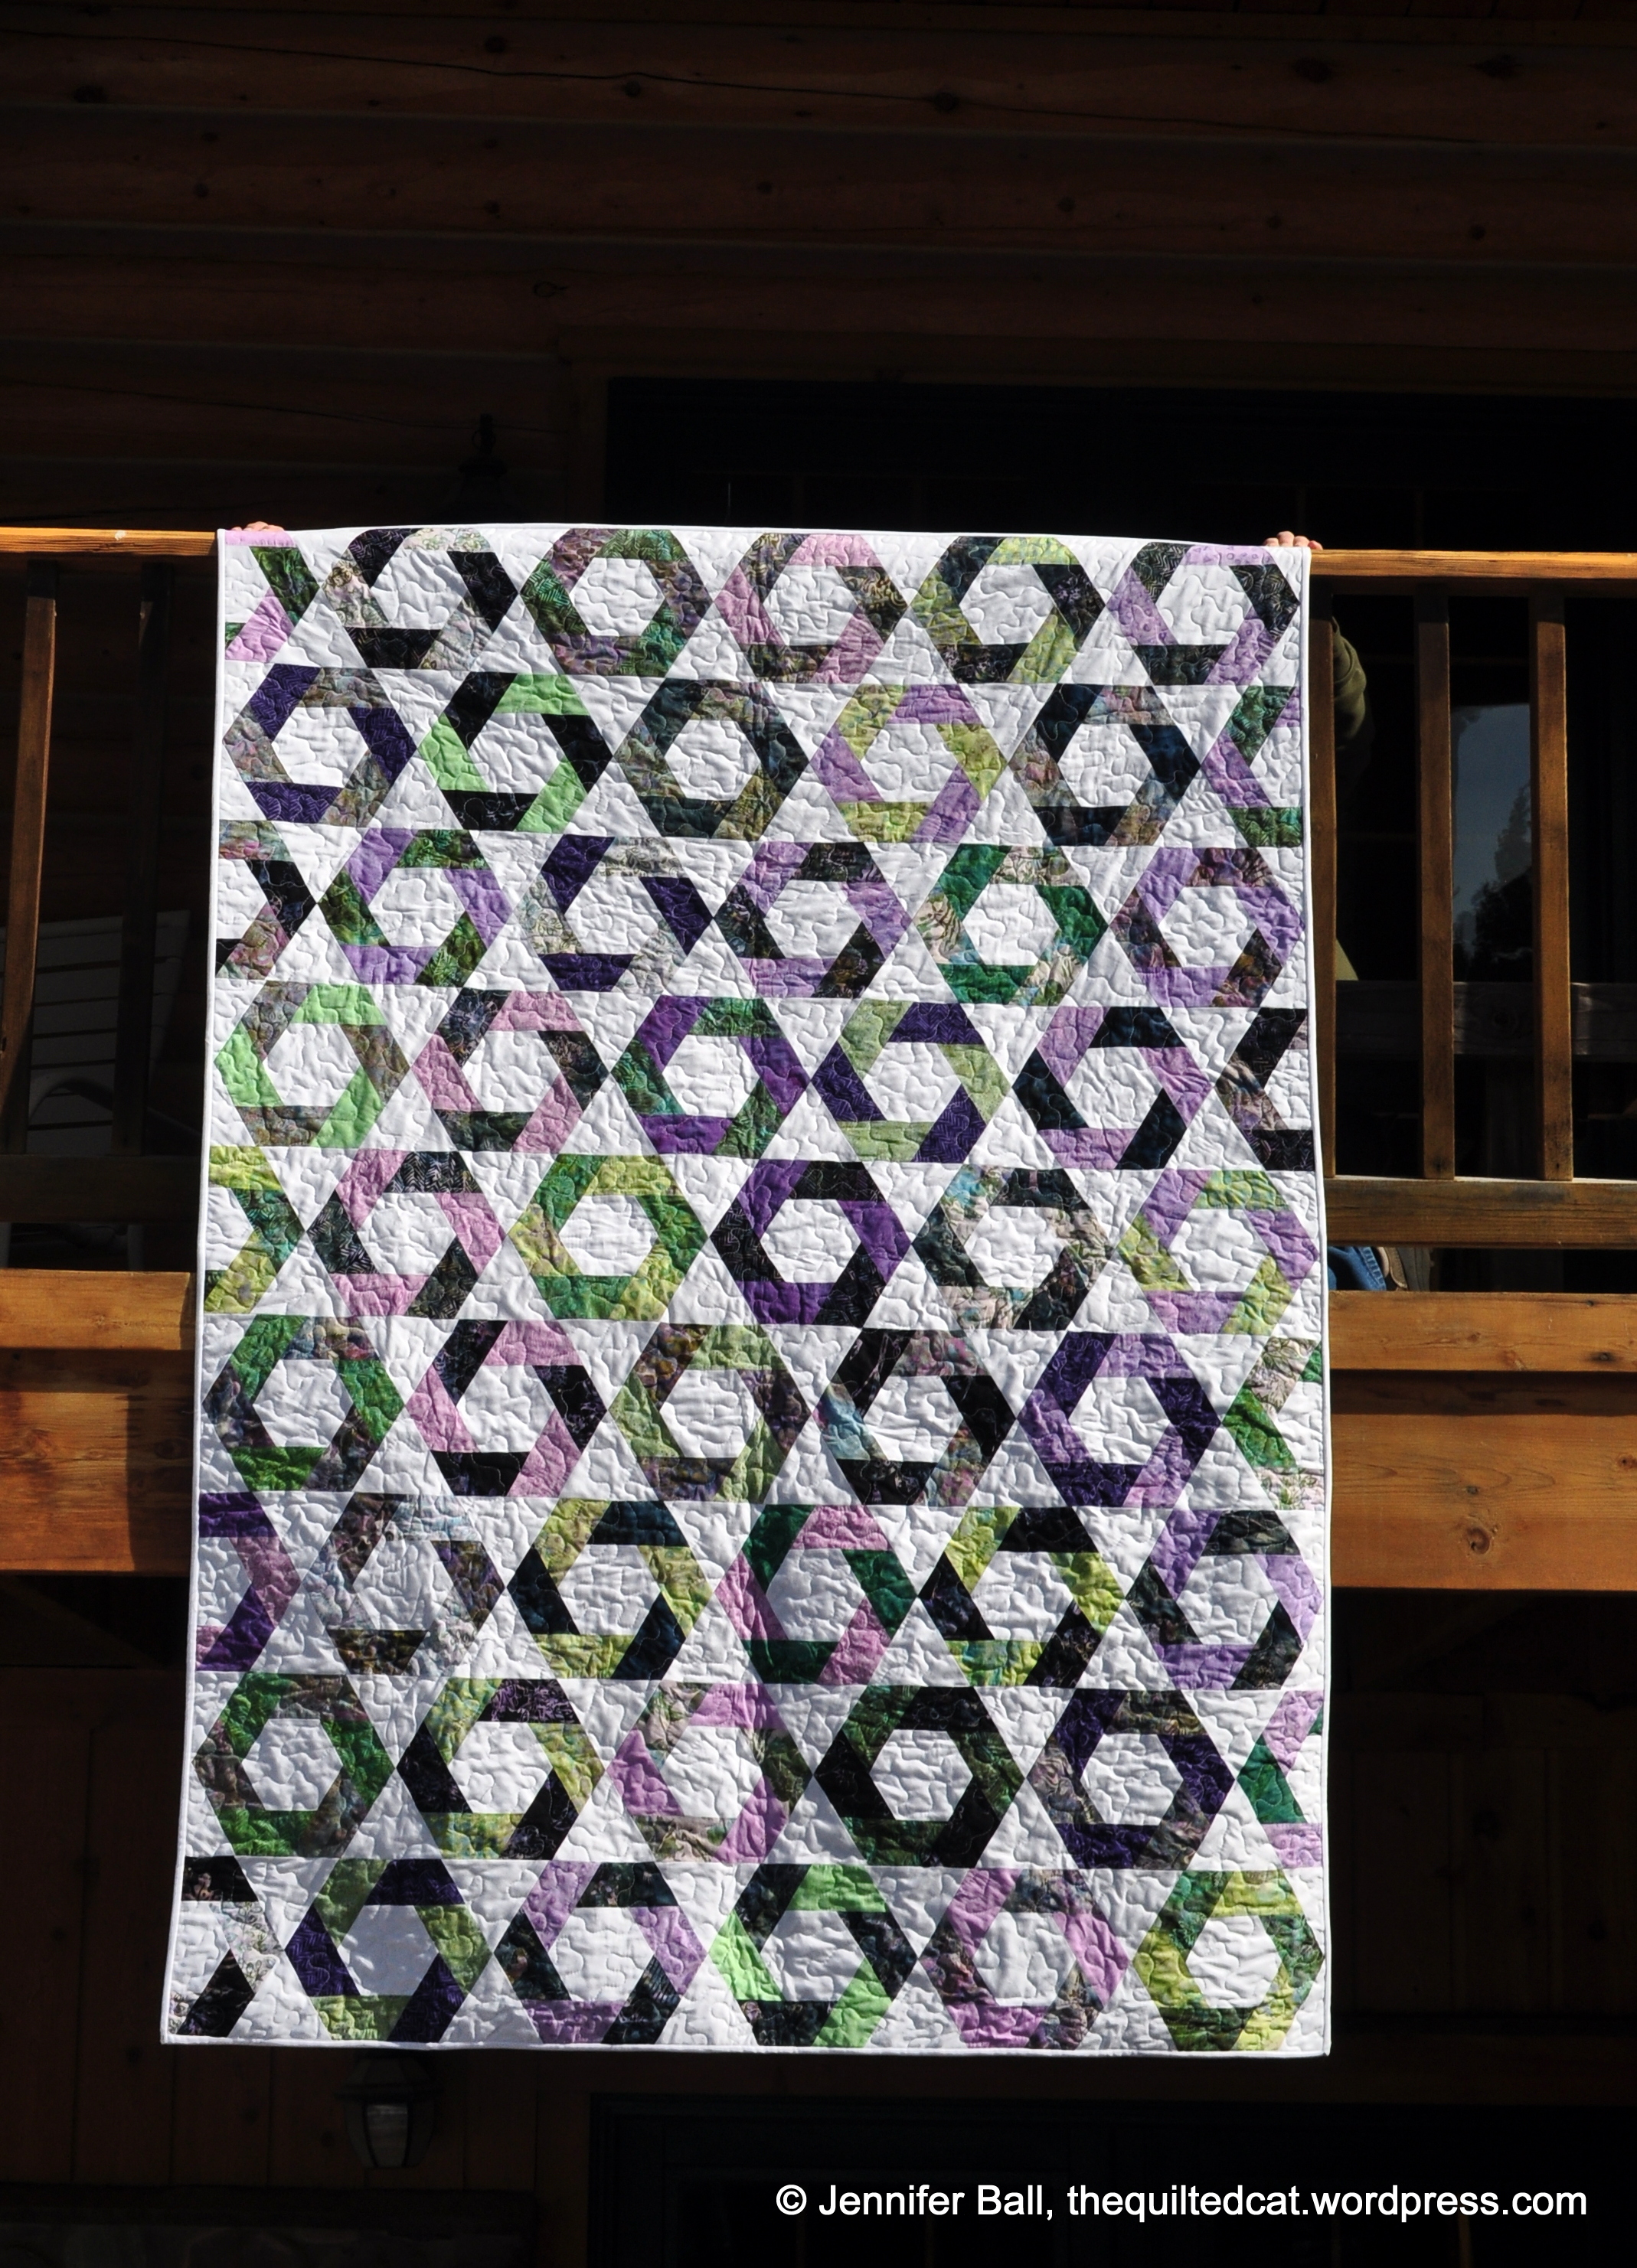
Here are some pics of the quilt front:

Snack Time at Cabin
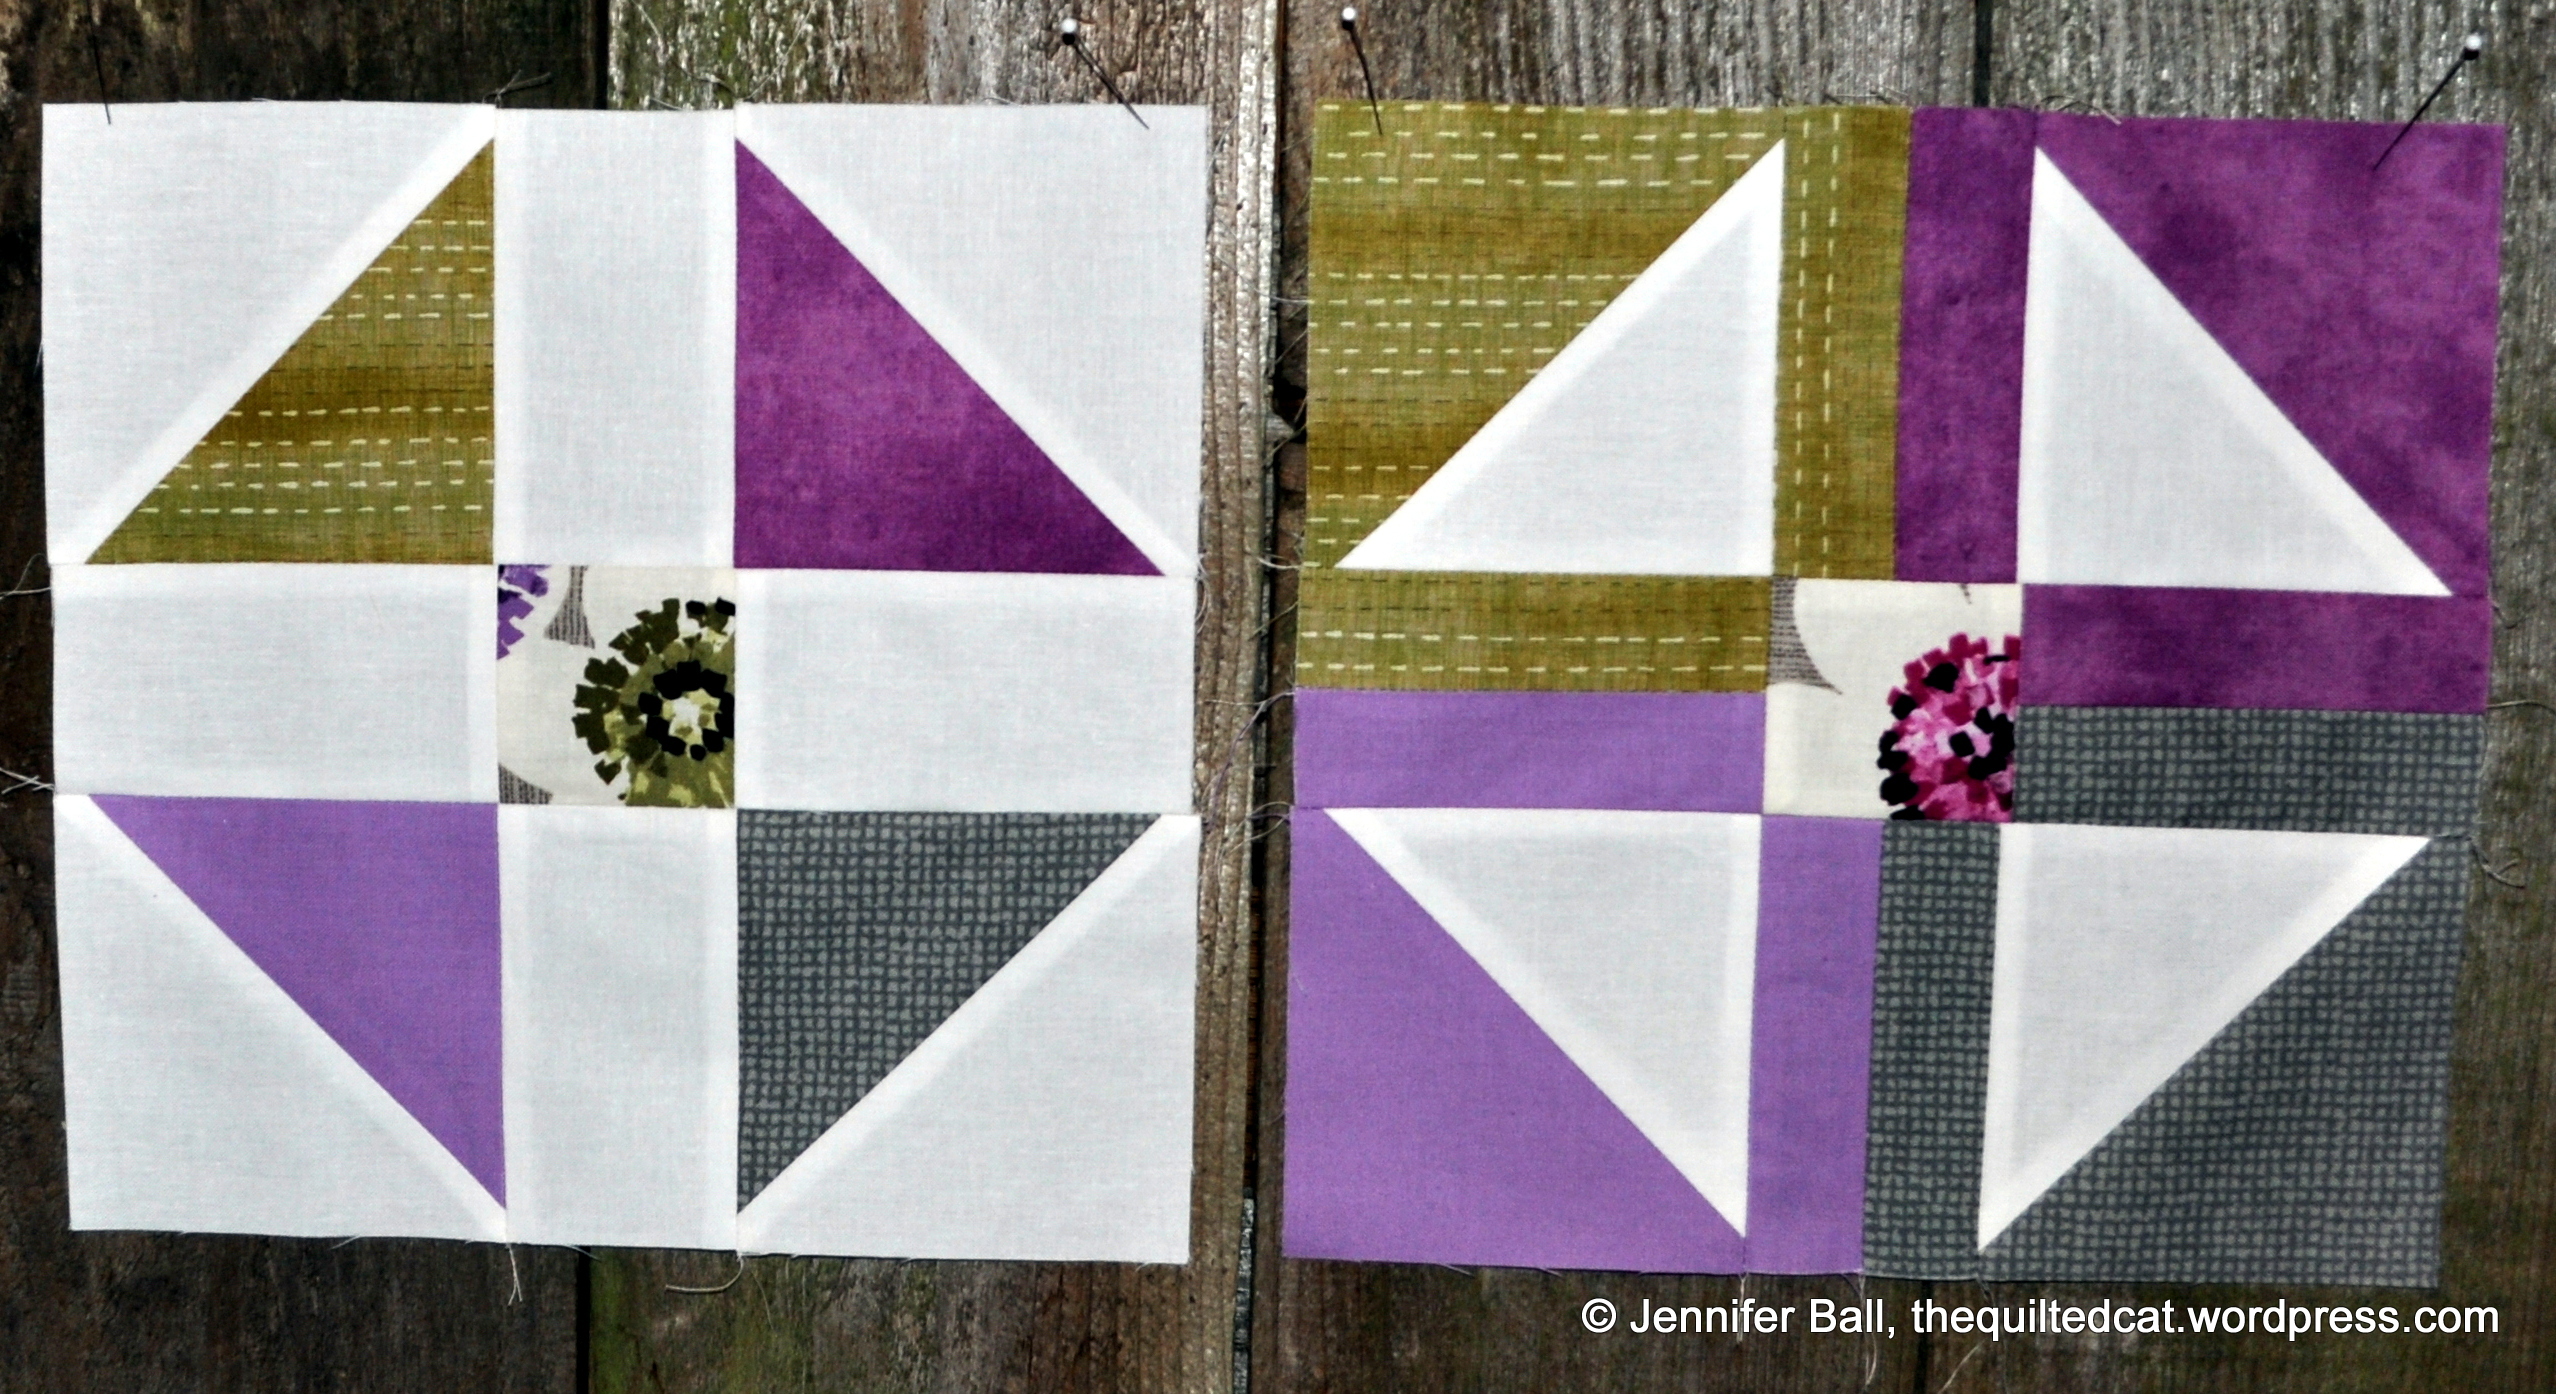
Snack Time Close-Up
For the backing, I went with Kona cotton in Lupine with some left-over Snack time blocks, Kona white, and a label.

Snack Time Back
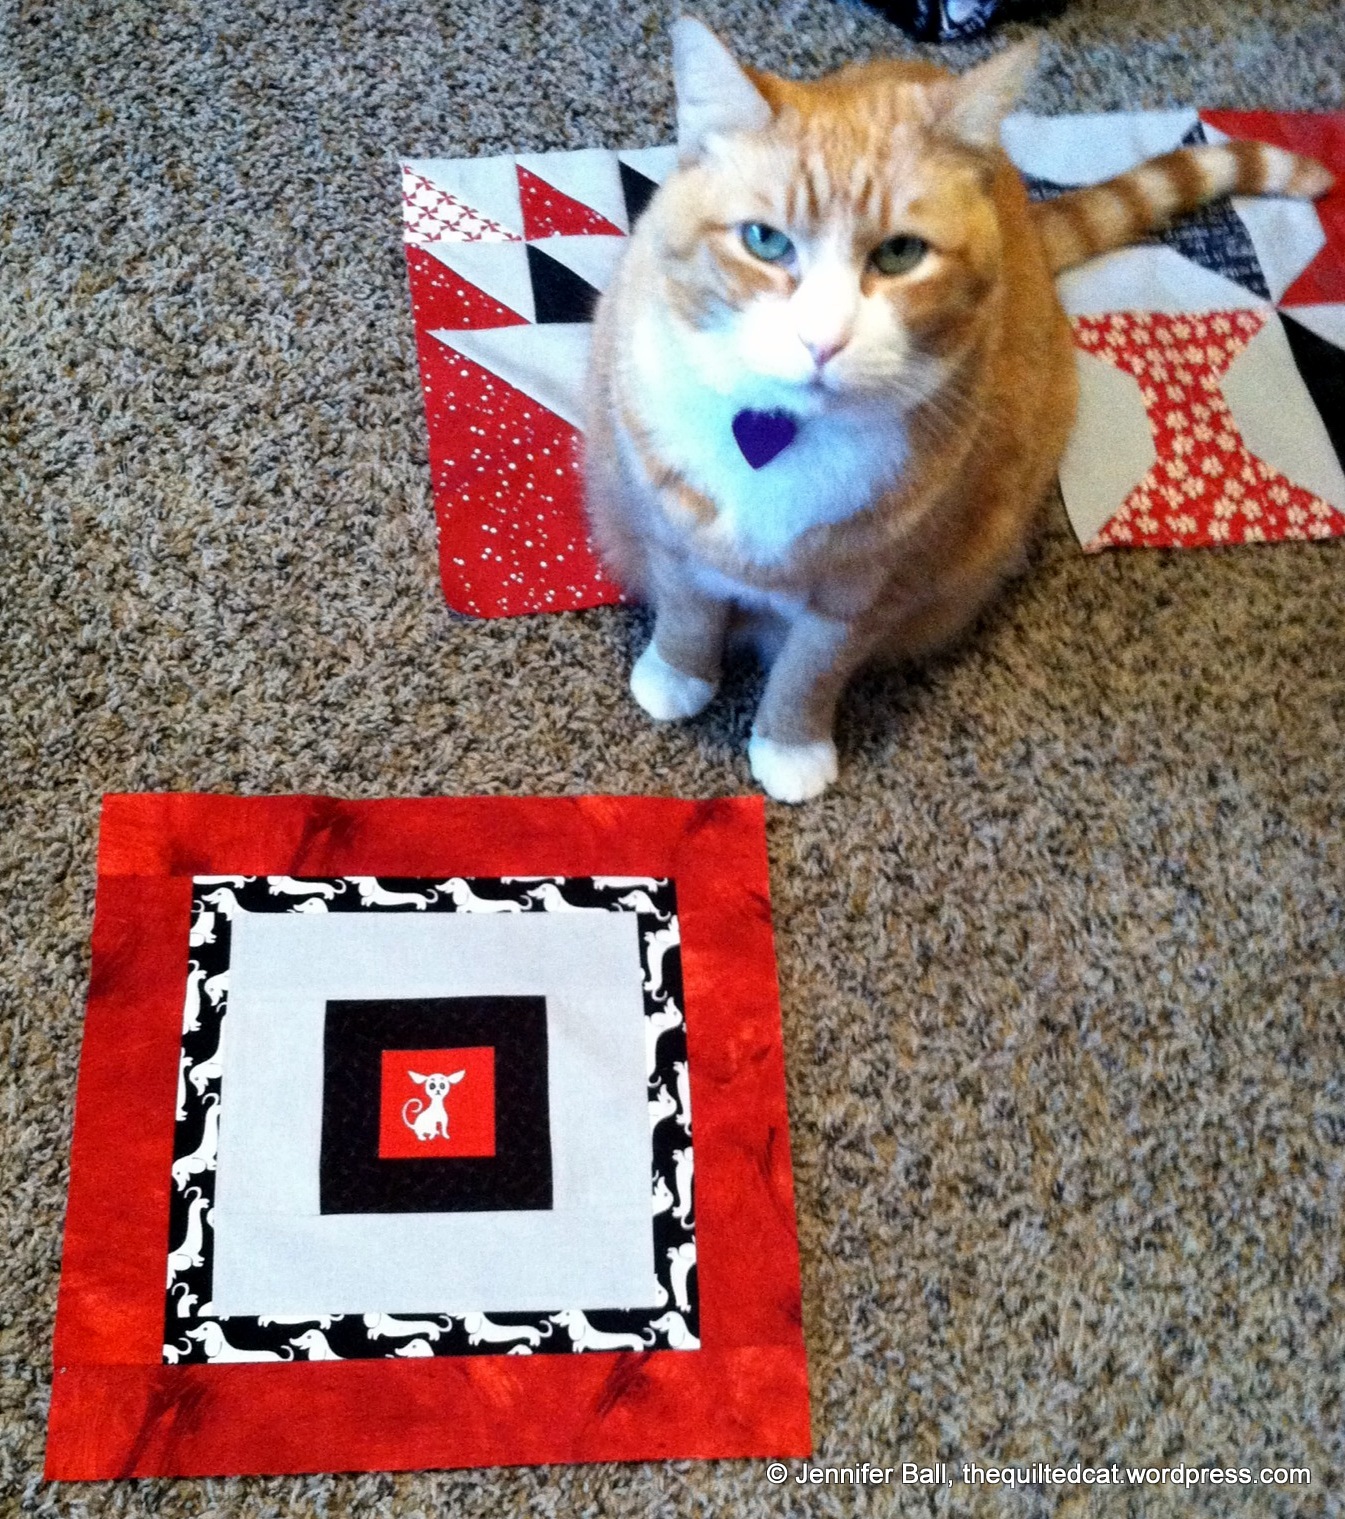
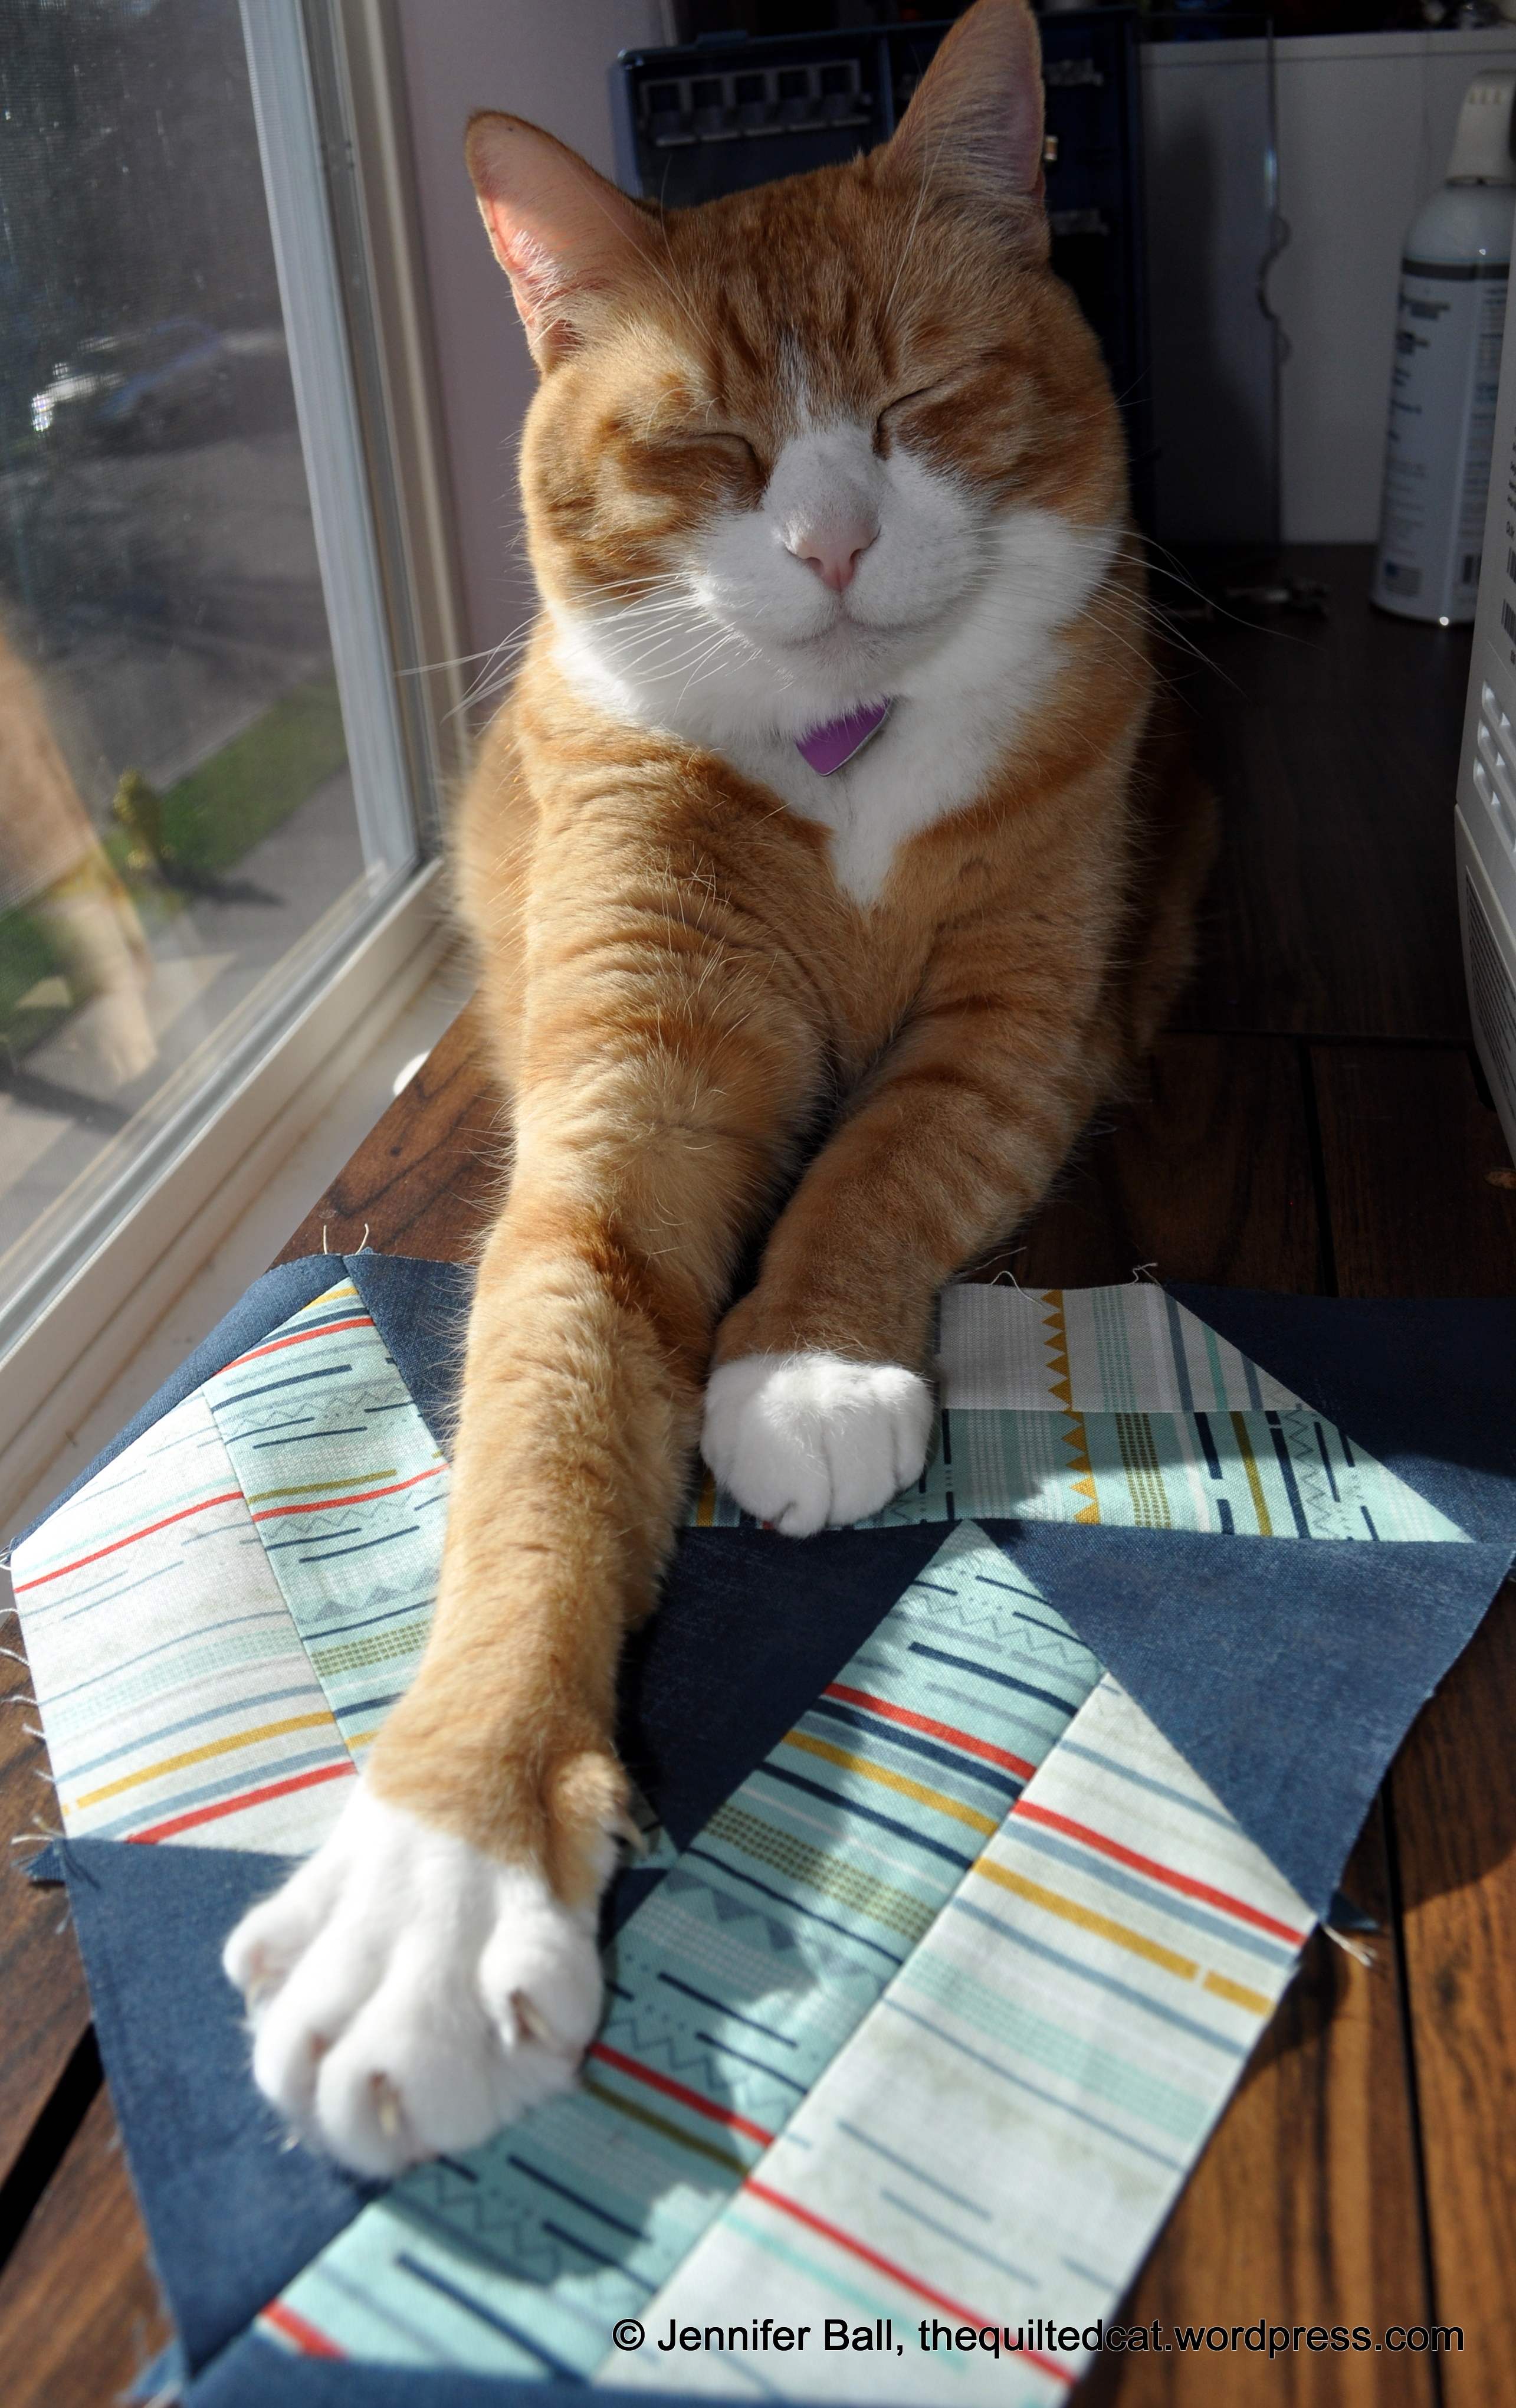
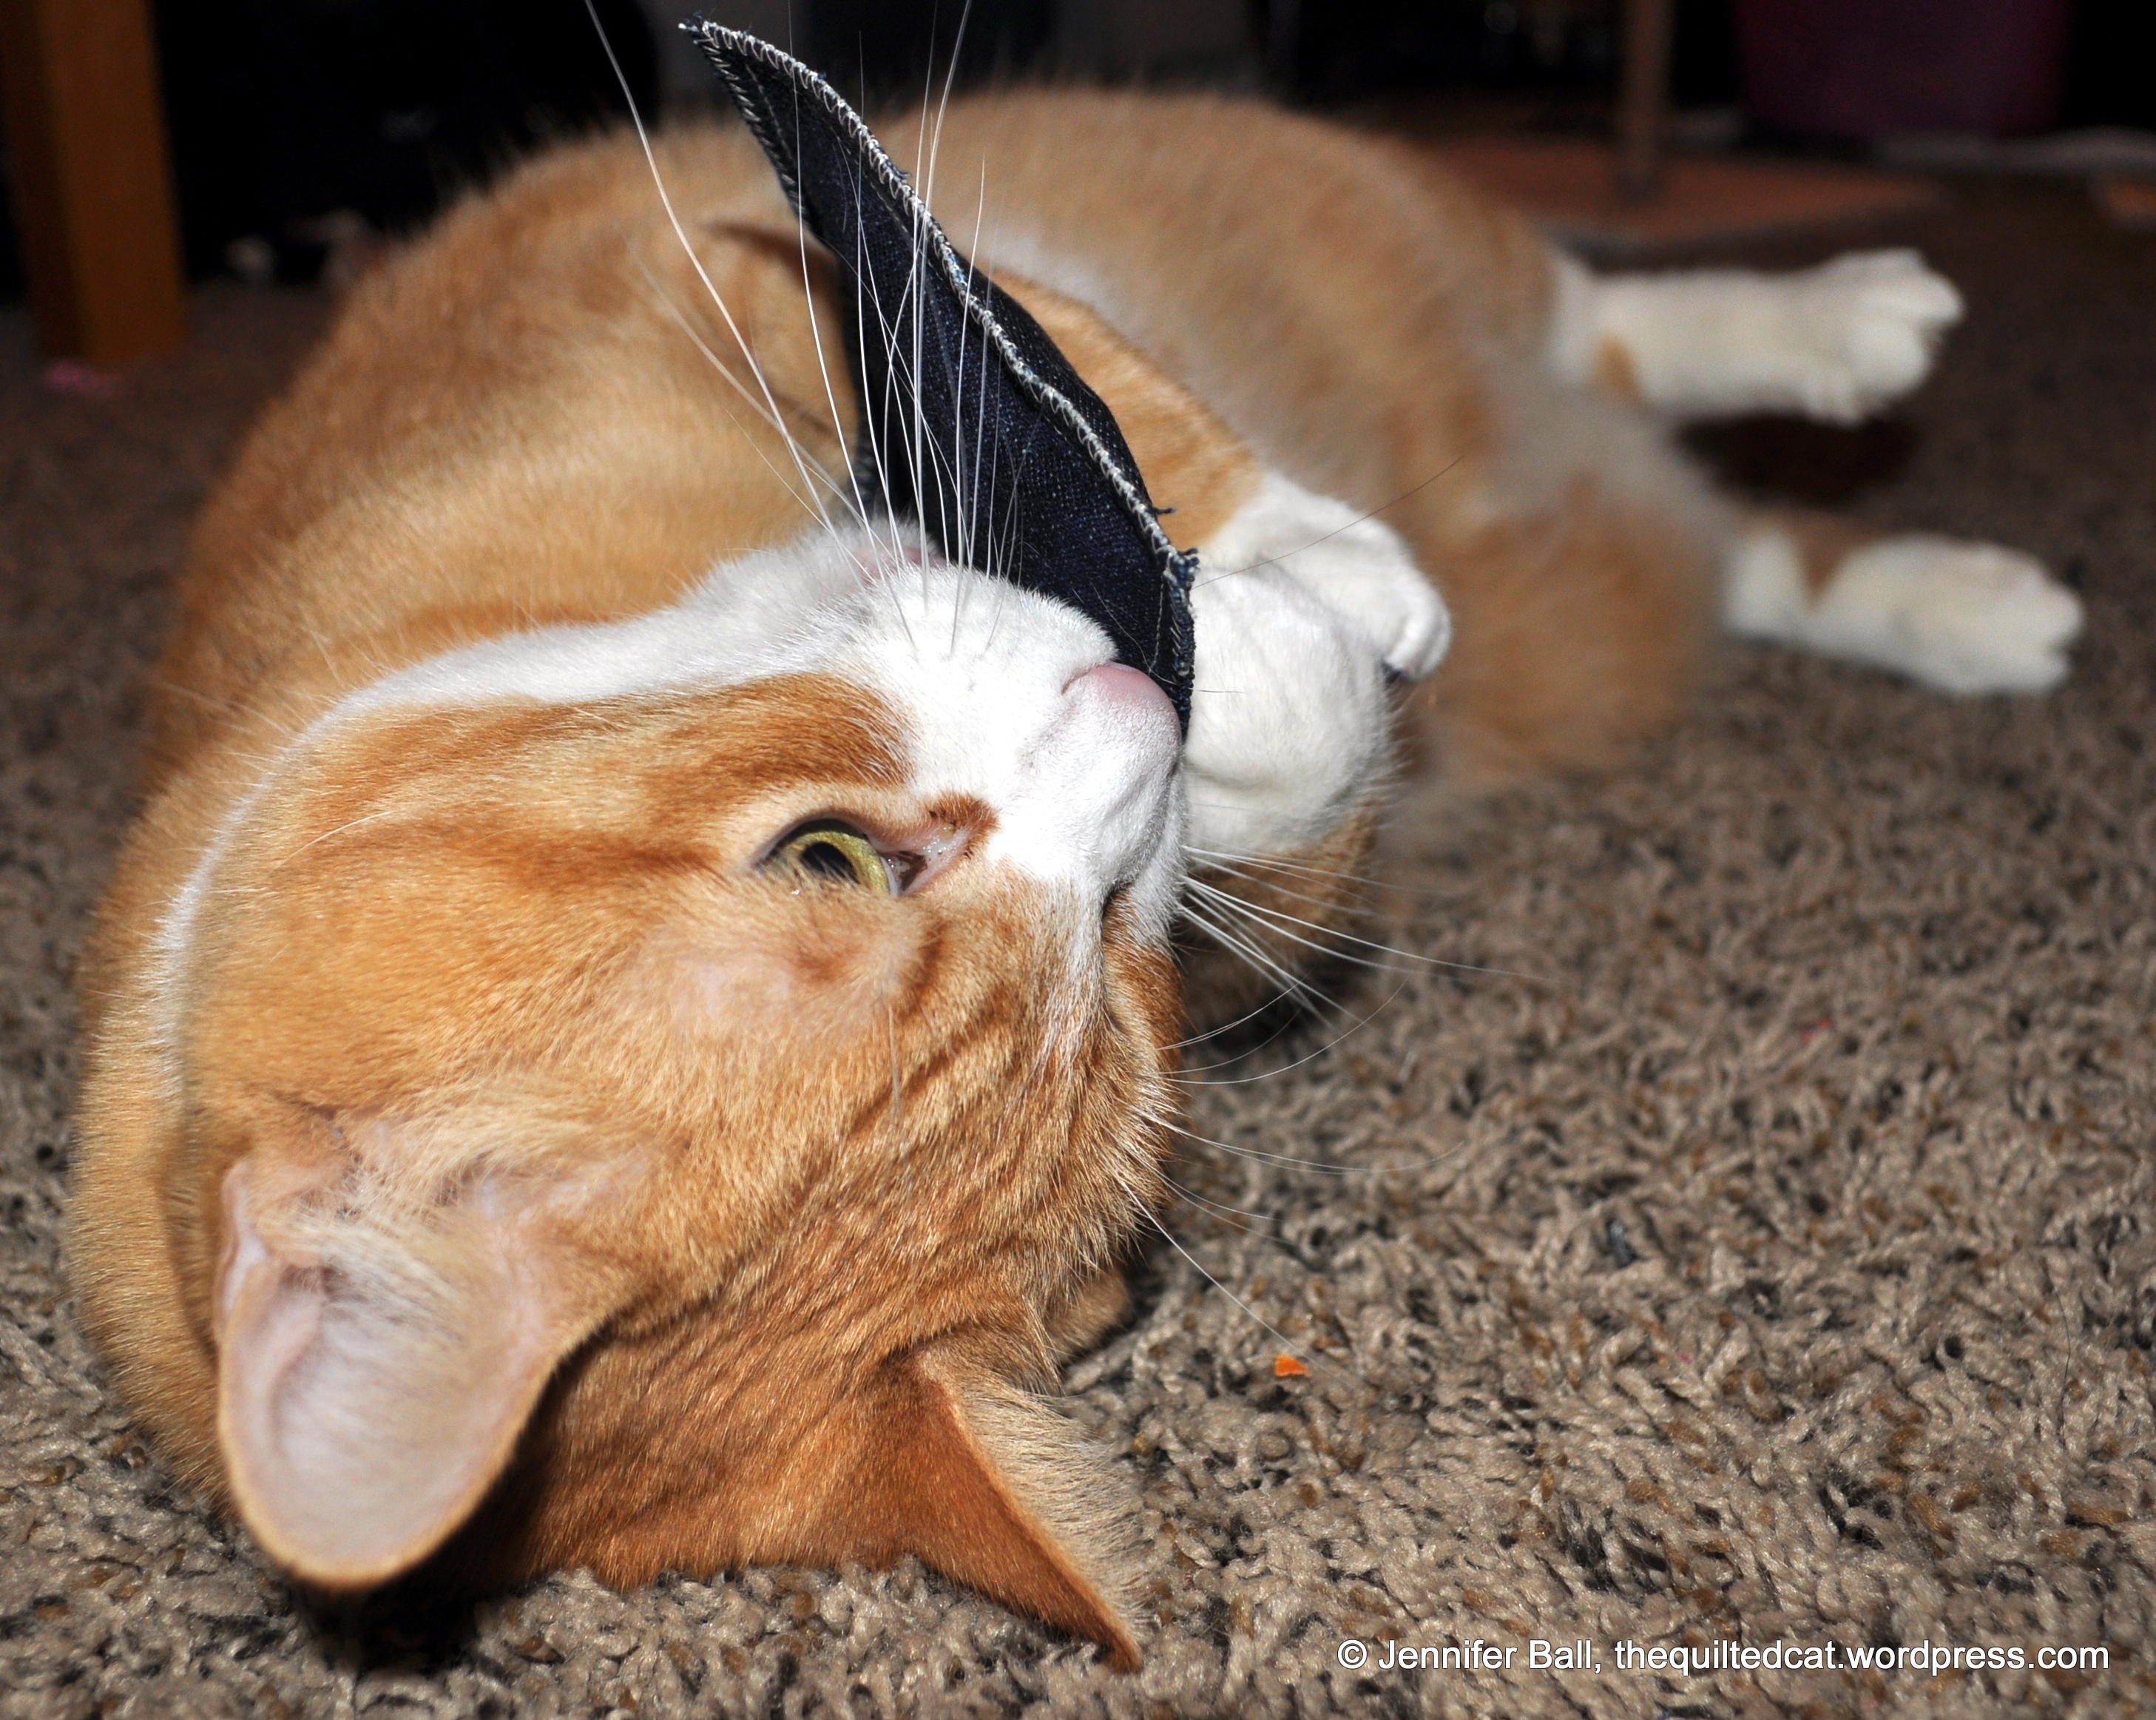
Naturally, this quilt had to be inspected professionally and so Miss Gracie gave us her paw of approval!

Miss Gracie
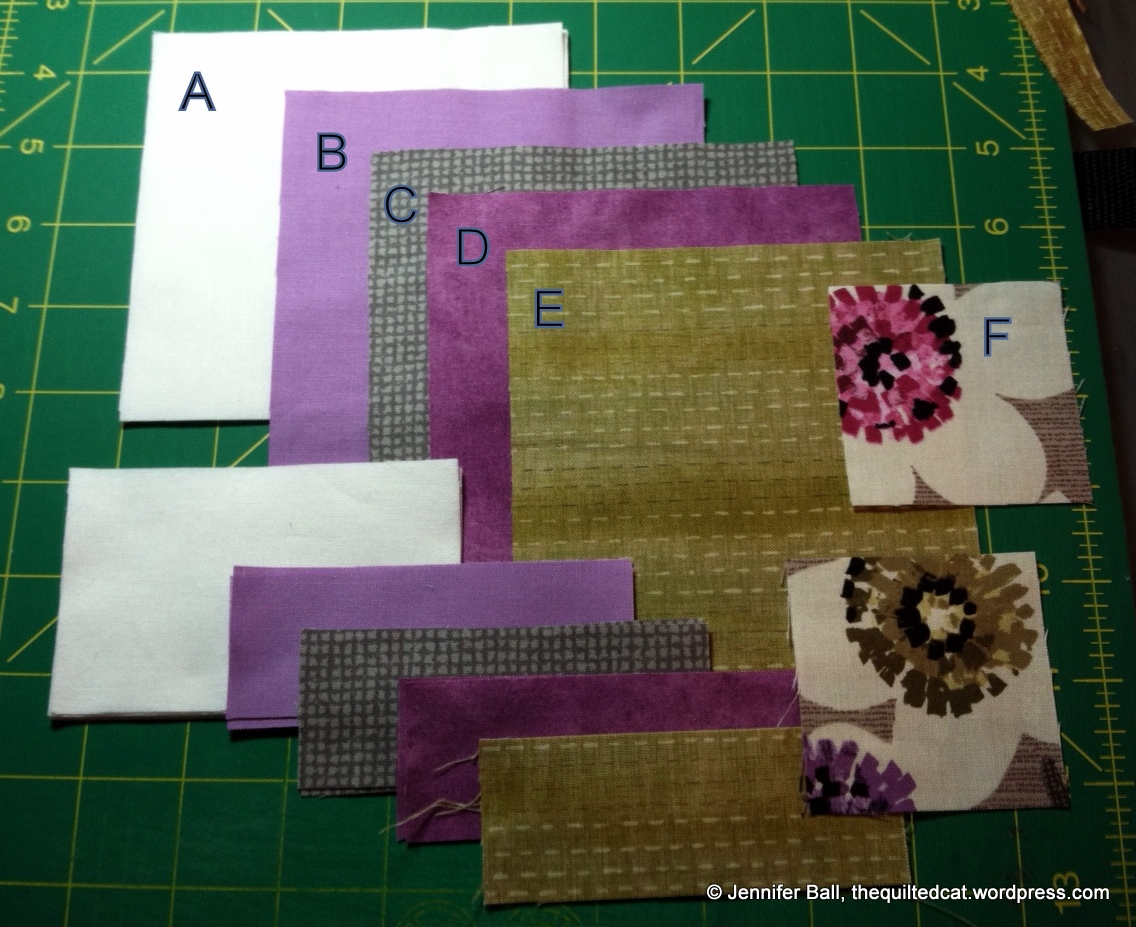
I still have the original quilt top from that class, Boxed In, to finish. I’ll get it done eventually!
Happy quilting!
~Jennifer