Vice Versa BOM: March Blocks

I did both some hiking and some sewing this weekend to kick off spring break here in Oregon!

I finished up my 2 March blocks for the Vice Versa BOM, hosted by AnneMarie over at GenXQuilters. We made the bear paw block this month, which is one of my all-time favorite blocks.

Here’s at look at the regular block and the inverse block:

Vice Versa BOM - March Blocks

Vice Versa BOM – March Blocks

You can read about my fabric selections in my first Vice Versa post here.

We’ve made 3 months worth of blocks, and I love taking pictures of them together. The colors are so springy and make me happy!

3 Months of Vice Versa BOM

3 Months of Vice Versa BOM

I’m working on pictures from our scenic hike over the weekend so stay tuned!

Happy quilting!
~Jennifer

Triangle QAL Fabrics!

The sun is shining here this afternoon, just in time for me to take a picture of the fabrics that I have selected to use in a new quilt-along. Yes, I just finished up my Star Light Star Bright QAL top, and I’ve decided to jump aboard Paula’s fun triangle QAL over on her blog, Sassy Quilter.

I’m really excited to do this QAL since this will be my first, all triangle quilt top!

There are so many luscious fabric lines on the market today to choose from that I really couldn’t decide. Instead, I decided to go with something a little strange, a little hip, and a whole lot Portland! This one is for my hubby who loves beer and really enjoys sampling all the local micro brews.

The patterned fabrics are from Clothworks Brewsky line, which I think may now be out of print. I actually picked up most of these fabrics last year while doing a quilt shop hop, but didn’t have a specific project in mind. I’m throwing in a few coordinating Kona cotton solids to round out my selections.

Here are the fabrics, all bundled up in this little basket:

Brewsky Fabric

Brewsky Fabric

And since my cat inspectors are too sophisticated to have their photos taken next to beer fabric, my dog stepped up to the plate. And really, doesn’t the dog and beer kinda tie for the role of “man’s best friend??”

Yep, Ma, It's Beer Fabric! Woof!

Yep, Ma, It’s Beer Fabric! Woof!

I hope you’ll mosey on over to Paula’s blog and join us for this QAL. Next Friday, she’ll post the cutting directions.

Have a great weekend!
~Jennifer

Quilted Name Tag and Lanyard

I belong to a local quilt guild, and we have our monthly meeting coming up this week. The guild encourages people to create name tags to wear at the meetings since there are quite a few members. I’ve been procrastinating on this task for quite some time!

I decided to pull out some fun sewing-themed fabrics to use with my name tag.

Fabrics for Name Tag

Fabrics for Name Tag

These fabrics are:
Black: Color Weave by P&B Textiles
Green: Light Green #23070-H from She Who Sews Handmaids line by Janet Wecker Frisch for Quilting Treasures
Solid White: Kona cotton in white
Scissors Print on White: Pattern #600 by The Henley Studio for Makower Andover (can’t find a link)

I decided to make a simple pinwheel quilt block with a finished measurement of 3-inches by 3-inches. Next, I added a small white rectangle below the pinwheel so I could write my name. I used the Handmaids green fabric as a border, and then made my miniature quilt sandwich!

Name Tag Quilt Sandwich

Name Tag Quilt Sandwich

Isn’t it cute! For piecing, I used Aurifil #2000. For the quilting, I used an Aurifil Green to echo stitch around each pinwheel shape and around the white rectangle. I used Aurifil black to stitch on the black color weave binding.

I then cut a piece of black ribbon from my stash and stitched it to the backside of the name tag and turned it into a lanyard. I decided to make a lanyard style to avoid pinning the tag to my clothes and so I could add commemorative buttons from quilting events to the ribbon.

As a final touch, I added 3 decorative buttons: a cat (of course!), a pair of scissors, and a thimble.

Quilted Name Tag Lanyard

Quilted Name Tag Lanyard

I love these quick-and-easy projects!

Do you have a quilted name tag? I’d love to see photos.

Enjoy!
~Jennifer

Star Light Star Bright QAL Top Completed!

Good evening, everyone!

I finished up my quilt top for the Star Light Star Bright QAL hosted by Melissa over at Happy Quilting. A big thanks goes to Melissa for designing such a fun project and her generosity in sharing the pattern with us, week by week!

Although some of my points are not perfect, I continue to improve my piecing skills by working on quilt-alongs and BOMs. These timed projects give me a definite goal, and I love quilting alongside people from all over the world.

To see a complete list of my fabric selections, you can read my original SLSB QAL post. I pieced the top using Aurifil thread, #2000.

My husband assisted with some outdoor photography as we tried to catch the quilt in the fading evening light. I think these pictures don’t do the fabrics justice. You can see my pretty plum tree blooming in the background.

Then, I brought the quilt top indoors and placed in on the floor and took a couple more photos.

SLSB QAL Quilt Top, Indoors

SLSB QAL Quilt Top, Indoors

SLSB QAL Quilt Top, Indoors with Cat Inspector

SLSB QAL Quilt Top, Indoors with Cat Inspector

I hope to be able to quilt it and bind it in time for the grand parade of finishers. Right now, I’m leaning towards using one of the dark brown fabrics for the binding.

Enjoy!
~Jennifer

Happy Worldwide Quilting Day!

Did you know that today, March 15th, is Worldwide Quilting Day? Yippee – a special day devoted to our love of all things quilty.

I celebrated the event by purchasing some gorgeous fabric from a local quilt shop having a 20% off sale this week. I was drooling over the new Sunnyside line by Kate Spain for Moda. You can purchase this fabric online from Fat Quarter Shop if your local shop does not have it.

I didn’t have a specific project in mind until I saw the Reach for the Stars quilt on Dawn’s blog, First Light Designs. This quilt pattern features a medallion in the quilt center, something that I haven’t yet tried in a quilt. The design is by Terry Krysan and can be found in the Quilter’s Newsletter magazine as a 7-part series. Look for the October/November 2013 issue for the fabric requirements and the medallion instructions.

For my quilt, I’m using the Sunnyside line plus 2 Bella Solids (Night Sky and Porcelain) and 1 color weave in turquoise. I’m using Aurifil in Light Sand (#2000) for all the piecing. I really need to get an Aurifil thread color chart so I can pick out the best thread color for the quilting.

Here’s a quick iPhone picture of my medallion before I had it sewn together.

Tiger on Medallion

Tiger on Medallion

I finished sewing the borders onto the medallion this evening and tried to catch the last of the light. These pictures are a little grainy due to the low-light conditions, but I hope you see the beautiful Sunnyside fabrics!

Reach for the Stars Medallion

Reach for the Stars Medallion

Some of my points do not quite match up, but I can see definite improvement in my piecing skills over the last year.

Of course, one of my cat inspectors could not resist sitting on the medallion during my photo session. I could hardly keep him off the fabric so I guess he approves!

Cow the Cat on the medallion

Cow the Cat on the medallion

Once I finish piecing the top for my Star Light Star Bright QAL project, then I hope to be able to work on the next blocks on this Reach for the Stars quilt.

I hope you had a little time to do some sewing today!

Enjoy,
~Jennifer

Celtic Solstice, Part 3!

I’ve squeezed in a bit more time over the past several weeks to work on part 3 of Bonnie Hunter’s Celtic Solstice quilt. The instructions are still available until this June if you want to make one for yourself!

There are 6 steps in total, and I’ve completed the piecing on steps 1, 2 and 3. Part 3 has beautiful pinwheels and little individual blocks in yellows and oranges. These blocks are so sunny and cheerful!

Here are my 25 pinwheel units and 100 half-square triangles:

Celtic Solstice, Part 3

Celtic Solstice, Part 3

I used the Waterlogue app to turn the pinwheel units into this faux painting. I think I could frame it and put it in my quilting room!

Waterlogue Version of Celtic Solstice Part 3

Waterlogue Version of Celtic Solstice Part 3

I invited my cat inspectors to examine these blocks, but they were not interested. Hmmm. Oh well, my dog performed his stunt-double duties and decided to sit with me while I took photos:

Cat inspectors were too busy!

Cat inspectors were too busy!

This weekend, I plan to sew together my quilt blocks and sashings for the Star Light Star Bright QAL hosted by Melissa.

Do you have any quilty plans?

Enjoy!
~Jennifer

Aurifil BOM, March Block

The March block for the Aurifil BOM is called Borders and is designed by Emily Herrick.

In keeping with my color scheme of reds and blacks with Kona cotton in Shadow as my background, I went looking in my stash for a fun print to fussy cut for the block center. Many quilters have “assistants” or “inspectors” of the feline variety, and I have several myself! However, I also have a dog who offers his services as a stunt double for my cats when they are too busy to bother with quilt inspection. So when I found a nice dog print fabric, I just knew that I had to incorporate one of the little dogs into this block.

Most of the dogs were too large, but I did find this one little dog on the fabric that perfectly fit the inner square! I then pulled some other black and red prints from my stash to coordinate with the dog and sewed the block.

I used Aurifil in light sand (#2000) for my piecing. This is my go-to thread for all my piecing projects.

Here’s a look at the finished March block, Borders:

Borders, March Block for Aurifil BOM

Borders, March Block for Aurifil BOM

Isn’t this a fun block? I just love the little dachshunds running around the black border.

Here are my Aurifil BOM blocks together. You can read about January’s block here and February’s block here.

Aurifil BOM Blocks: Jan, Feb, March

Aurifil BOM Blocks: Jan, Feb, March

If you’d like to join in the fun, check out the Aurifil blog post here about Emily and the March block.

Although I didn’t get a picture (yet) of this block with my dog, one of my inspectors did wander into my sewing room when the block was finished. His expression seems to say, “I can’t believe you used dog print fabric!”

Hmmm, I think the quilt inspector does not approve!

Hmmm, I think the quilt inspector does not approve!

Have a good week!
~Jennifer

Star Light Star Bright QAL, Block Corners

I finished up the block corners for the Star Light Star Bright quilt-along, hosted by Melissa over at Happy Quilting.

The quilt top is really starting to take shape! Next week, we’ll finish assembling the top.

One of my quilt inspectors fell asleep on the job! When I placed several block corners in his kitty bed, I got this startled expression:

Romeo gets startled by block corner units

Romeo gets startled by block corner units

Ha,ha, big kitty eyes!

Here’s a look at the block corner units with the other pieces:

Block Corner Units

Block Corner Units

Once the blocks are stitched together, I’ll rearrange the blocks before adding the sashing strips.

We’re having a brief break in the rain today so I’m going to enjoy while I can!

Enjoy,
~Jennifer

Vice Versa BOM: February Blocks

Yep, I’m a few days late with my February blocks!! Since the March blocks will be sent out this Friday, I figured that I still had time to squeeze by and consider these blocks done in time.

The Vice Versa BOM is designed and hosted by Anne Marie over at Gen X Quilters so come join us!

Here are my February blocks:

Vice Versa February Blocks

Vice Versa February Blocks

I’m doing the 9-inch finished size so these blocks are currently 9.5-inches. My blocks feature Pantone’s color of the year: radiant orchid.

Here are the February blocks next to my January blocks:

Vice Versa: January and February Blocks

Vice Versa: January and February Blocks

The colors in these blocks are making me long for springtime flowers!

Happy quilting,
~Jennifer

Sewing Cabinet Find and Celtic Solstice, Part 2!

Happy Monday, quilters!

I’ve been perusing the local Craigslist ad for months, just waiting for a sewing cabinet to replace the tiny table that I have been using. This weekend, a nice cabinet appeared in the listing with a 1980s-era Singer sewing machine.

The cabinet does have a few scratches and dings, but my Bernina (mostly) fits into the cut-out space. On my old little table, it just sat on top and didn’t fit flush with the table surface. As a bonus, it has 7 drawers!! My husband helped me pick up the machine and haul it up our stairs. Then, I spent a good chunk of Sunday organizing the space. That it still a work in progress!

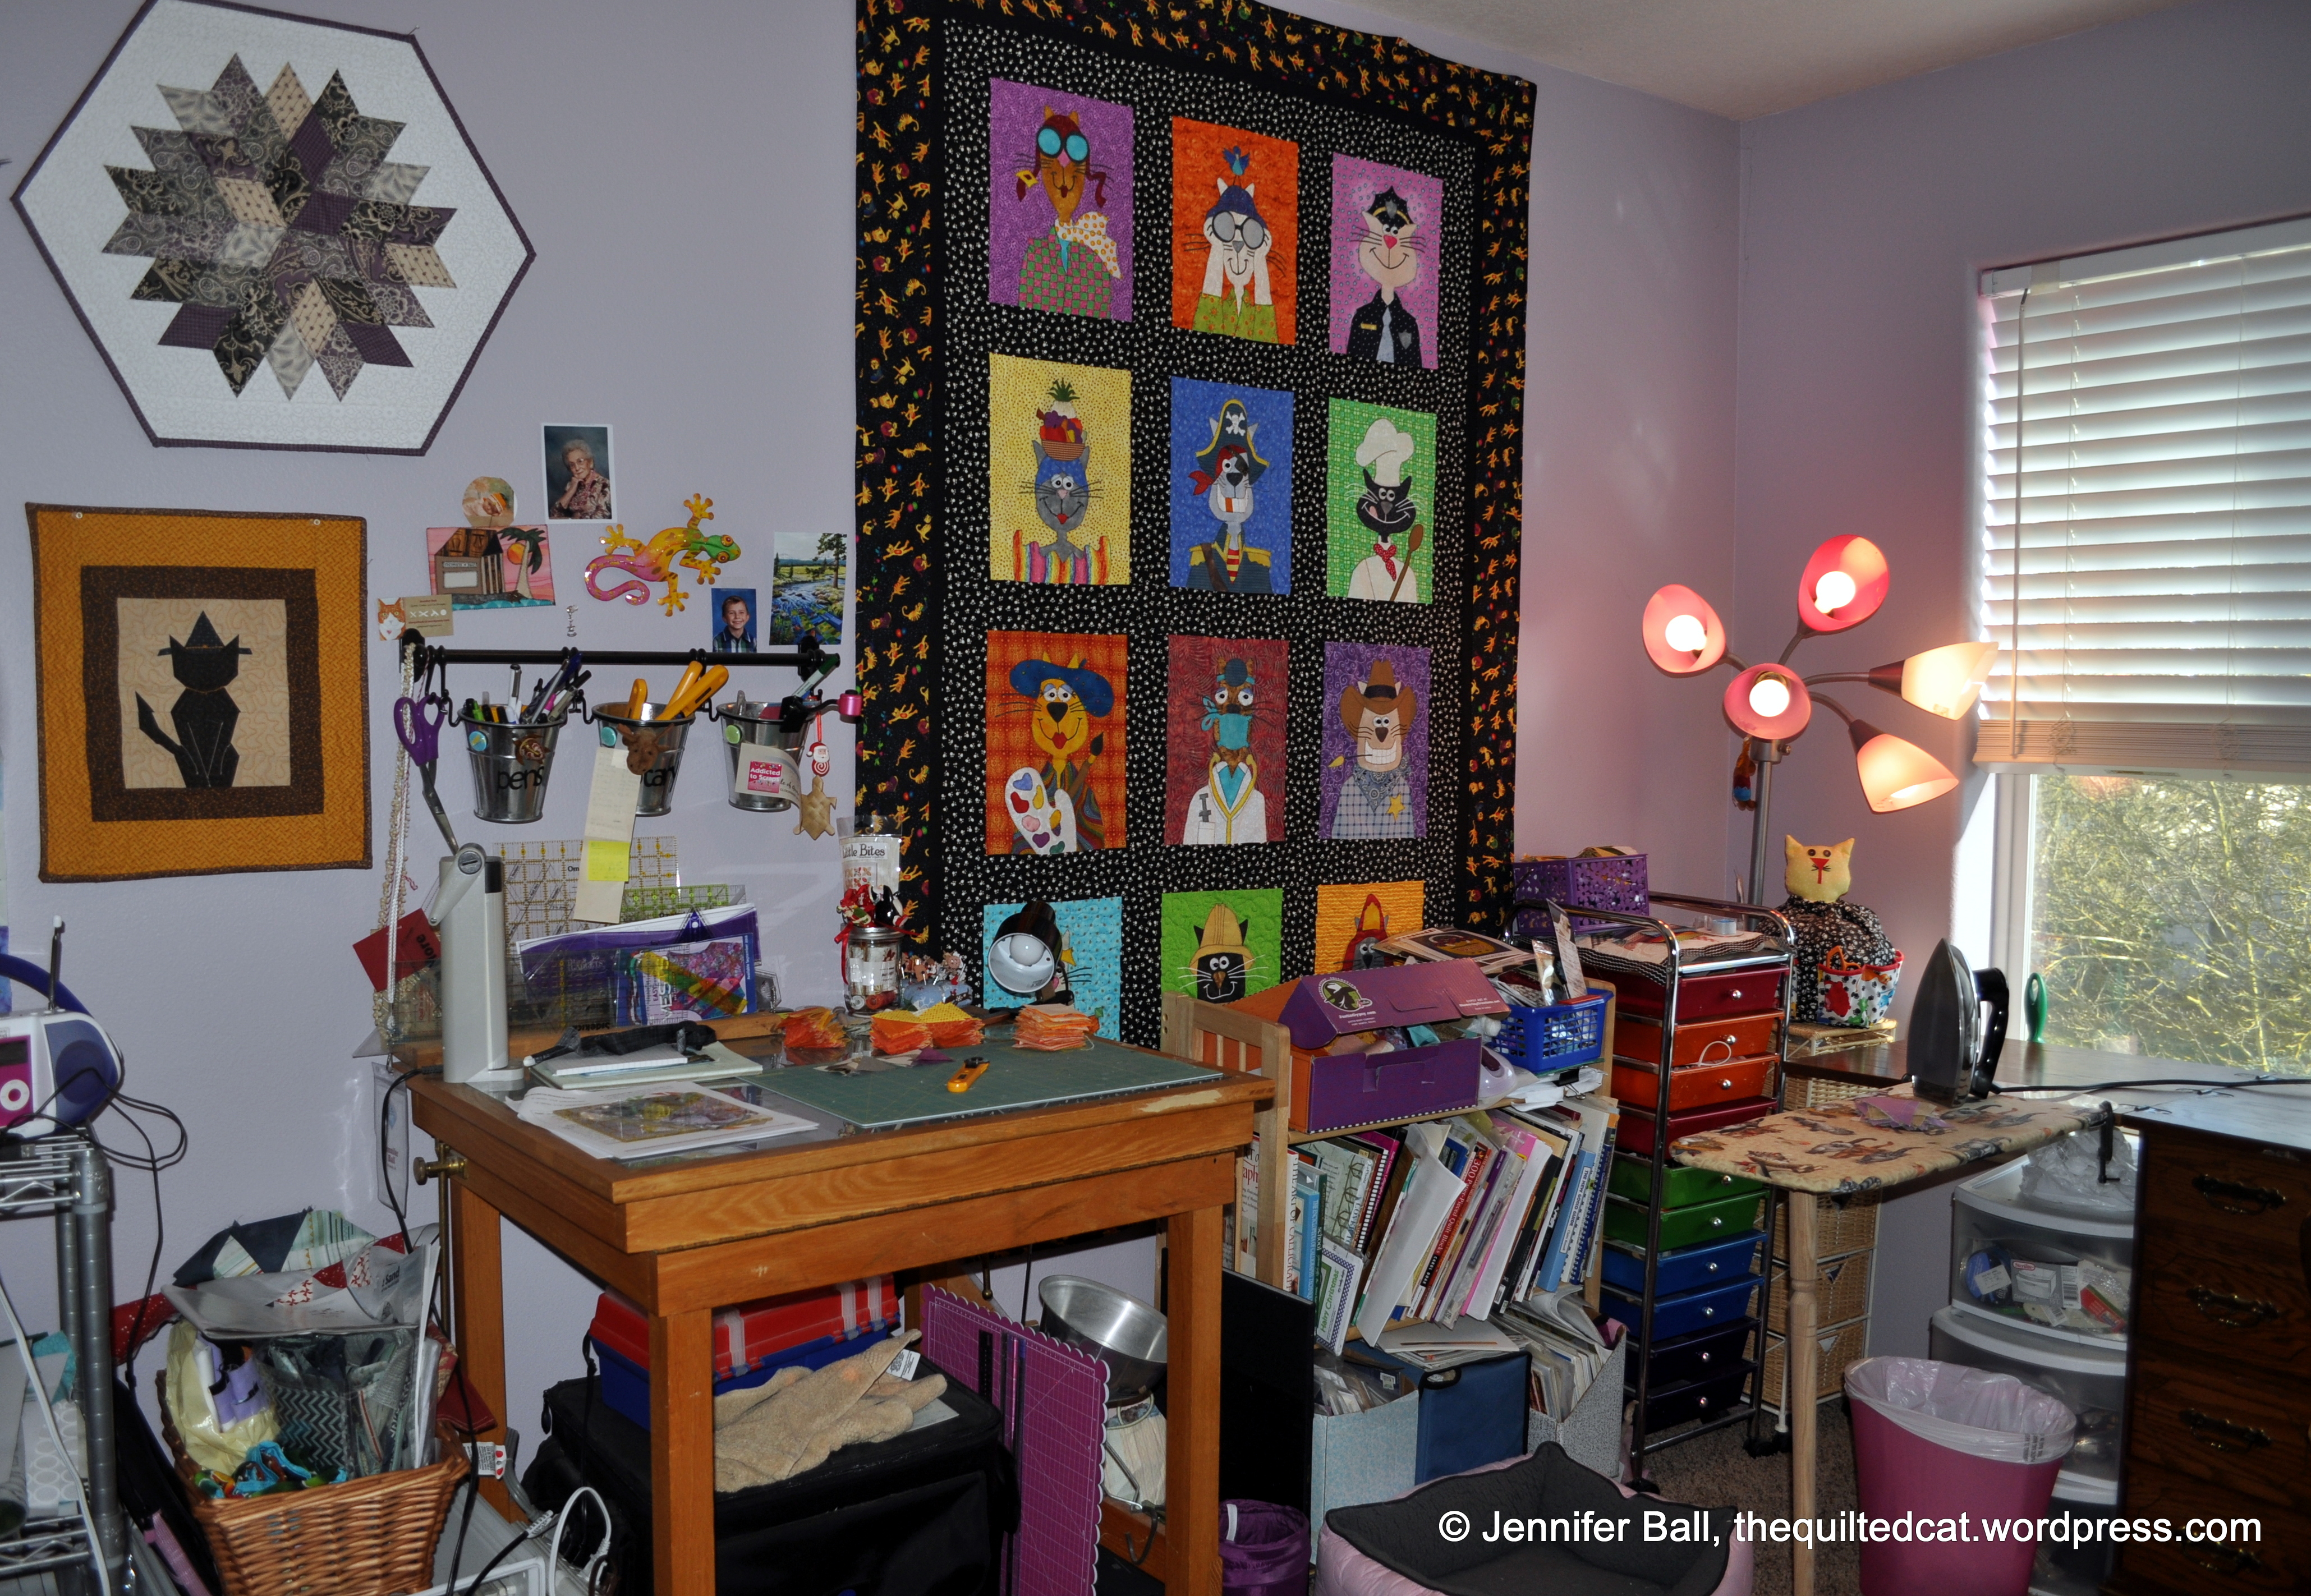
Here are some pictures of the new-to-me sewing cabinet in my spare bedroom (aka my sewing studio).

Used Sewing Cabinet

Used Sewing Cabinet

A few small scratches on the sewing cabinet surface

A few small scratches on the sewing cabinet surface

Sewing Room, Right Side

Sewing Room, Right Side

Sewing Room, Left Side

Sewing Room, Left Side

Oh my, looking at those photos, I see that still need to organize some of my fabric that is on the floor!

I also worked a bit more on my Celtic Solstice quilt top. This is a Bonnie Hunter mystery quilt from last fall, but I’m very behind many of the quilters who have already completed their tops! You can see my part one of this project here.

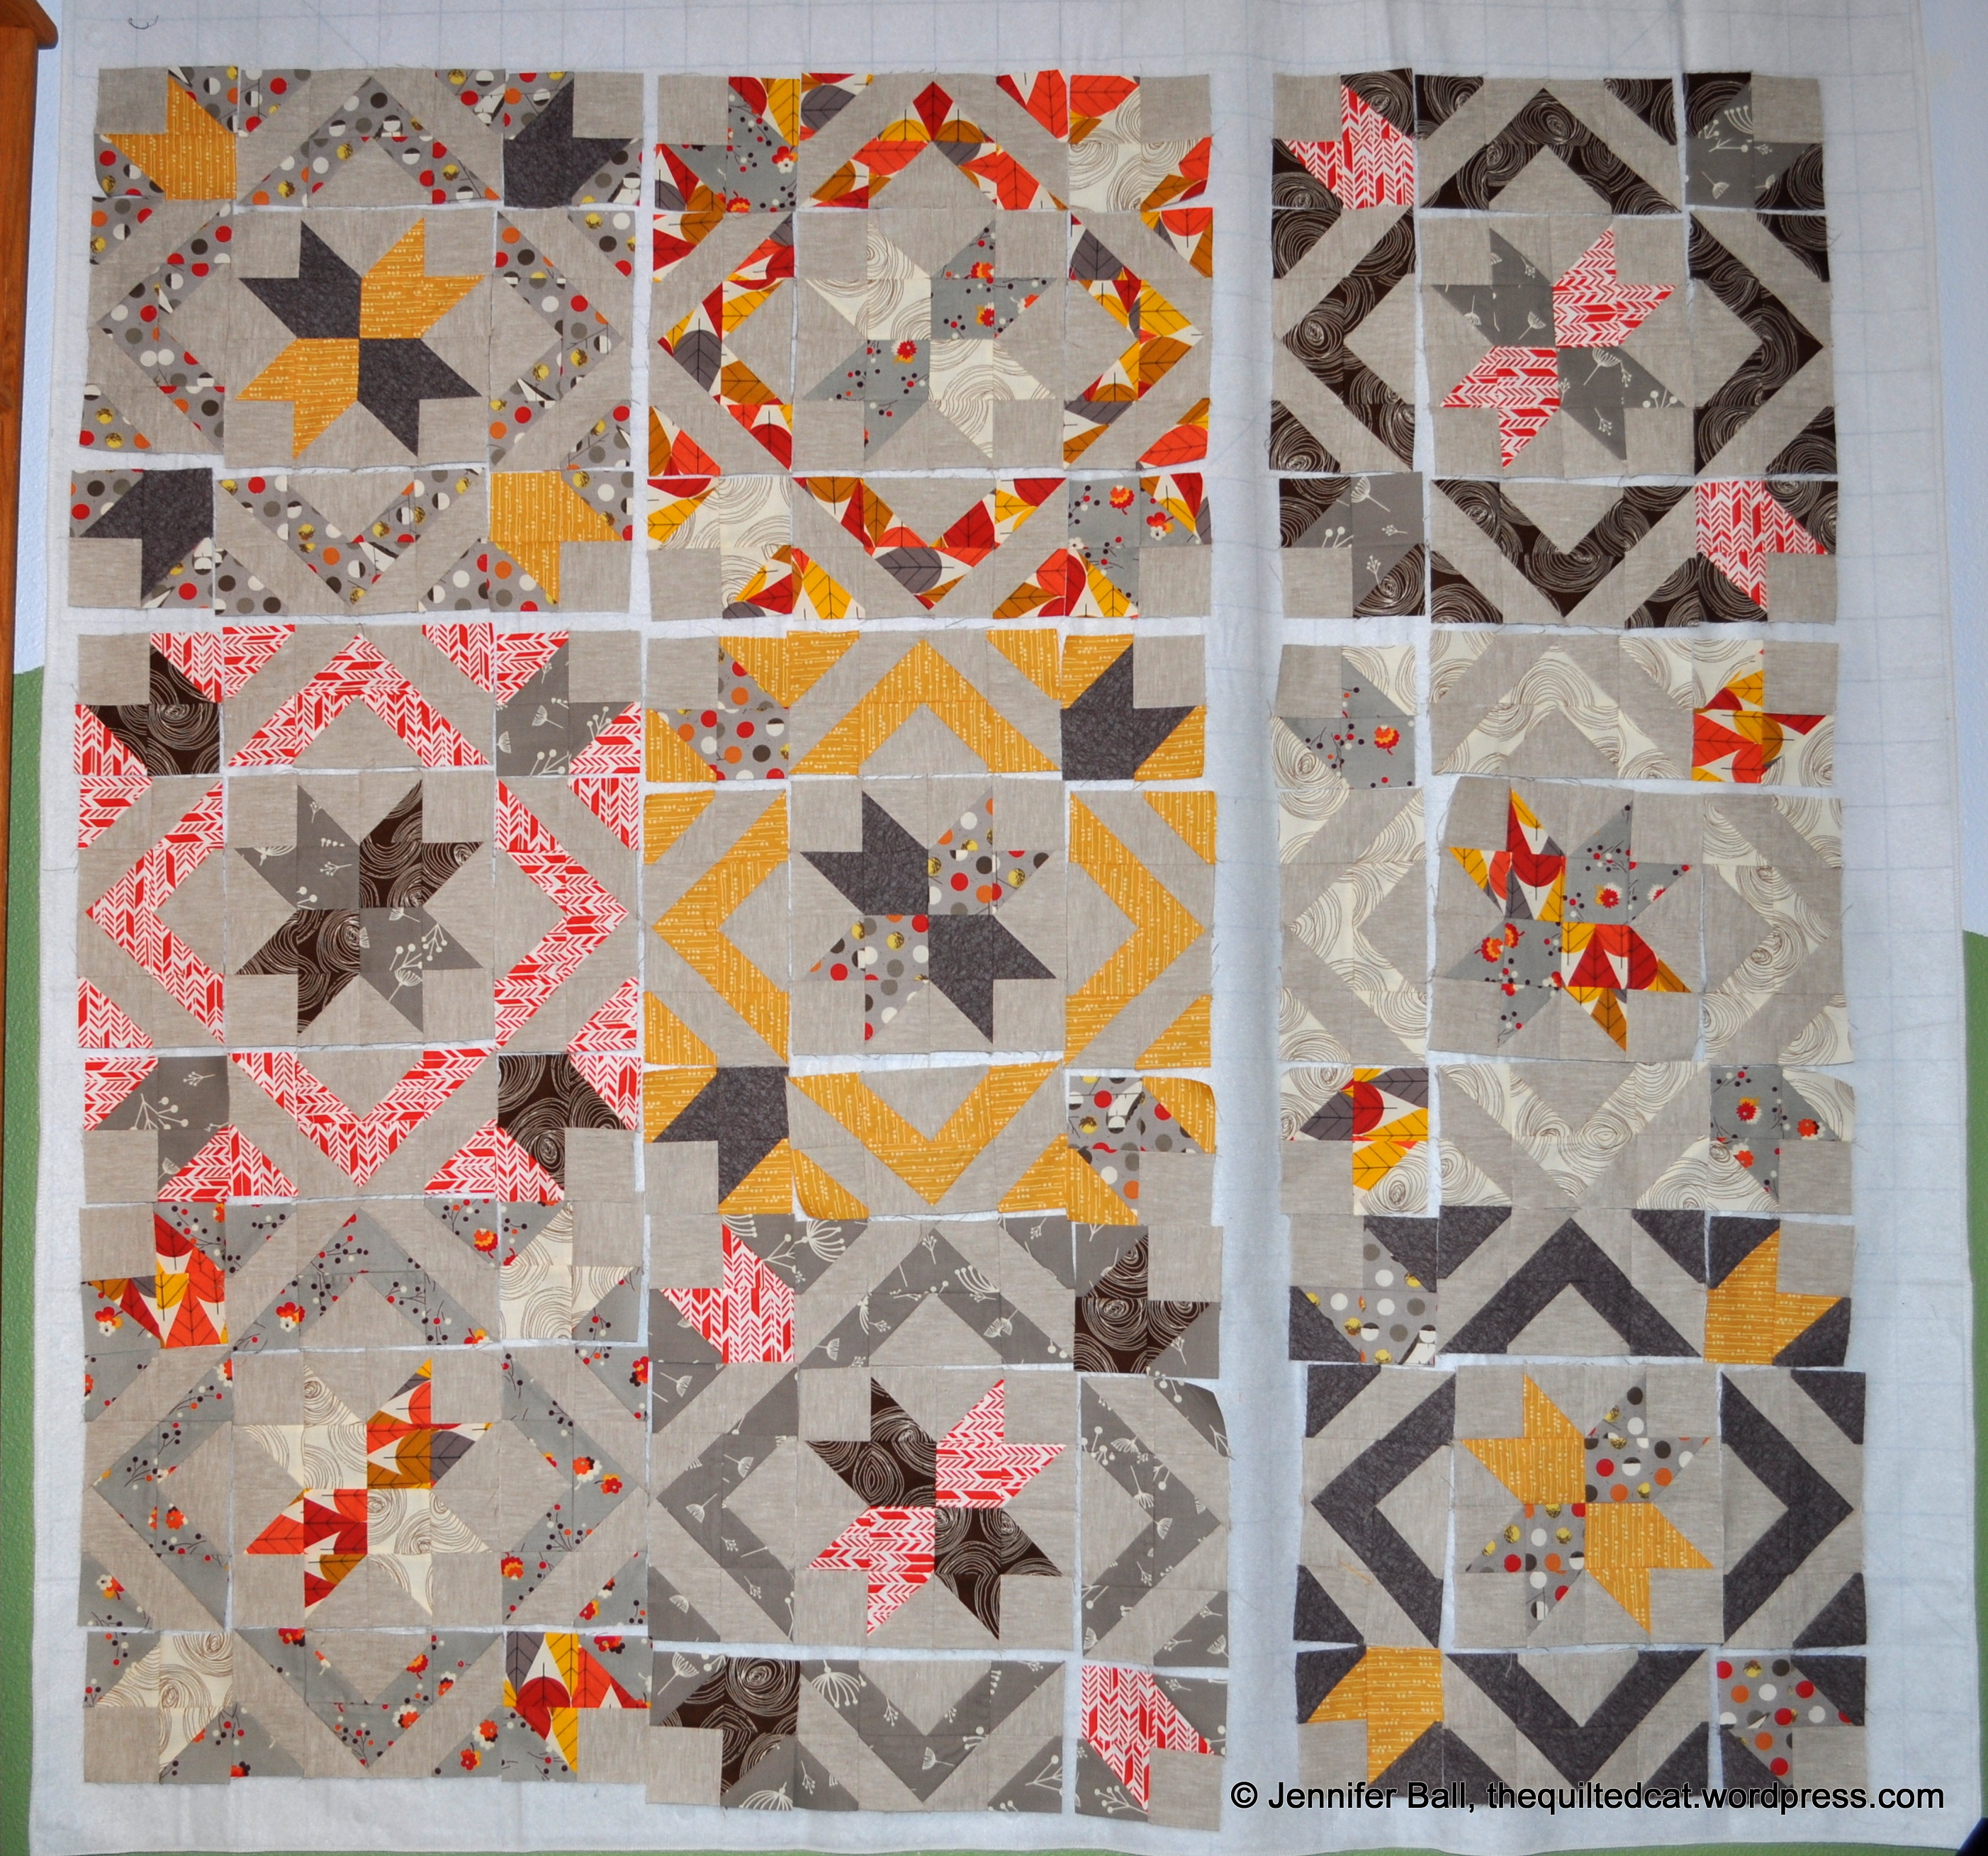
For part two, I needed to make 100 chevron units for the small-sized version of the quilt. Each chevron uses 6 pieces of fabric for a total of 600 pieces on this step! This was my first time making chevrons, and they went together pretty well by following Bonnie’s instructions.

Here they are after a press and trim:

Celtic Solstice Chevrons

Celtic Solstice Chevrons

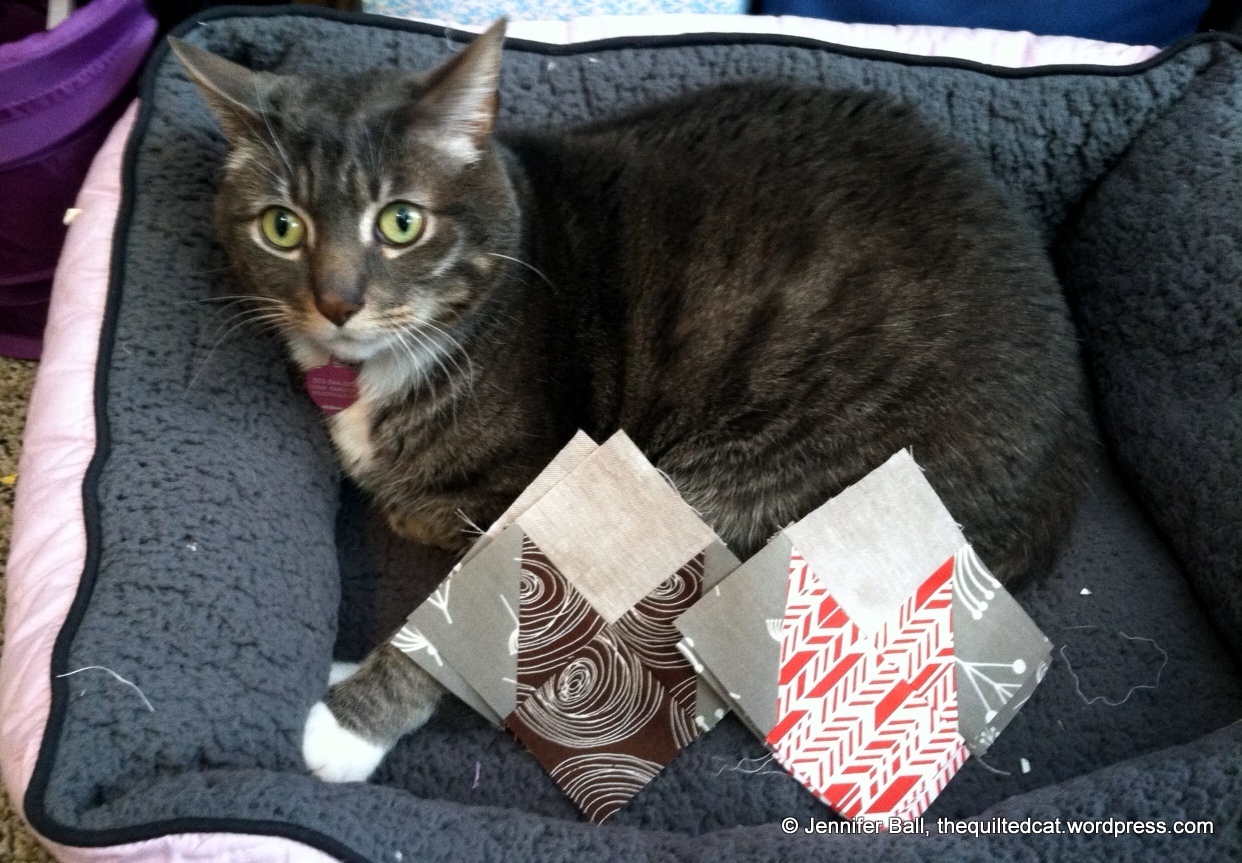
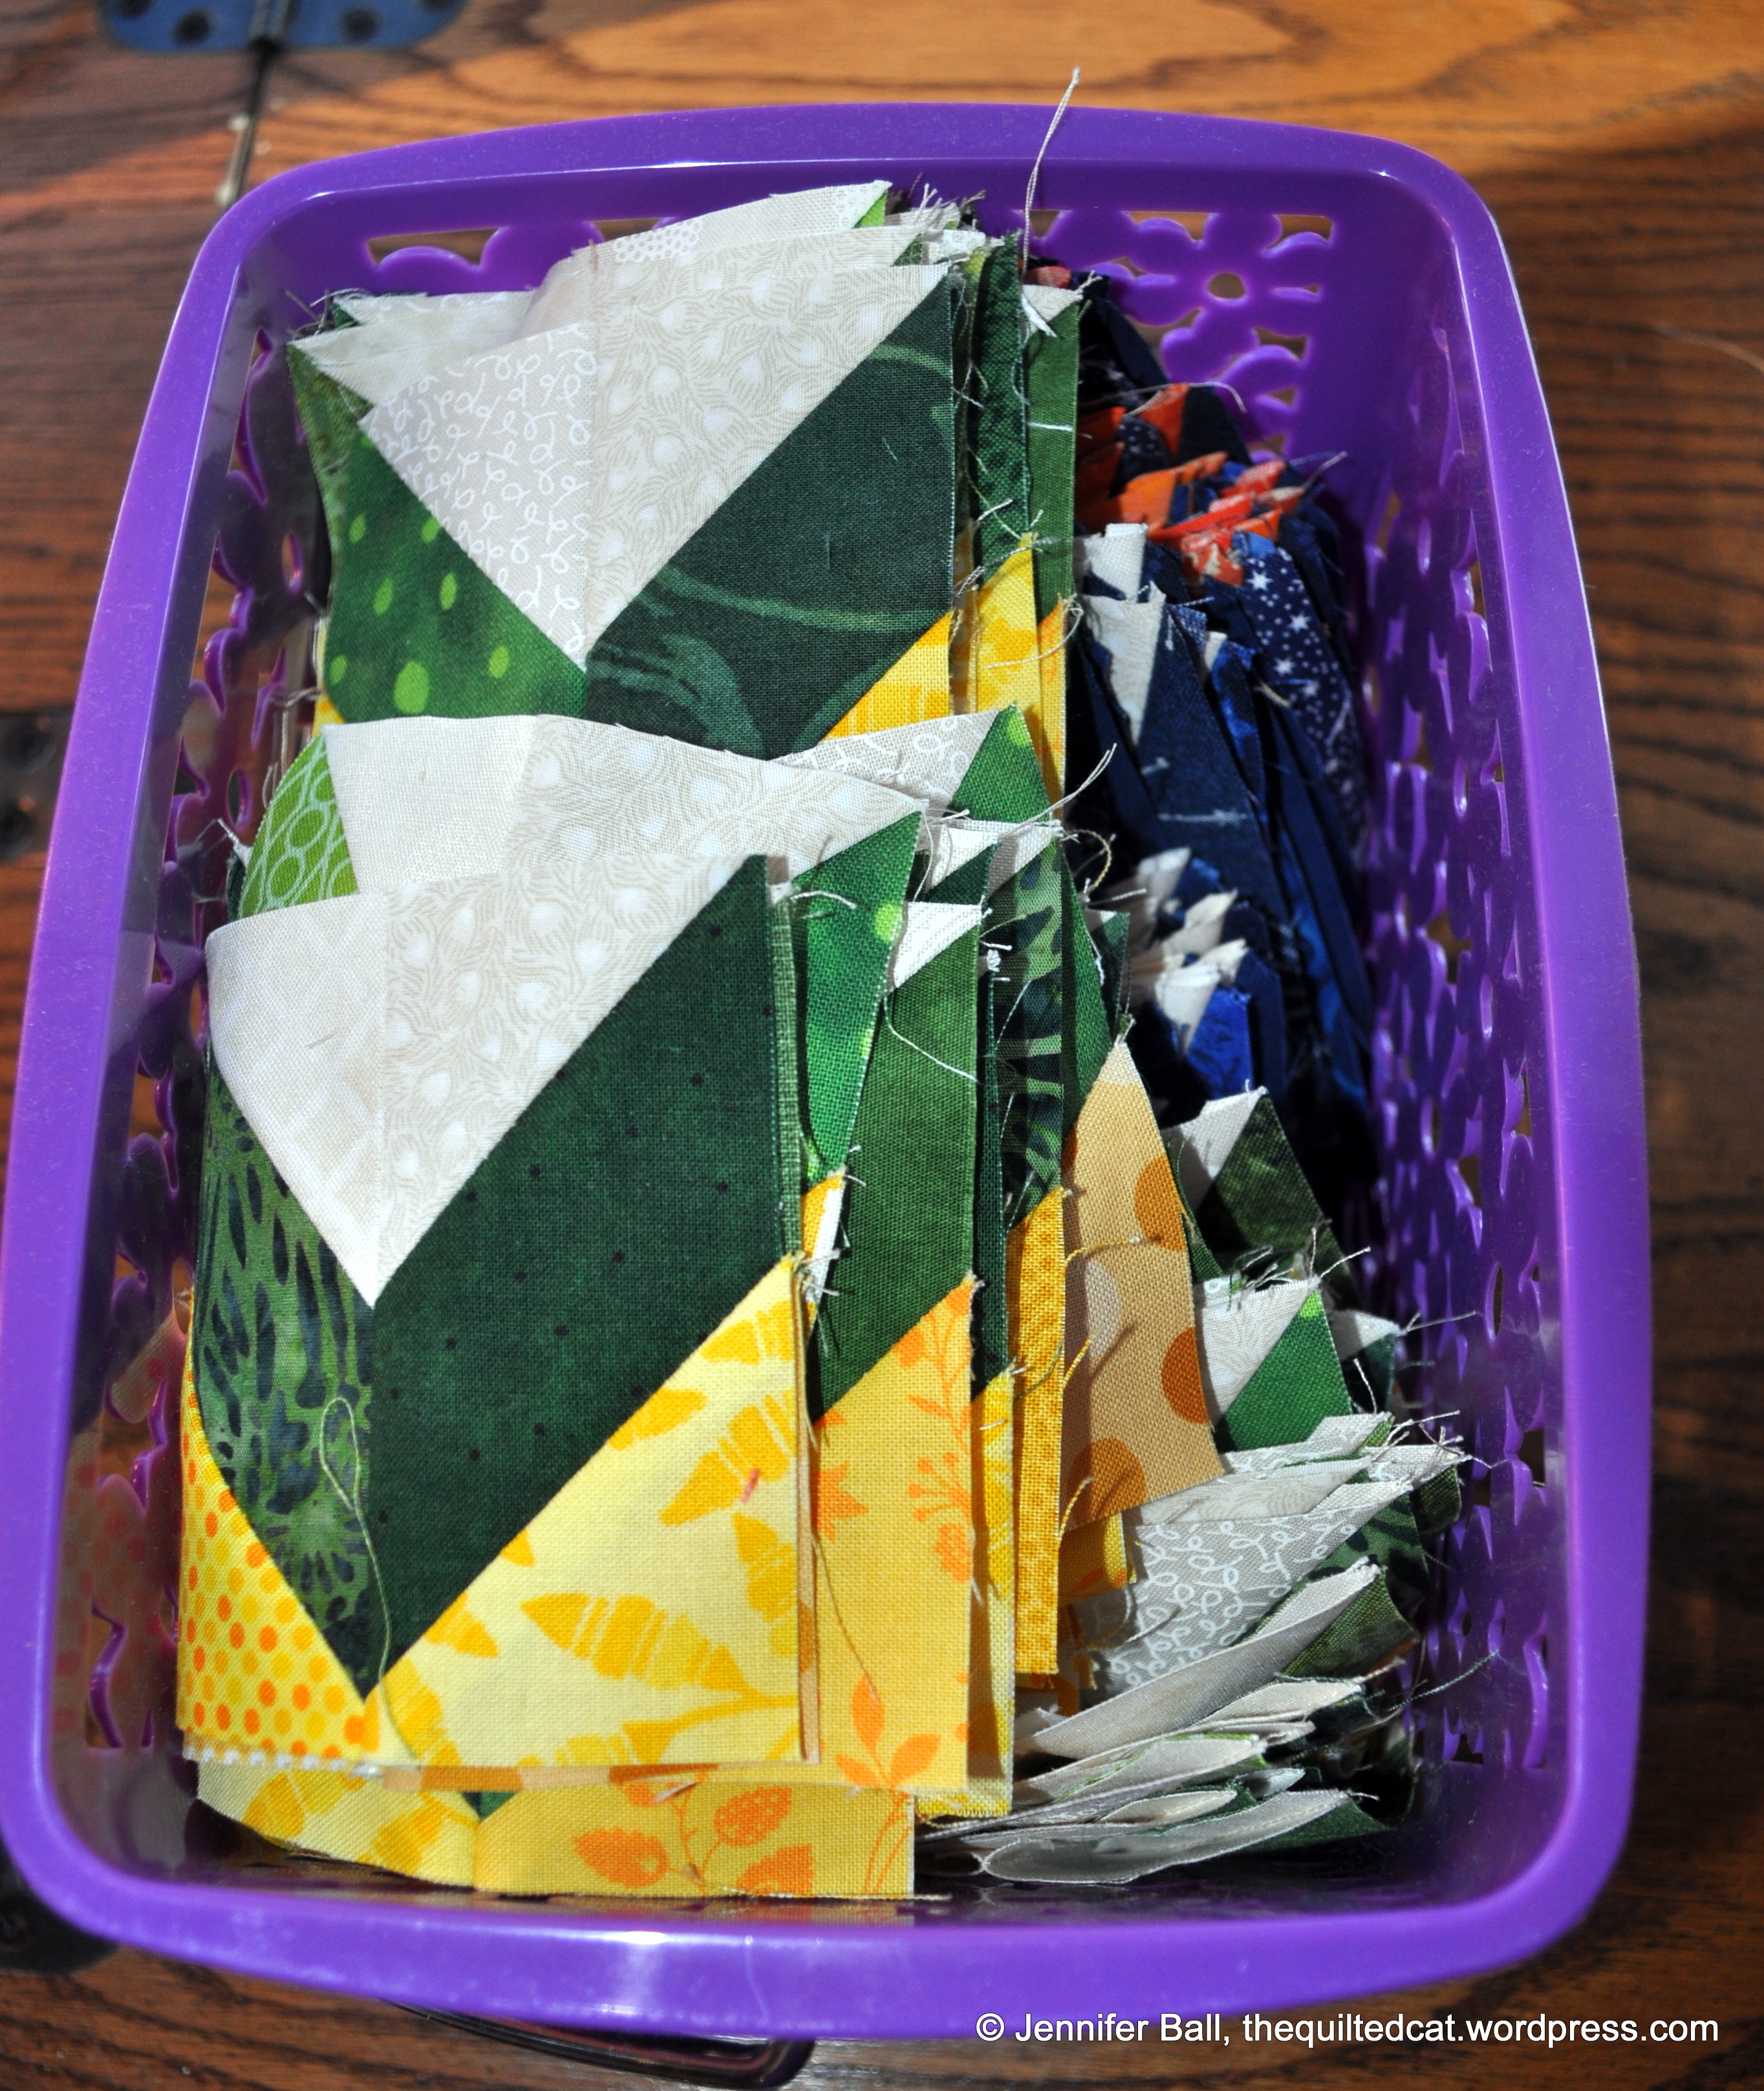
I have added the chevrons to my units from part one, and they are living together in this little basket:

Celtic Solstice, Parts 1 and 2

Celtic Solstice, Parts 1 and 2

I’ve started part three for this project, and I think it will go a bit faster than the chevron units. You can still get the instructions for free on Bonnie’s site until June!

Hope you enjoyed the look at my sewing space!

Happy quilting,
~Jennifer