Hi everyone!
I’m participating along in the Aviatrix Medallion quilt-along and wanted to share my fabric selections and completed center block. This fabulous quilt is designed by Elizabeth Hartman of Oh Fransson and you can purchase it directly from her store. This is a relaxed quilt-along, where you can follow along at your own pace but Elizabeth does post helpful hints each Monday for a particular portion of the quilt.
Here are the colorful fabrics that I selected for my project. I’m using a combination of solids and patterns and you can see each fabric in the photos below. I’m using Aurifil #2000 for the piecing.
Violets
Kona Cotton Thistle
Girly Girl Swirl Purple, Henry Glass
Seasons Best Spring Random Squares Purple, Andover
Paisly Please Connect the Dots Purple, Jacki E Studios
More This n That Aurora Royal Purple, Bernatex
Oranges
Kona Cotton Peach
Hot House Flowers Floral Small Orange, Andover
Medium Dots Orange, Riley Blake
Scenic Route Dot Orange, Riley Blake
Tiny Tiles Clementine, Michael Miller
Greens
Kona Cotton Wasabi
Always Blooming Flower Green, P&B Textiles
Let’s Play Dolls Daisy Flower Dot Green, Andover
Peppered Cotton Emerald, Studio E
Mission Space Craters Green, Quilting Treasures
Blues
Small Dots Aqua, Riley Blake
Rocket Age Rocket Blast Light Blue, Riley Blake
Zebra Print Turquoise, Wilmington Prints
On the Rocks Blue
Dark Teal, Palette Solids
For the remaining fabrics (the neutrals, white background, and gray background), I’m using the fabrics listed in the pattern.
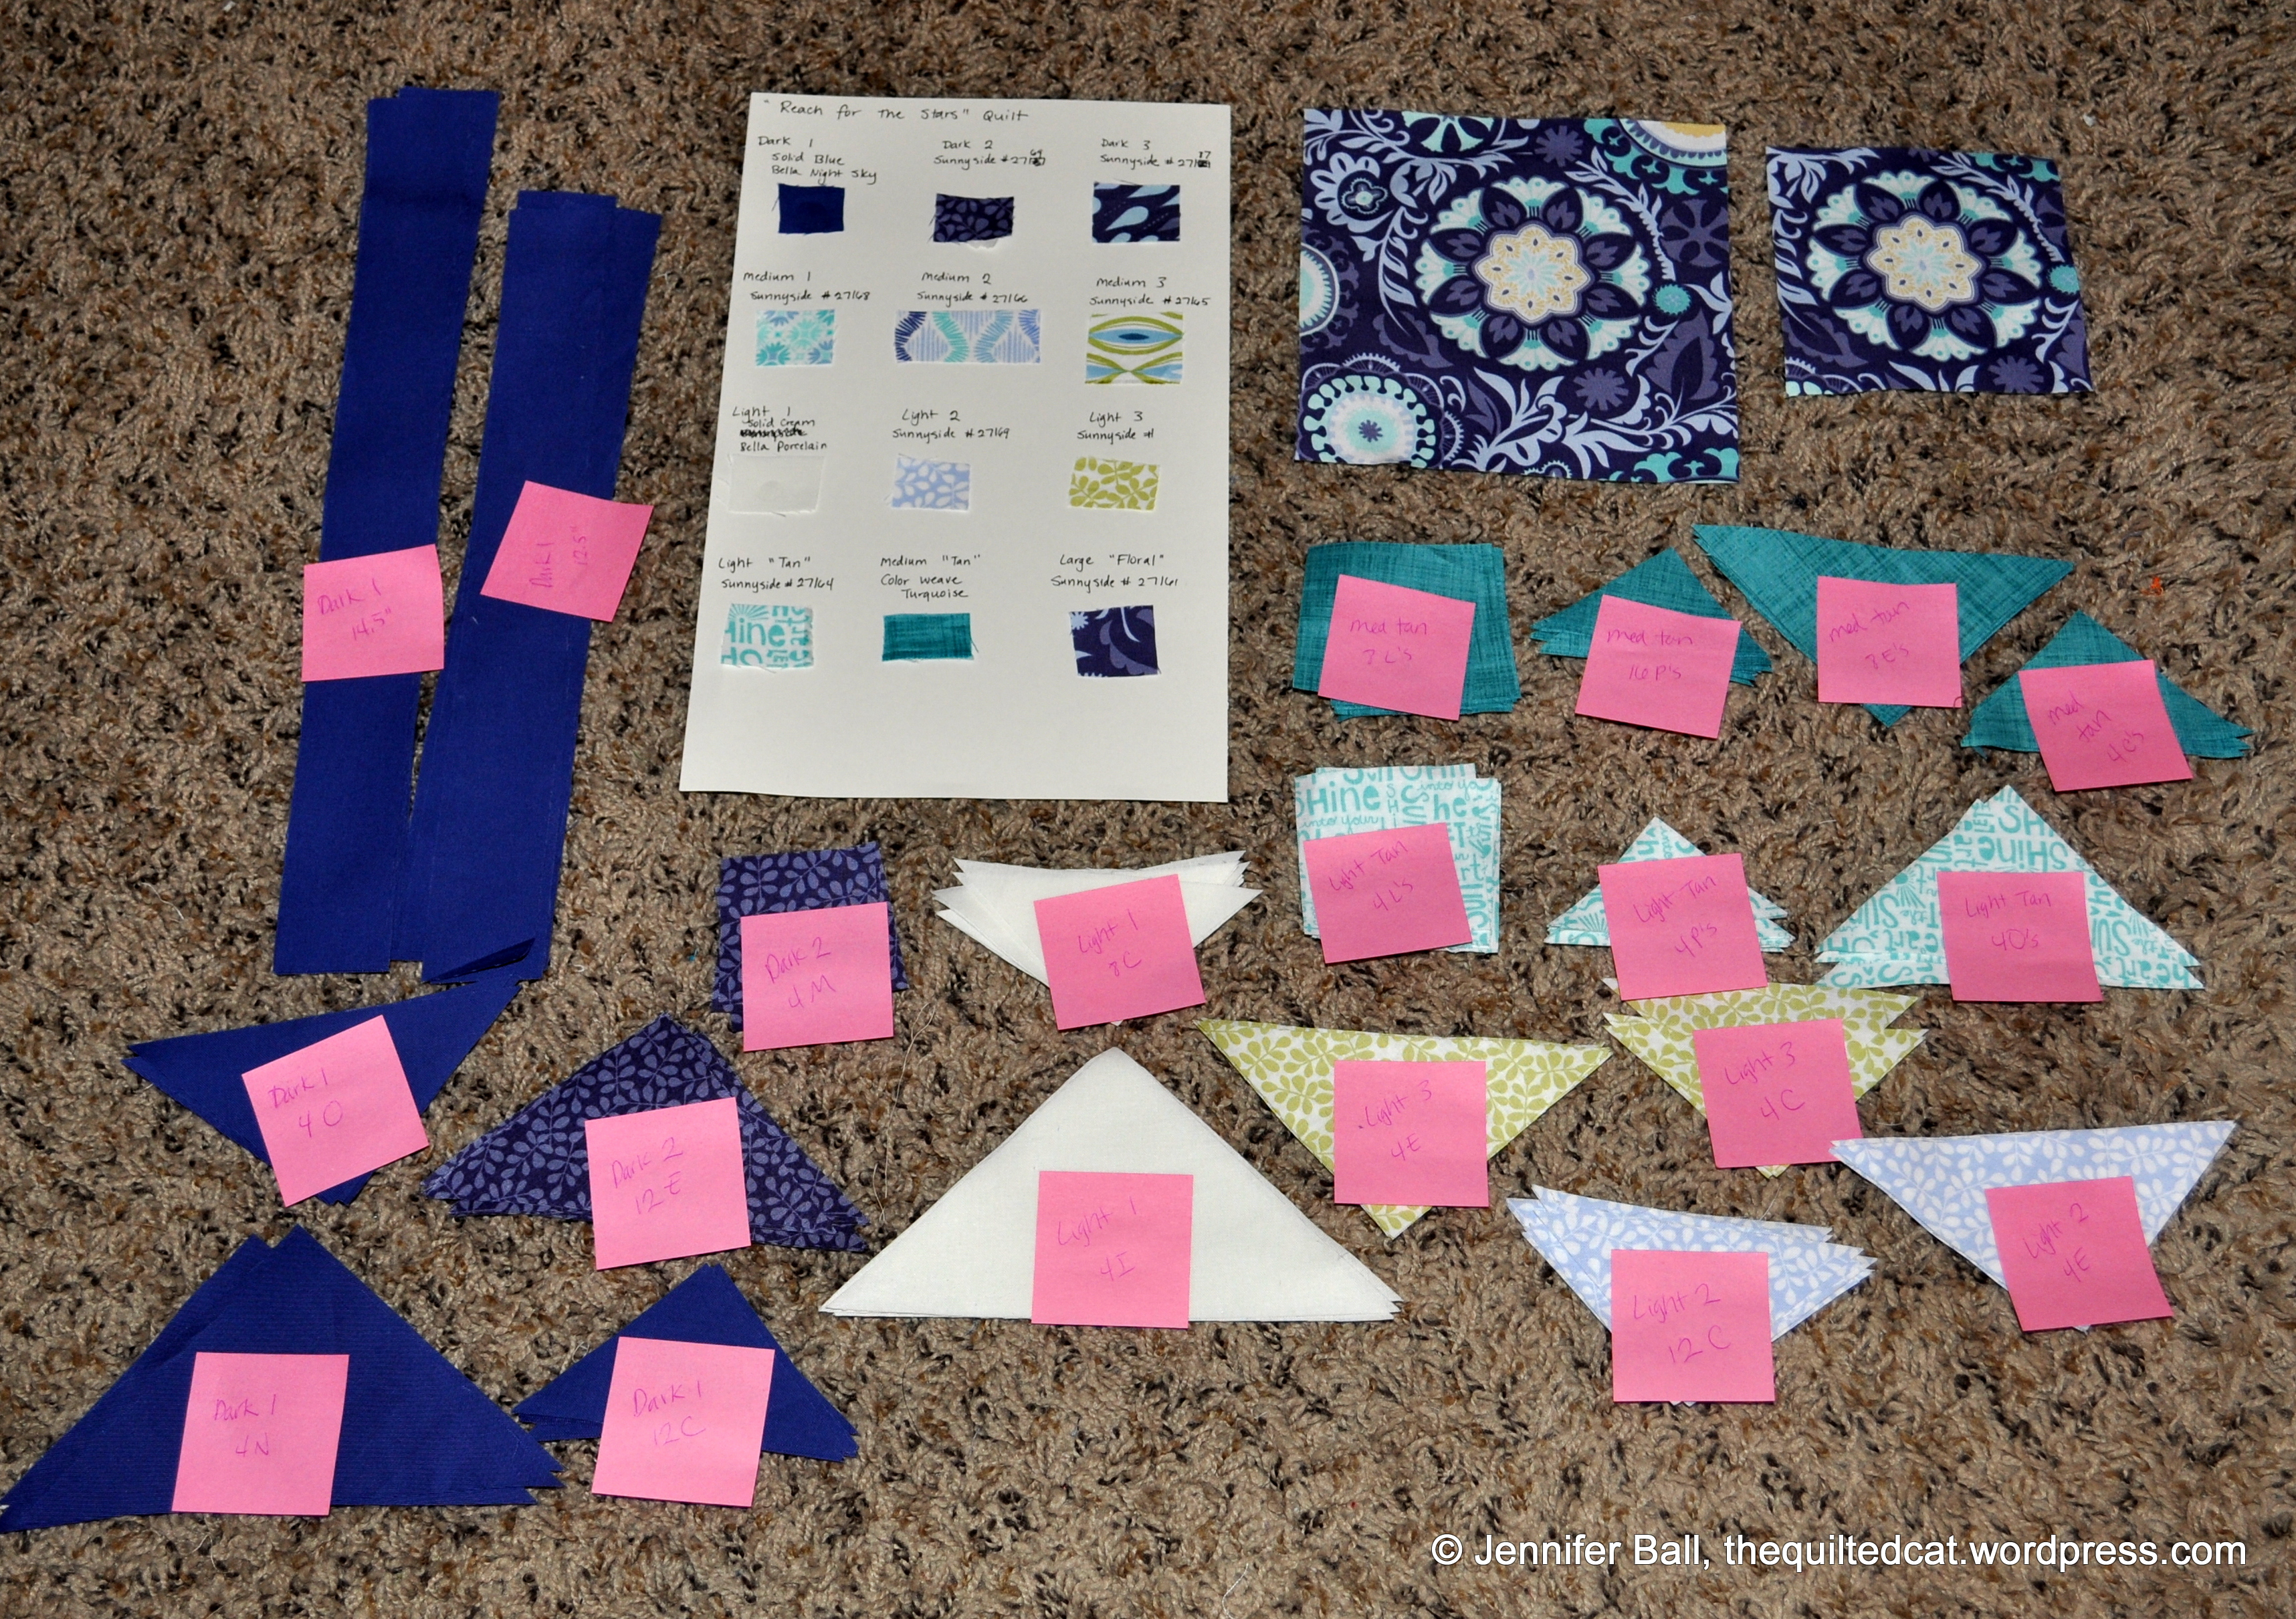
Last week, we cut out our fabrics for those following the quilt-along. This process did take quite some time, so I spread it out over the whole week so my hand wouldn’t get tired and so that I wouldn’t mix up the fabrics! I did keep them labeled as I went along.
All the cut pieces are in individual bags, just waiting to be stitched up! I have the center points of each color along with my helpful cheat sheet in the photo.
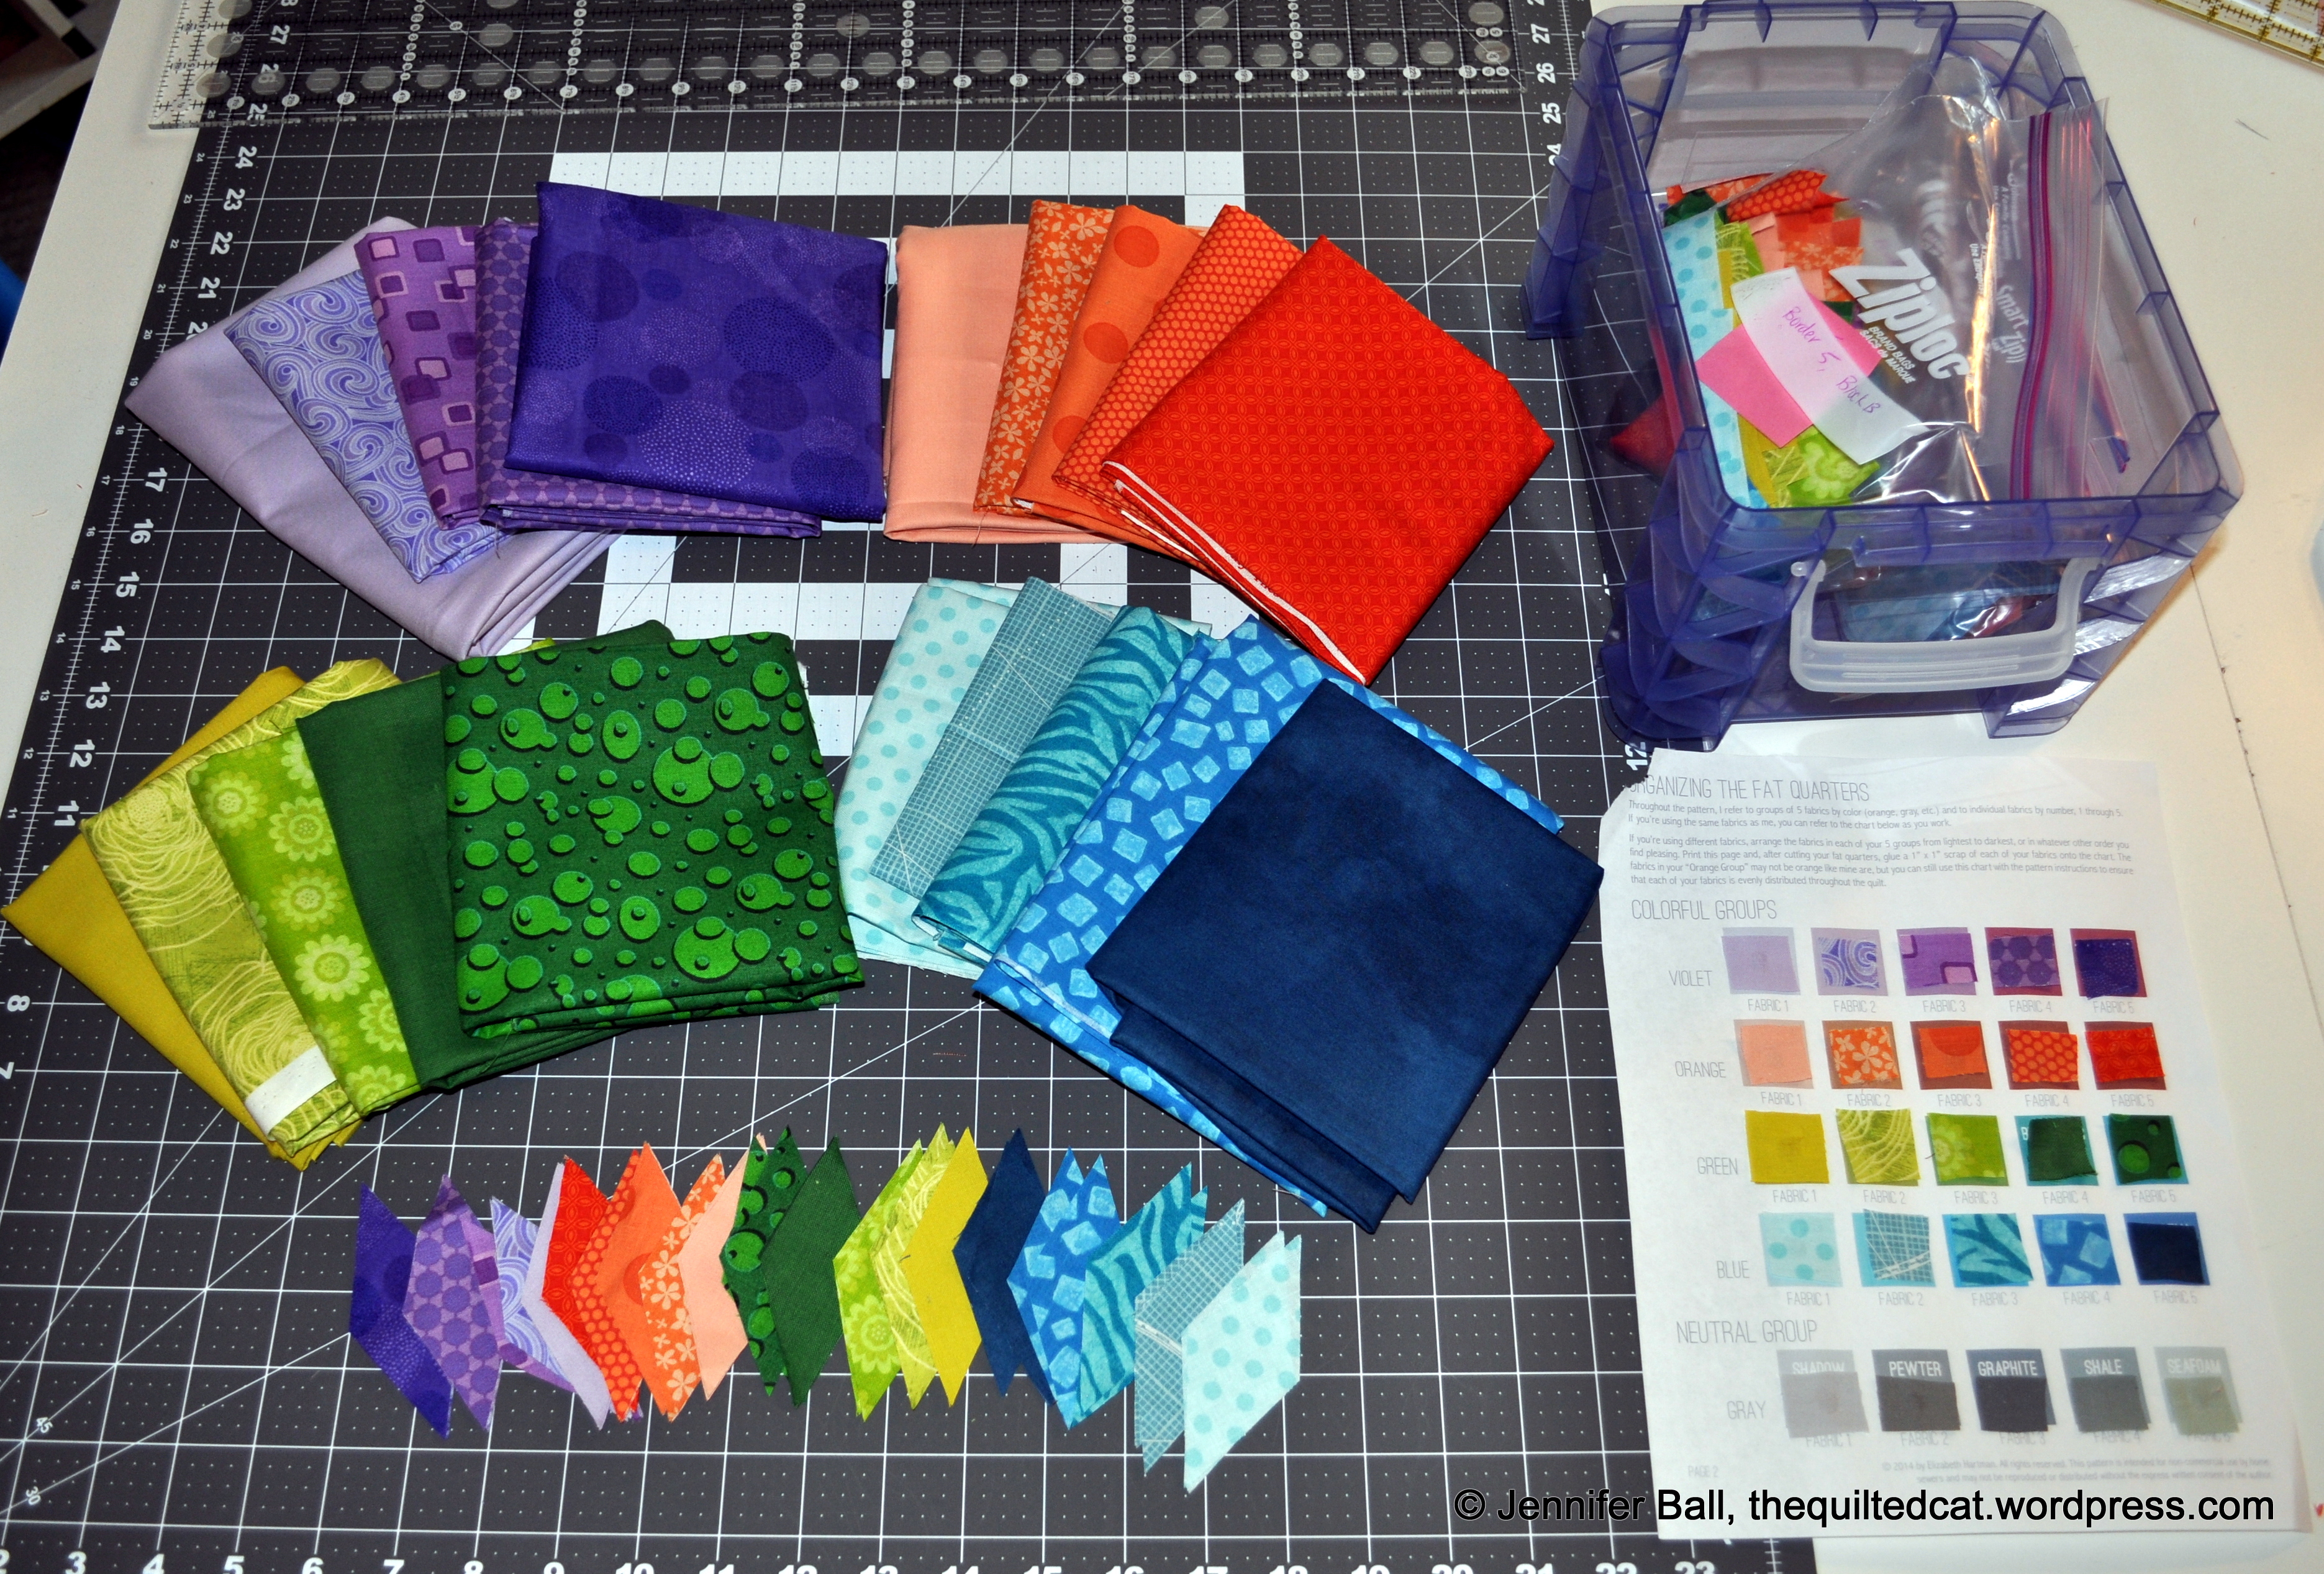
Aviatrix Medallion Fabrics
Aren’t these colors just so pretty??!! I love looking at these early stages of quilt projects and envisioning what the end result will look like.
For this week, our assignment is to create the center block (aka the most complex piece of this quilt!).
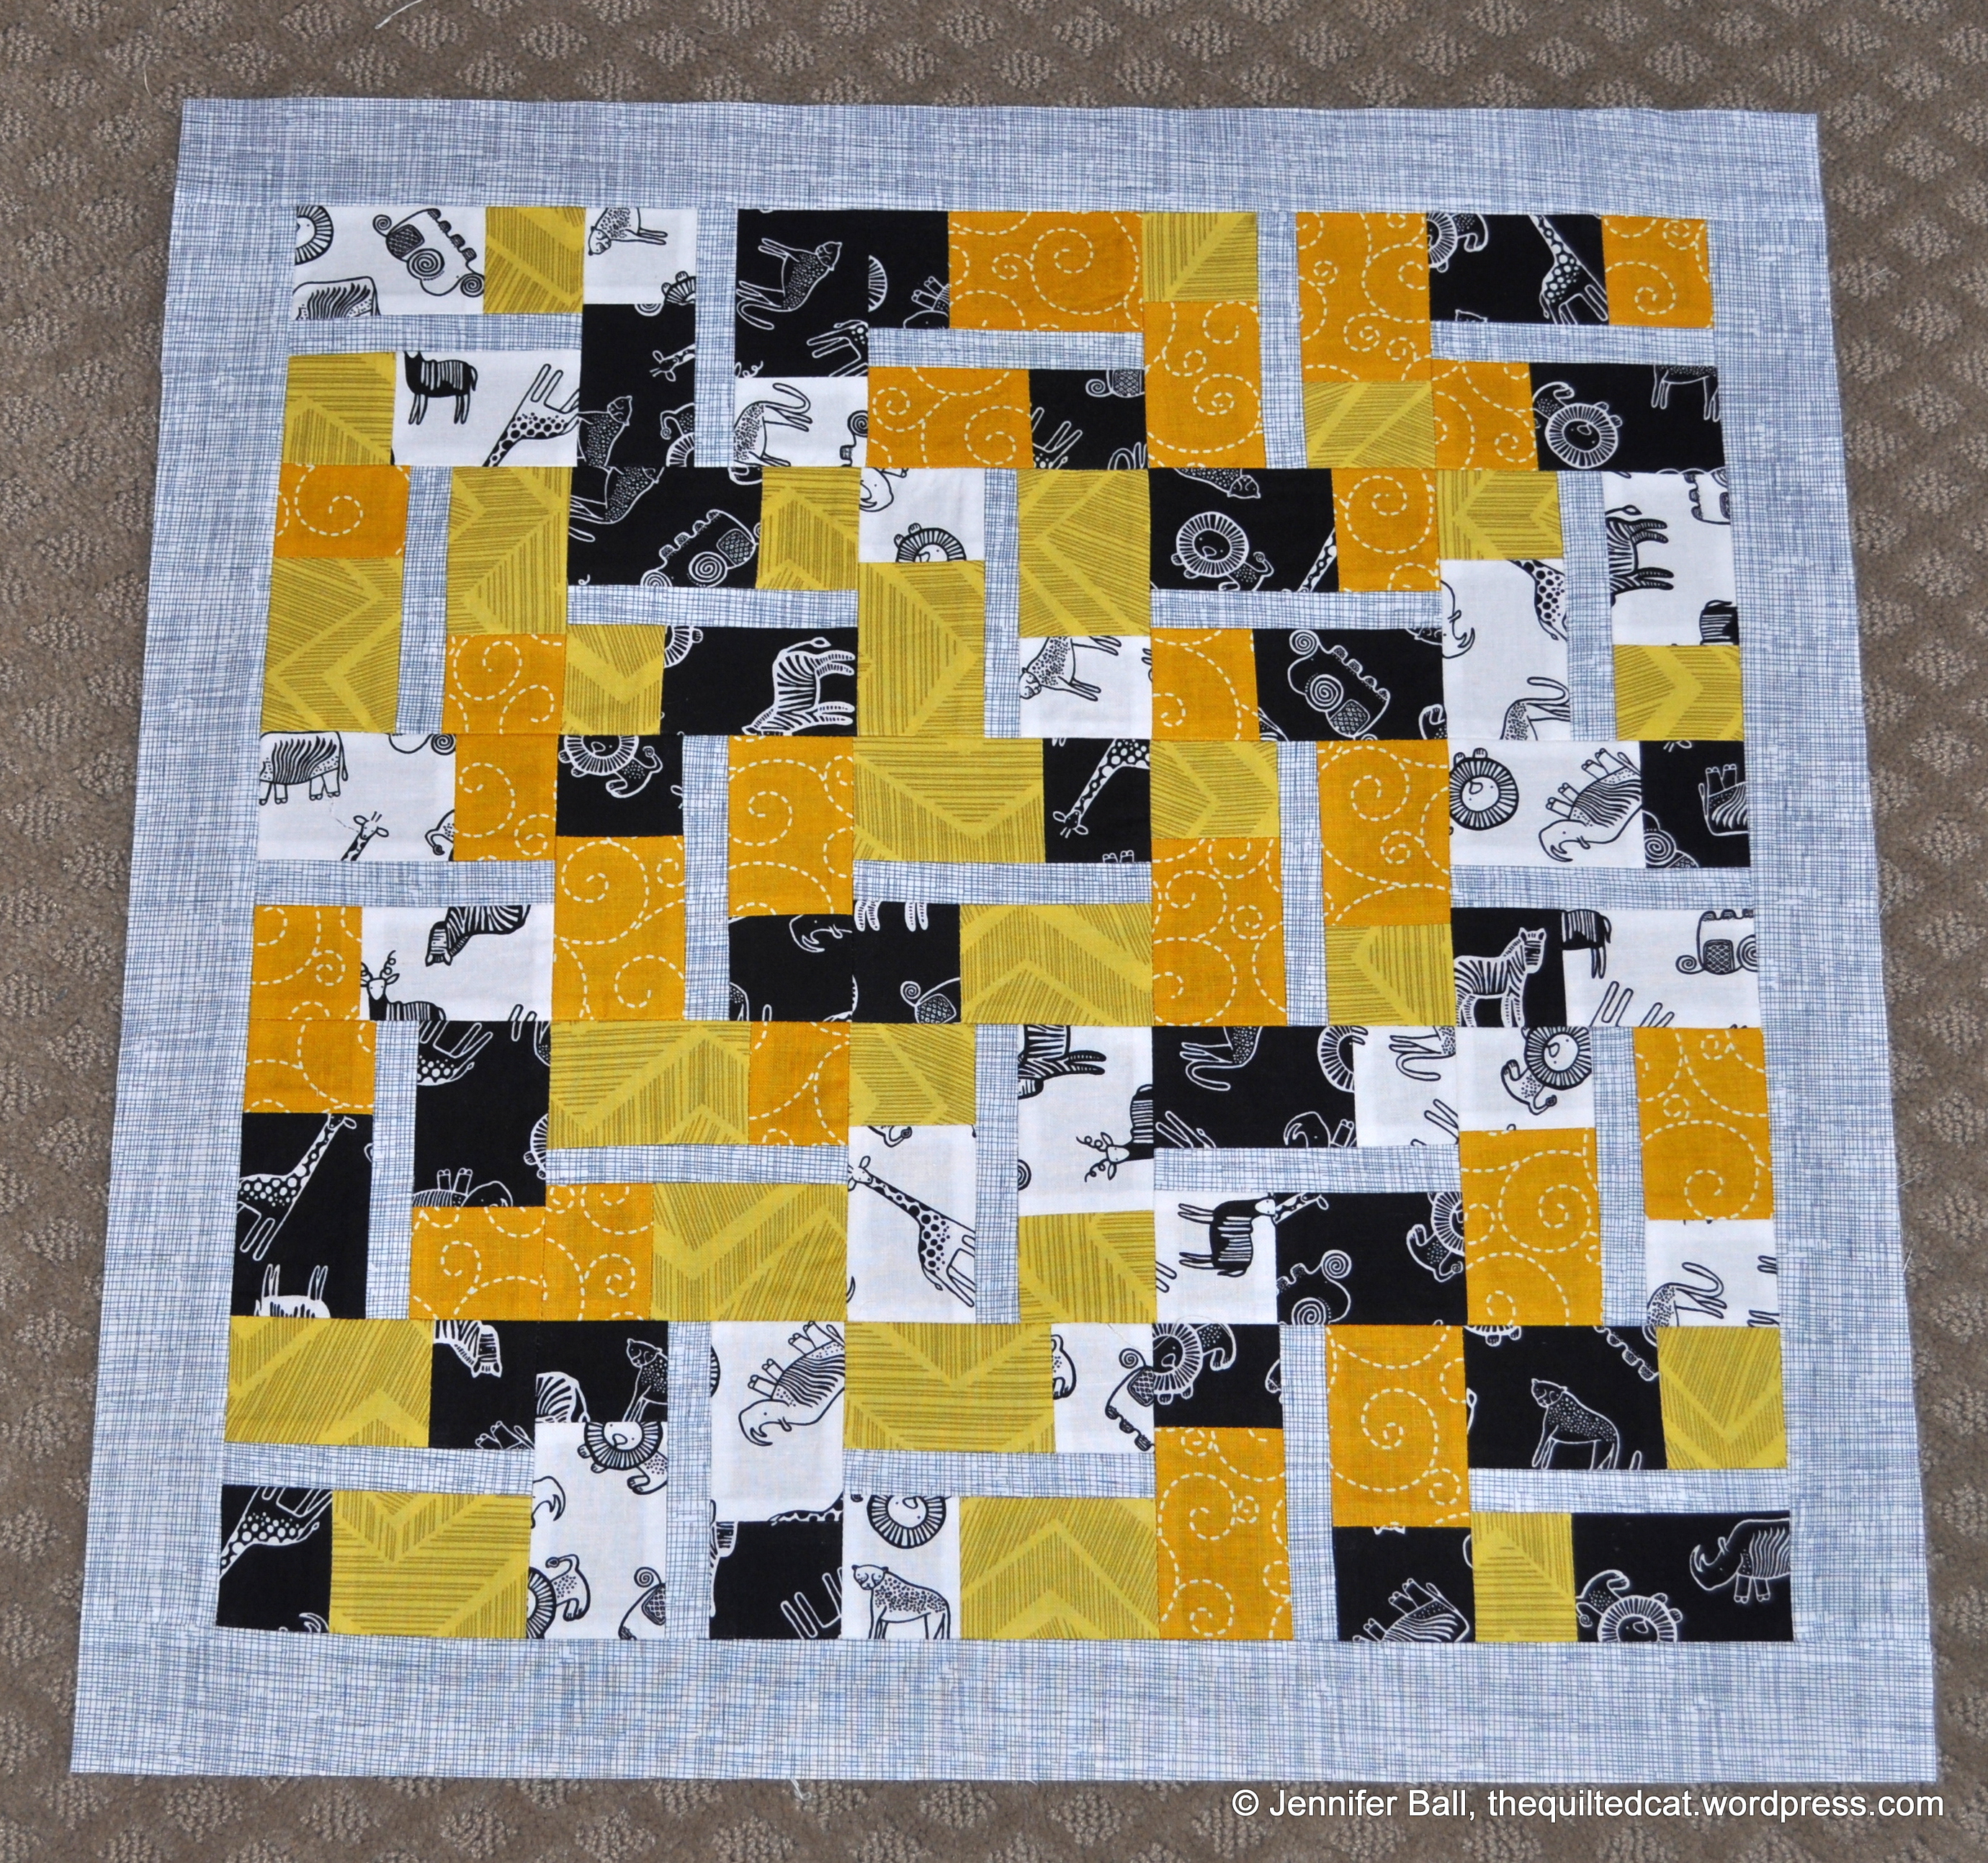
Here are my pieces placed on my cutting table:
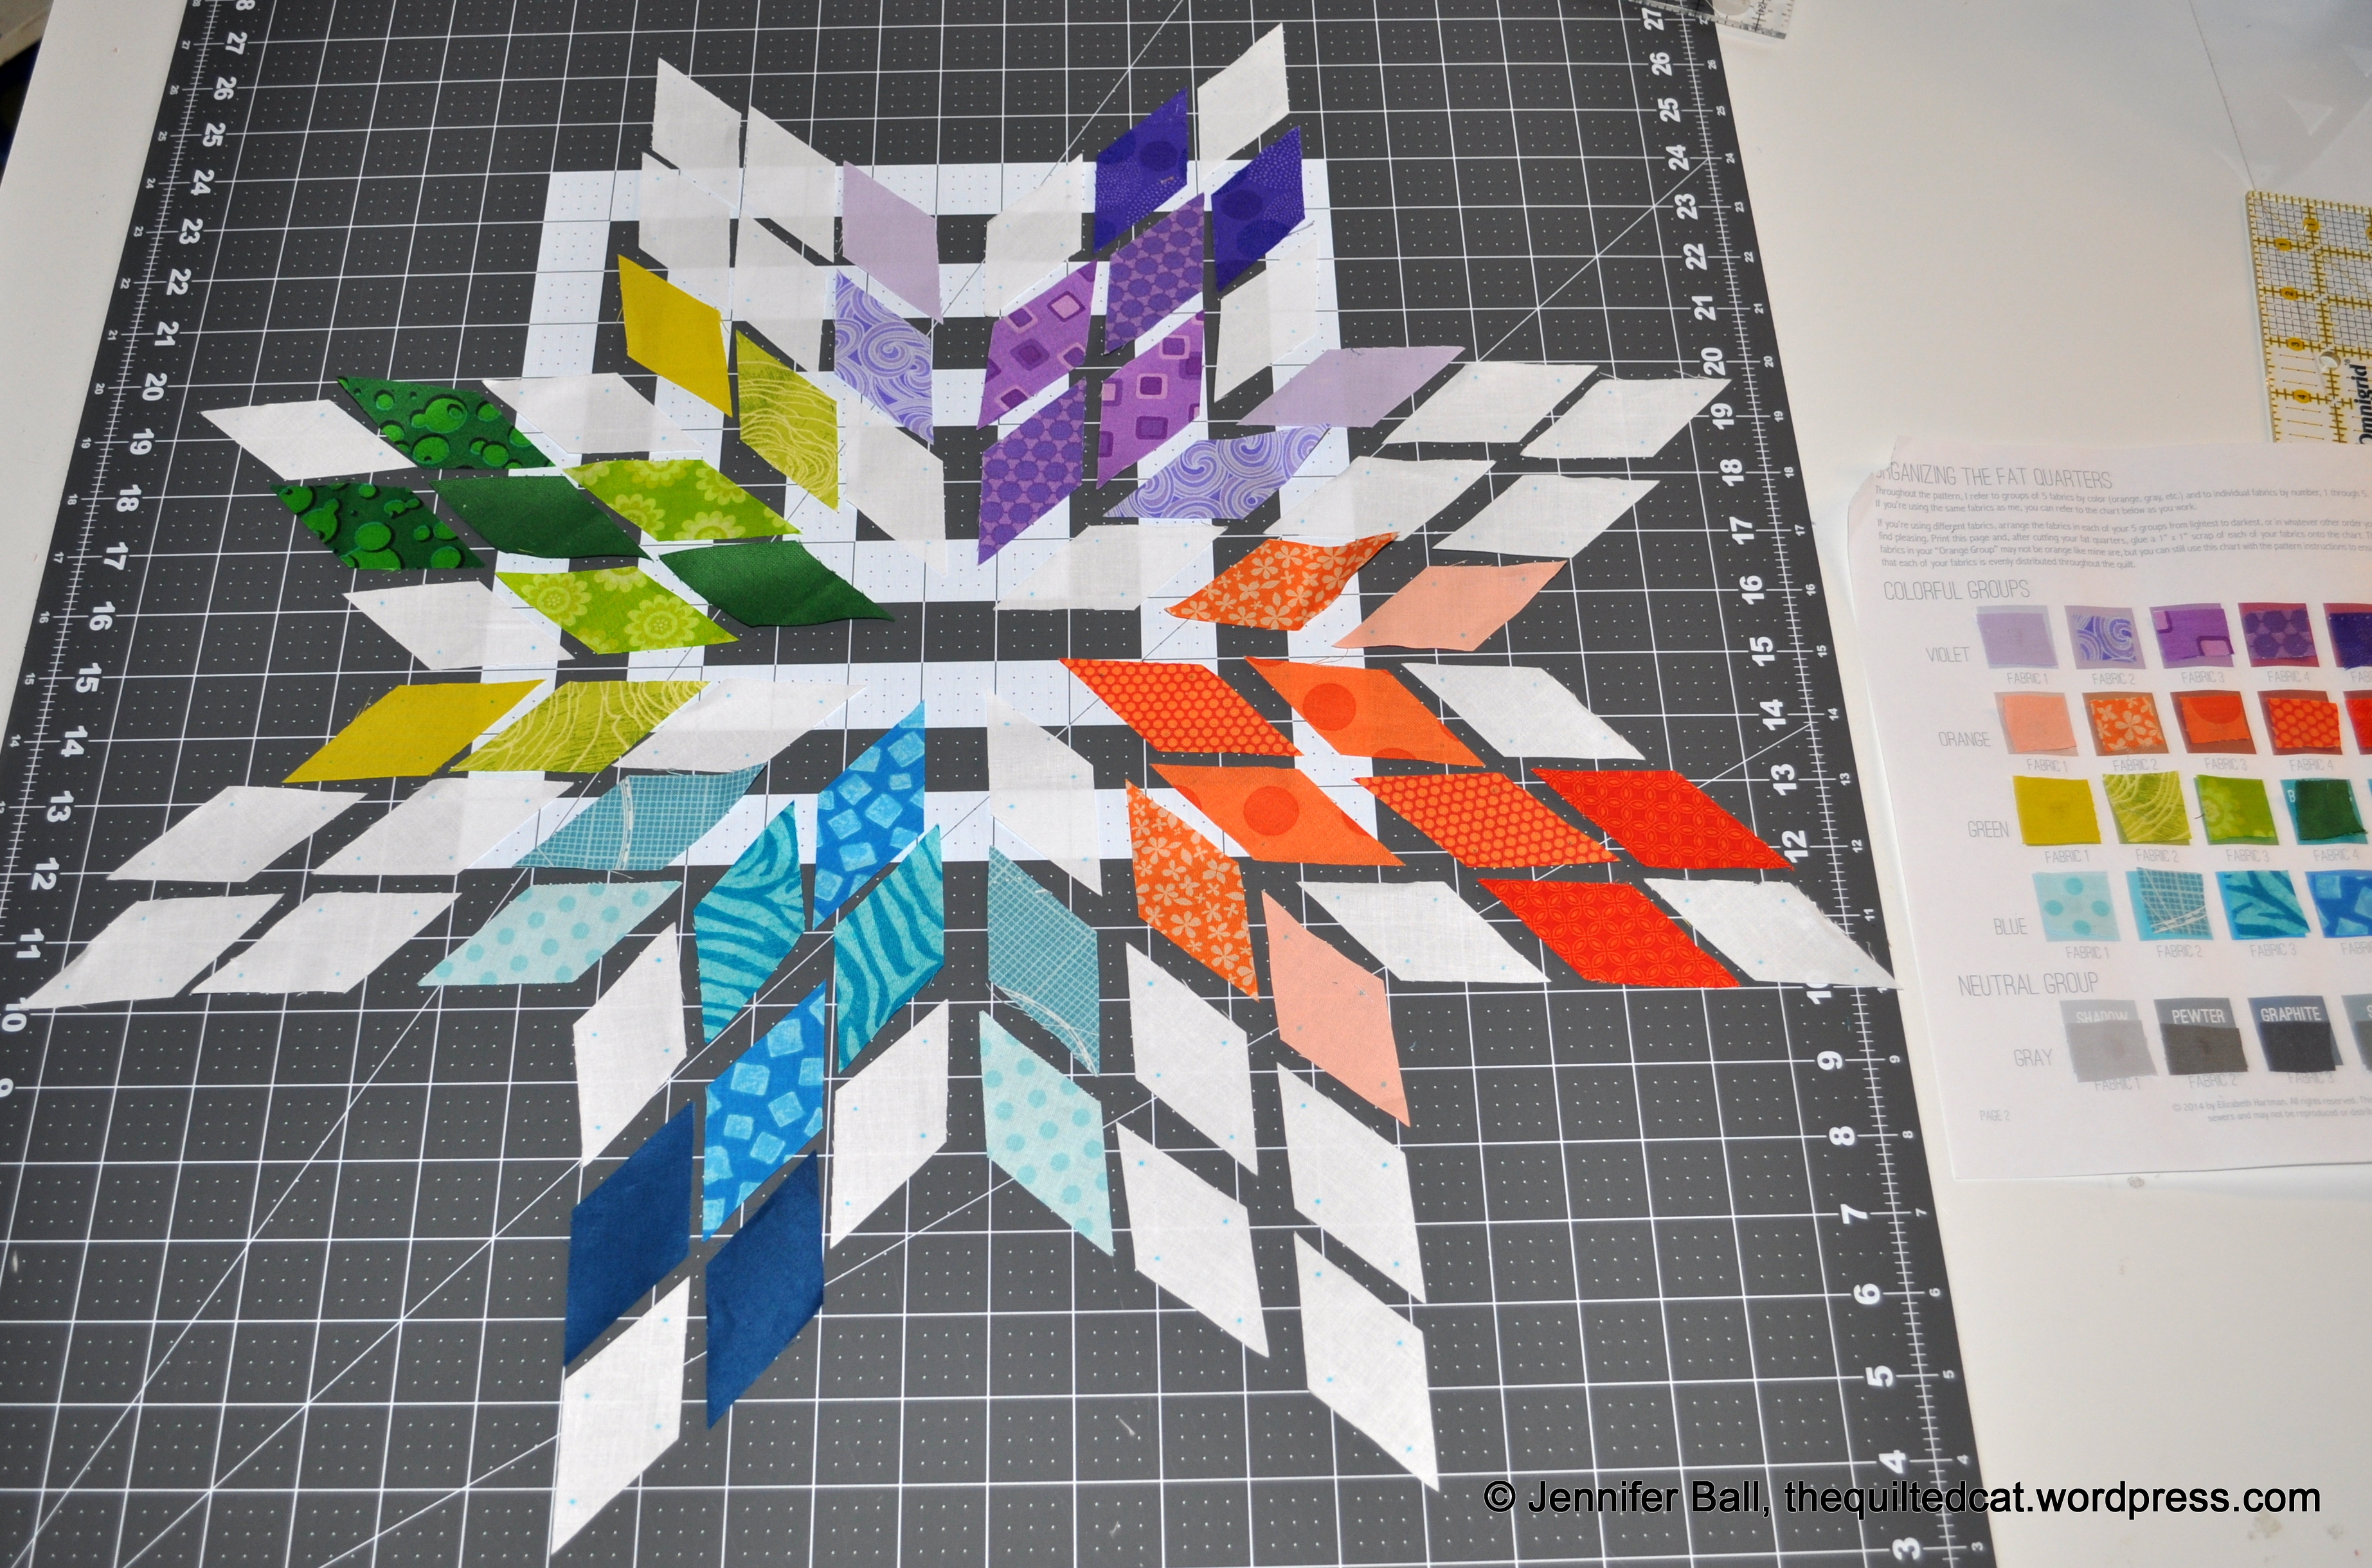
Aviatrix Medallion Center Block Pieces
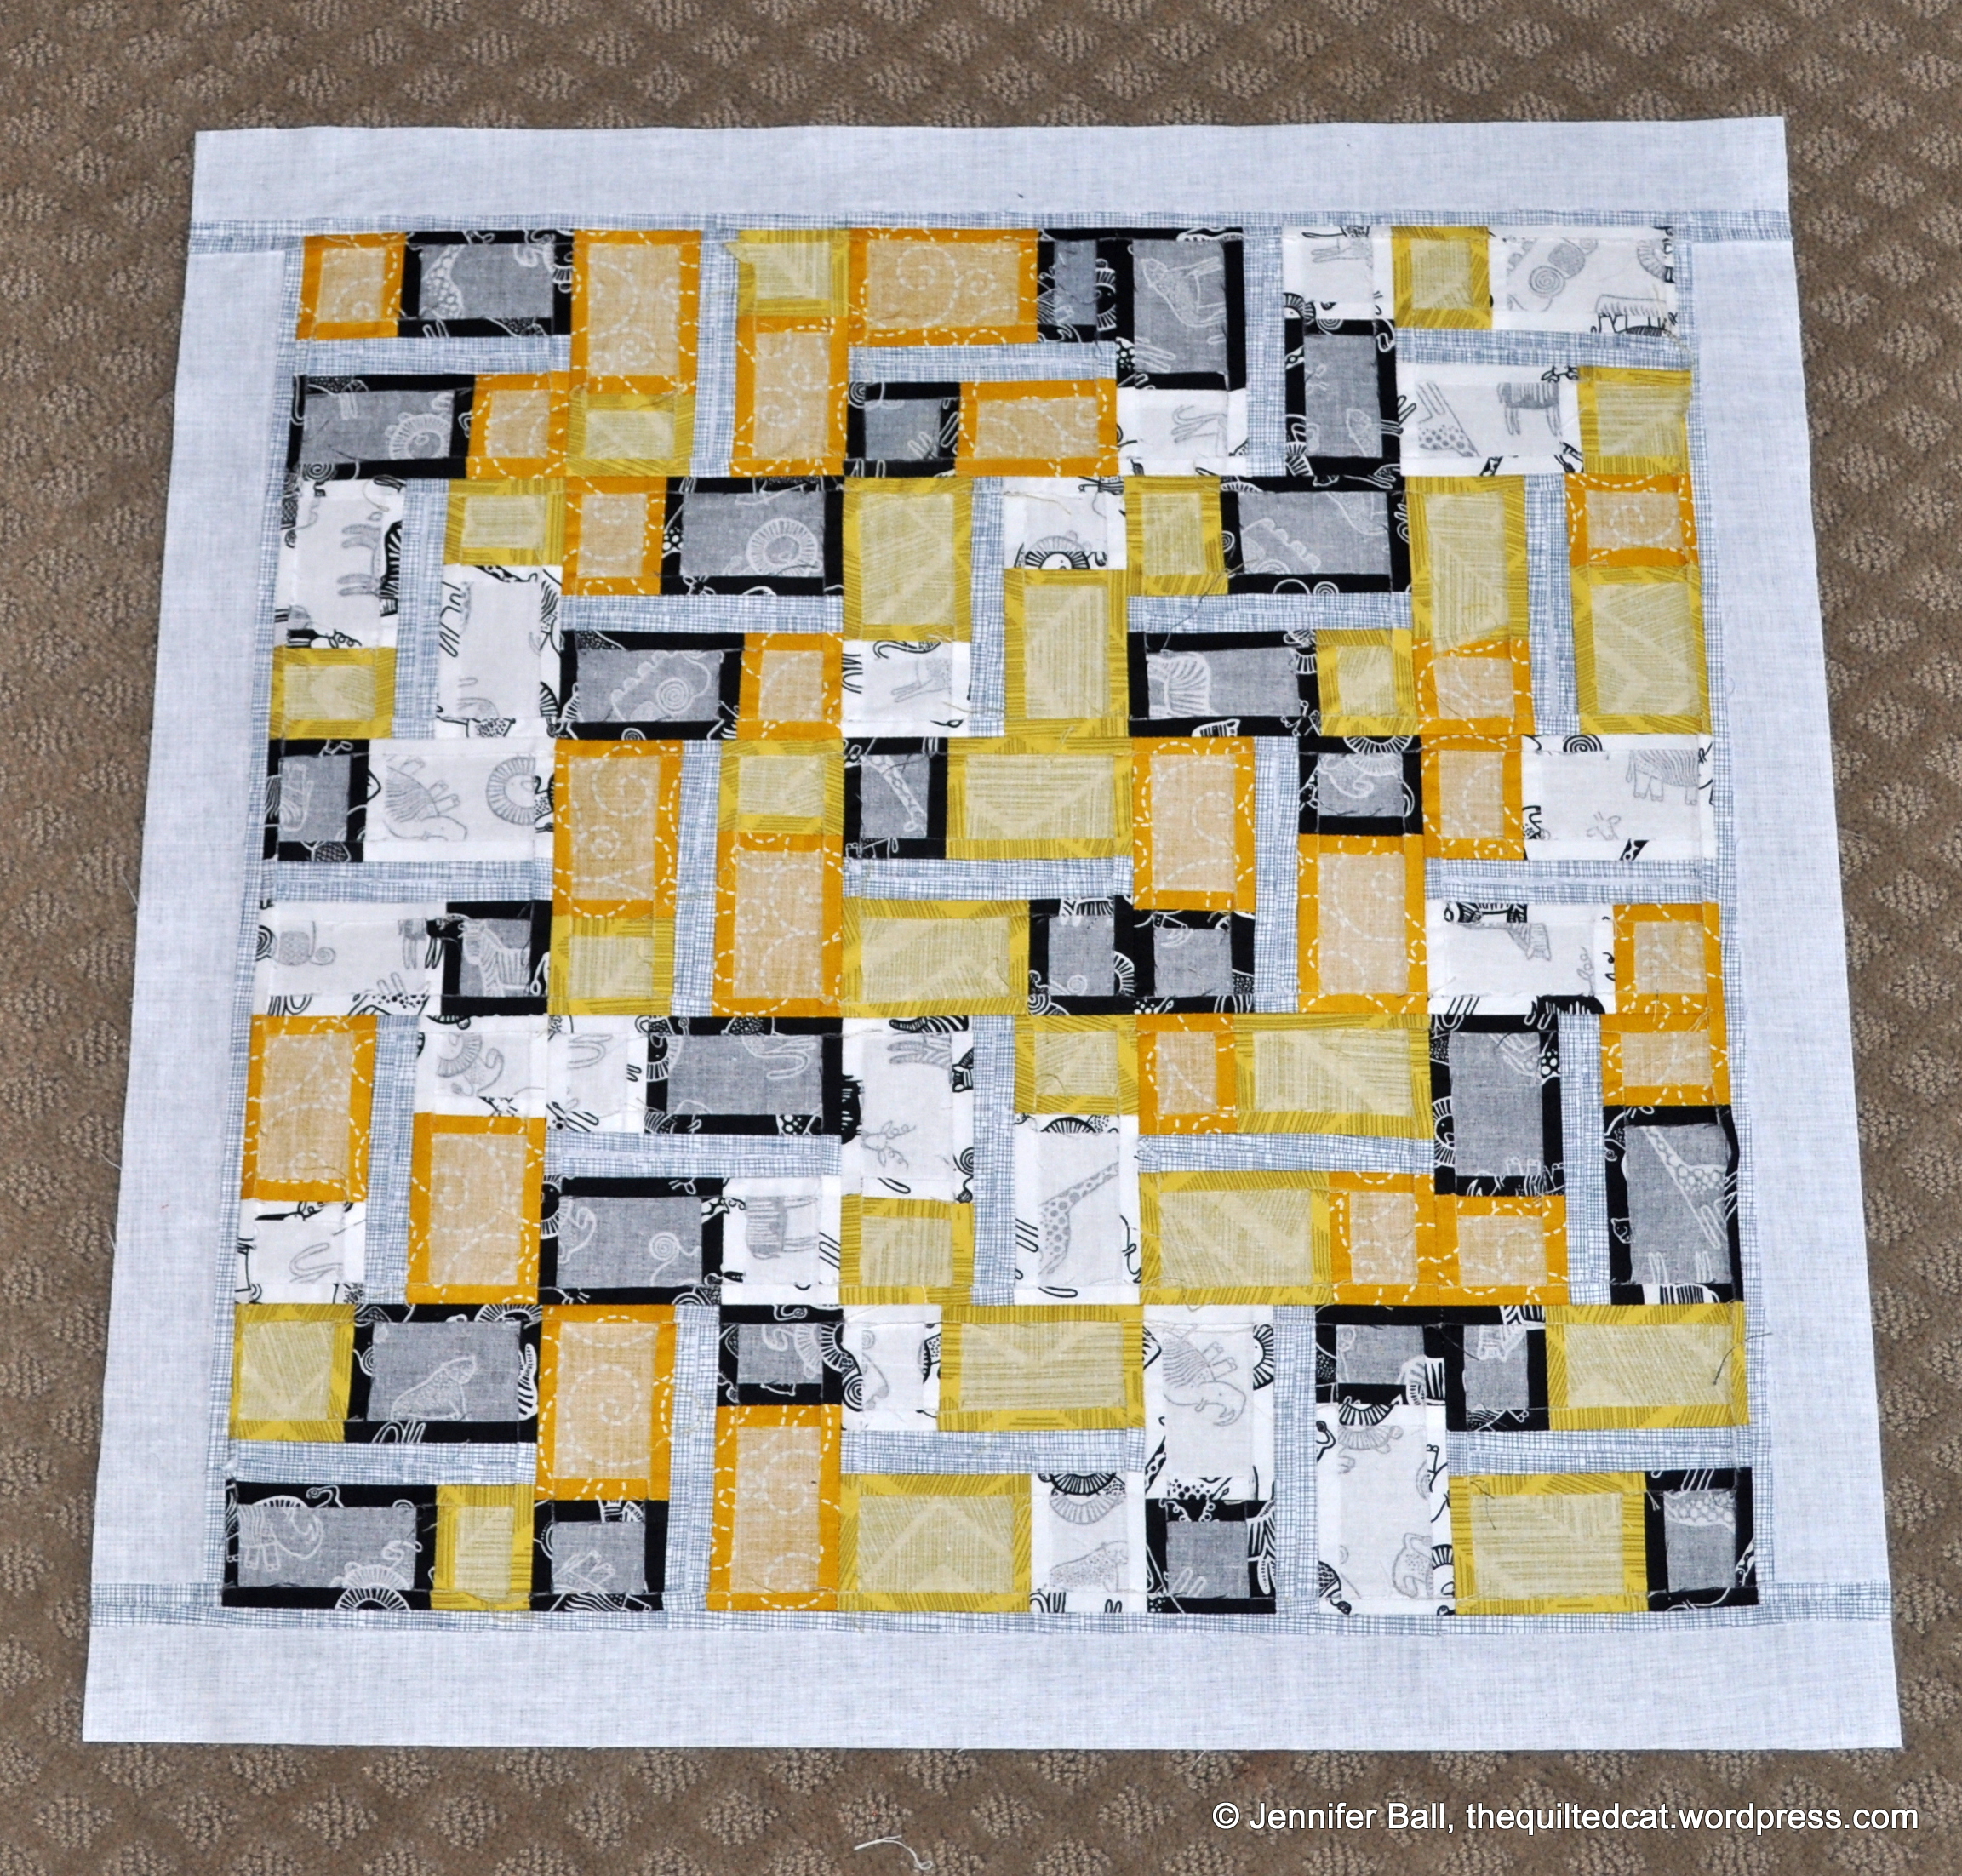
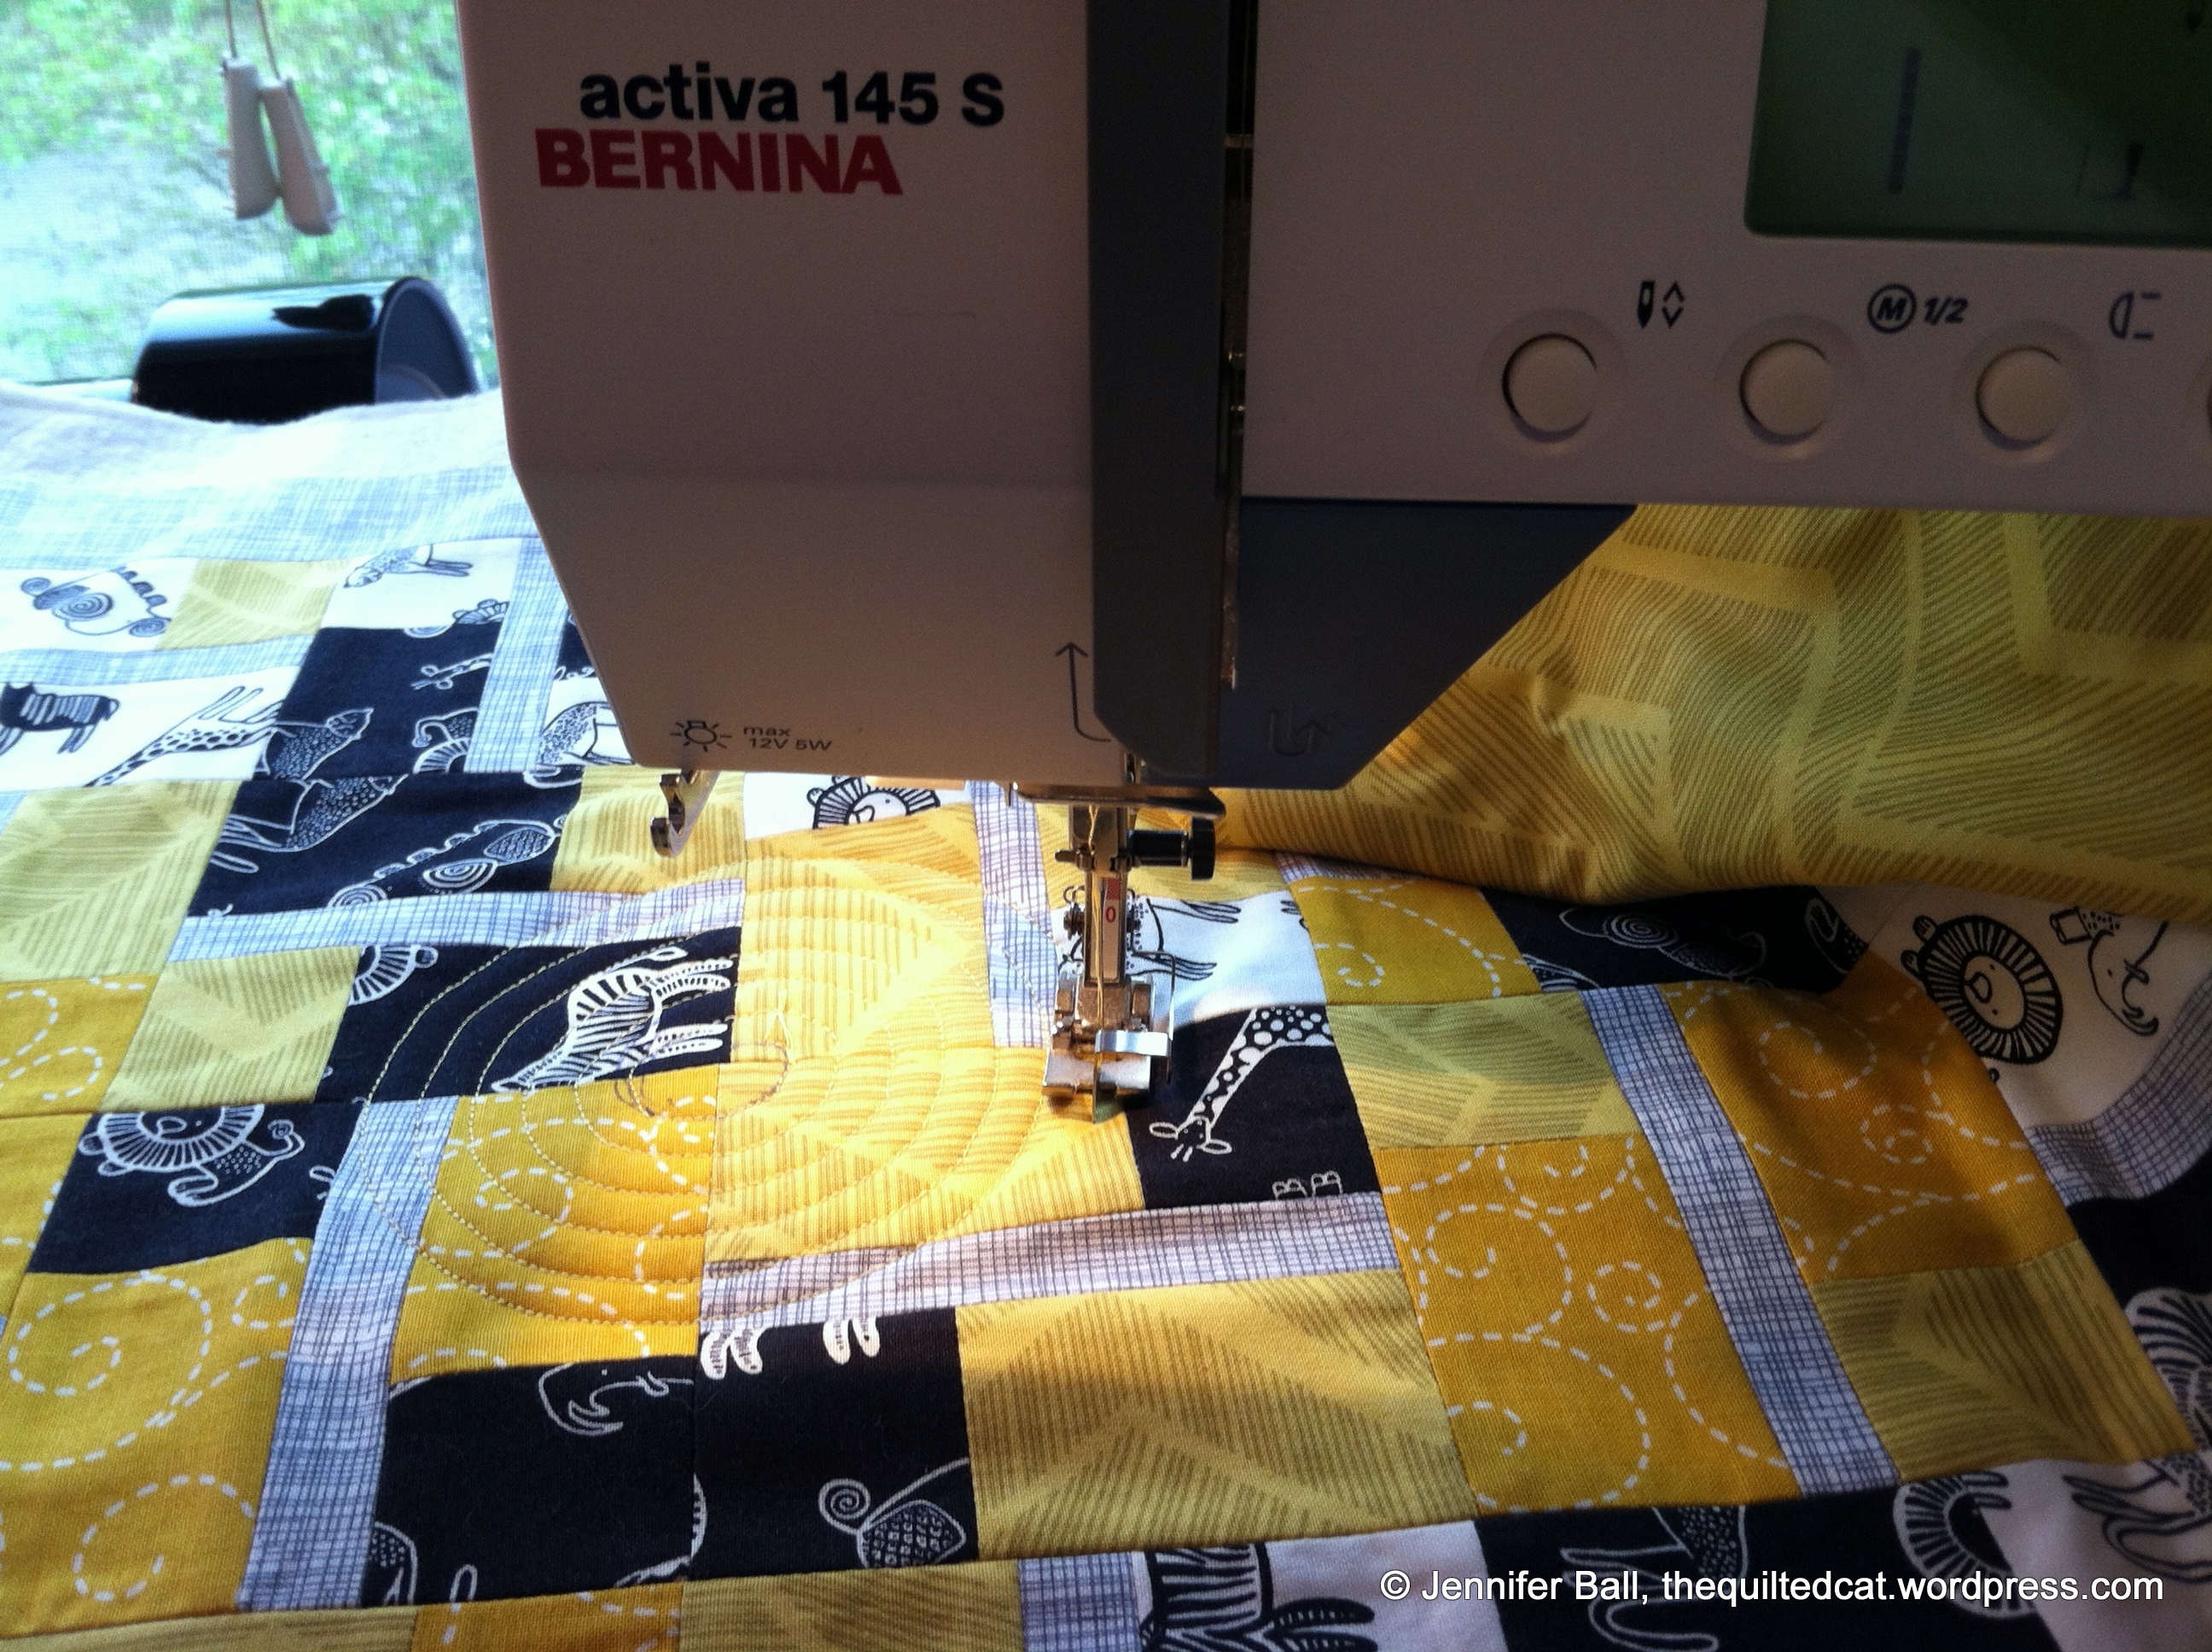
The center block is a challenge, and I enjoyed stretching my skills with this one. Not all of my points are perfect, but I did get better with each section. I’m pretty happy with my center block and look forward to making it again in the larger, pillow size to coordinate with my quilt.

Aviatrix Medallion Finished Center Block
Although the background fabric looks tan in my photo, it is Essex Yarn Dyed in Steel. The gray color is a great choice to contrast against the white and colorful fabrics.
Next week, we’ll start on border 1 so there is definitely time for you to join in on this quilt-along! Yes, I have many projects going at once but it makes life exciting and provides me with a creative counterpoint to my corporate desk job!
I’m linking up with the Wednesday WIP hosted by Lee at Freshly Pieced.
Enjoy!
~Jennifer