Hi everyone,
Surprisingly, this week is going by fast for me. I’m balancing working from home with helping my teen with his schooling from home, and fitting in some sewing each evening. I’m also trying to keep anxiety feelings at bay with regular exercise, mostly in the form of long walks with my dog.
The block in our sew-along this week is one of my favorites. It is called Stretched Geese. I really like any form of the flying geese block, and this one is really fun!
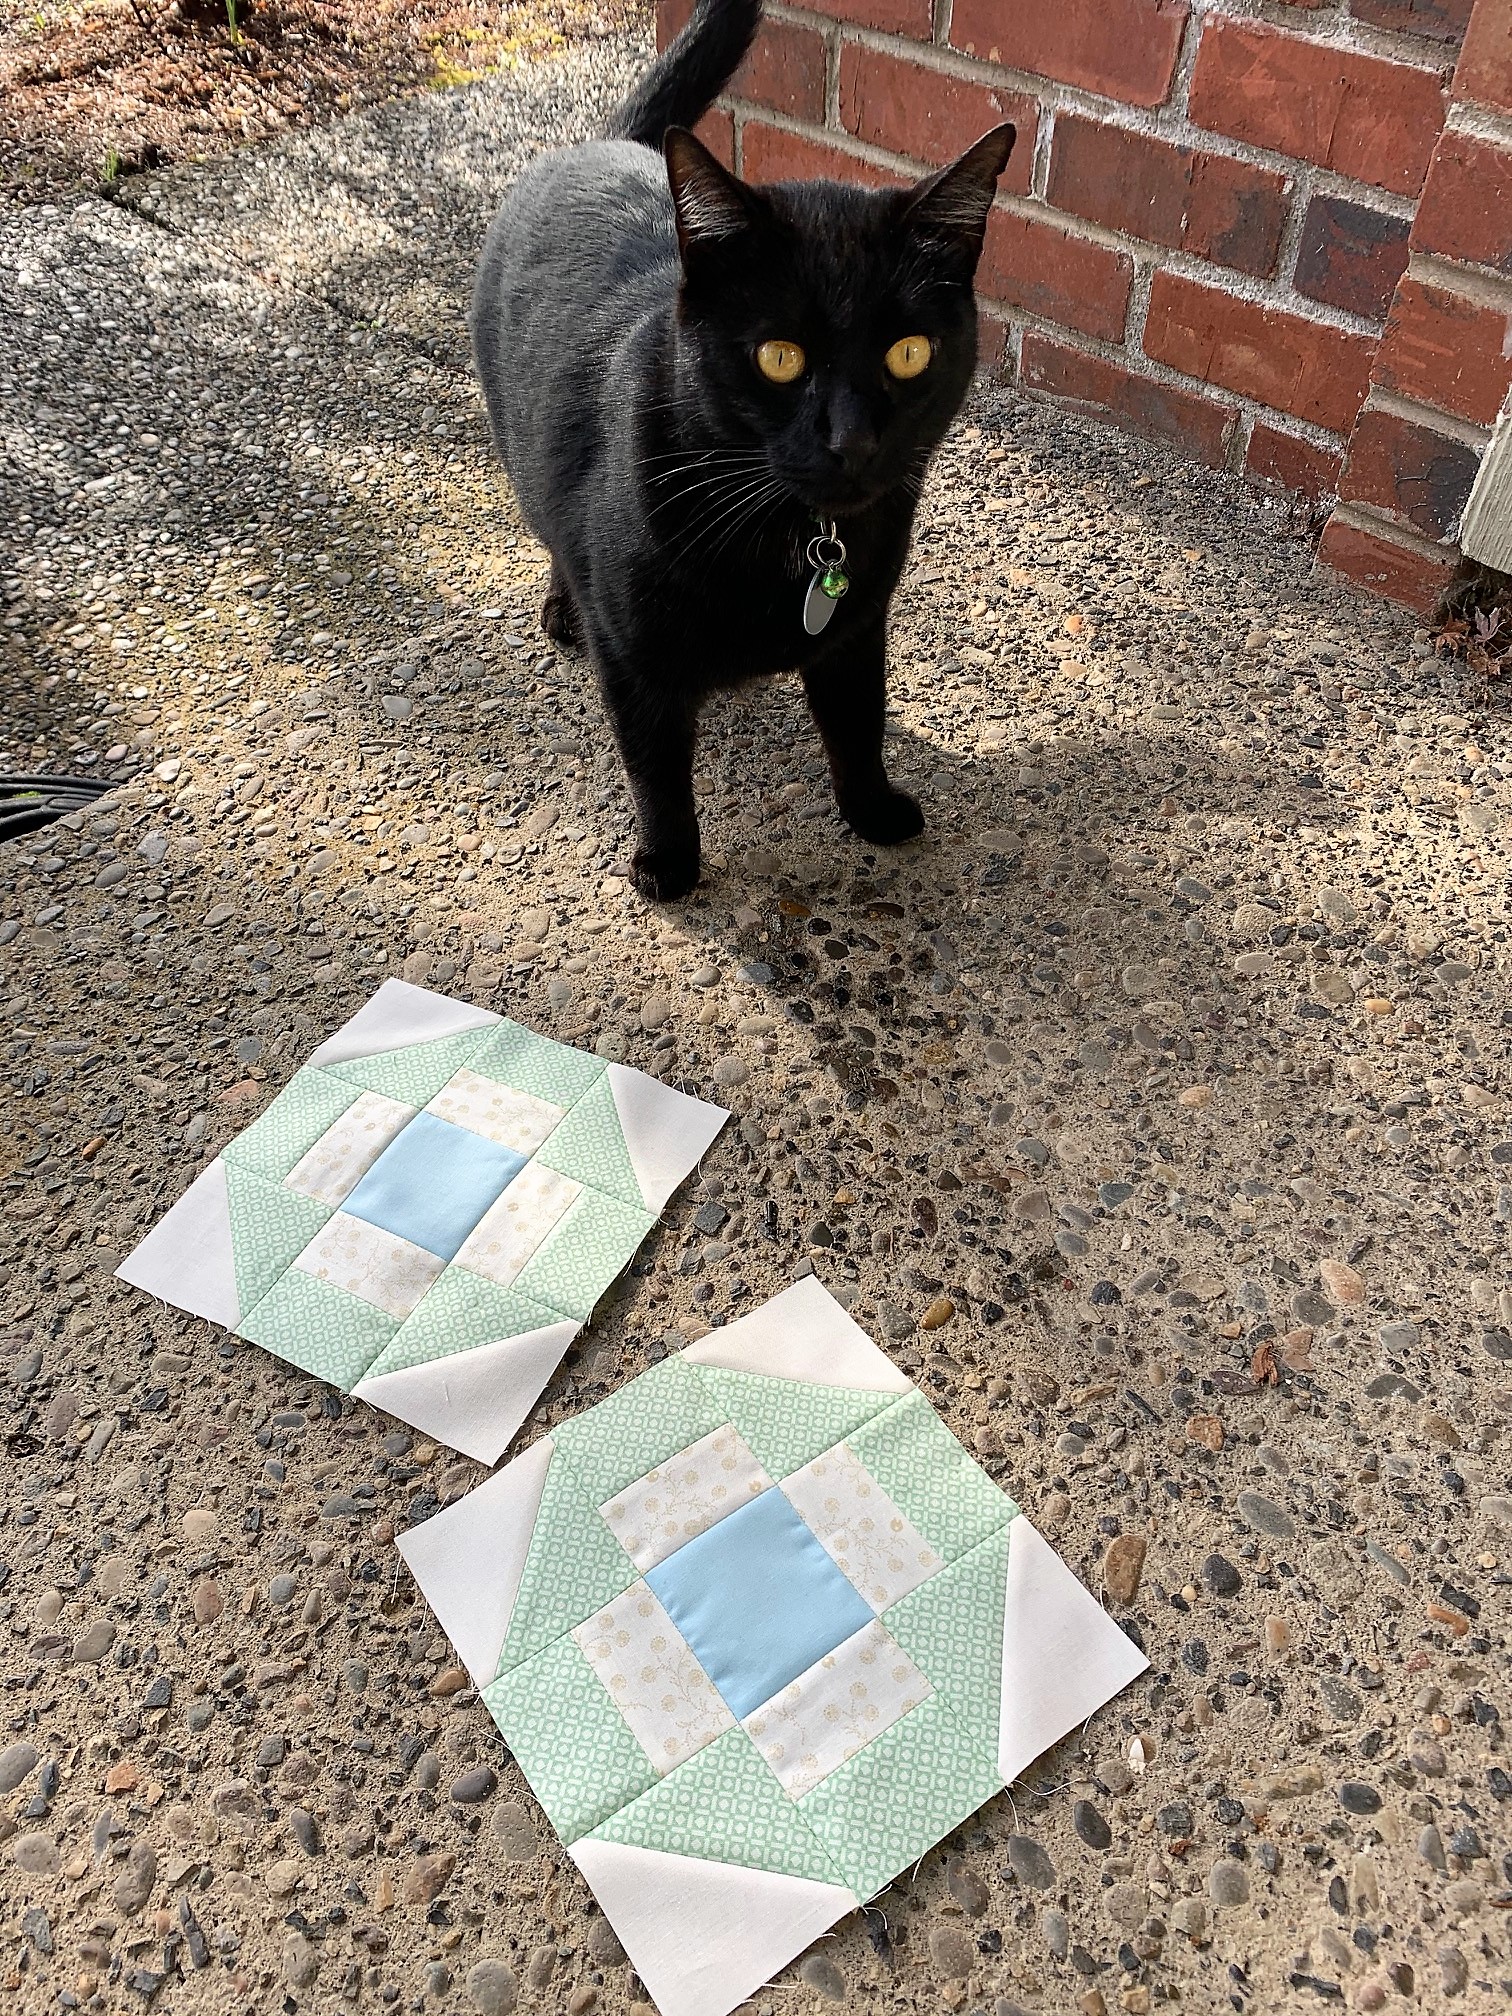
This is my 4-inch block in progress:

Stretched Geese block during construction
I decided to alter the block slightly by adding little border strips to the sides of the flying geese using my one print fabric from Tula Pink. I’m working in a little bit of this fabric into each block.

Stretched Geese block, slightly modified
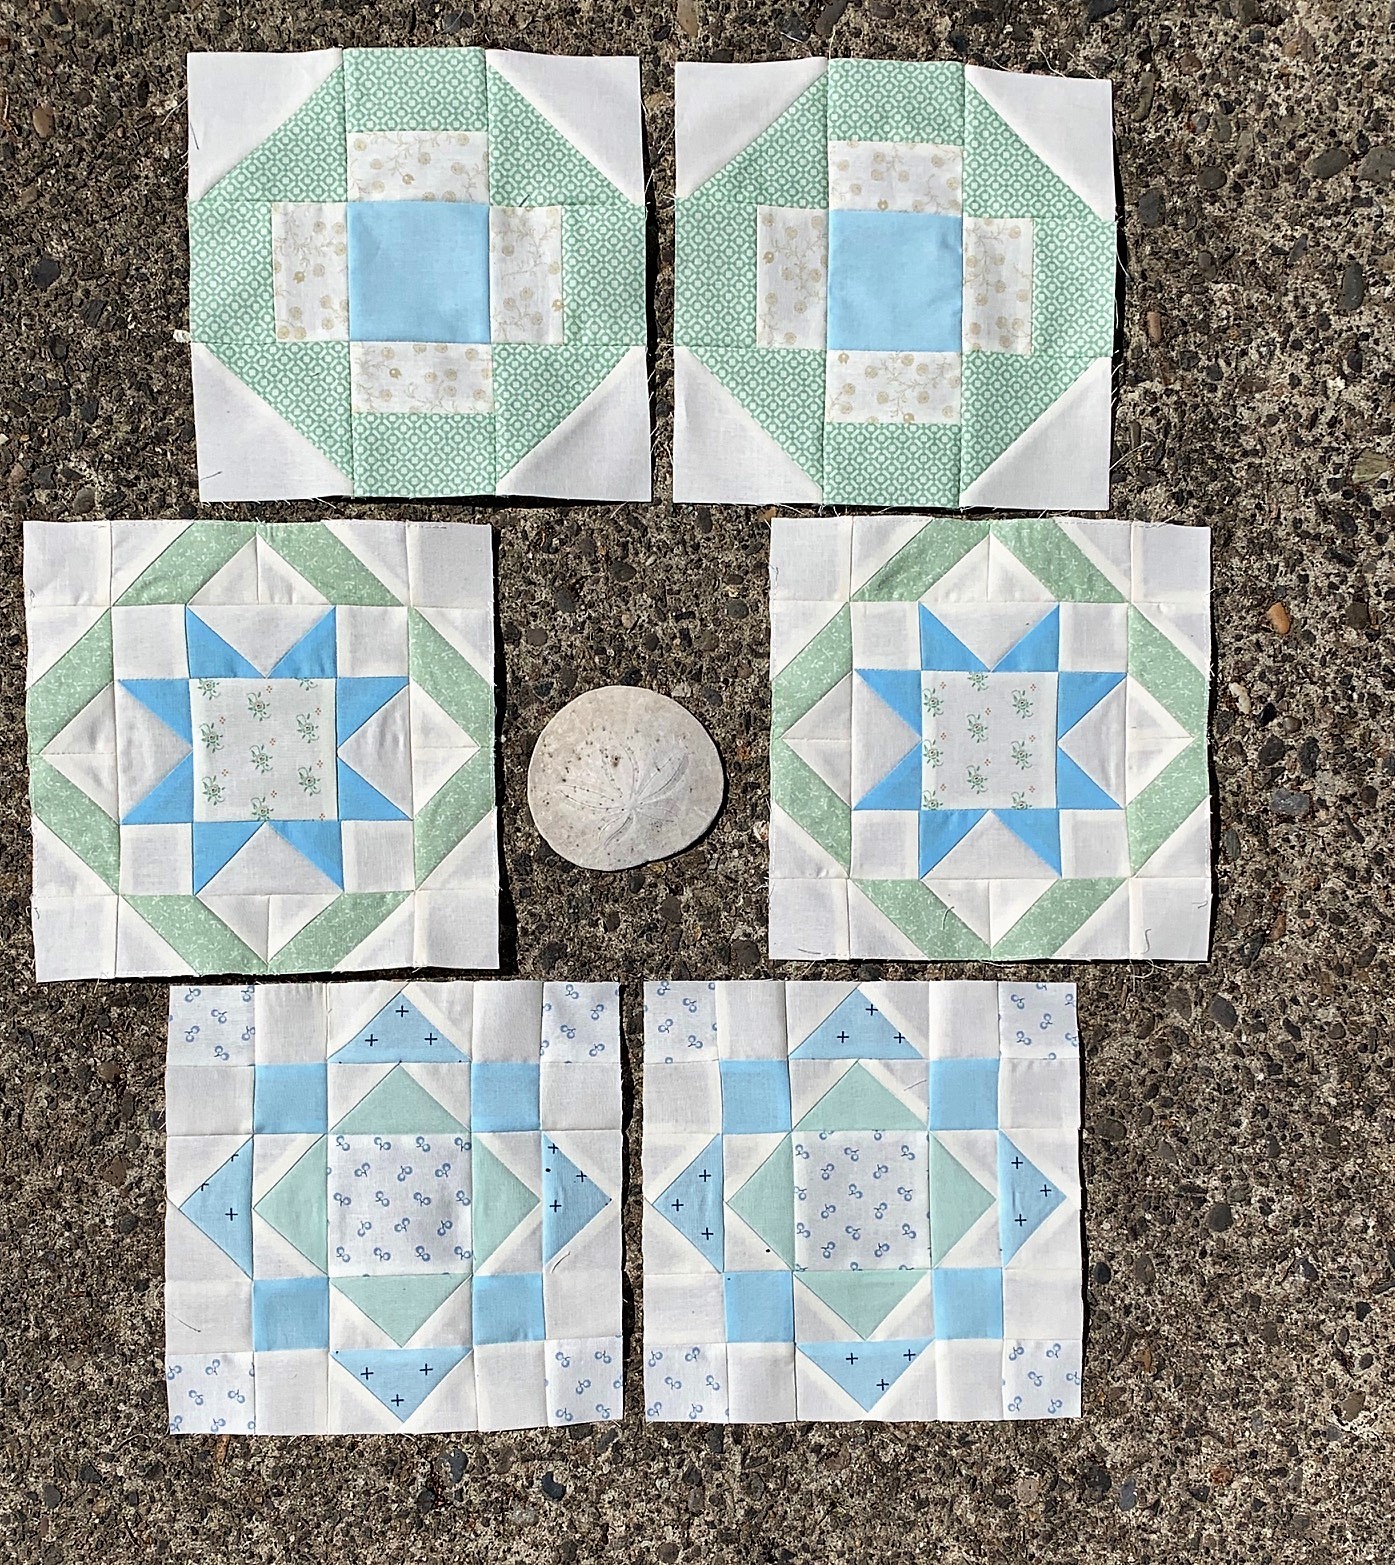
I love my growing group of little blocks! The beachy feel of the fabrics is quite soothing.

Mini Series SAL blocks, weeks 1 to 5
We now have 3 official blocks left to make in the SAL, plus I need to make the bonus block.
On one of my dog walks this week, I saw one of my favorite flowers, lupine, starting to bloom. Isn’t it pretty?
I just realized that the colors in my lupine photo below match the fabric colors in my SAL blocks! What a happy coincidence.

Lupine starting to bloom
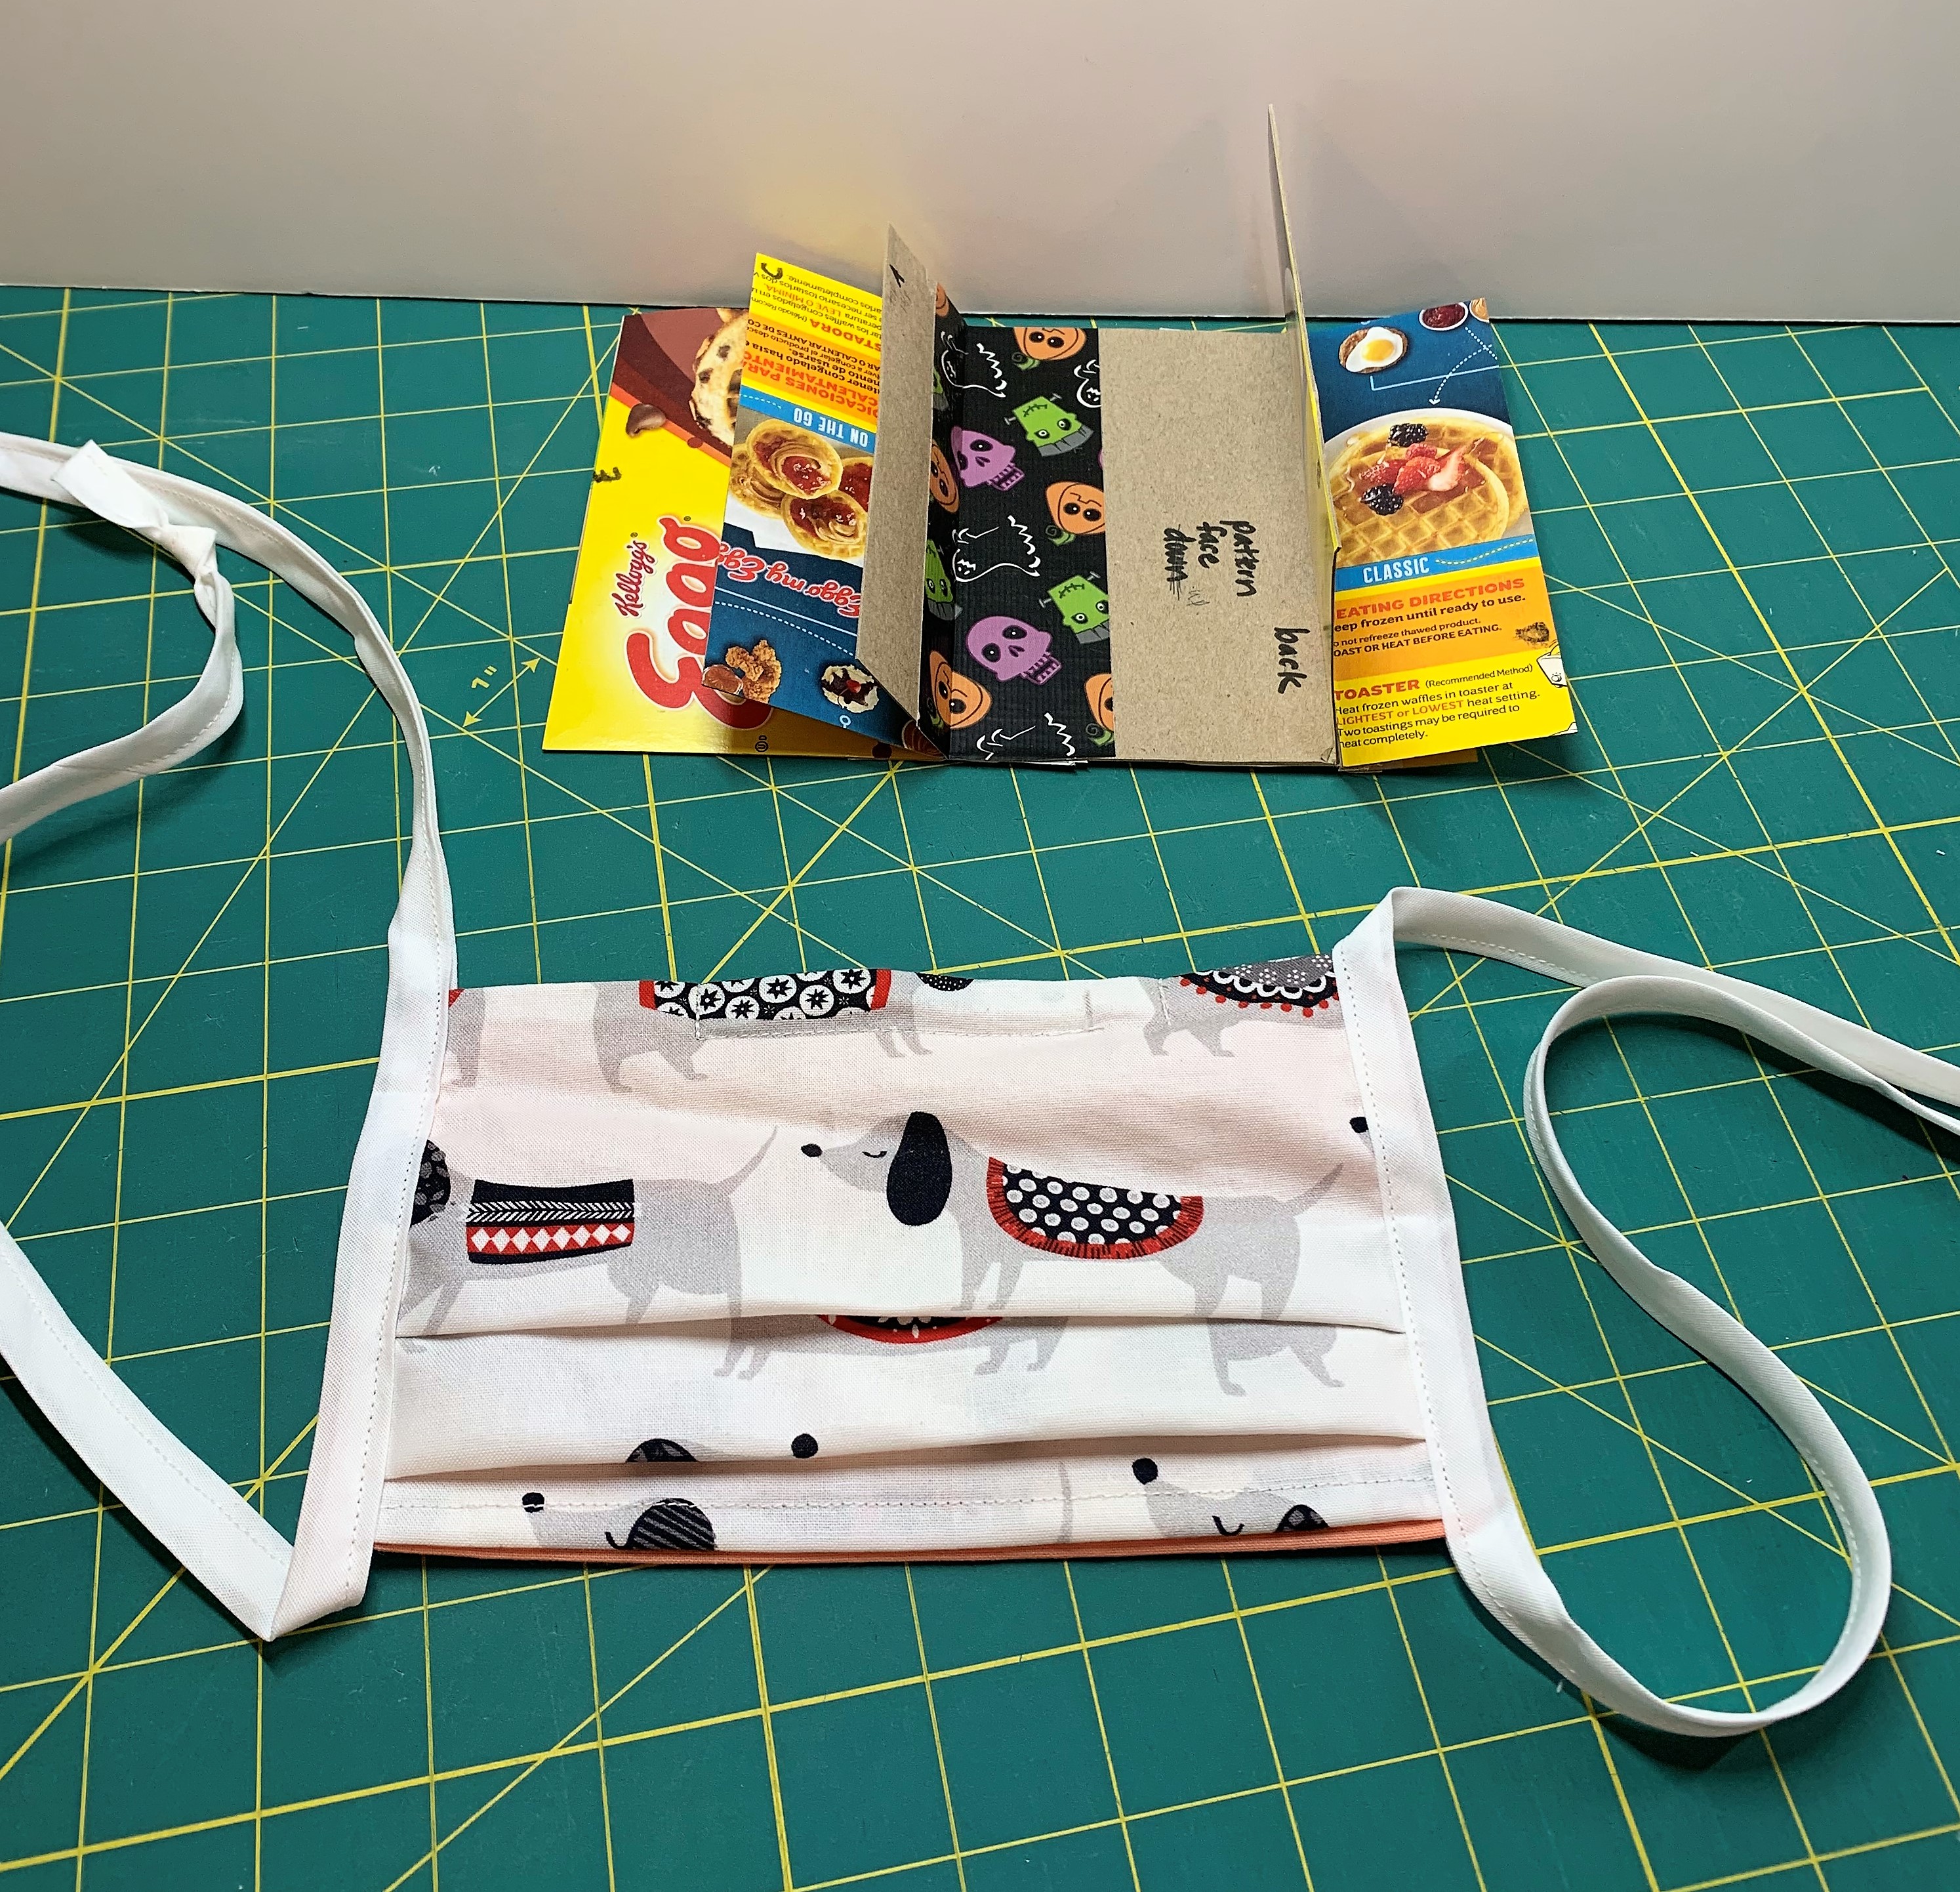
I hope you are all staying healthy and making a little time to work on sewing projects other than face masks.
Take care!
~Jen