Hi everyone,
Welcome to my blog where I’m happy to be participating in the We Support You blog hop to encourage, support, and inspire all those who have been touched by cancer, particularly breast cancer. My mother-in-law passed away several years ago from complications due to breast cancer so I definitely know this cancer touches so many lives.
Thanks to Madame Samm of Sew We Quilt for encouraging us to make something cheerful and beautiful in this hop using her pattern and to Pat, our wonderful cheerleader for this hop. You can purchase the “We Support You” friendship pattern for $12 from Madame Samm directly by emailing her at madamesamm@me.com.
I’ve been participating in quite a few Instagram mini swaps lately, and all the beautiful rainbow colored quilts inspired me in my project for this hop.
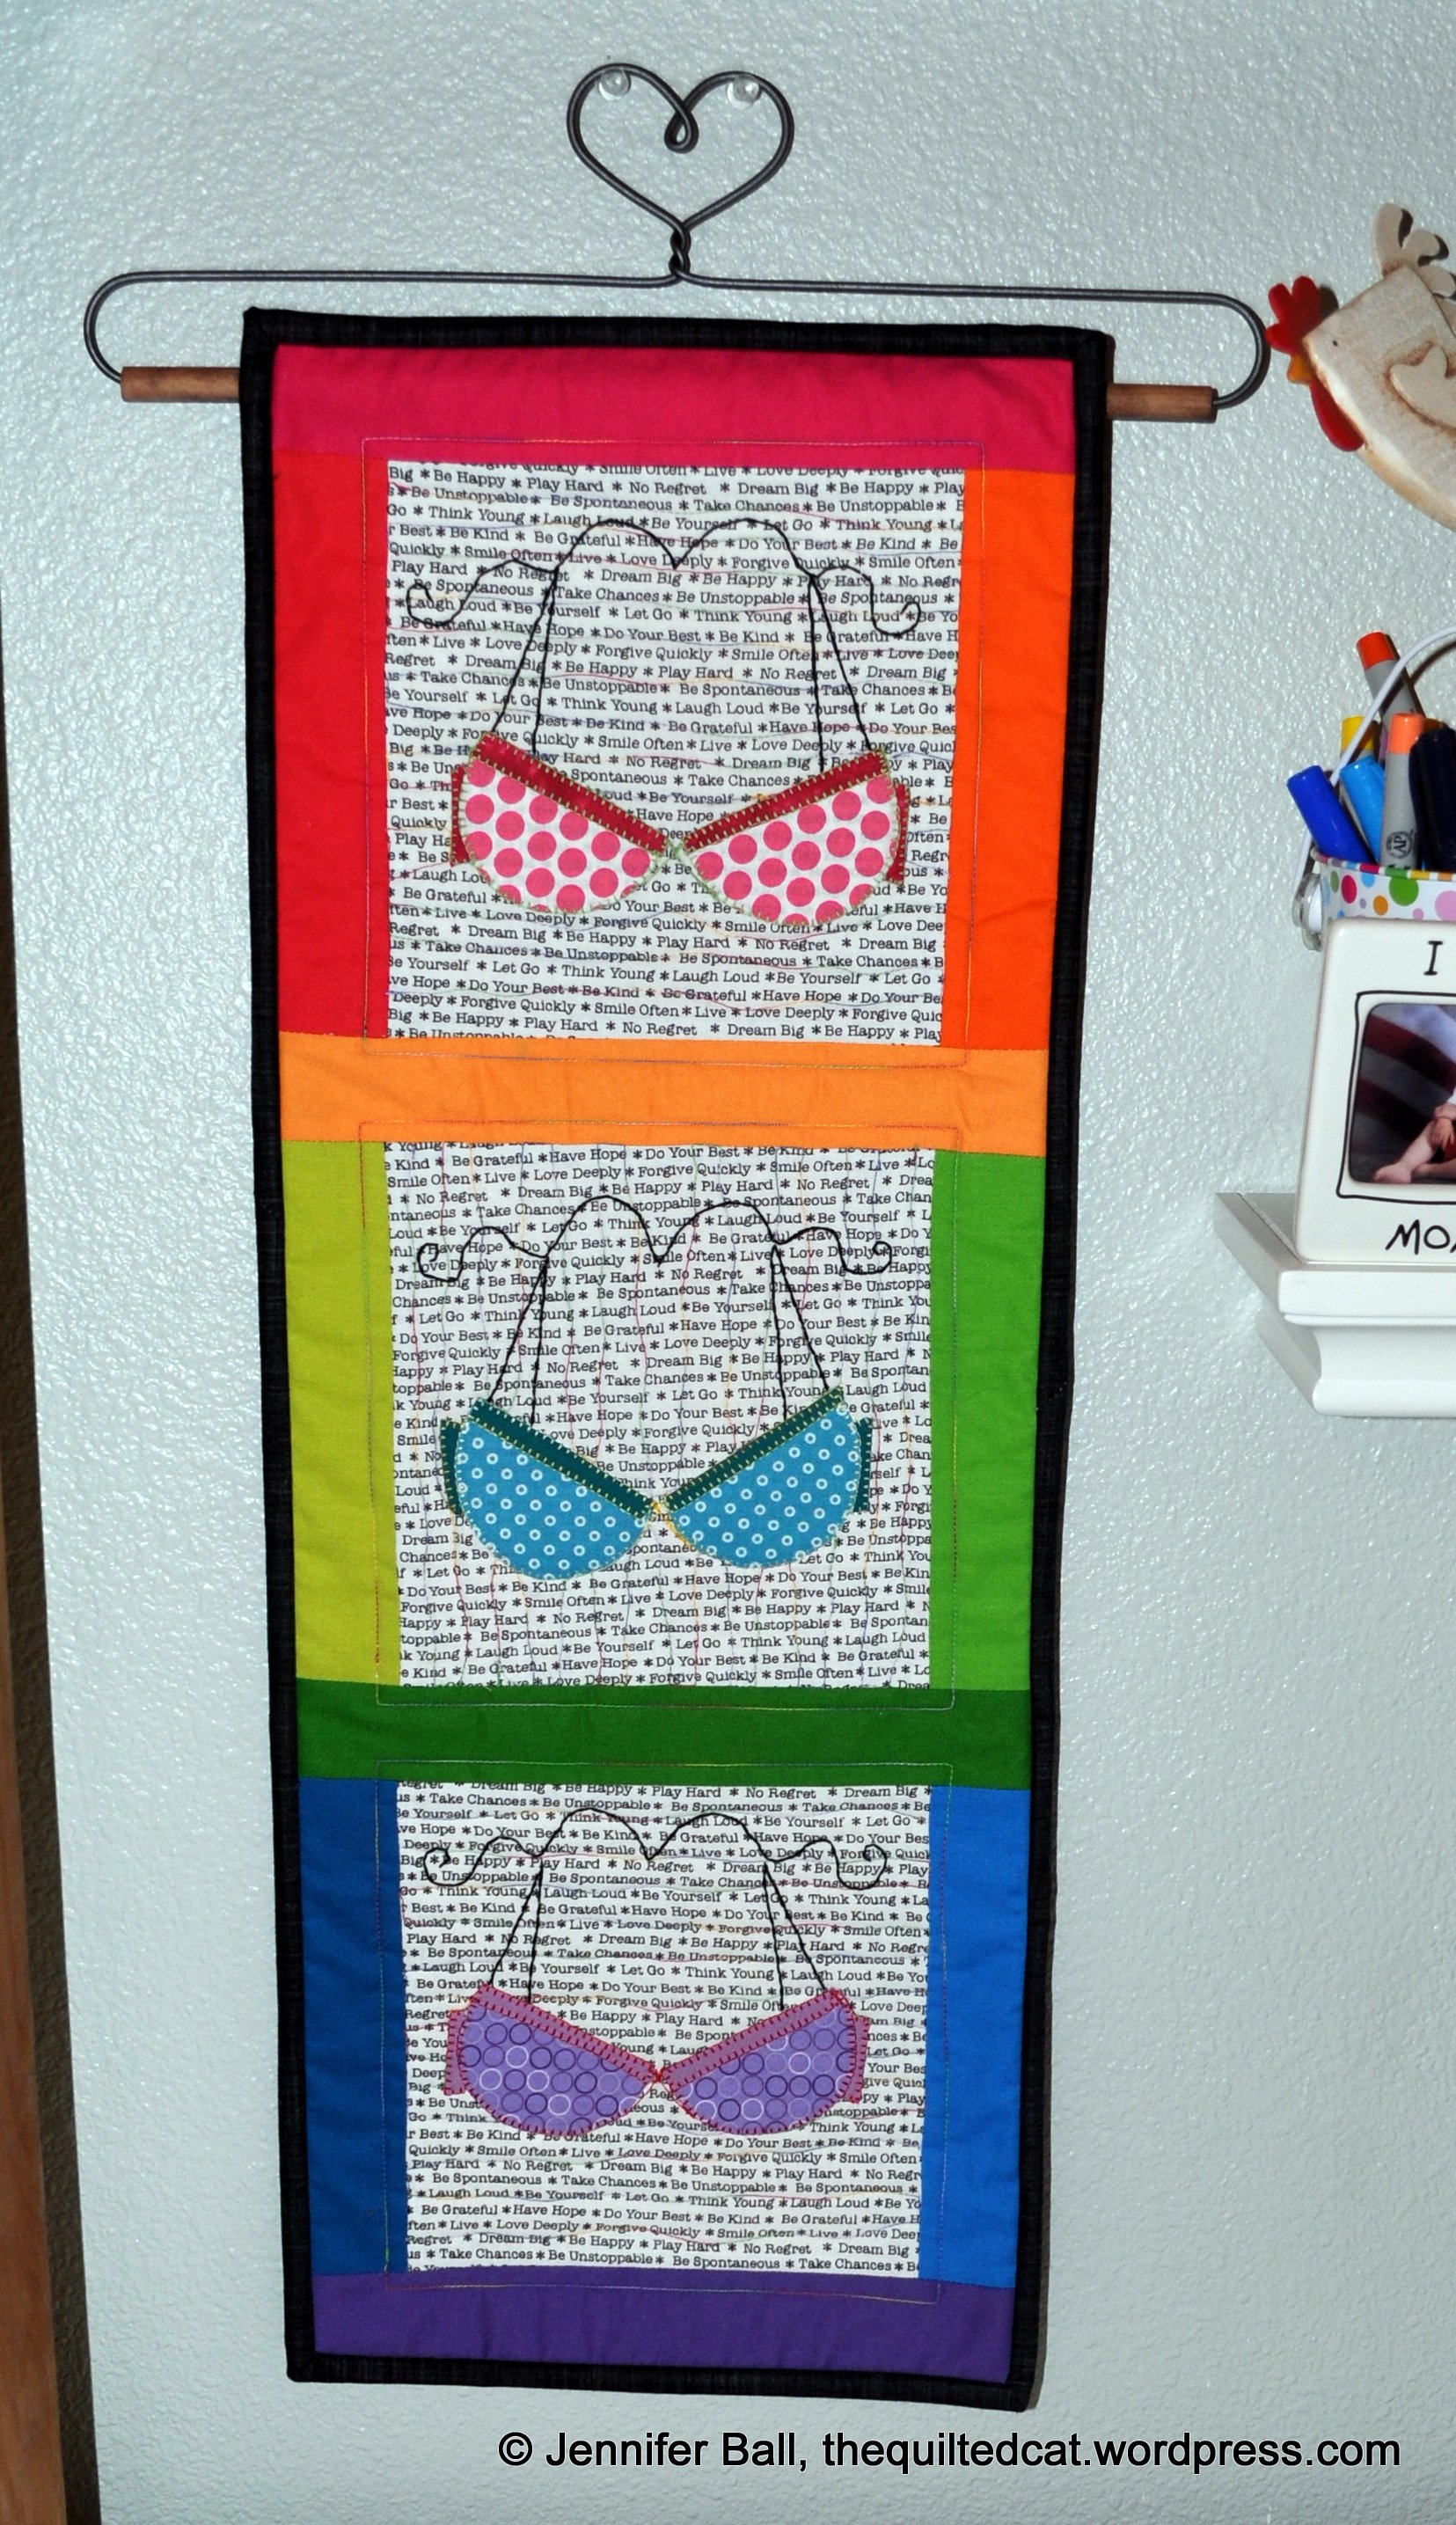
I started by selecting a text print for the block backgrounds. This text print has encouraging phrases such as “No regret” and “Dream big.” Next, I made 3 little bras in colorful print fabrics to applique to the text backgrounds. The bra straps and hangers are hand embroidered using DMC black embroidery floss.
Next, I pulled some Kona cotton solids in various rainbow hues to create the borders and bound the whole mini using black weave print. I used a Superior variegated thread to do the quilting, alternating wavy horizontal and vertical lines.
I had this really cute little wire heart hanger so I added a sleeve to the back for a perfectly finished little project!

We Support You Rainbow Mini Quilt (Outdoors)
I now have this little mini hanging in my sewing room, above a project table for inspiration.
We Support You Rainbow Mini Quilt (Indoors)
Here’s a close-up photo of a block so you can see the text print background:
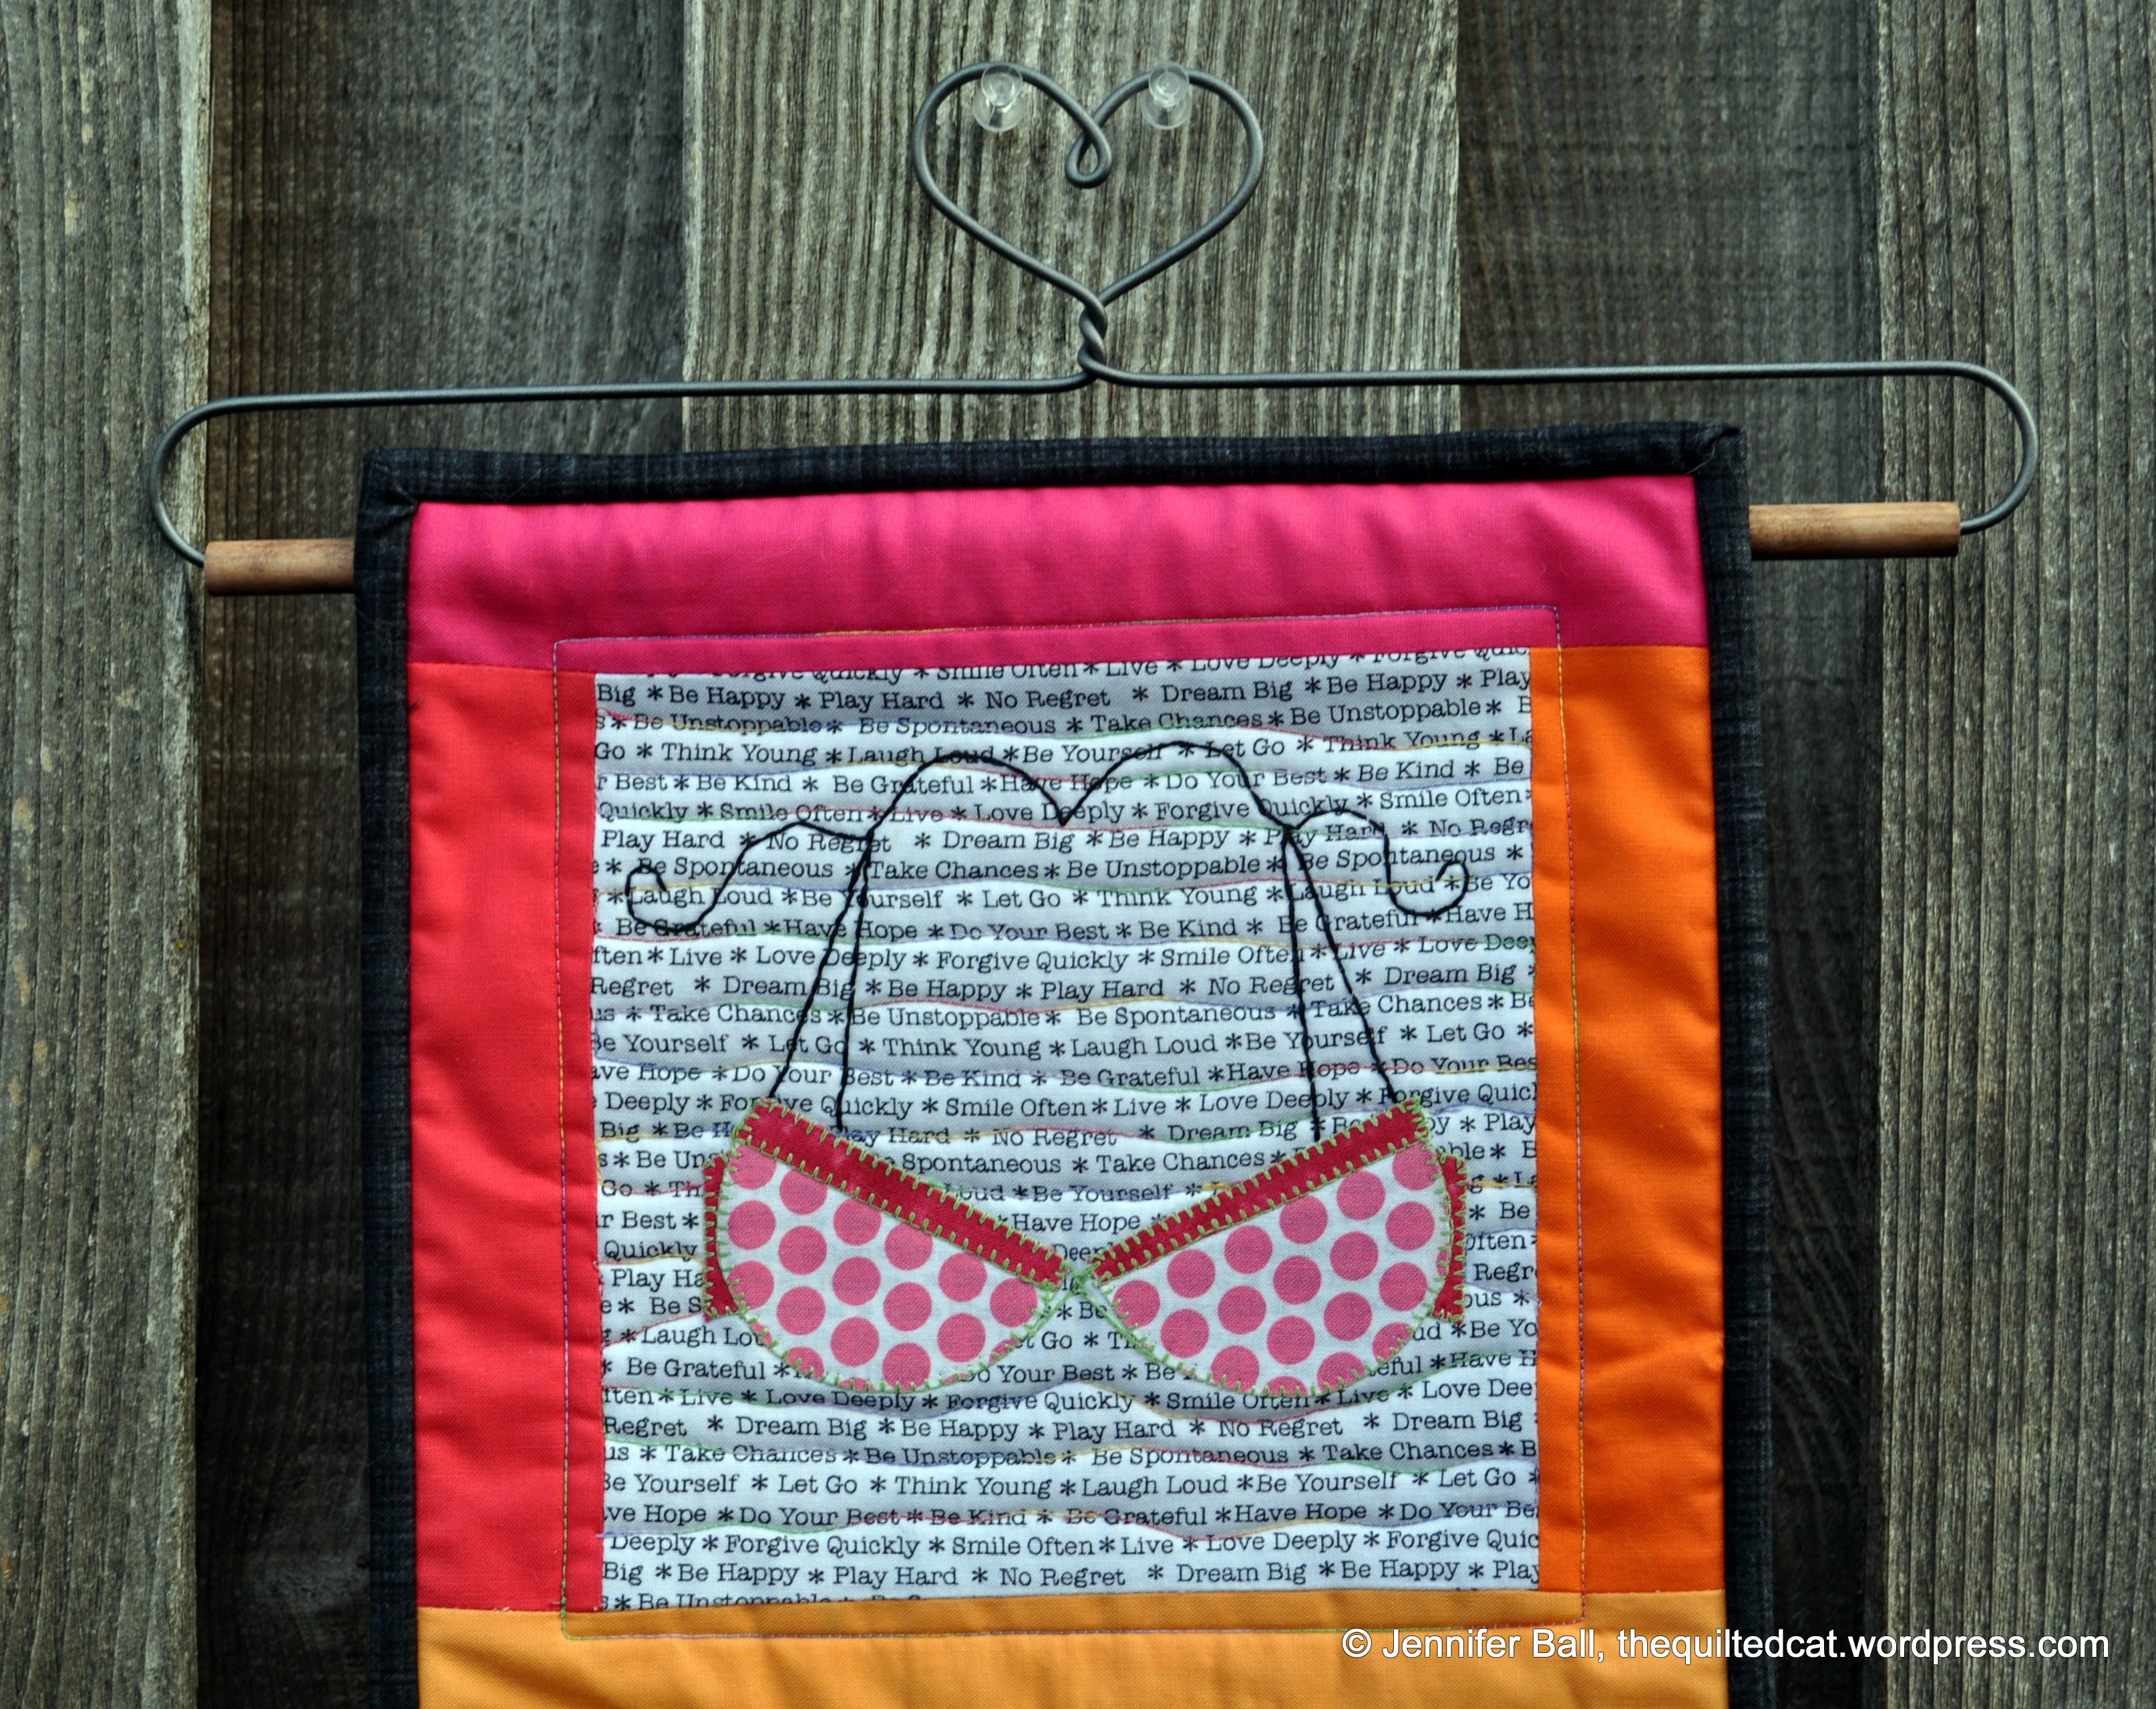
We Support You Close-Up
Please hop on over and visit the other ladies with projects today:
- Creatin’ In the Sticks
- The Quilting Queen Online
- Everyone Deserves A Quilt
- The Quilted Cat (you are here)
- Hill Valley Quilter
I hope my little mini quilt inspires you today! As a Gen-X’er, I encourage all my 30 and 40 something quilting buddies to get mammograms too!
Take care,
~Jennifer