Have you heard about the Spooky Box from Fat Quarter Shop? Each year, they release a Halloween themed mystery box, filled with quilting goodies including a project with fabric and notions! You can still buy the 2021 box at Fat Quarter Shop with this link.
For last year’s 2020 Spooky Box, the quilt project was a fun Cat O’ Lantern mini quilt. I pieced this quilt last October, but then set it aside in my to-quilt pile. I was inspired to pull it out and quilt it recently as I was decorating my yard for Halloween.
I made a few modifications from the original pattern. I swapped the black and purple fabrics so that I could have black cat popping up from behind the pumpkin. I also changed the shape of the cat’s eyes and nose from squares into diamonds and a triangle. I knew that I’d quilt in more face details such as whiskers and the famous cat grin.
I did all free-motion and hand guided ruler work using Glide thread in Apricot Blush for most of the quilt and Glide thread in Black on the cat.
Here’s a look at a little spider that I added to each of the black triangles at the top and bottom portions of the quilt:

In the orange triangles, I quilted little ghost shapes. I did some basic fills in the background portion, and a swirly pumpkin fill in the purple behind the cat.
For the cat face, I added some eyebrows, whiskers, pupils, and grin. I later enhanced the pupils with an outline of black thread.
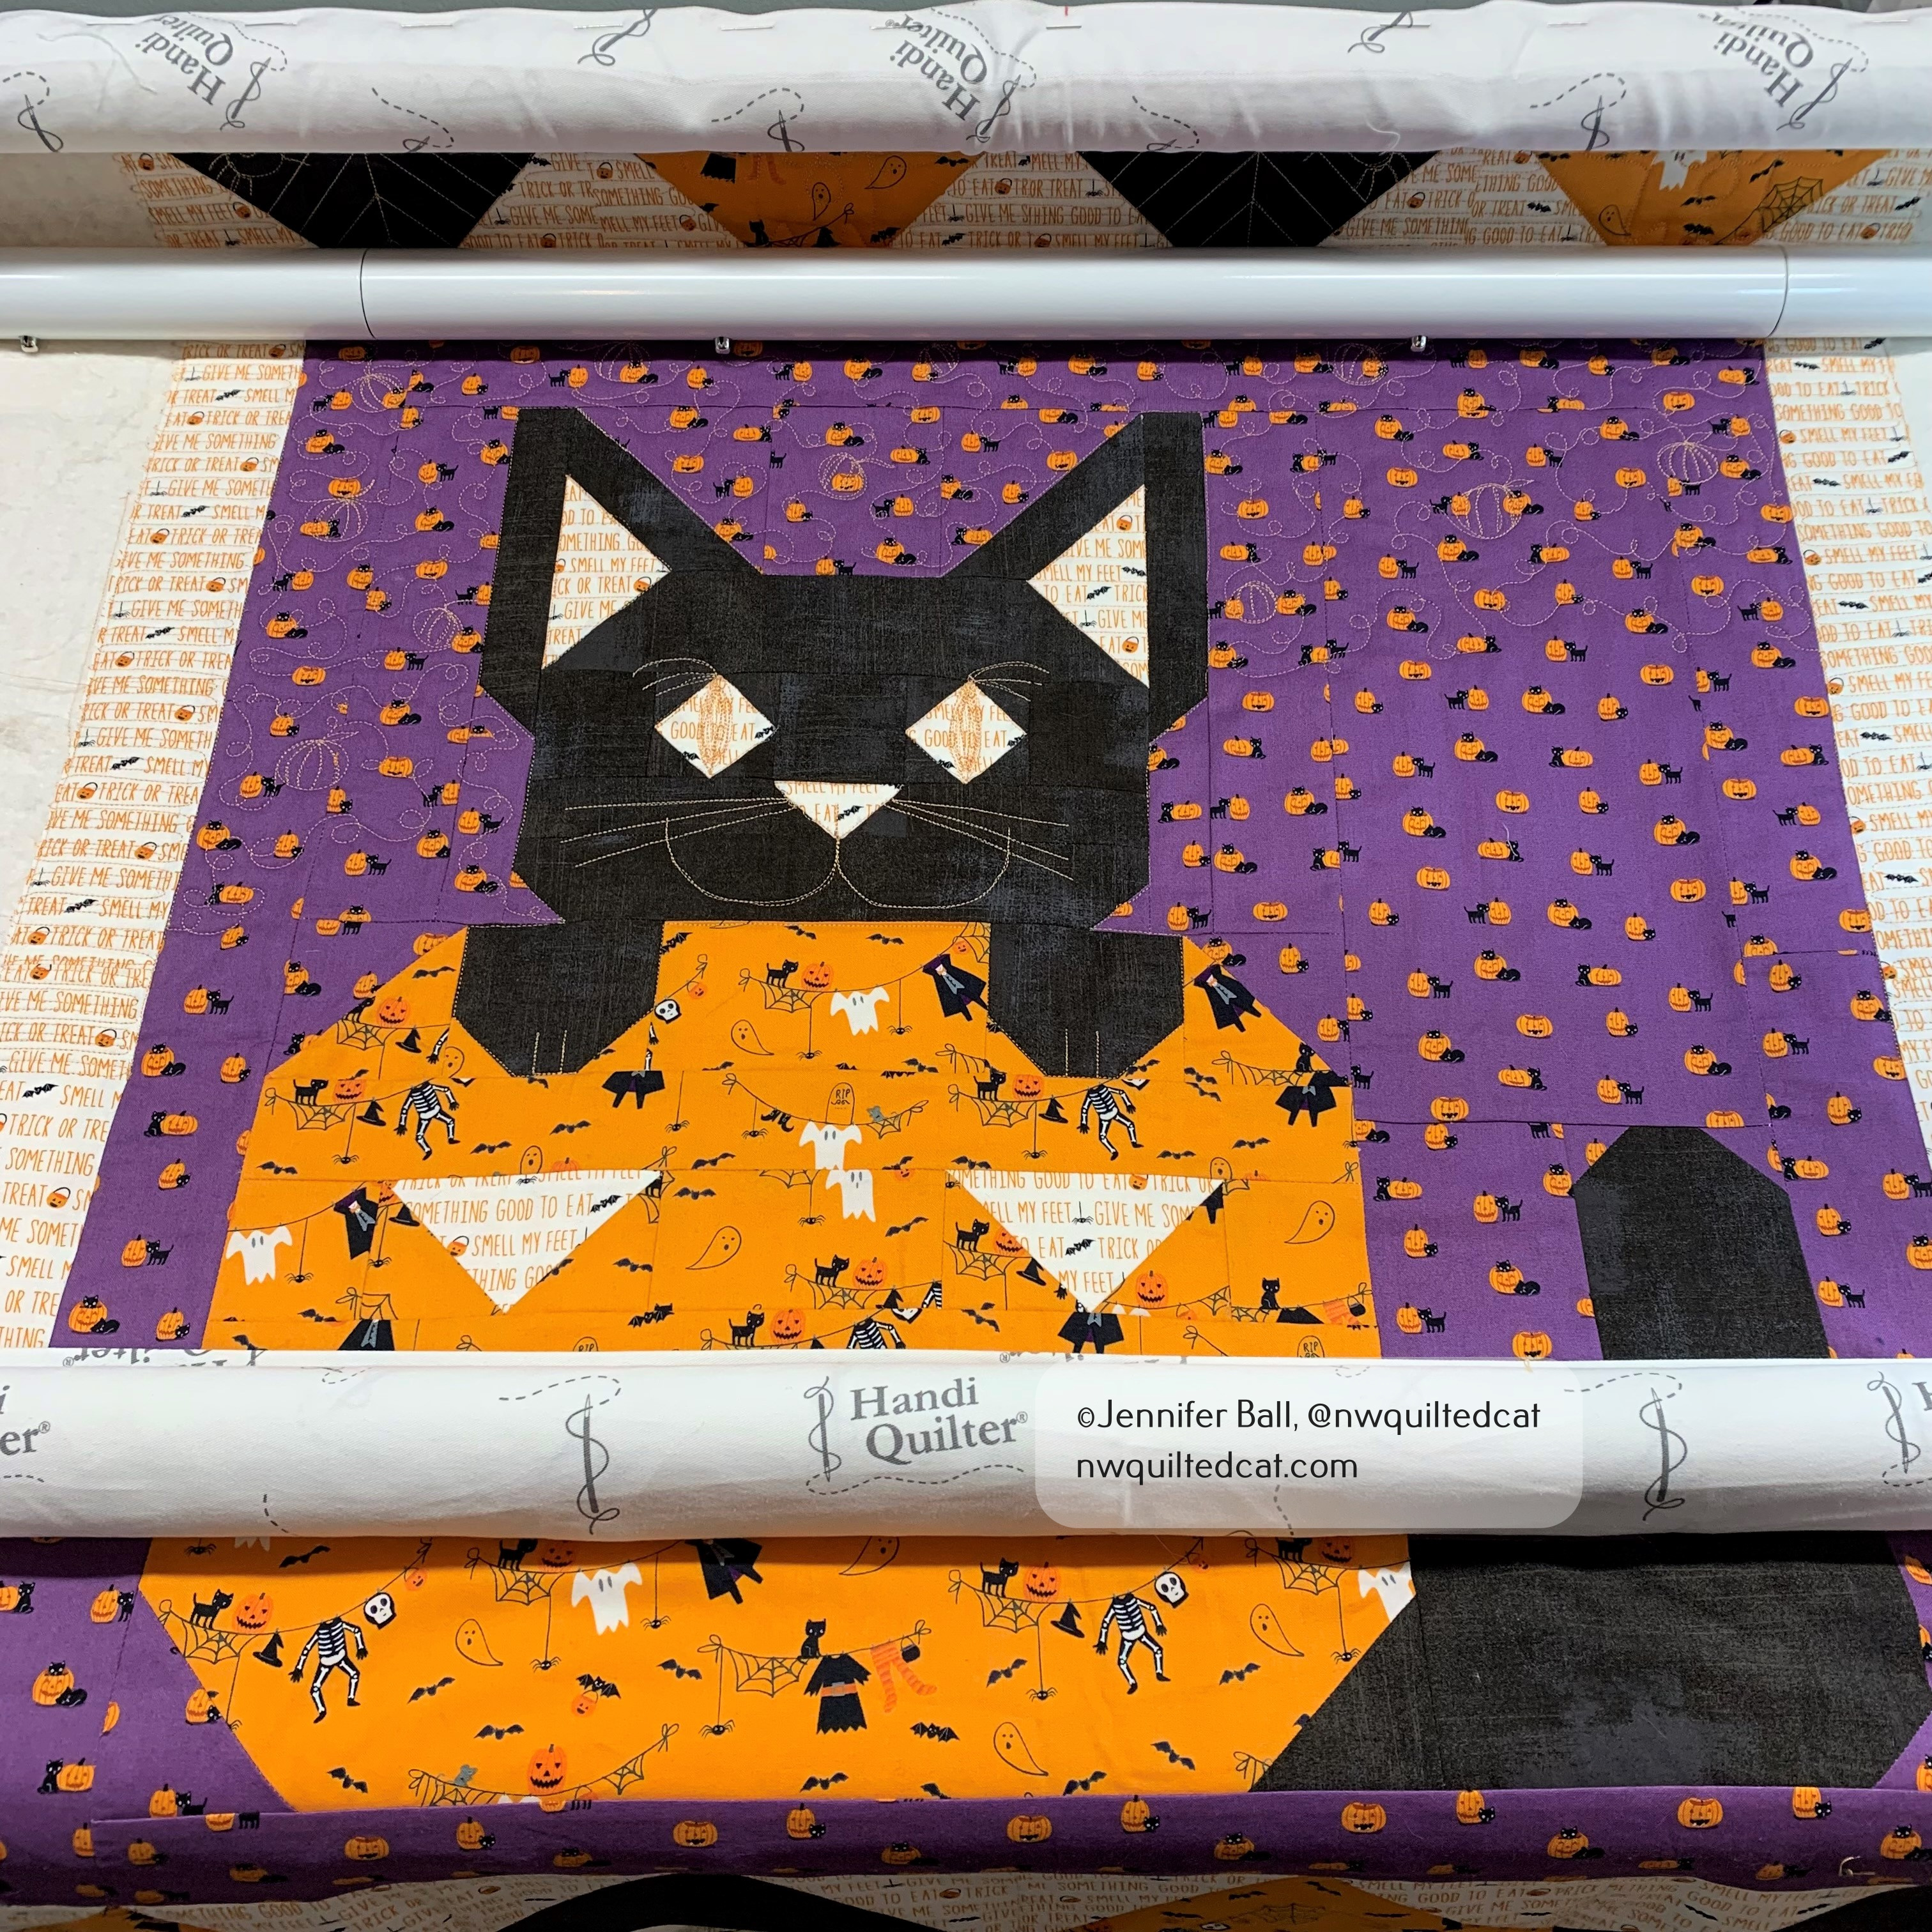
I gave the cat a little dimension by quilting some swirls on the forehead, checks, paws, and tail. For the pumpkin, I kept it simple with straight-line quilting to keep the emphasis on the sweet cat!

We went to pick pumpkins last weekend, and my son held the quilt up while I snapped a quick picture in between other pumpkin hunters. I love a striped binding so I used this black/gray/white striped fabric in my stash that I think really frames this little Cat O’ Lantern quilt perfectly.
Happy Halloween from the cat at the pumpkin patch!
~Jen